I built it last year and took a bunch of pictures to document the build. Then life happened and I didn’t. Someone noticed I had an undocumented v2 and asked about it, so it was time to fix this.
X,Y Coordinates Tradition
I just did my yearly X,Y Coordinates stint with local 5th graders. It’s the 5th time I do it and this year is notable in that I didn’t write anything I wanted to fix for next year. Every time previous I came out thinking I needed to fix a bug, prevent a confusion, or improve something or other. This time it looks like the formula has been refined to its optimum.

Kids will definitely push the limits, and I love that relentless will to push, it’s identical in nature to IT security curiosity. 1 kid wrote some code and then copy/pasted it a bunch of time, no problem there’s an upper limit on instructions. Another tried to hog all the squares by having them draw just a single dot, no problem there’s a cool-off timer that prevents you from blasting through squares. I haven’t had to use it but I also have a censorship mechanism :), I can scribble over any square and the machines will prioritize it.
So this year went really well, I think I can say with confidence now that the magic operates every time, this isn’t just luck with a good batch of kids or other. Every time we launch into “coding”, there’s a moment of sheer teeth grinding where I think it’s going to be a disaster. And every time they are all extremely motivated by the idea of controlling the machines when they hit “submit”, and so they all pull through and help each other out. Once one of them has gotten the machines moving, there’s a real frenzy to figure things out, and then their next drawings get more and more sophisticated. 5th grade might have a few blasé pre-teens who are hard to motivate, and they will inevitably get sucked in. Now they might “whatever” out of the activity after a bit, but even they will want to have done it at least a couple of times :). I particularly like when kids realize they can coordinate action on neighboring squares to do something greater, I purposefully don’t suggest that to them. I’ve gotten good at fending off “learned-helplessness”, not that I was doing it for them before, I’m just quicker to disengage. “You want to control the laser kid? Well you better figure it out”.
The “coding” interface

One of the snag we always hit is kids not able to discern the difference between typing in a URL or doing a search with Google. And a giant middle finger please for all the corpos purposefully blurring lines so kids form the habit early of running anything they might want to do on a computer through Big Corp Inc.

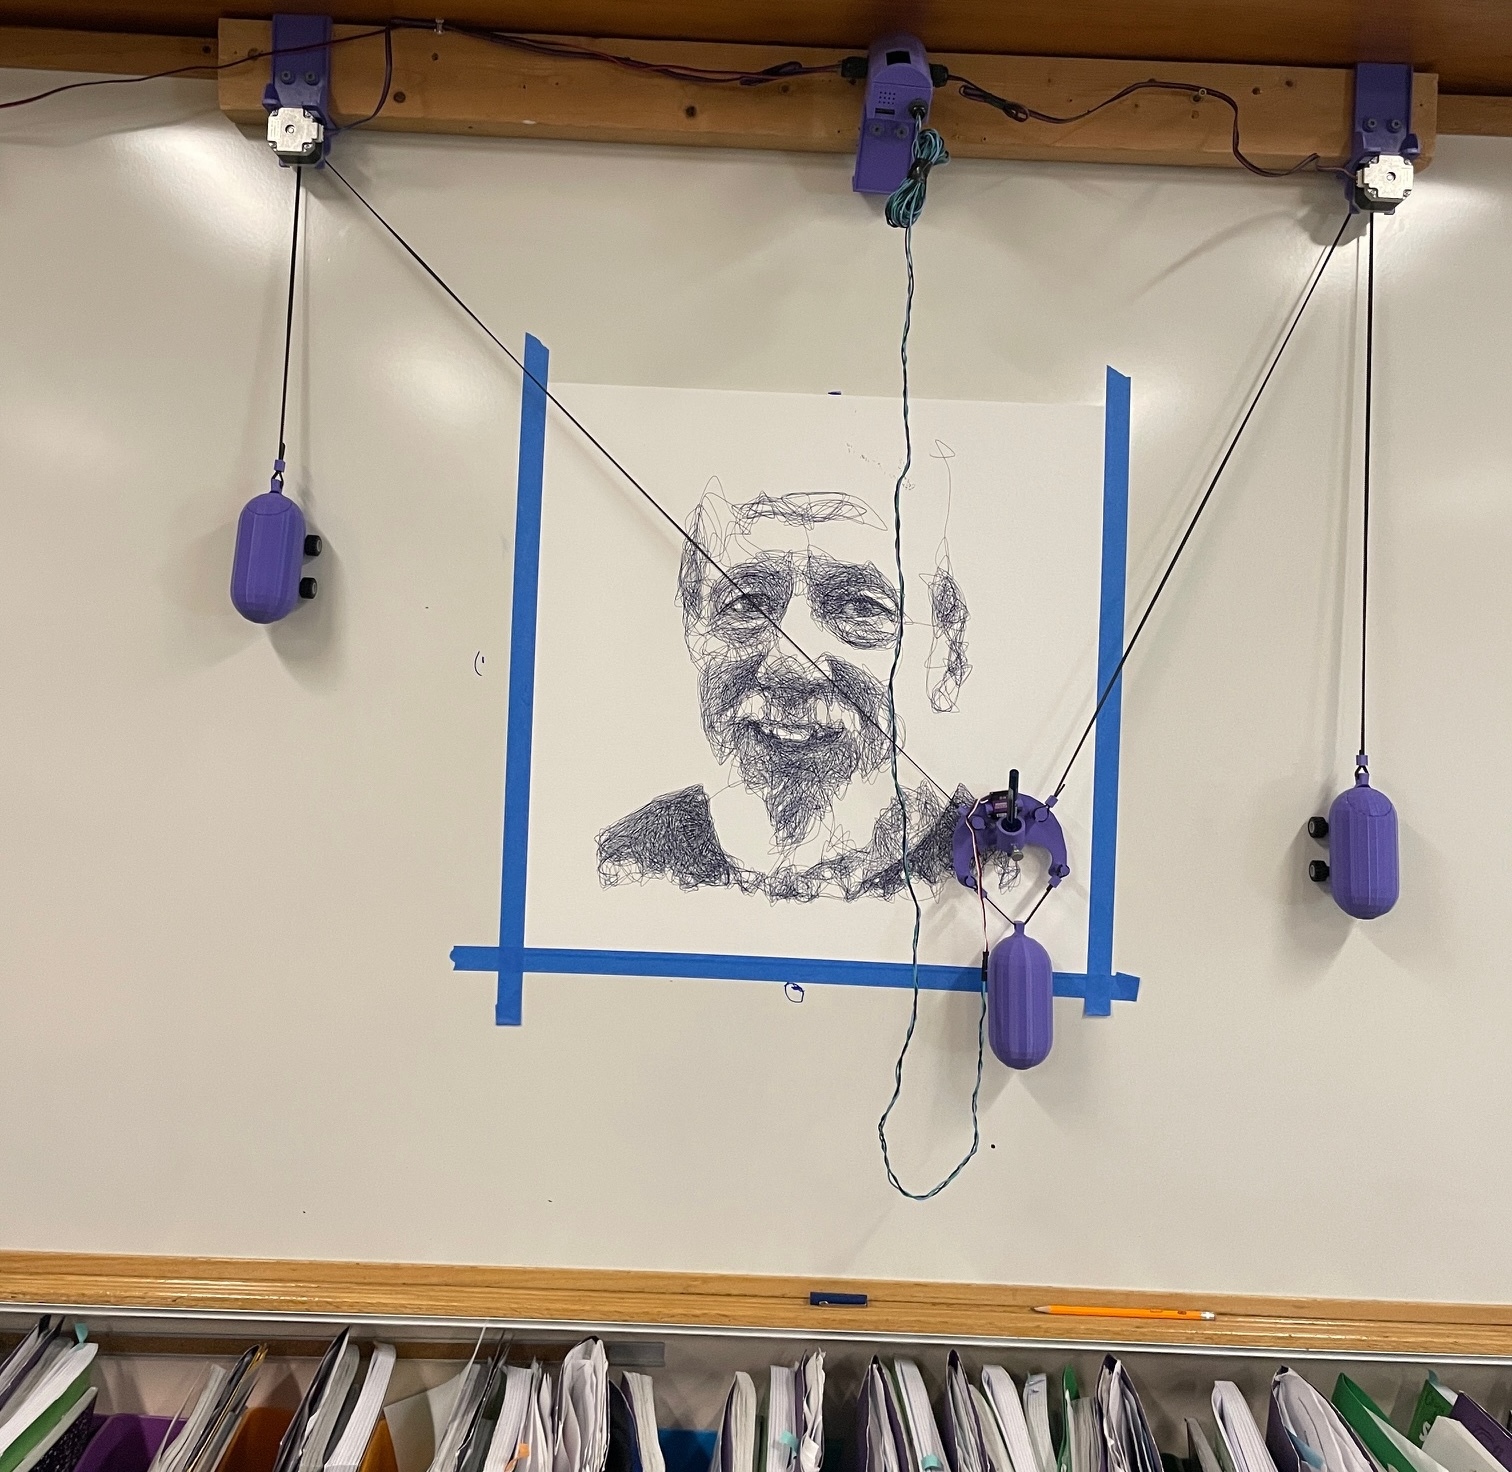
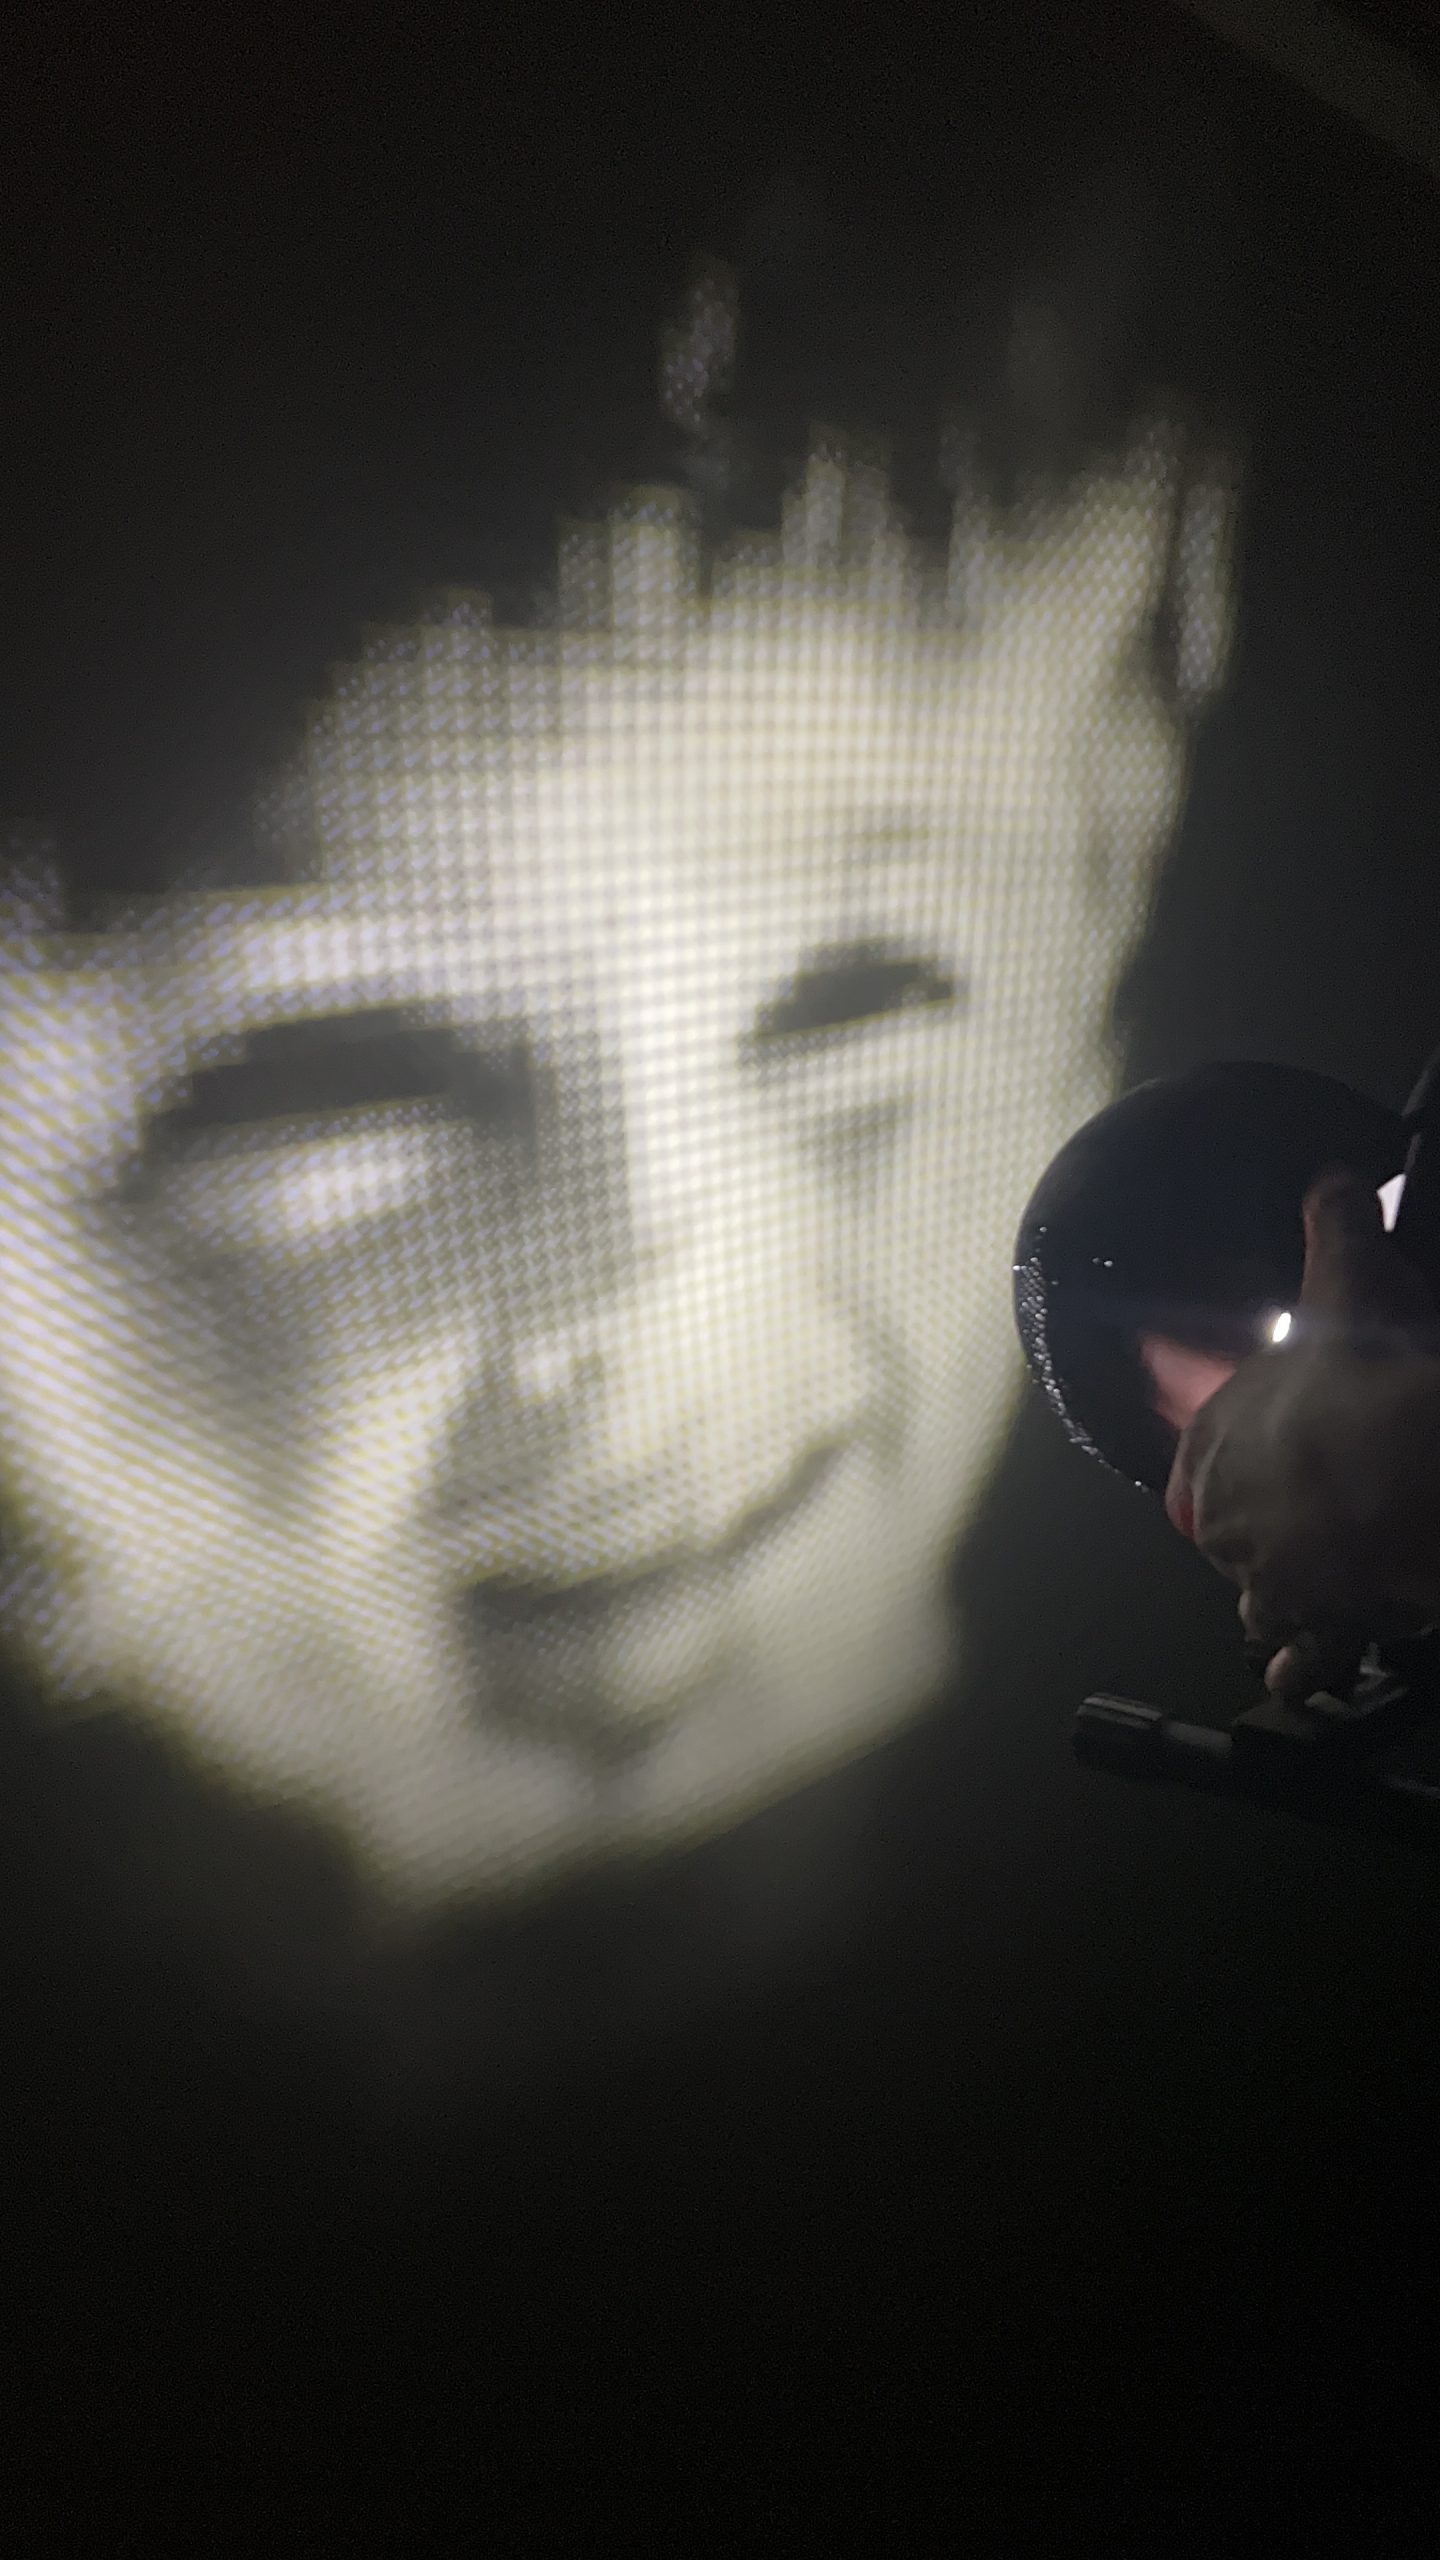
At the end of the day I send the wall plotter on an overnight portrait of a well liked central figure in the school. The next morning when I pick up the machine, the kids get one last wow effect. I’ll make a note of how many “go_to” statements went into the picture, usually several hundred thousands to get them thinking about scale and how curves can really be just a few tiny straight lines. They submit an average of 30 such statements for their cool drawings.
Dragon of Recursion / Light Show / Post-it Portraits
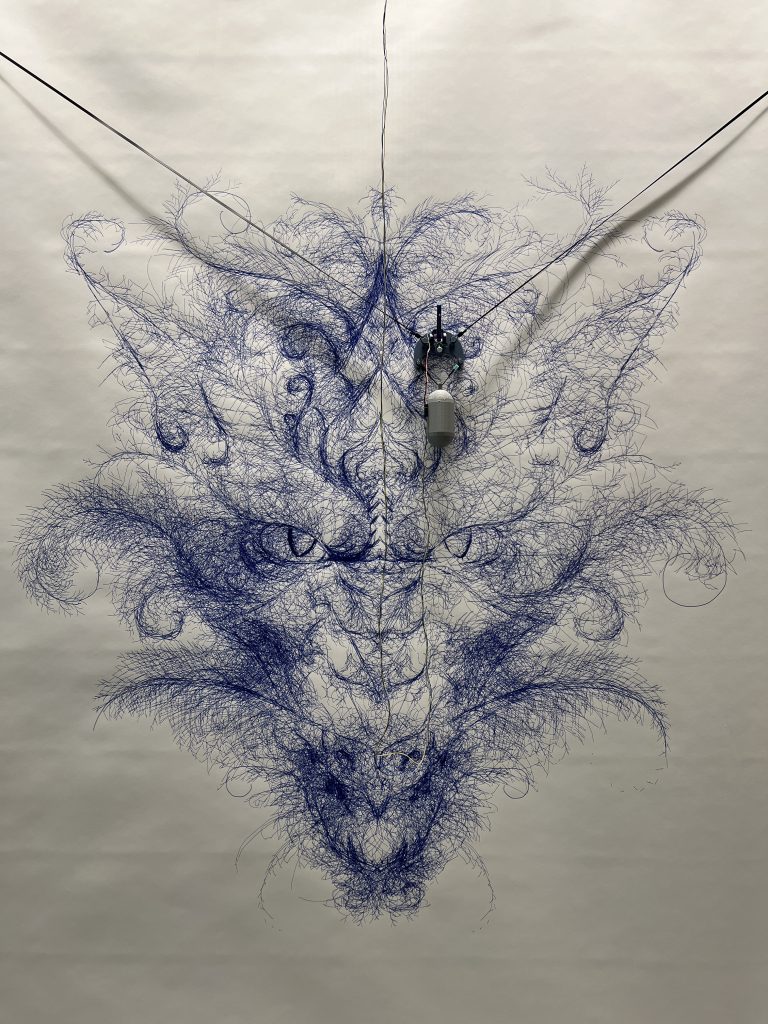
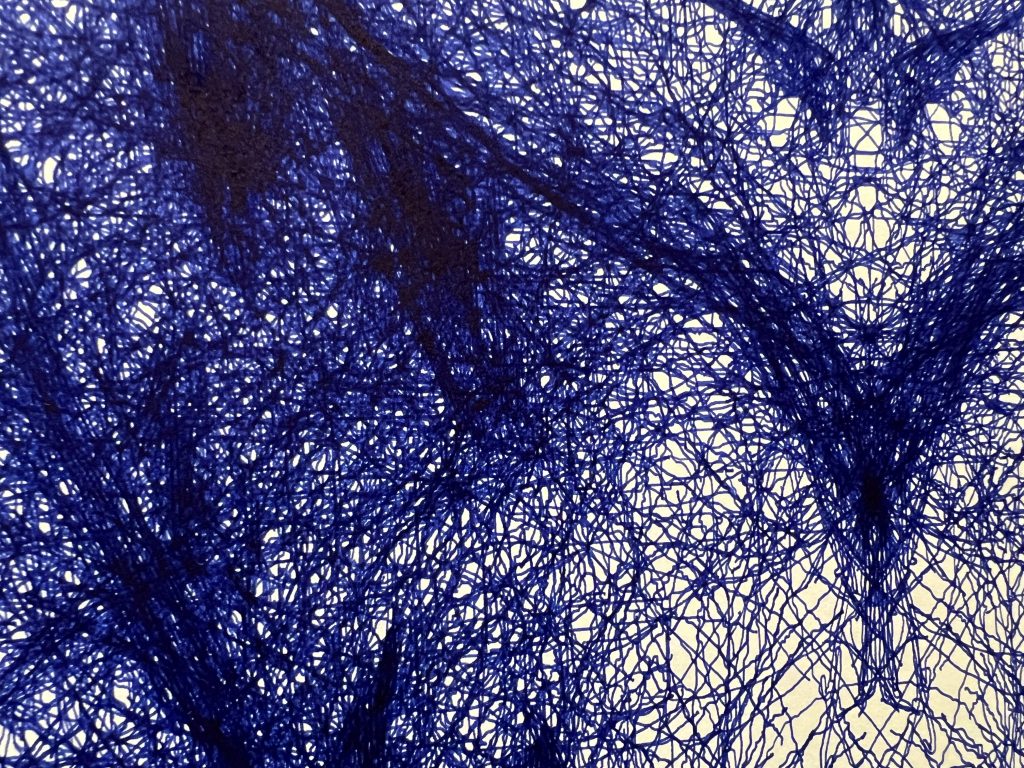
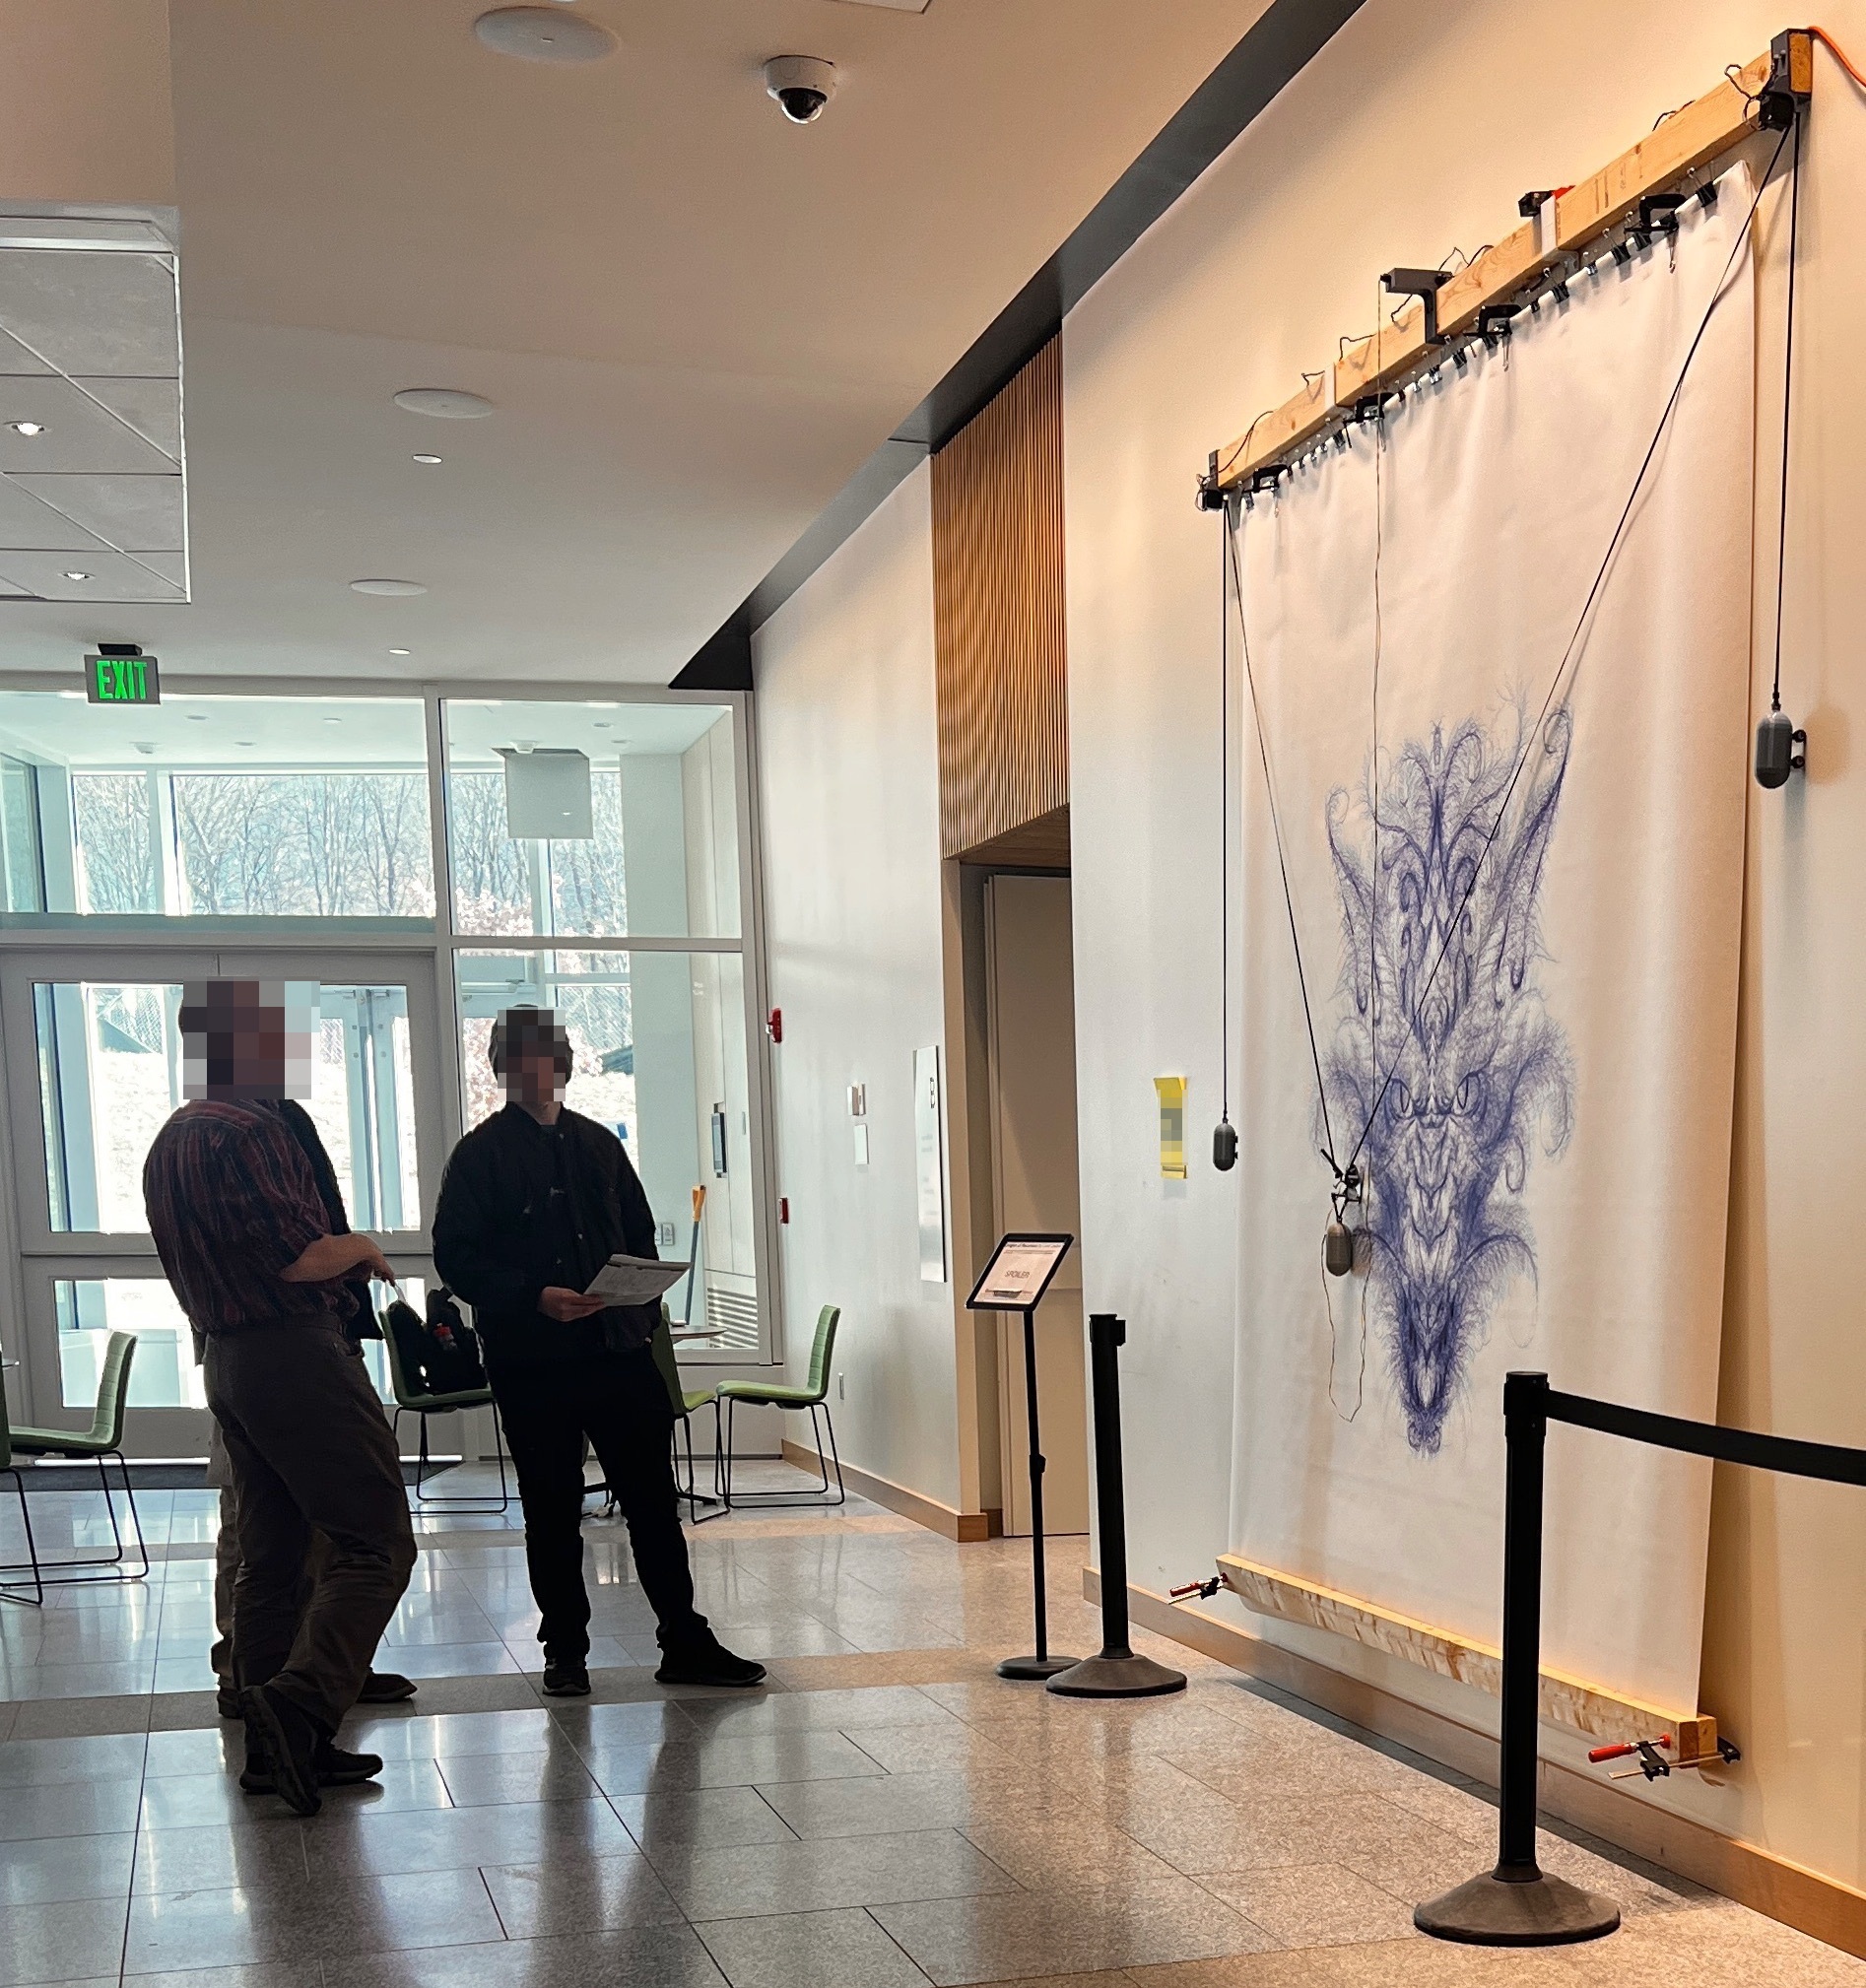
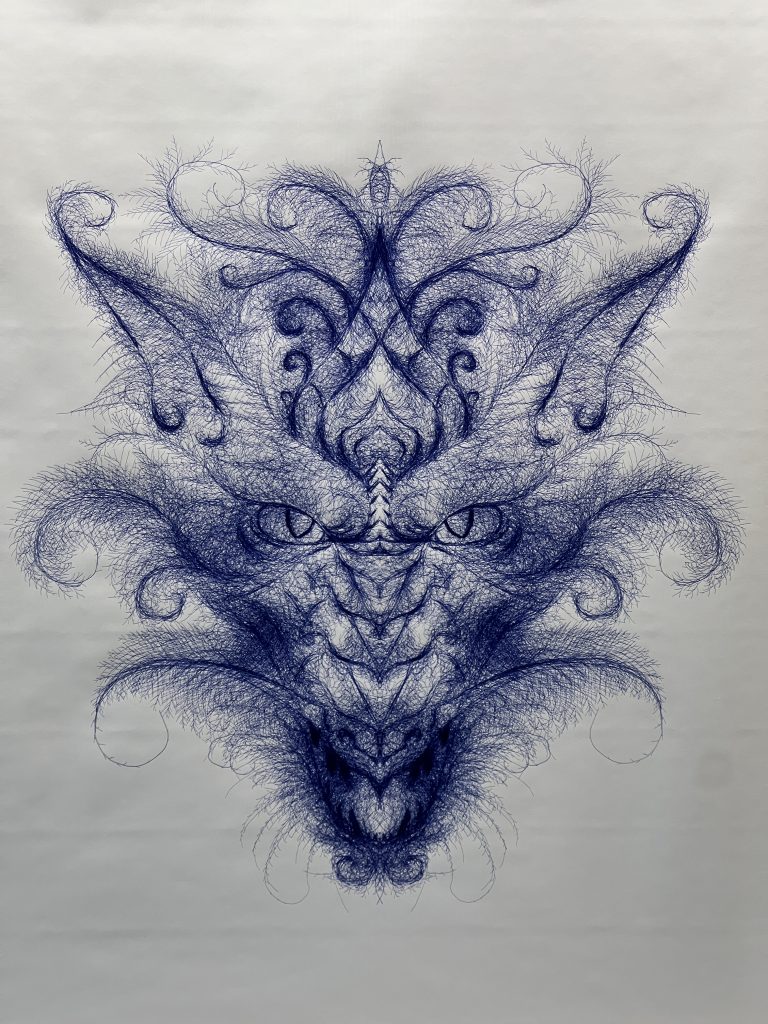
7 days, 47438 pen strokes :\. Lara’s work and a recurring dragon on this blog :). I sped up the machine to make it 7 days instead of 10, so it’s slightly more inaccurate, but more importantly I failed to anticipate that ink would run out faster. I used to have about 1.5 days between pen swaps, here it’s barely above 1 day. No harm done I got there in time, but I should have thought about it when I adjusted speed.
I lined it up with a big public event and tons of people got to see it.
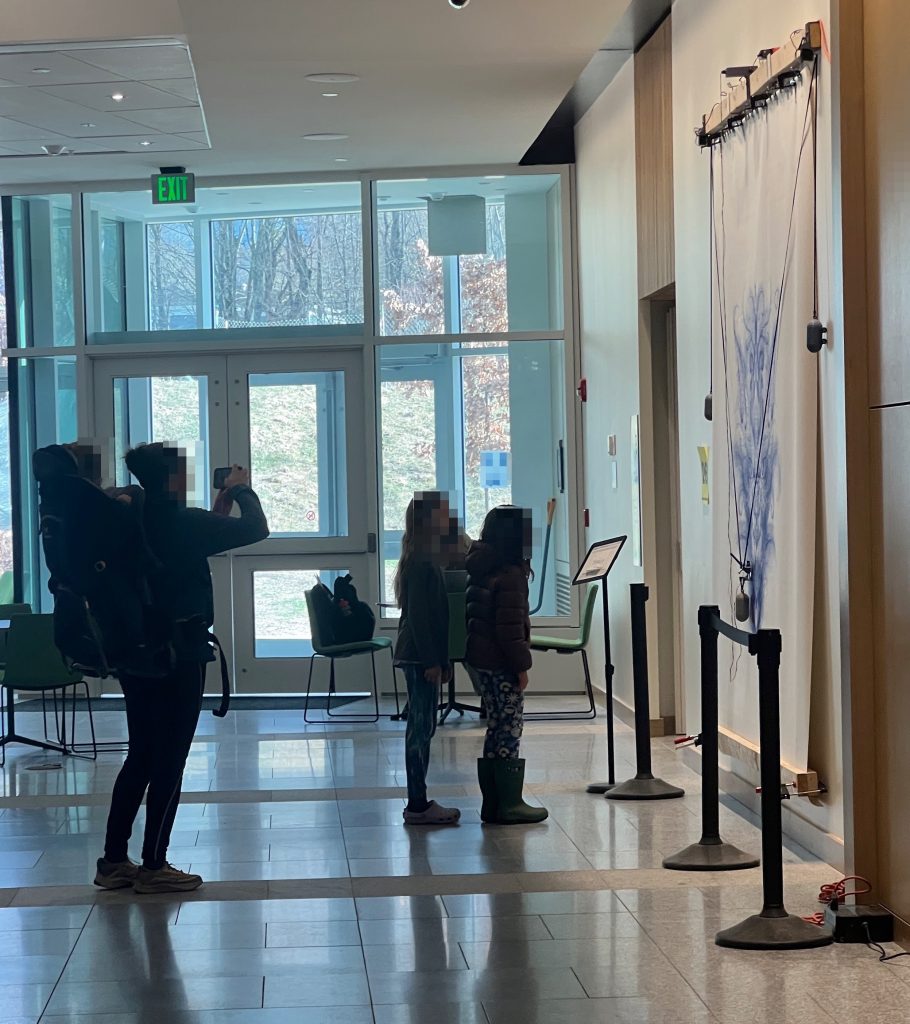

No sure if there’s anything more to say about lasers & post-it portraits, it was the now usual formula. I’ve enhanced the pipeline some to do auto-face-cropping as it is a step we usually waste lots of time on. Esther & I rehearsed over the week end. She runs the operation during the event.

Some recurring questions I get asked at these events:
“What are the machines for normally?” Nothing, their sole purpose is to drag pens and shine cat lasers.
“Is this your job?” Nope, just a side quest.
“So how does this work?” I try to see what part they’re interested in before I launch into a 3 hour tirade :).
“Did you build this?” yes.
It’s very gratifying to see people stare at your work for a while. You can see the gears turning in their heads. I’ll sit by the big machine sometimes to watch people’s reaction to it. When I swap its pen people will come up and tell me how much they like it. I’m just glad for having the opportunity to do something cool in the world.
Refining the Formula
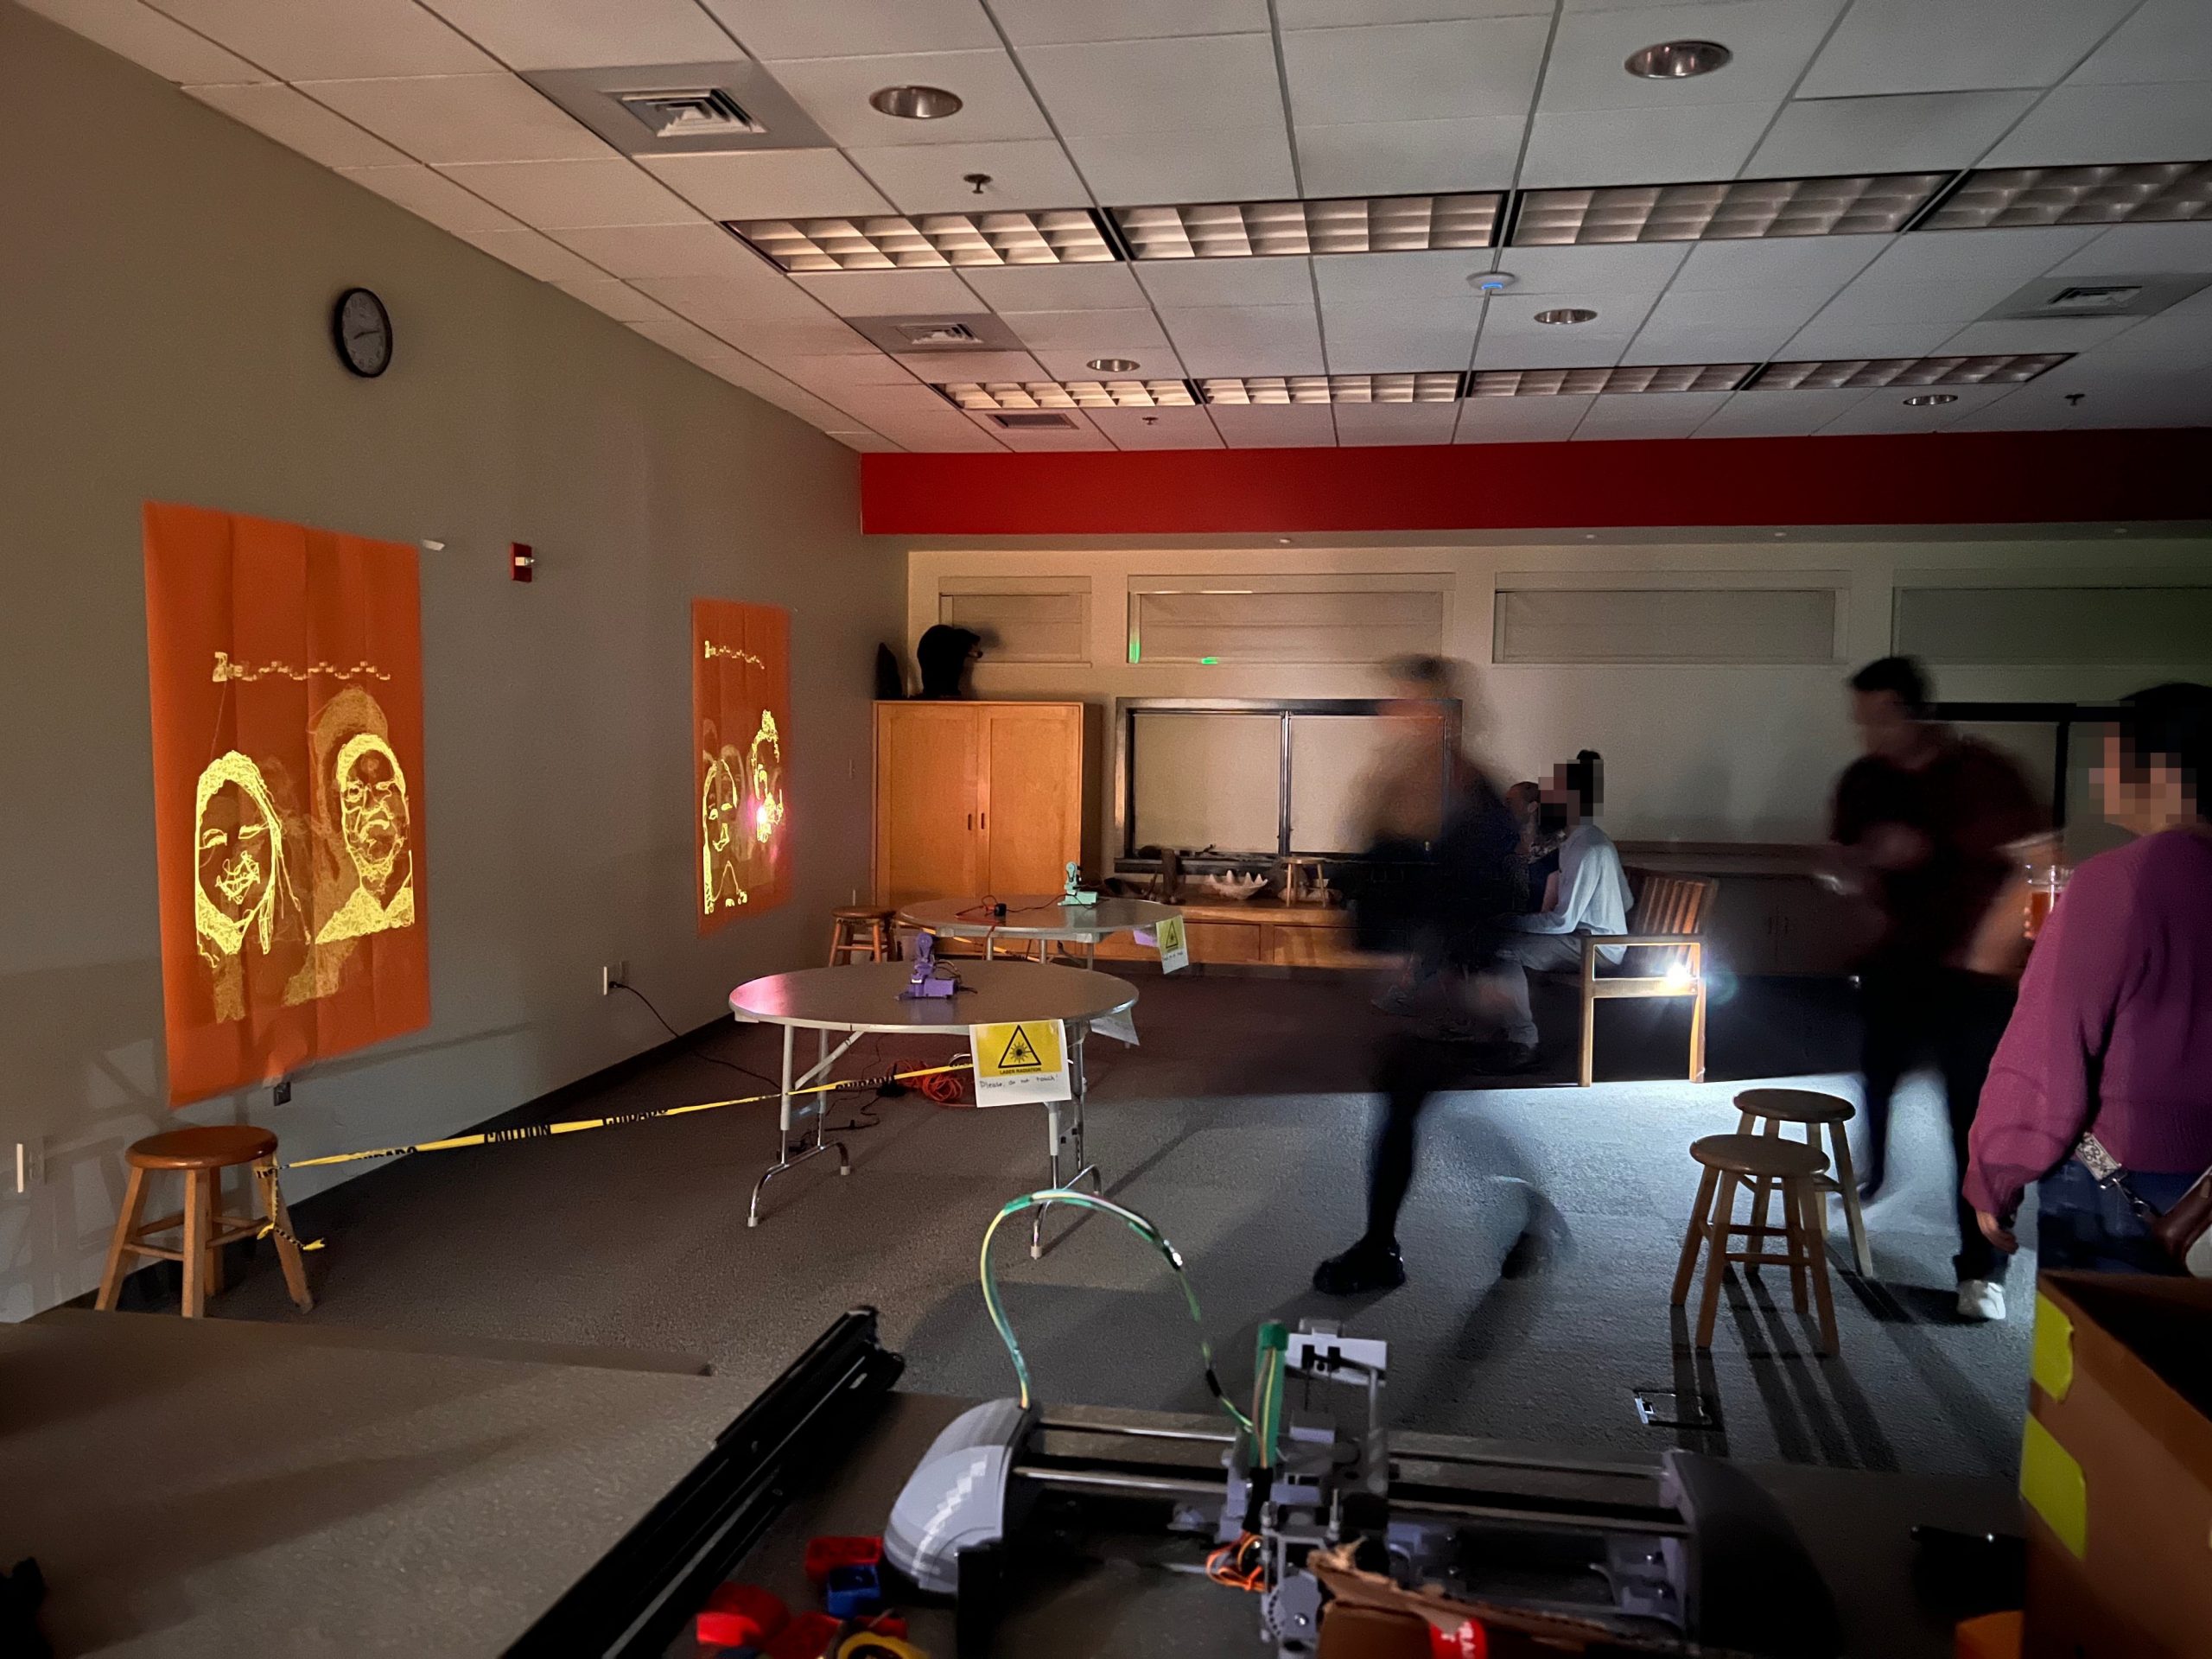
I was invited back to the science museum to do something cool with my machines. Any time I do a public event it’s an opportunity to figure out what’s engaging and do better the next time around.

I was maybe a little too motivated and brought several machines, almost my whole apparatus, and deployed them in various modes. 1 PewtyBot, 1 Mirror PewtyBot, 1 PlottyBot & 1 SkecthyBot doing portraits, and 1 PewtyBot people could control with their phones. The laser portraits worked wonders again, but the original PlottyBot drawing post-it portraits worked even better.
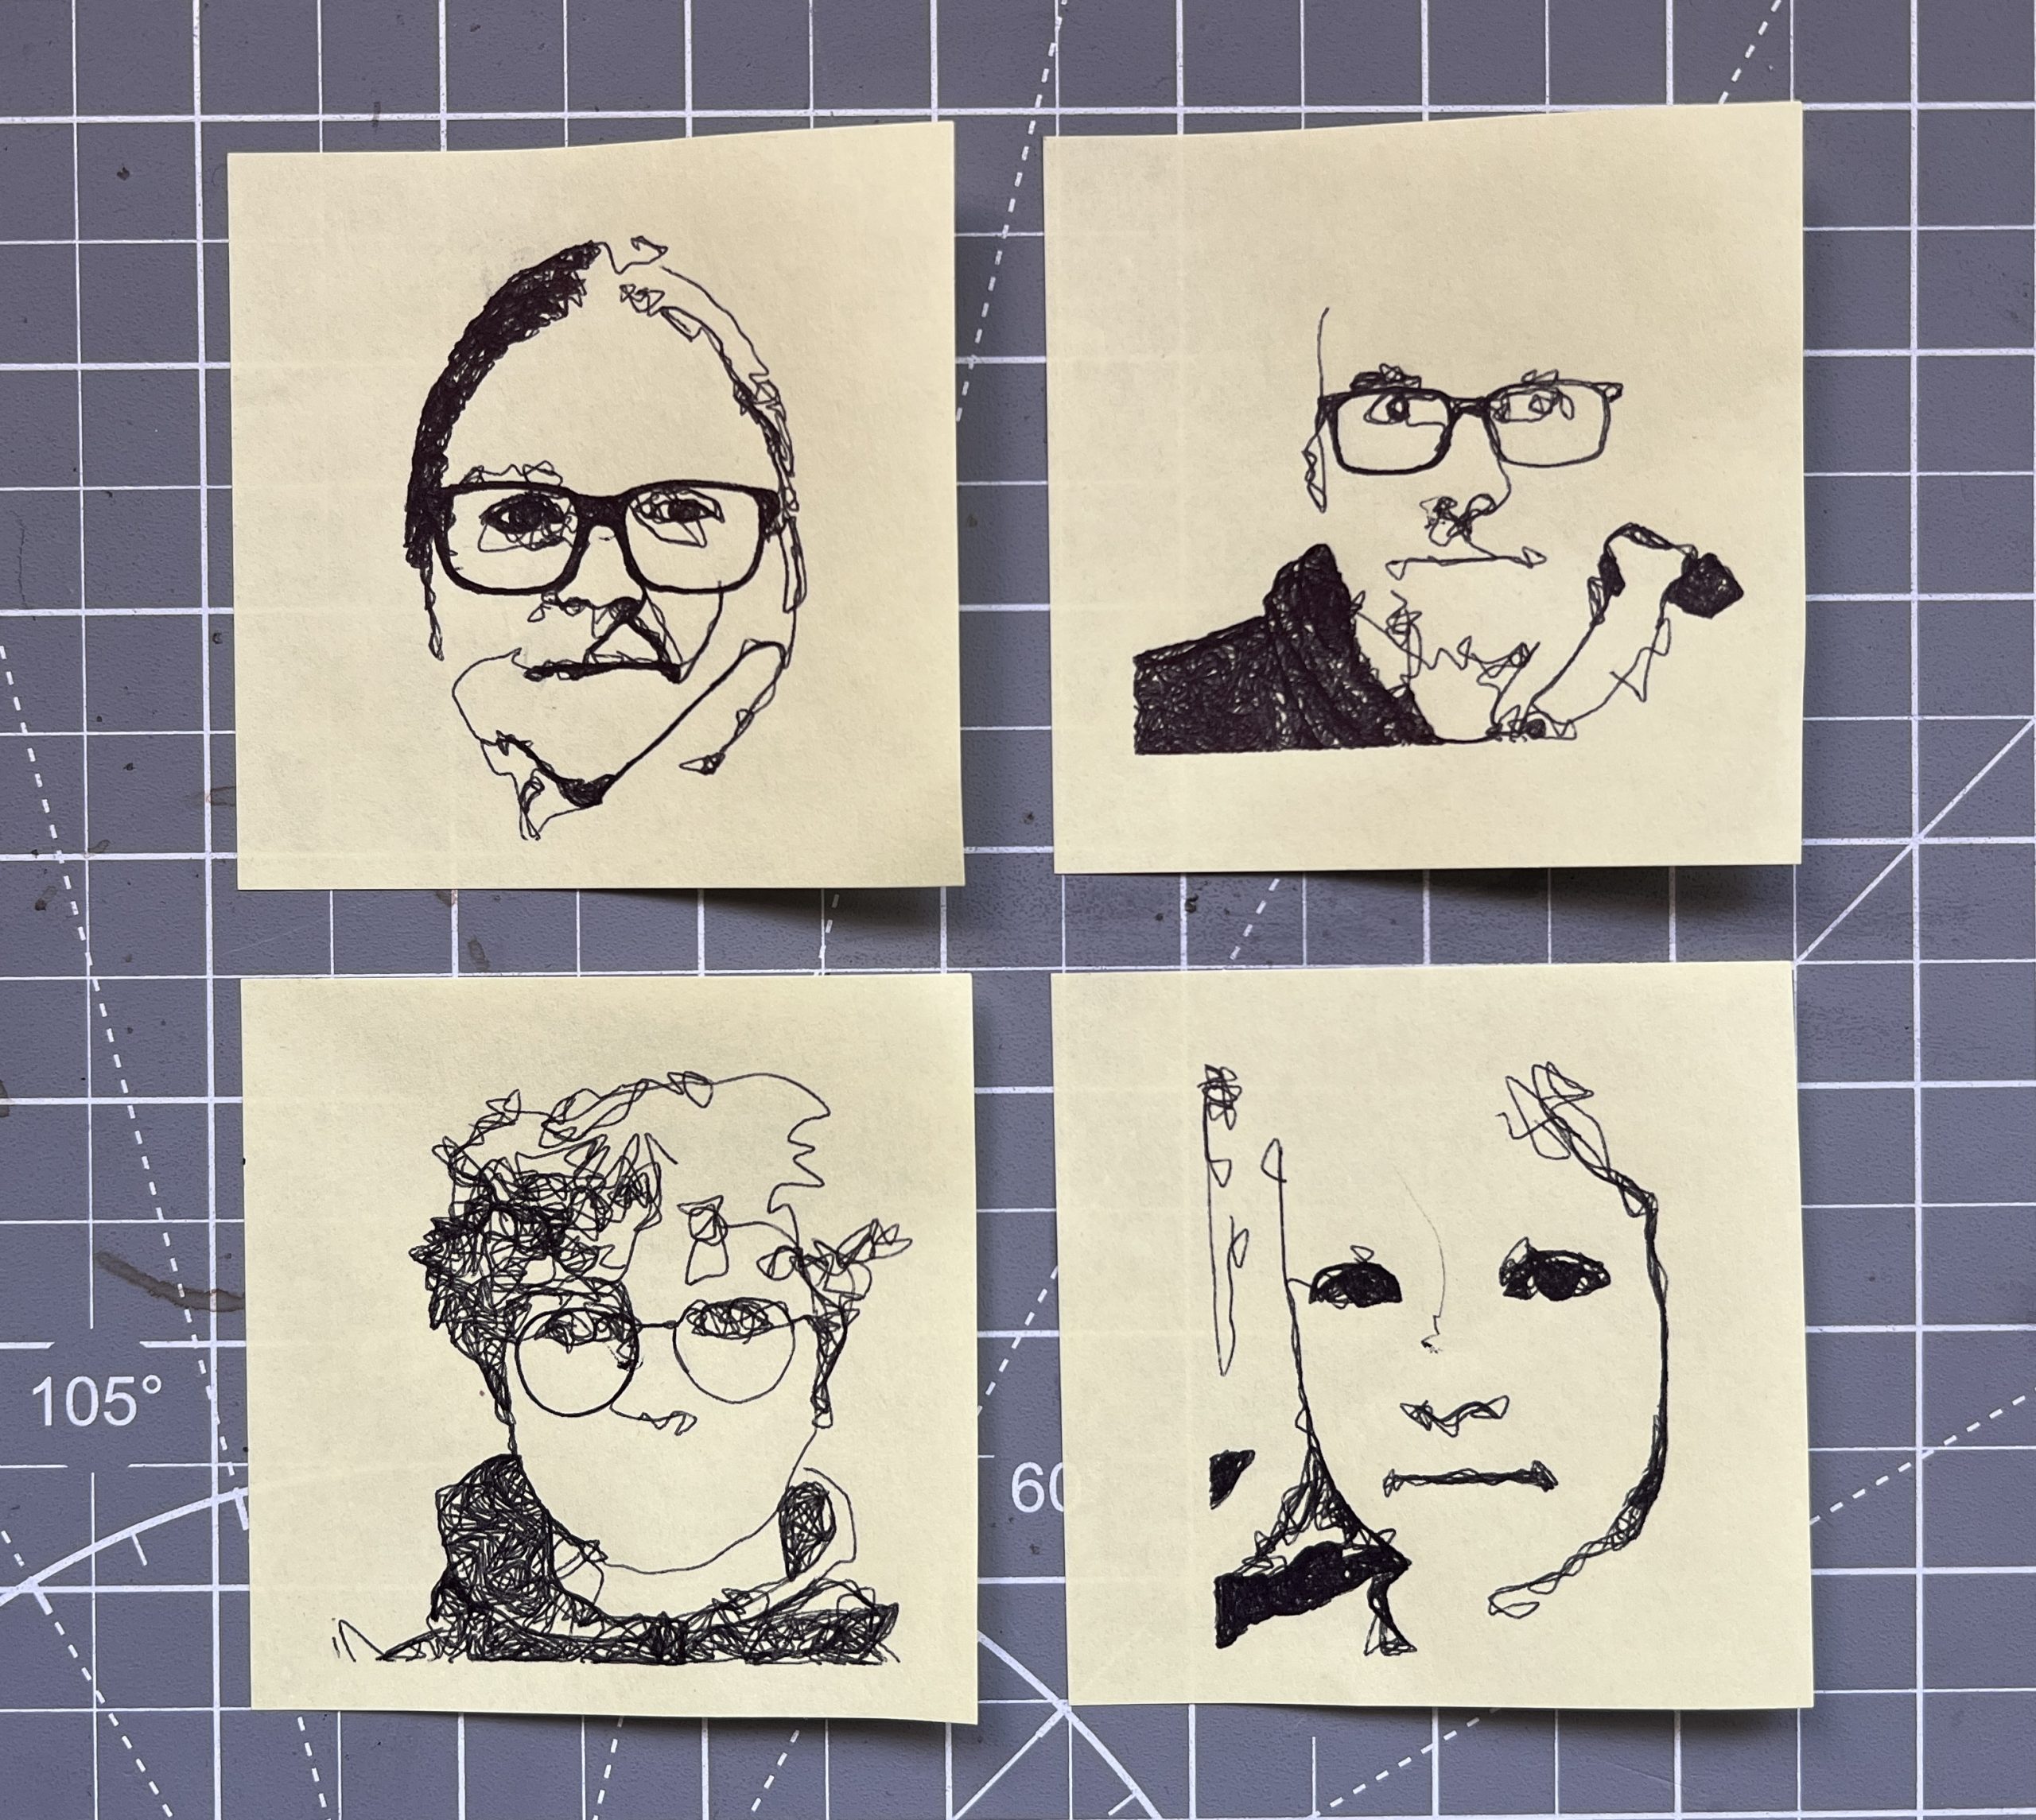
People were clearly keen on getting a tangible souvenir from the evening. Having a robot draw their portraits on a Post-it note struck a chord hard. I think what I’ve learned from this event is that while the lasers throw a lot of pazzazz at you, they are more complex machines that most people don’t try to engage with beyond taking in the light show. While a pen based machine is doing the same thing you’d do with your hand so it’s more approachable to be curious about. As usual a small fraction of them were fixated beyond reason on watching the machine at work. There has to be a “drawing automaton obsession” gene present in ~10% of the population.
Unfortunately, I only had one PlottyBot doing the Post-it portraits, and they take much longer than the lasers so I spent much of the evening trying to keep track of a queue of people who wanted one.
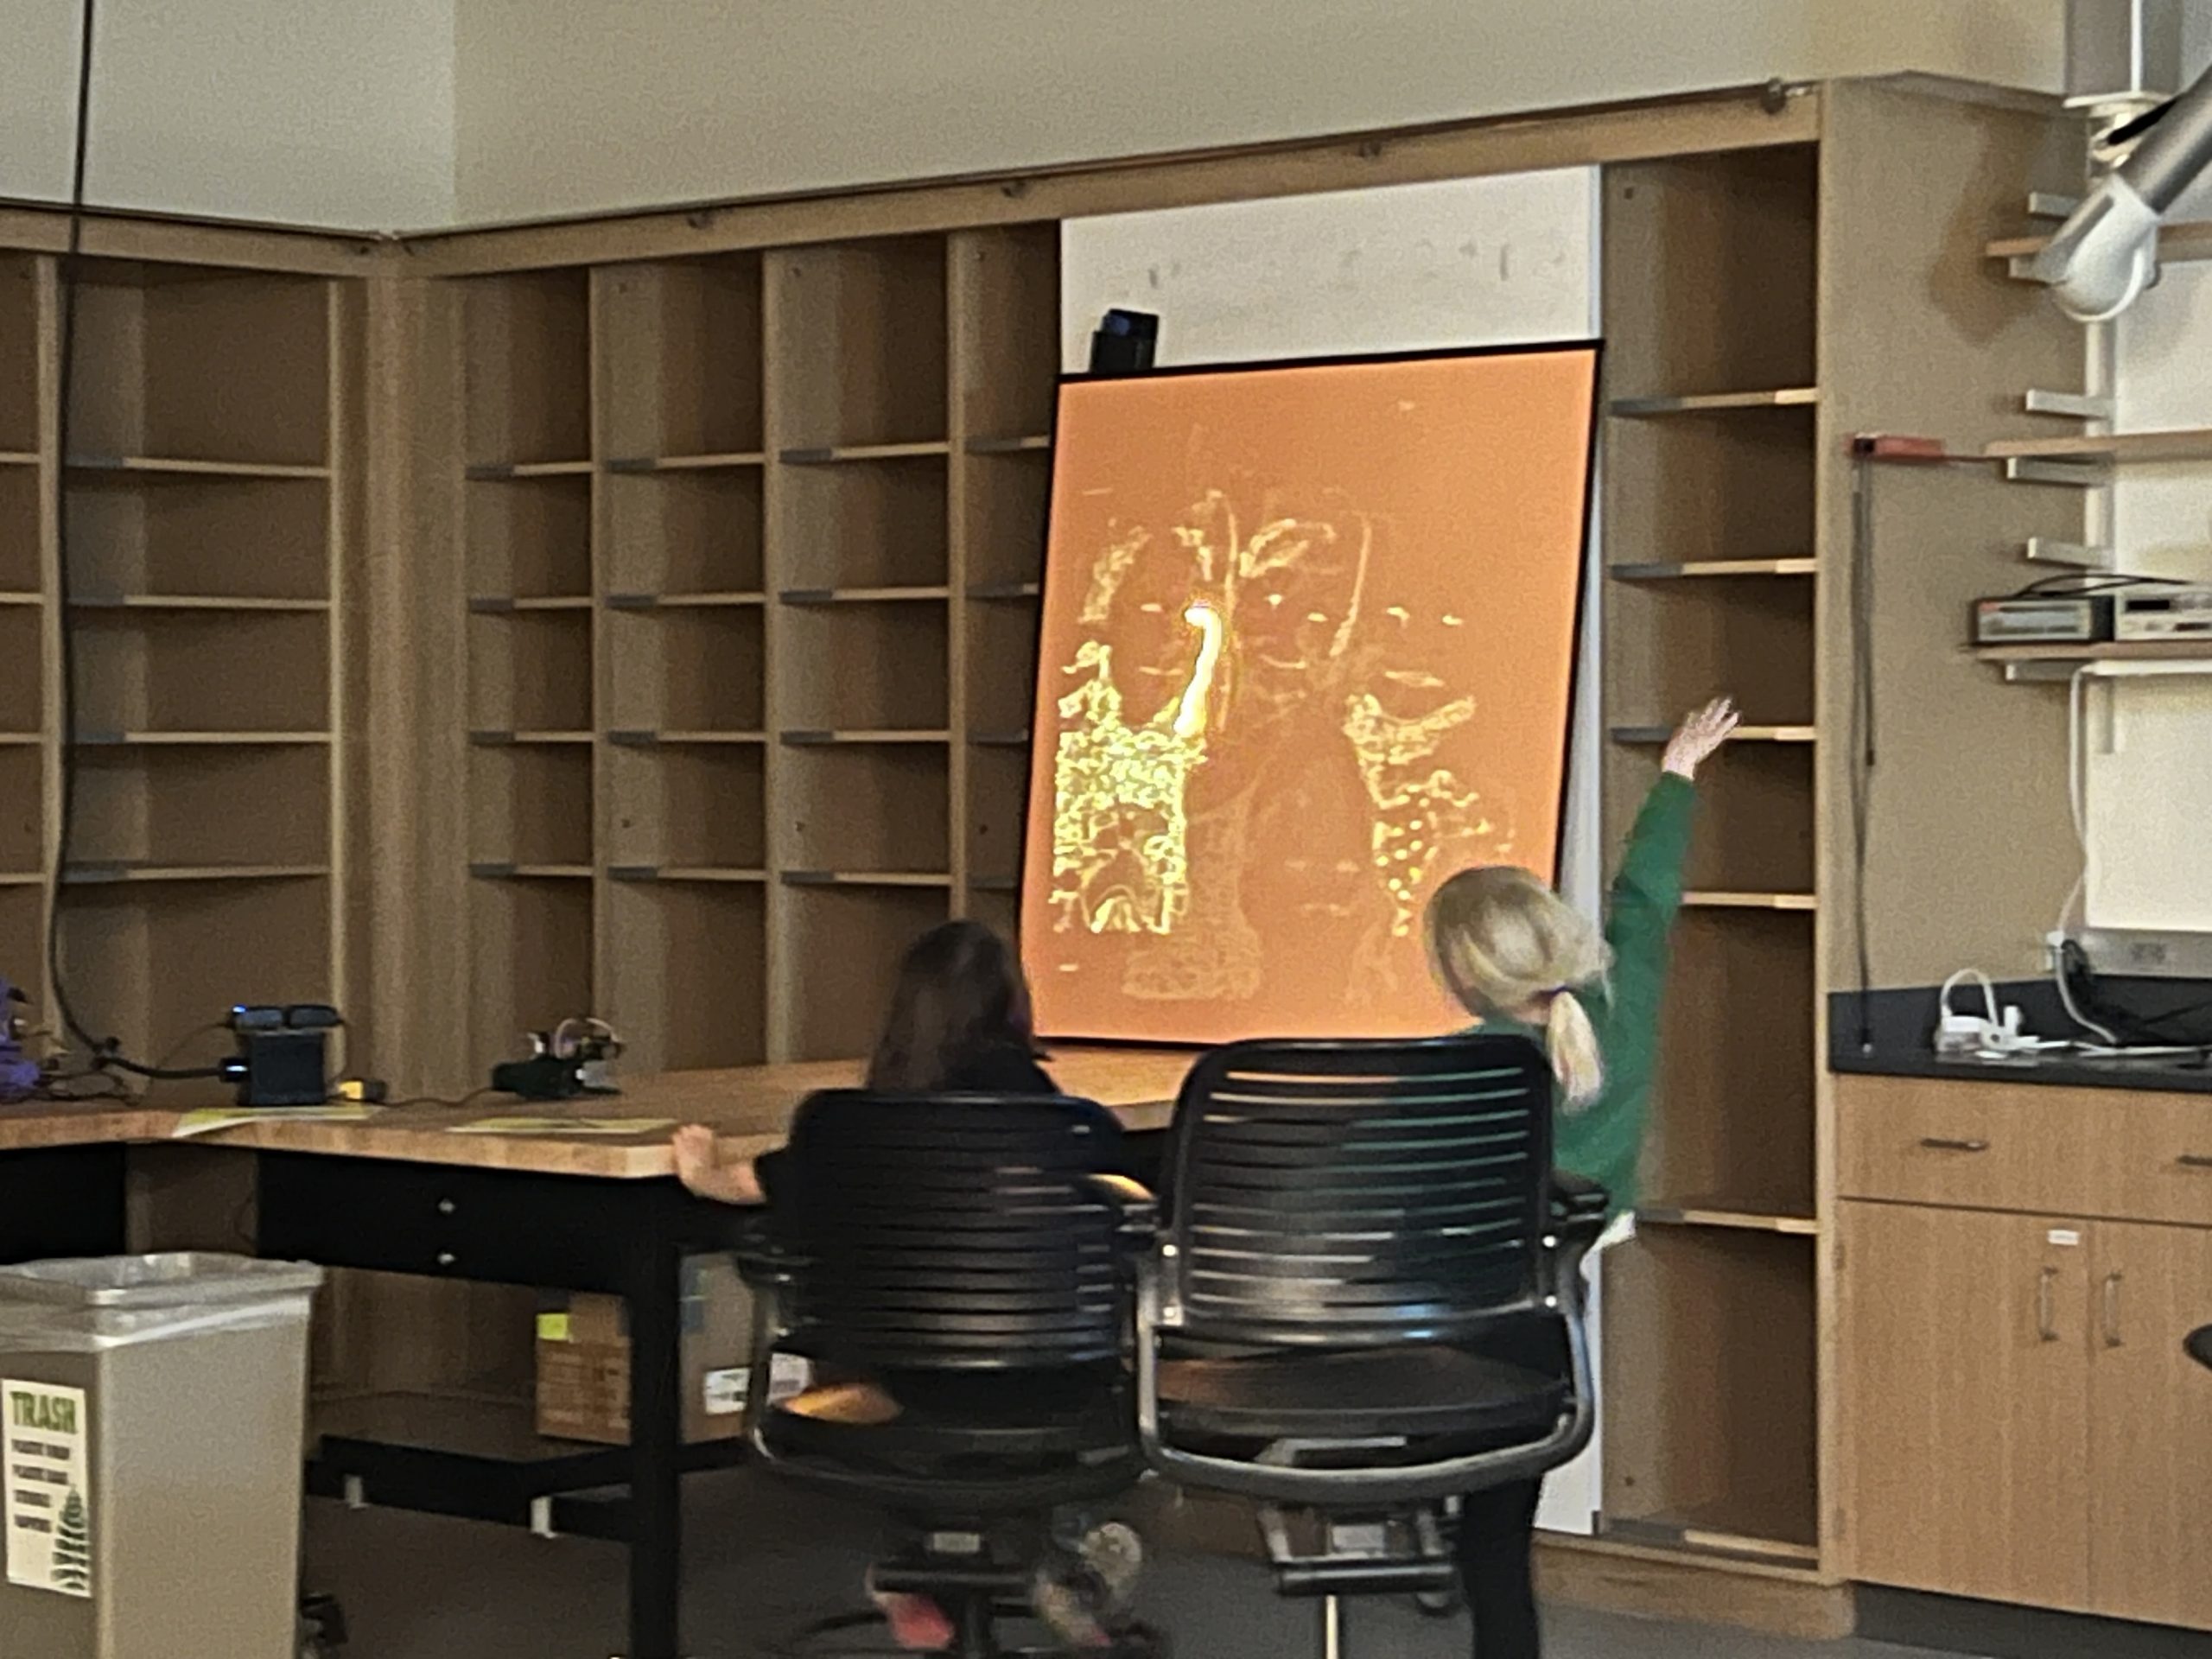
I built 2 4’x4′ photoluminescent paper holders so I could deploy this easier. In the past, finding a decent spot on a wall for the rolls and unrolling them was difficult and time consuming. I also have plans for doing random outside events at dusk in random places this Summer, which is why having something deployable was worth the construction effort. I tried it some already at home last Summer and it’s kind of cool to have the lasers go on a warm Summer night.
I had several people ask me if this was AI :), this seems to have become the go-to explanation for anything tech based that can’t be explained easily. Much like Clarke’s law that “Any sufficiently advanced technology is indistinguishable from magic”, only now it’s AI instead of magic. I’d respond that it was just good old organic grain-raised free-range “I”.
As usual, it was very hard to capture the coolness while manning it so I don’t have much visuals to represent what went on. Ultimately it’s just me running 5 machines, a software stack and talking a lot. Suffice it to say people were into it and I’m emboldened to keep trying public events. Fun times!
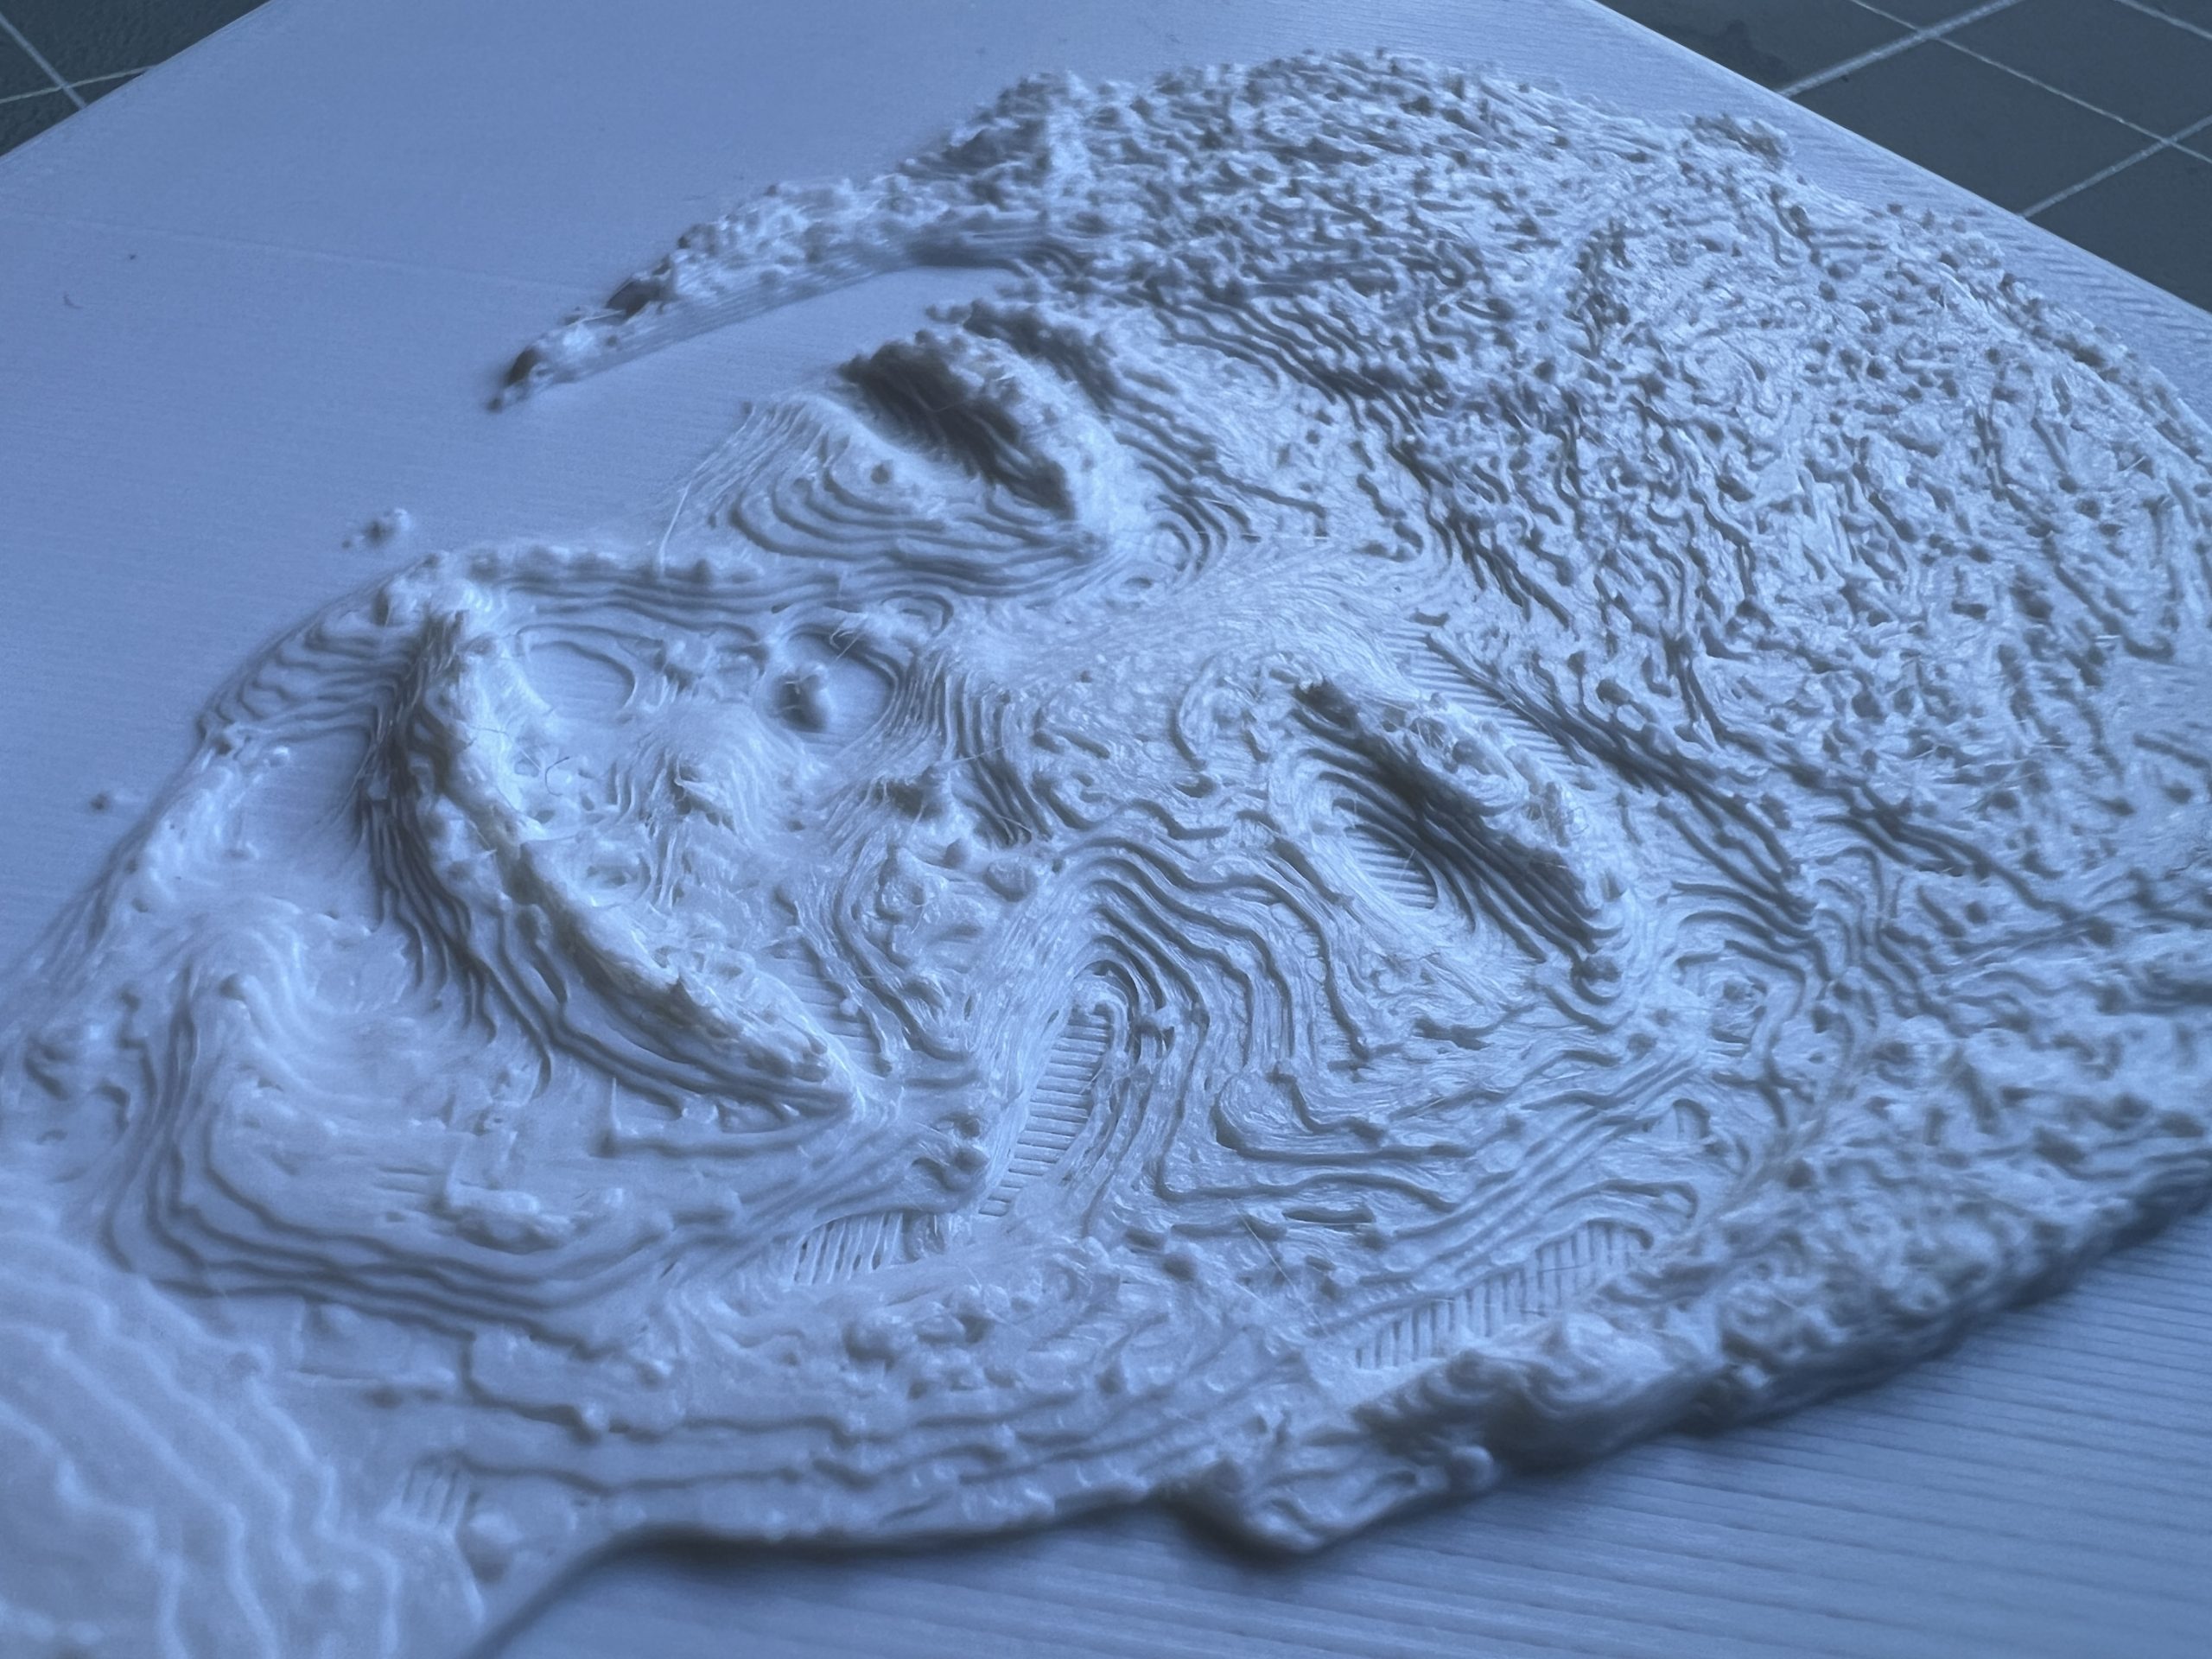
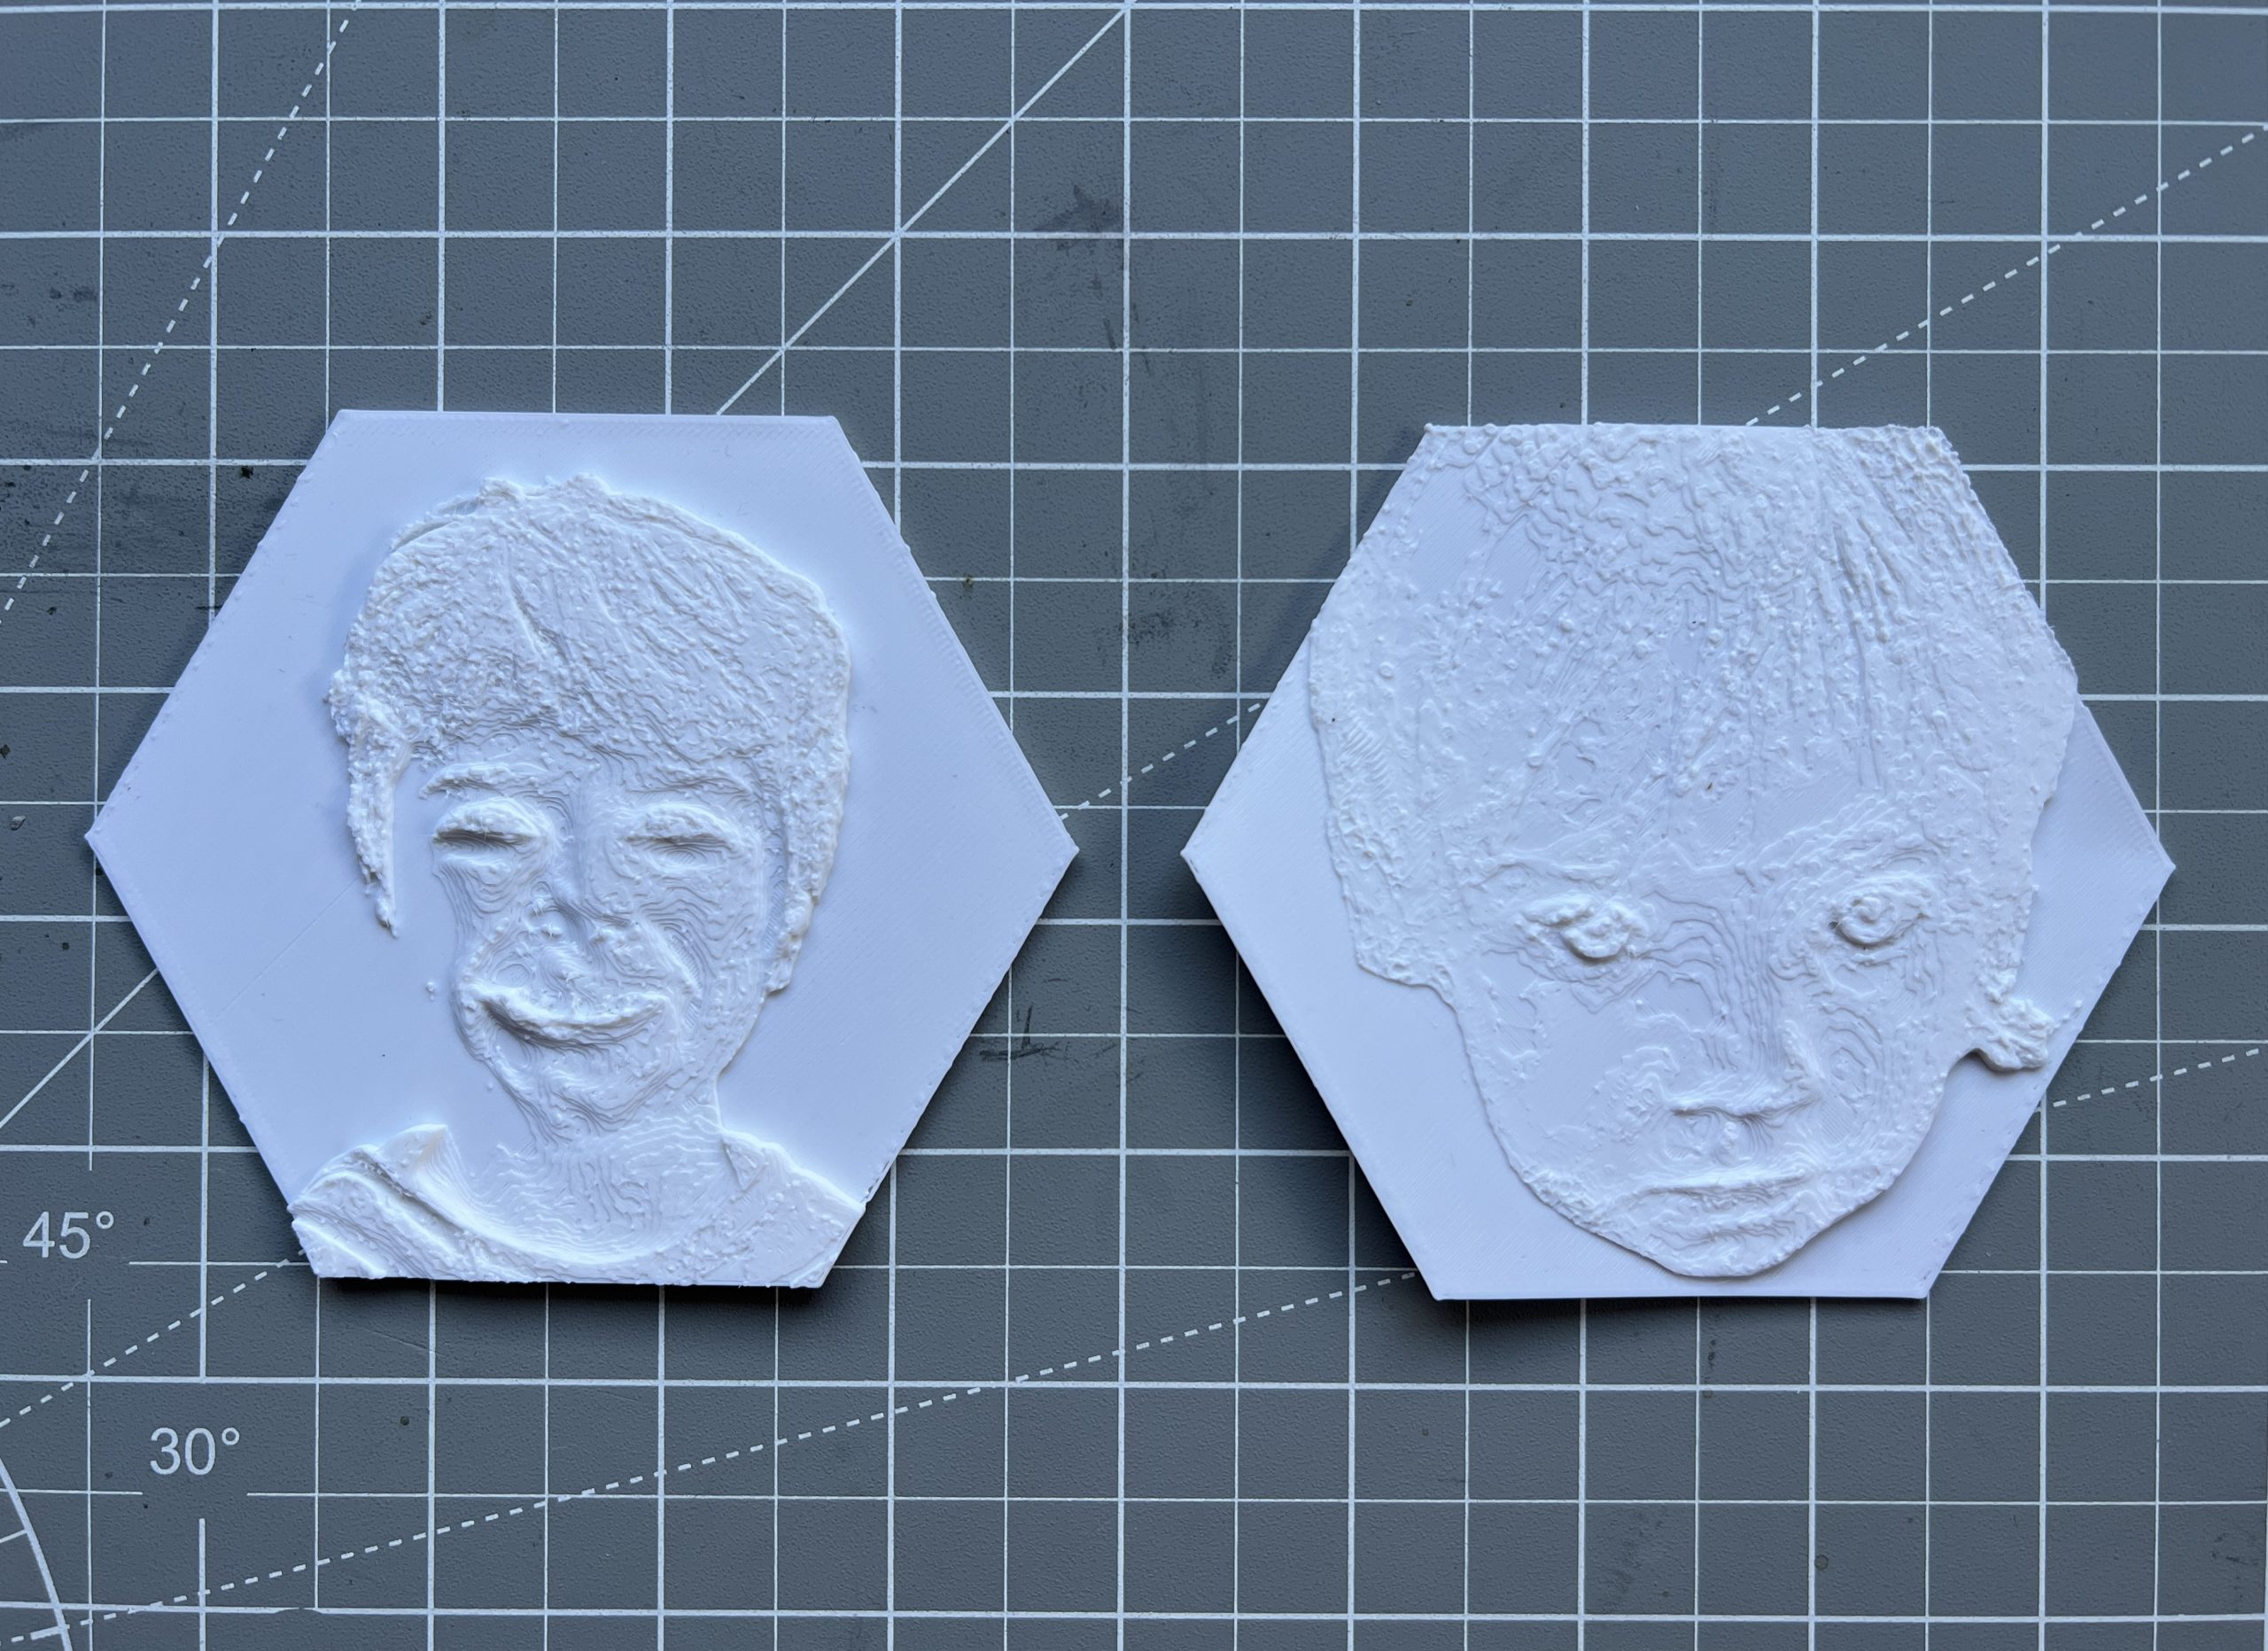
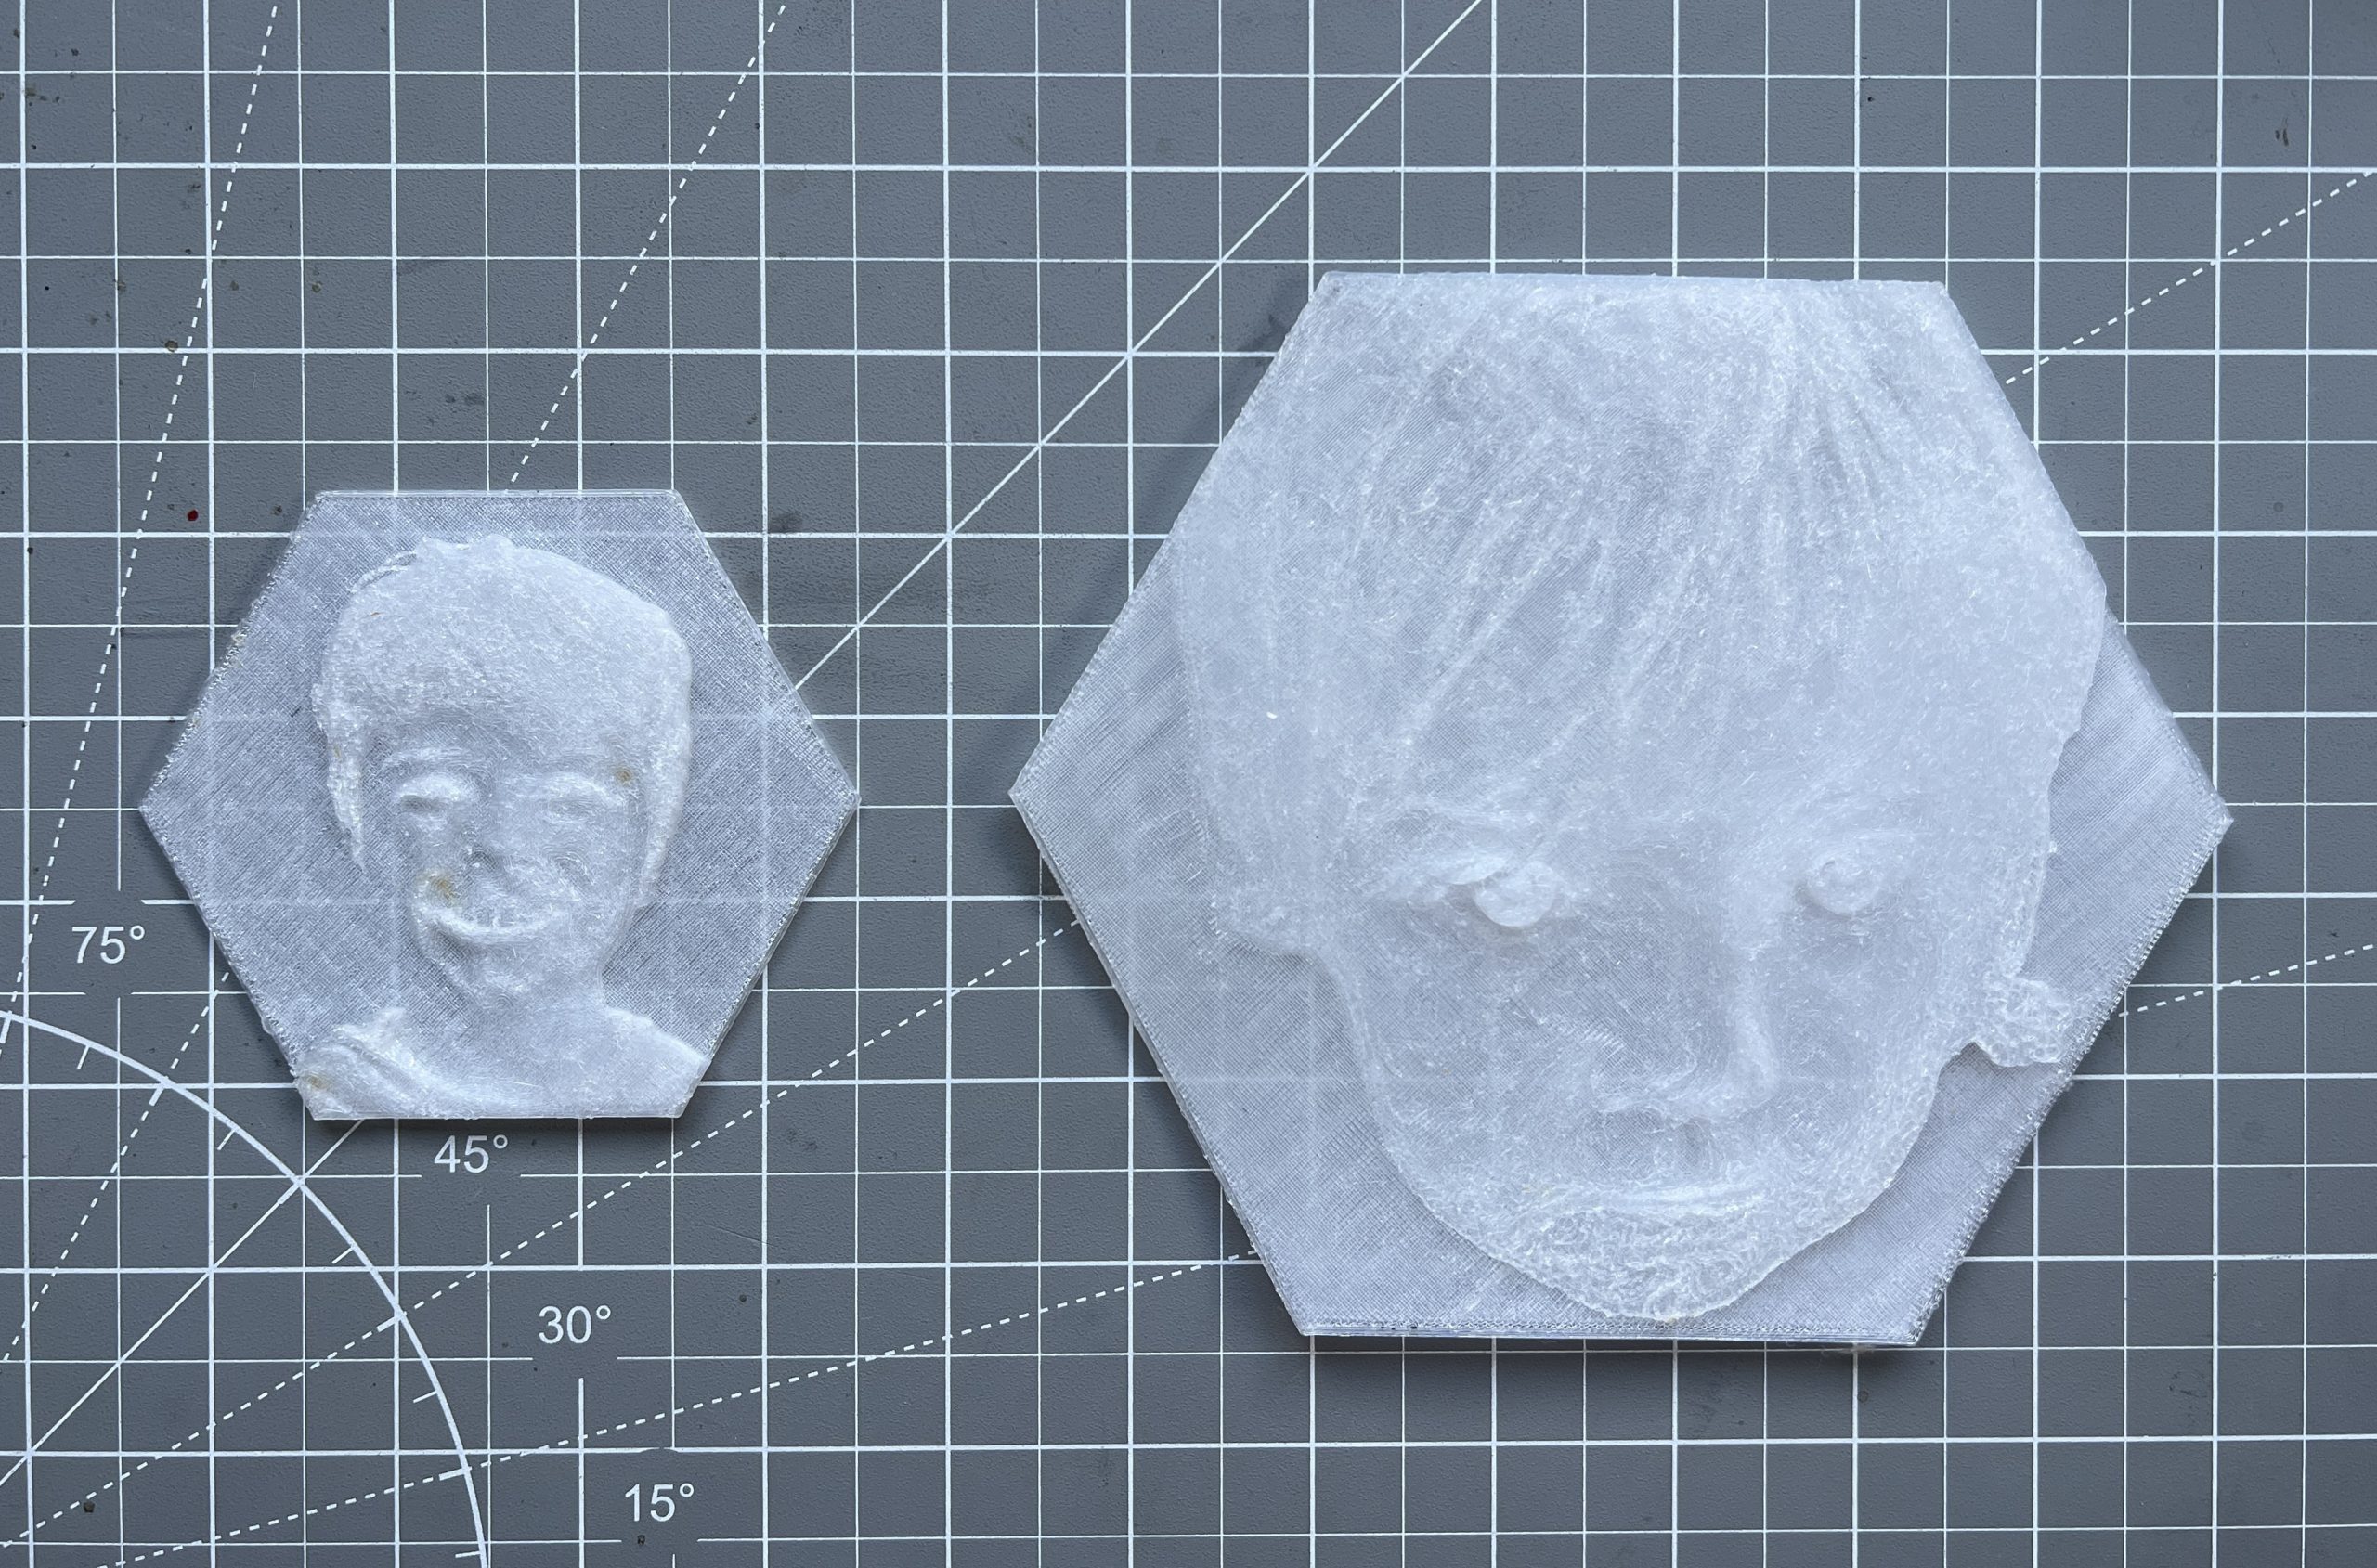
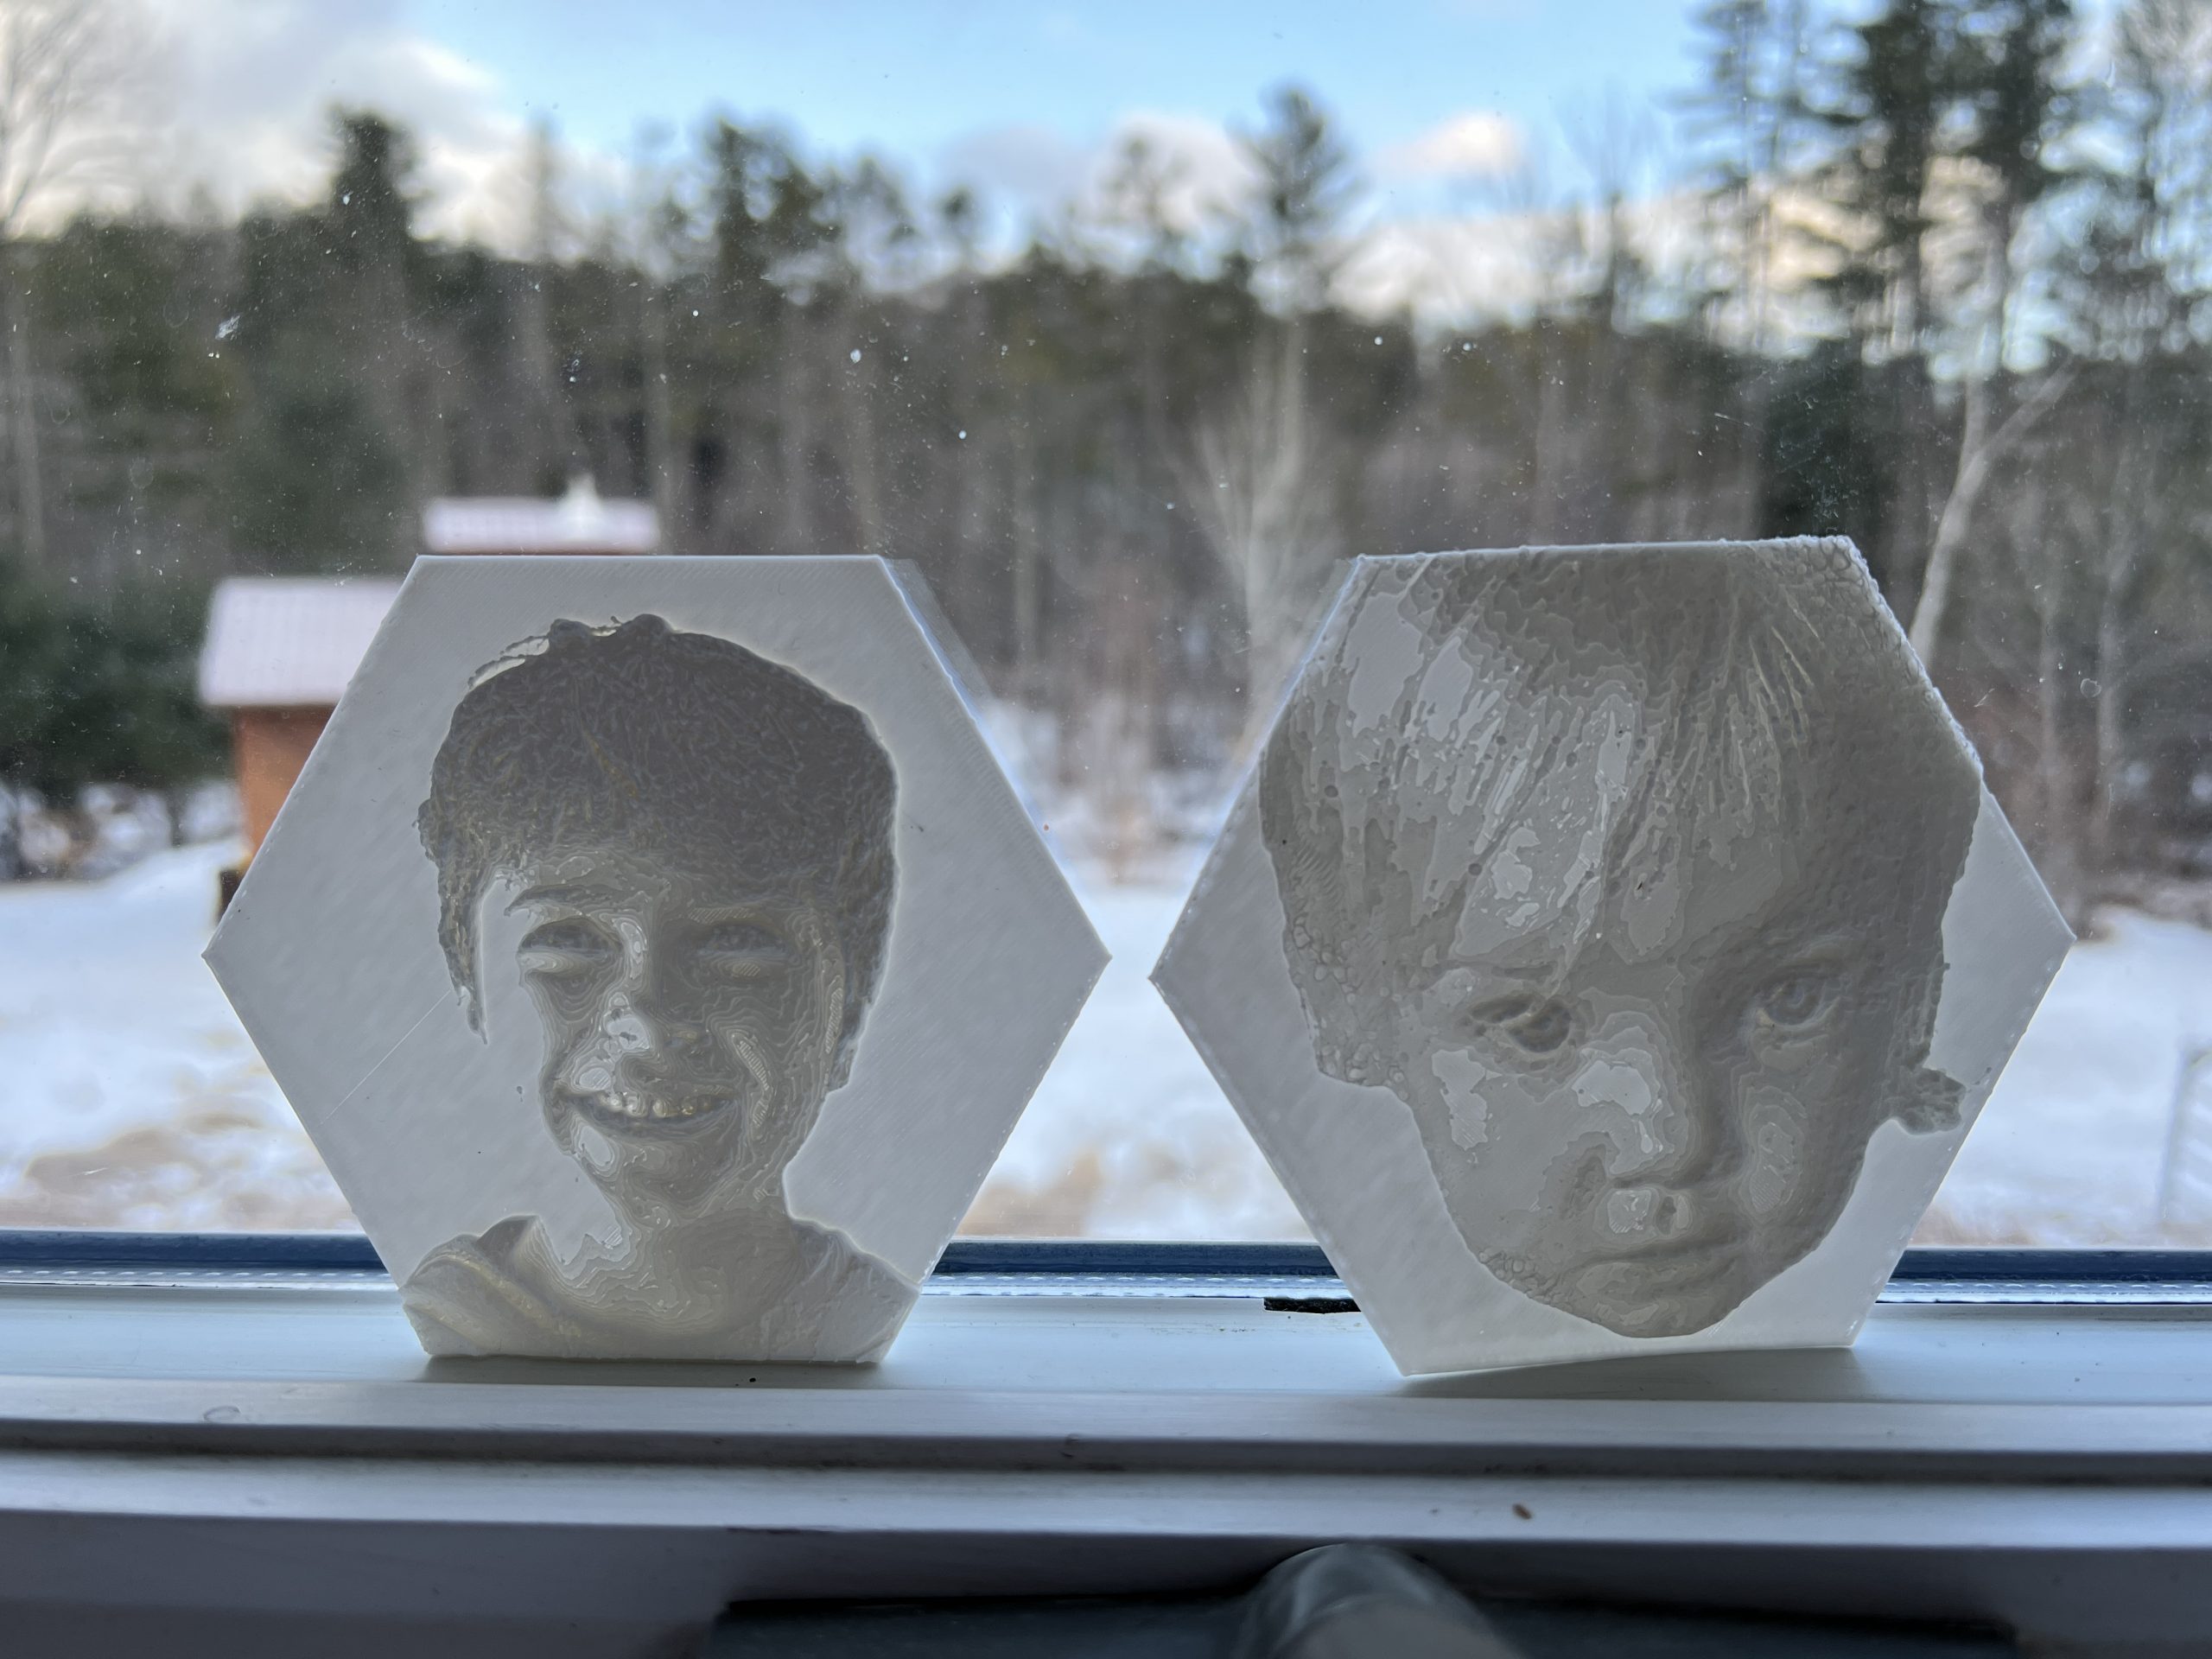
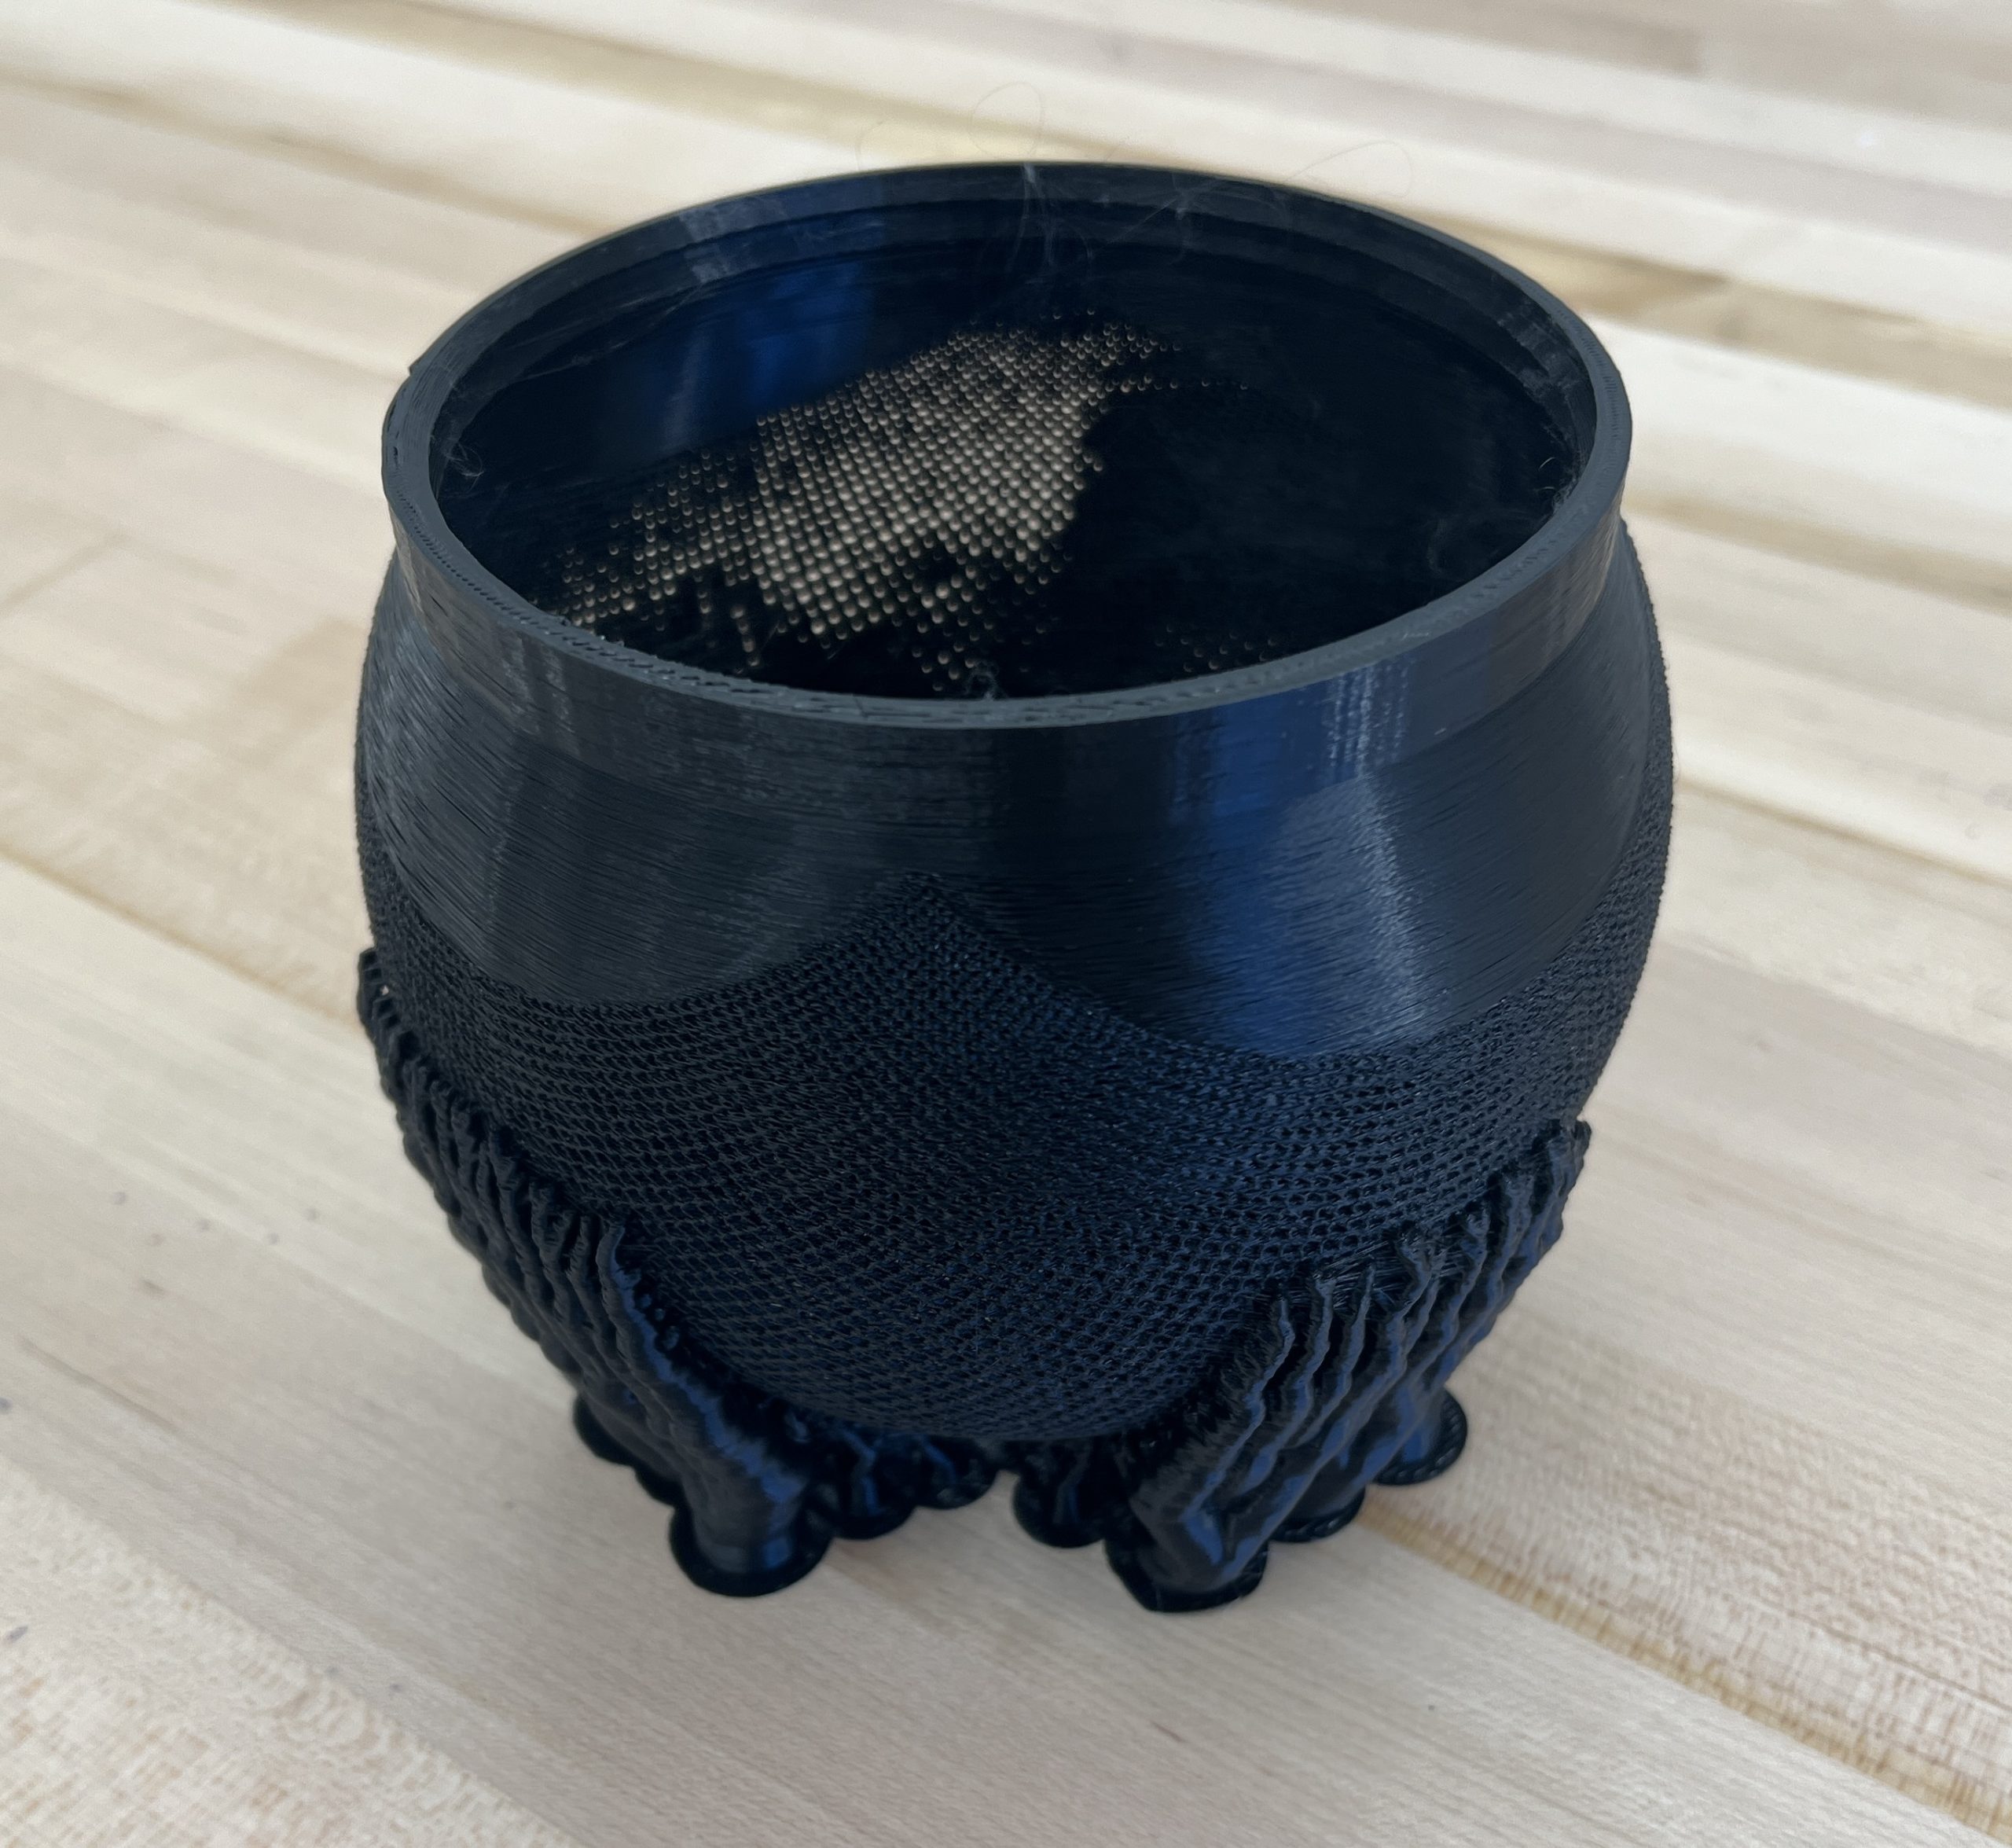
Lithophane
Pretty simple yet cool stuff, I’ve tried both transparent & white filament. And a very well done website helps make the STLs.
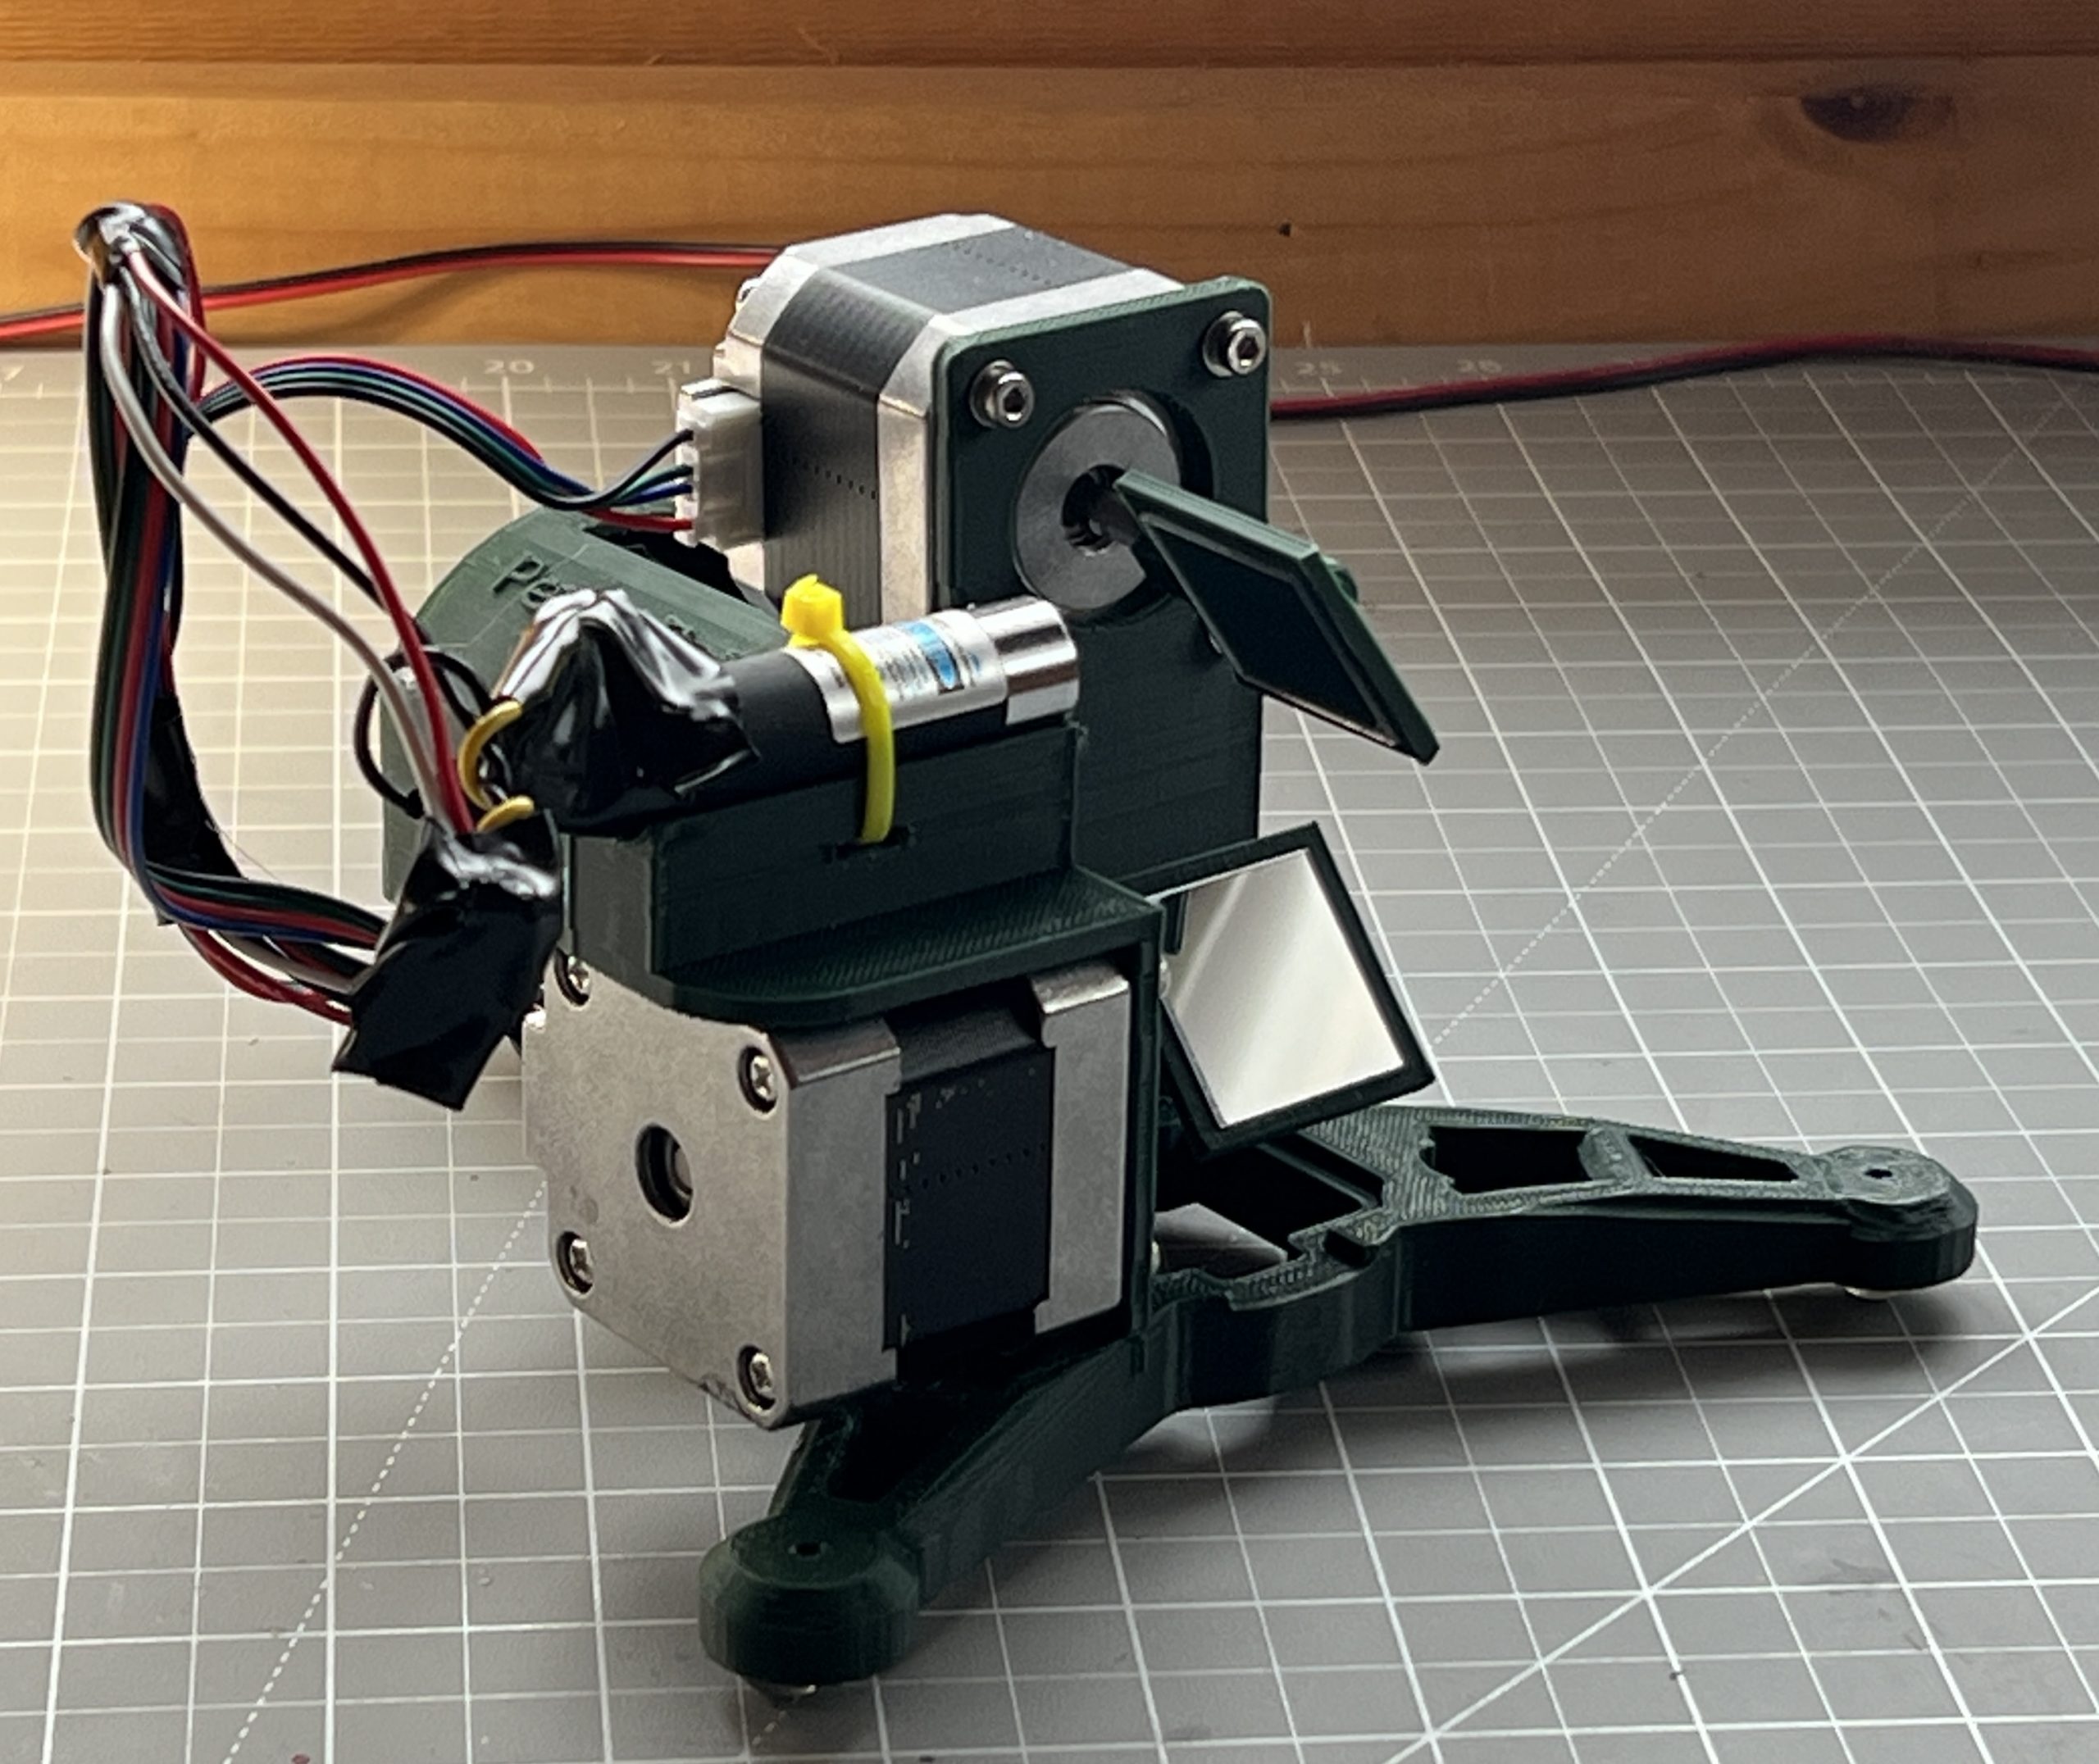
Fancy Meerers
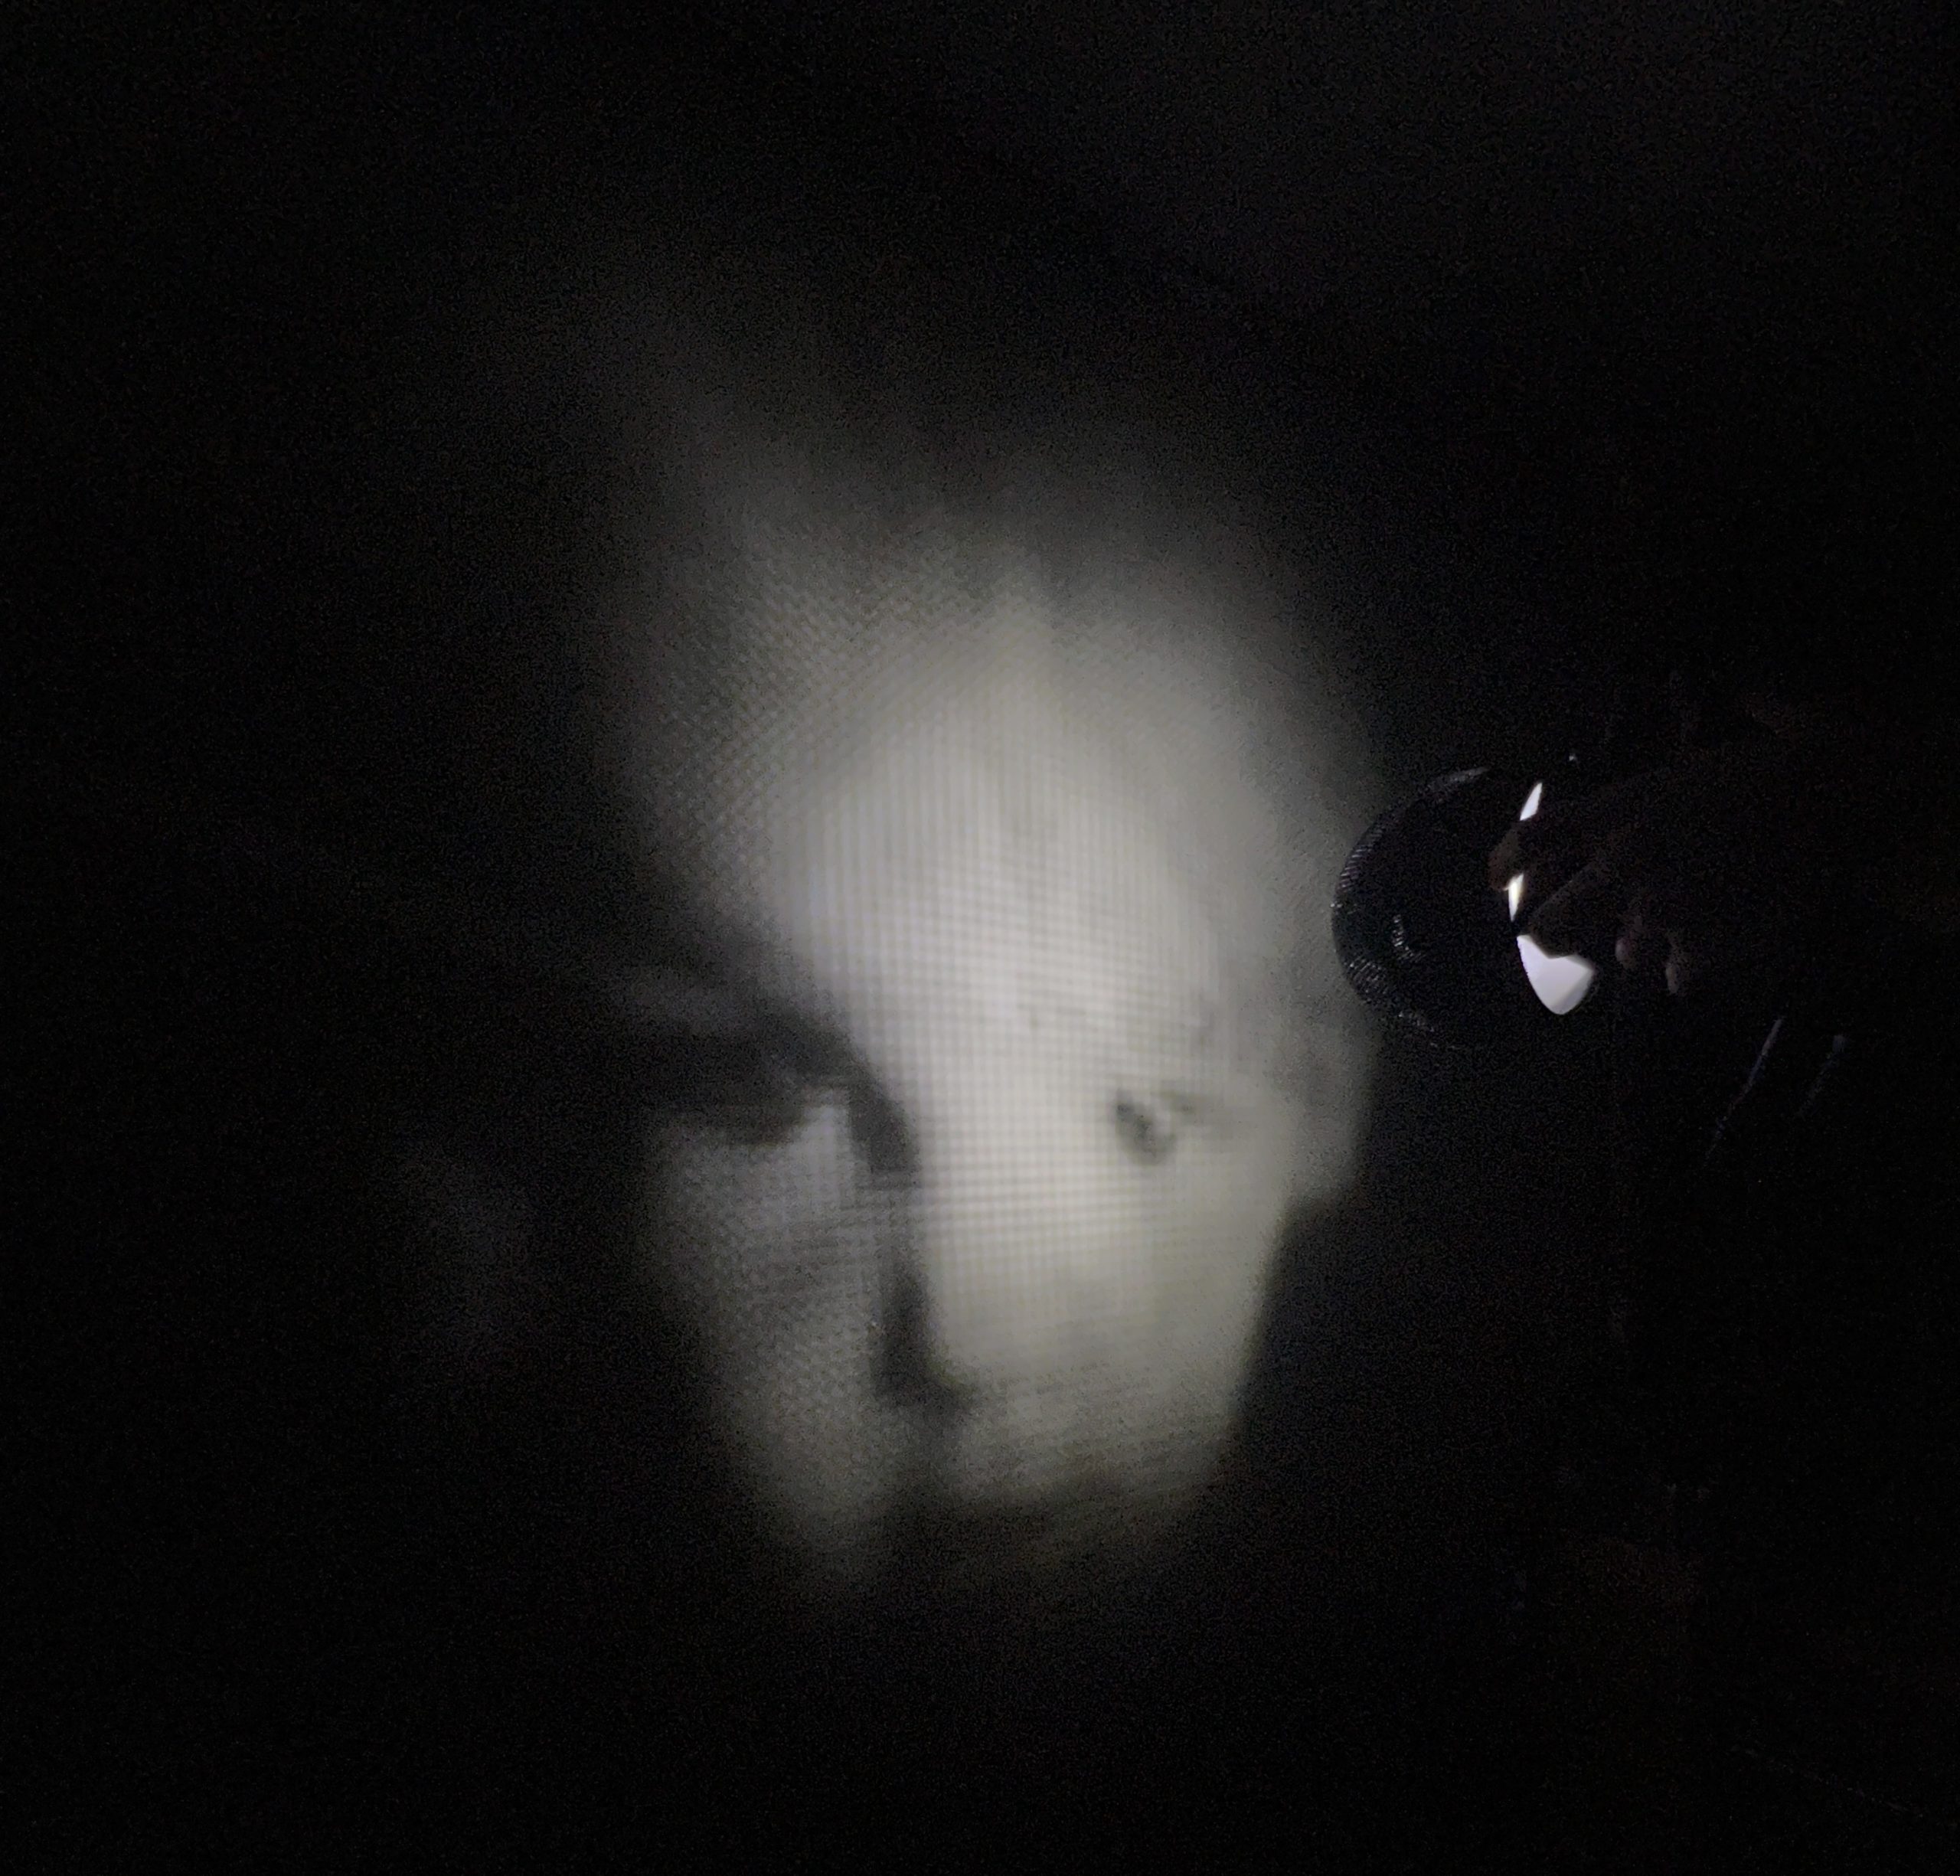
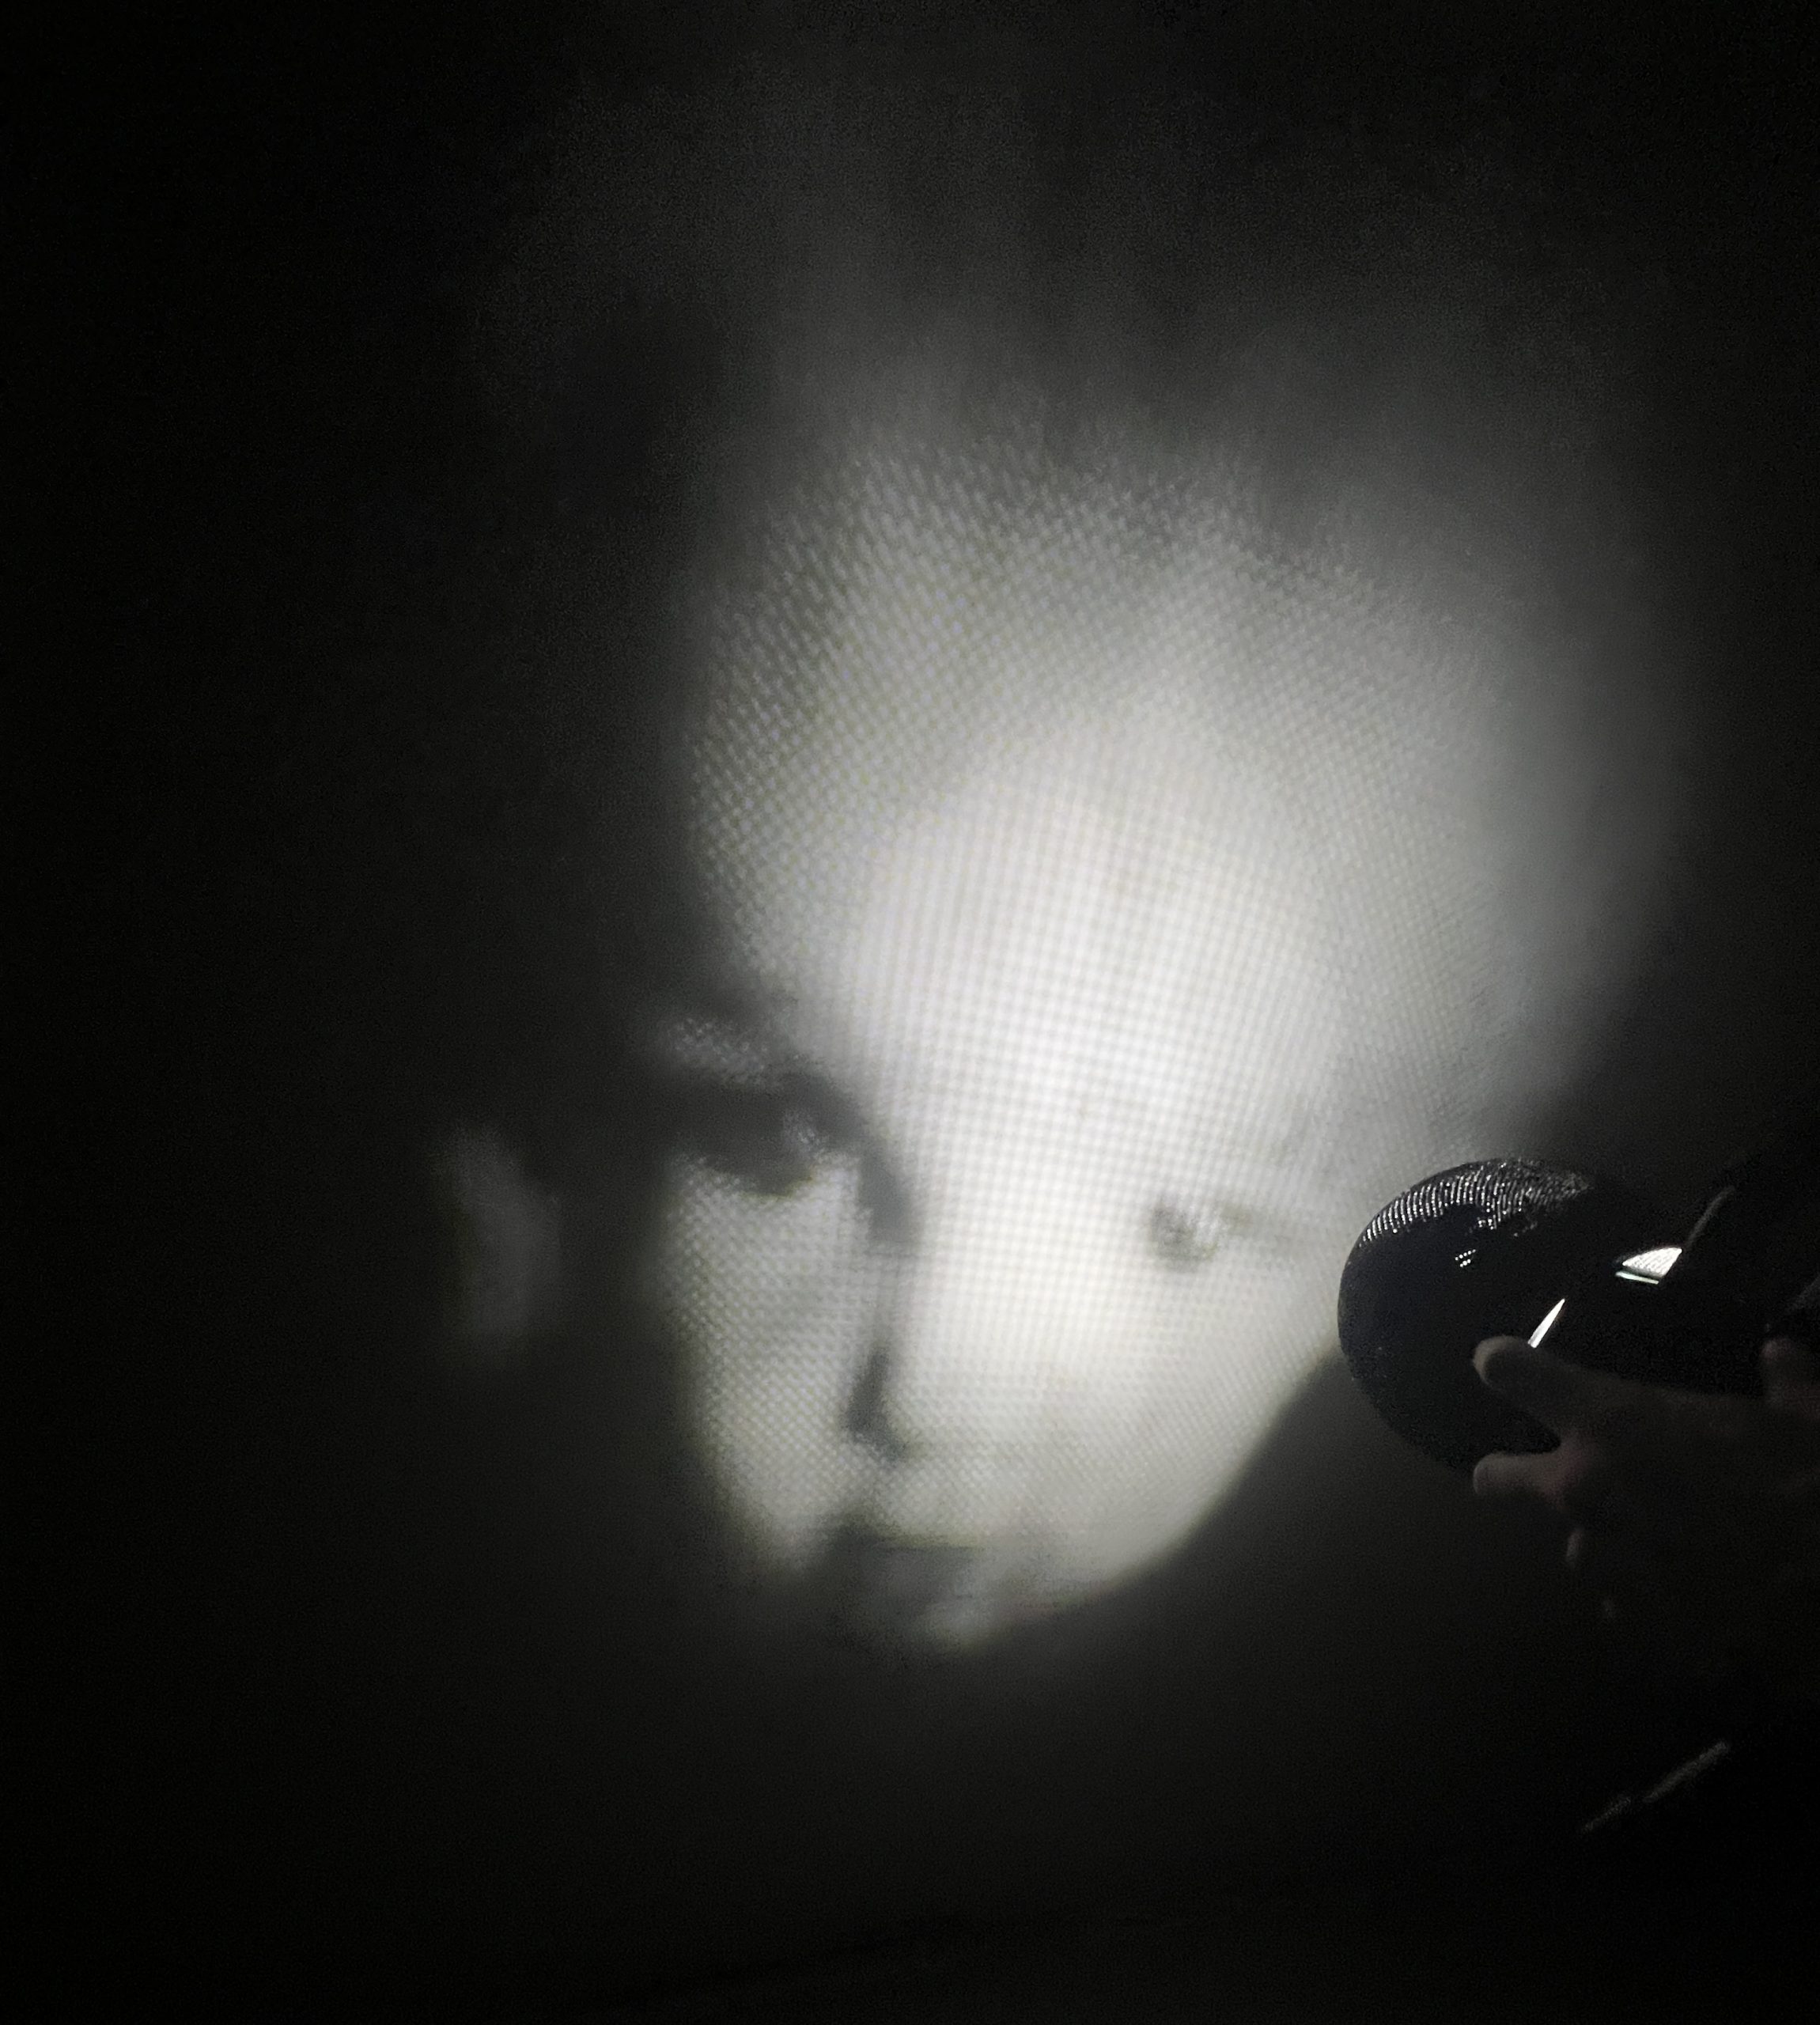
The mirror based PewtyBot proved conclusive enough but since the laser is reflected twice, a degradation is clear on the medium if the mirrors aren’t high quality. Clearly the cheap plastic ones I got to test with aren’t, but they served their purpose. With much research on mirror specs & bounding agents, I went ahead and spent $70 on two tiny “surface first enhanced aluminum” mirrors. Once again, I forgot everything about my high school physics lessons, but some vague notions are left to help me navigate through specs. And this being 2026, of course there’s a website dedicated to optics of all sorts I can buy any sort of mirror from. The modern world has its flaws, but access to information and stuff is definitely covered.
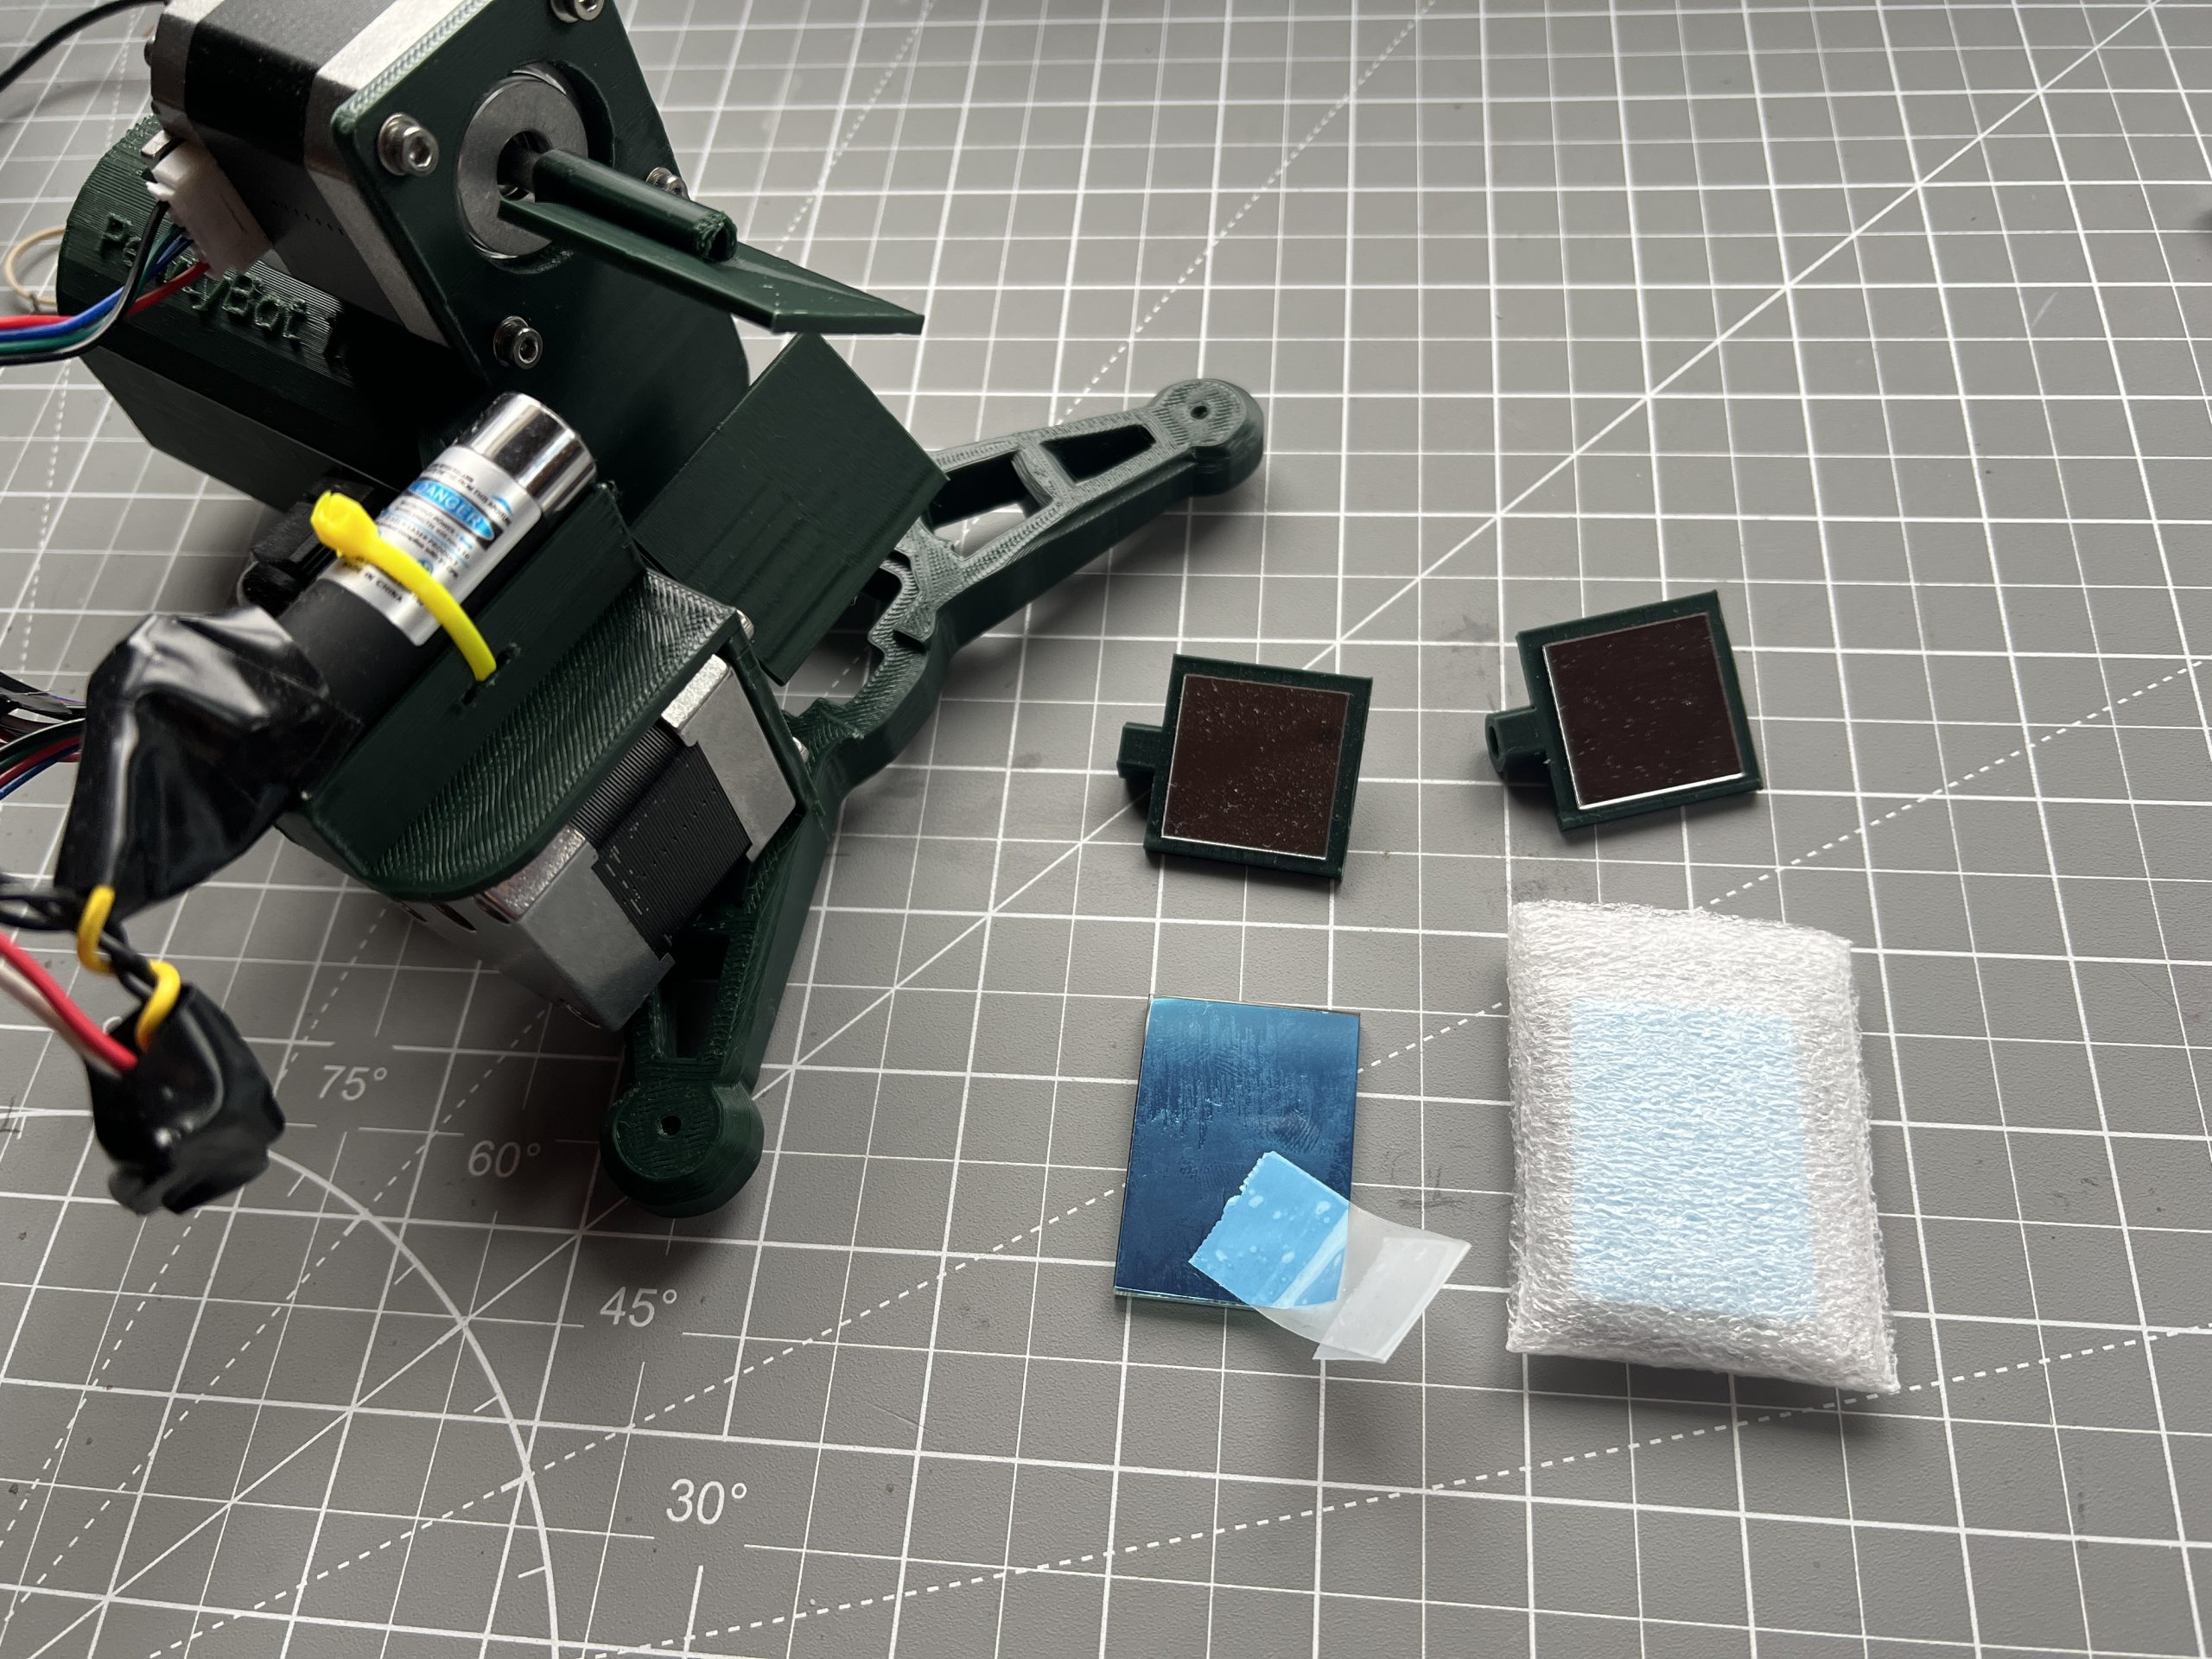
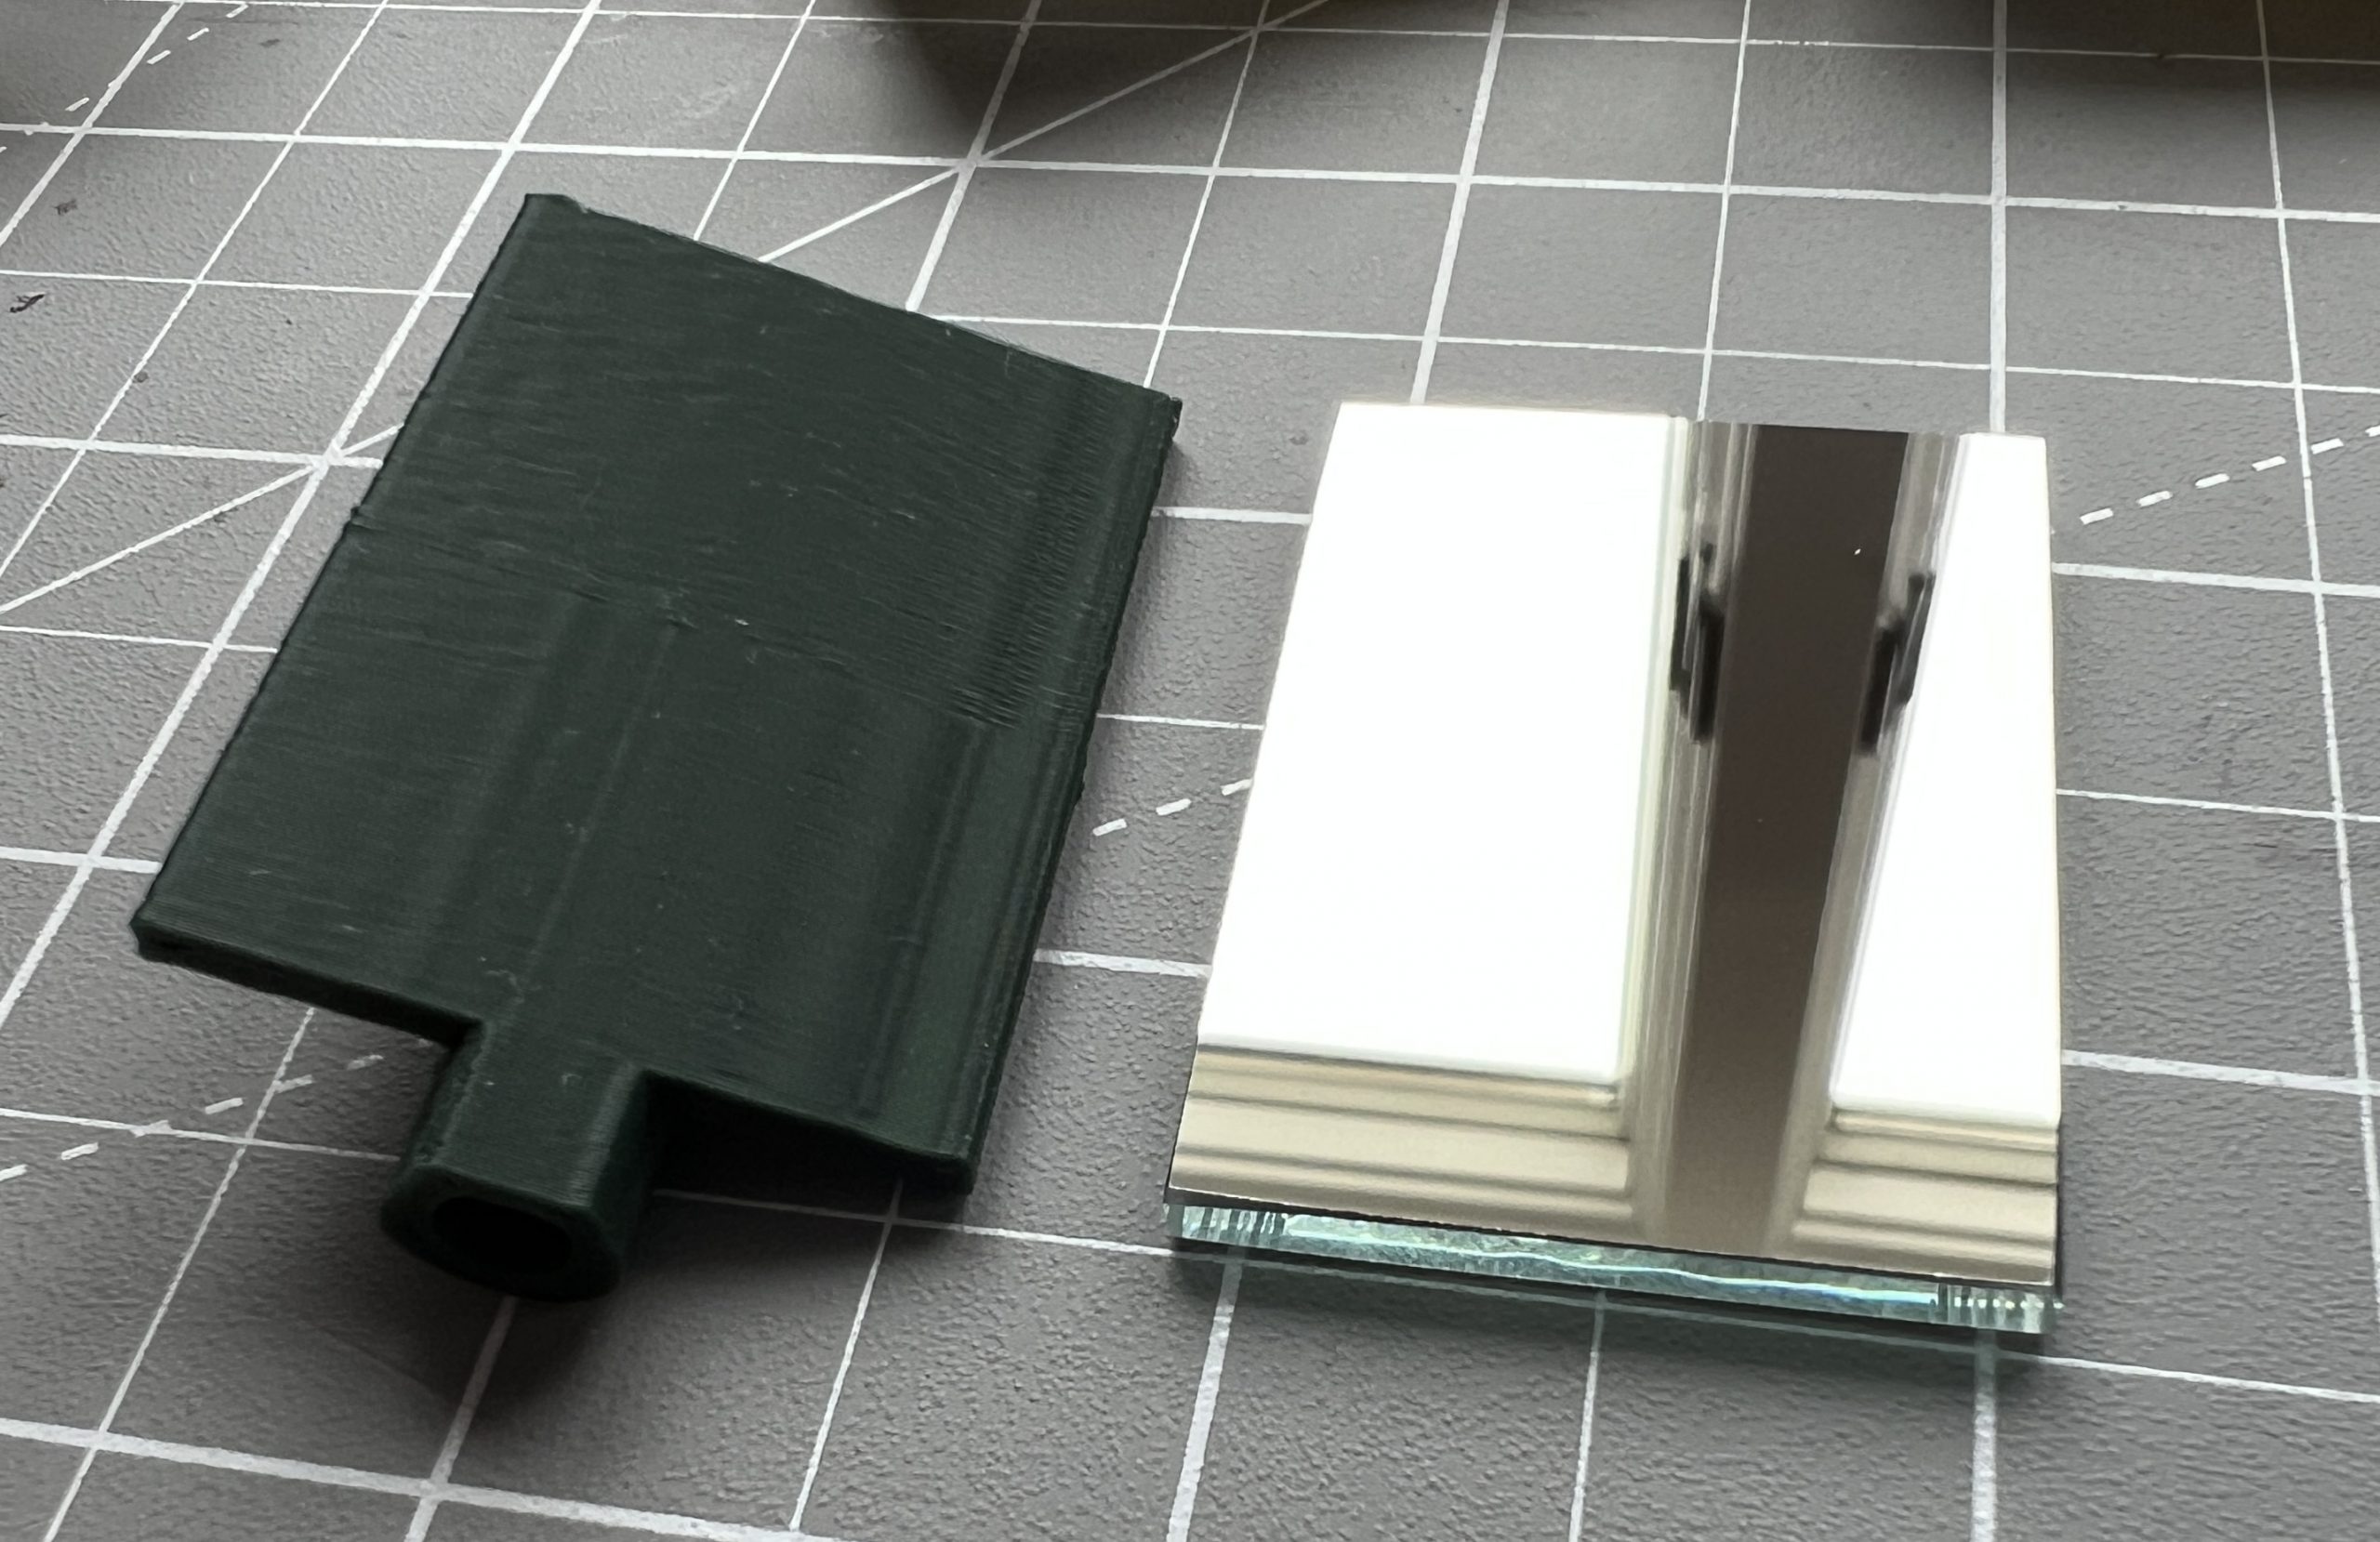
These new fancy mirrors are extremely crisp. Unfortunately, one of them slid on the epoxy as it cured, this won’t impact use but I’m bummed for I really did all I could to get everything perfect.
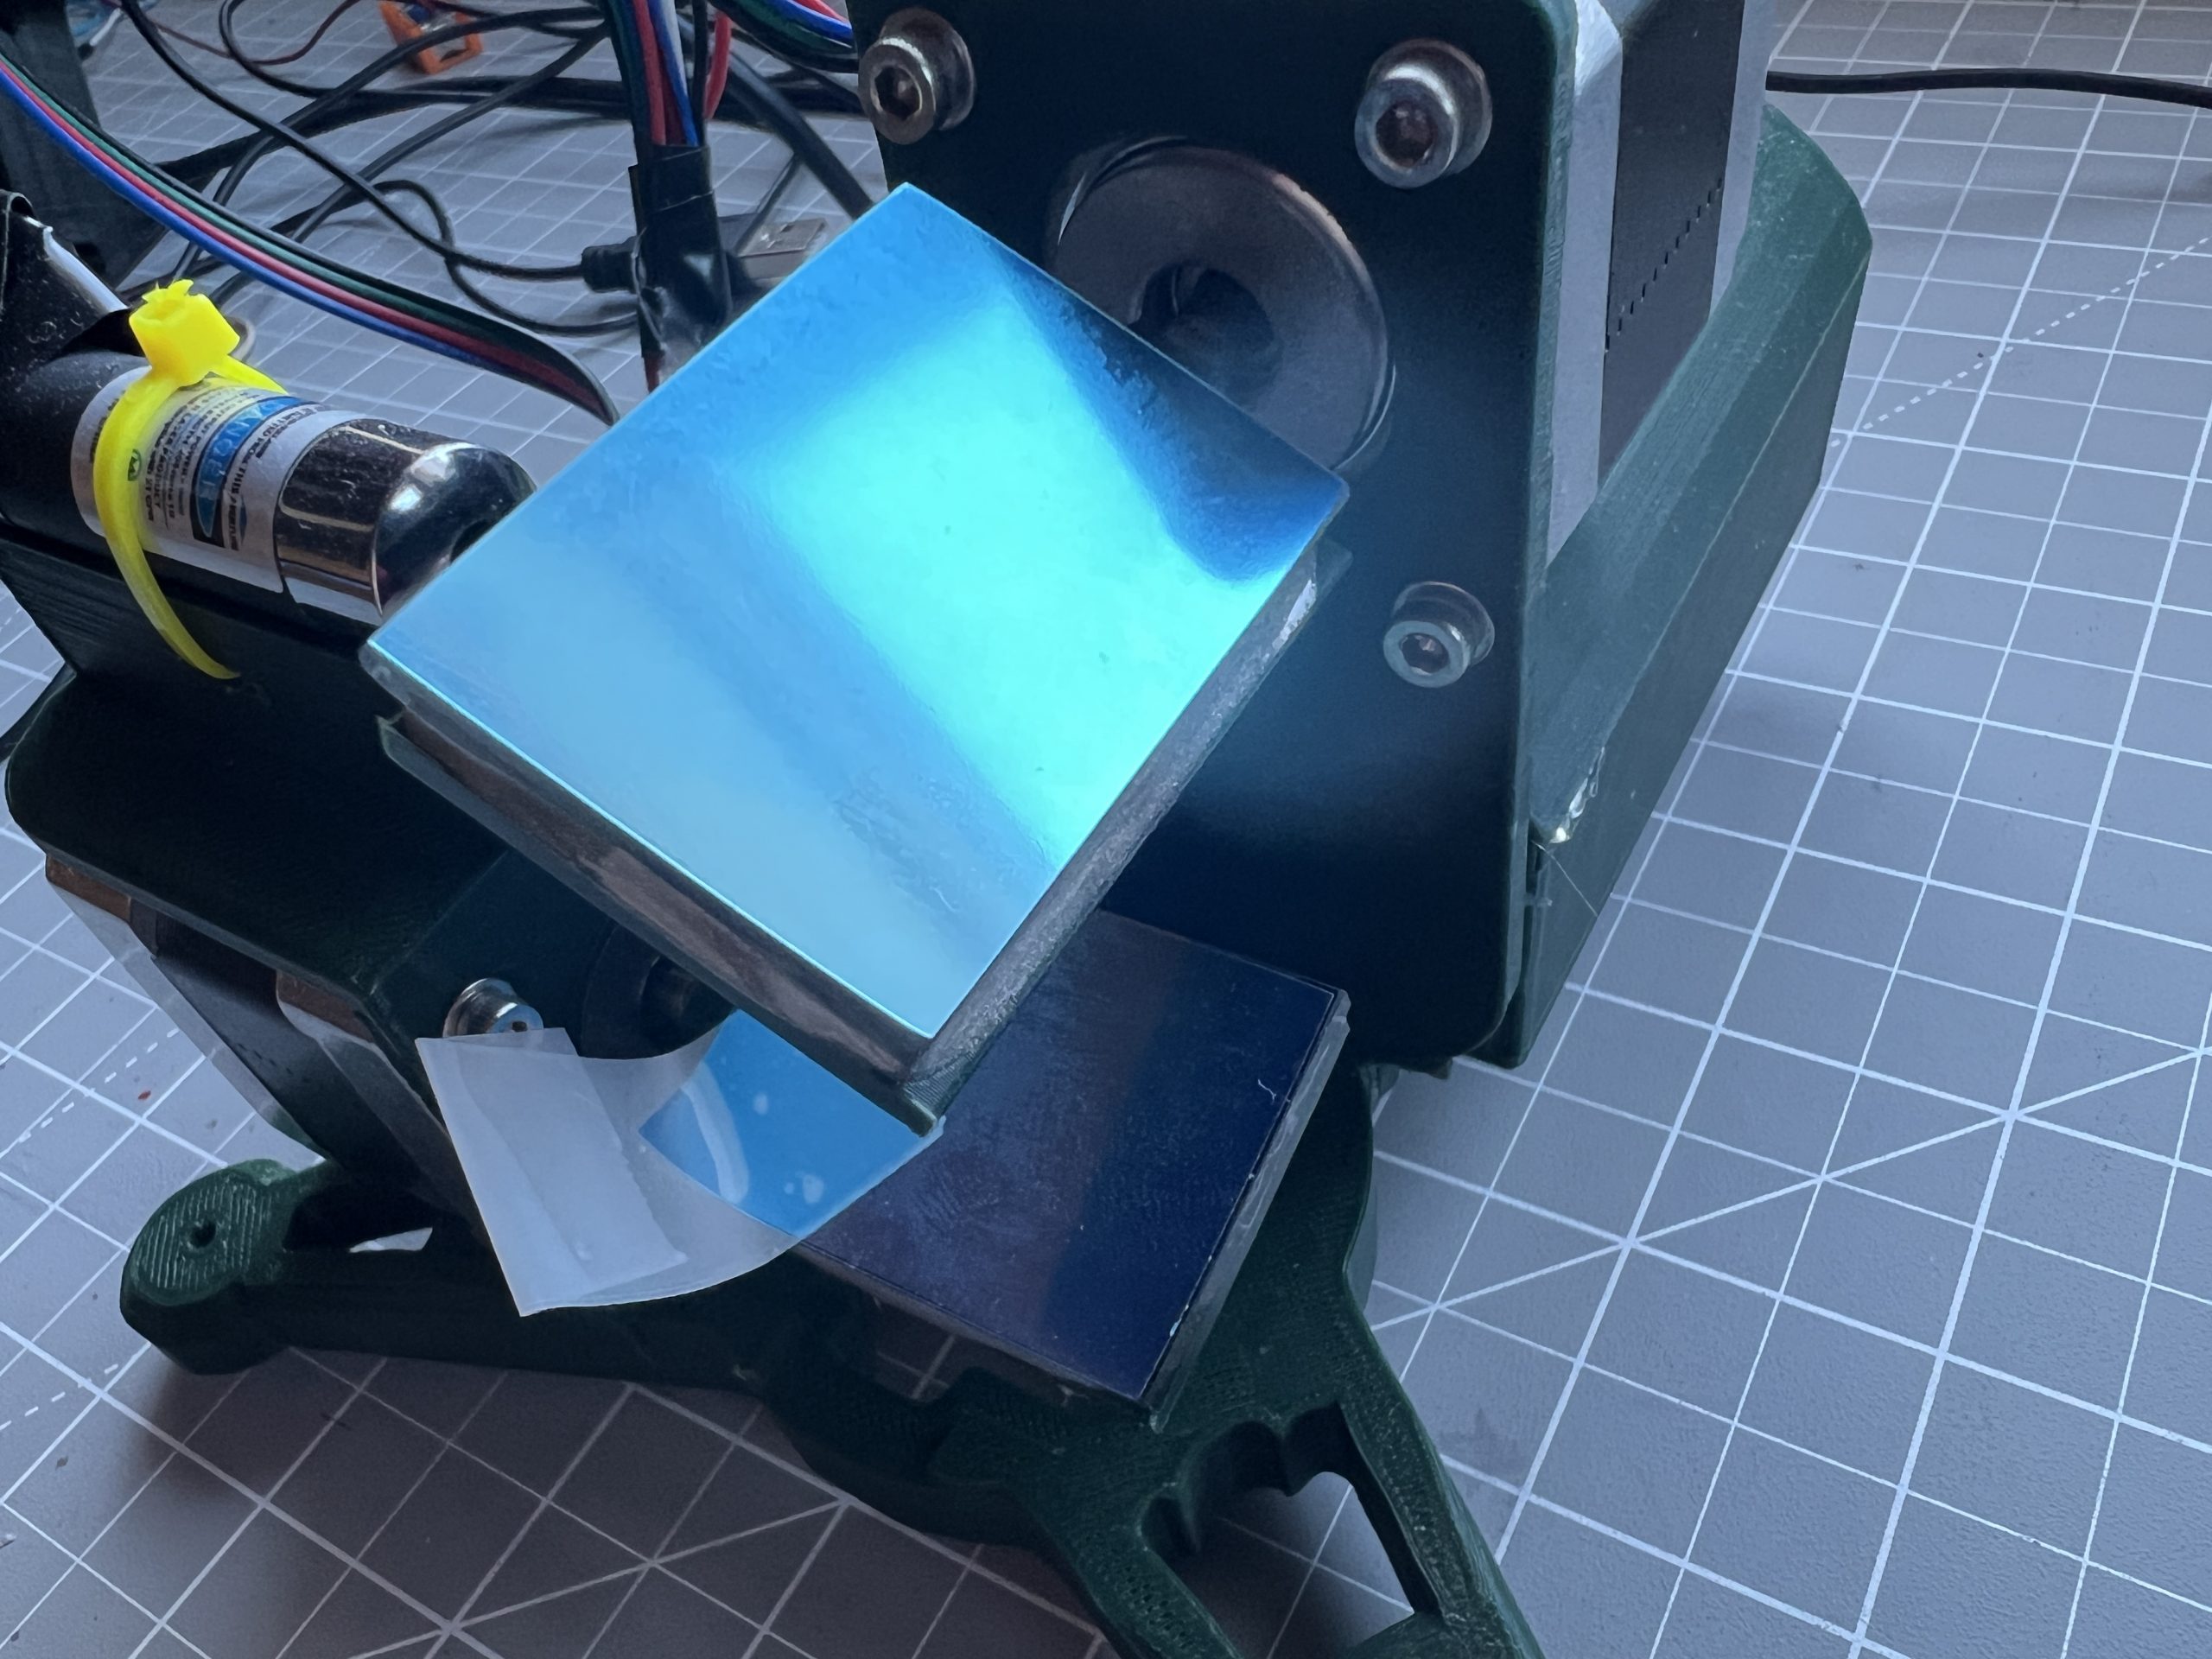
I tested the upgraded machine and it performed just as well as before, but the laser pointer was pristine as it hit the medium. This might not be a $70 improvement, but if I’m going to build a machine it’s hard to leave it lacking. The kids have been curious about this new development, it’s always fun to see the gears turn when they engage.
Overcoming Inertia
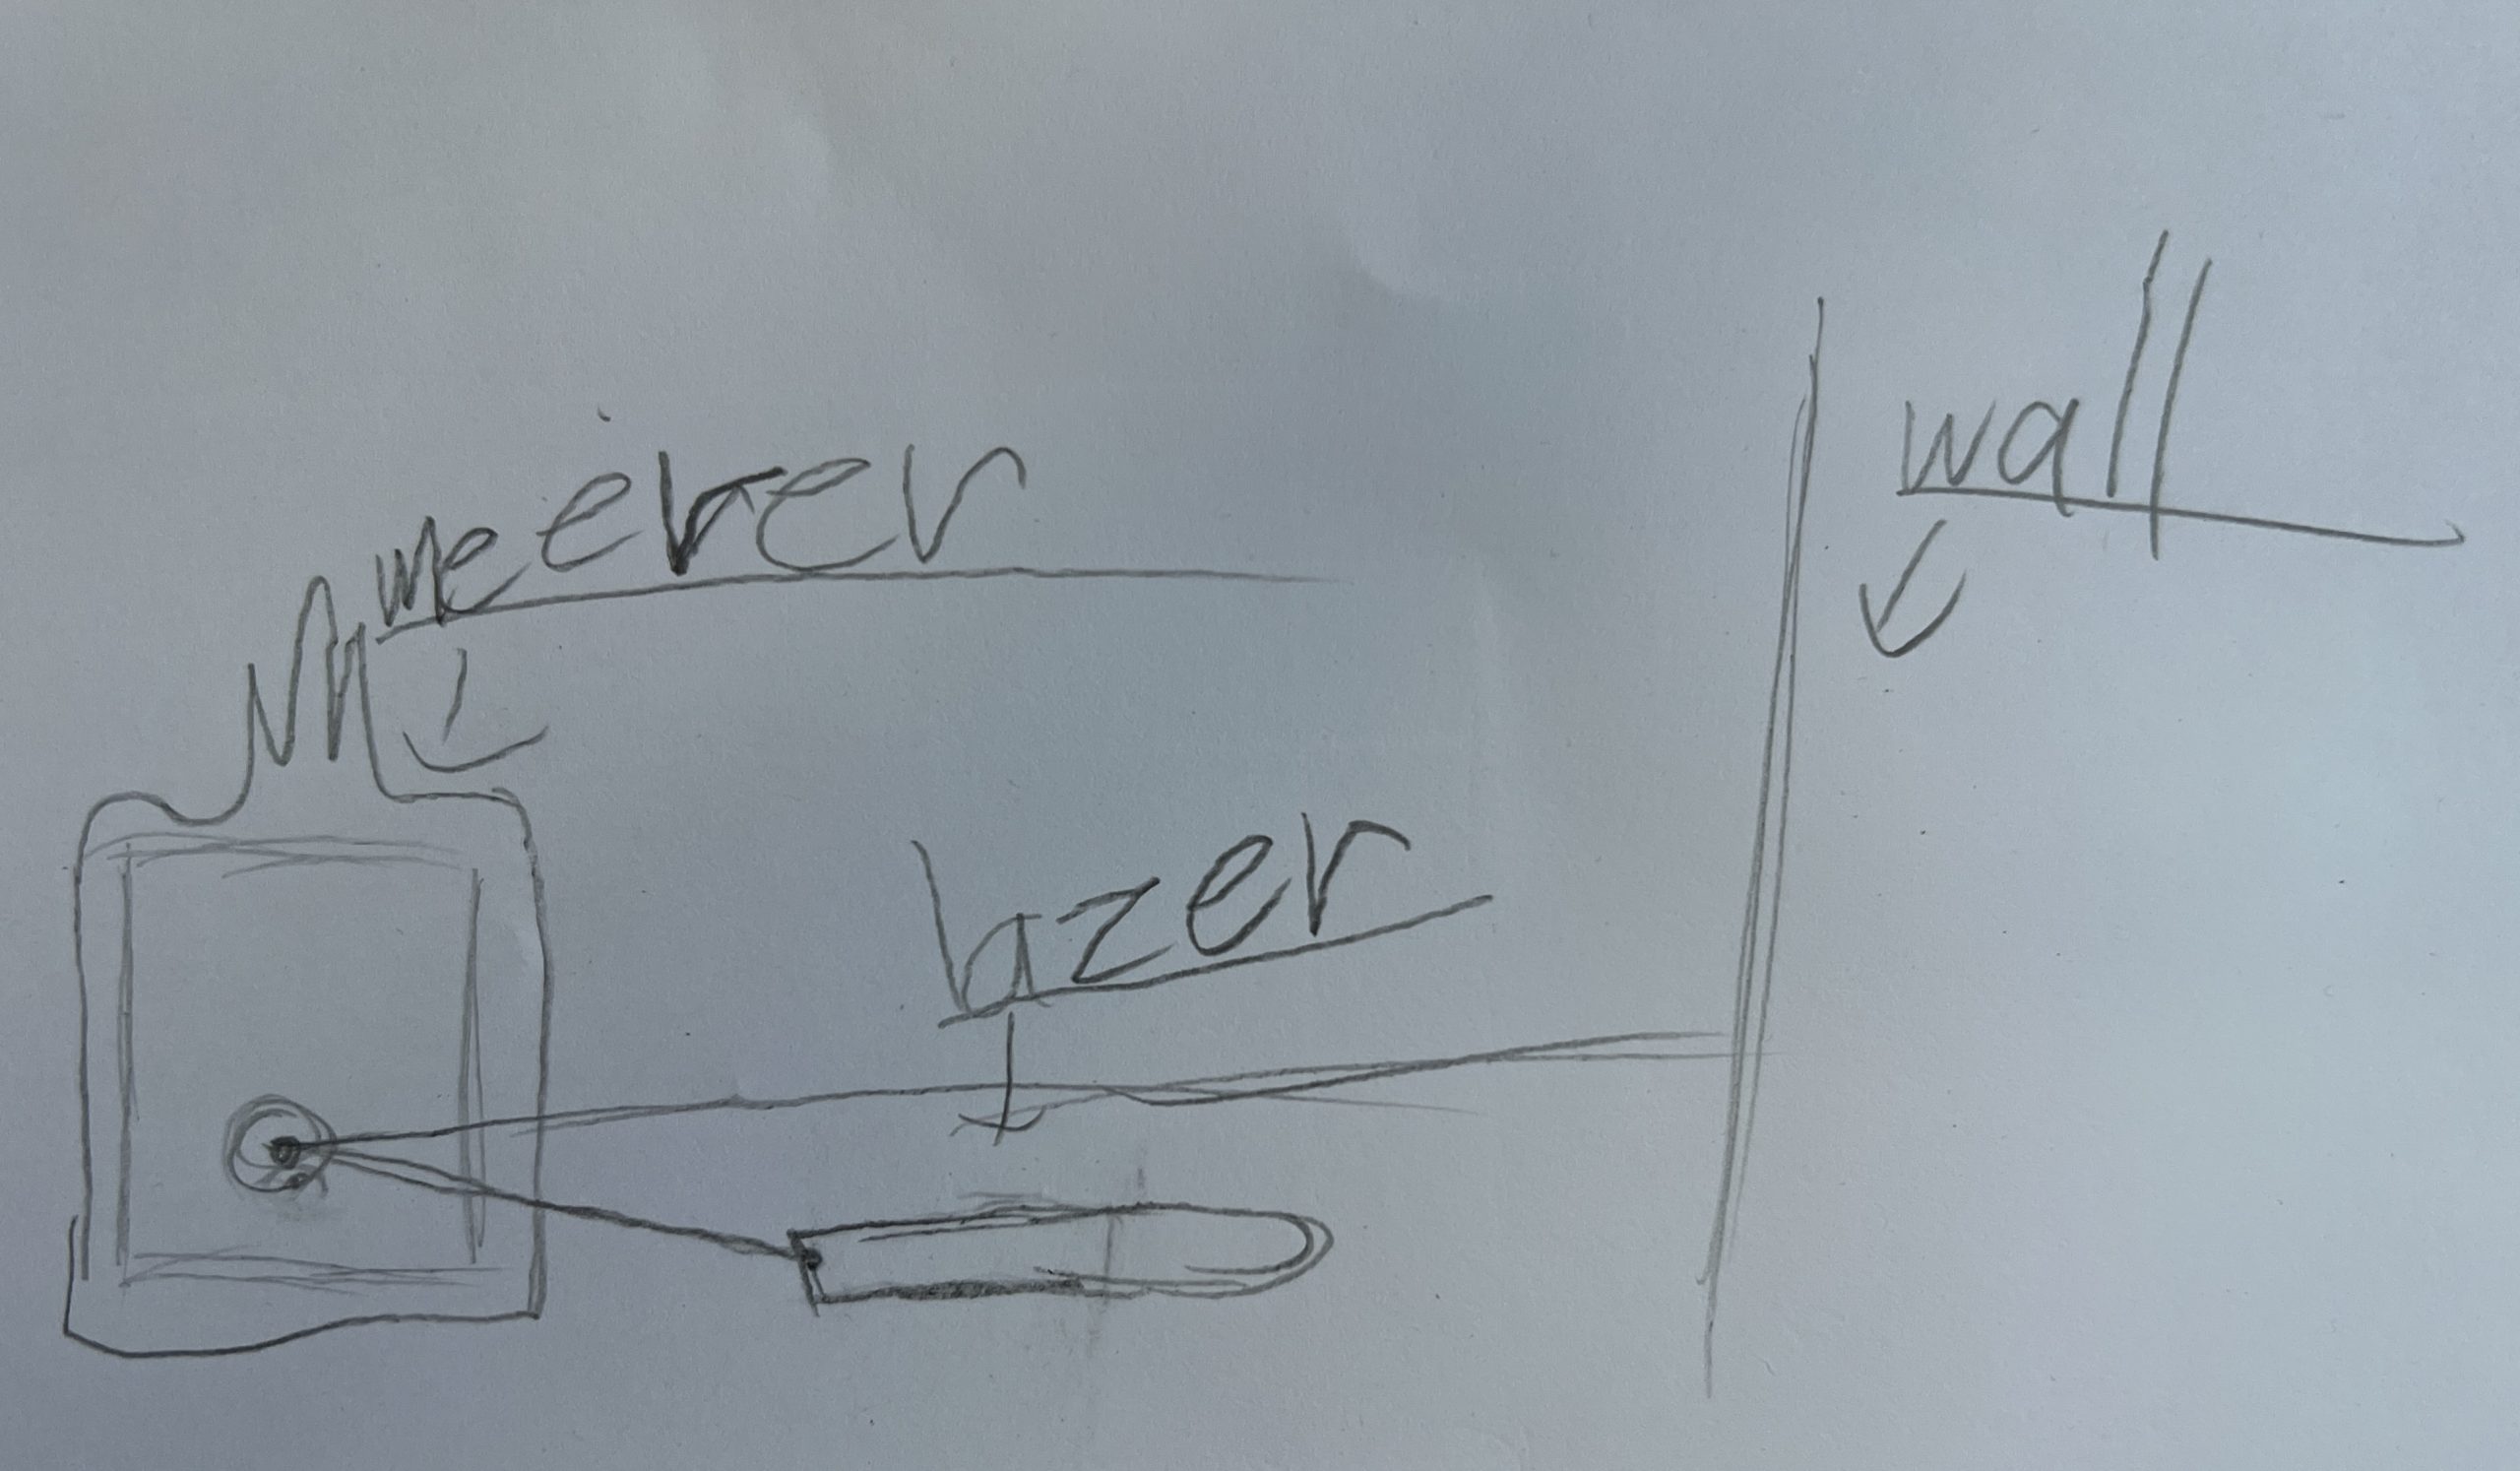
The design of PewtyBot 1.0 left something to be desired: the whole top section (stepper motor, assembly & laser) is moving, and that is a decent amount of mass that needs to be accelerated rapidly many times over.
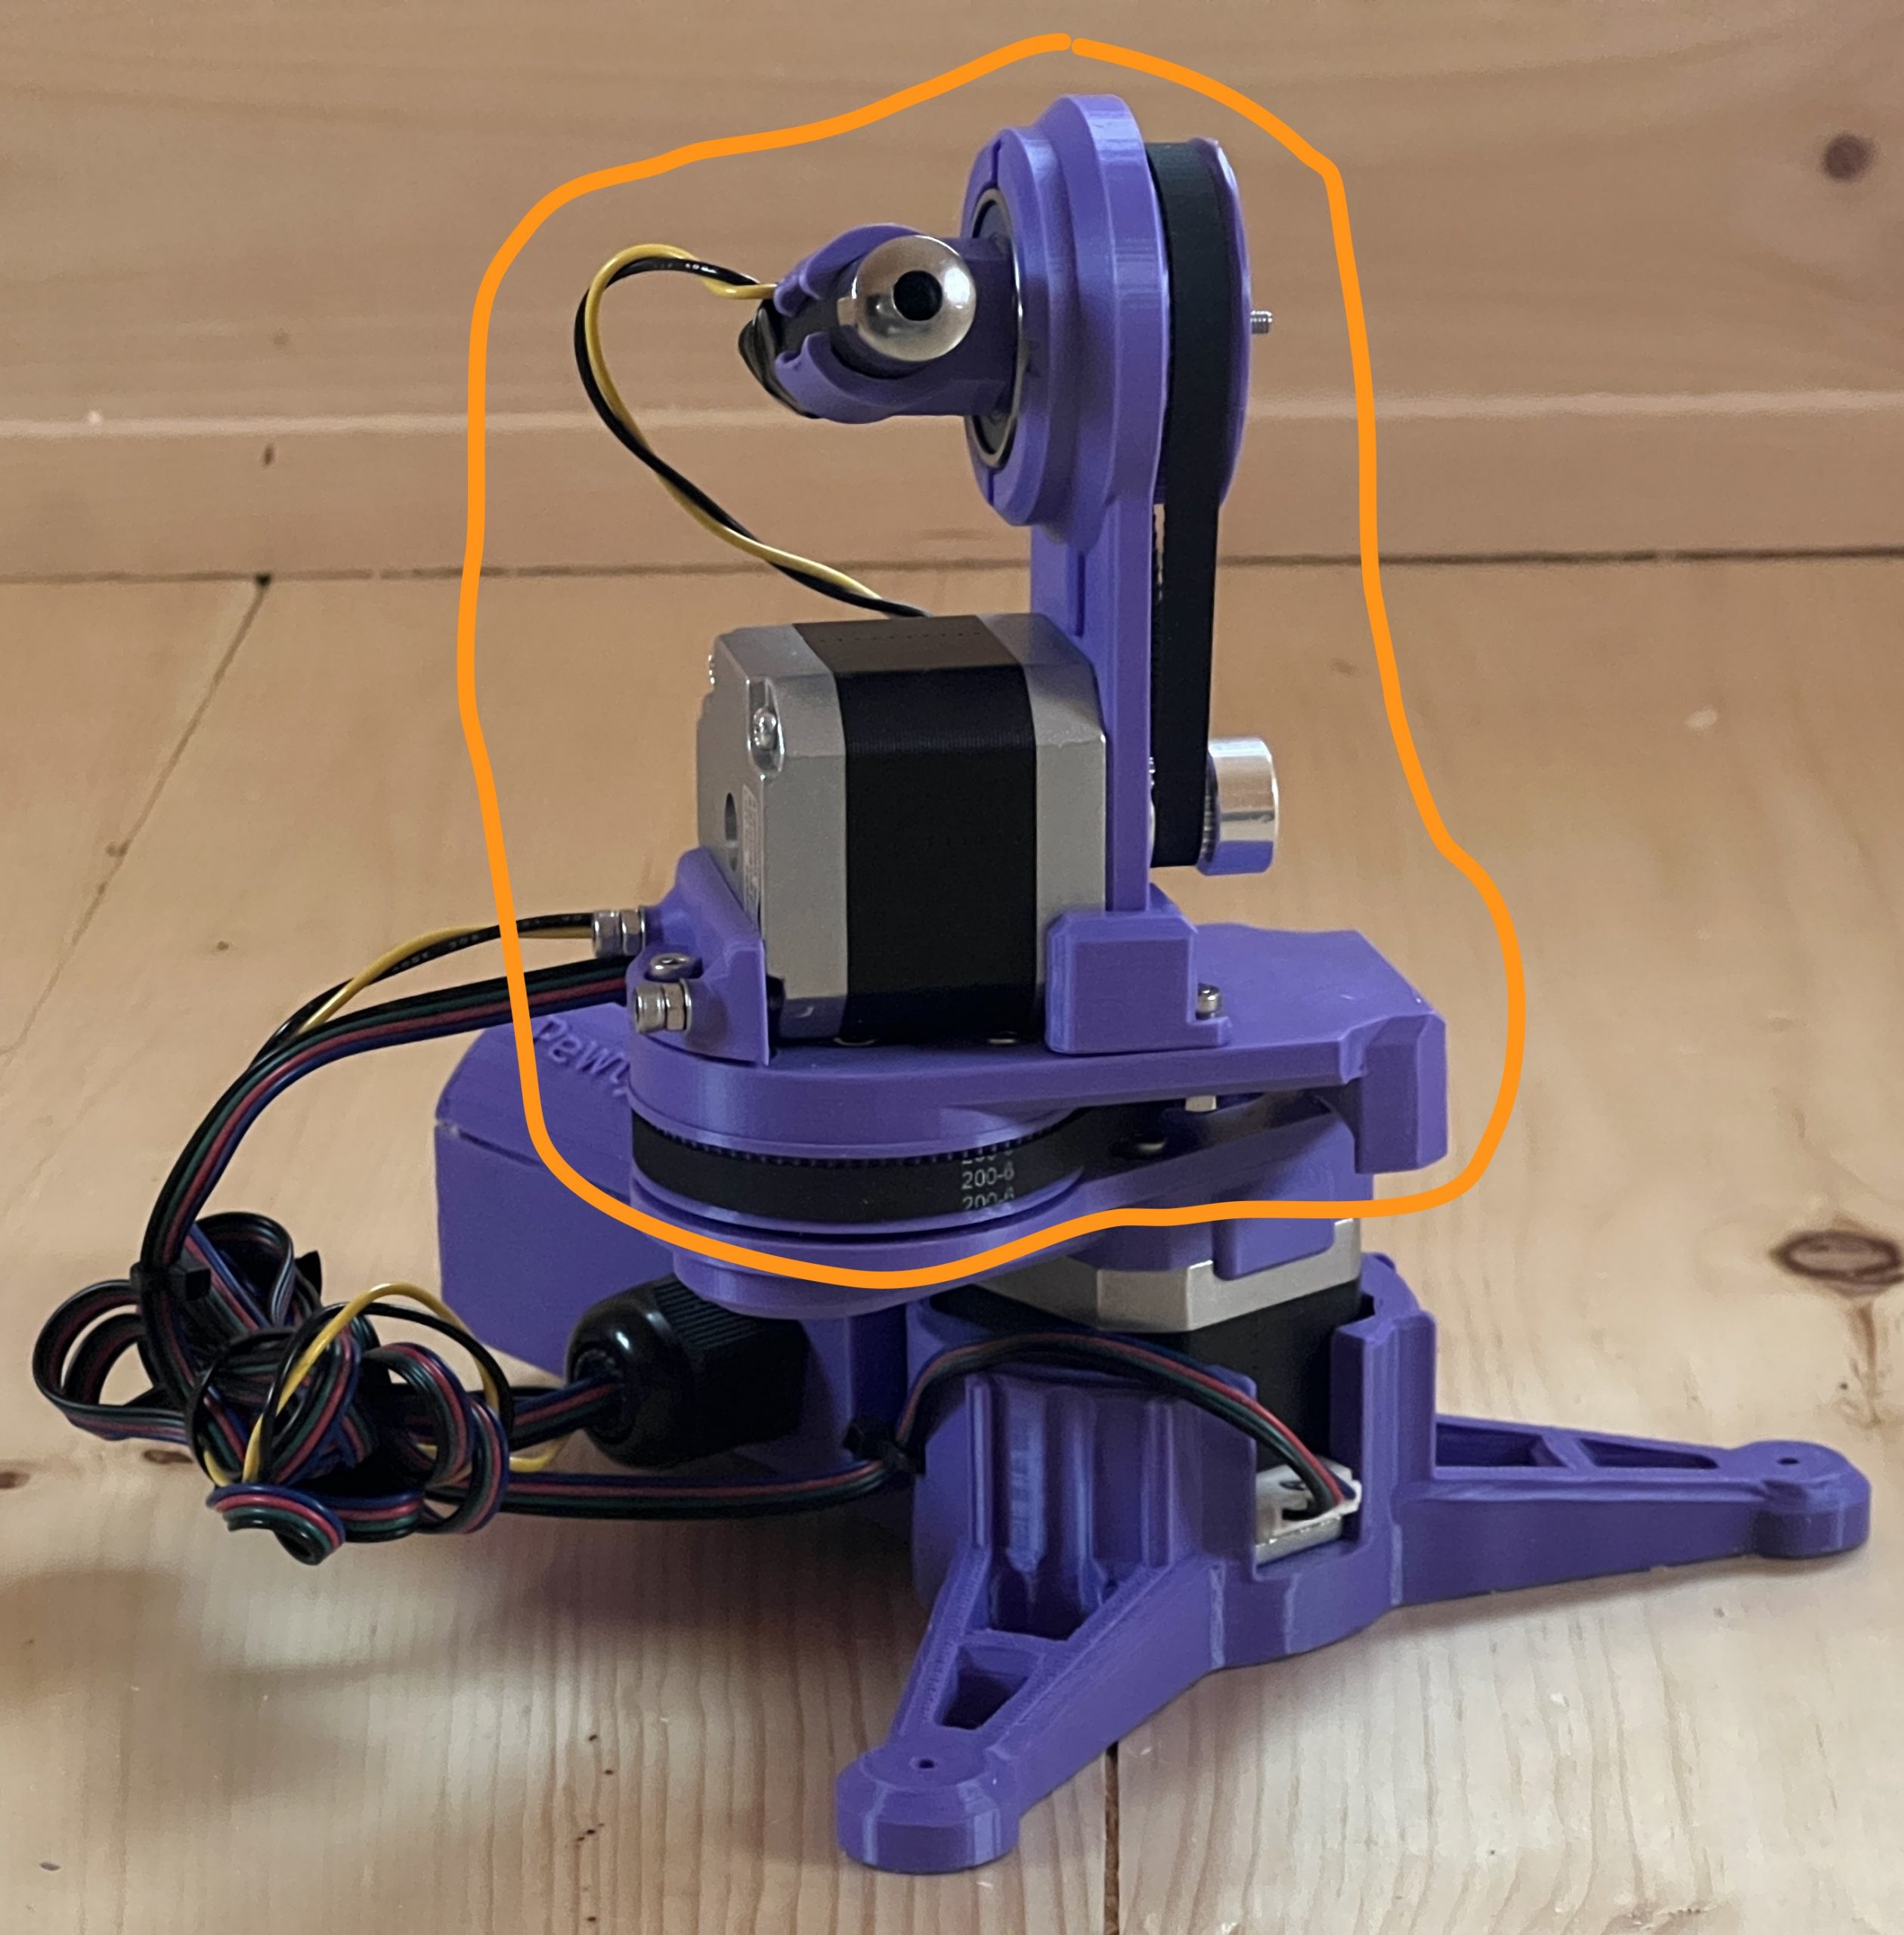
As I was tuning parameters, it became obvious that I needed to slow things down to avoid inaccuracies from the vibrations of a fast accelerating mass. I found happy parameters which led to several public deployments, but deep inside I knew I wanted to try the mirror approach. Instead of moving the laser, it remains static and only a couple of light mirrors are doing all the moving.
Introducing PewtyBot 1.1!
There’s a funny story in there about losing code, reimplementing, and a core issue I was struggling with being solved without knowing why. As always, a few unforeseen challenges got in the way, but ultimately the math is exactly the same as PewtyBot 1.0 so that was a relief. It’s just the motion code that needs to be adjusted some to deal with mirrors.
And well the results are cool, but somewhat mitigated. Definitely not “rocks your socks off” levels of cool. I can definitely move the laser a lot faster. Although through the exercise, I’ve realized that the “slow” speed of PewtyBot 1.0 may have been in the perfect sweet spot for laser light retention on a photoluminescent medium. And so maybe I got lucky there. Of course I could get a beefier laser that emits more light to compensate for the reduced time it spends on any particular area. I’m pretty convinced though that I want to remain in the “cat laser” realm for risk & safety. And so the other variable I get to play with is mirror quality, and I shouldn’t be surprised that there exist a whole world of mirrors of various specs. I got some very cheap craft type acrylic mirrors at first to test concepts. But you can tell the pointer hits the medium diffused and discolored. And so ultimately I’ll want to spend the money on a few square centimeters of first surface mirrors rated for blue light wavelengths. But first I’d like to convince myself that the mirror approach actually brings something extra to the table.
Not Spectacular but Definitely Specular
I watched Steve Mould’s video of Specular Holograms a while back, and it wasn’t until a cool student wanted to borrow my tabletop plotter to try it that I realized it was within reach. The plotter approach didn’t work, it really wasn’t designed to take the friction of a carbide tip etching surfaces. But its software stack is easily portable to anything with 2 stepper motors and a “tip” based action. So I thought it’d be a cool Christmas project to turn an old Creality 3D printer into something capable of etching specular designs.
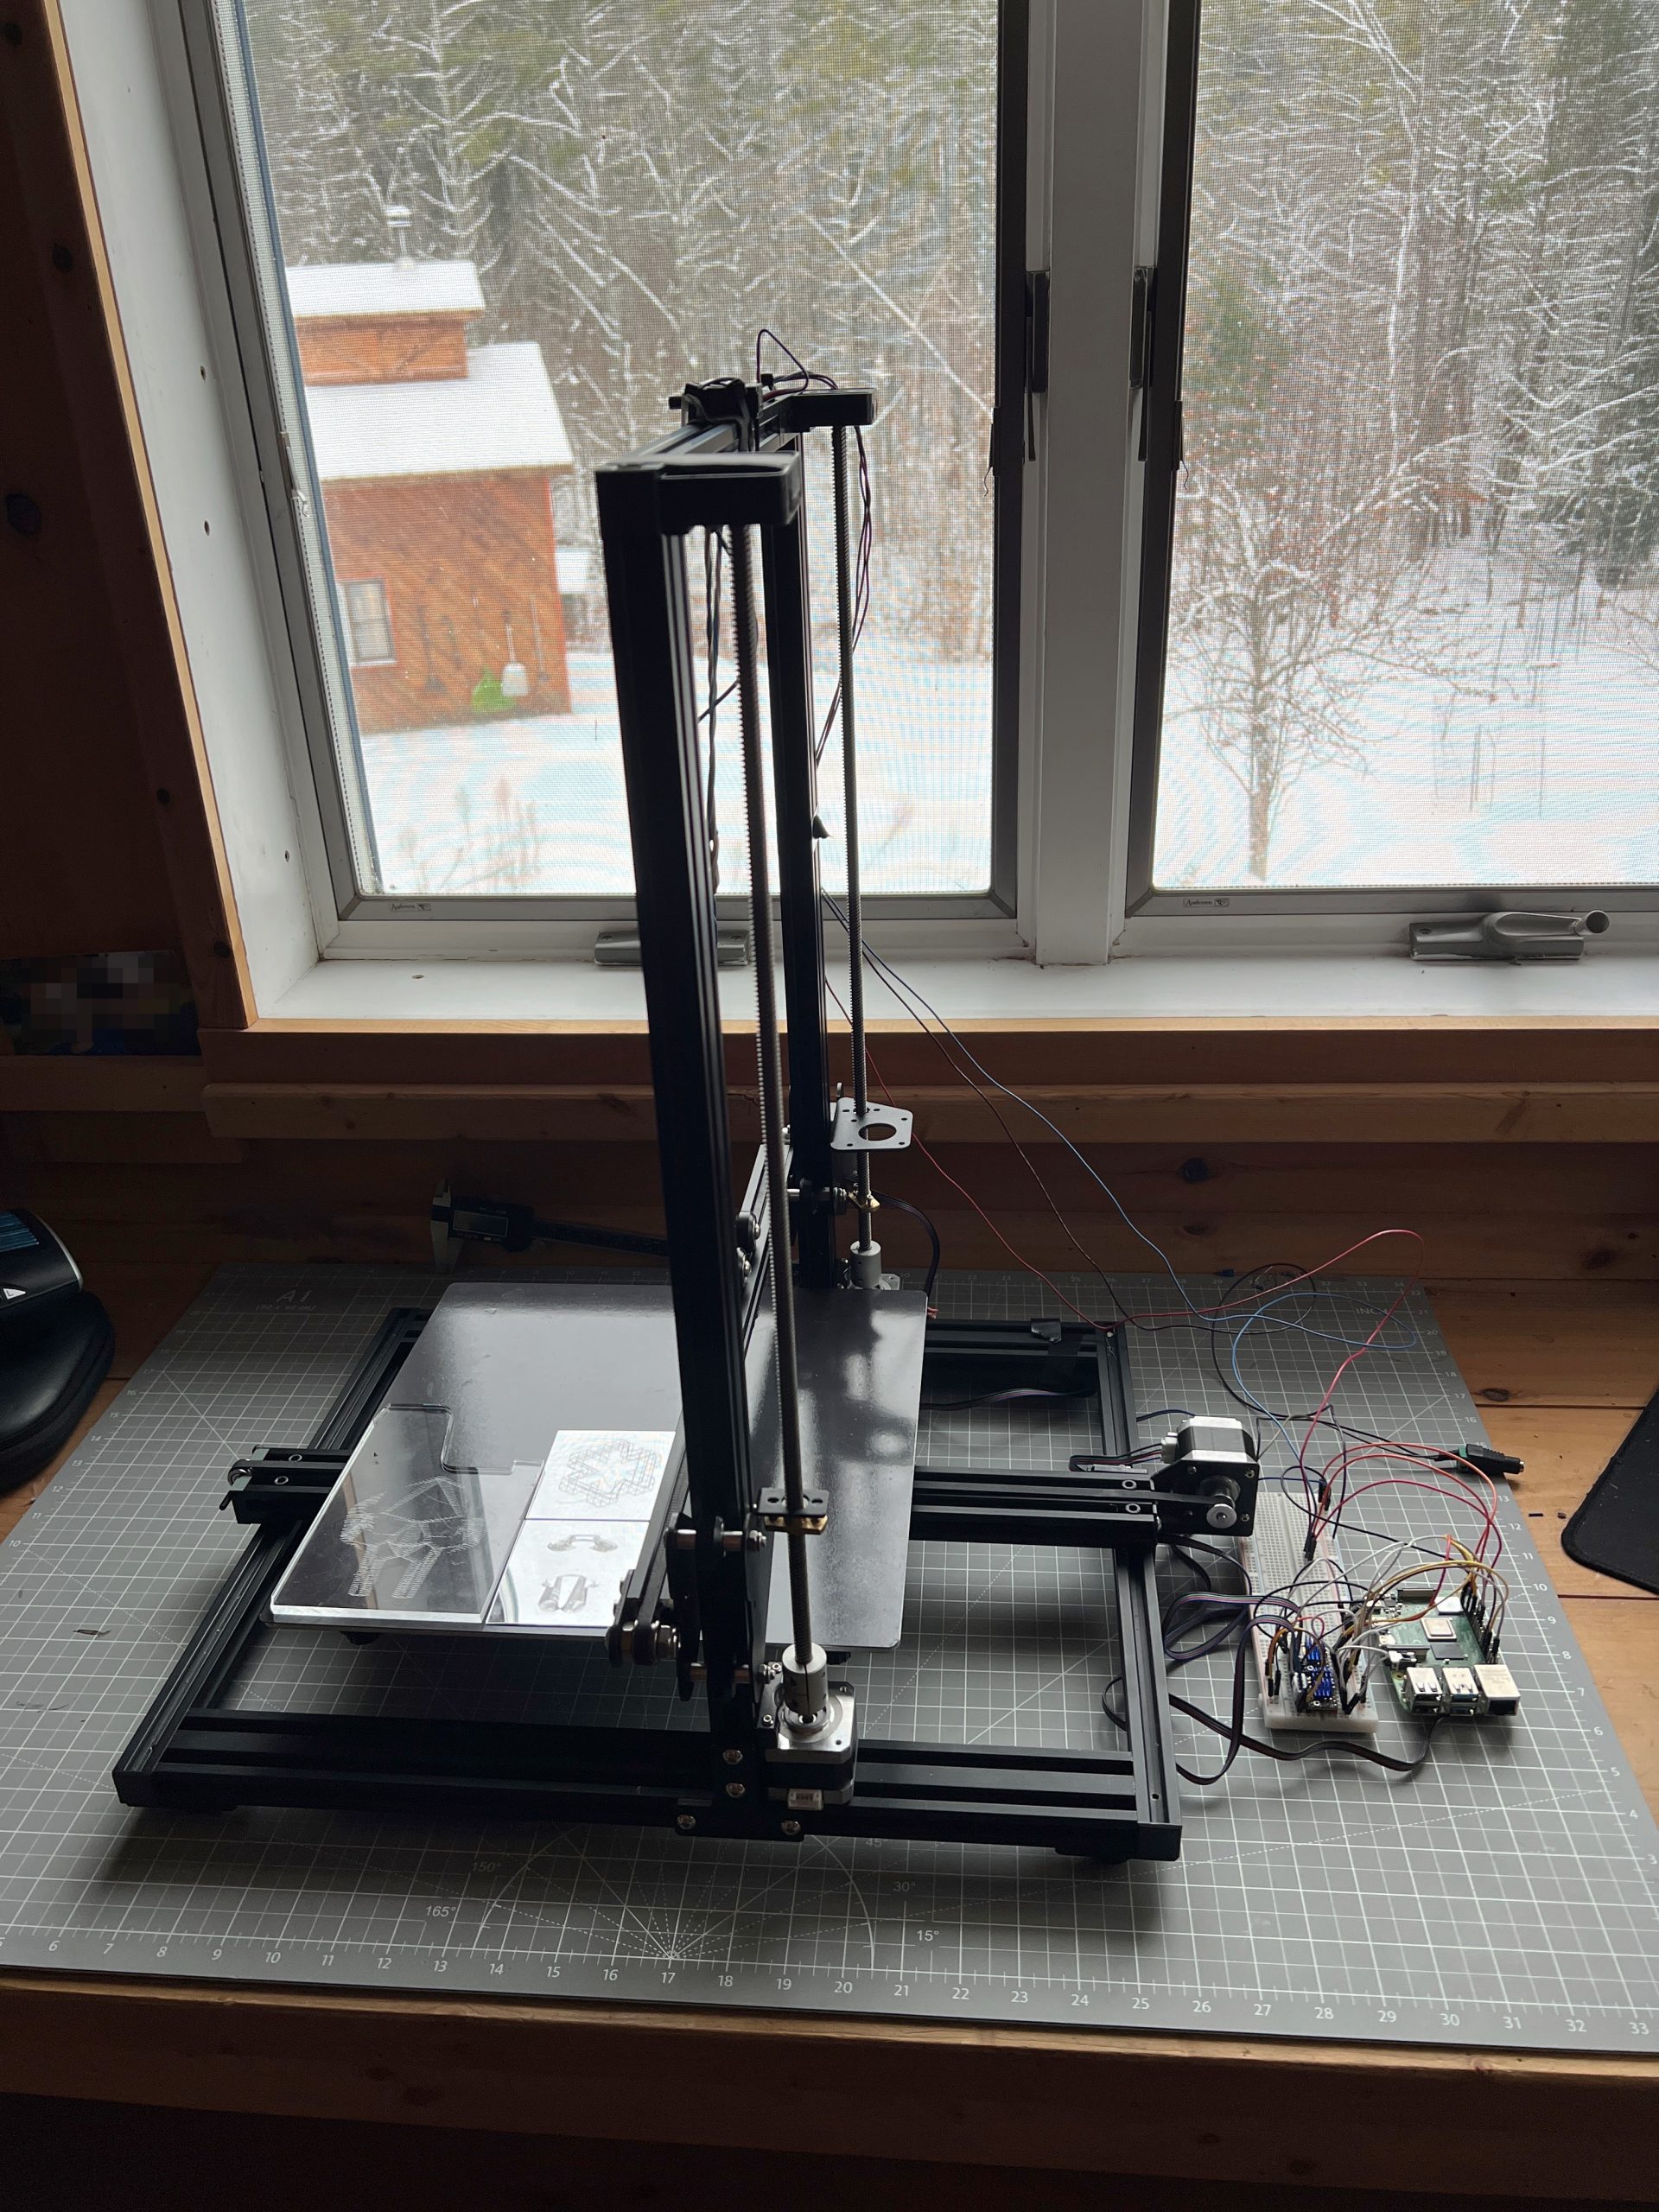
And well, the results are mitigated so far, but I’m getting somewhere with a moving glint effect.
I need to tune the machine to barely touch the medium, and figure out model creation. Moving a tip is easy these days, unsurprisingly though there are a lot more intricacies to uncover to get good results.
That’s a Wrap
Robotics 2025 concluded with 2 kids having built the small Etch-a-Sketch plotter after 5 sessions, and an extra one to just consolidate and draw. There isn’t much to say other than it went like a charm. I’ve added onto the Inherently Programmable Pi so they could have a basic HTML interface to their machine, I have yet to publish the update. This solution I feel is a bit of a game changer for engaging with robotics. At best it lowers the bar significantly for uninitiated learners; at worst it’s just darn convenient to get to work on your Pi project anywhere. A few years ago I’d promote it on a few online communities, these days I just don’t have the will to do much of anything online, but I really should.


Playing with the RPi Etch-a-Sketch
I’m recreating the small SketchyBot for an electronics/robotics curriculum. It’s a perfect opportunity to let kids play with it.


Created on the Spot
I remember an epiphany I had as a kid downloading mp3s at a friend’s house who had DSL while I was still on dialup. You could download music faster than you could listen to it, and the infinity of it blew my mind. To say that AI is leaving my jaw on the floor on most days is an understatement, but maybe what I’m realizing today is it’s potential for creating faster than you can acquire. It’s not just that I’m having it write programs that replace a ton of apps I’m dragging around for only a thing or 2 they do well. It’s that at the time I need a program, it might be faster to make AI produce it from nothing than to otherwise acquire it.
The family’s been into Solitaire and Minesweeper, tons of sites, tons of ads, looking looking, bleh. Fuck it, I’ll just have AI make me one.
Inherently Programmable Pi
I’m teaching a small robotics class, we’re making the small Etch-a-Sketch plotter. Just a couple of kids, good eggs from the 5th grade X,Y coordinates class I teach every year. I’ve already done similar classes in various contexts, it’s a ton of work but very rewarding. One thing I always seek to improve is my Pi image management. Depending on the kids & material, we’ll go through some Linux CLI, or I won’t even want them to touch Linux but we’ll still have to click through some things to get going on Python to control GPIO pins.
What I’ve been wishing for for a while, is a Pi that’s always online everywhere, with the quickest way to get to just Python. Hopefully something web based so you don’t need anything other than your old faithful browser to start throwing code at GPIO pins.
Introducing IPP, the Inherently Programmable Pi! An image you can download, or build.
Step 1 – Python Forking Web Code Editor
And so step 1 is obvious, I want the Ace web based code editor, preset to Python settings, and served by the very Pi it’s meant to write code for. With a few buttons for running code, stopping it, and checking the output.
AI made that a breeze to code, it always blows my mind how well it understands even convoluted assignments. There’s some pretty gnarly stuff going on there. Python runs a web server that serves a coding environment that can fork another Python process, and kill it with varying degrees of prejudice when it won’t go away on its own. I want this packaged a a single Python file with all the bits and pieces bundled in. AI got all this with little help.
Step 2 – Zerotier & Public Bridge
For step 2, I want the Pi to be easily accessible online, no matter what crazy wifi it’s connected to. For this we’re using Zerotier, and an online bridge that is publicly available to forward traffic into it. In my case this is done with Traefik and a Docker container dedicated to forwarding into Zerotier. I unfortunately can’t offer this part of the stack with the image, but you can at least specify a Zerotier network ID as a tunable when building it.
This way, no matter what Wifi network your Pi is connected to, it will always be available via a public URL.
Step 3 – Local Wifi when Nothing Else
I wanted to take the script that turns PlottyBot into a hotspot if it’s not connected to the internet and modernize it for the newest Rapios (Trixie). I also want the web interface to let you connect to existing Wifi networks. This way you are either in a spot with no Wifi, and your Pi spawns a local one which doesn’t route to the internet but you can still program. Or there is pre-configured known internet Wifi within range and your Pi connects to that.
Of course AI yet again turned a multi-hour endeavor into a 30 minutes one. Well, it did mess up some fundamental things but still, I was spared hours of grinding.
Step 4 – Easy Imaging
Finally, I want to create Raspios images with all this and a few tunables baked in. No booting each one to install stuff & tune it for each kid. For this I’m using something I built years ago for mounting *.img files and tweaking them. It’s a Docker container you can pipe an image file into and out stderr comes the customized image. This might be worth its own post, I’ve used this for years to great effect, but that’s beyond the scope of this post. The point is it’s available to use, and here’s how:
Build Your Own Image
First download & decompress the latest Raspios:
wget https://downloads.raspberrypi.com/raspios_lite_arm64/images/raspios_lite_arm64-2025-10-02/2025-10-01-raspios-trixie-arm64-lite.img.xz
unxz 2025-10-01-raspios-trixie-arm64-lite.img.xz
Then download & decompress this project’s files to tweak it with:
wget https://ben.akrin.com/downloads/ipp_2025-11-11.zip
unzip ipp_2025-11-11.zip
Finally, create your customized Raspios image with:
sudo docker run --rm -i \
    --name=raspi-image-customizer \
    --cap-add SYS_ADMIN --privileged \
    --device /dev/loop0 \
    --platform linux/amd64 \
    --cpus="1" \
    --memory="500m" \
    -e HOSTNAME=mypi \
    -e HOTSPOT_WIFI_SSID=mypiwifi \
    -e HOTSPOT_WIFI_KEY=raspberry \
    -e ZEROTIER_NETWORK_ID="<ZEROTIER_NETWORK_ID>" \
    -e PIPASSWORD="raspberry" \
    -v ./ipp:/data registry.akrin.com/raspi-image-customizer:latest < 2025-10-01-raspios-trixie-arm64-lite.img 2> ipp.img
–cap-add SYS_ADMIN, –priviledged, and the loop0 device are necessary to mount a file as a disk inside the container.
HOSTNAME is evident
HOTSPOT_WIFI_SSID & HOTSPOT_WIFI_KEY are the settings for the local wifi network that the pi will spawn when it has no known networks to connect to.
ZEROTIER_NETWORK_ID is optional, if specified the pi will join it first chance it gets (when connecting to a managed wifi that routes to the internet).
PIPASSWORD is the password for the pi user, careful SSH is enabled in this image.
You can burn the resulting ipp.img to an SD card. The first boot will be longer than the subsequent ones as stuff gets initialized, but eventually you’ll see a new wifi network pop up. Connect to it, and point your browser to http://hostname.local or if that doesn’t work http://192.168.50.1, you will see the coding web interface. Now that might be enough for your to start coding, but if you want you can click on the wifi network icon at the top right to specify a standard network to connect to. And if you do so, I recommend you have a way to “follow” your Pi, either via Zerotier, or because you manage that network and are able to see what IPs devices get assigned. And if you setup a Zerotier forwarder on top of all this, your pi essentially becomes online to the world the minute it’s on. Now that isn’t just convenient, it also significantly lowers the bar to start coding with kids.
Or… Download a prebuilt one
Here’s the link.
parameters used for building it are:
HOSTNAME=ipp
HOTSPOT_WIFI_SSID=ippwifi
HOTSPOT_WIFI_KEY=raspberry
PIPASSWORD=”raspberry”
No Zerotier, but still everything else.
Can’t Have Favorites
they both need to have their stereographic projector.
Update Hell
Software is steadily becoming more dictatorial. It gives us fake choices like one does to a child to trick them into behaving, with a so called dark pattern to make the “right” decision obvious. I’m pretty sure I’ll be going back to Linux soon.
If update prompts spoke the truth:
I don’t mean to particularly pick on Apple, that’s just the template I used.


Christ on a bike, can I do anything?
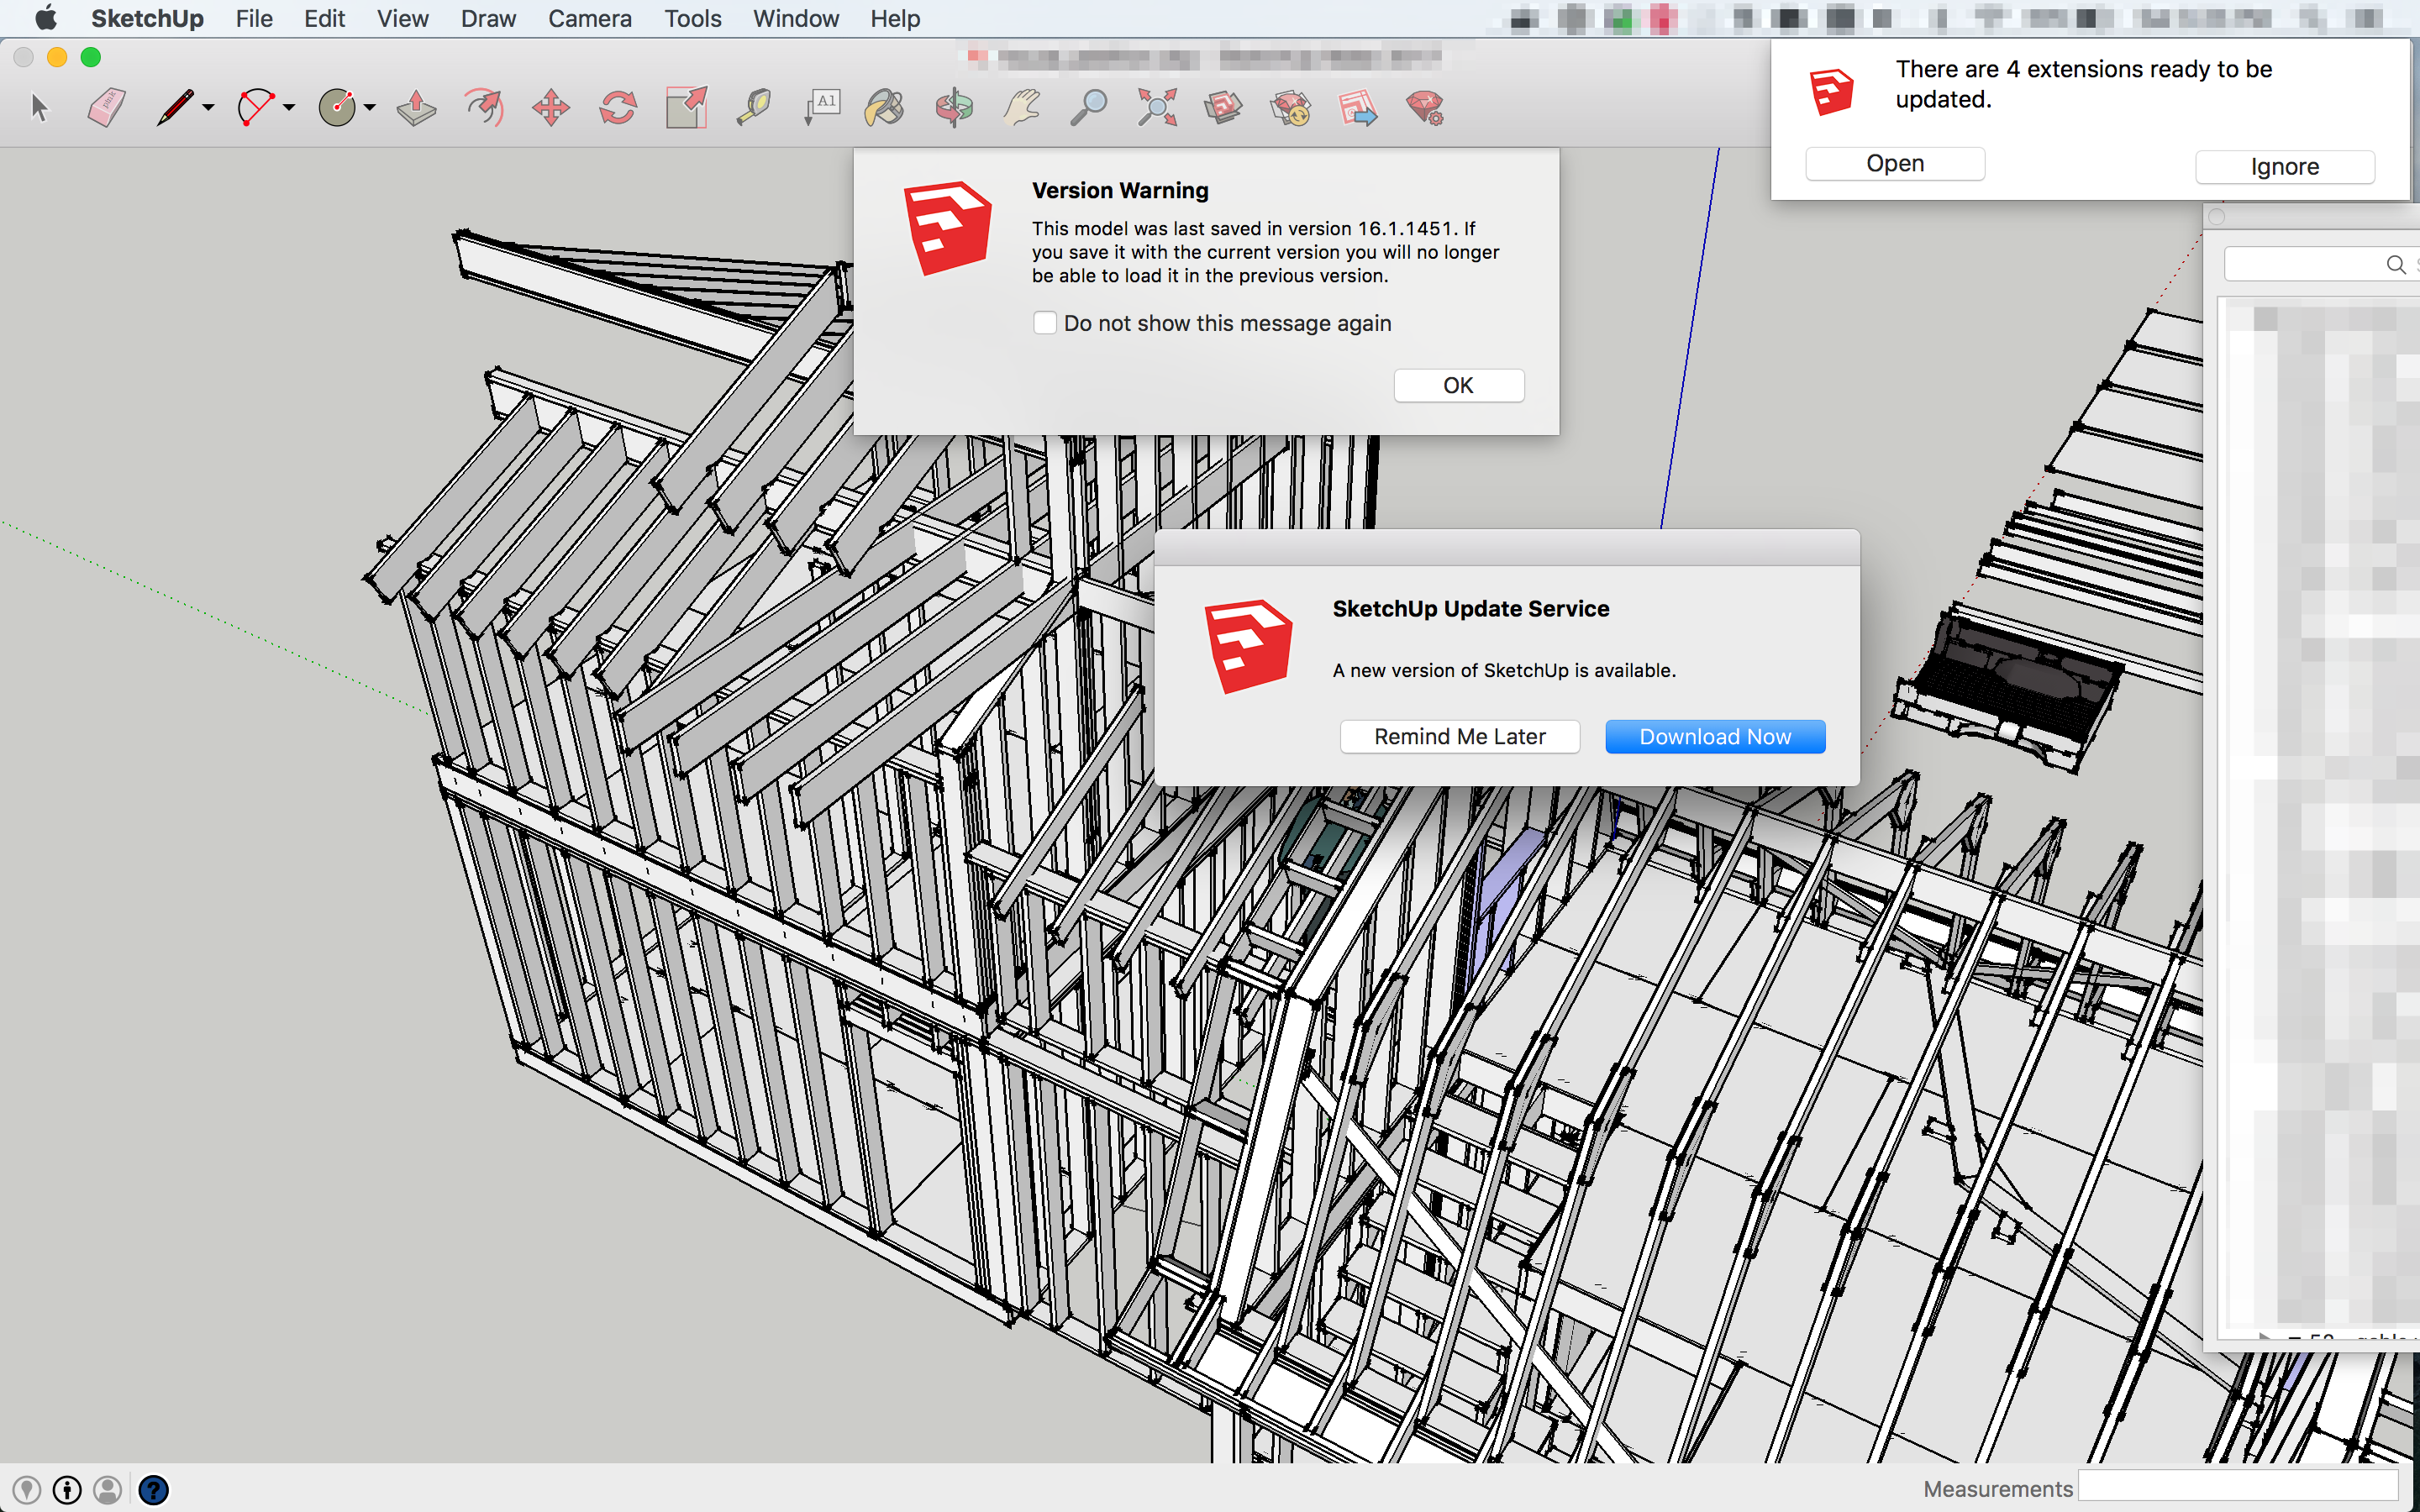
We’ll harass you until you click the button, It’s our gift to you!
“For now”, you’ll comply eventually.

Stereographic Projector
I had to make one: https://www.thingiverse.com/thing:2094215. Projection is shorter range than I was hoping for but it’s still fun and gets the kids thinking.

Bis Repetita
Second deployment of Laser Portraits at a public event. It was a lot busier this time around, and totally fun as previously. Also very stressful until a few portraits are behind me. It doesn’t matter how much I test and check, something always goes wrong but I got it all figured out just in time. I’m also refining the formula for how to present and interact with people. The PewtyBots performed all evening without missing a beat.
Esther’s Plotter
I love it very much.
RGB Playground
This is genAI’d, I have no merit. I just wanted this utility online somewhere easy in order to play with PWM RGB LEDs.
Plots
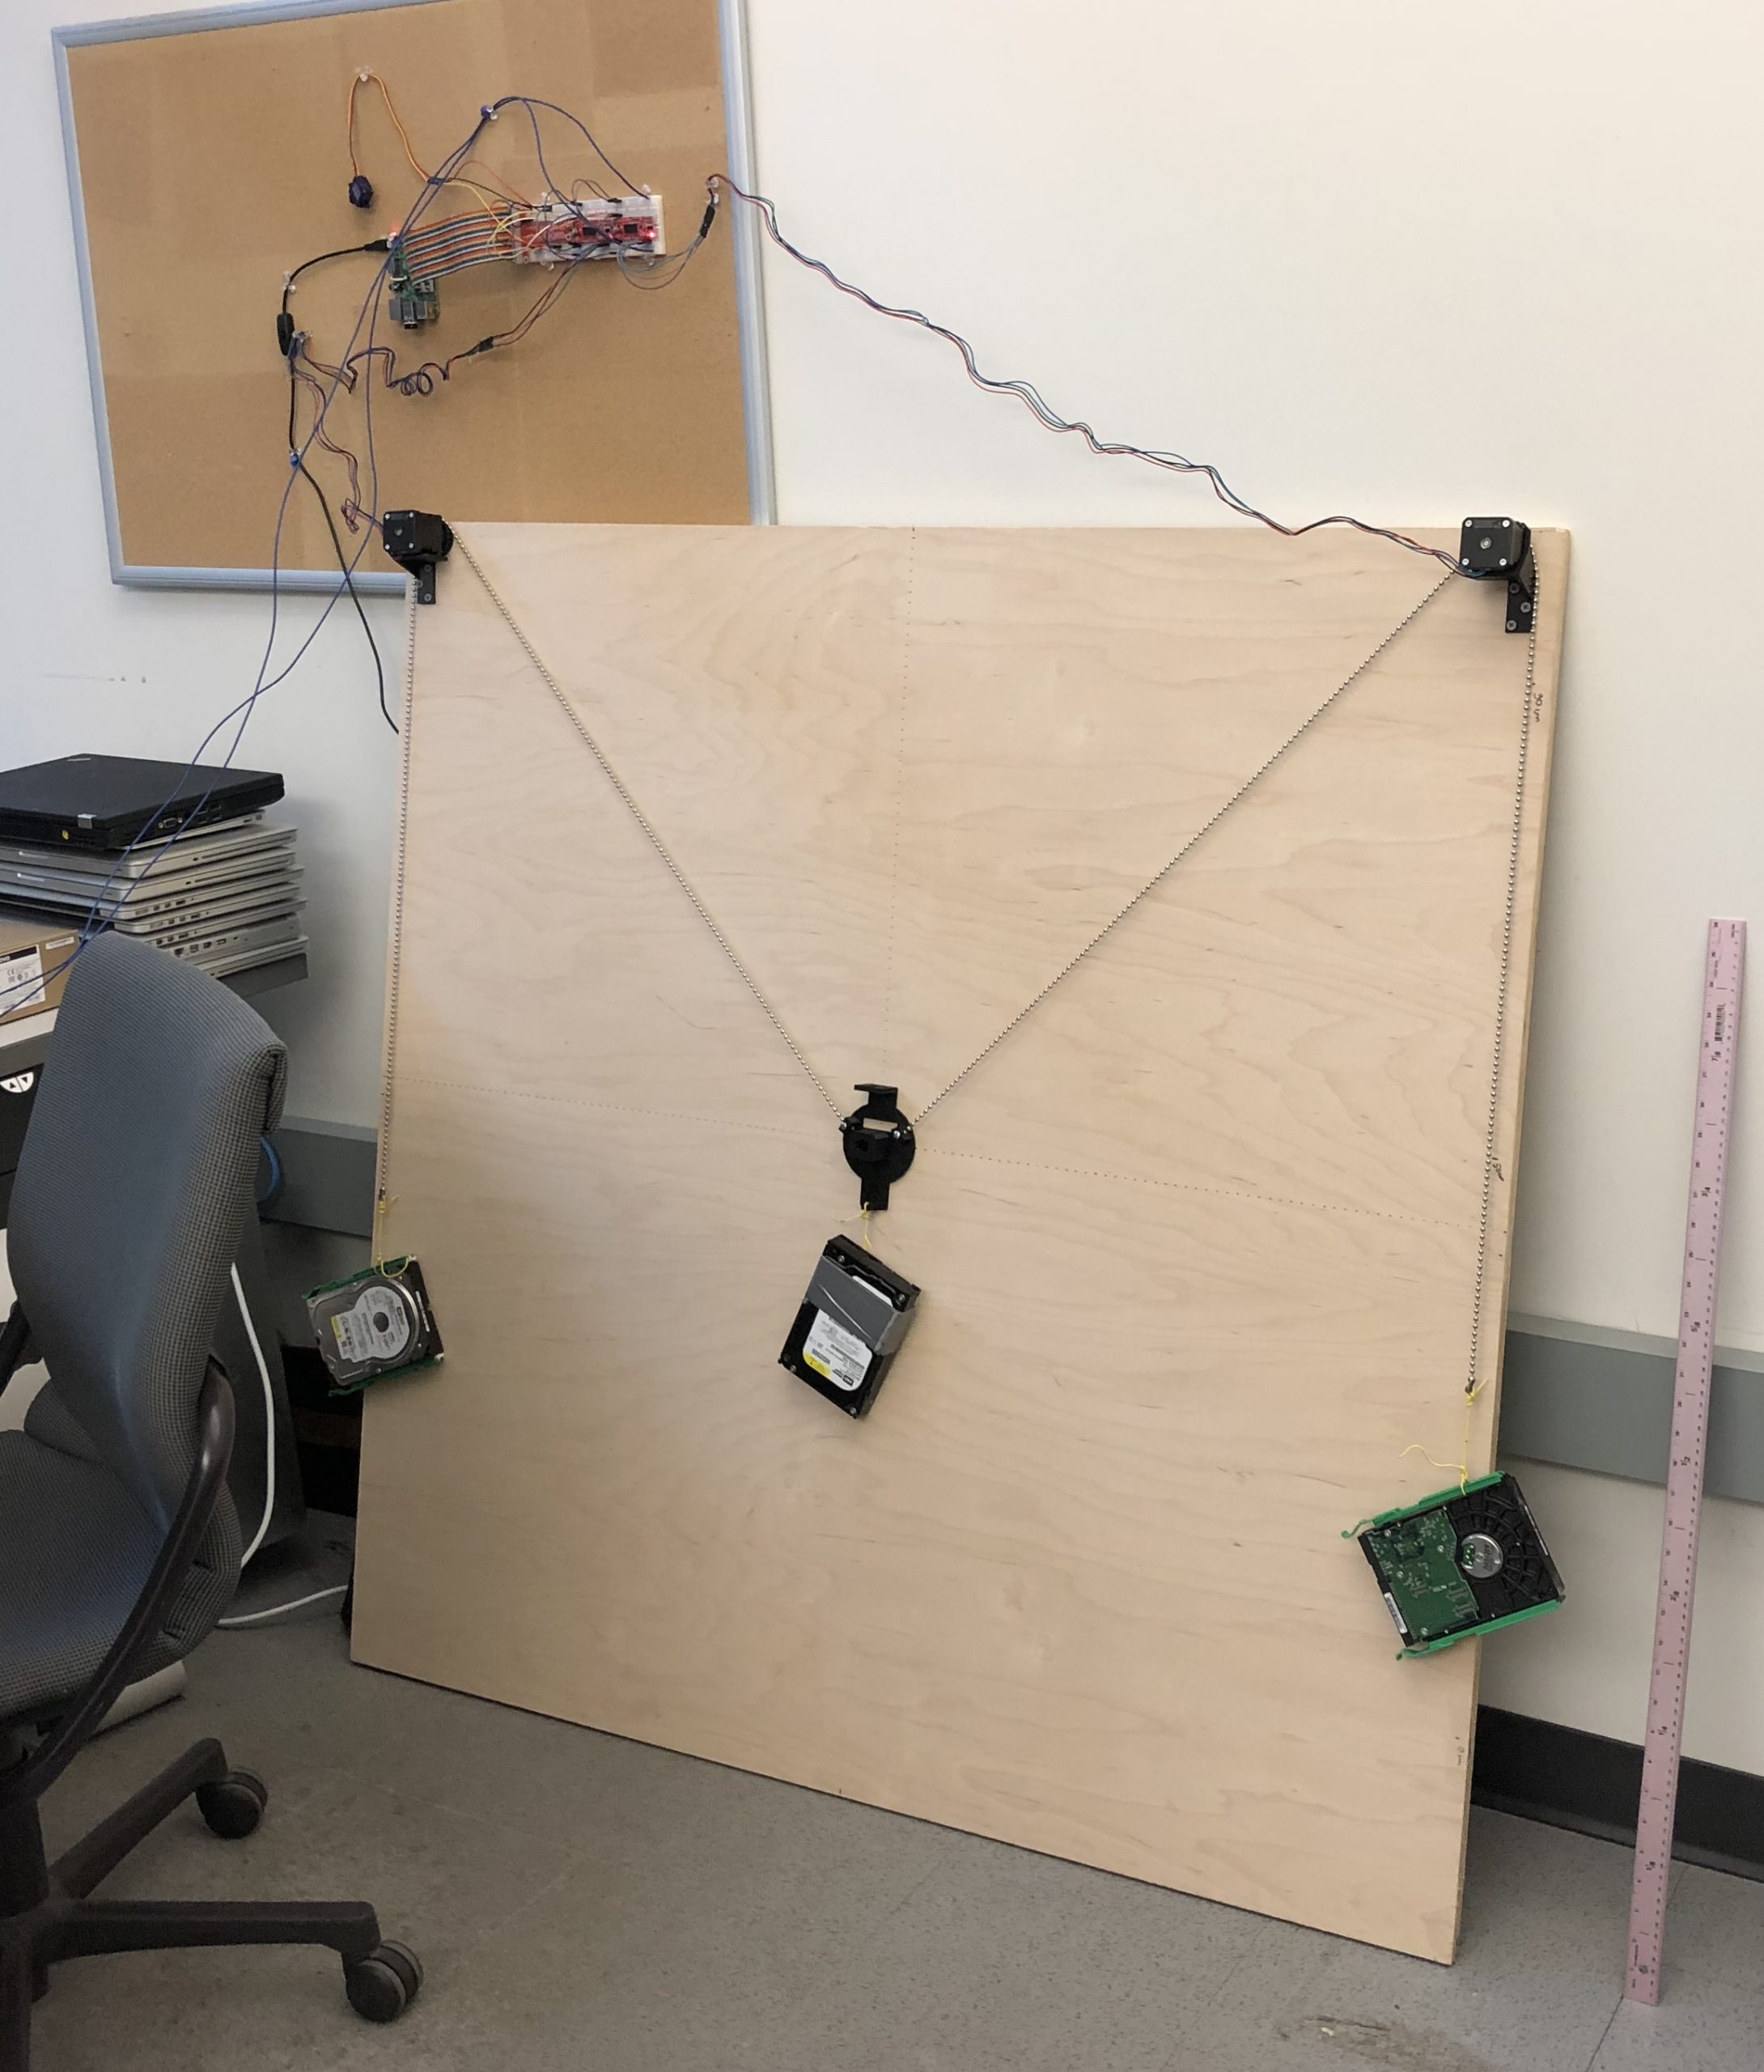
I’m plotting again after an August hiatus. The new Gondola Plotter is super quiet, so nice! I’ve made a few refinements to the software stack of course… The usual.
I found a bunch of really cool engravings in some very old books I found in the abandoned house. These books are worthy of some discussion on their own much like the old vinyls, but this isn’t the time.
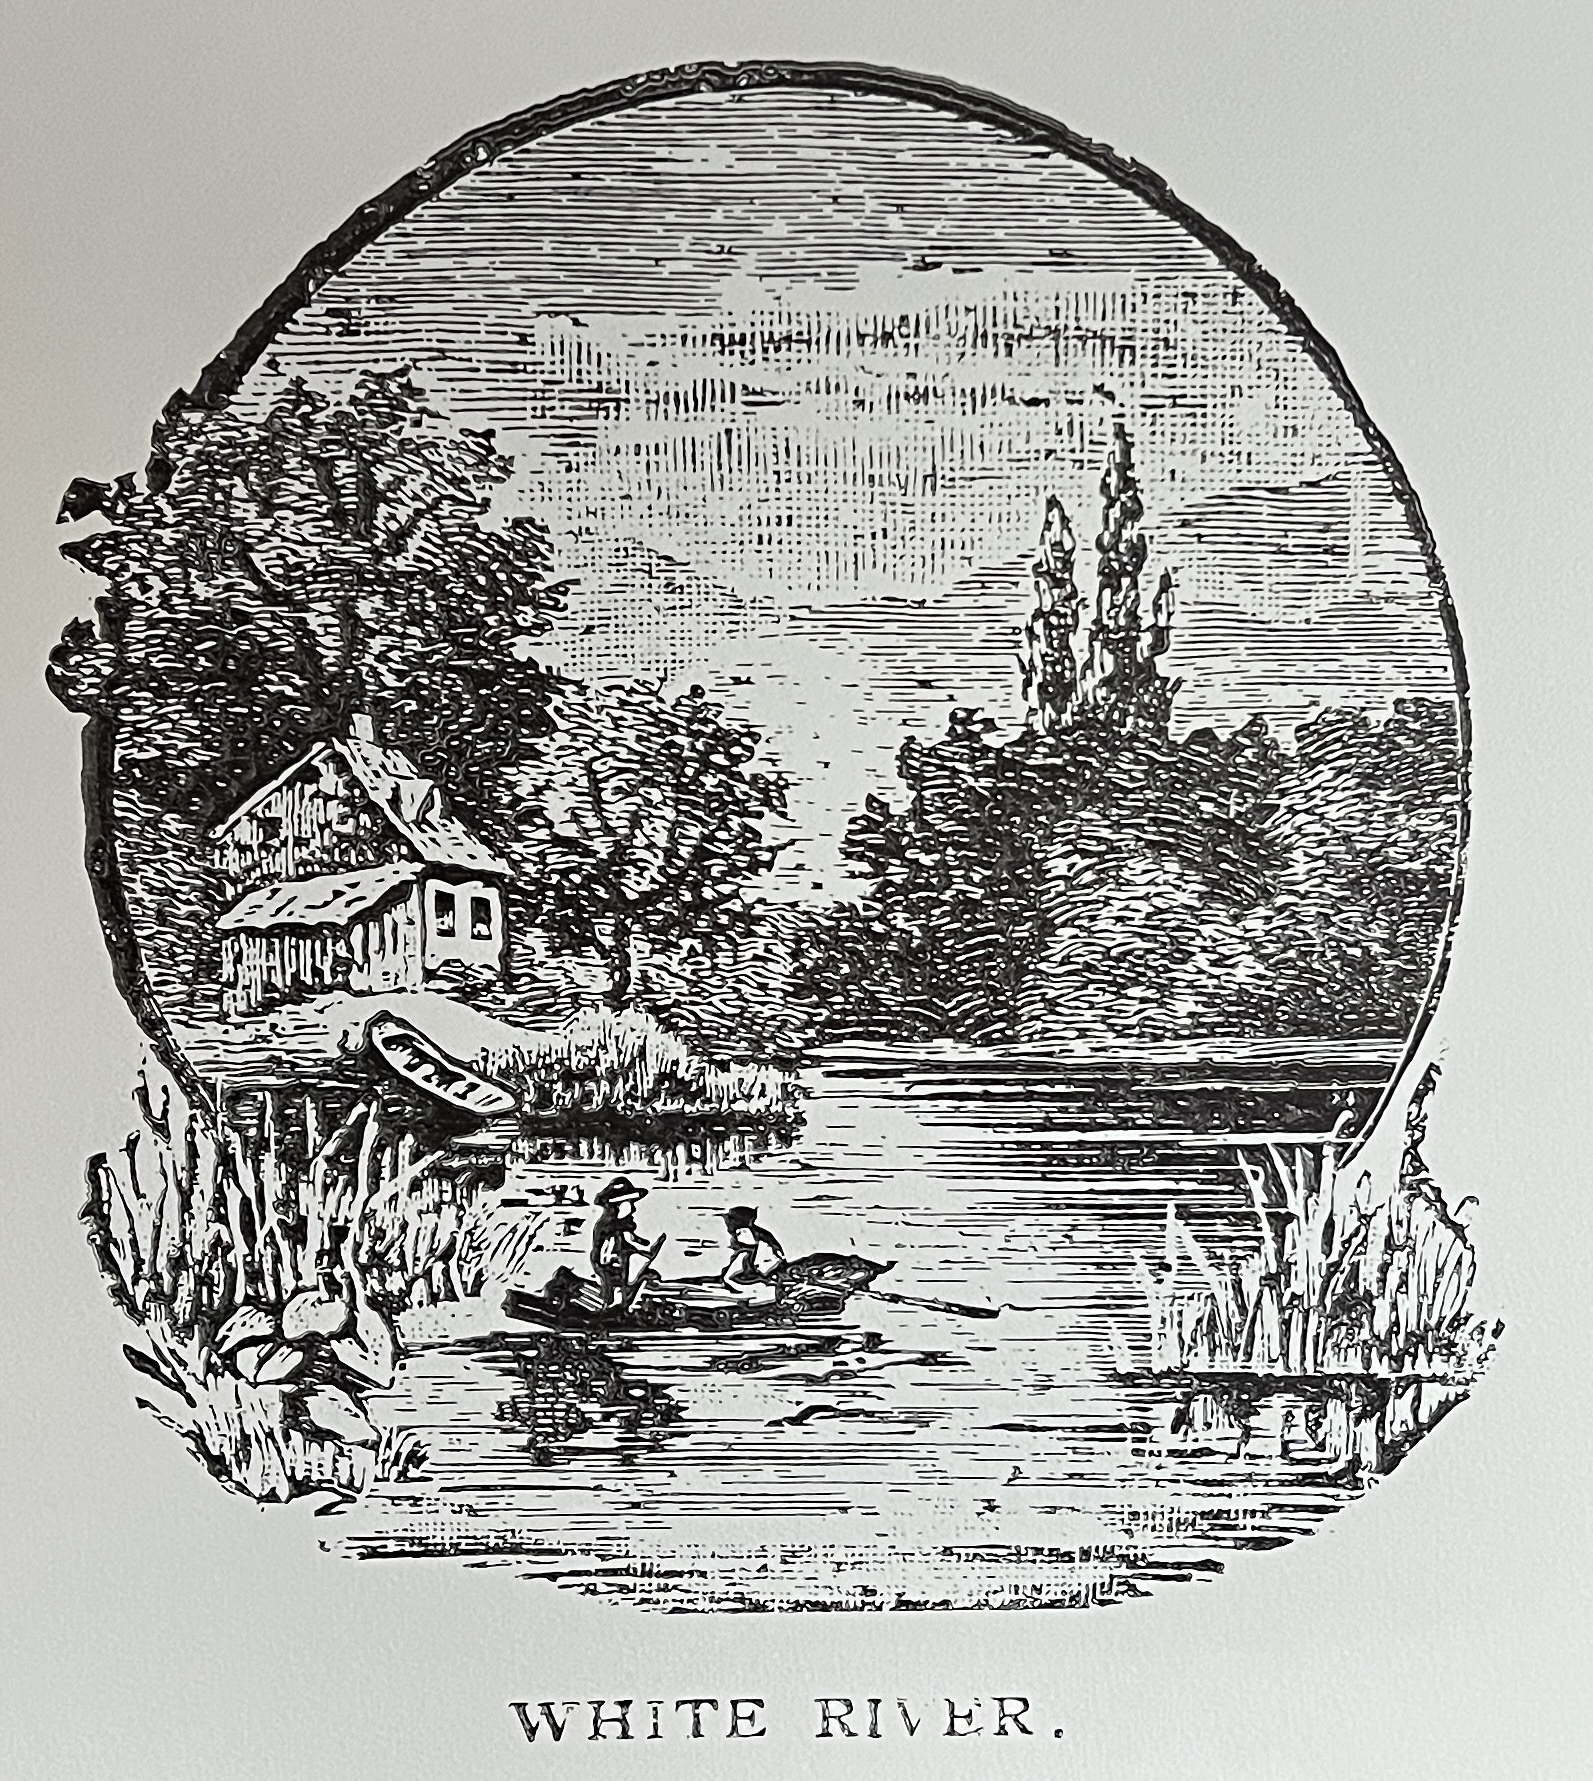
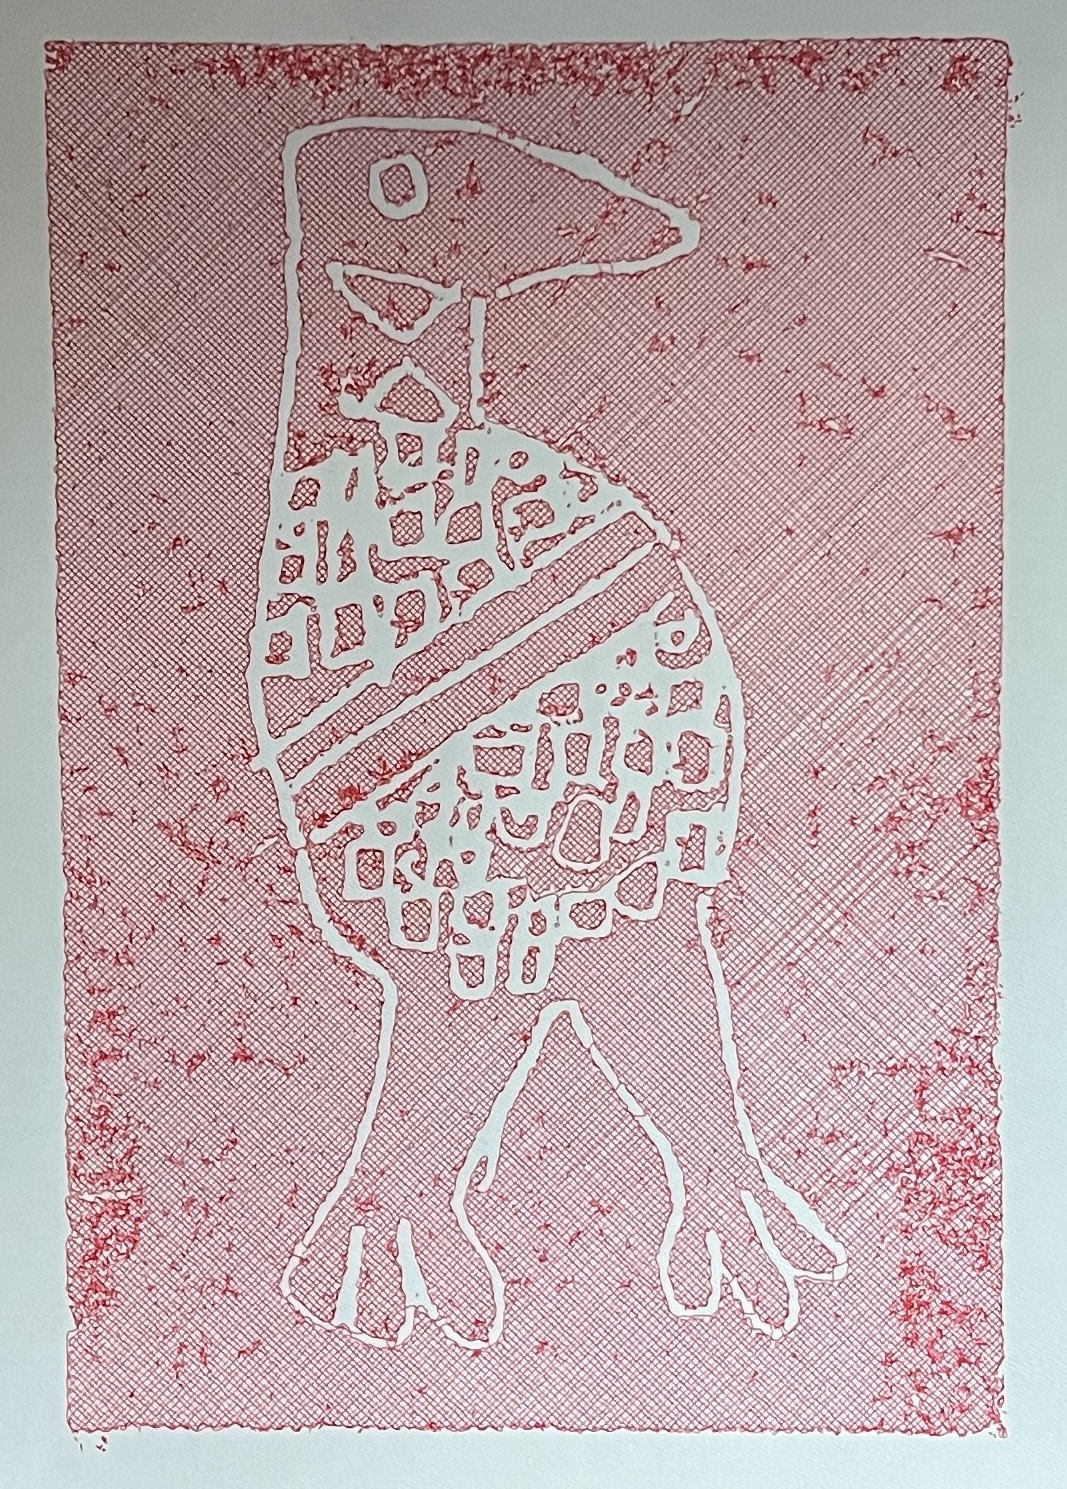

I got ChatGPT to make me a few SVG handling tools that are really incredibly well done and will help me shed some of the apps I was using. With SVGs there really is not a single app that does all the things, so I drag a collection around just to use 1 or 2 of their function. AI is helping me write scripts to explore algorithms and replace more trivial functionality from apps.
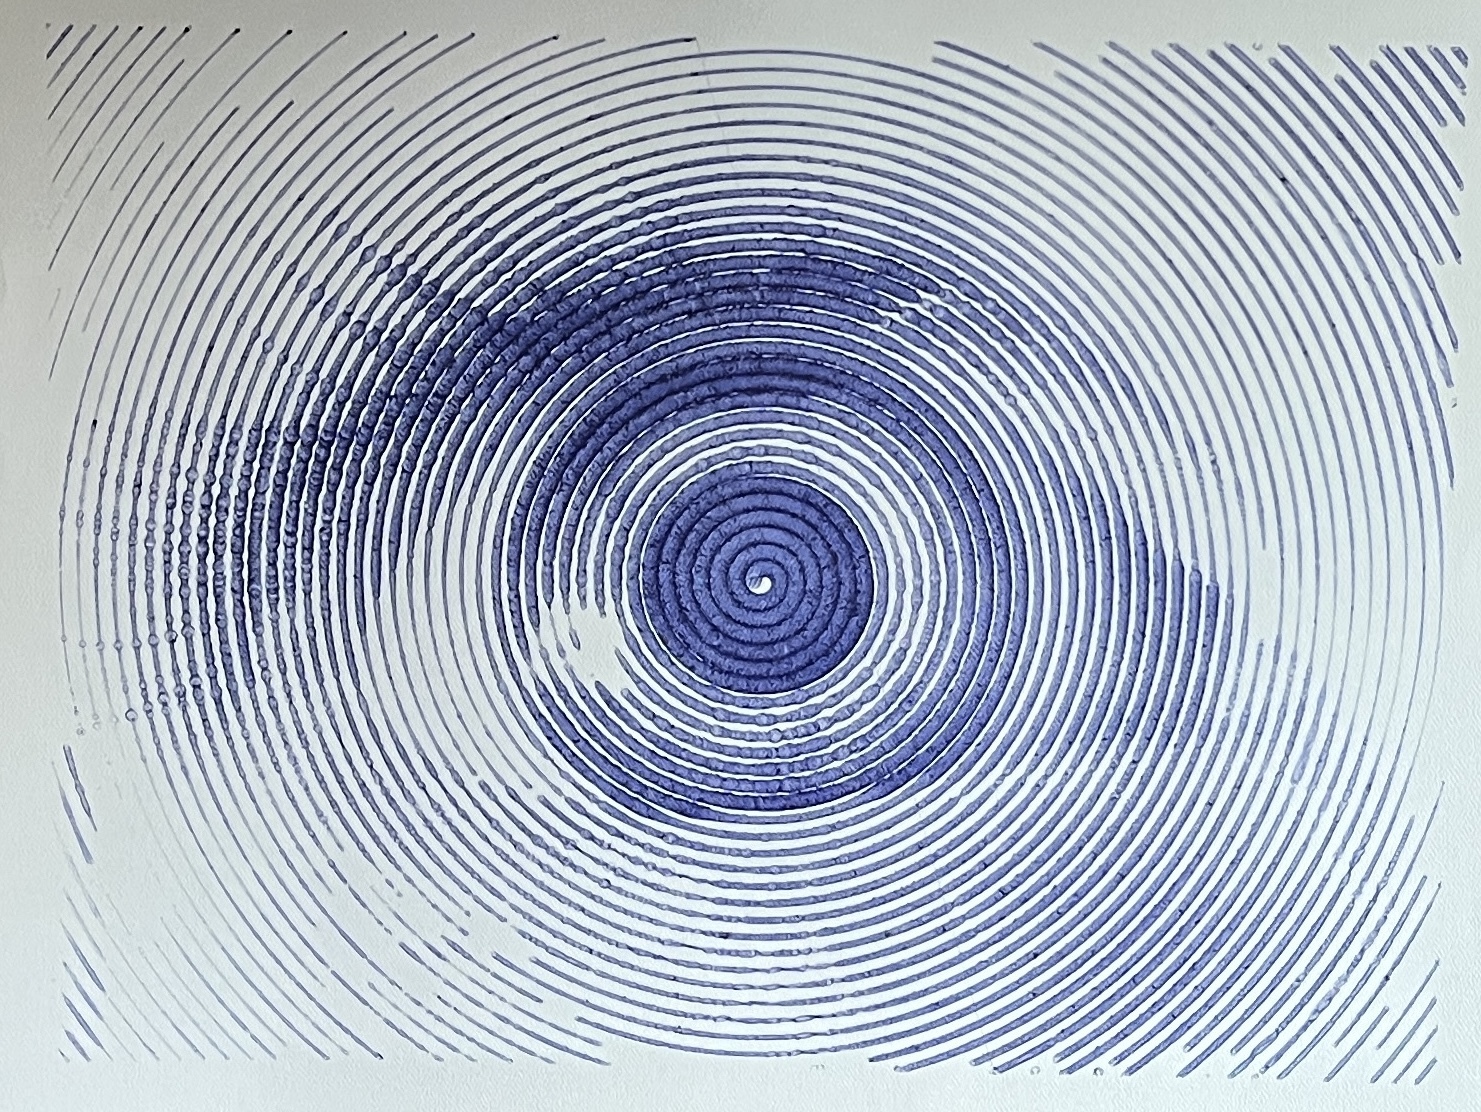
Case in point: this super cool recursive inset fill algorithm to turn fills into something a plotter can do.


I’ve been wanting to write this one for a while, but I knew it’d take me a good few days to nail it. That got turned into 30 minutes with AI. Jaw dropping. I love the effect as it echoes a lot of bored fillings of shapes I’d do as a kid getting bored in class. The cookstove above is filled with it, but it’s far too dense at this size and so it really looks like a actual fill rather than a particular effect.
A lot of my tooling these days is Python which has good libraries for handling SVGs. I used to dislike Python for their dumb purist move from 2.7 to 3 which wasted everyone’s time, and because they had managed to reimplement library hell. But I have to say venv is a successful redress to the later.
Looks Like the Temp Sensor
also got EMP’d. That’s kind of crazy to think about. I suppose this isn’t the most reliable electronics but it kind of gets you thinking about what else could be affected. Or what we could lose with a closer strike.

Thunder & Solar Monitoring
I lost a voltage sensor the exact minute thunder struck very close to the house, Nicole happened to be filming because it was an impressive mix of rain, hail & thunder. Does thunder create some sort of EMP? Could be a coincidence but the timing is really suspicious. Sorry I mean sus.
dead sensor :\

Oh, well I’ll just buy a replacement.

And fuck, I forgot we screw over allies and suck up to dictators now. Phidgets come from Canada, I never found any comparable alternatives in the realm of current sensing that goes beyond small hobbyist projects. And I don’t really want to relearn/recode a whole new deal anyway. I just want replacement parts.
Extensive searching pointed to robotshop.com having Phidgets parts in stock. So I grabbed spares for everything to get a few thunderstrikes ahead and buy me a few years. For the top 3 parts, I grabbed everything they are left.

The battery voltage sensor is actually important these days as automation uses it to make decisions on which circuits to turn on/off. So for a few days until I got the part, I moved the panels’ voltage sensor to the battery. Sensing the panels is informational and has no real consequence on function. With anything solar, I have appreciated having spares at hand so it was time to spend some money and make that true for the monitoring side of things which we became more dependent on over time.
Built Me Another
I can make them pretty fast now, I bought top notch stepper drivers and servos for it. It’s so much quieter than the previous one. I’m learning that it makes no sense to buy cheap hardware when you’re not doing volume. The few bucks saved will be paid for many times over in wasted time. I took pictures for documentation but I’m not sure if I’ll have the time to sink into it.

A lot of refinements went into this one, from the thousands of hours that the previous model was in use.
This was the very first model, built long before I got into tabletop plotters:
It’s pretty pathetic to look at 🙂 but it was a good stepping stone. I built another other one for teaching based on cheap 28BYJ-48 steppers. All this to say Gondola PlottyBot v2 is very much the result of a journey.
Cool AI Use
Last time Esther wanted some coloring pages, I guess it’s time to battle with a bazillion sites trying to monetize everything. Jump through hoops here, web inspector there, the usual “this will take a minute” turns into another tech ordeal. Wait… I could just ask ChatGPT for some black and white stuff made for coloring.
The cool part? Esther gets a say into what she’d like to color. Well, she likes cats.


Then I realize that instead of asking for the generic stuff we’re used to seeing on coloring pages, we can ask for specific moments of her life.
Playing with an umbrella on a pile of woodchips? No problem:


Beyond the cool factor, I wonder if coloring her lived experience has a similar effect to journaling. Maybe, this helps process things?
More could be done to clean up the SVGs but this is quite sufficient for us. Evidently though, artists who were in the kid’s coloring niche have some competition :\.
One of the things that blows my mind with AI is all the things it can already do but have yet to be discovered.
All images above clickable for SVG, if you end up coloring one please send a pic 🙂