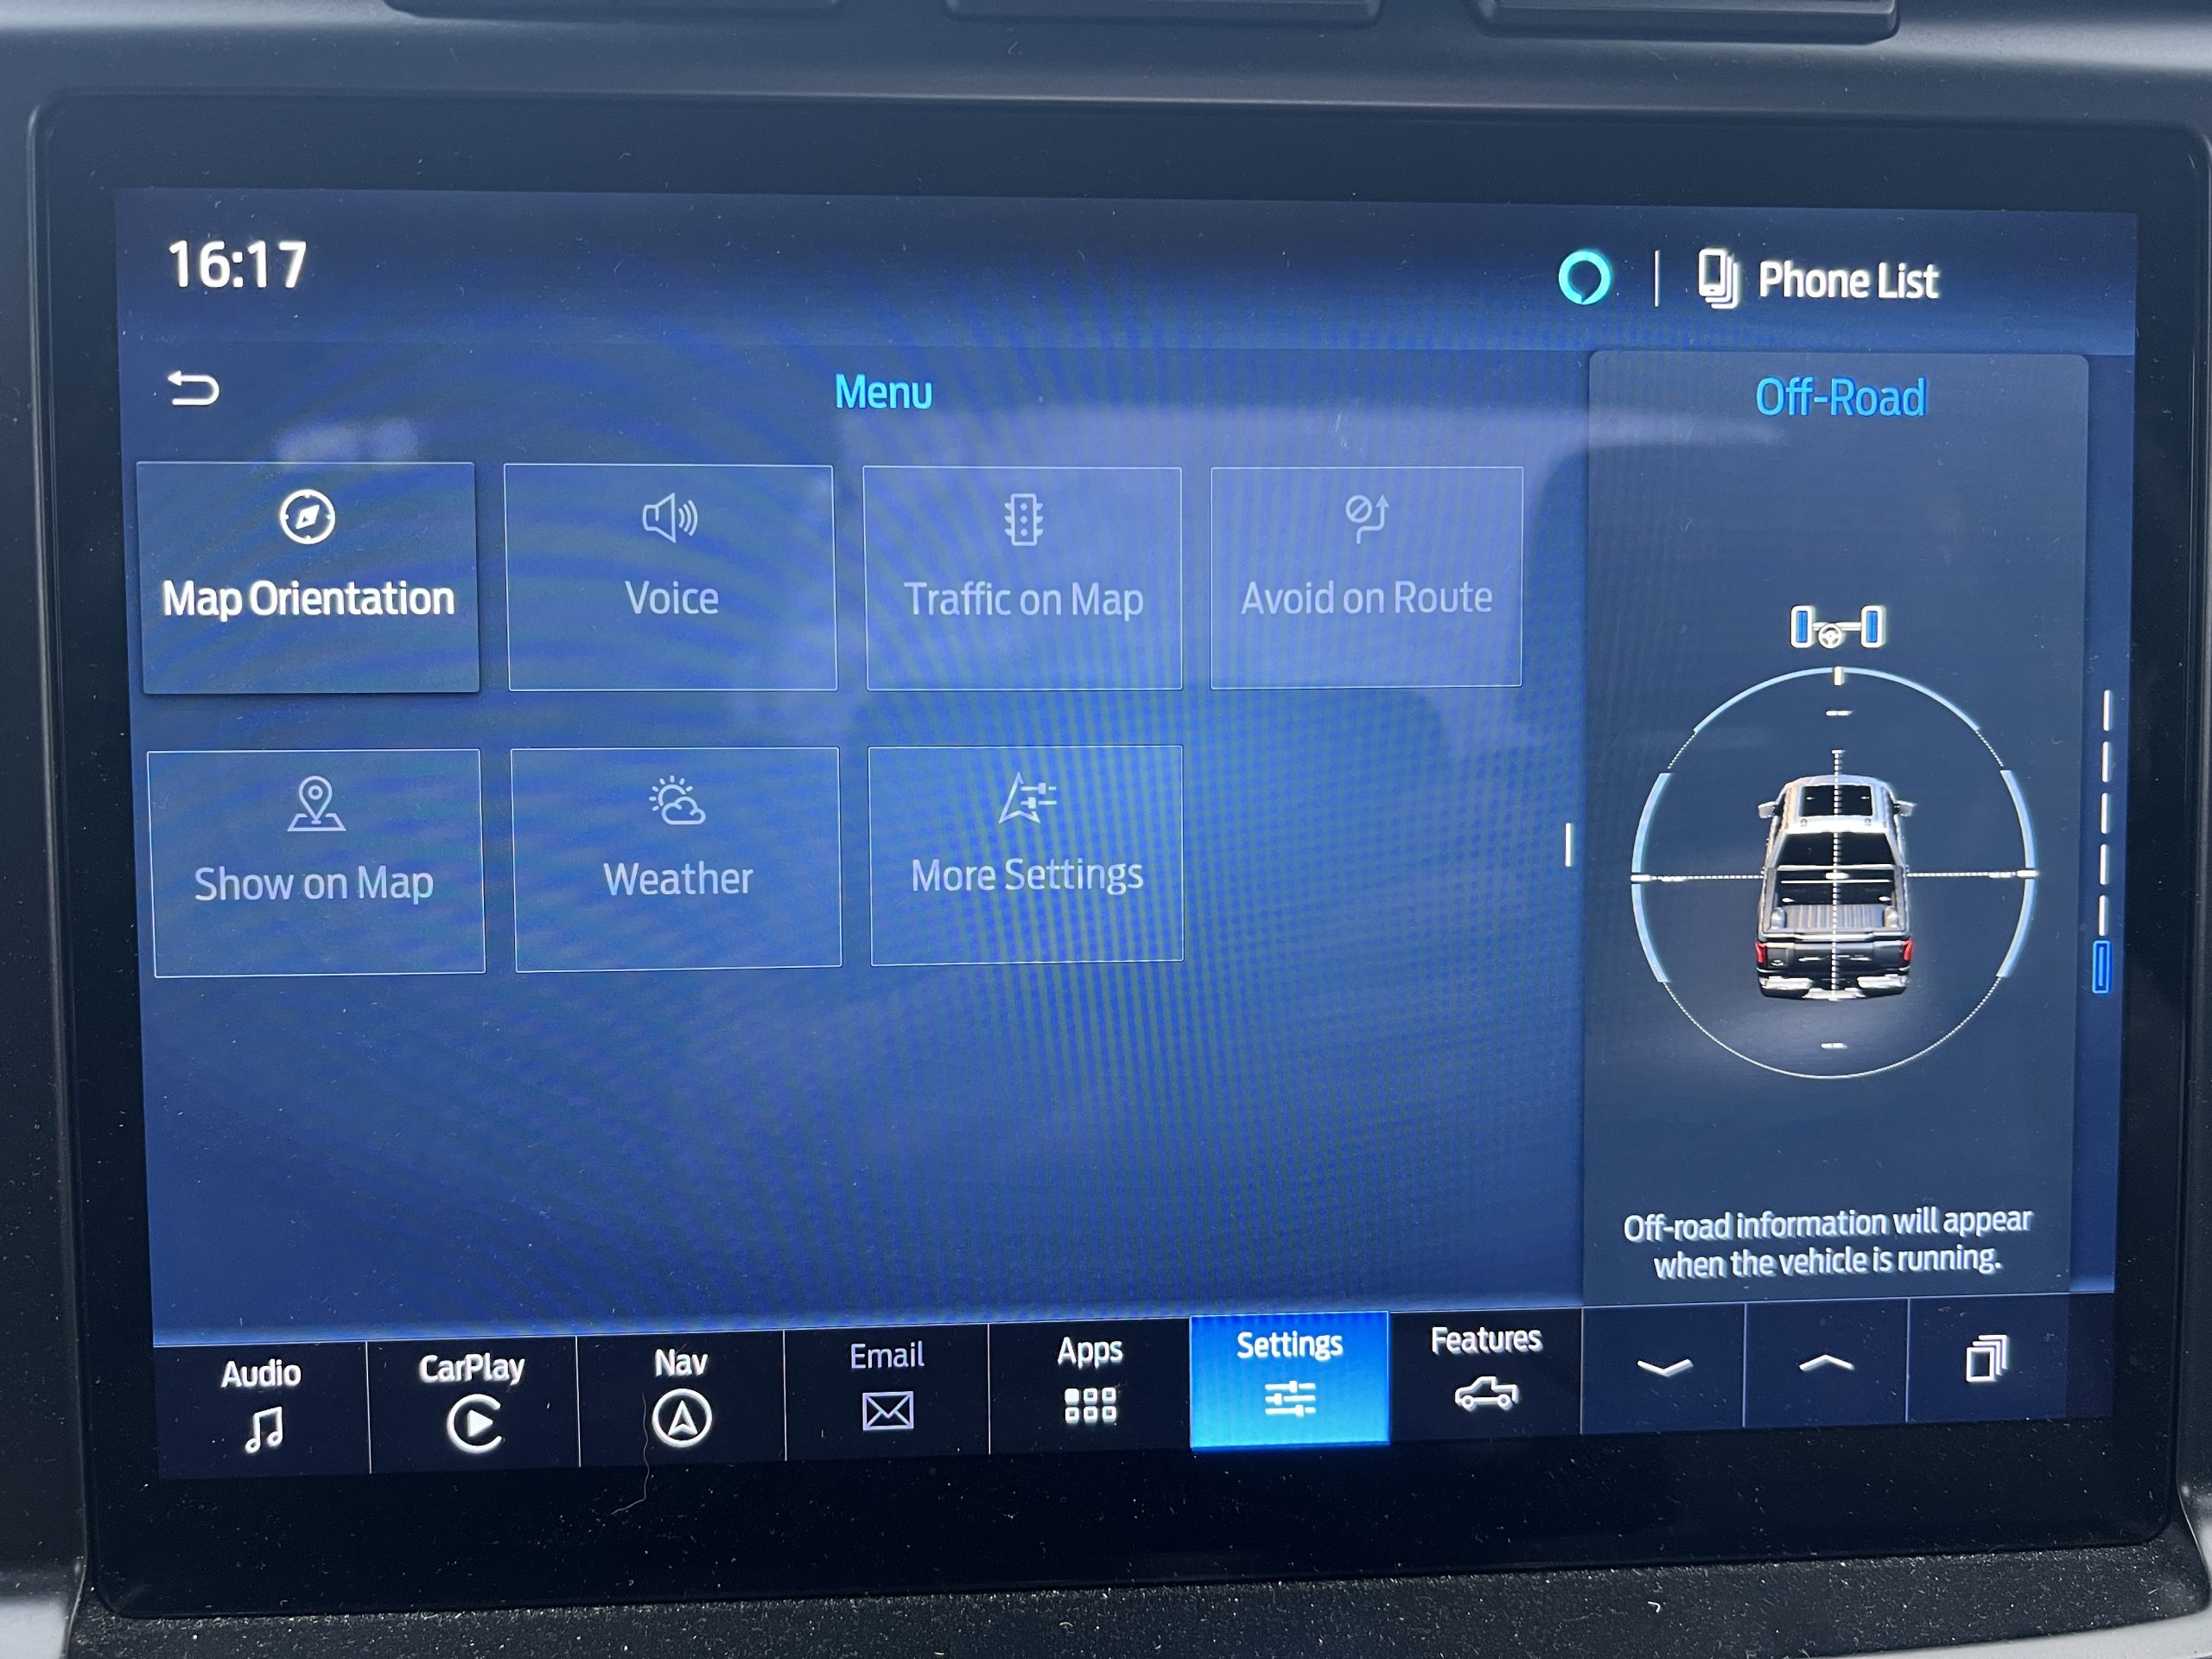
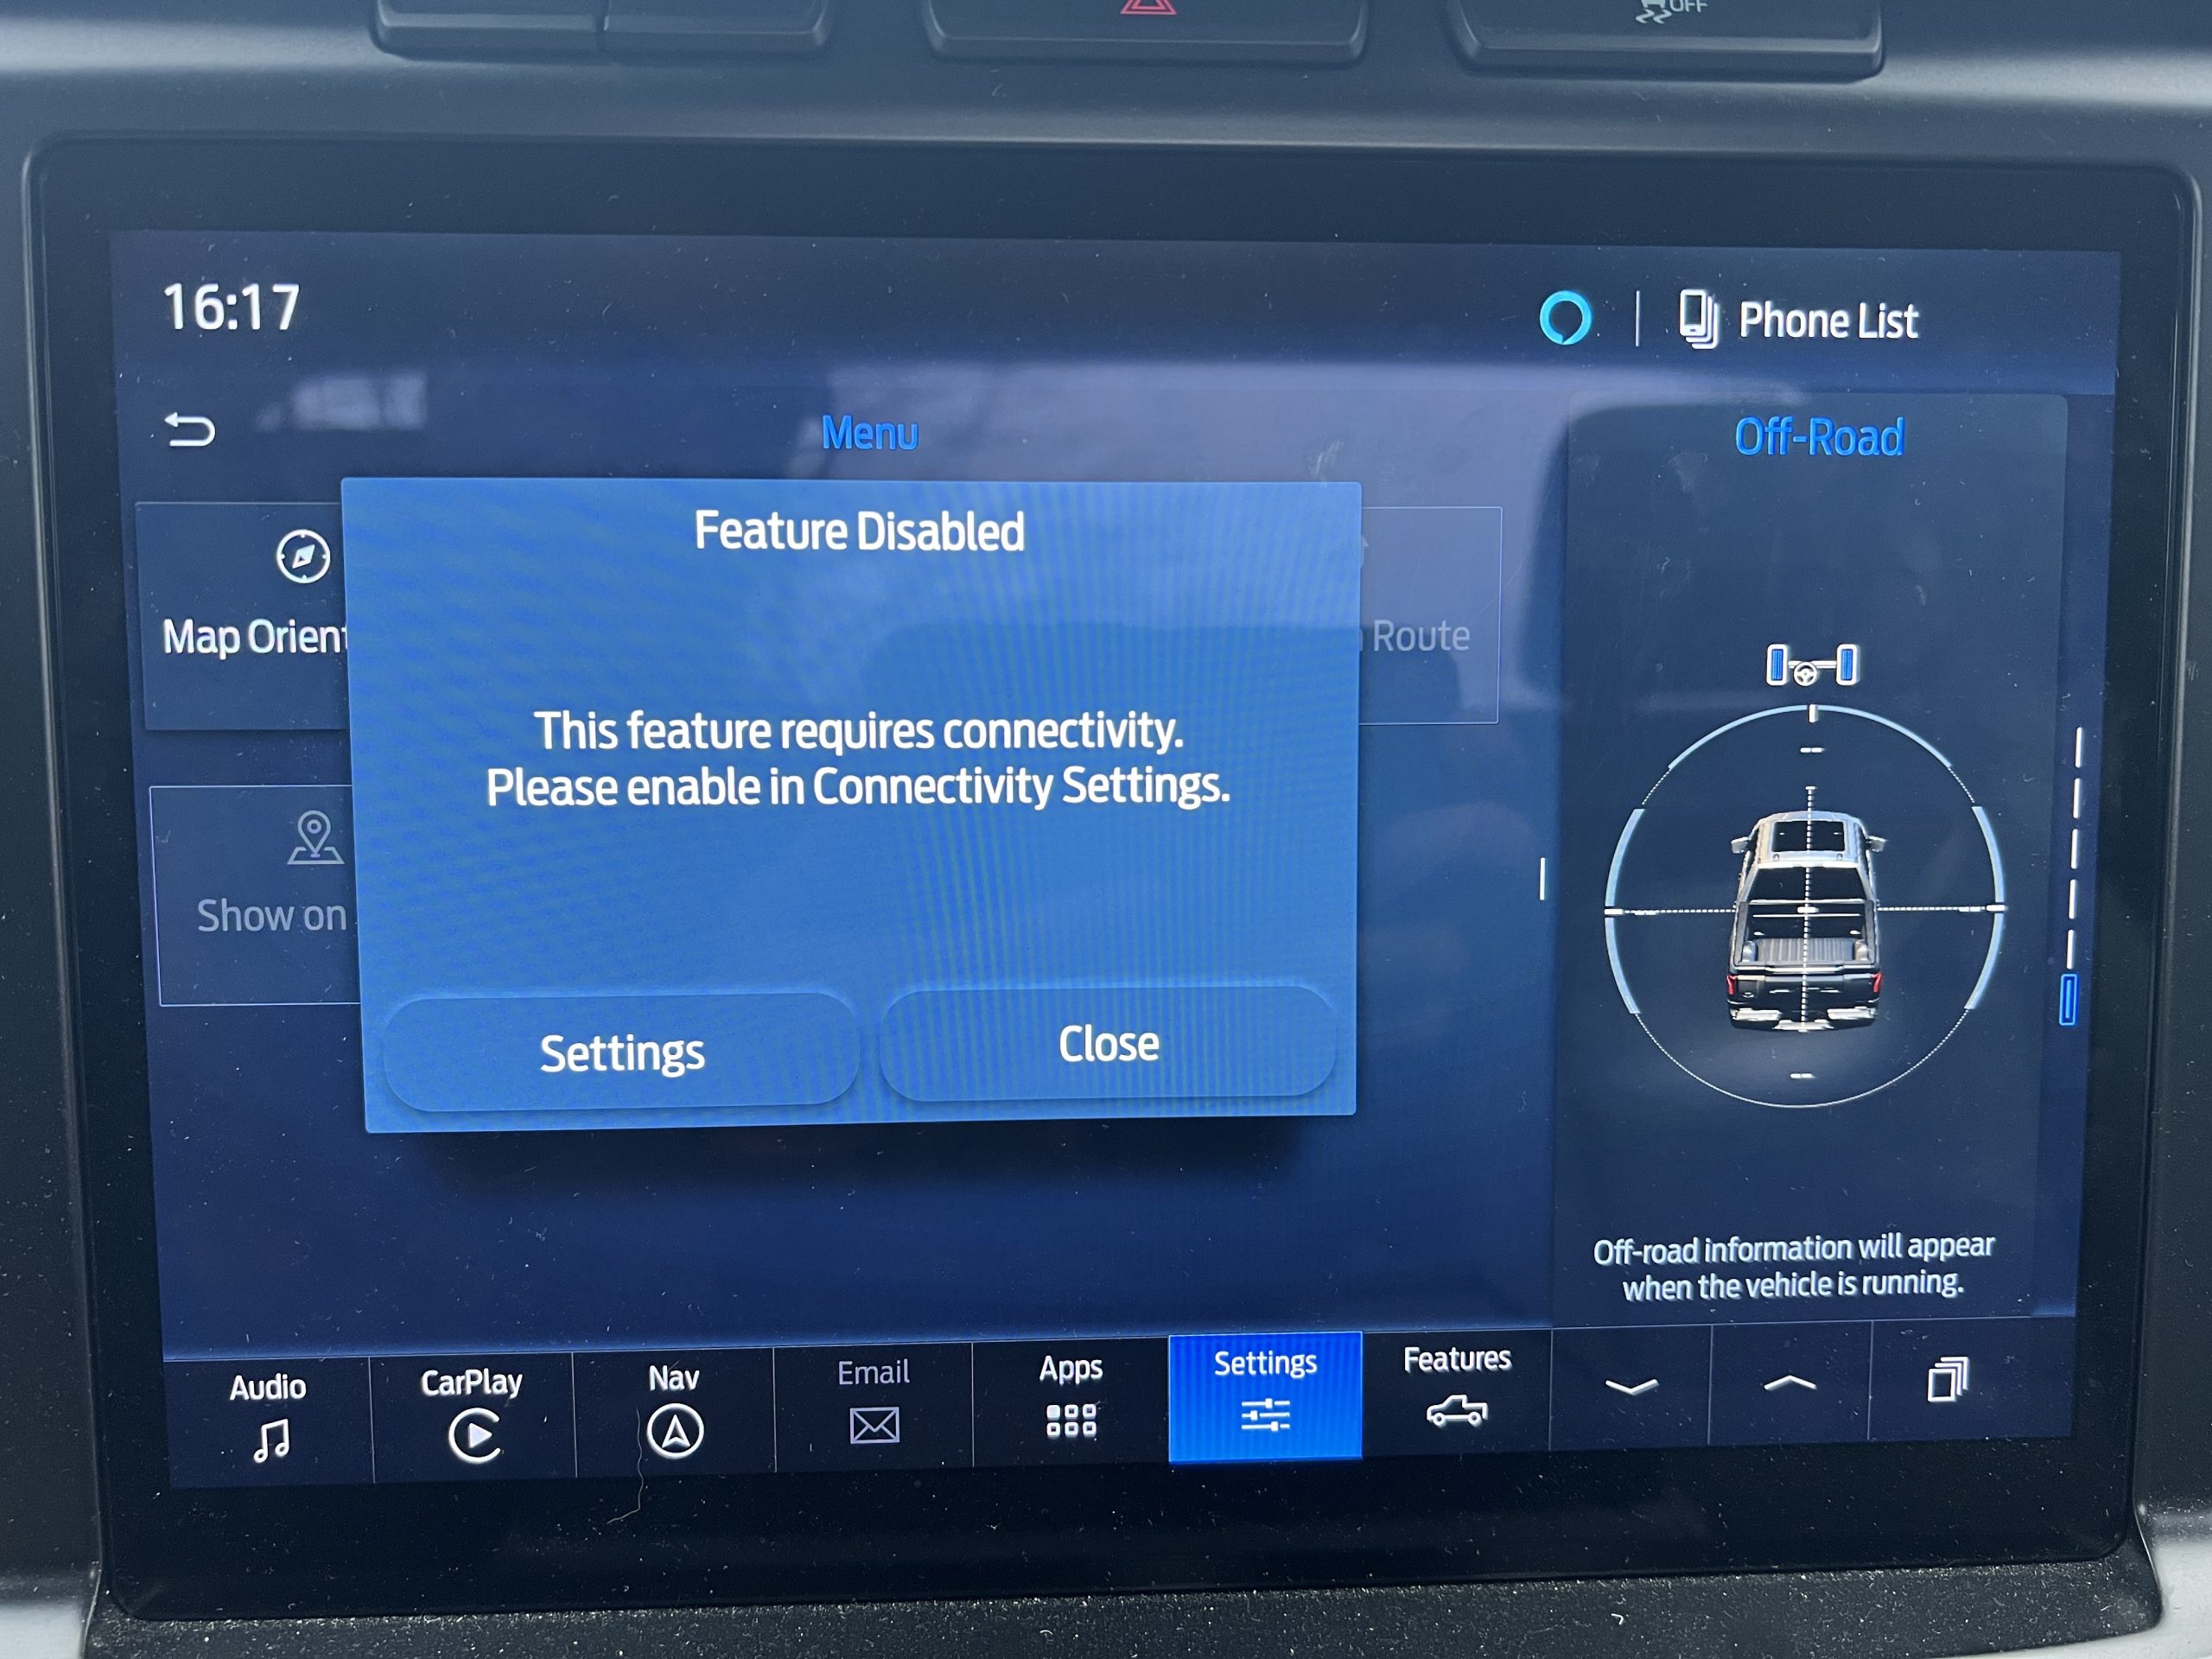
Software is steadily becoming more dictatorial. It gives us fake choices like one does to a child to trick them into behaving, with a so called dark pattern to make the “right” decision obvious. I’m pretty sure I’ll be going back to Linux soon.
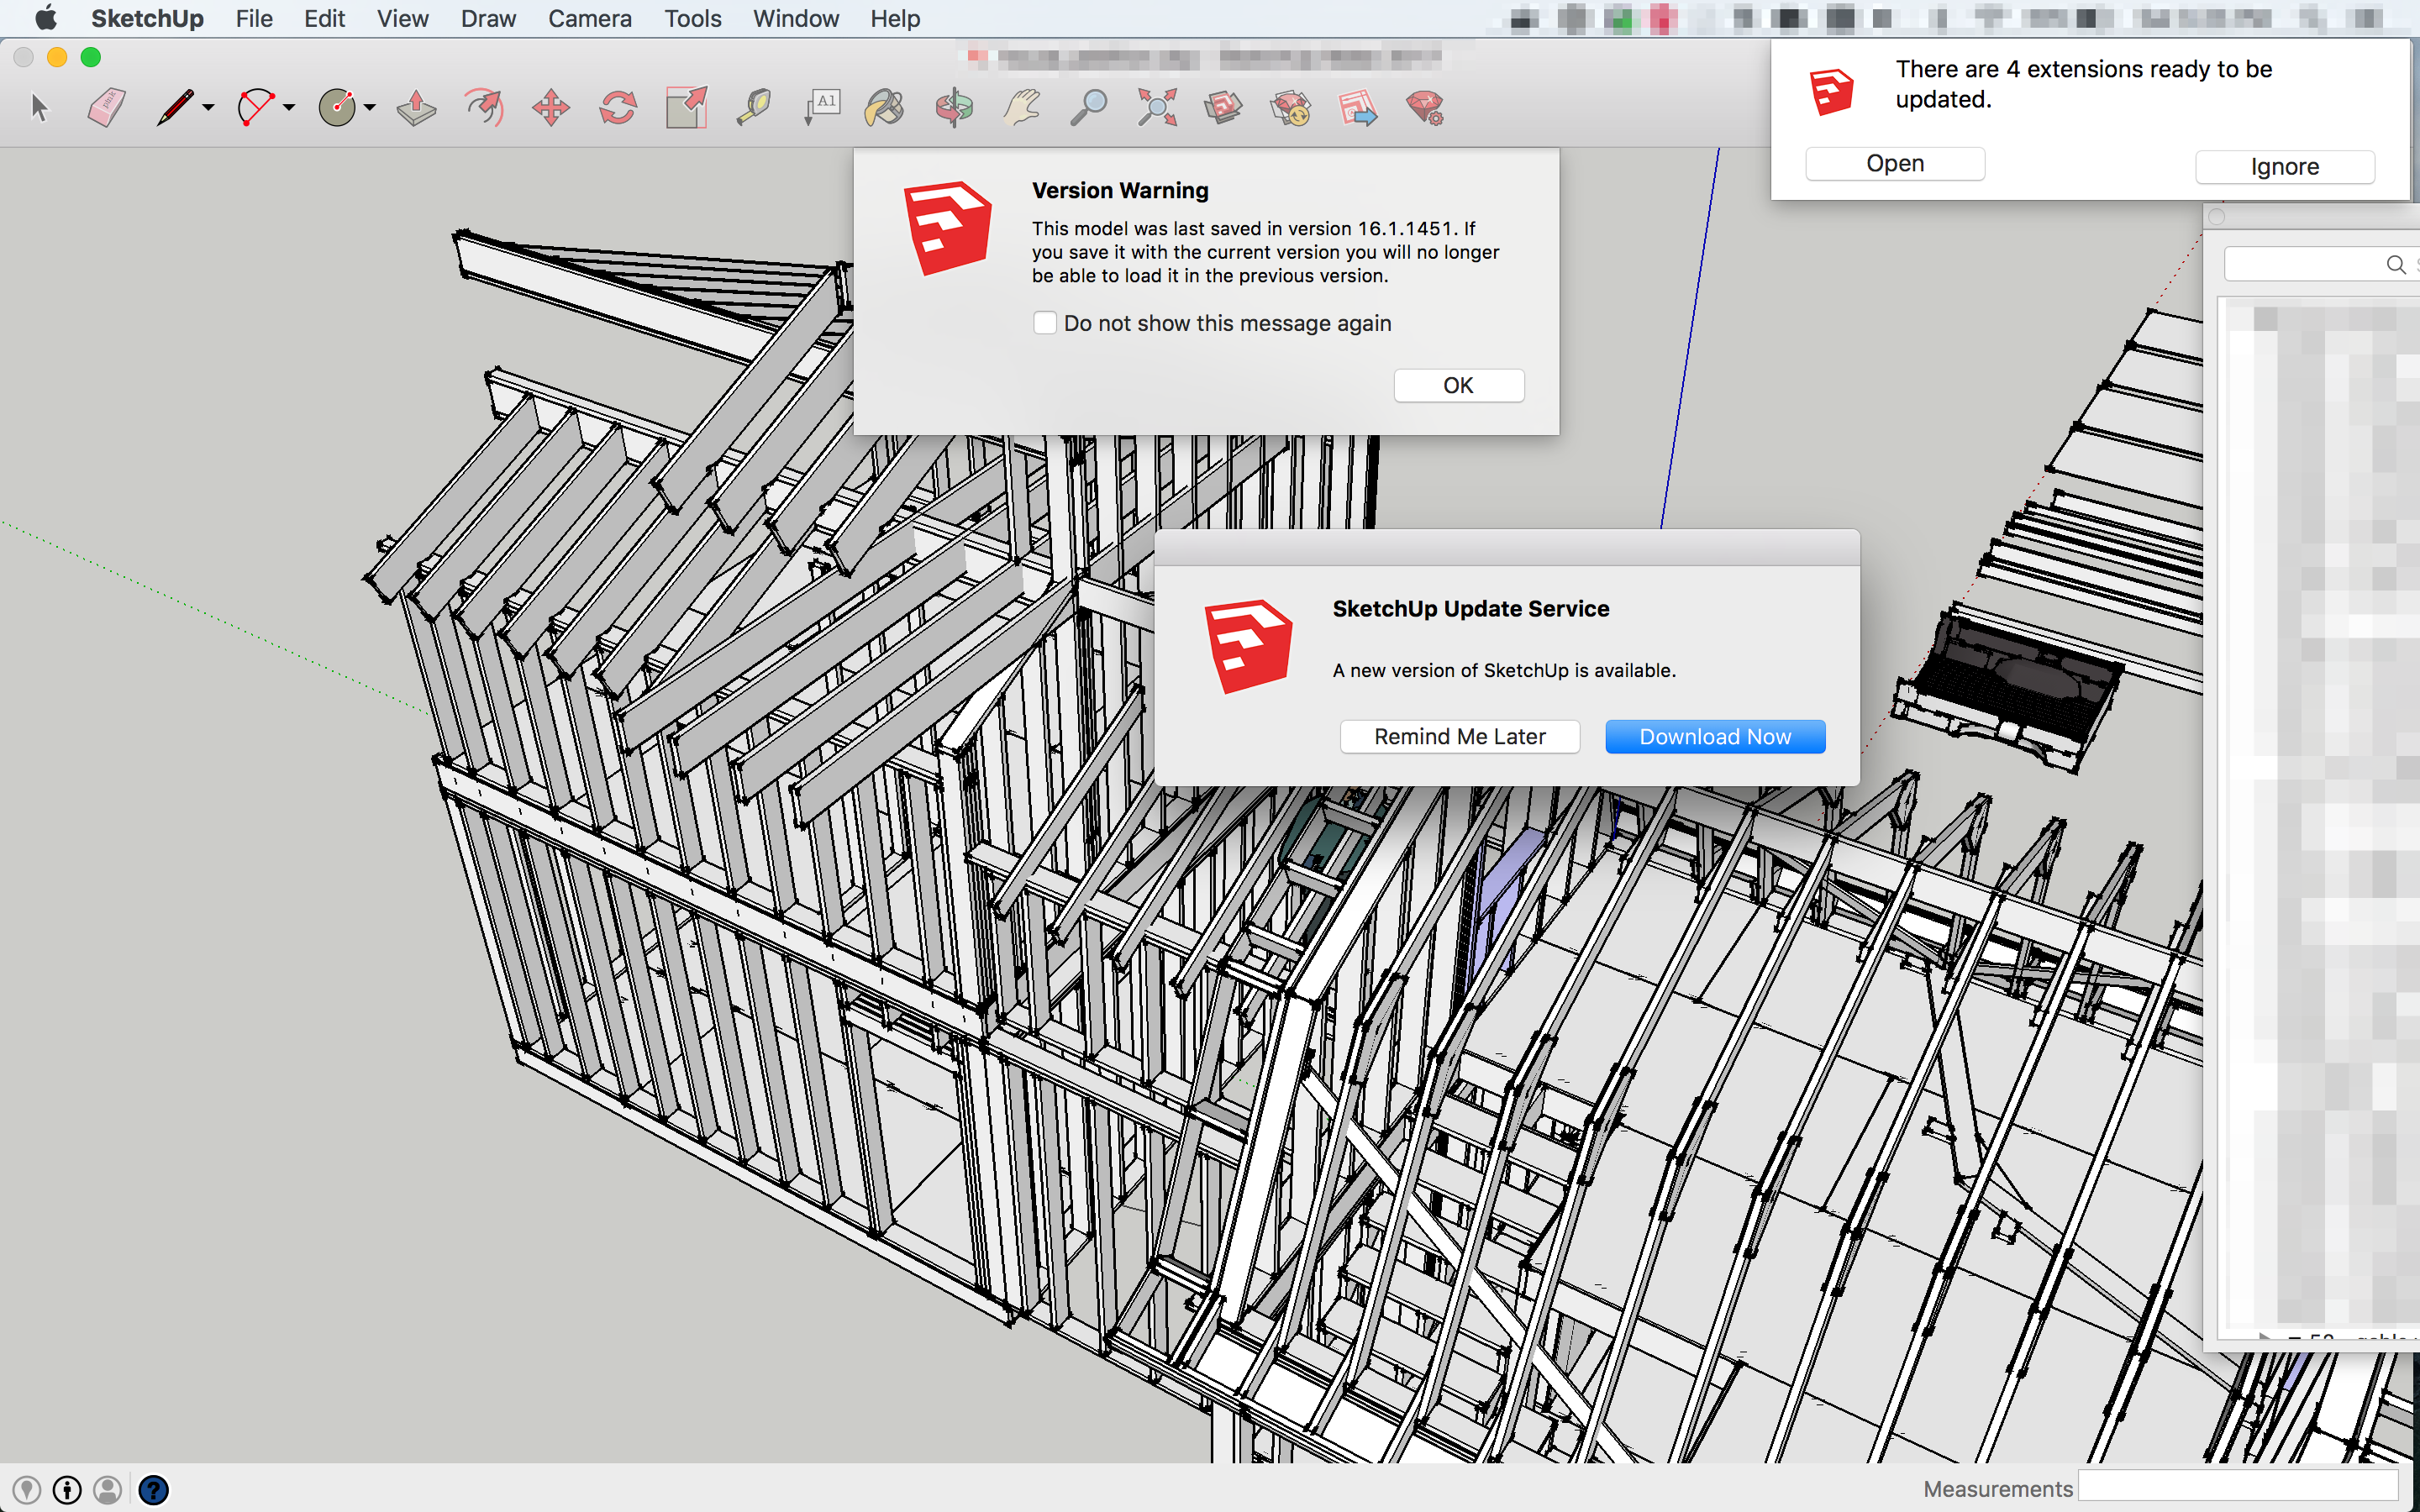
If update prompts spoke the truth:
I don’t mean to particularly pick on Apple, that’s just the template I used.


Christ on a bike, can I do anything?
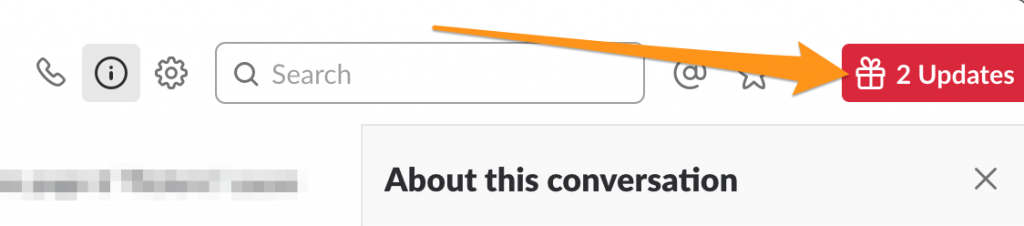
We’ll harass you until you click the button, It’s our gift to you!
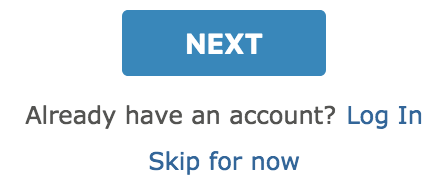
“For now”, you’ll comply eventually.