Gondola PlottyBot v2
I built it last year and took a bunch of pictures to document the build. Then life happened and I didn’t. Someone noticed I had an undocumented v2 and asked about it, so it was time to fix this.
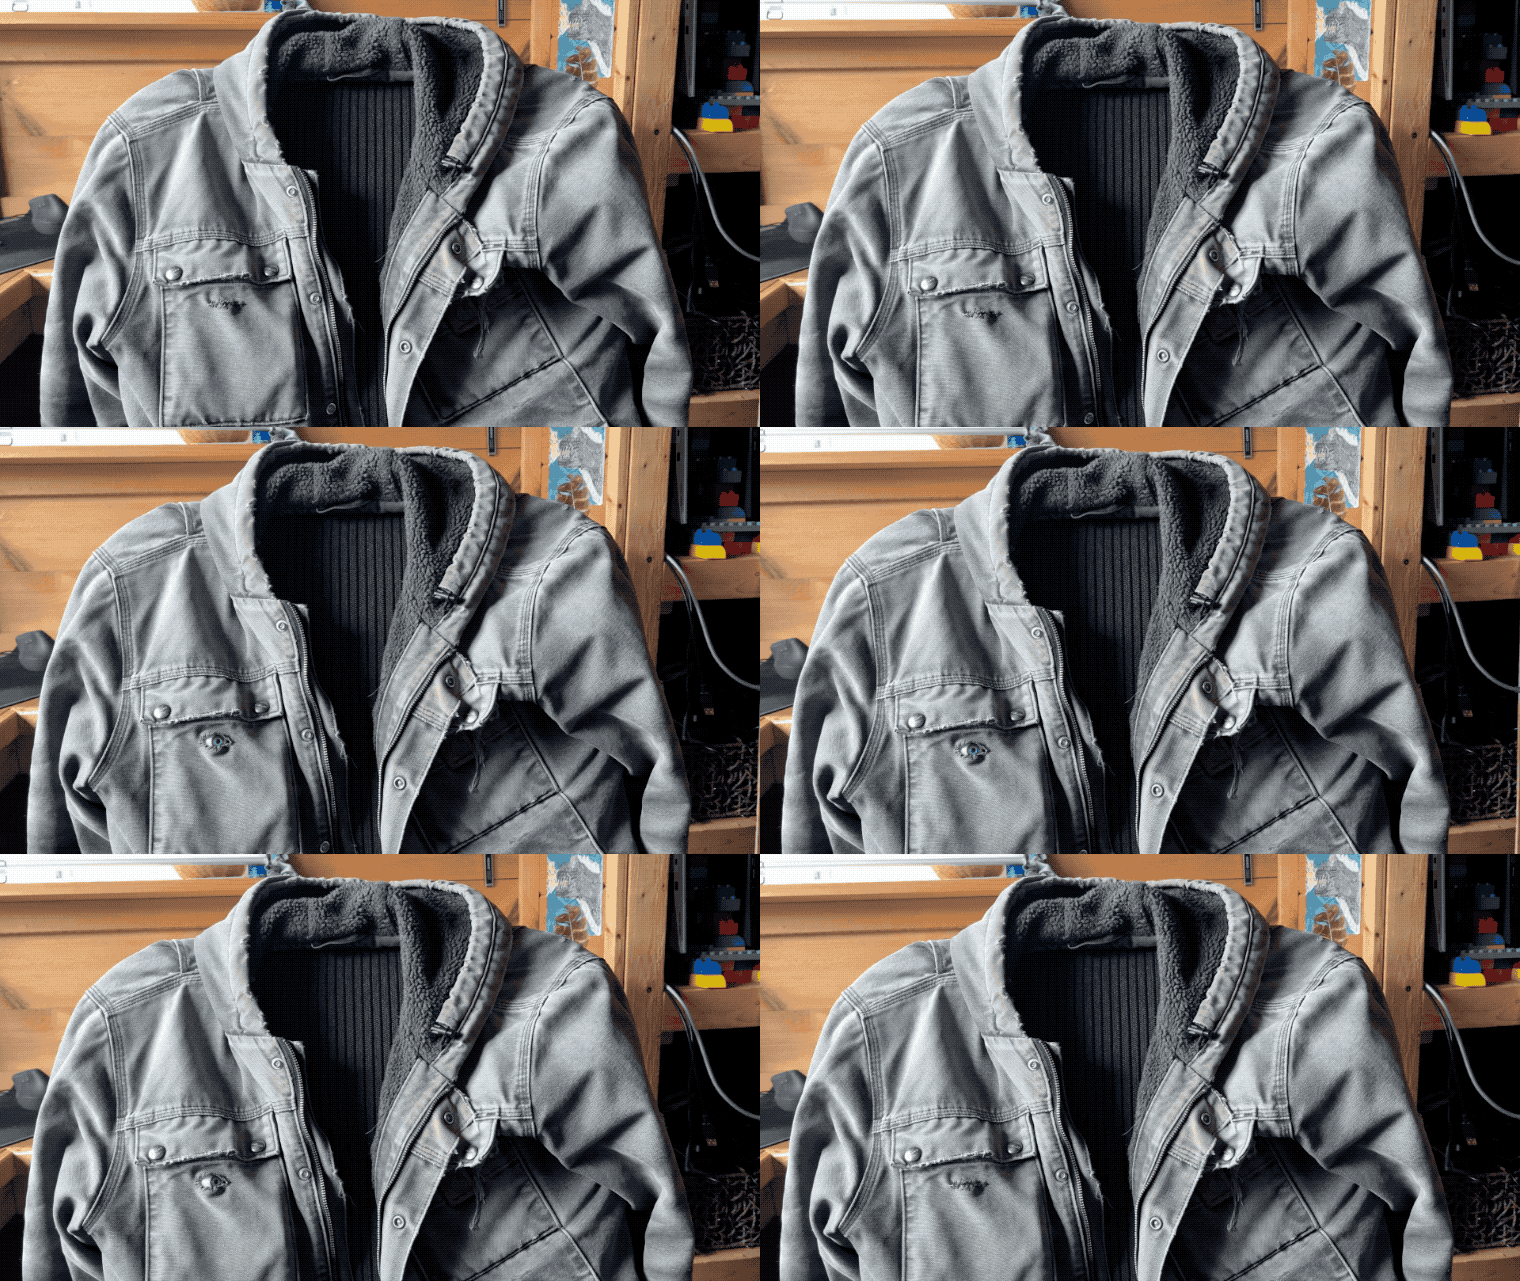
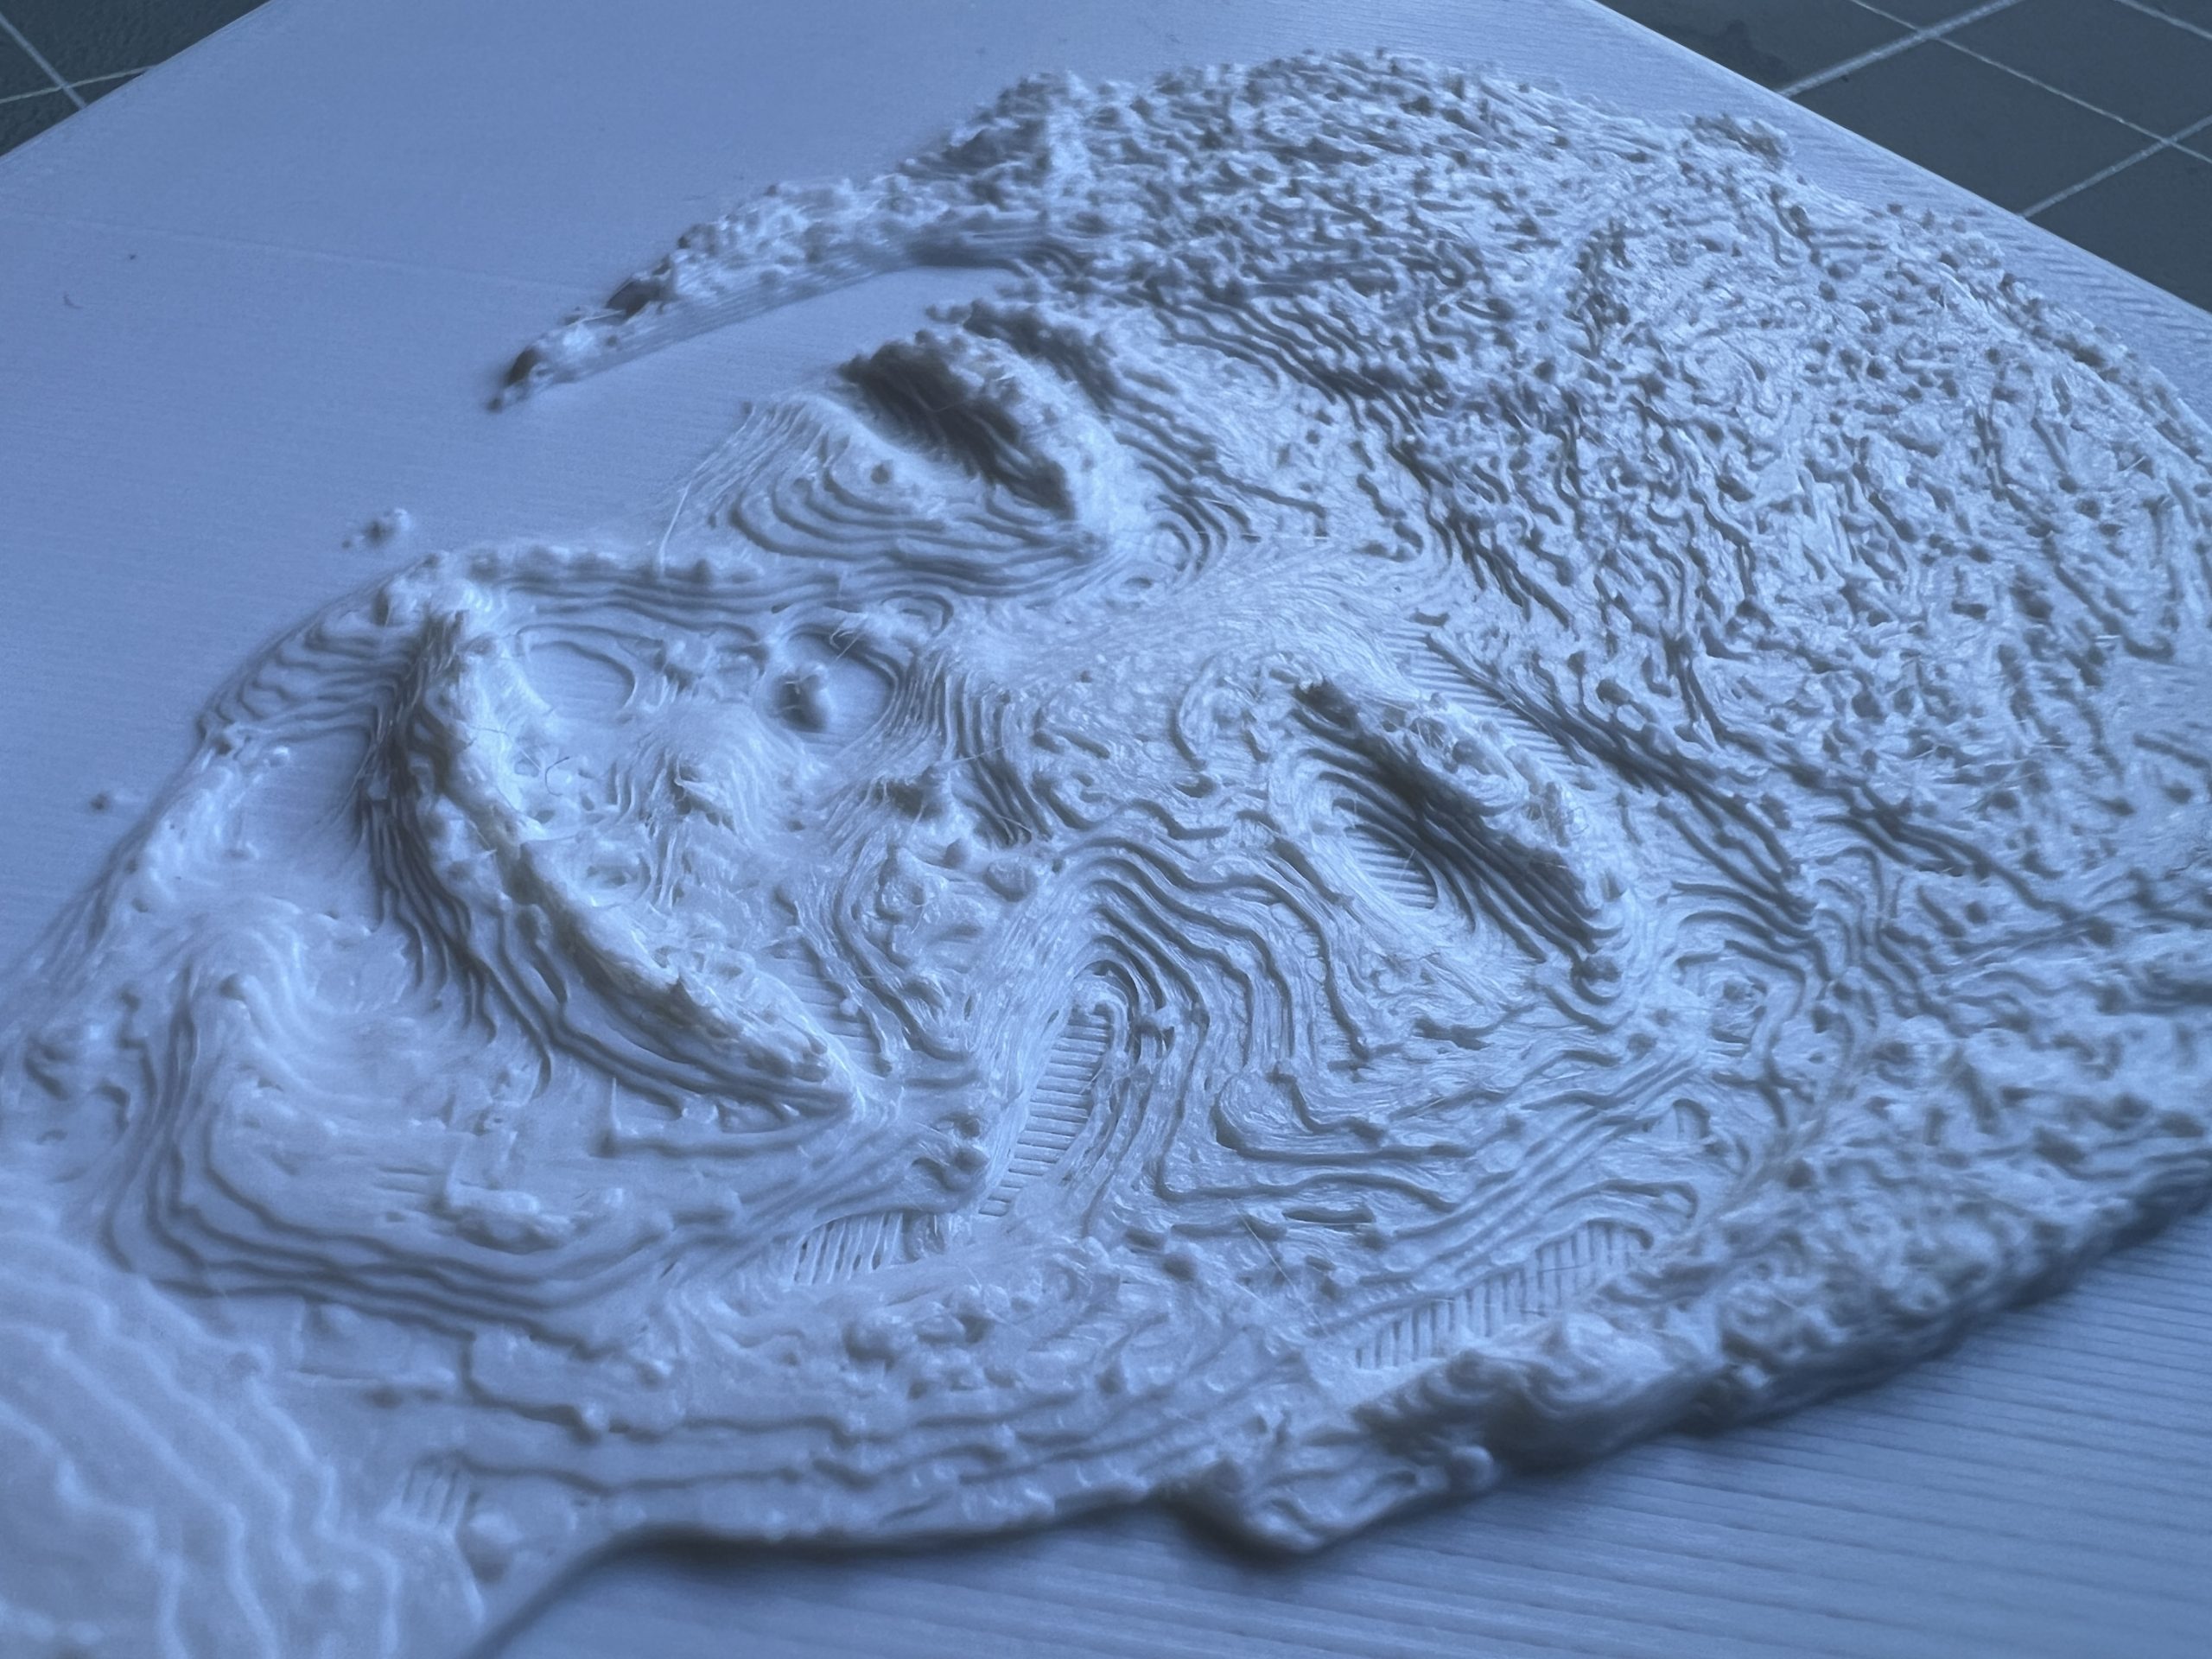
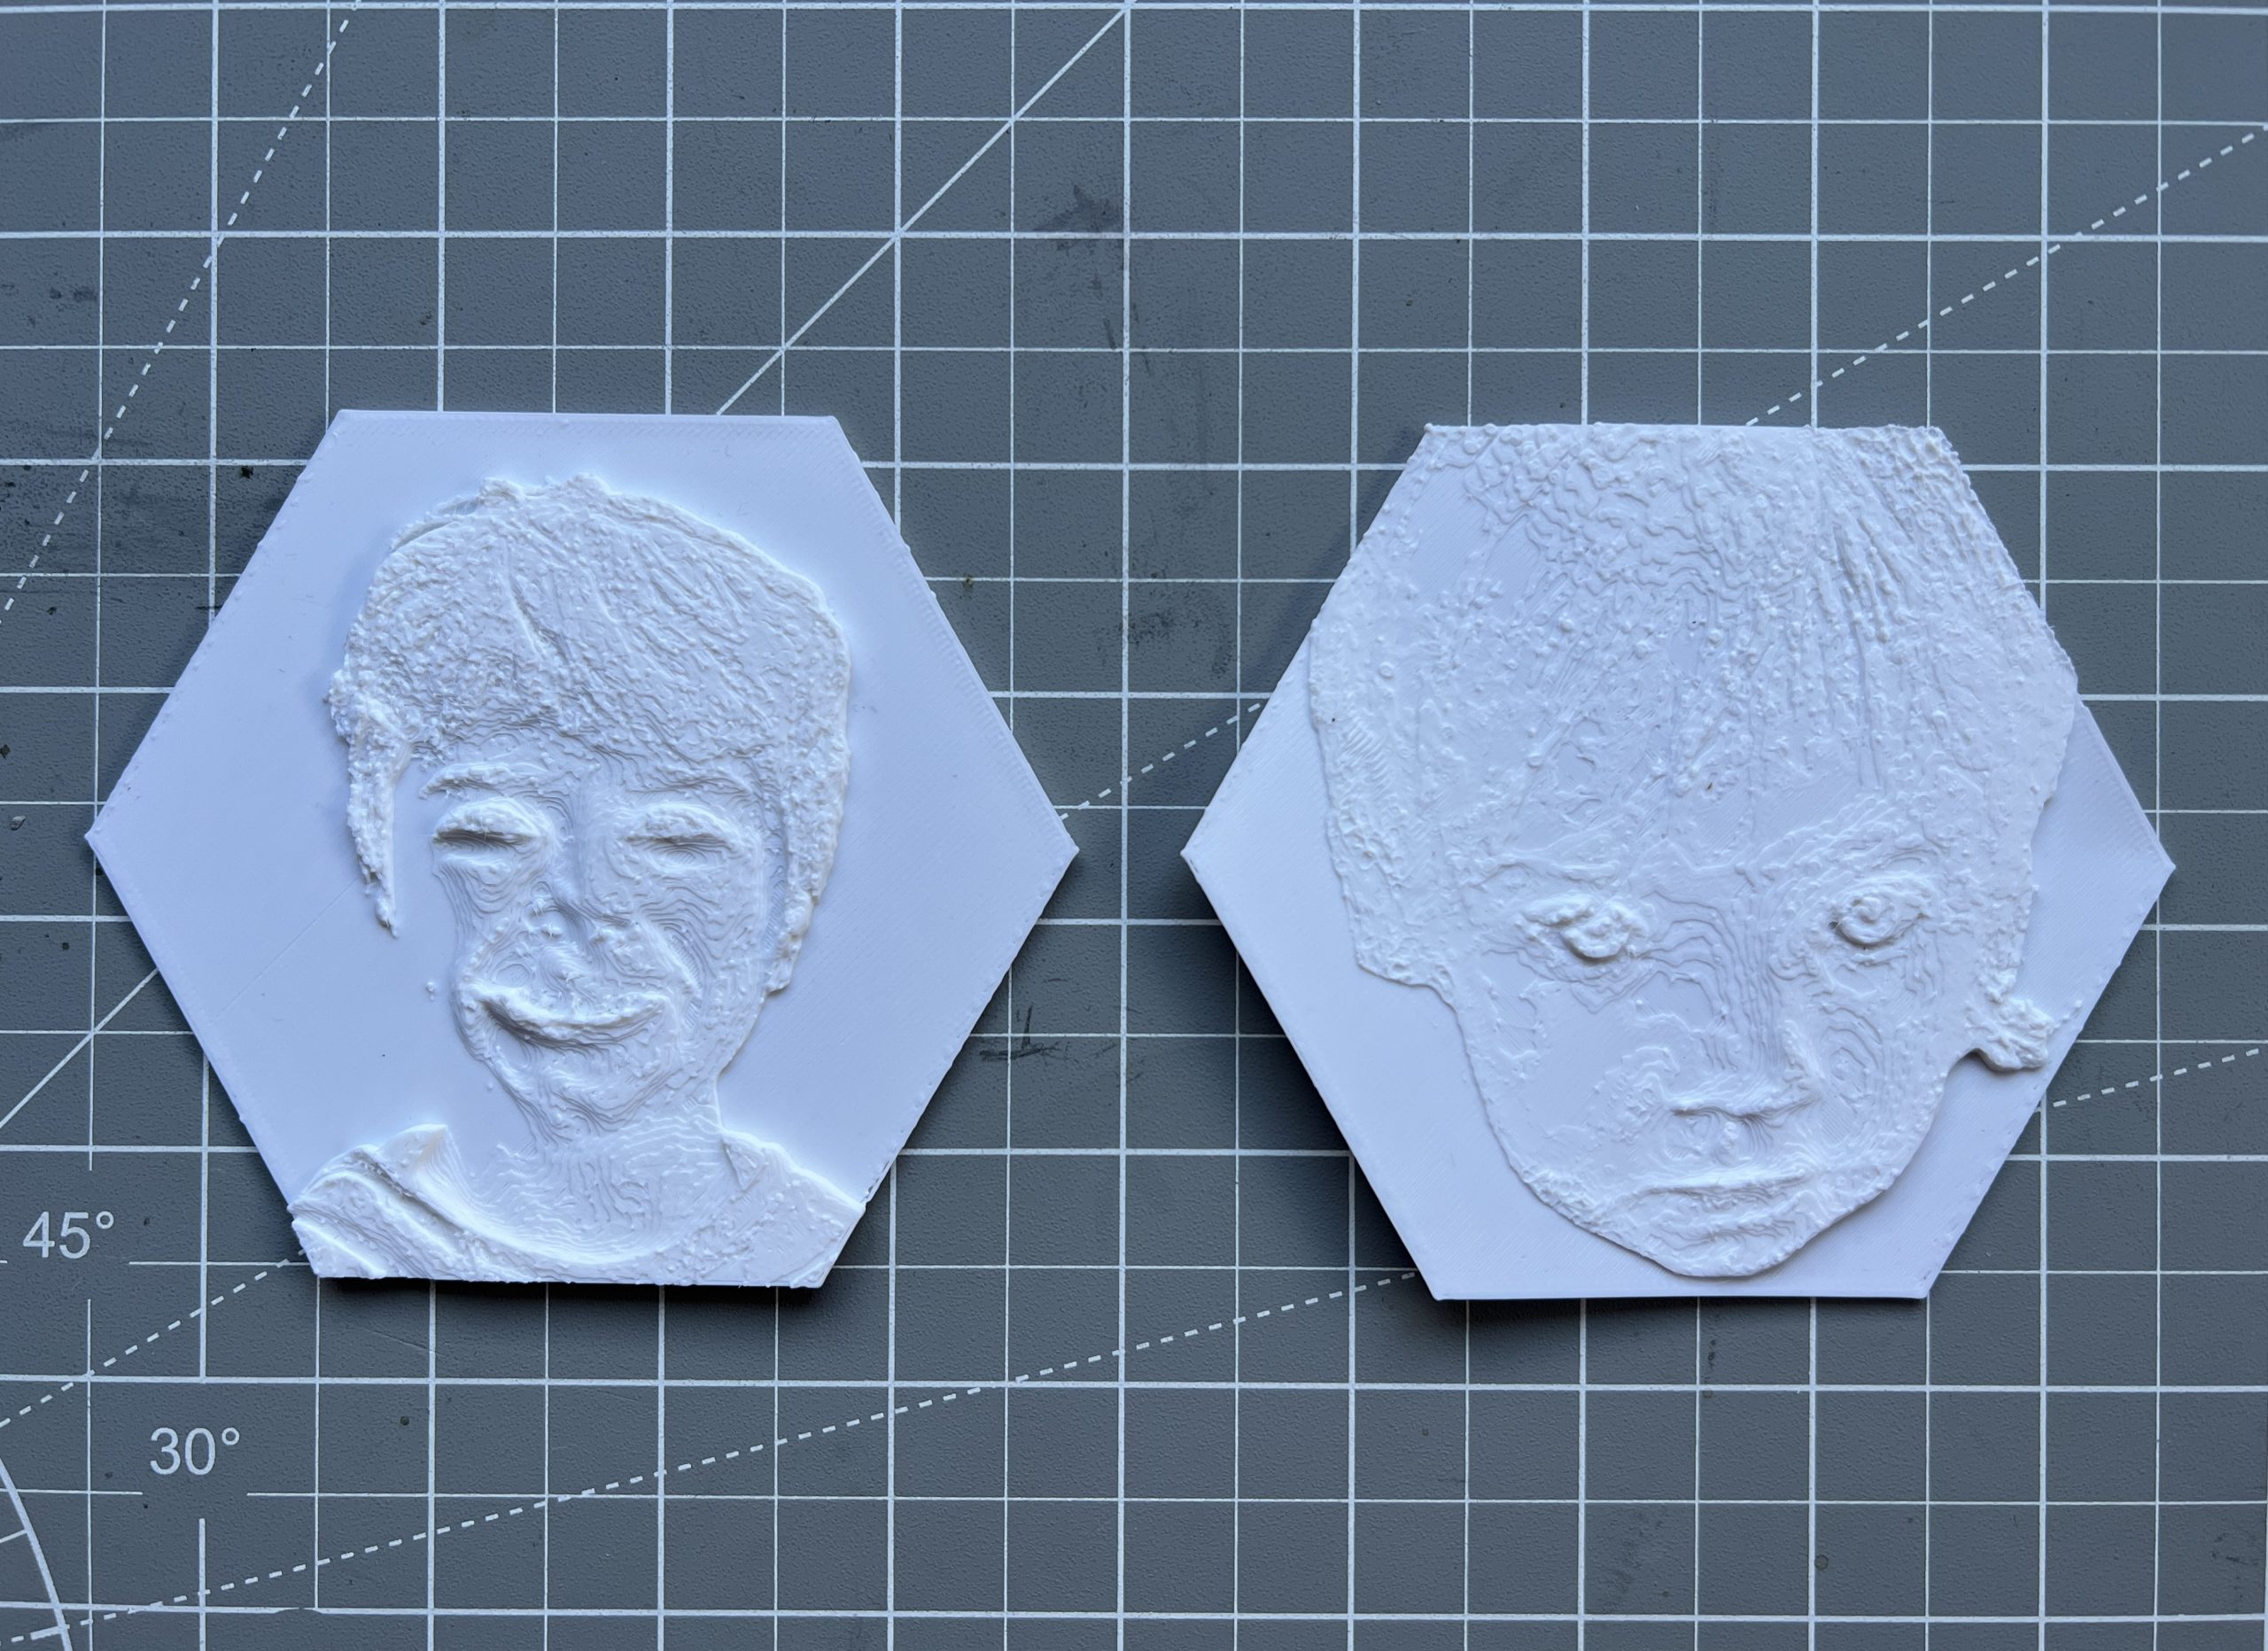
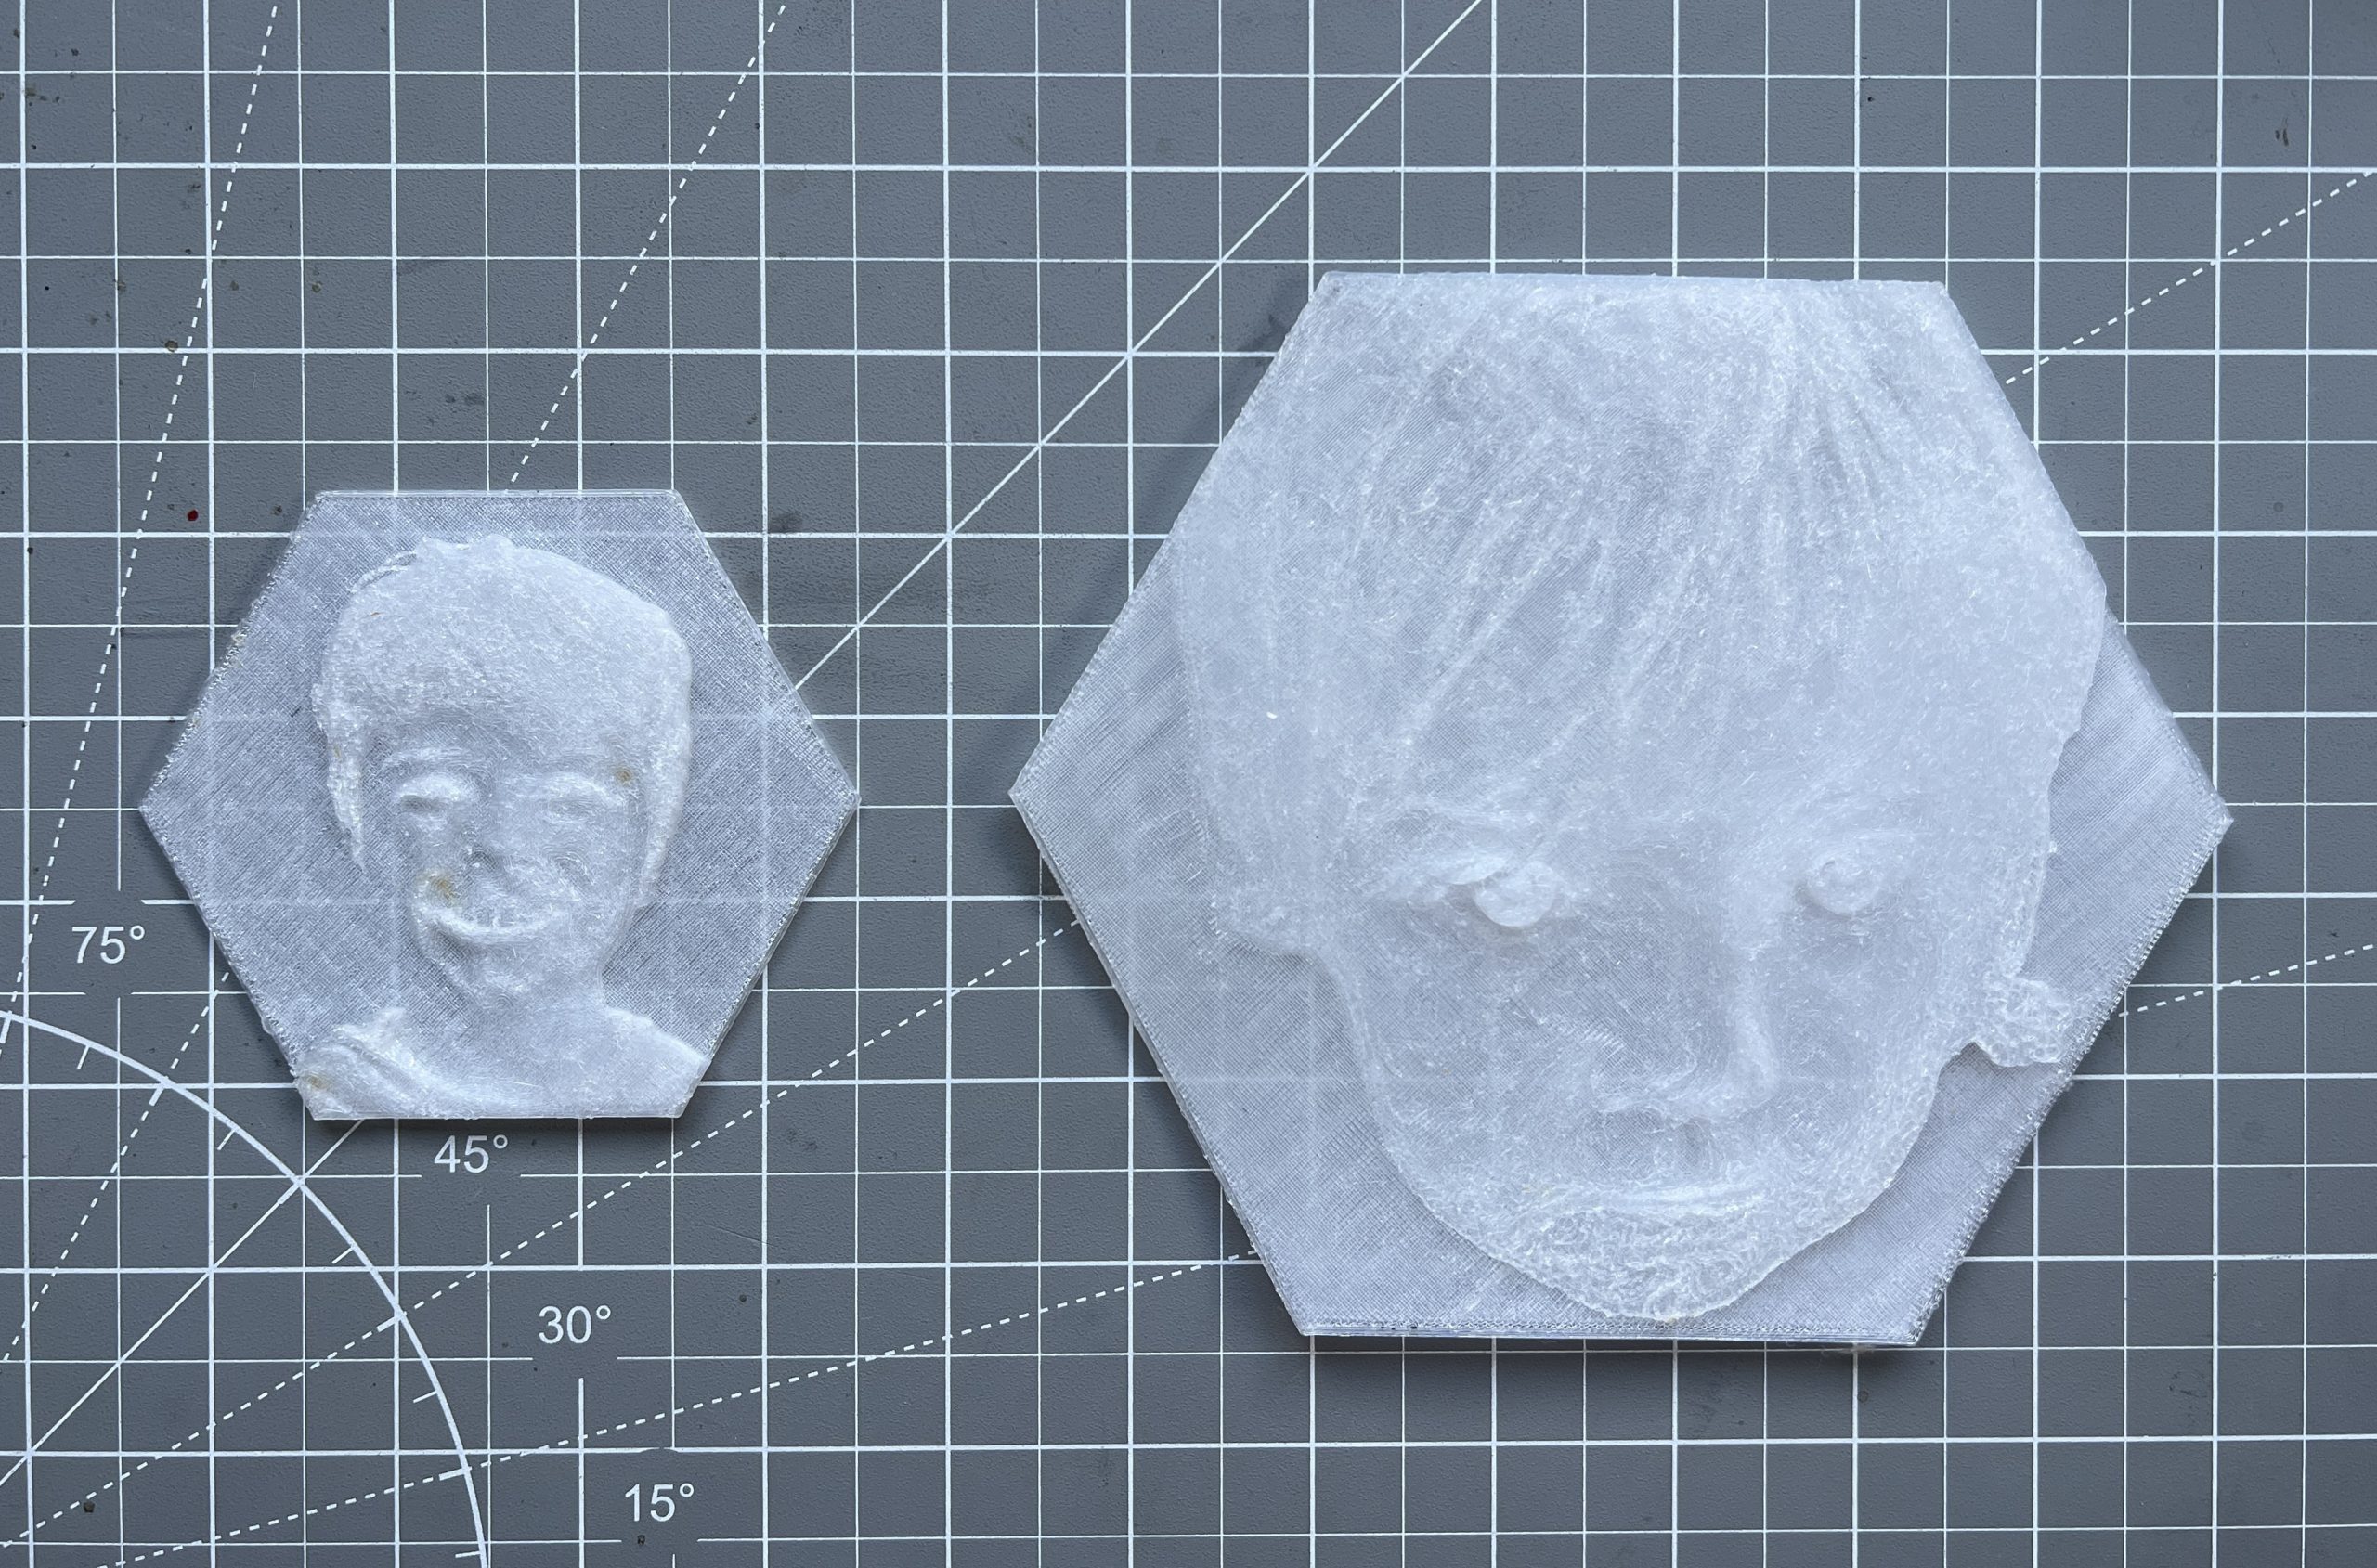
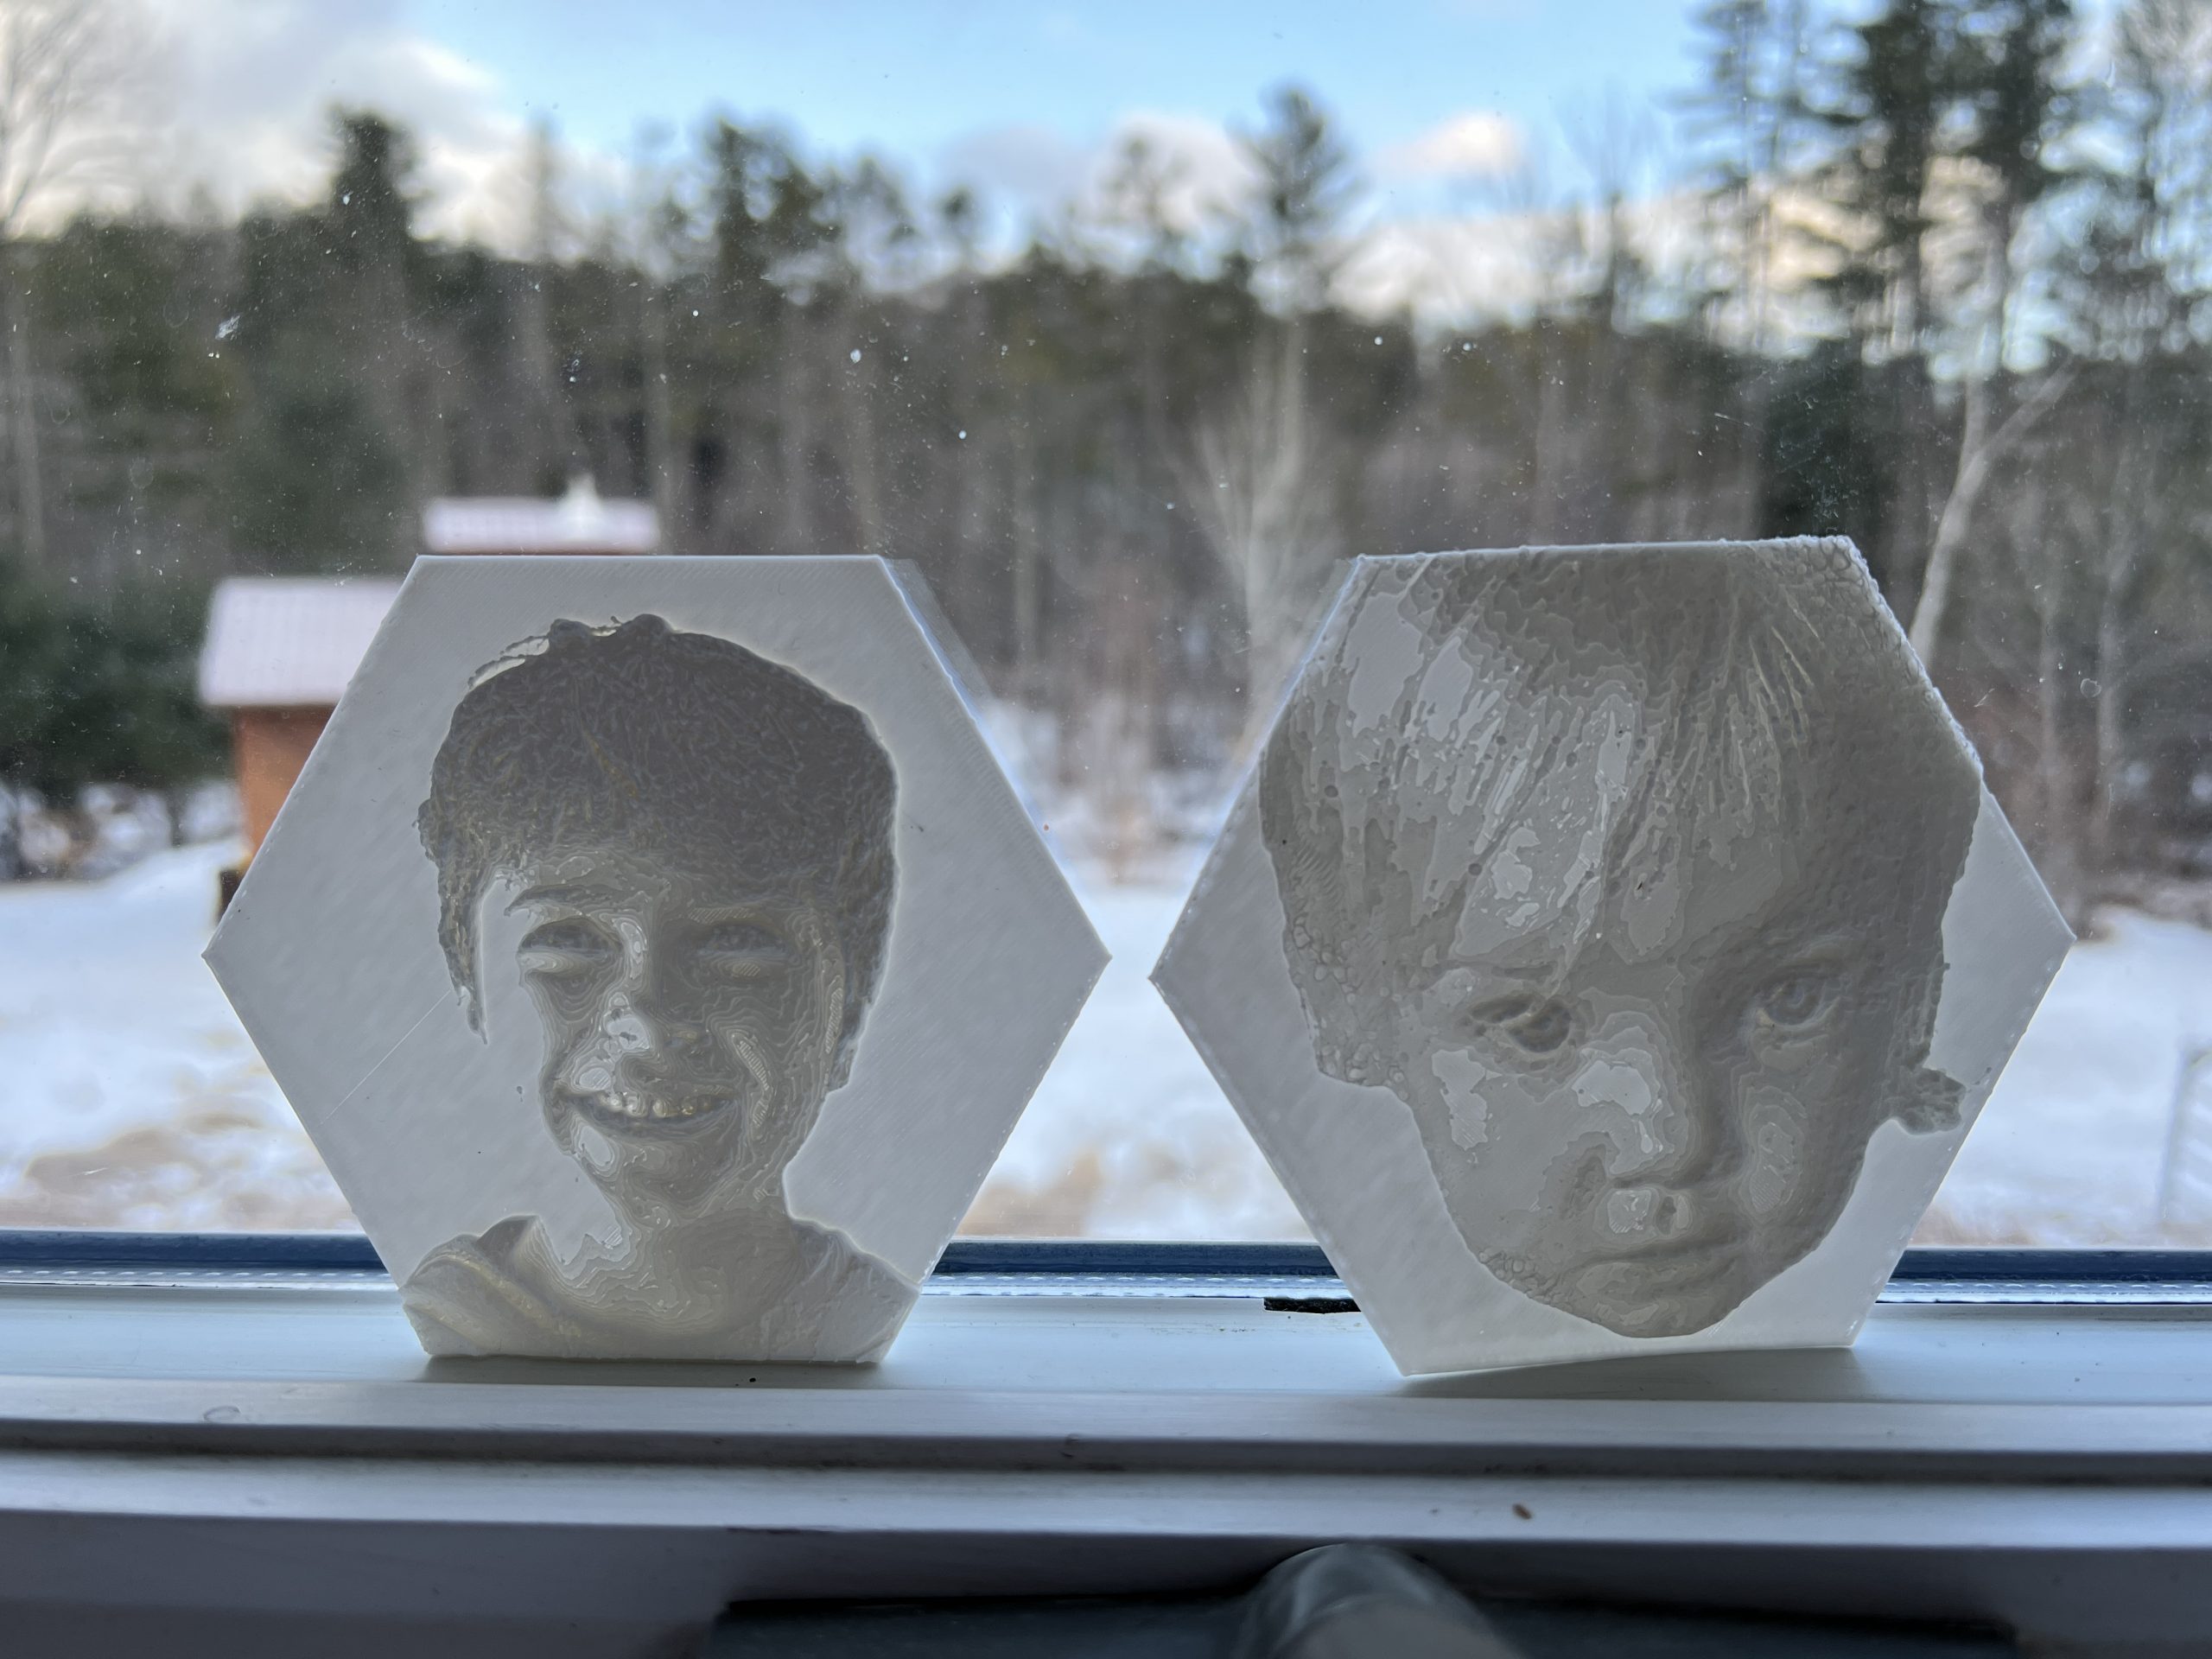
Lithophane
Pretty simple yet cool stuff, I’ve tried both transparent & white filament. And a very well done website helps make the STLs.
Overcoming Inertia
The design of PewtyBot 1.0 left something to be desired: the whole top section (stepper motor, assembly & laser) is moving, and that is a decent amount of mass that needs to be accelerated rapidly many times over.
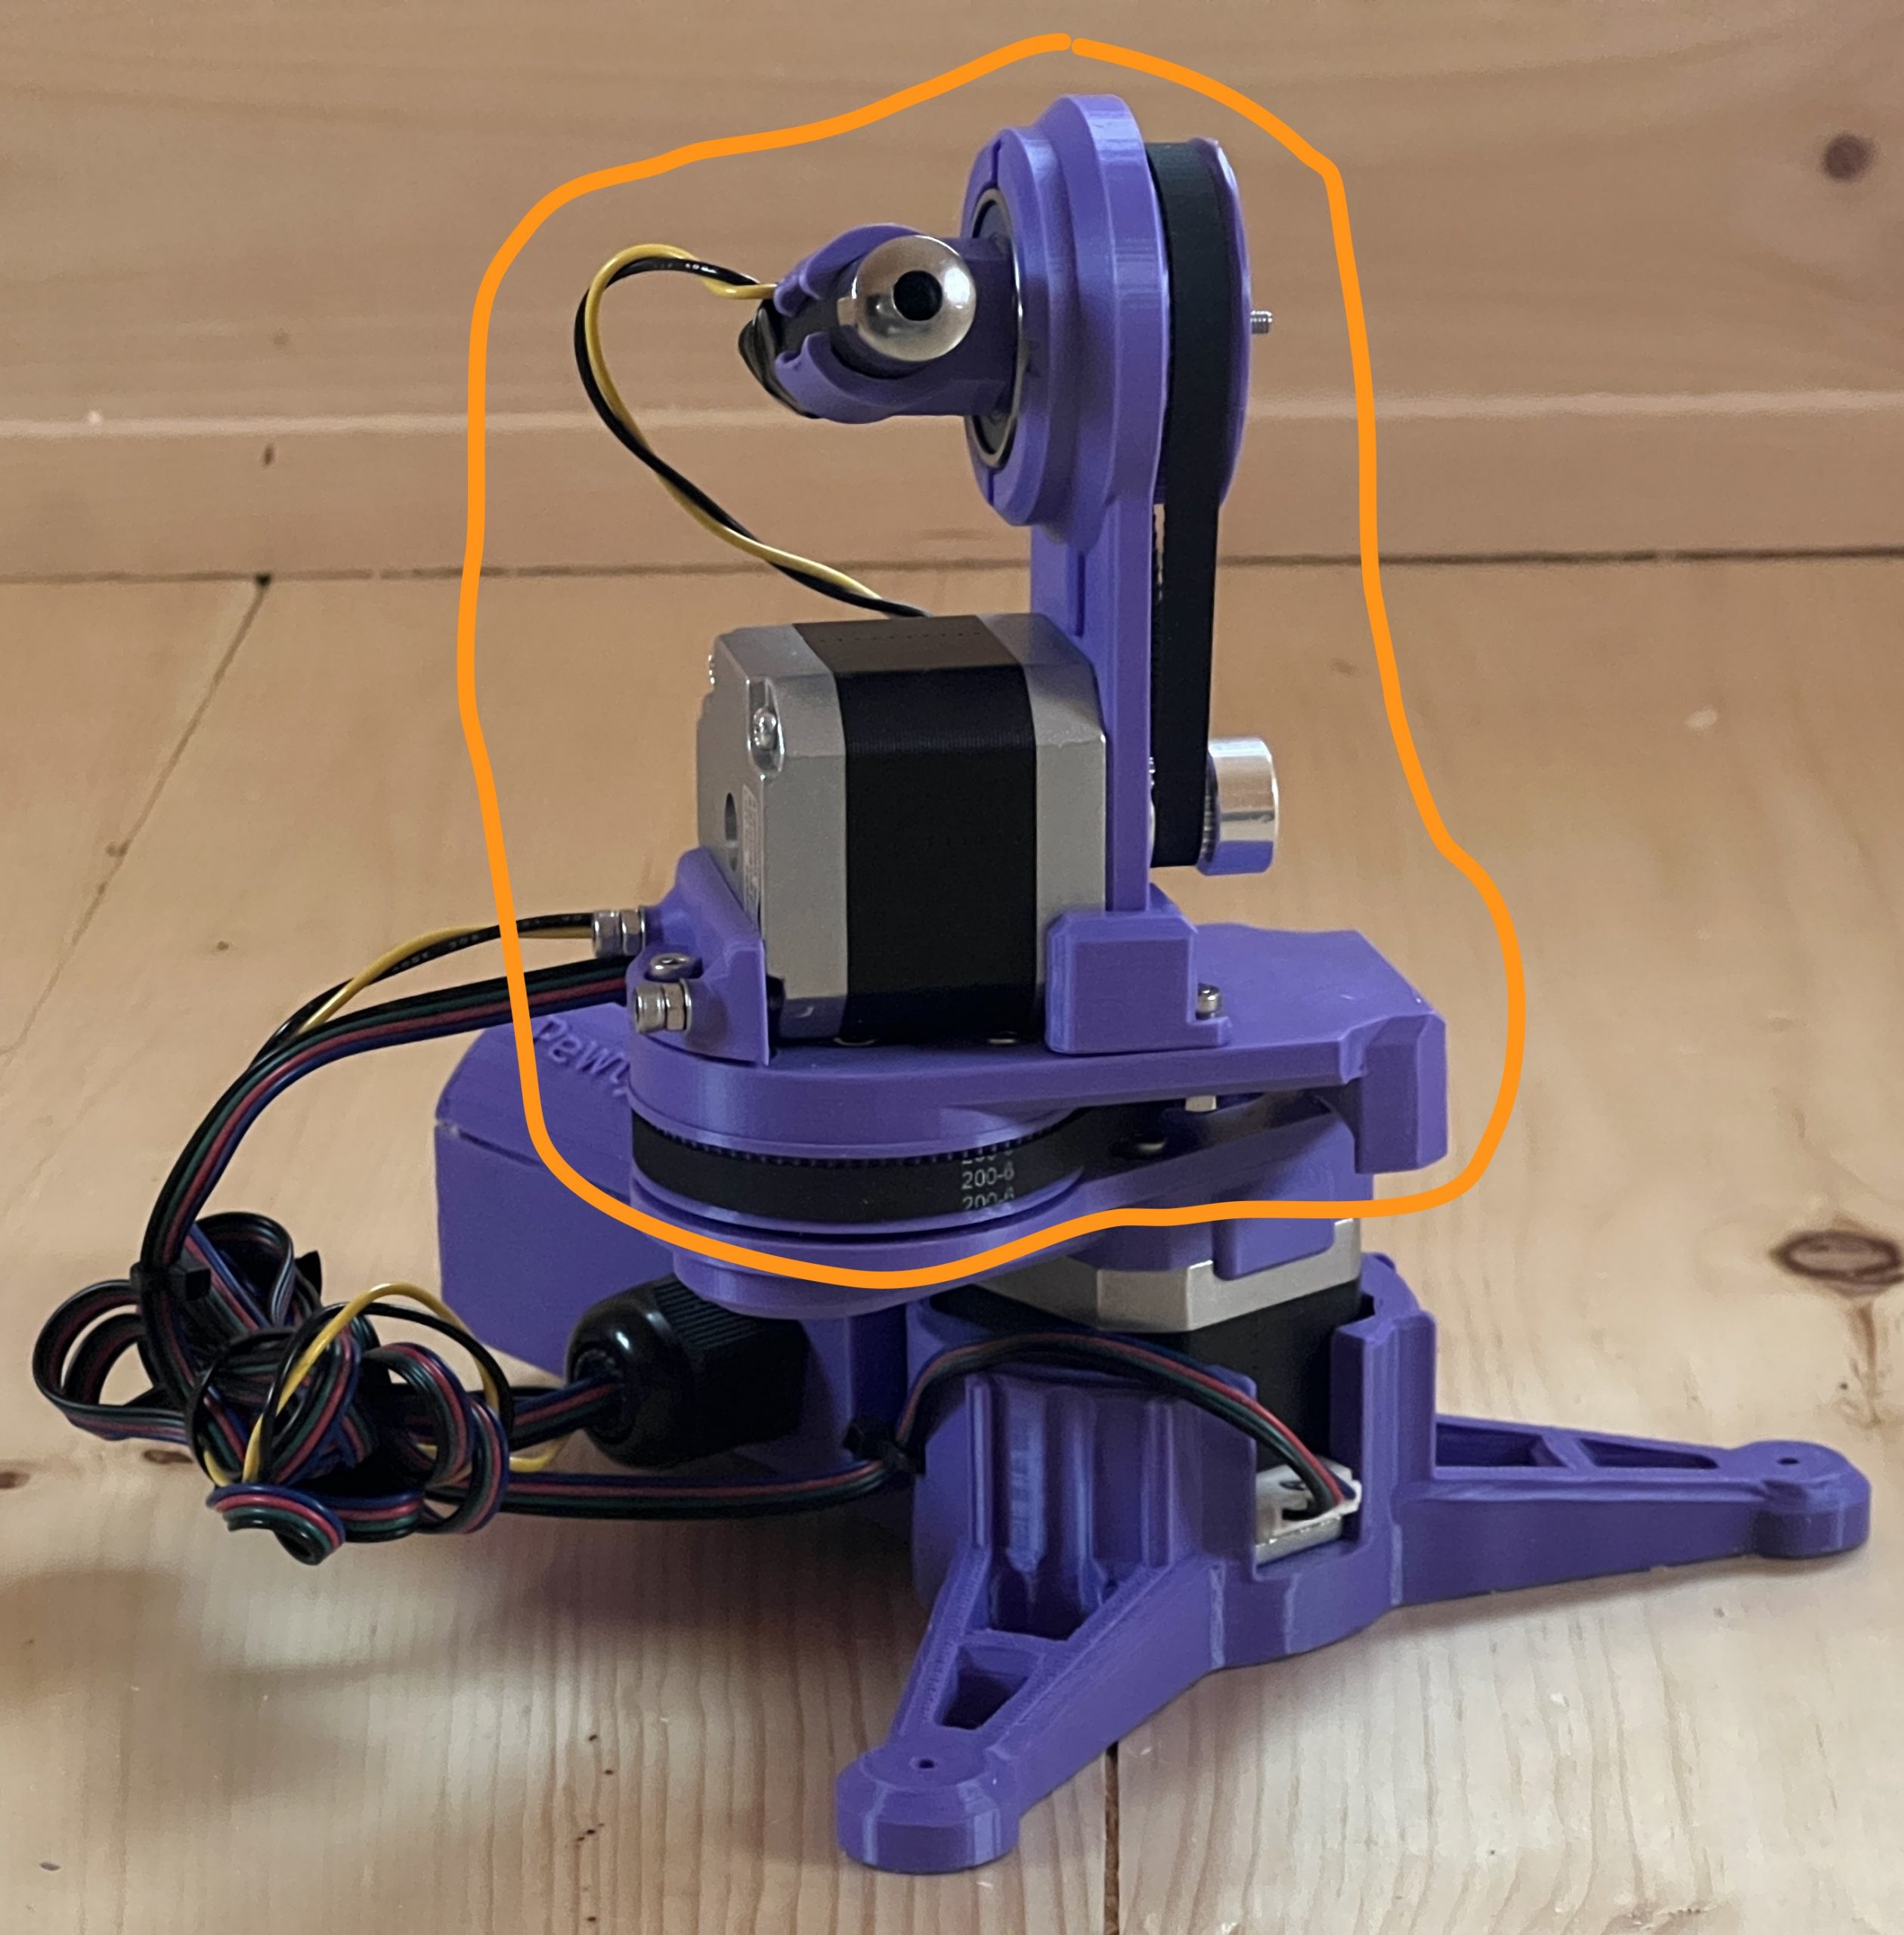
As I was tuning parameters, it became obvious that I needed to slow things down to avoid inaccuracies from the vibrations of a fast accelerating mass. I found happy parameters which led to several public deployments, but deep inside I knew I wanted to try the mirror approach. Instead of moving the laser, it remains static and only a couple of light mirrors are doing all the moving.
Introducing PewtyBot 1.1!
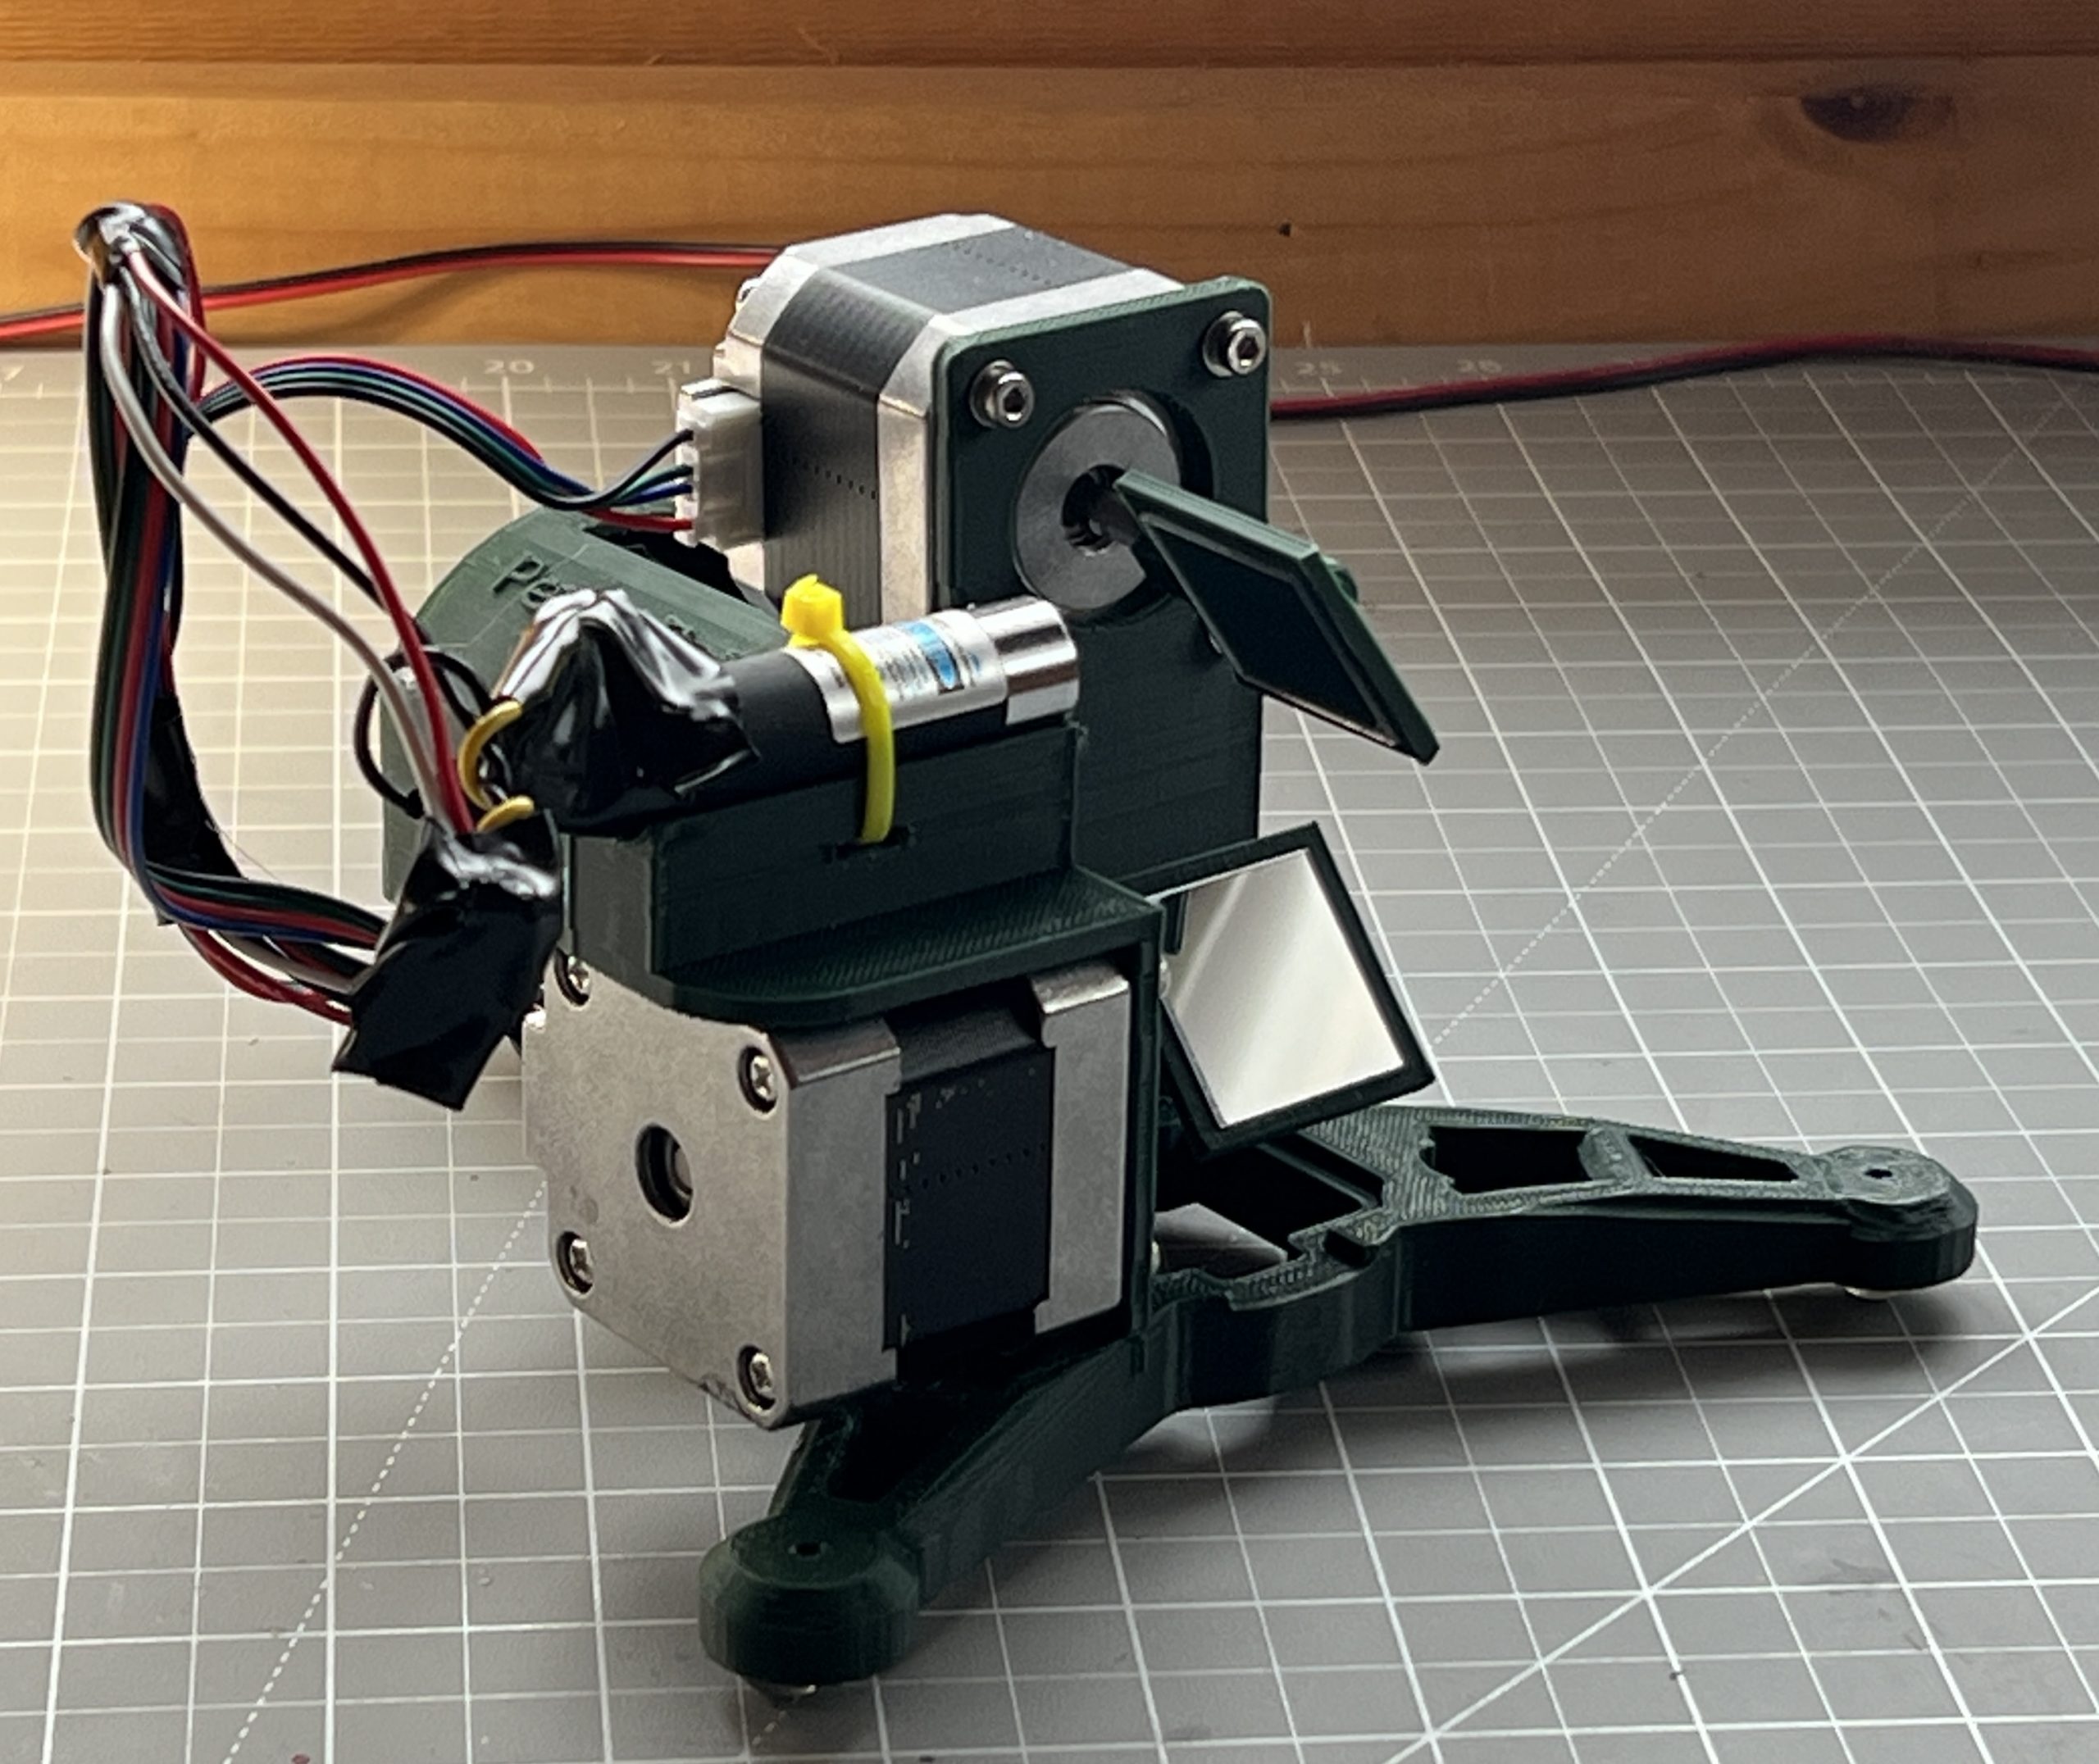
There’s a funny story in there about losing code, reimplementing, and a core issue I was struggling with being solved without knowing why. As always, a few unforeseen challenges got in the way, but ultimately the math is exactly the same as PewtyBot 1.0 so that was a relief. It’s just the motion code that needs to be adjusted some to deal with mirrors.
And well the results are cool, but somewhat mitigated. Definitely not “rocks your socks off” levels of cool. I can definitely move the laser a lot faster. Although through the exercise, I’ve realized that the “slow” speed of PewtyBot 1.0 may have been in the perfect sweet spot for laser light retention on a photoluminescent medium. And so maybe I got lucky there. Of course I could get a beefier laser that emits more light to compensate for the reduced time it spends on any particular area. I’m pretty convinced though that I want to remain in the “cat laser” realm for risk & safety. And so the other variable I get to play with is mirror quality, and I shouldn’t be surprised that there exist a whole world of mirrors of various specs. I got some very cheap craft type acrylic mirrors at first to test concepts. But you can tell the pointer hits the medium diffused and discolored. And so ultimately I’ll want to spend the money on a few square centimeters of first surface mirrors rated for blue light wavelengths. But first I’d like to convince myself that the mirror approach actually brings something extra to the table.
Can’t Have Favorites
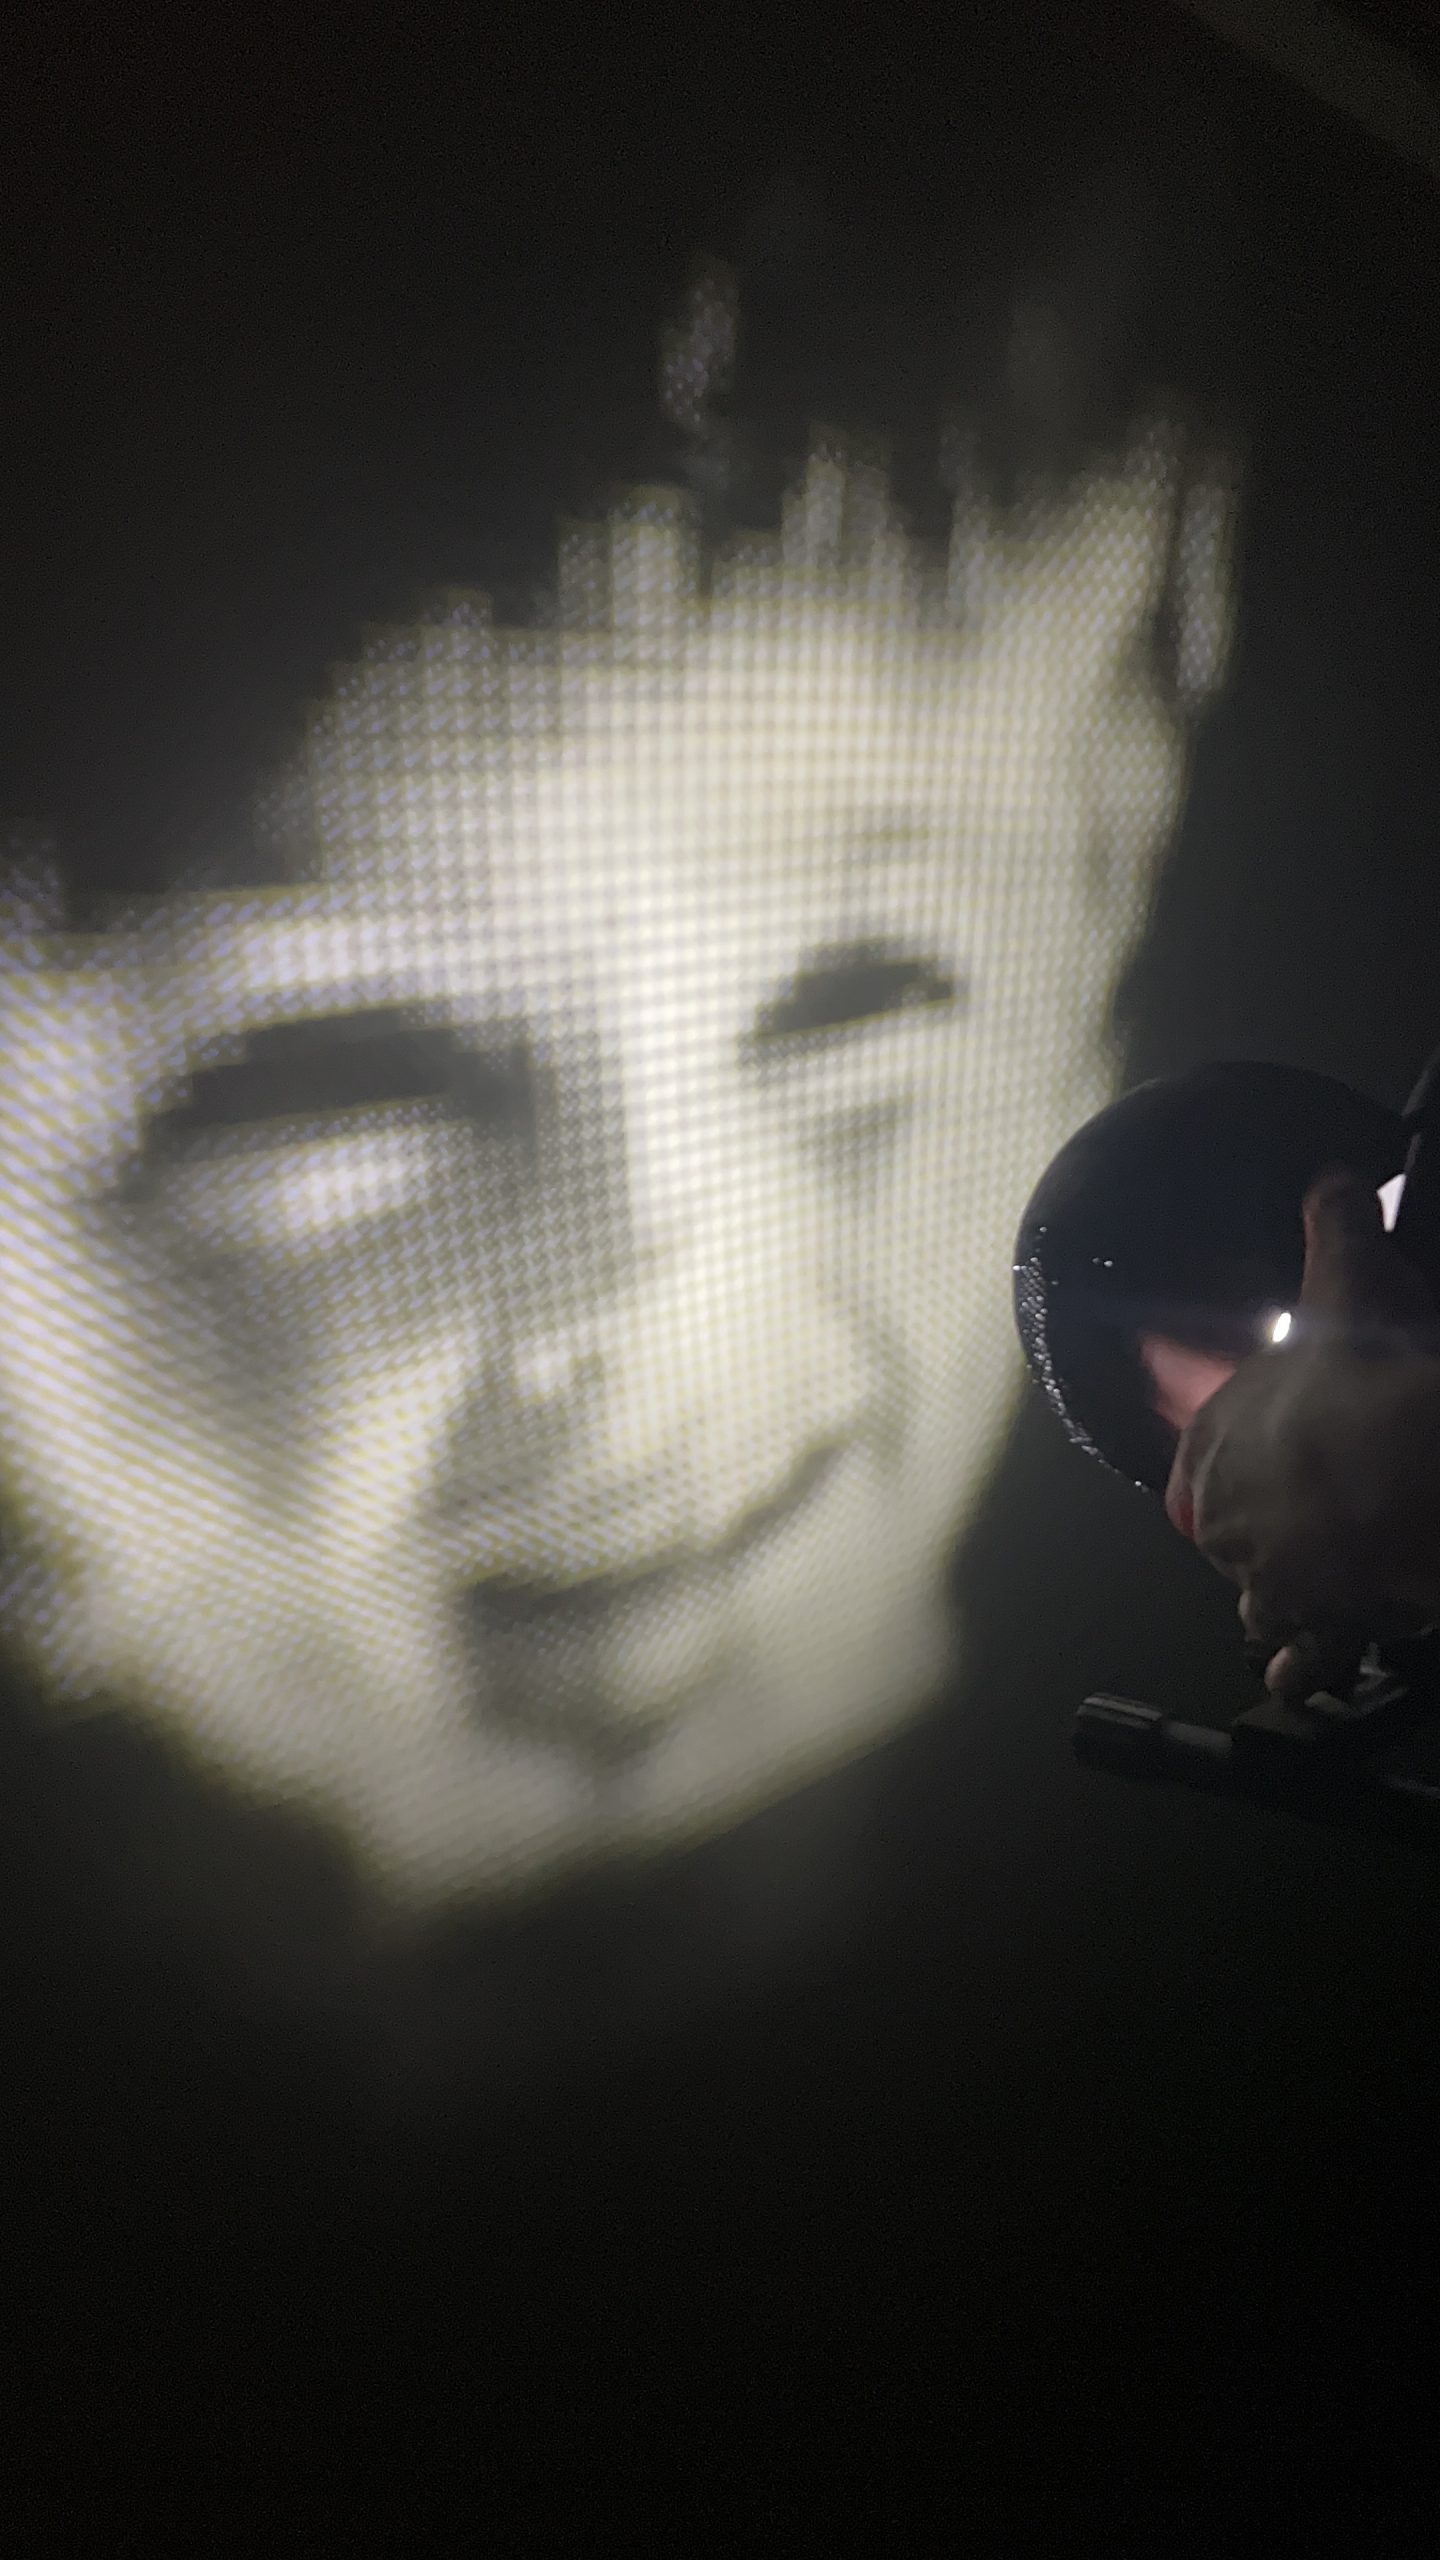
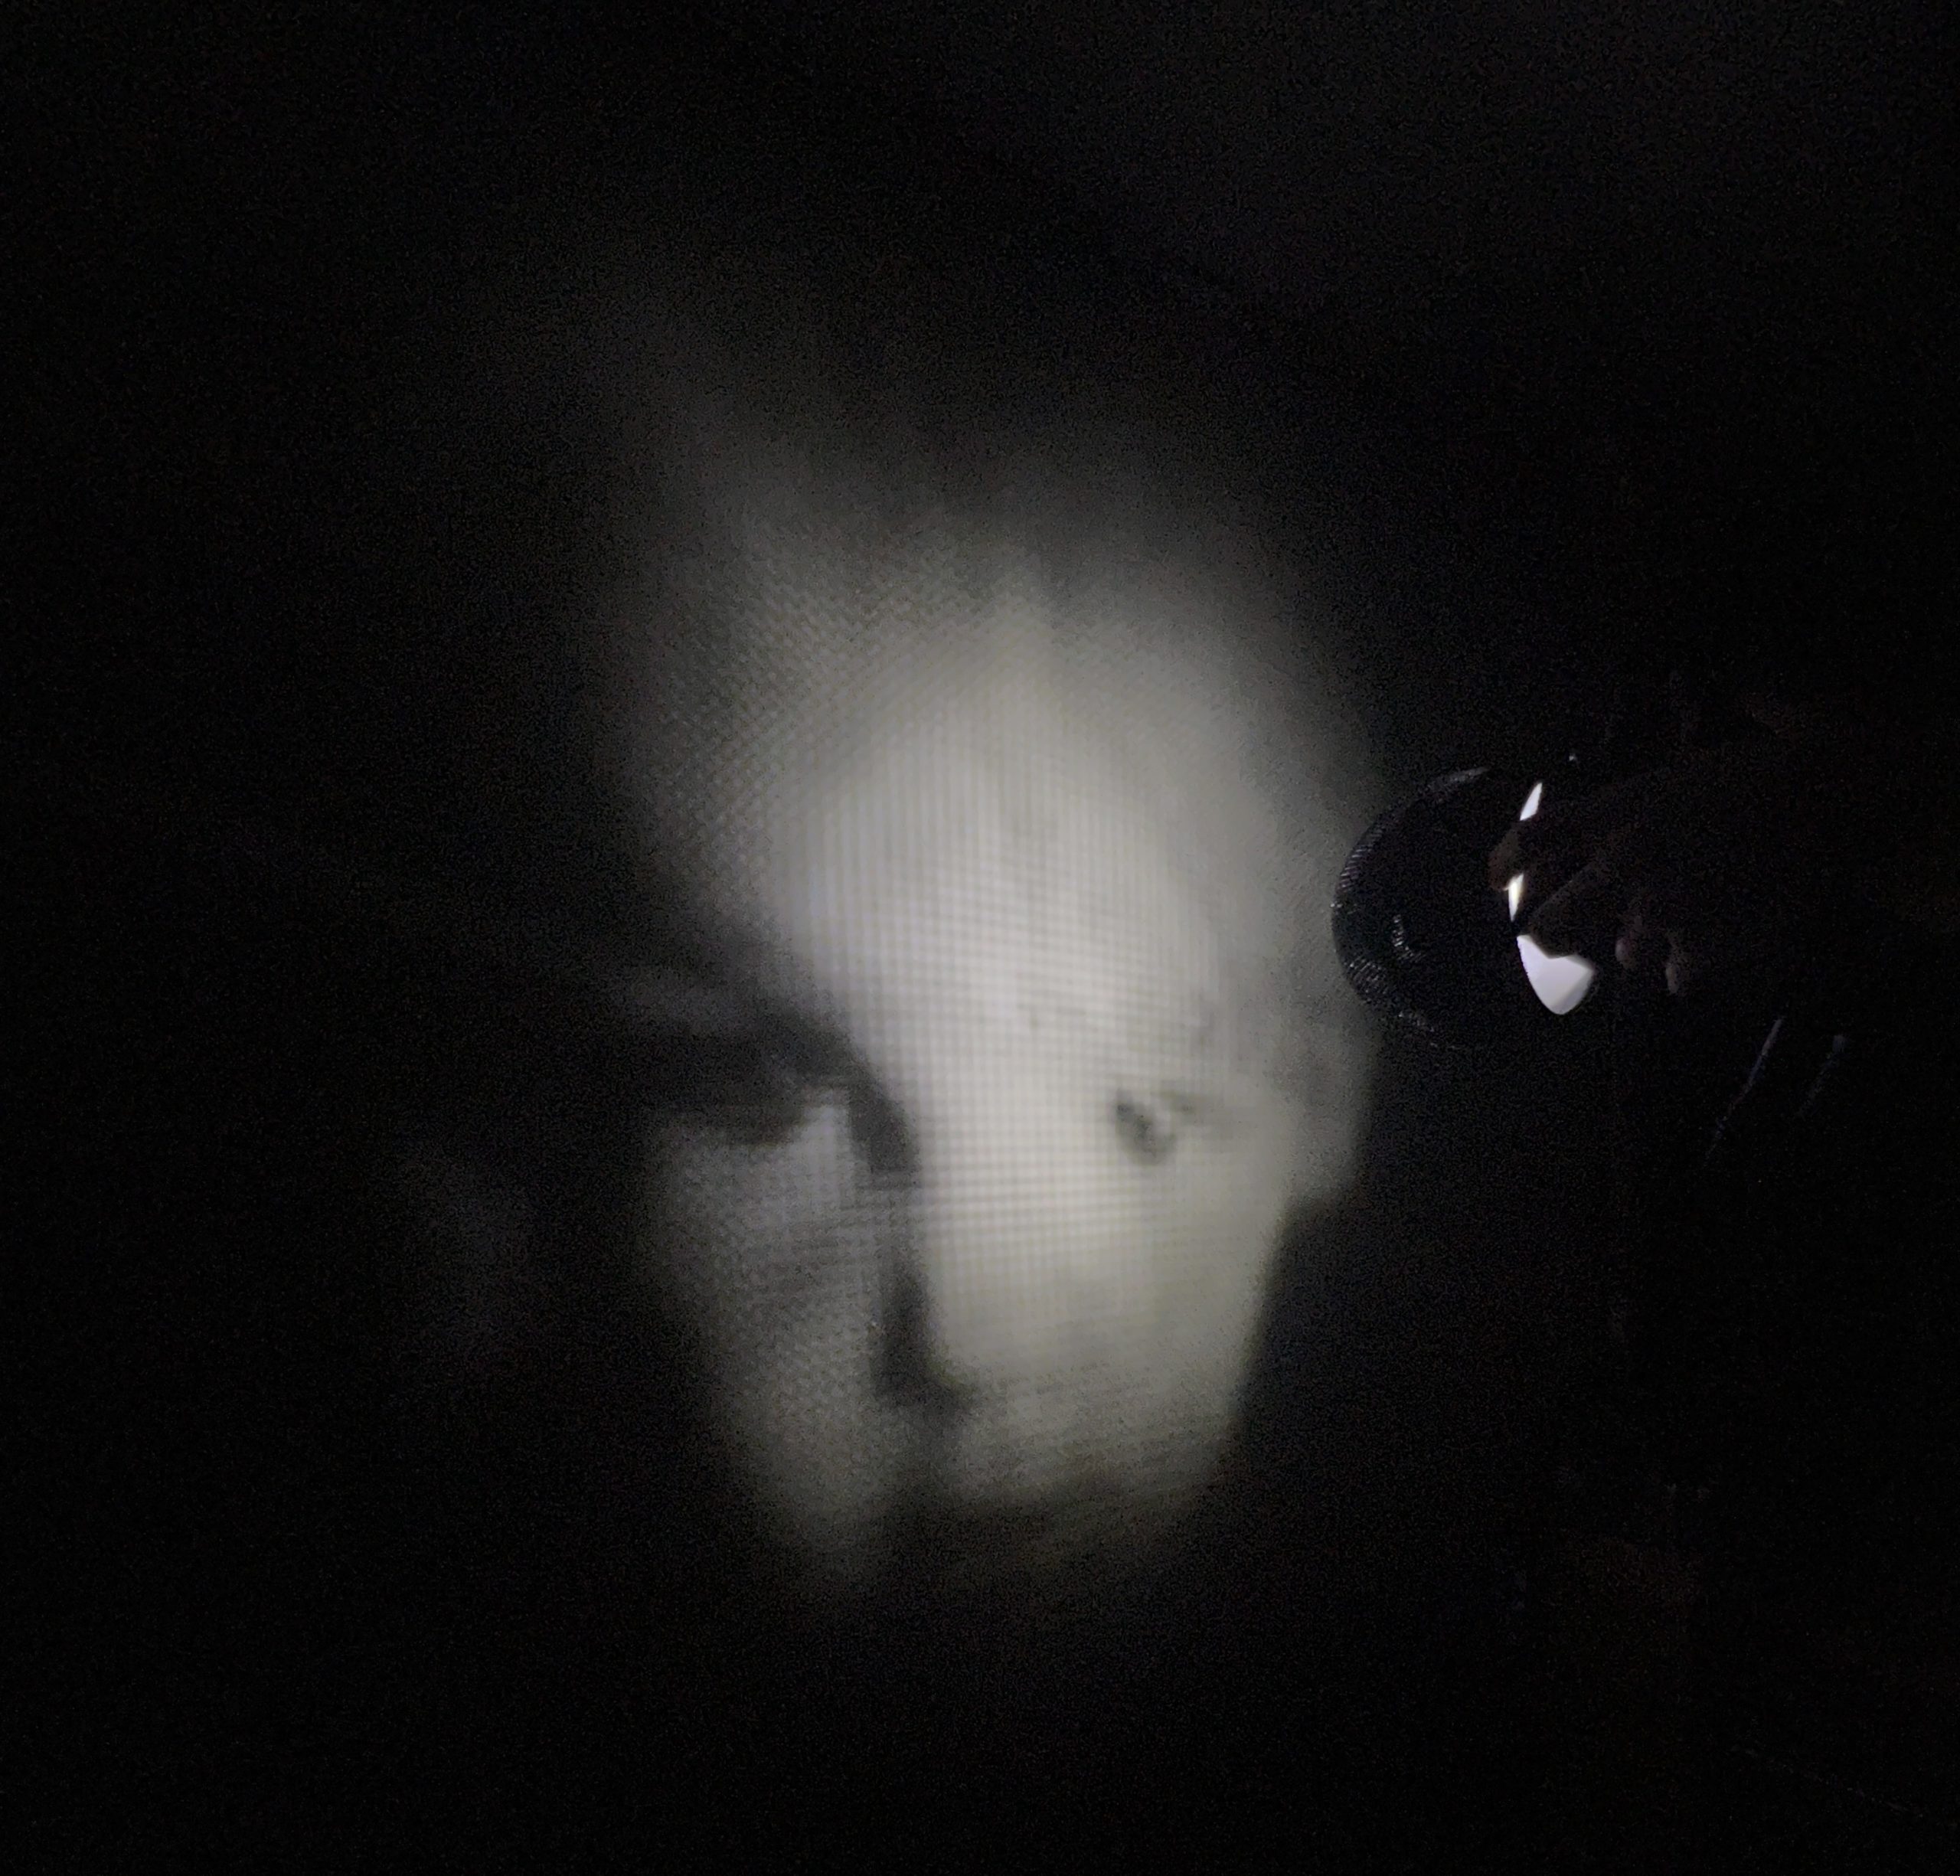
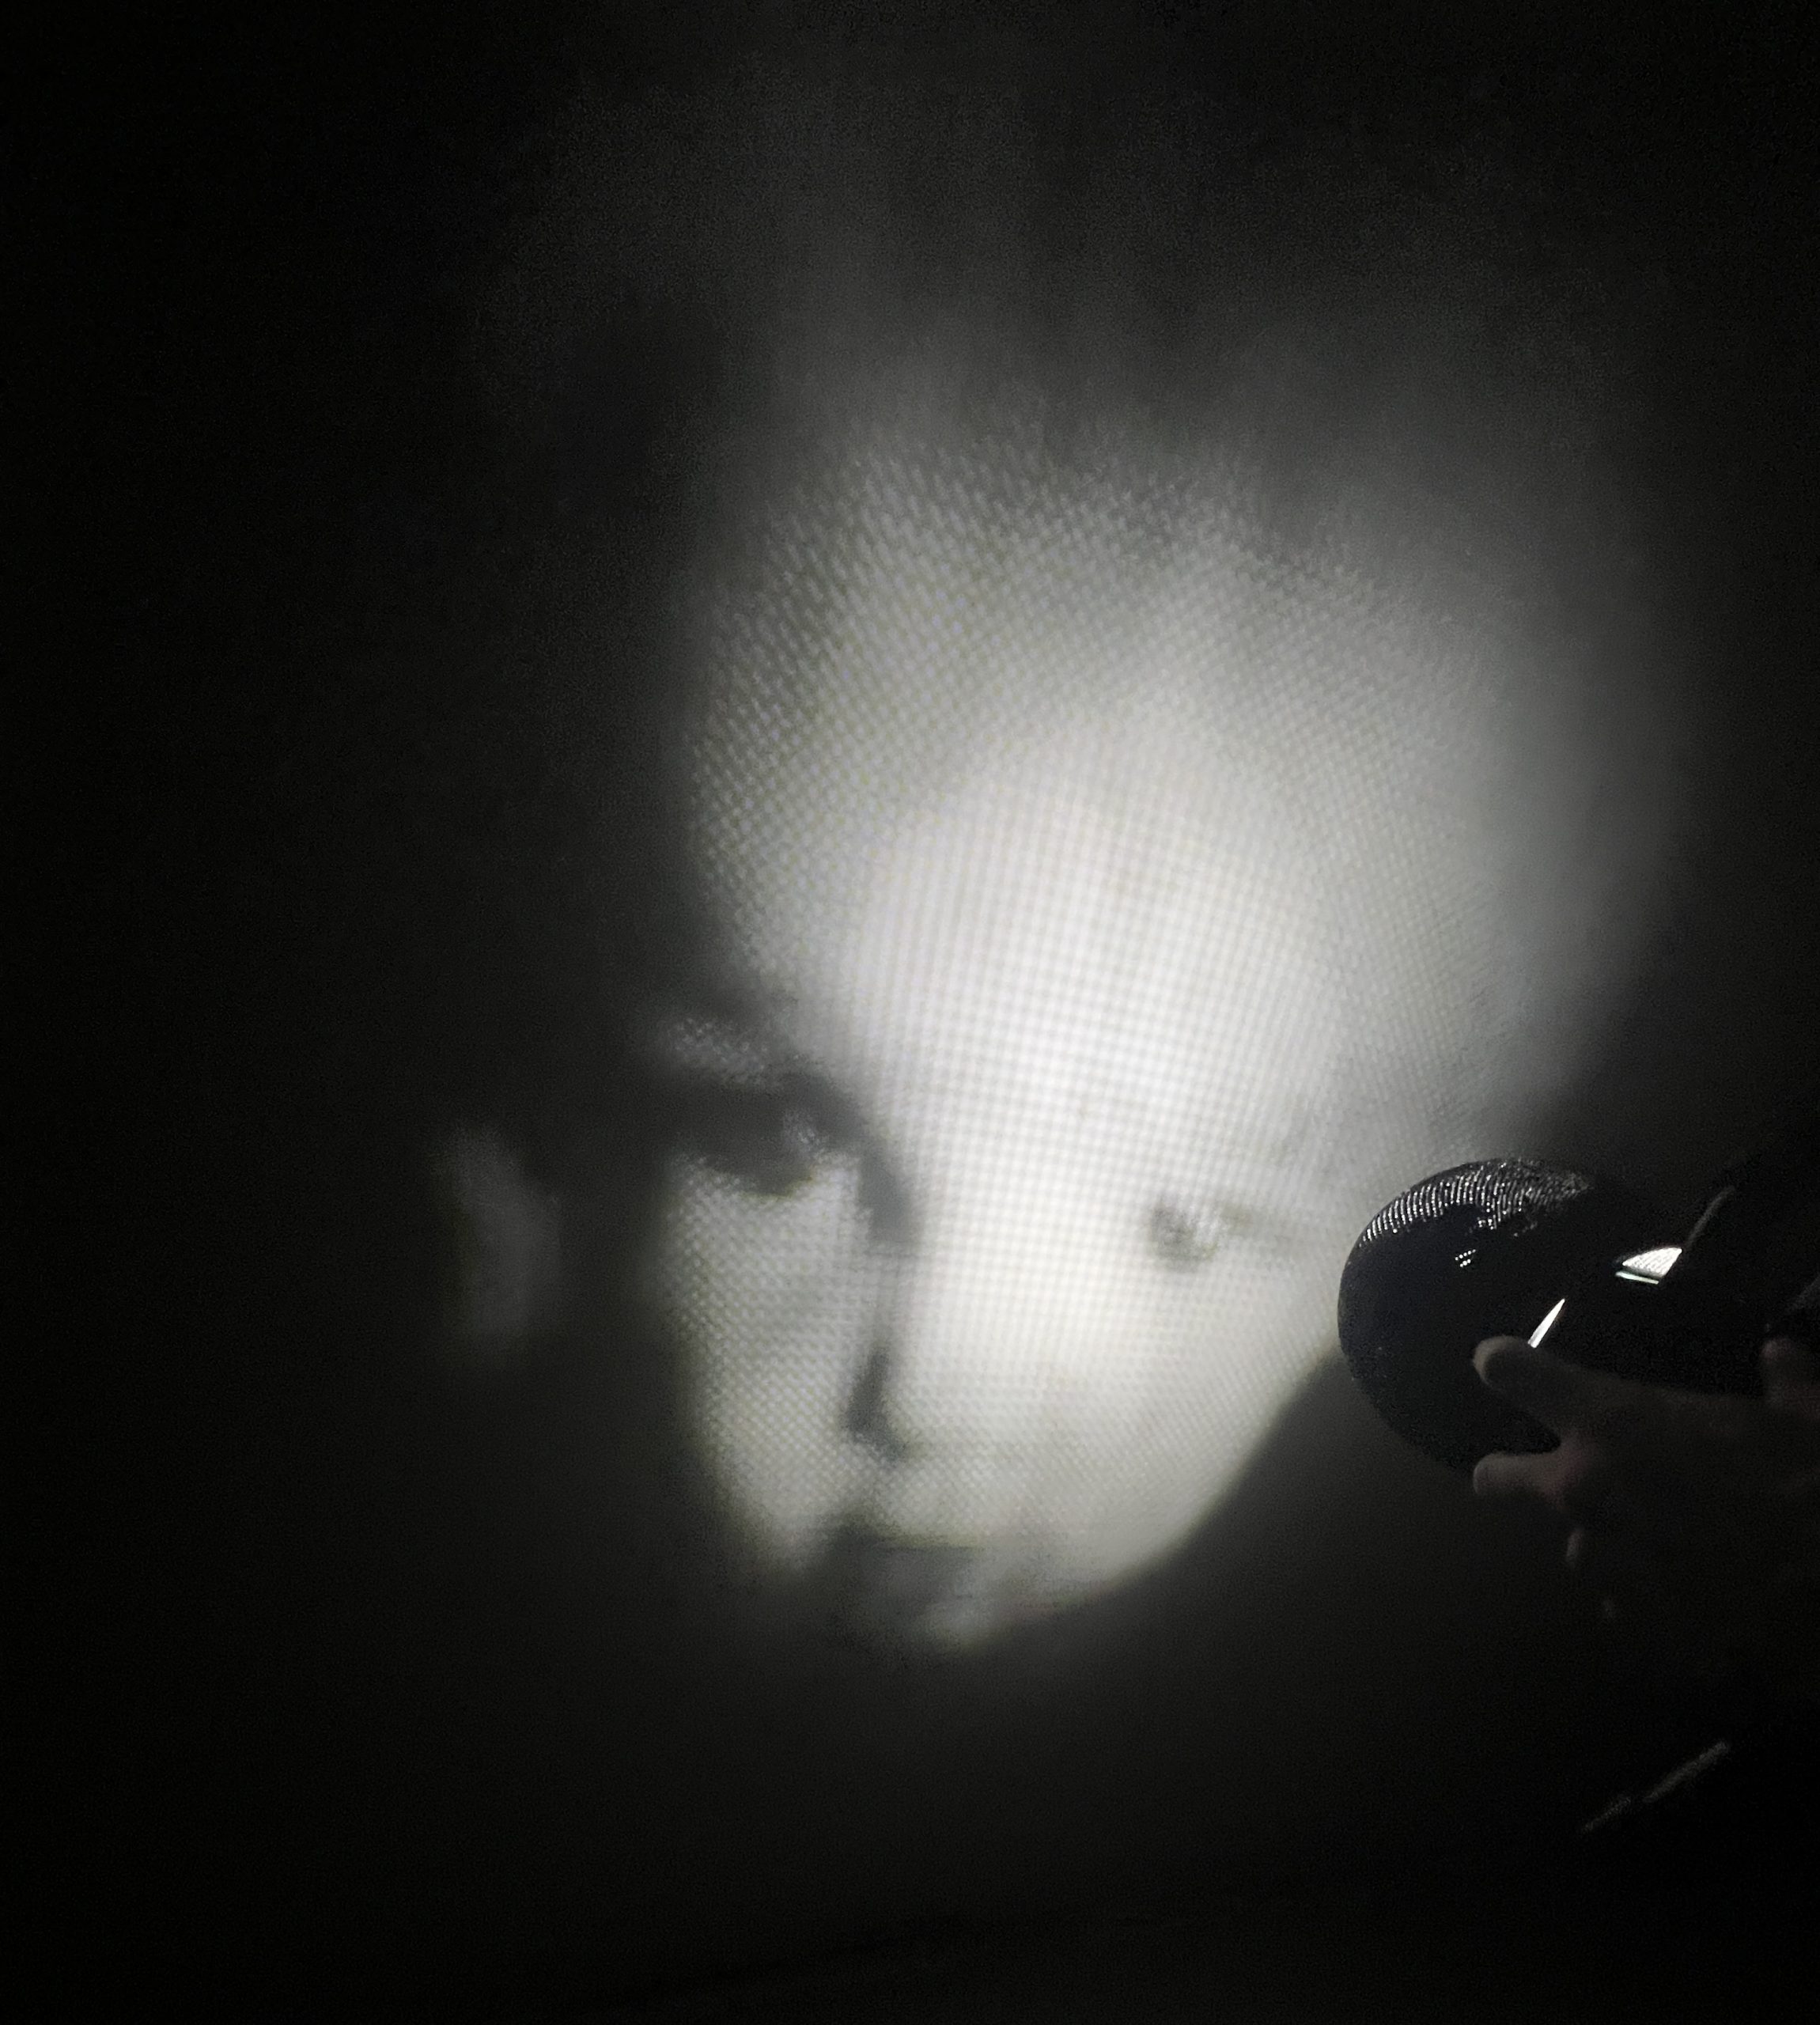
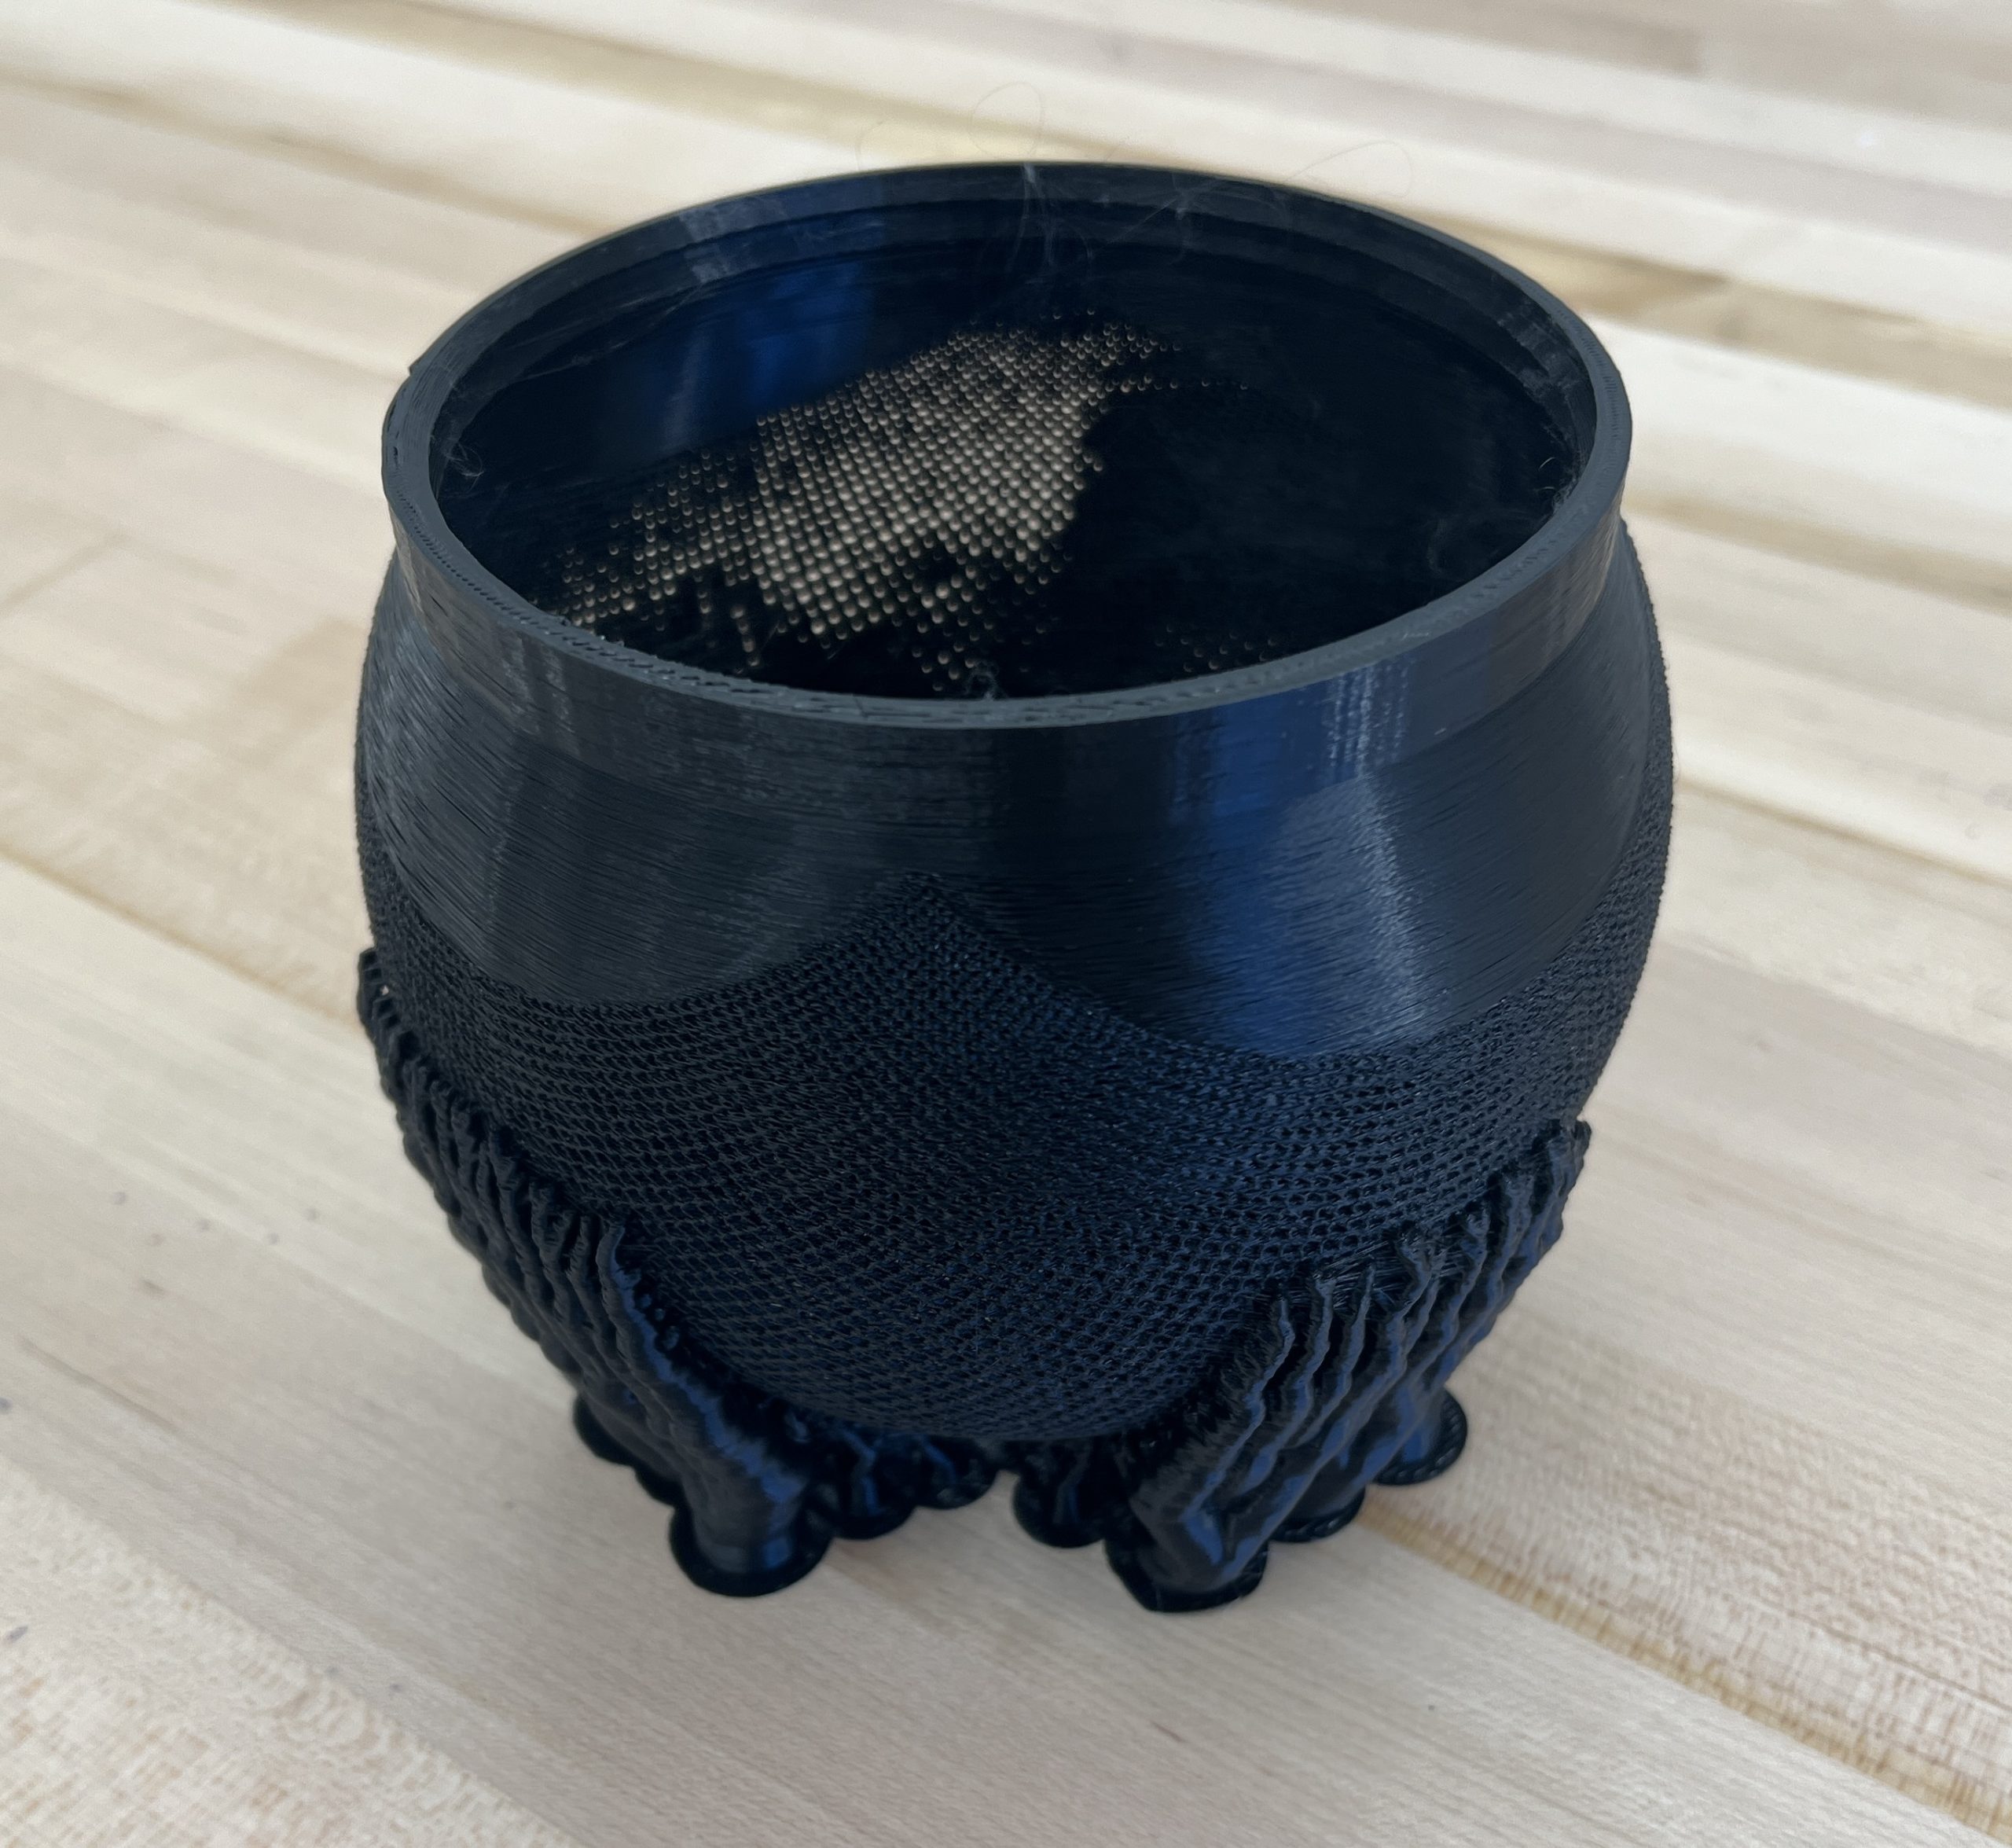
they both need to have their stereographic projector.
Stereographic Projector
I had to make one: https://www.thingiverse.com/thing:2094215. Projection is shorter range than I was hoping for but it’s still fun and gets the kids thinking.

SketchyBot 1.0
I finally built a standard sized one. I ran into a few unexpected challenges given how smooth the small one went.
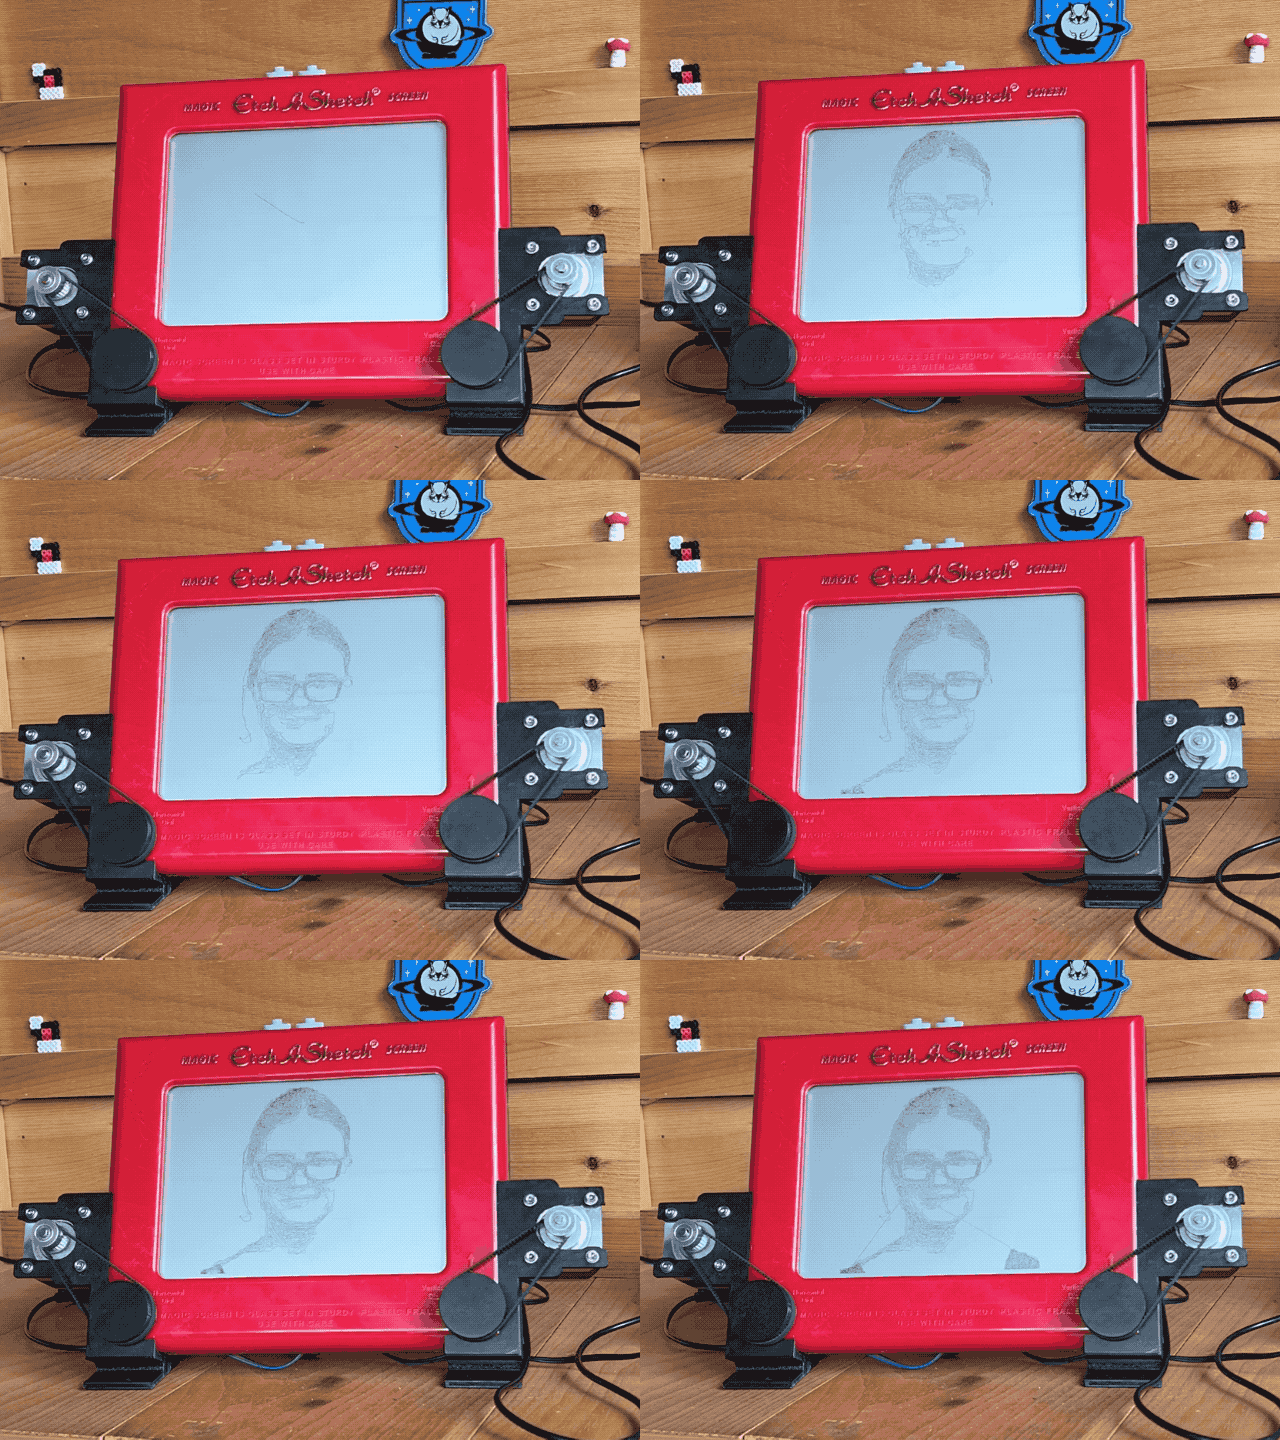
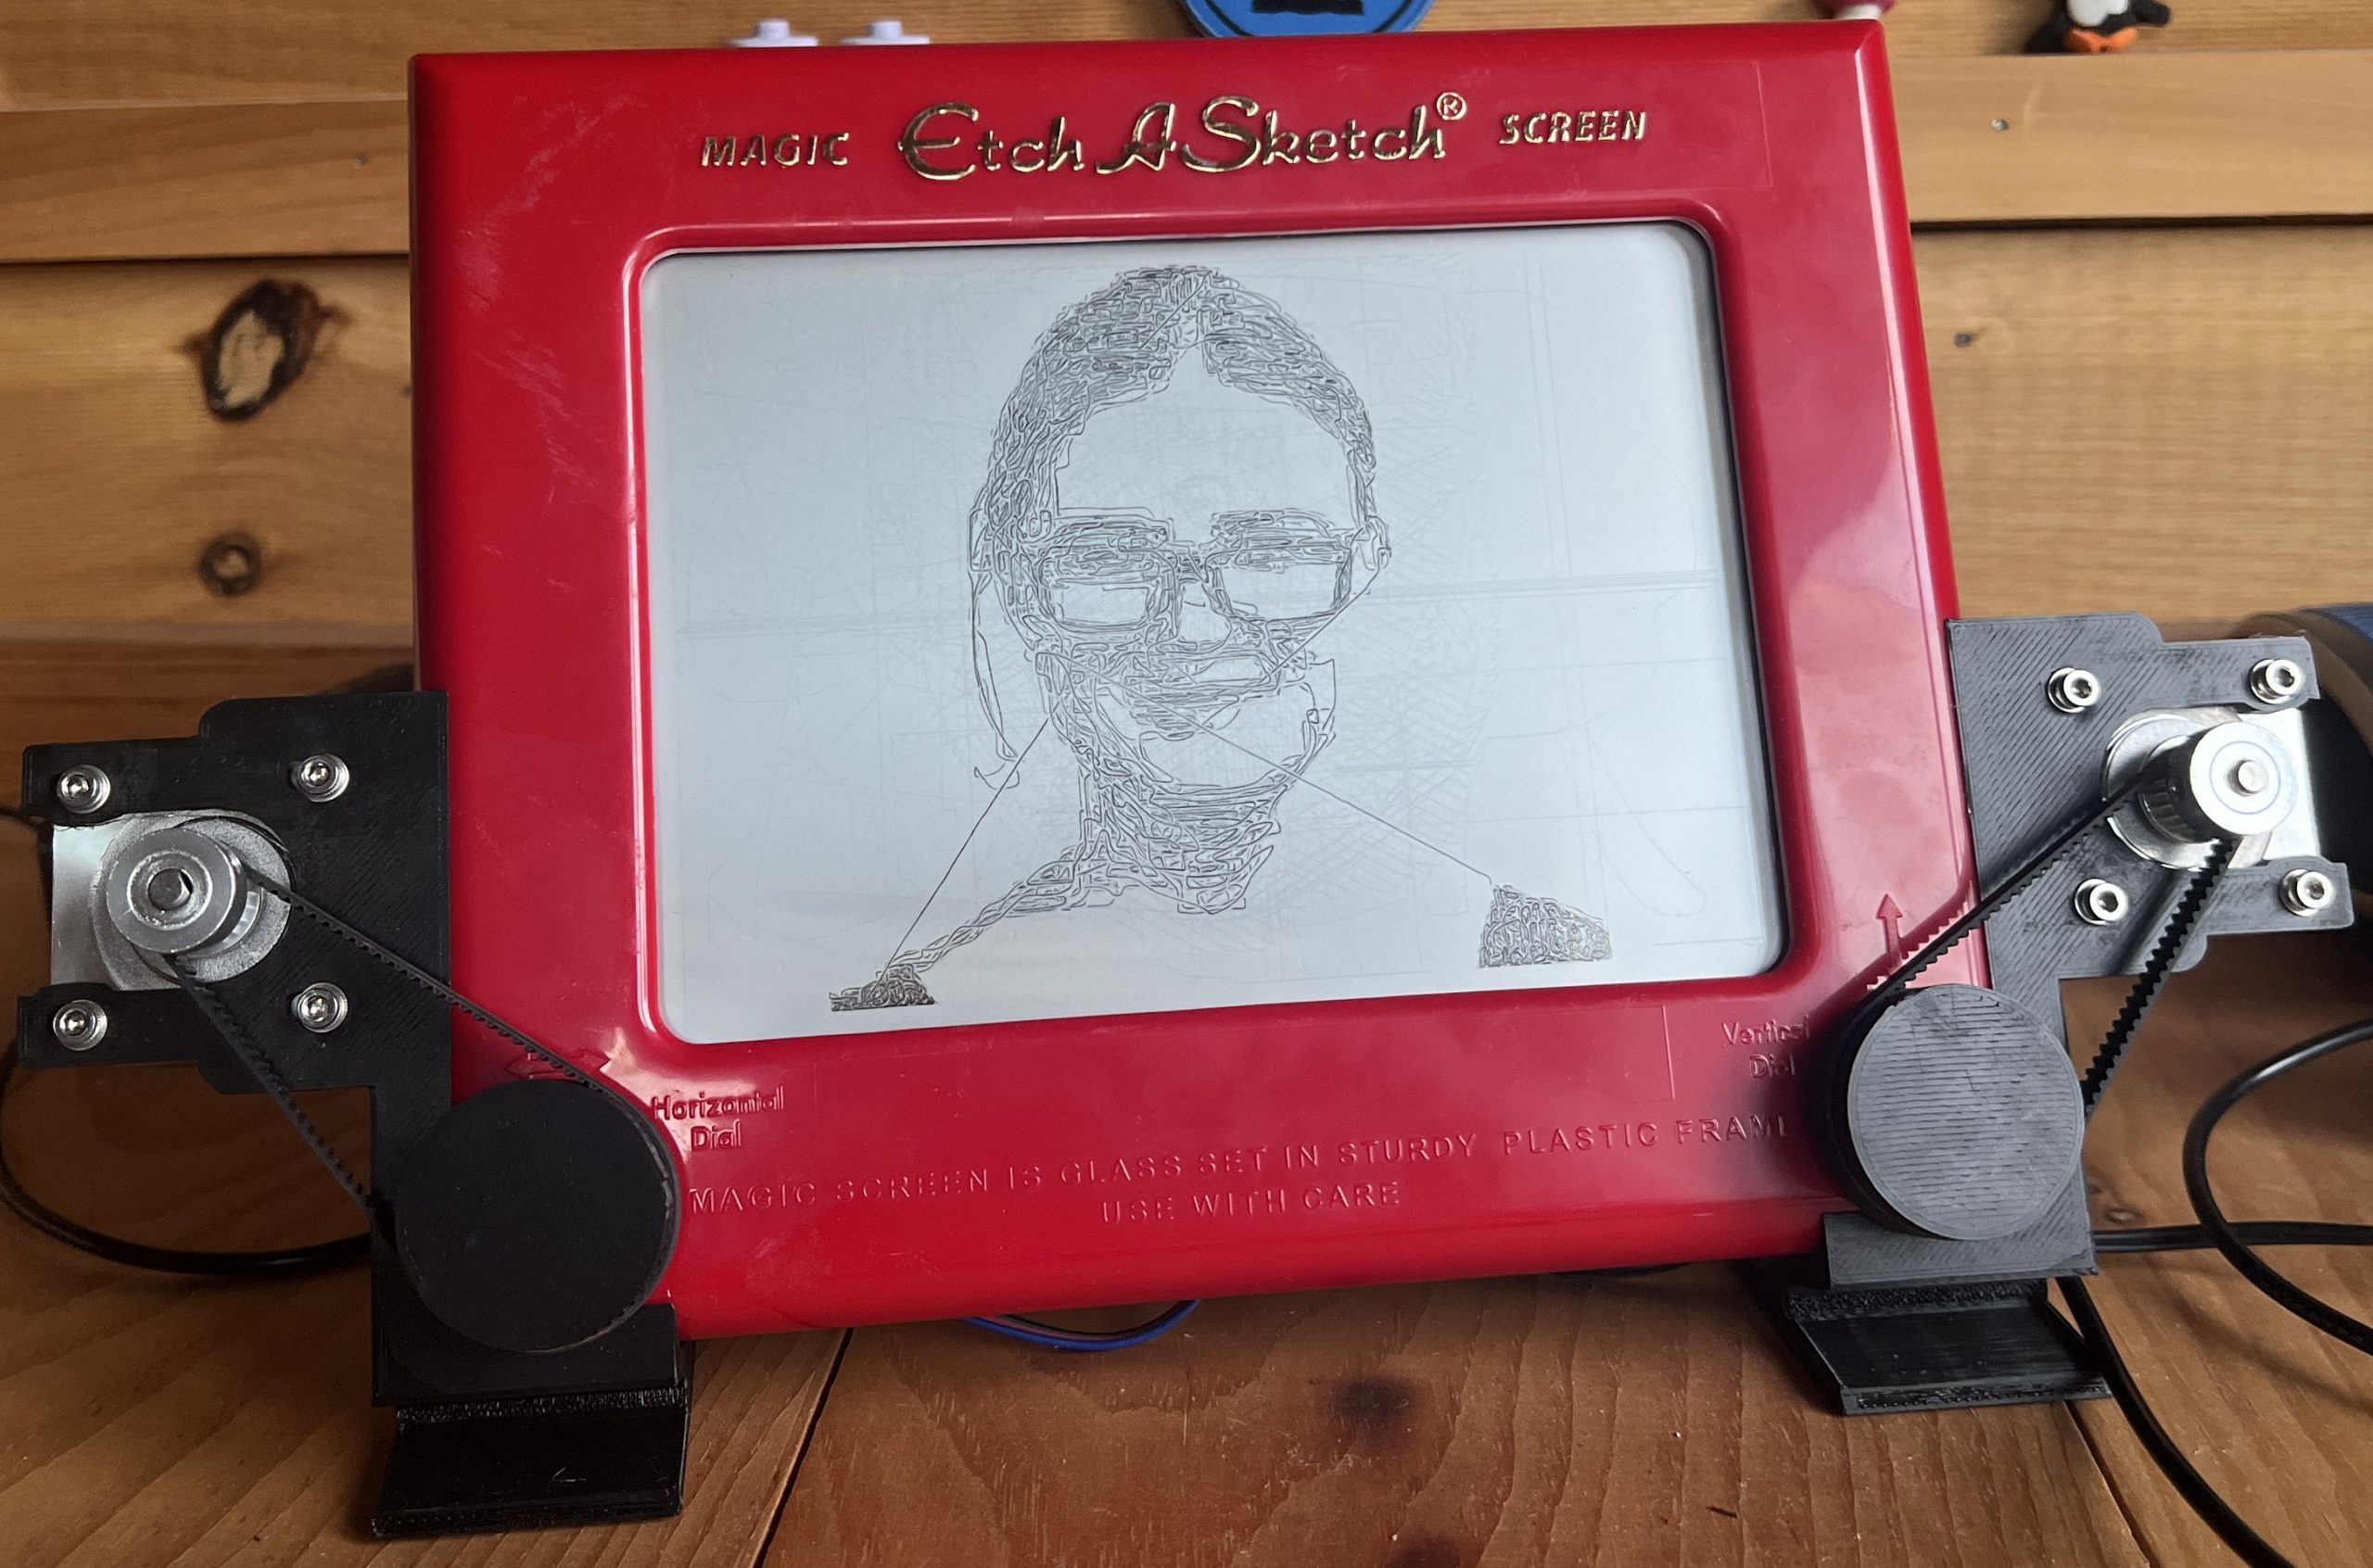
It really isn’t the most accurate machine, the belts inside aren’t timed, but it does pretty ok with some rendering algorithm and is fun.
PewtyBot 1.0 x2
I built another one, it’s always been useful to have 2 of my drawing machines.
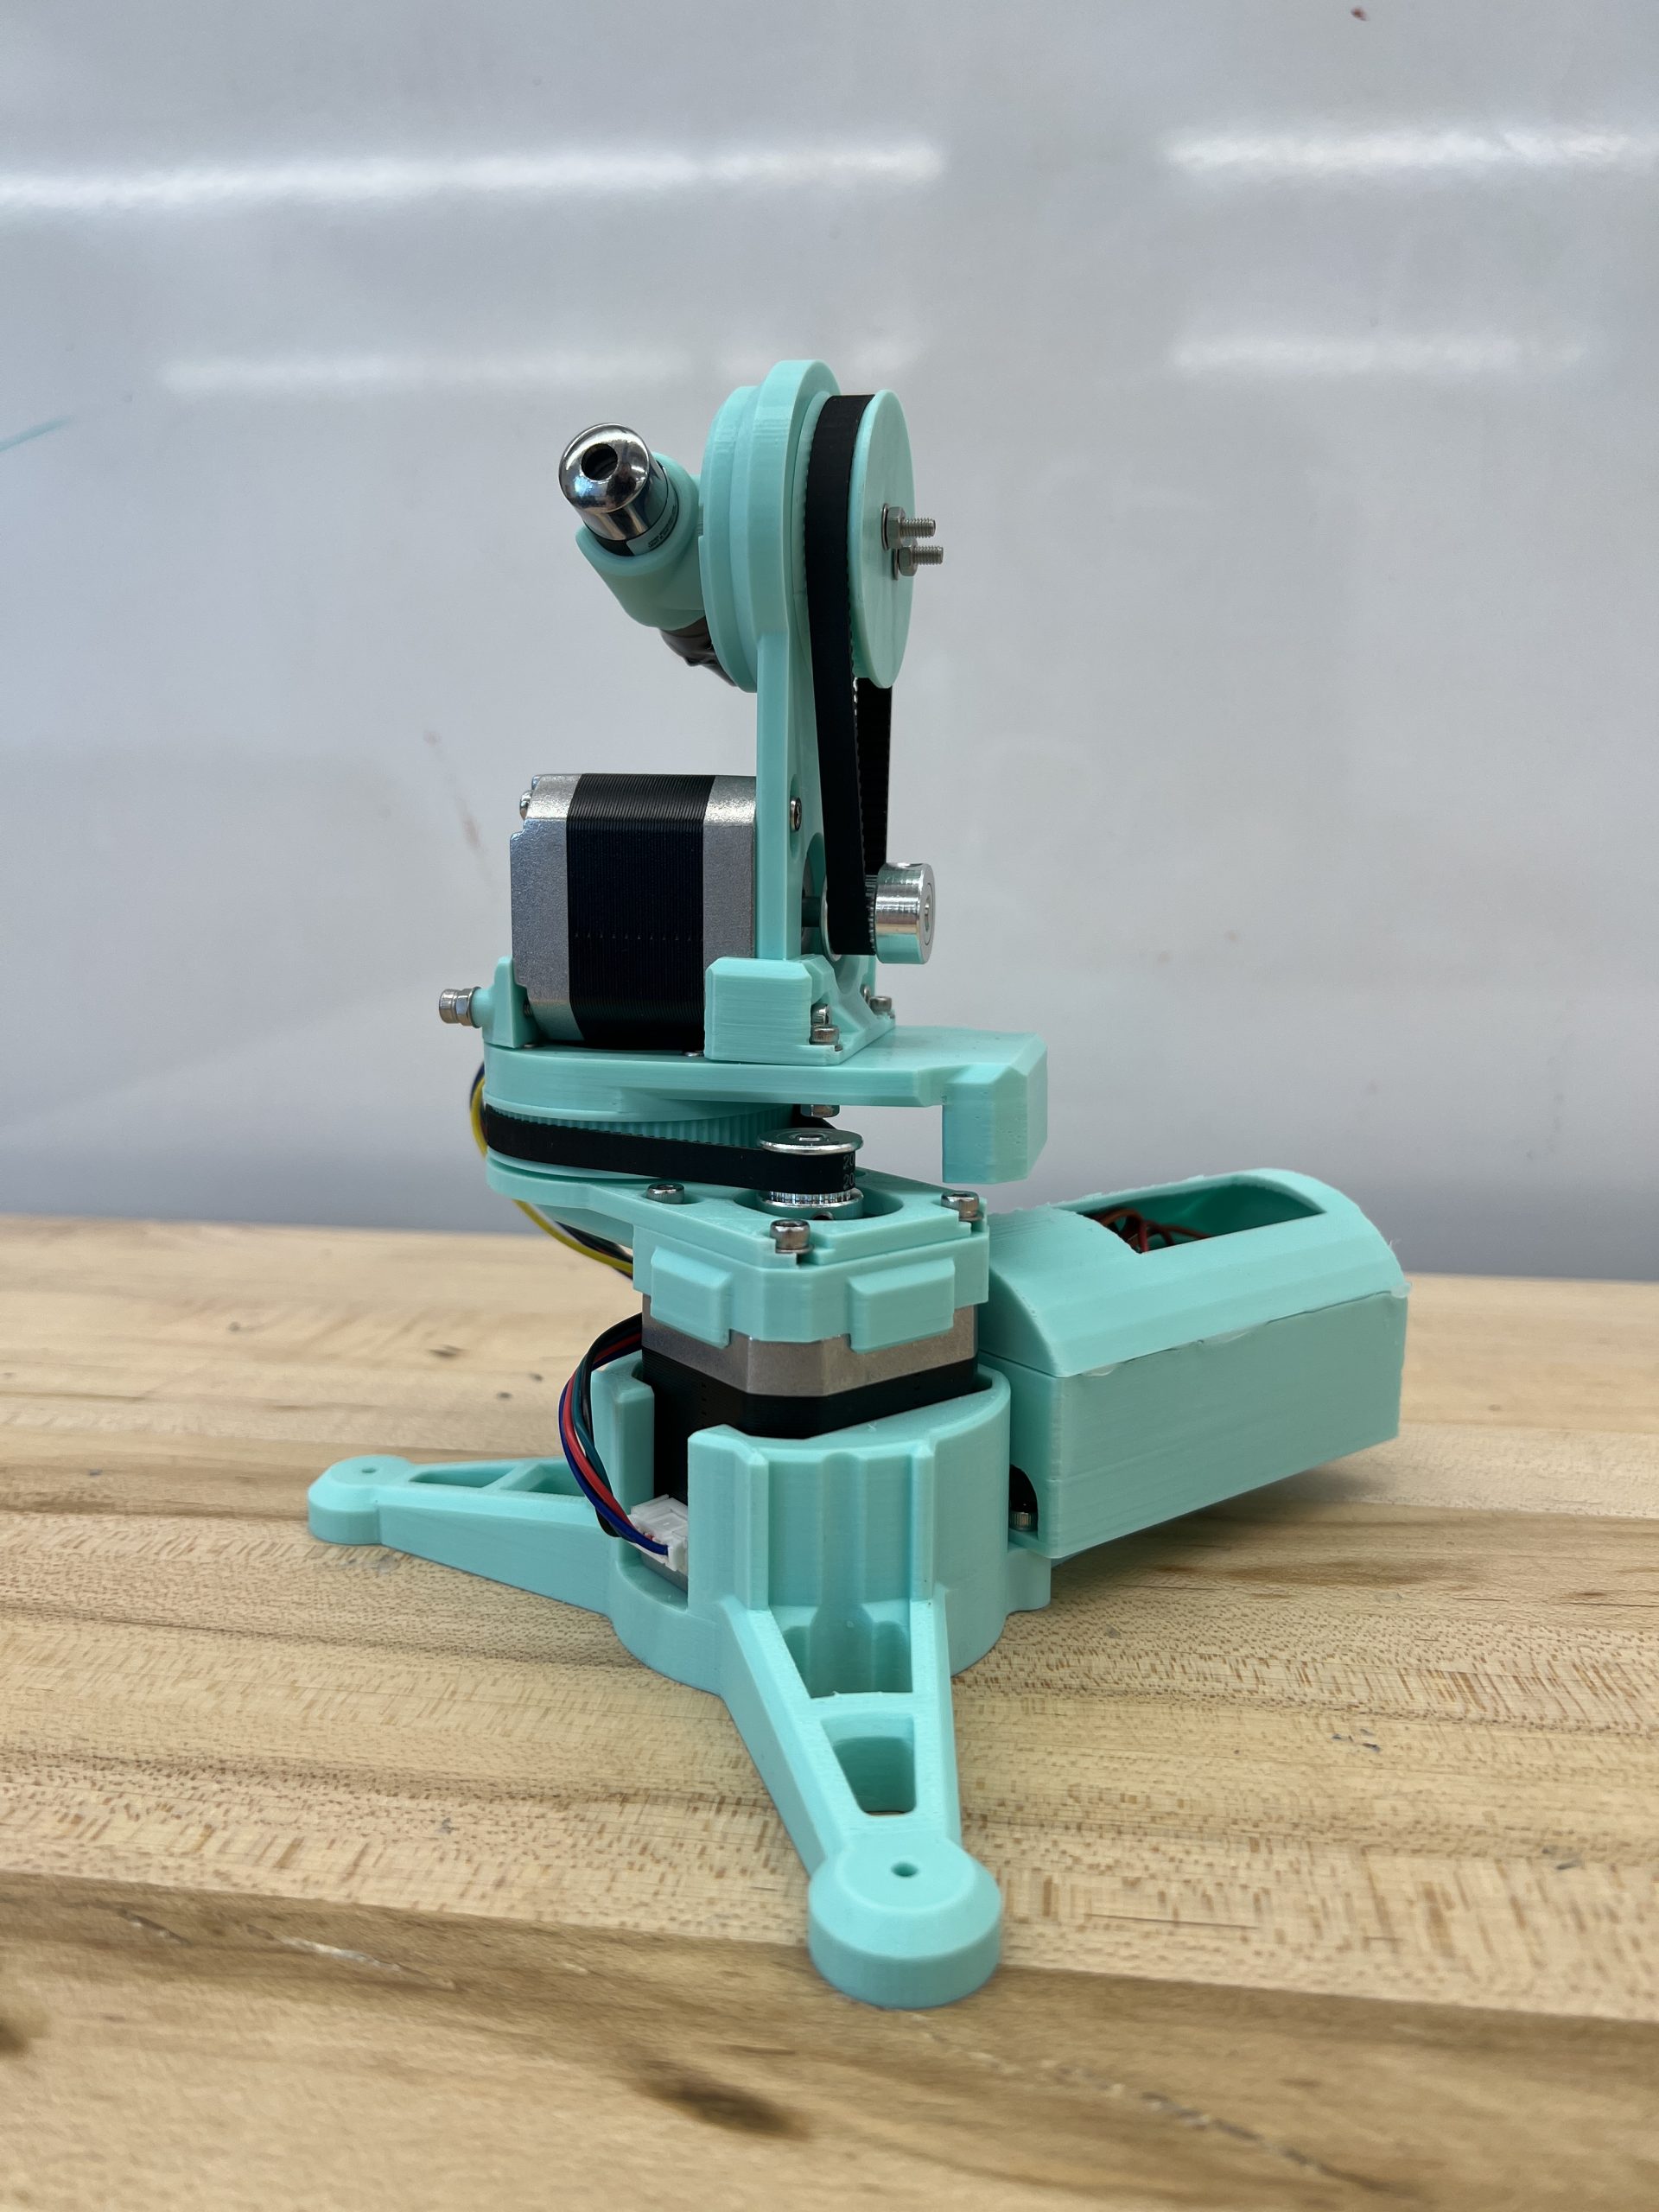
PewtyBot 1.0
I’ve used this project as a stepping stone and modified it some. I can’t say enough good things about it, it propelled development forward significantly and I found it to be expertly designed. Too bad the project it now defunct. I had to find assembly documentation on archive.org.
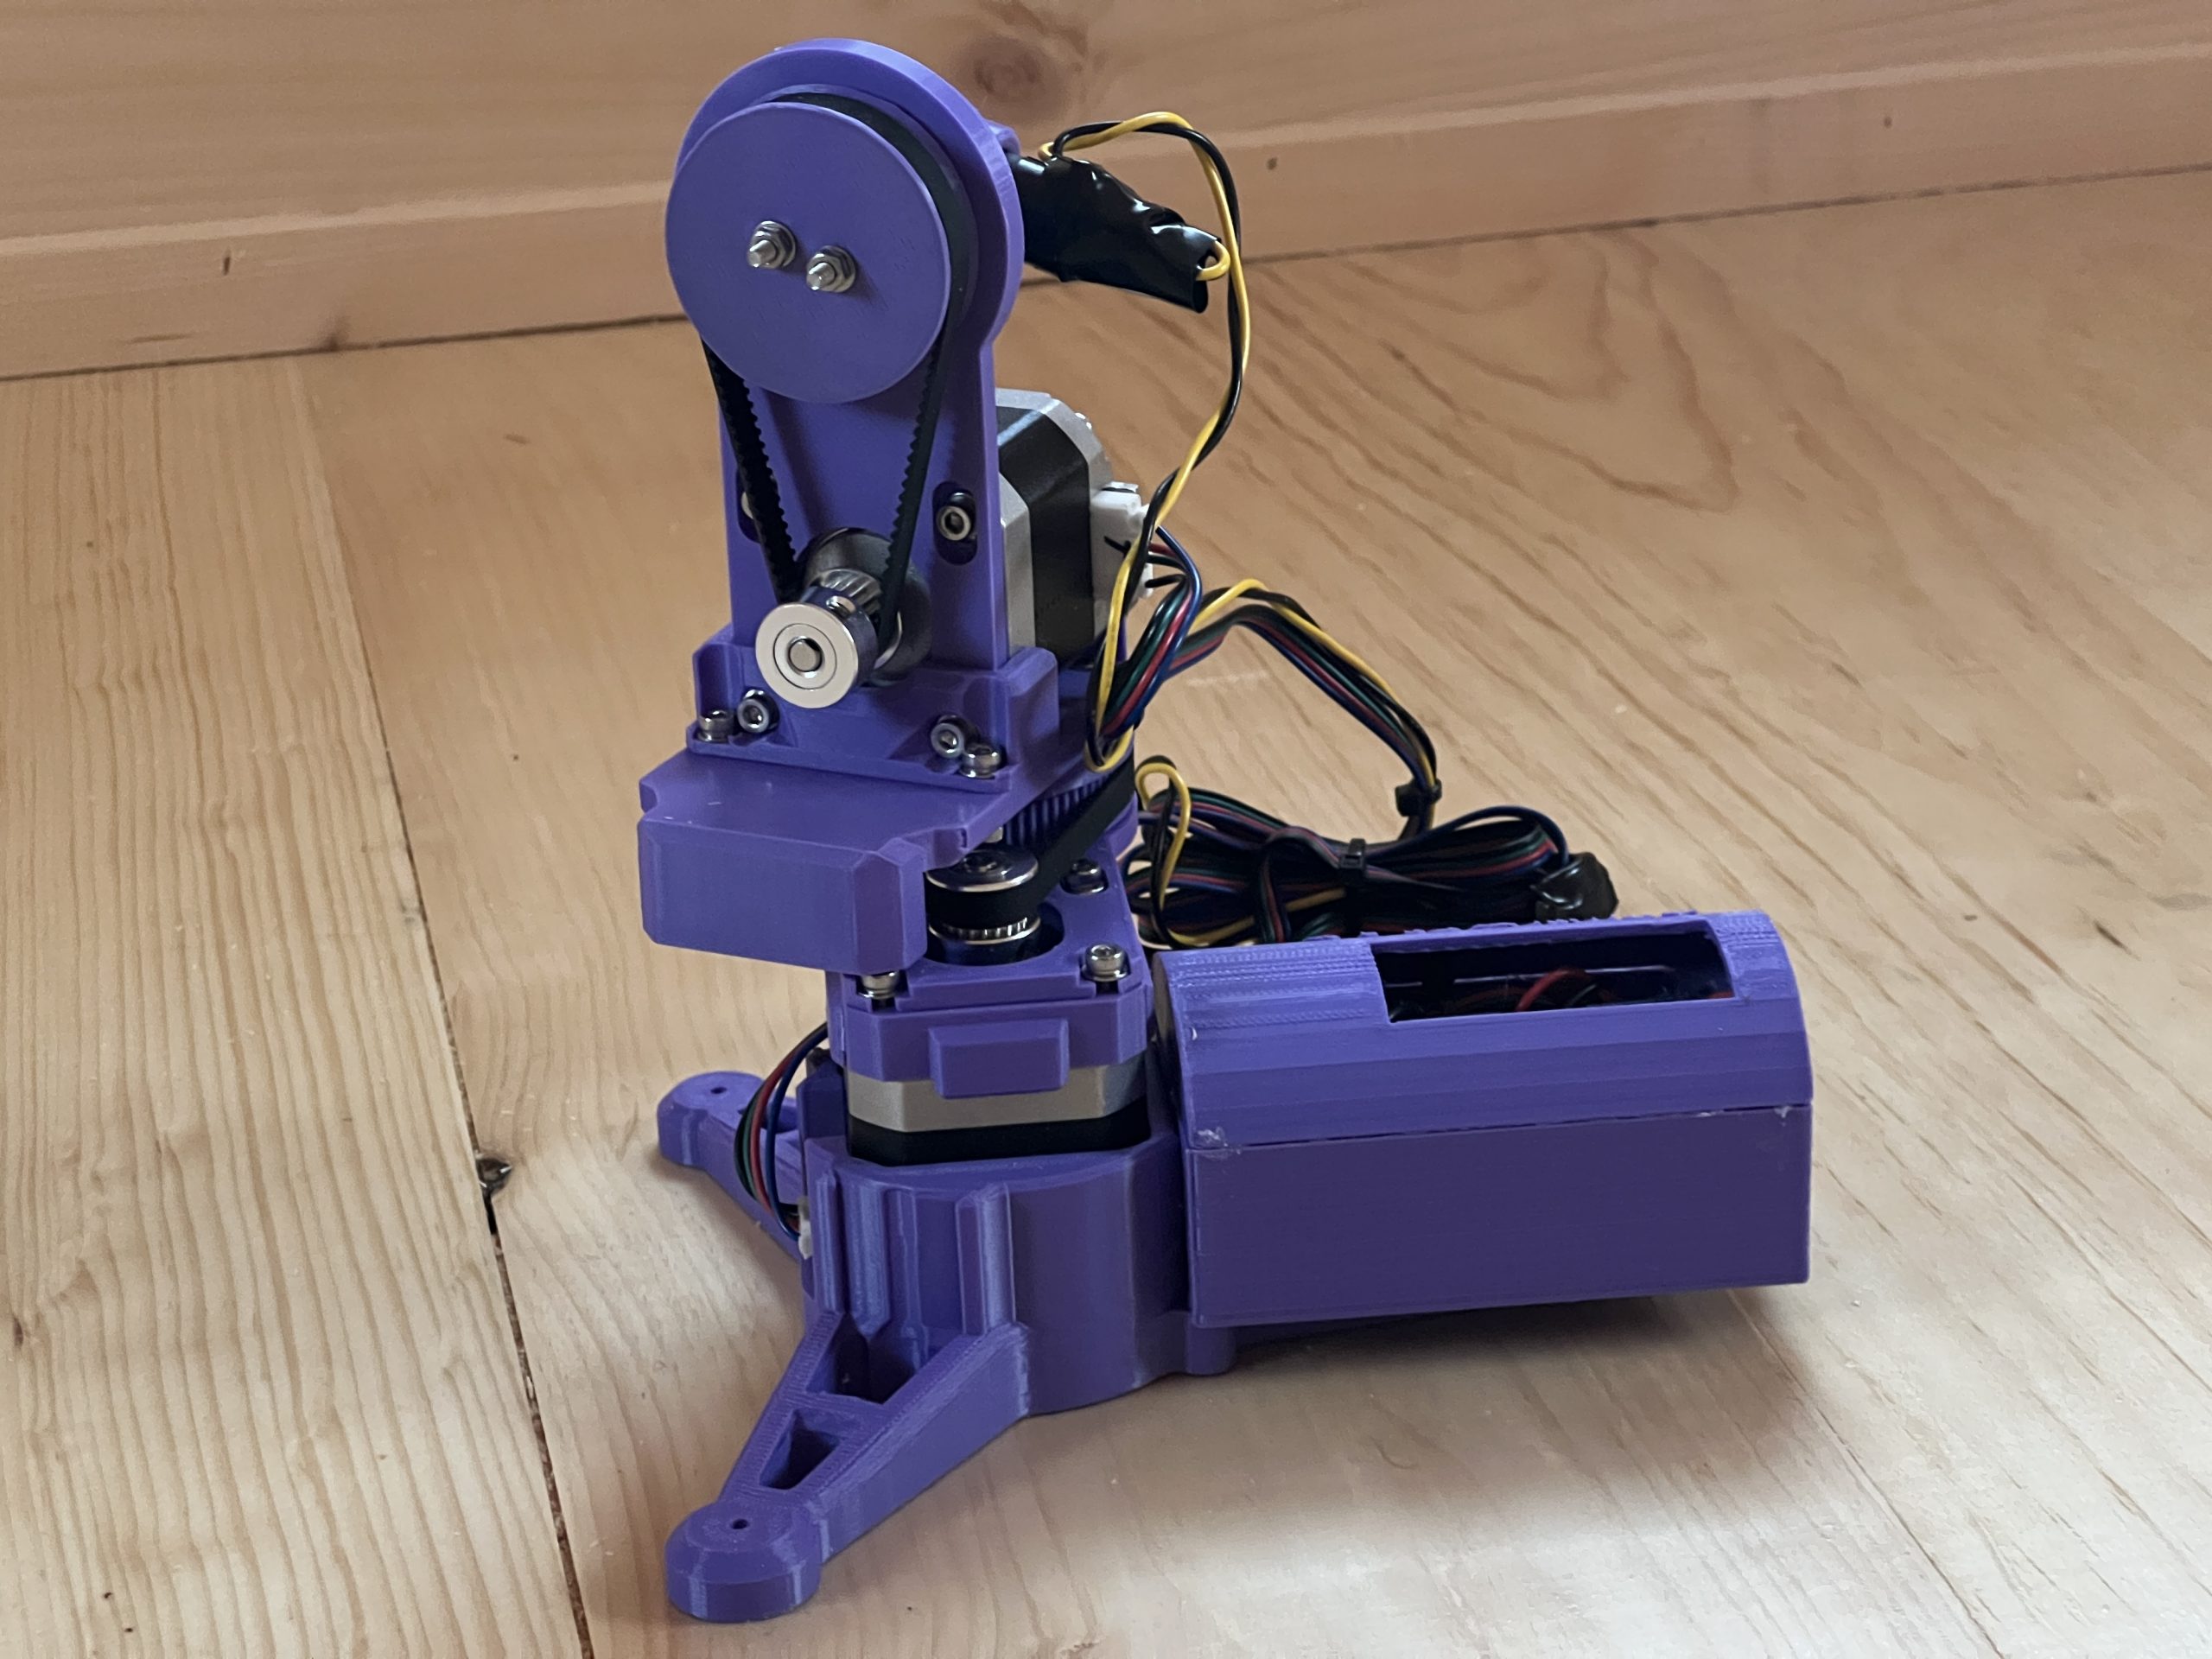
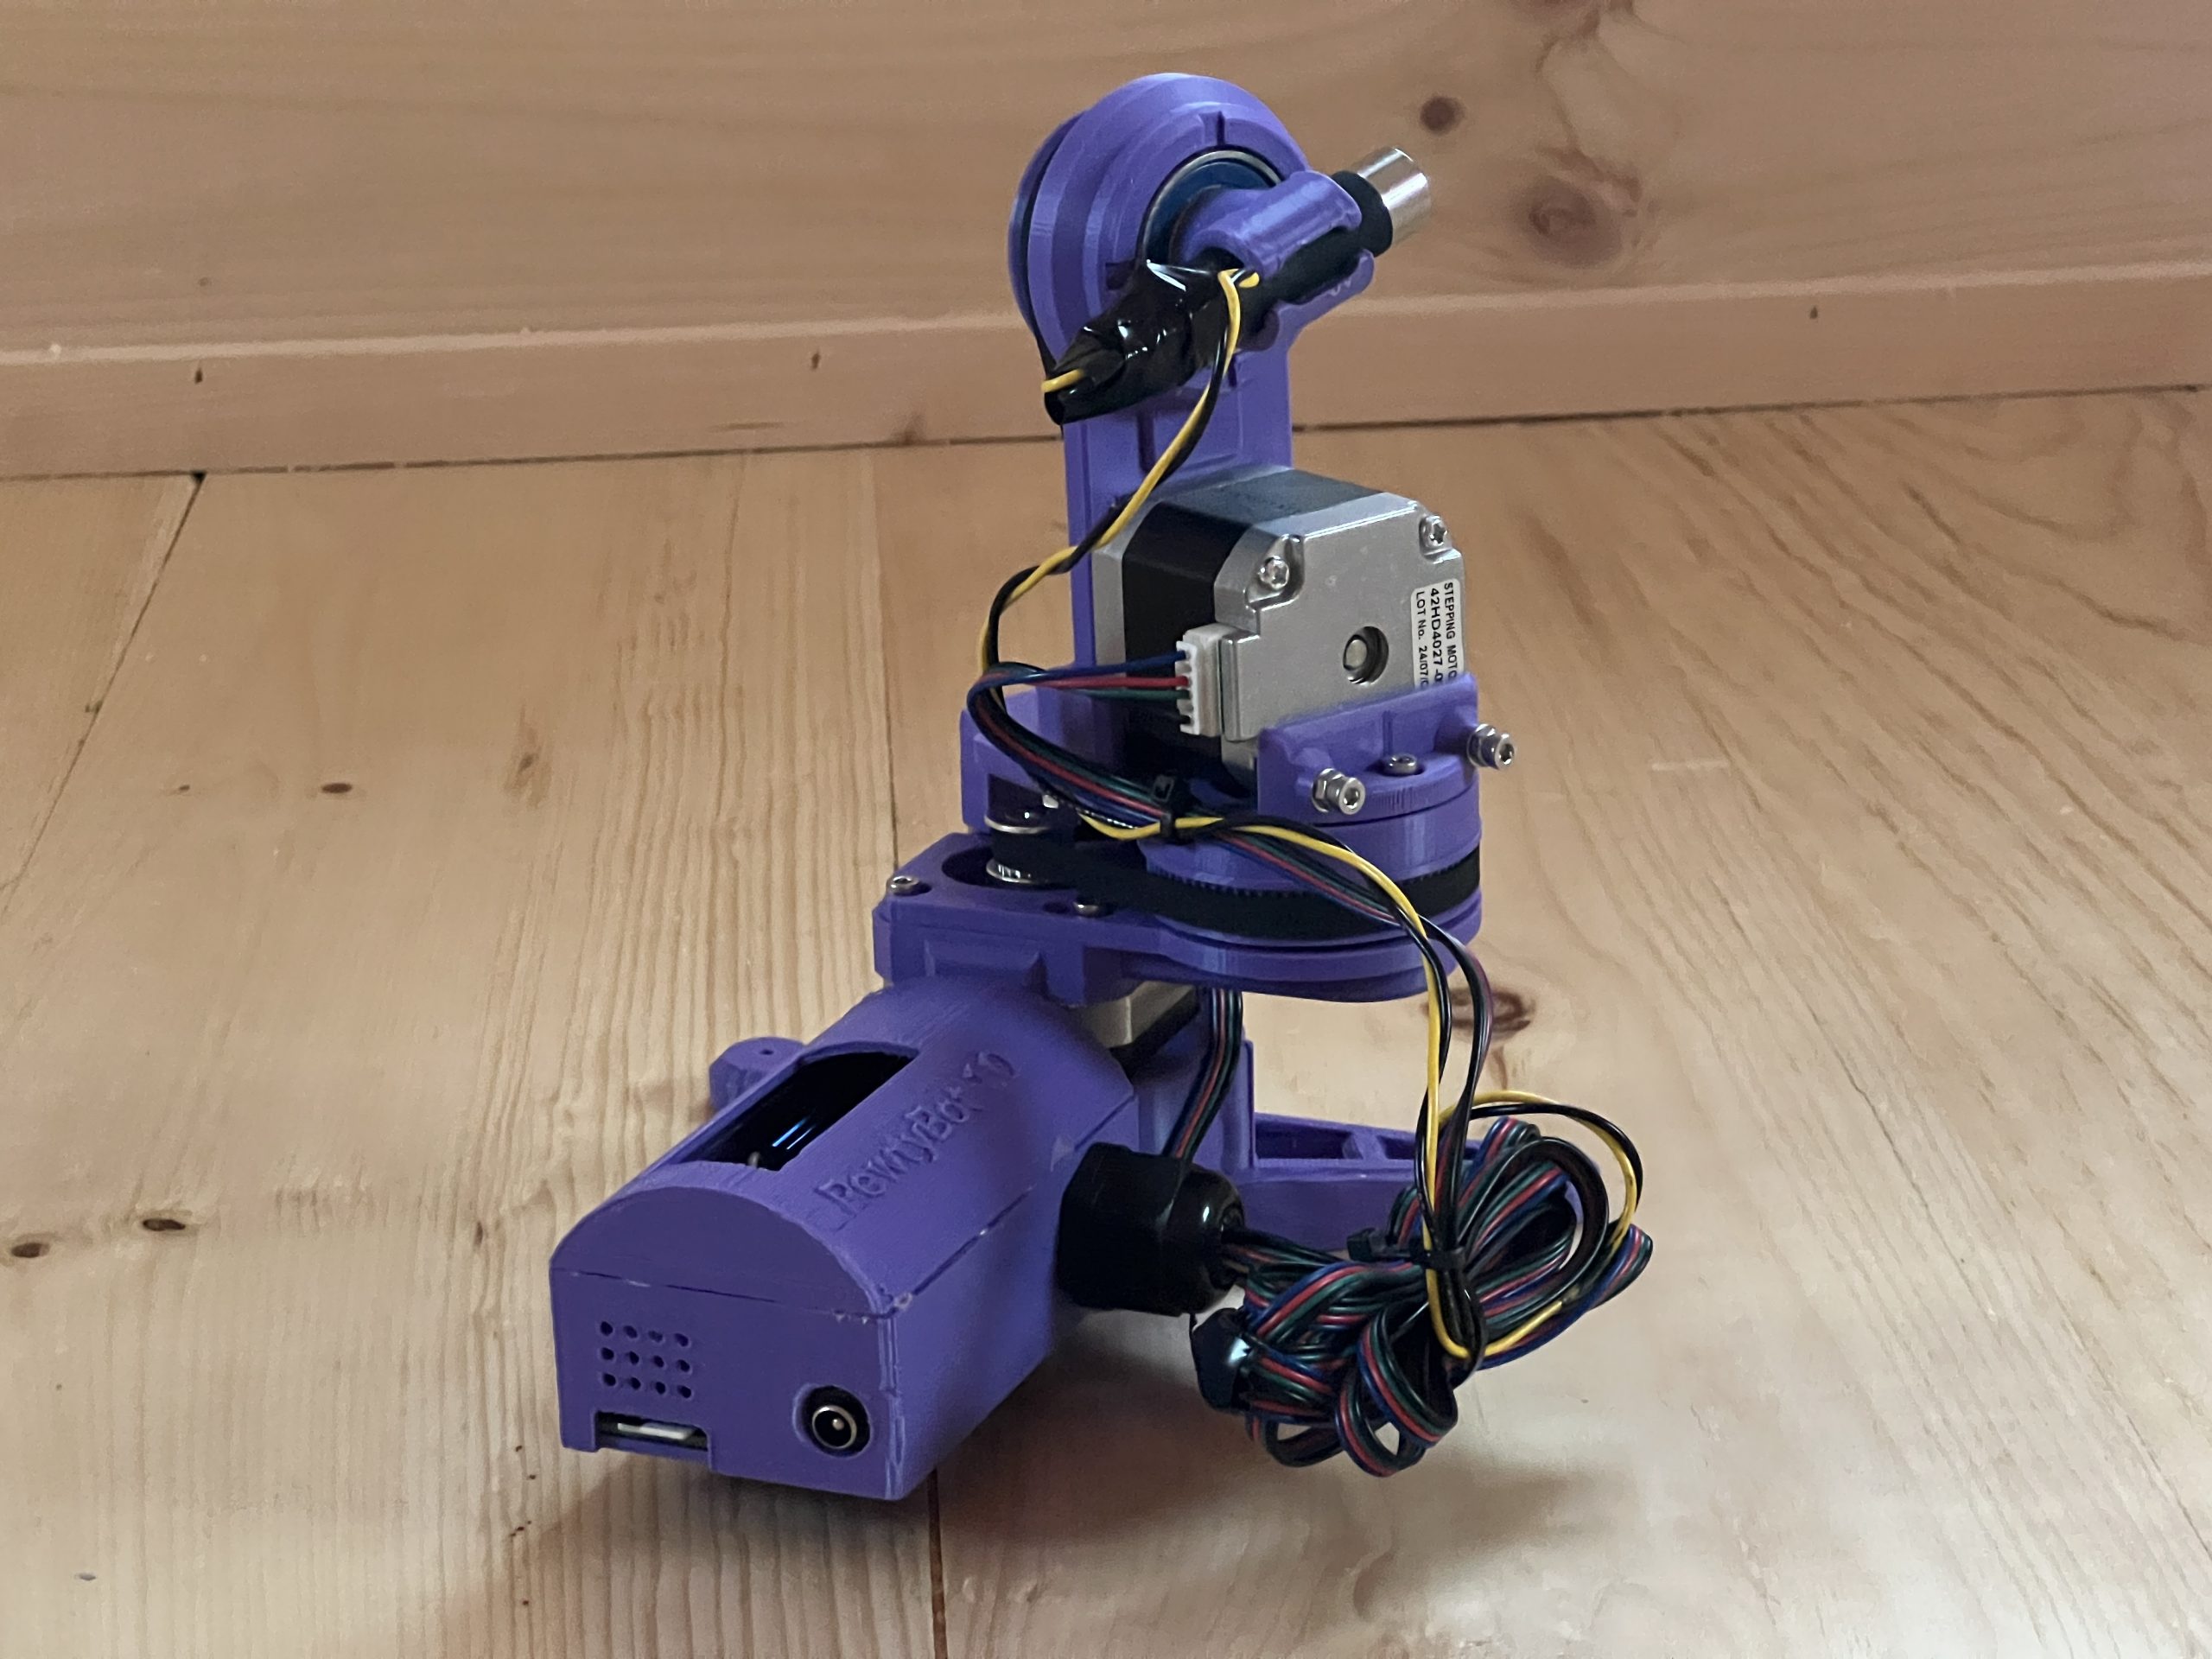
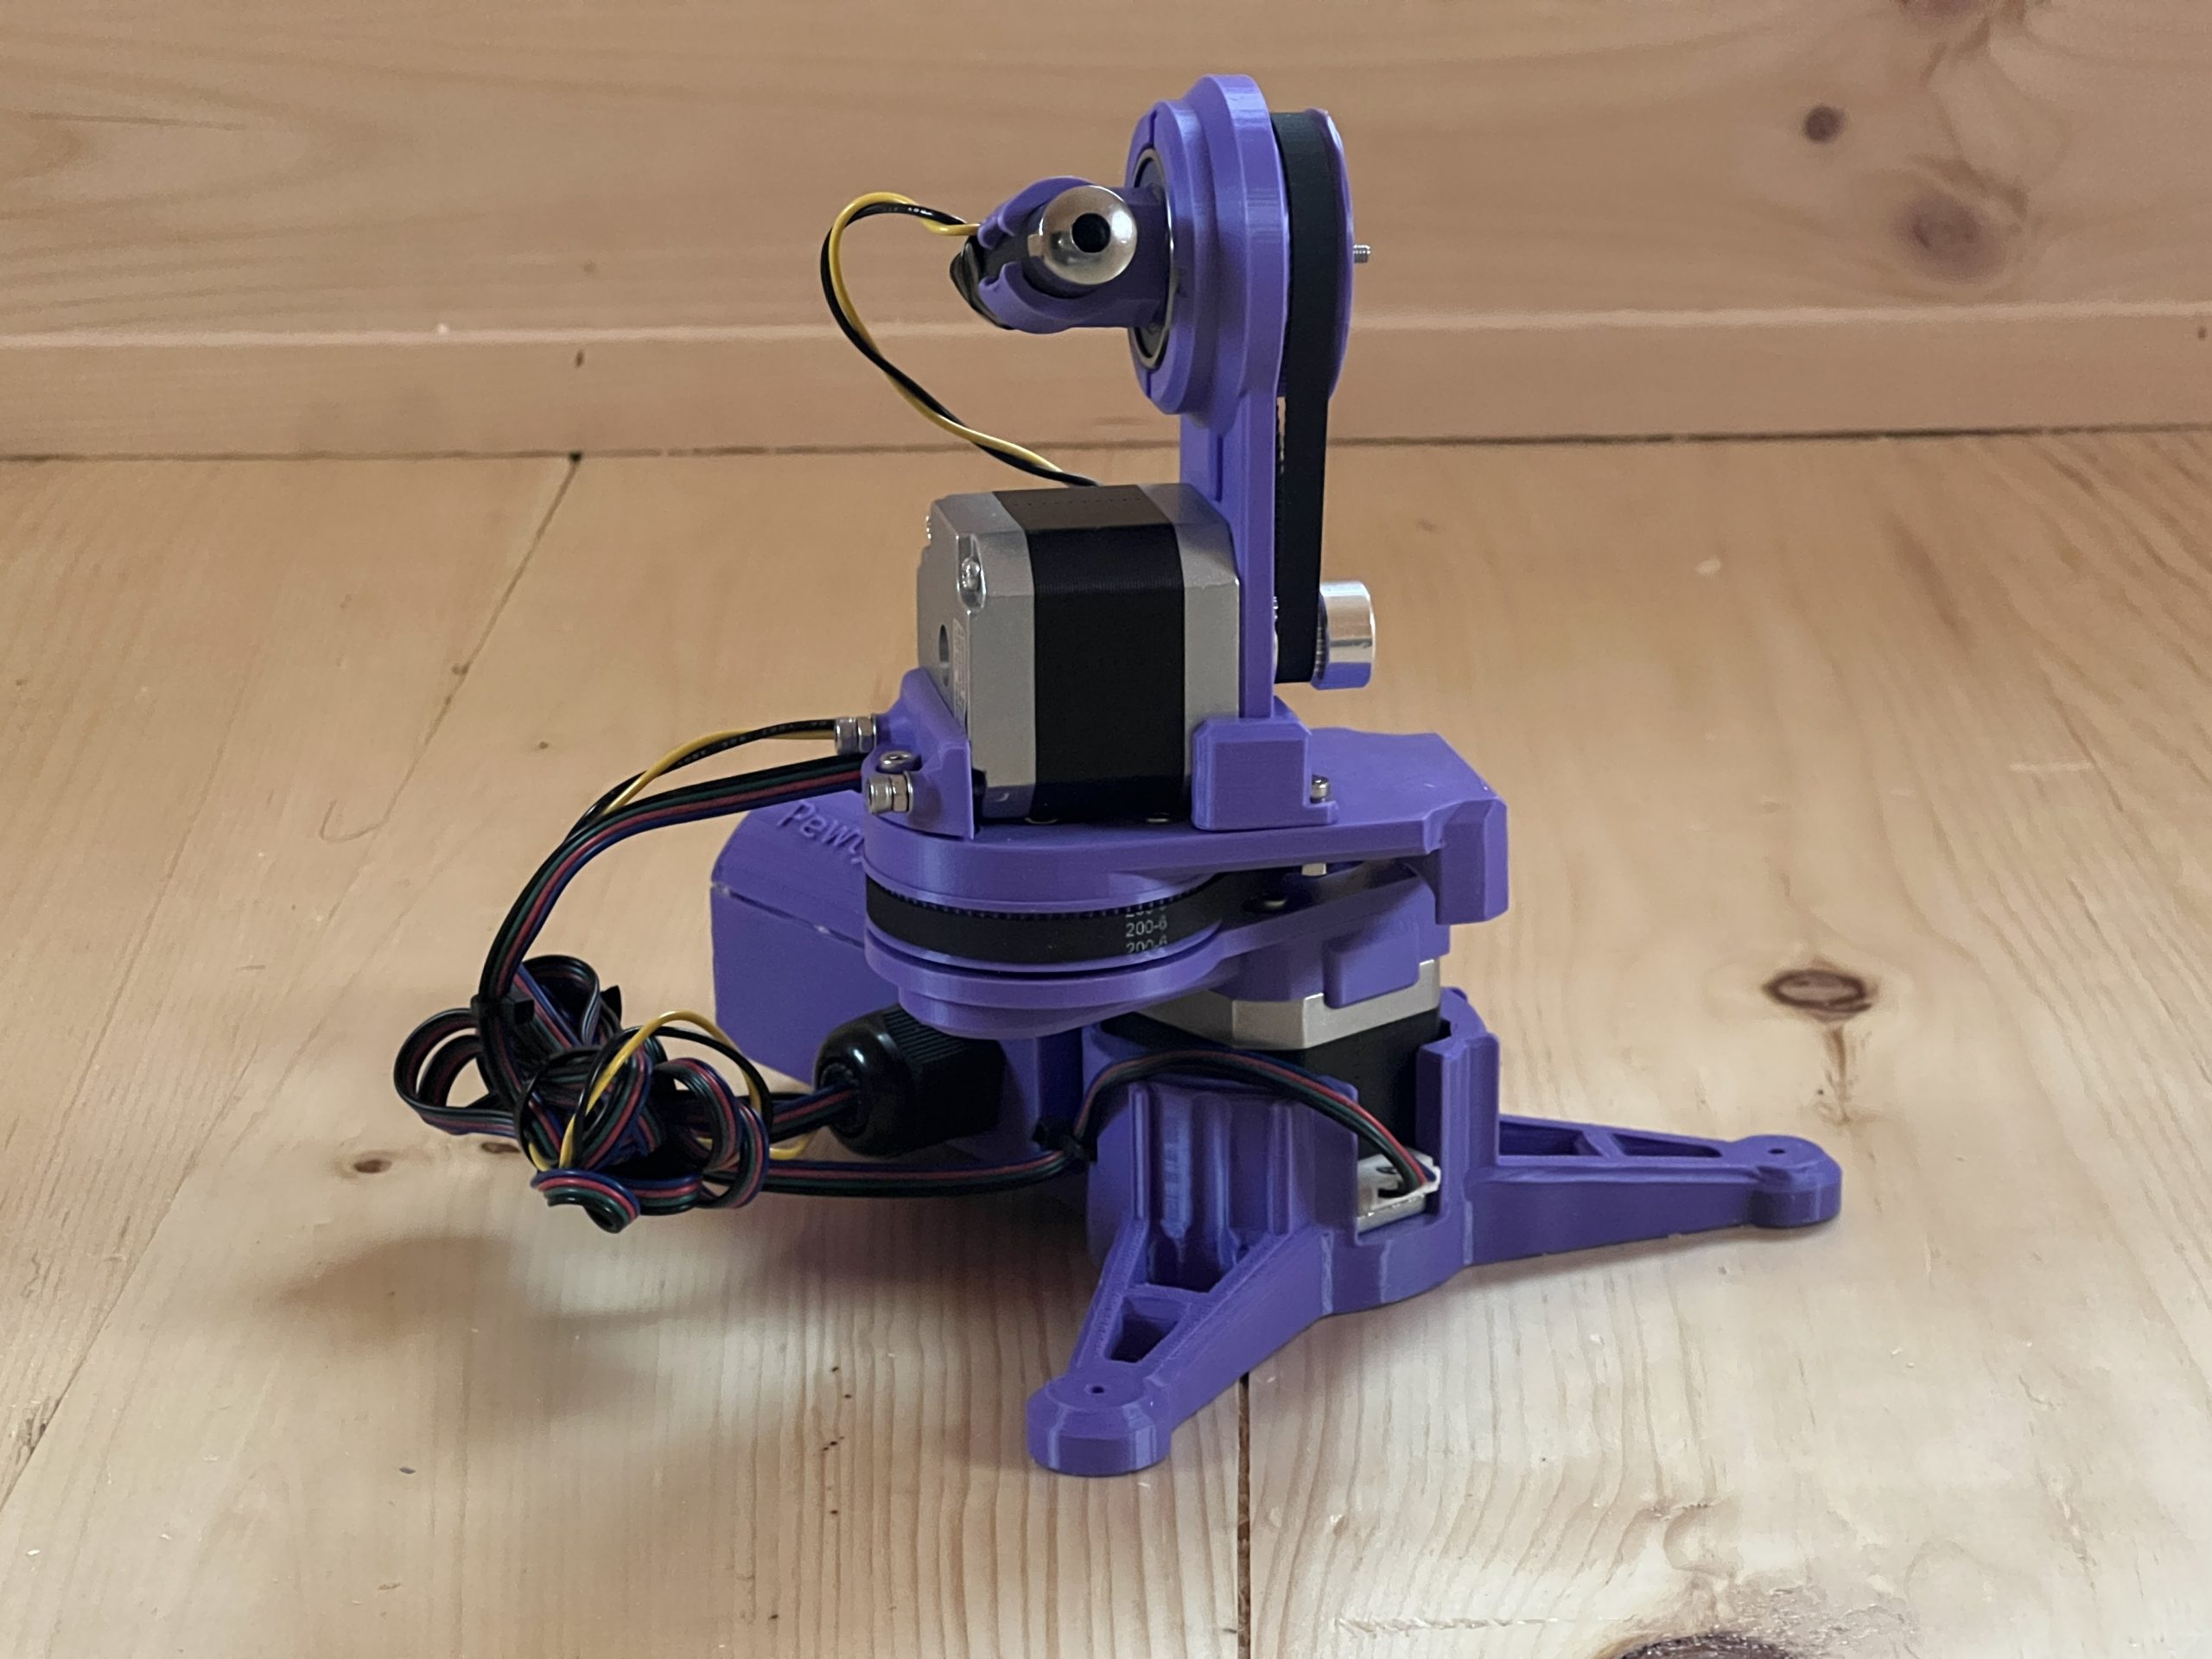
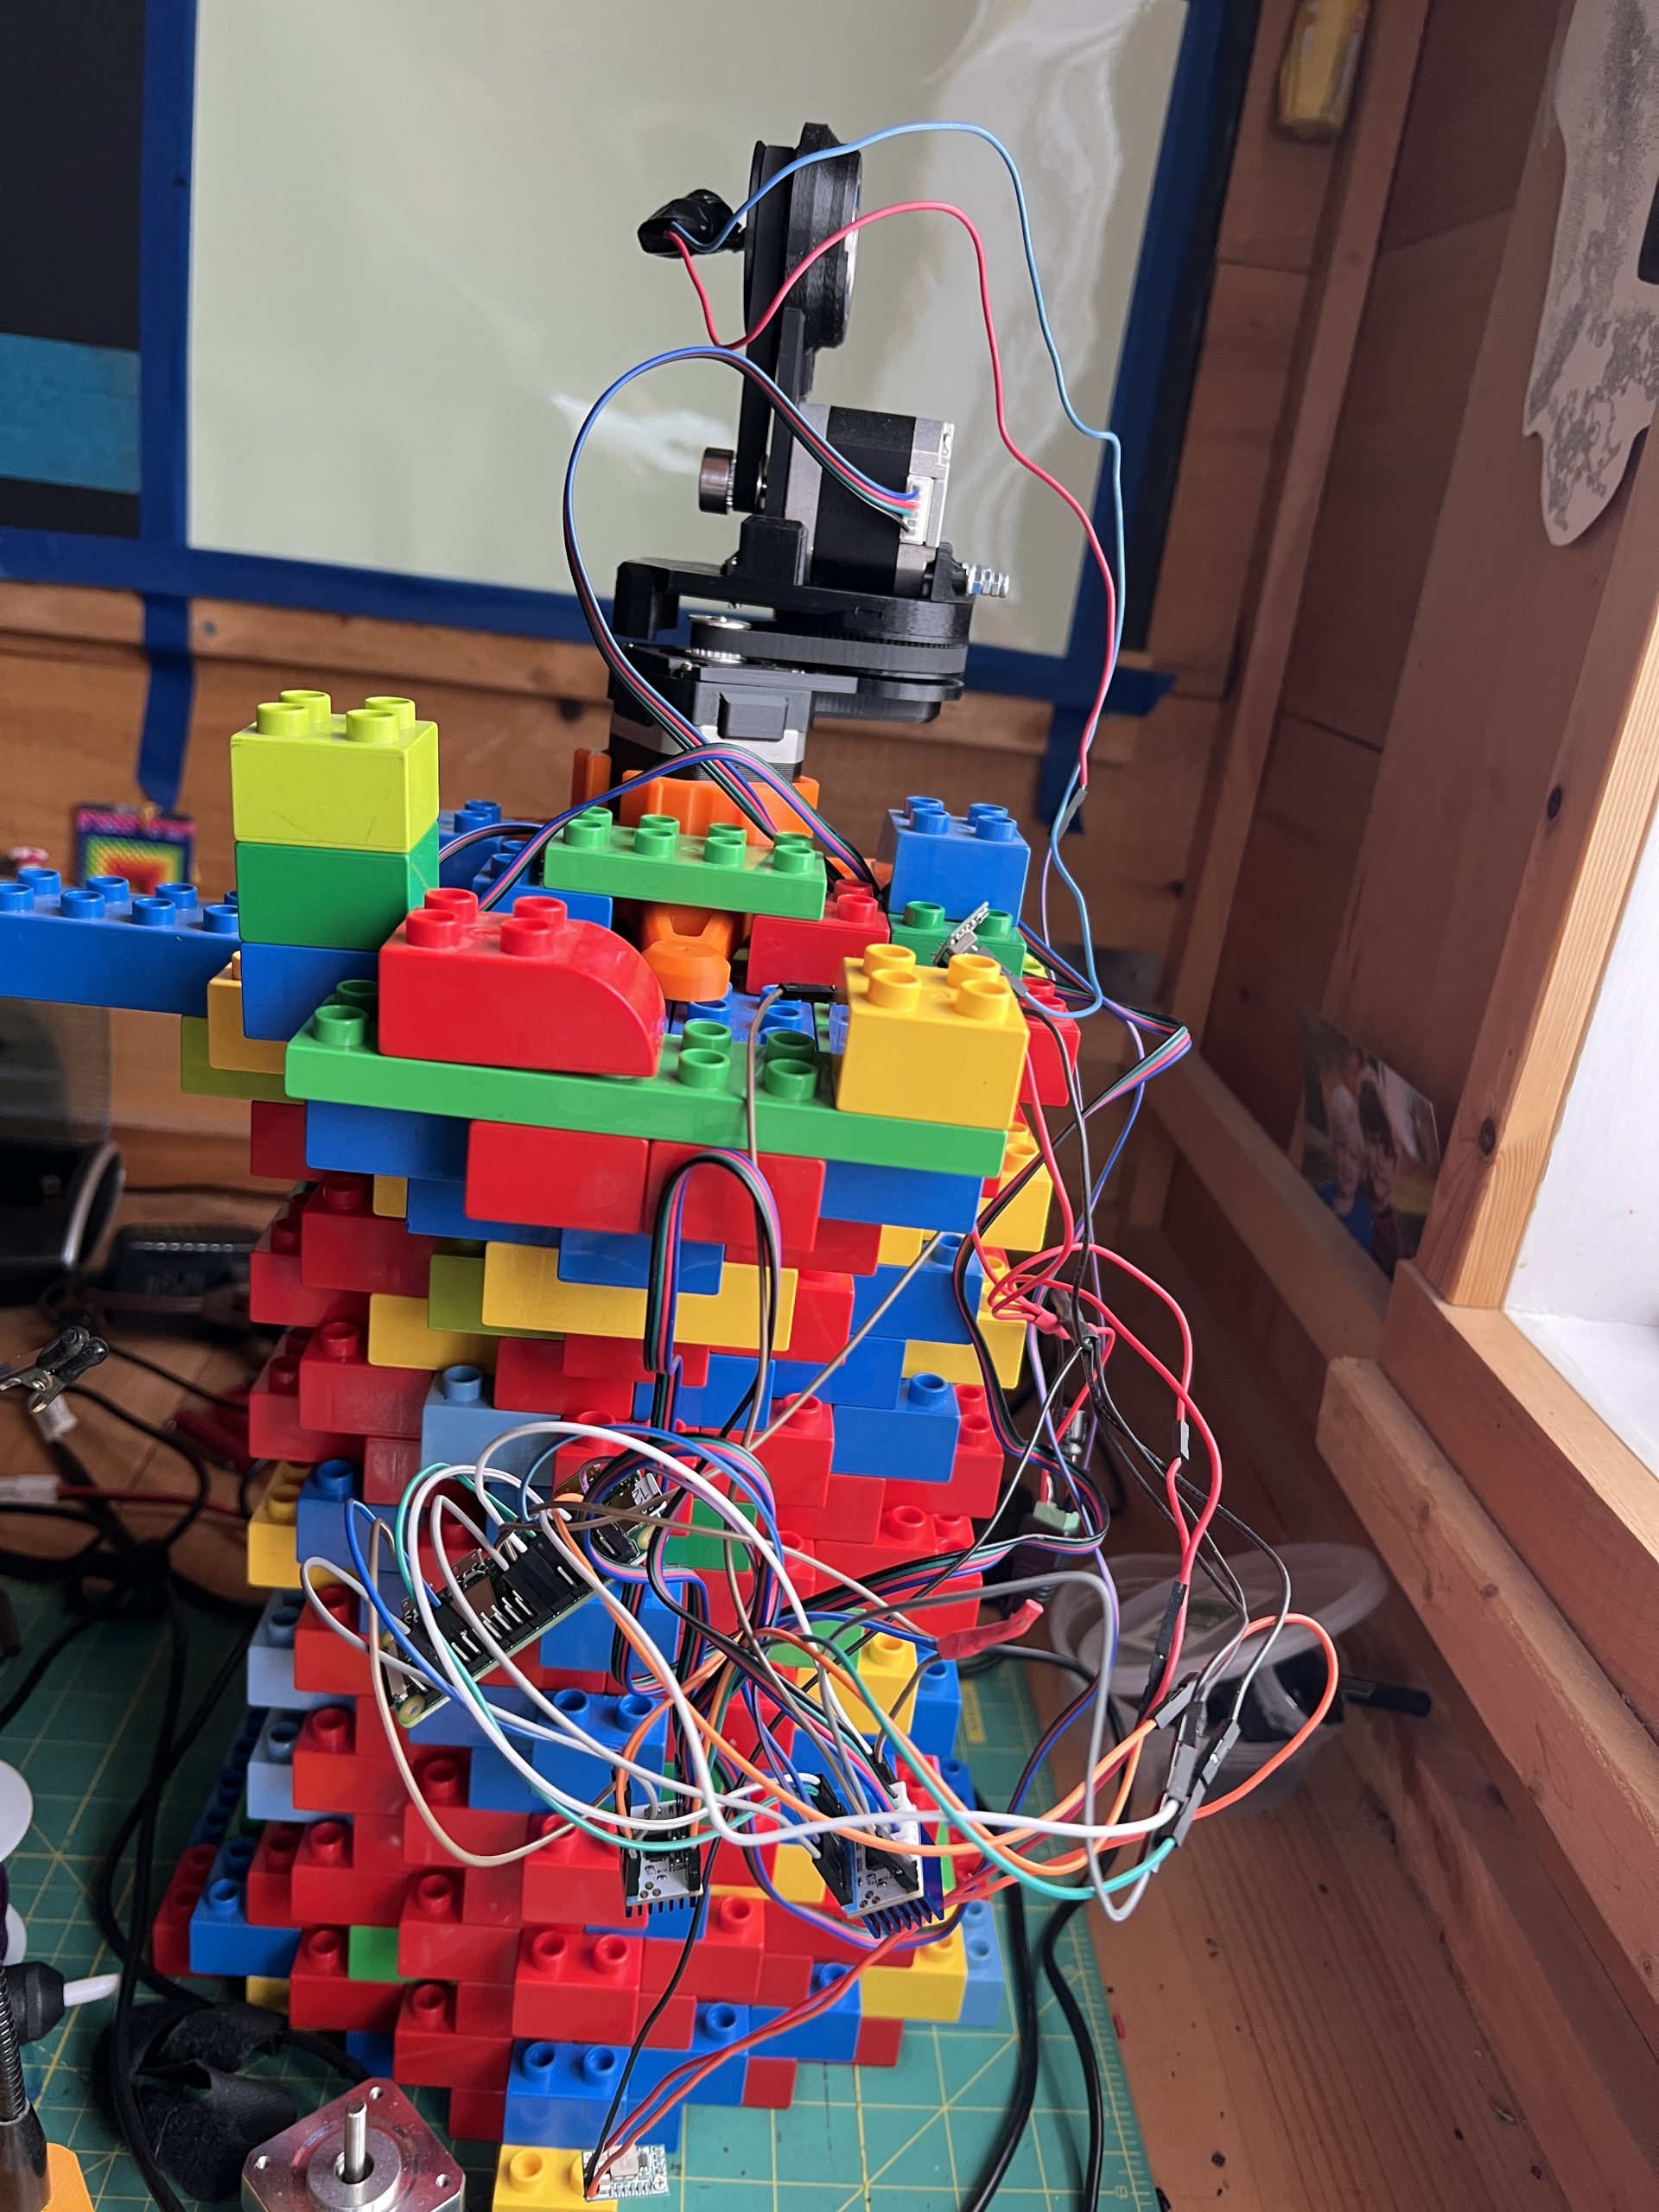
I’m not sure I’ll document it as well as I have the tabletop plotter or the gondola one. At least not yet, maybe that’ll be a Christmas project like the other 2. I did port the same software stack, it would be a shame not to given the years of feature development that went into it. Of course we should use these features with lasers. It might also change drastically, I want to investigate what rotating mirrors could do for speed. Currently some of the moving parts of the machine have enough mass that their inertia causes inaccuracies when moving at high speed.
It’s nice to have things tidied up, the development machine was a mess.
Procrastinated Planning
Driven by necessity, I finalized the plan for construction 2022. I struggled pretty hard on this one, because I tried to figure out many ways to gain half a floor, and I had to think hard about snow management. Ultimately I ended up keeping it to just 1 floor because I do NOT want to mess with the existing tin roof. In Vermont currently contractors are impossible to get, let alone roofers who are notoriously difficult to begin with (and rightfully so). So it was always the plan that I’ll be doing the tin myself, and because of that, I really cannot mess with the existing roof. So this addition has an independent roof line which does not at all integrate with the existing one.
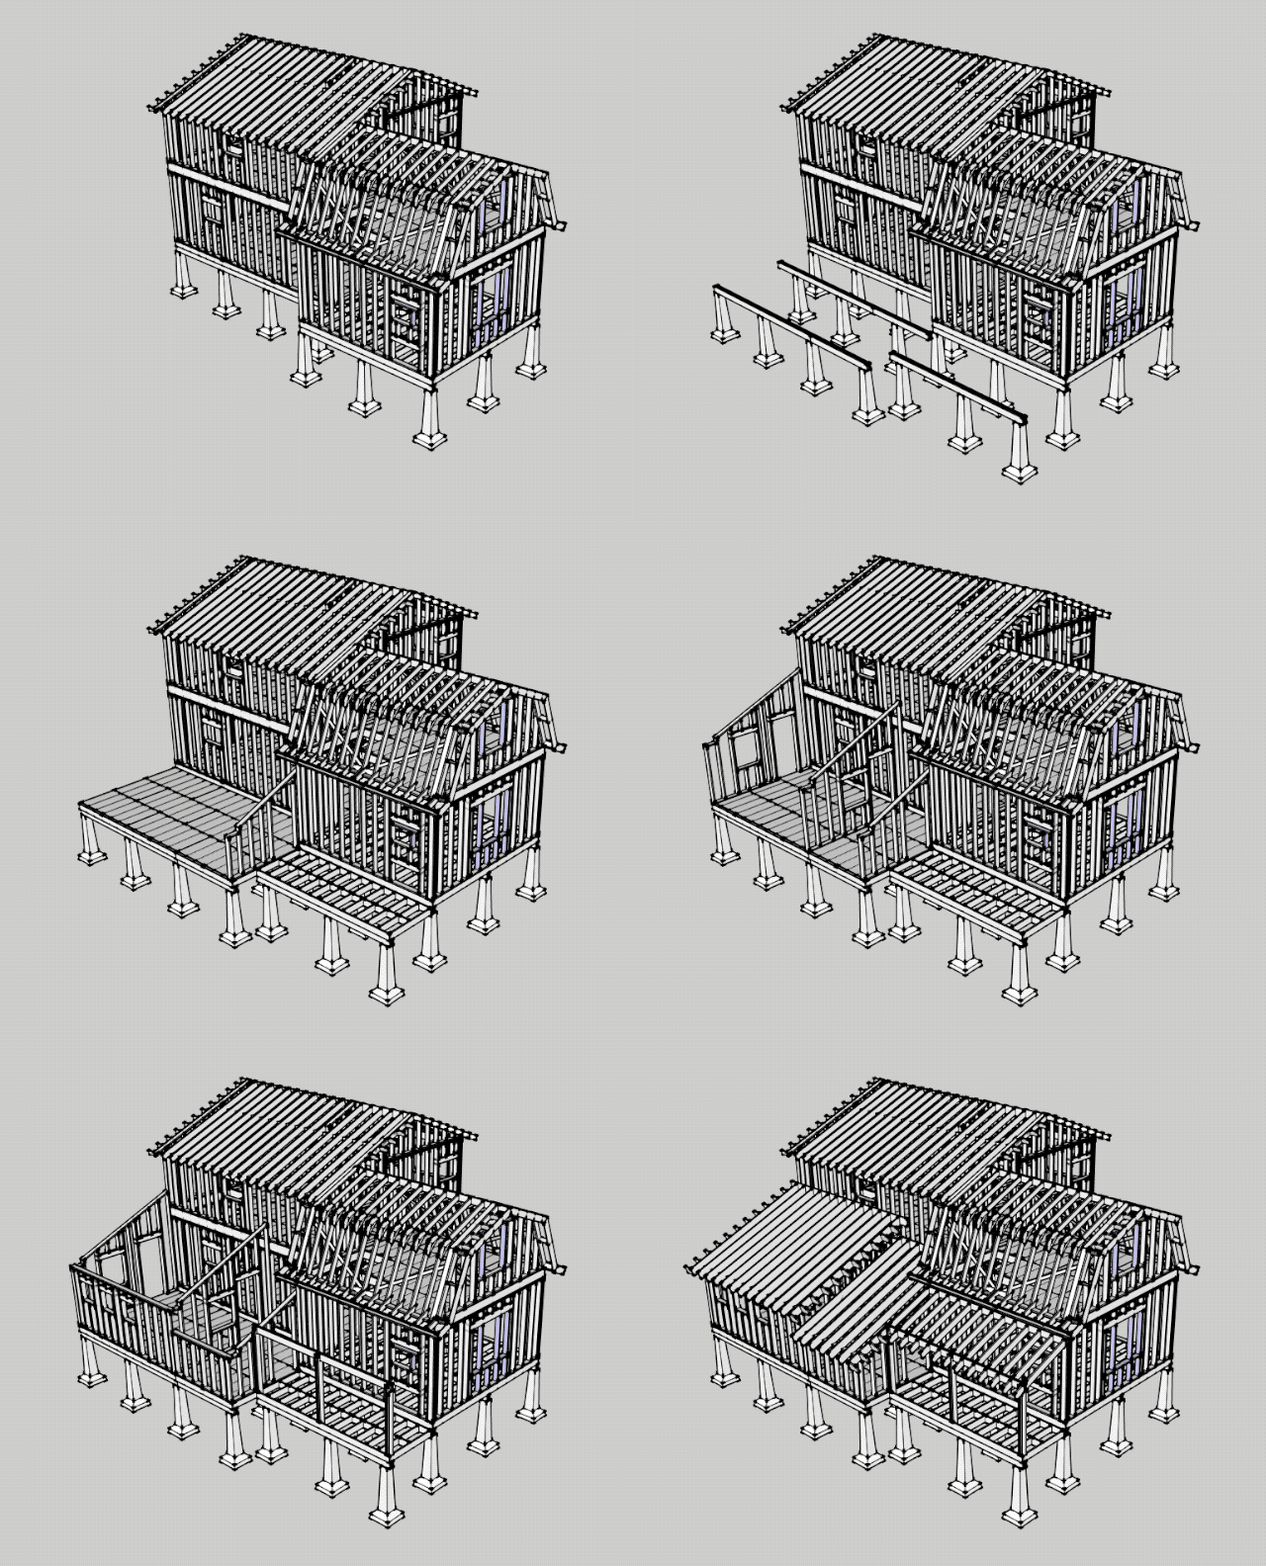
There were a couple of challenges to solve but in the end, it’s a pretty straightforward build. Nicole is getting a whole 12’x16′ all to herself to accommodate all the projects she’s spearheading on the homestead.
PlottyBot is born
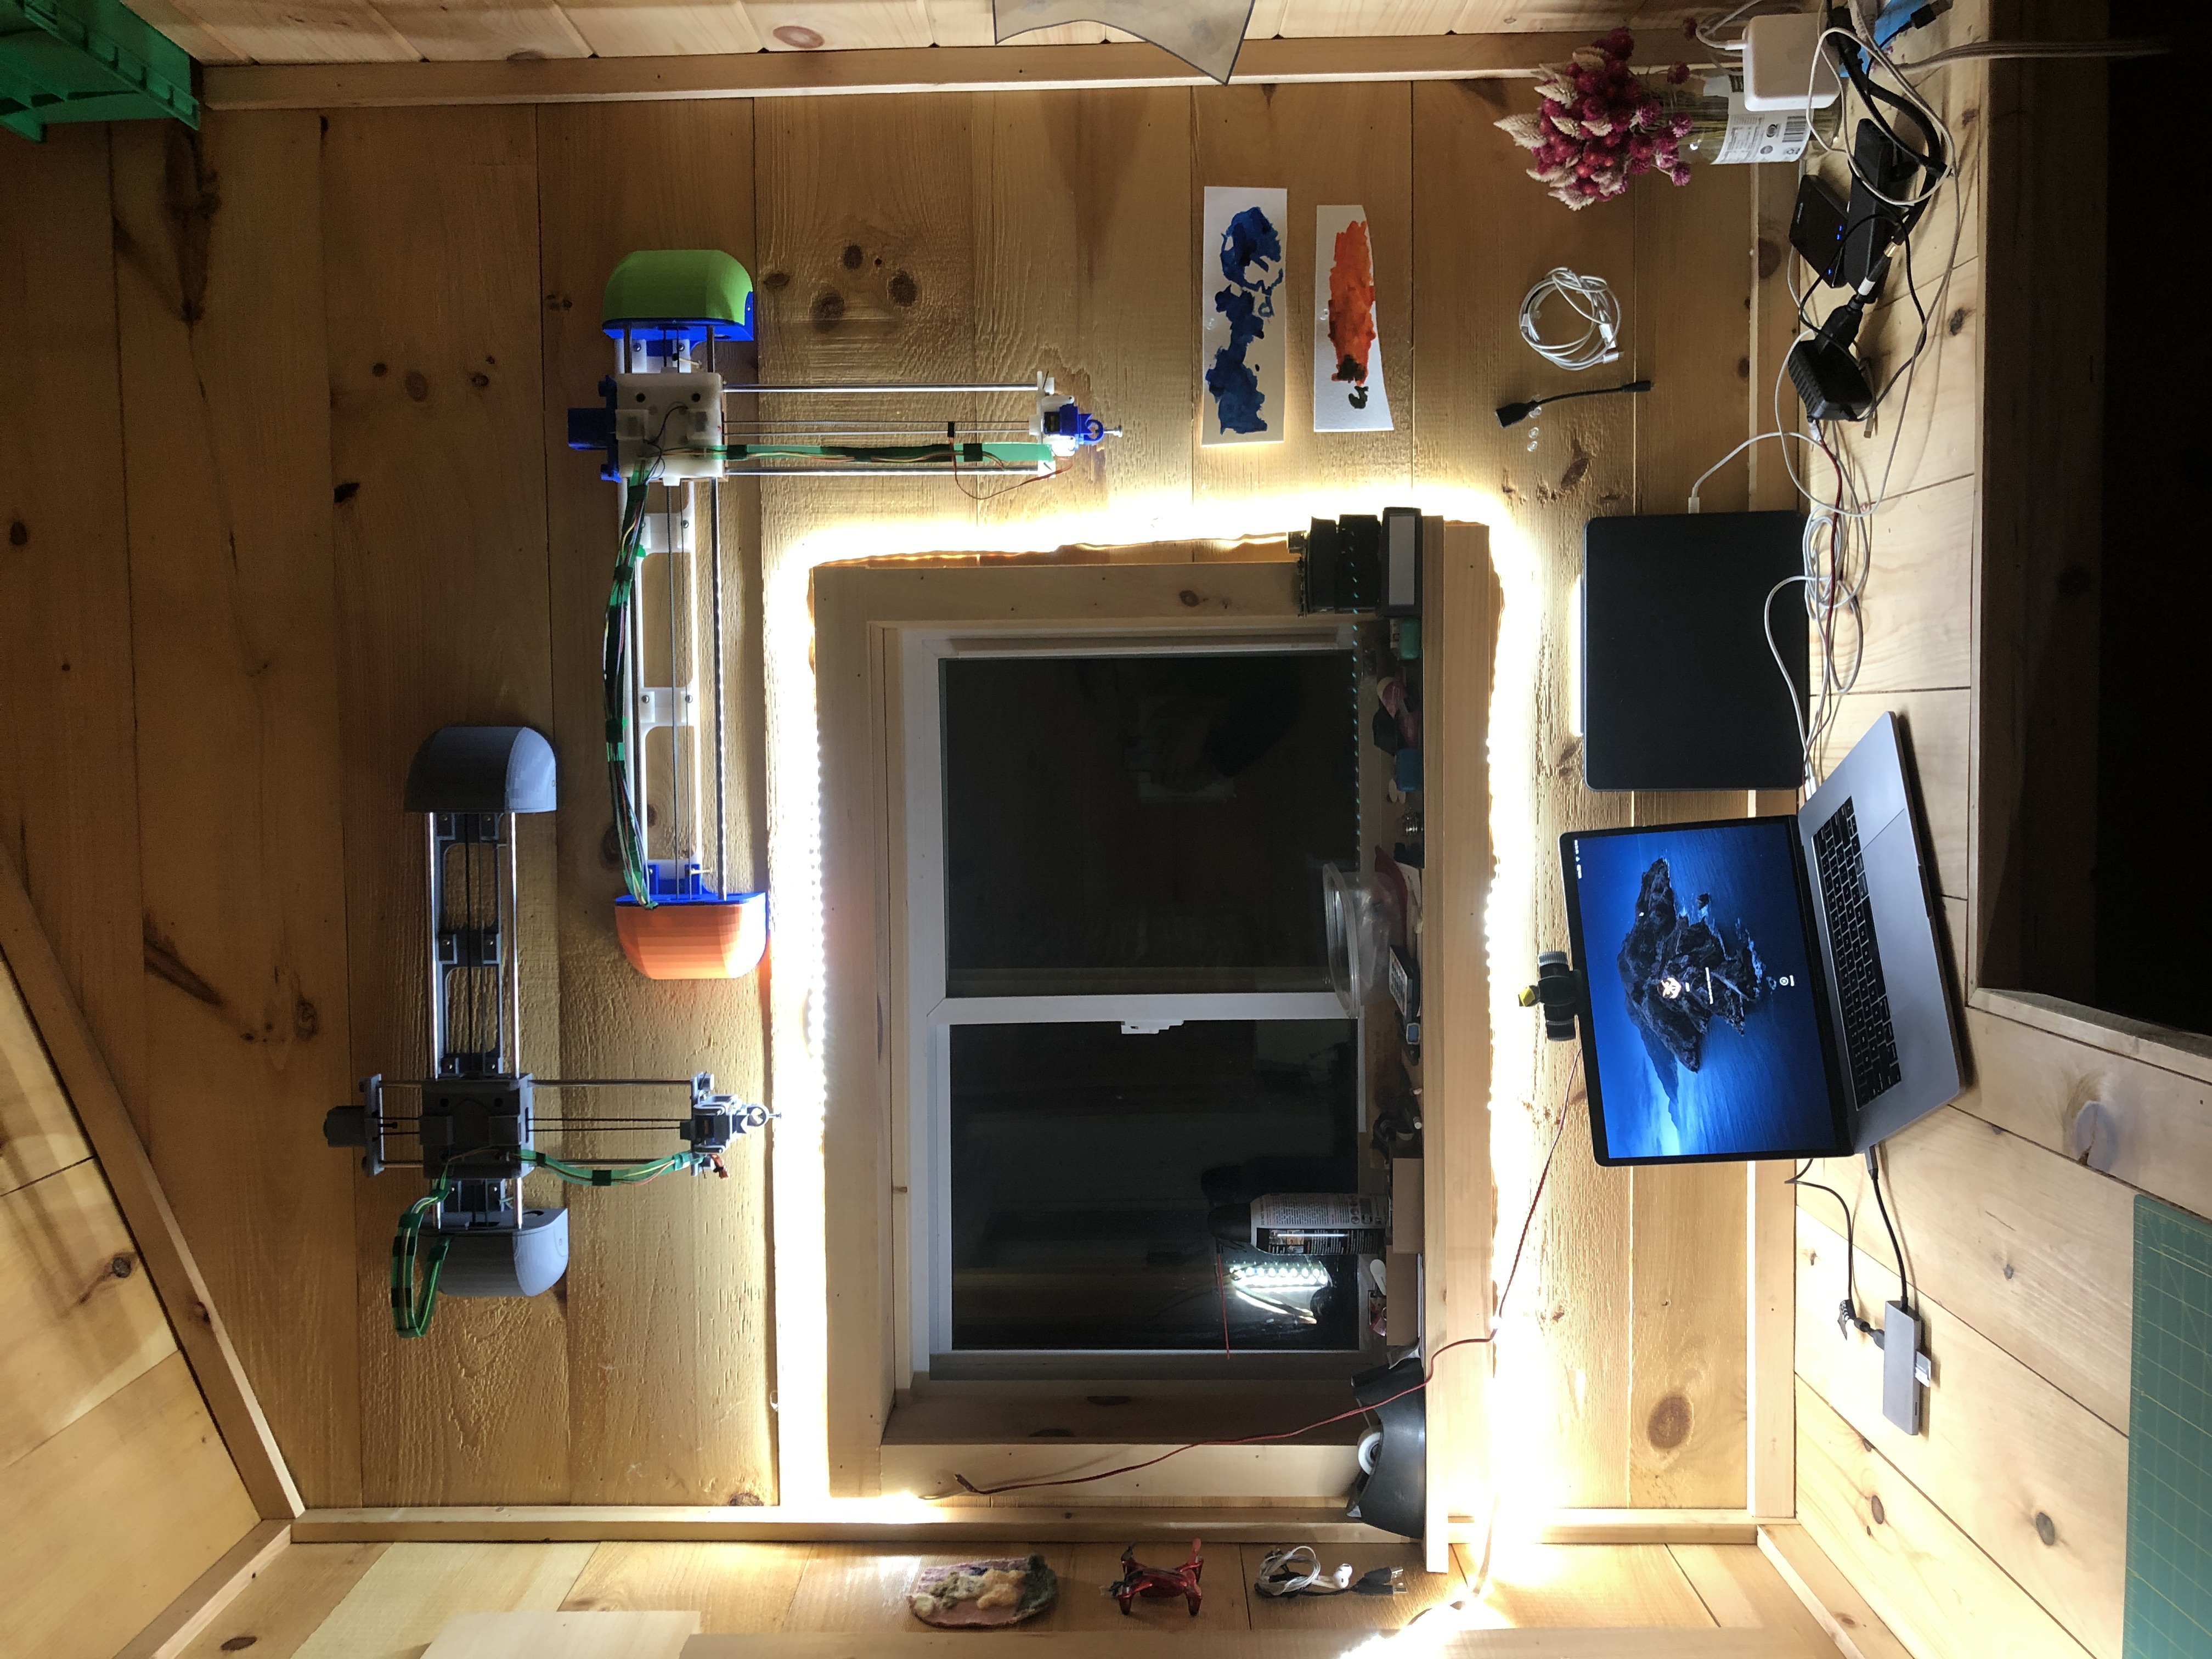
Years in the making, many prototypes, and I hope a software stack which brings novelty and ease of use to the world of pen plotting. It’s been a marathon building the final version and documenting the process carefully. I’m too pooped to say anything more about it for now.
Plotting Plotters
Well so, I fell into a very deep rabbit hole. The world of pen plotters… A year in, I finally have some good results. After several prototypes of Gondola plotters (V-plotters) and regular tabletop plotters. I’ve homed in on a set of designs, hardware, electronics, and algorithms to think I can make a small difference in that world. I still need to iterate a little but I’m hoping to release each plotter as a DYI projects in 2020. Maybe I’ll even sell my making them for others. Of course there will be integrations with Mandalagaba because that just makes sense.
Now there are several such plotters one can buy or build for a wide range of prices. And they all have a very shitty software stack. This is where I believe I can make the biggest difference.
As with building houses, it’s enormously relieving to finally see into the real world a model you’ve been immersed in, CADing it for a year.
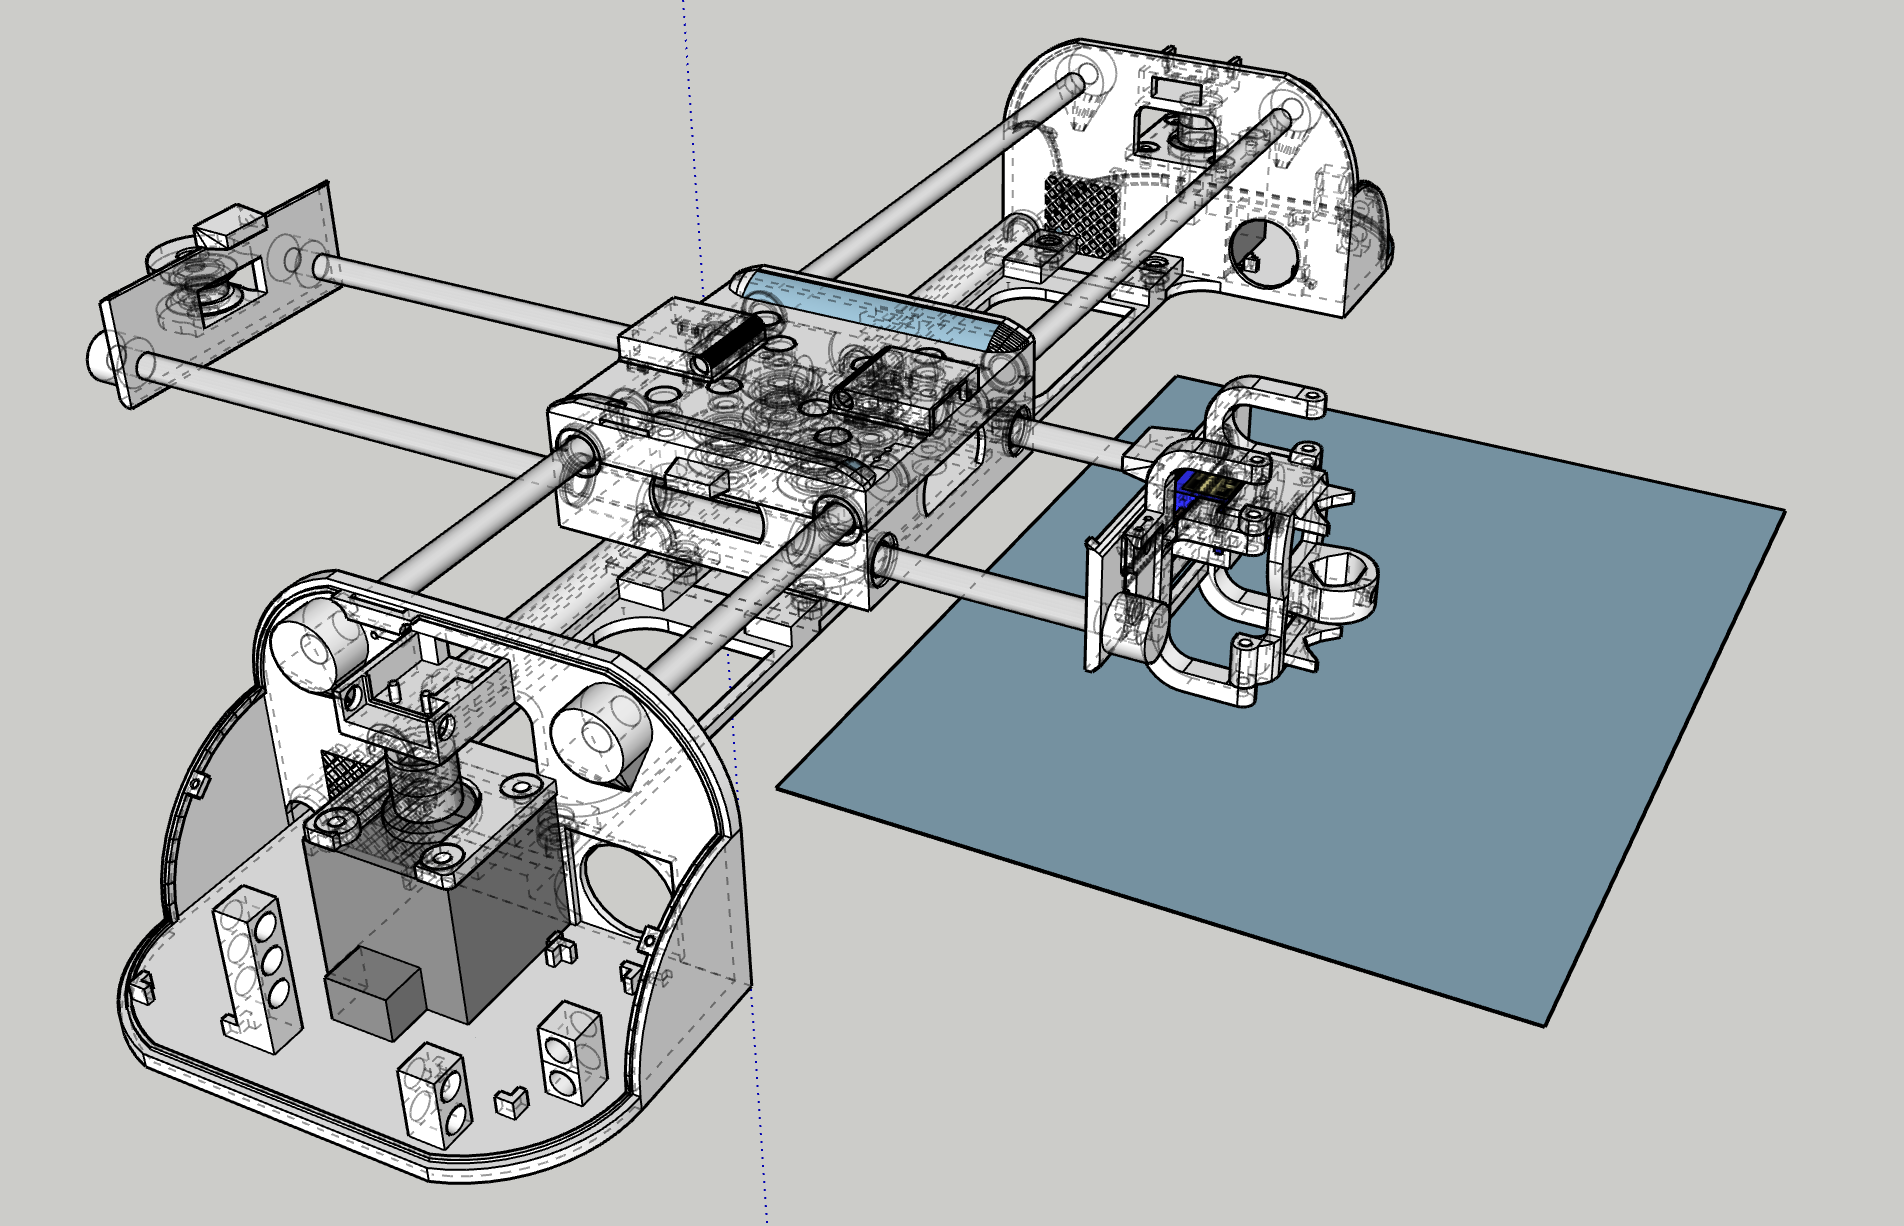
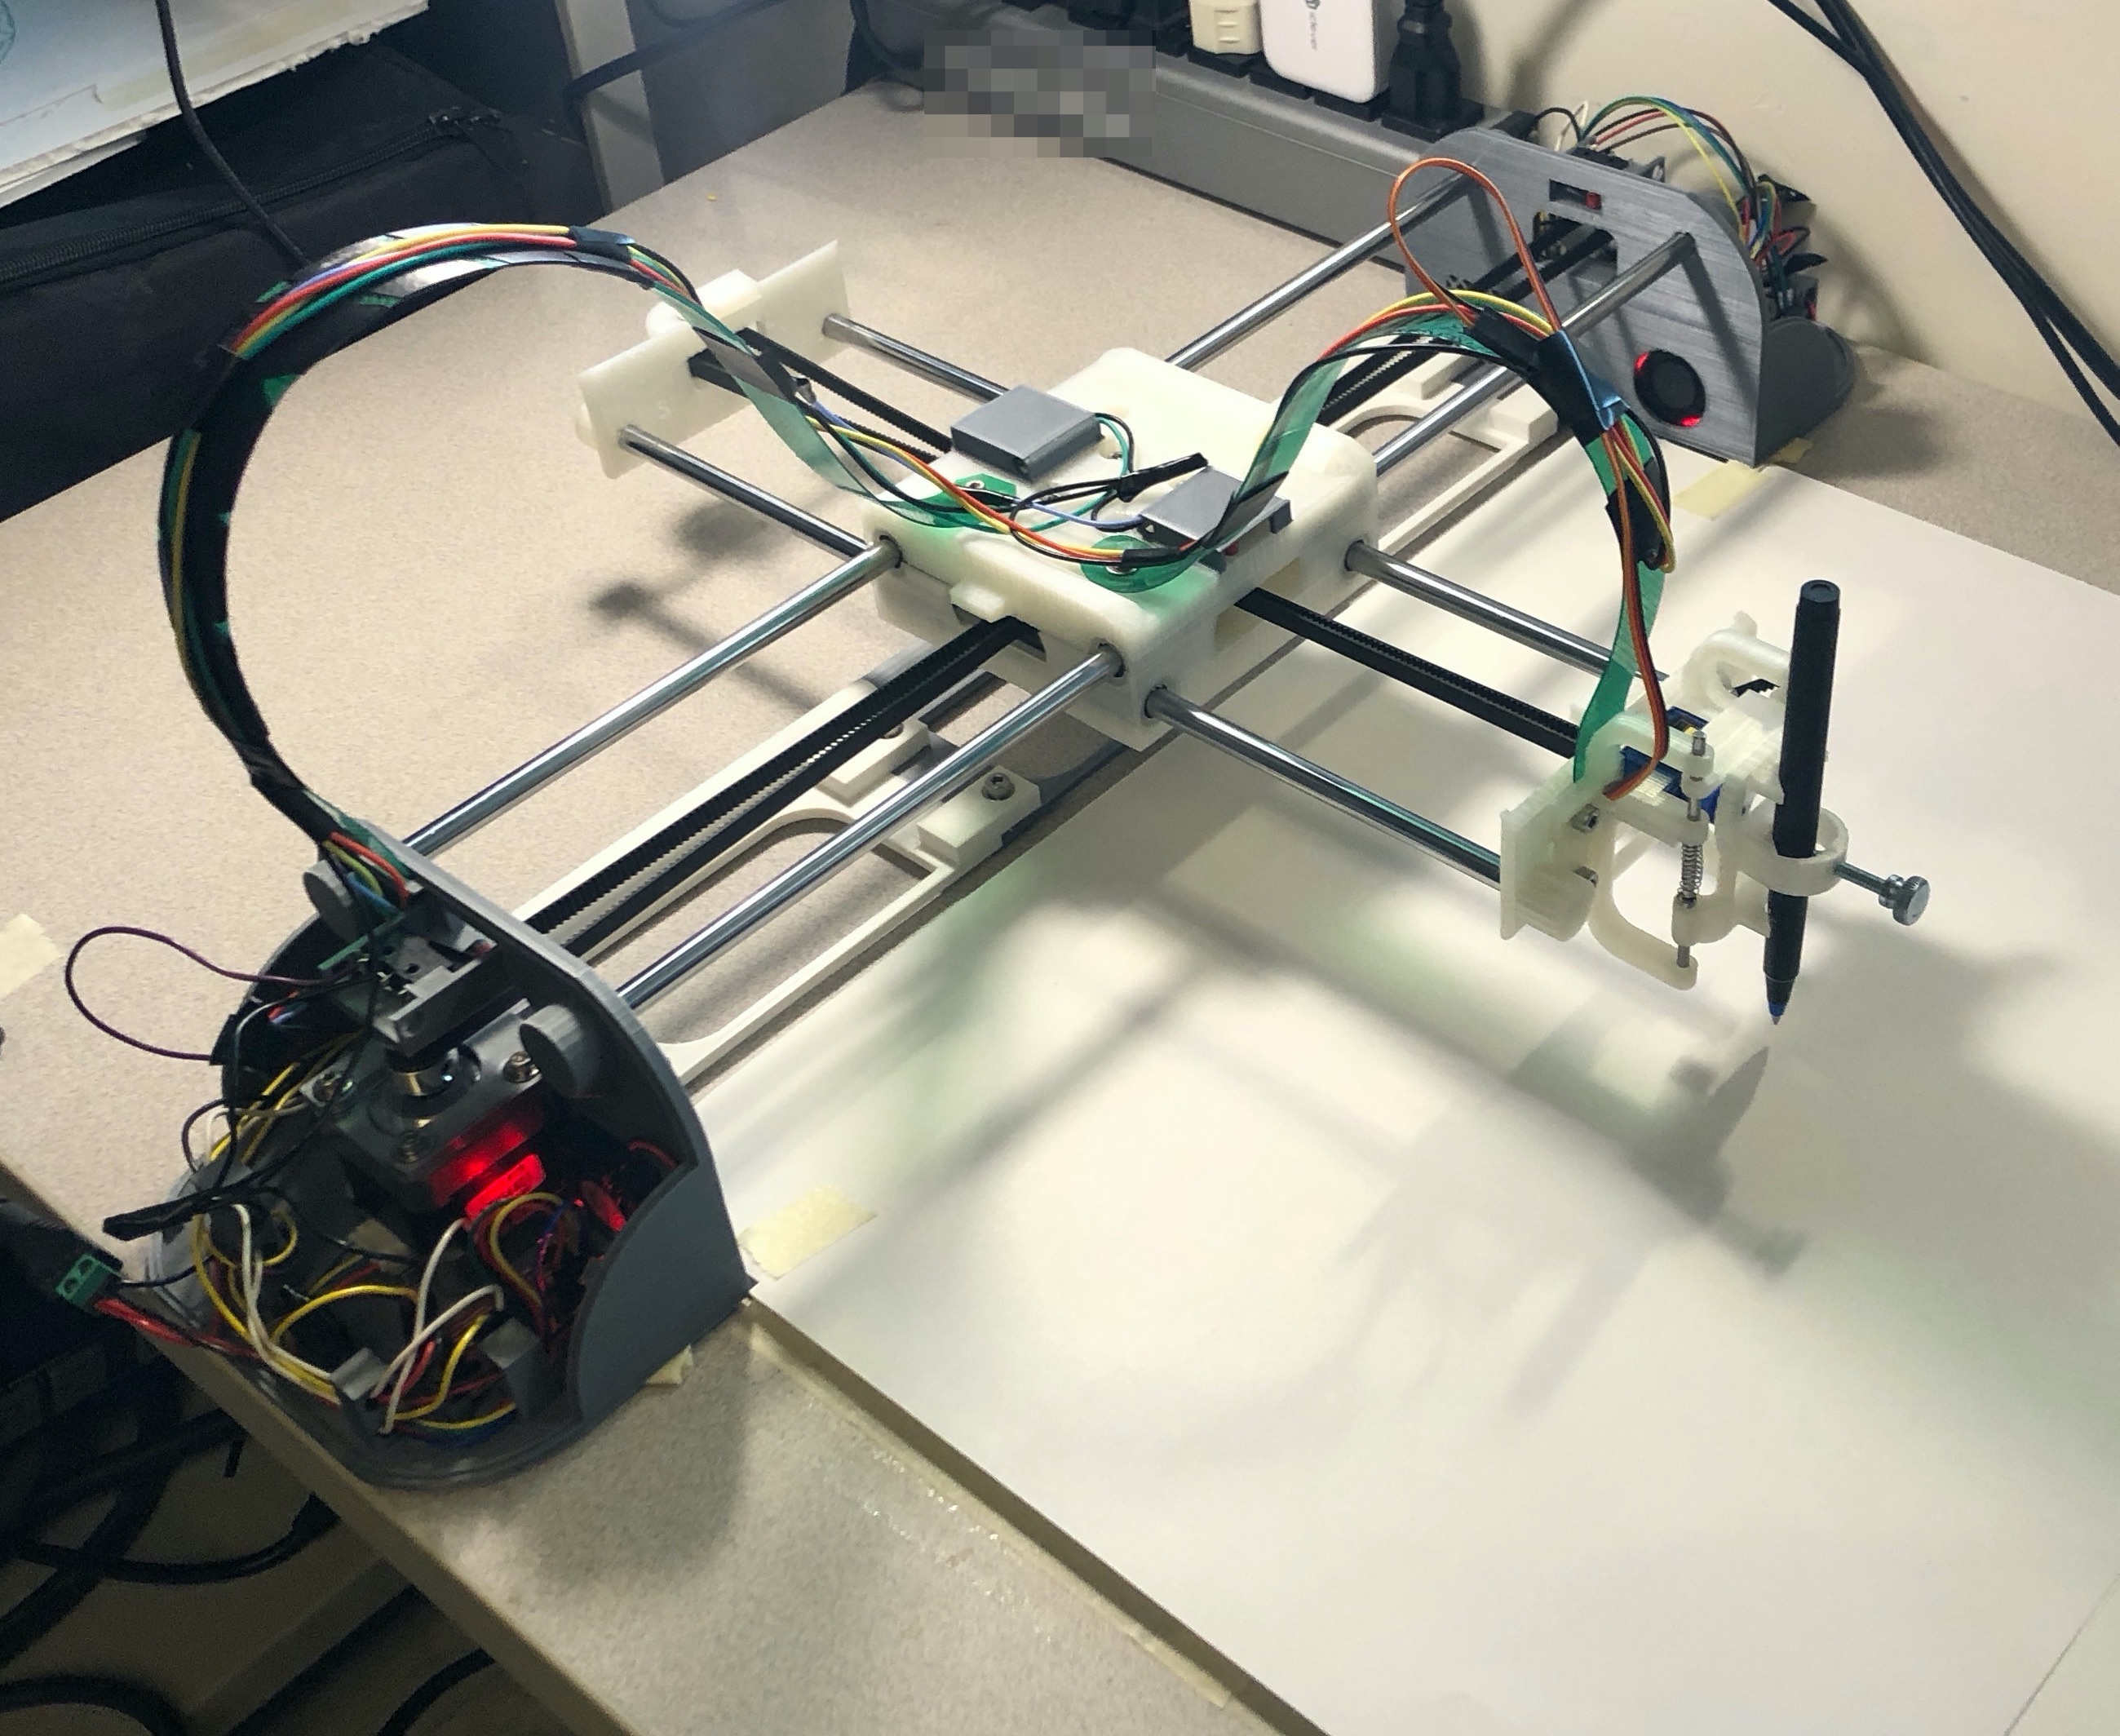
I’ll skip talking about the long series of challenges I ran into building this. It’s really, really nice to see a long plot finished to perfection knowing that finally, nothing is wrong. I’ve learned a lot along the way.
There’s a bazillion pen plotters on Thingiverse, I’ve used some of them as stepping stones until I was ready to finally make my own top to bottom. As I said, software is where I think I can make the biggest difference. I’m a Raspberry Pi aficionado, and this opens the door to a sophisticated software stack (web servers, HTML canvasses, format conversion, penstroke optimization, live link with Mandalagaba). I found not a single plotter using a Pi, in fact I found very few projects of anything using stepper motors with a Pi. I had to do some serious trail blazing to step a motor reliably.
Here is for example a pen stroke optimization algorithm I developed to speed up plotting.
The base, drawing penstrokes as they come. “Empty” travel going from one penstroke to the next without the pen drawing: ~36437 (relative pixels).
The next penstrokes is the closest. Empty travel ~15820, 0.43 compression ratio.
The next penstrokes is the closest, but consider its beginning as well as its end, draw the penstroke reversed if it was the end which was closest. Empty travel ~12467, 0.34 compression ratio. 
Now for the eye candy 🙂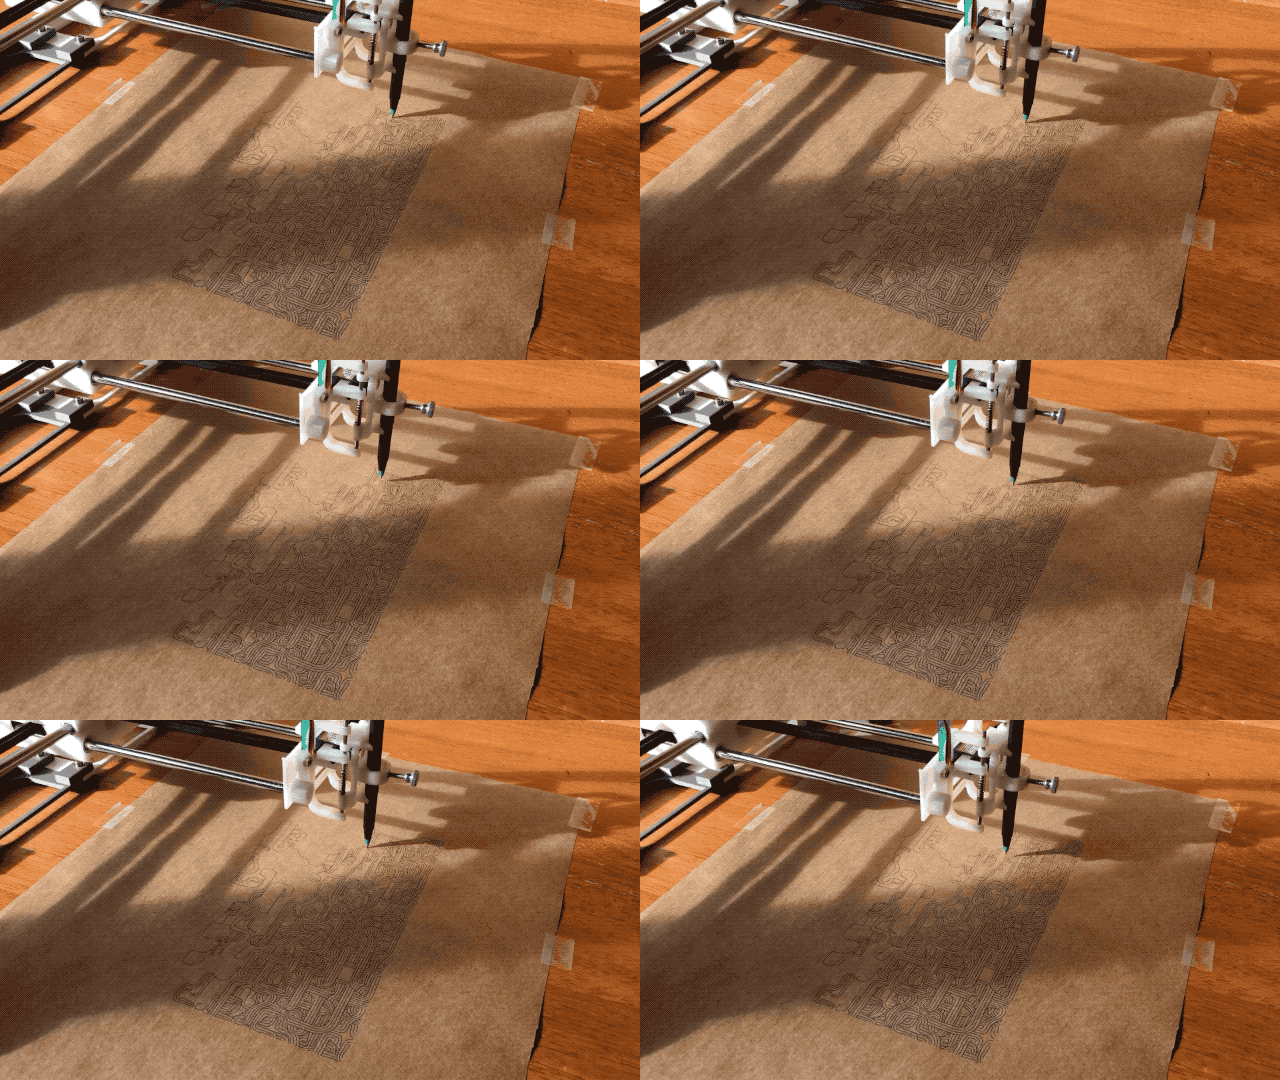
I could watch this for hours, and I did.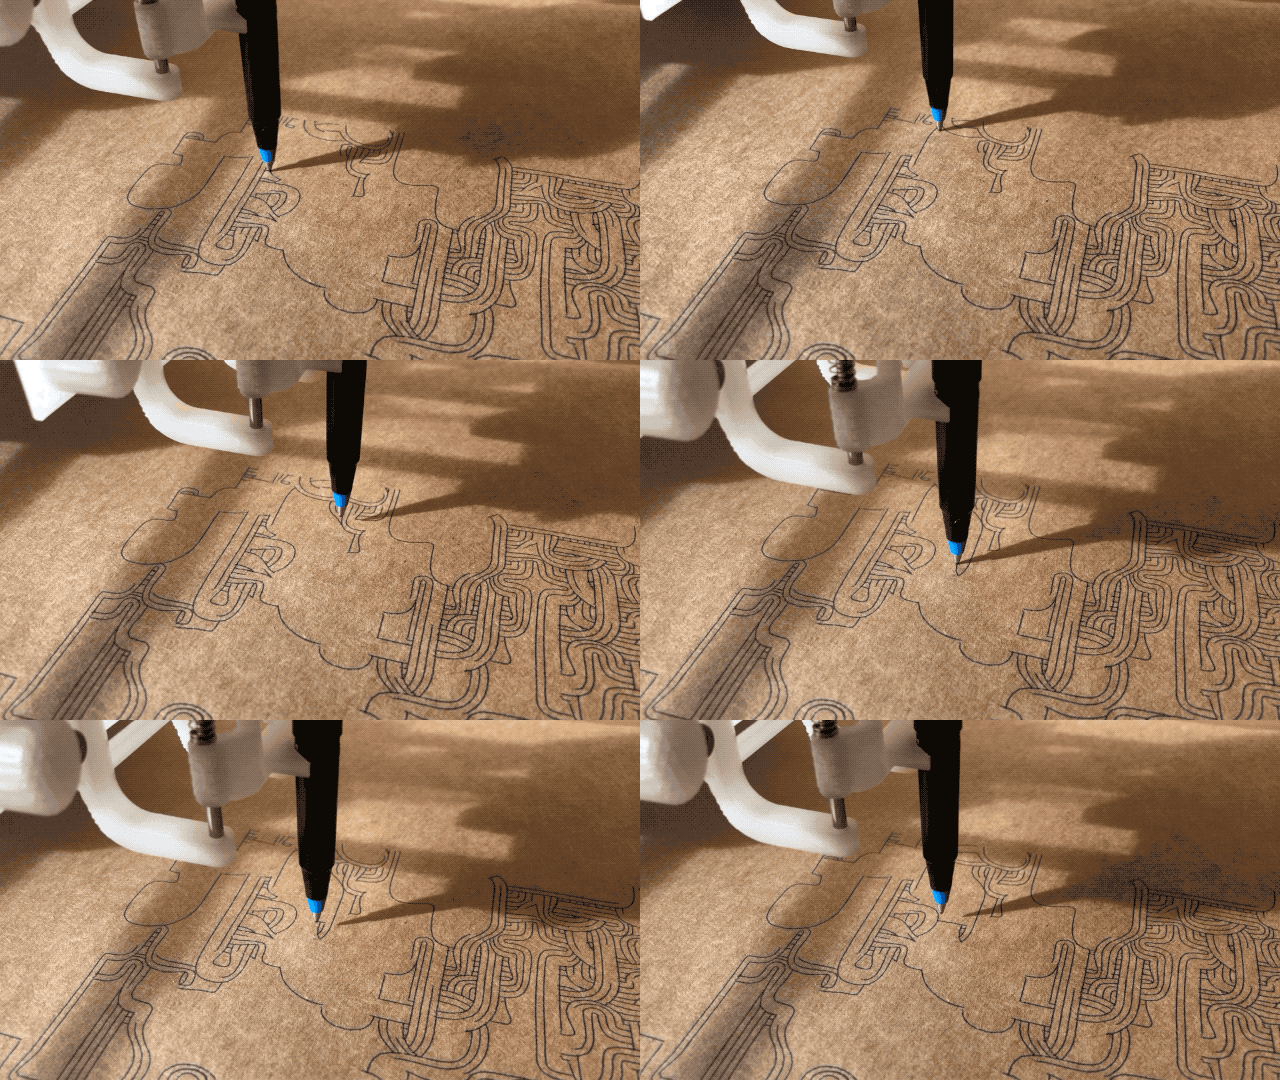
Of course the efficacy of this algorithm depends heavily on the model to be drawn. I found that anything coming from Mandalagaba tends to benefit enormously, especially tessellations. And it makes sense, for every penstroke drawn, the repetitions occur throughout the canvas and they show up in that order even if you drew in a very localized area. The example above comes from the most excellent turtletoy.net.
More to come very soon on the great world of plotters…
How I build
Winter on a computer, Summer on a ladder.
Onetouch Delica 3D Printable Replacement Cap
Downloads
Story
We’ve gone through many of these and it’s always the same part that breaks: 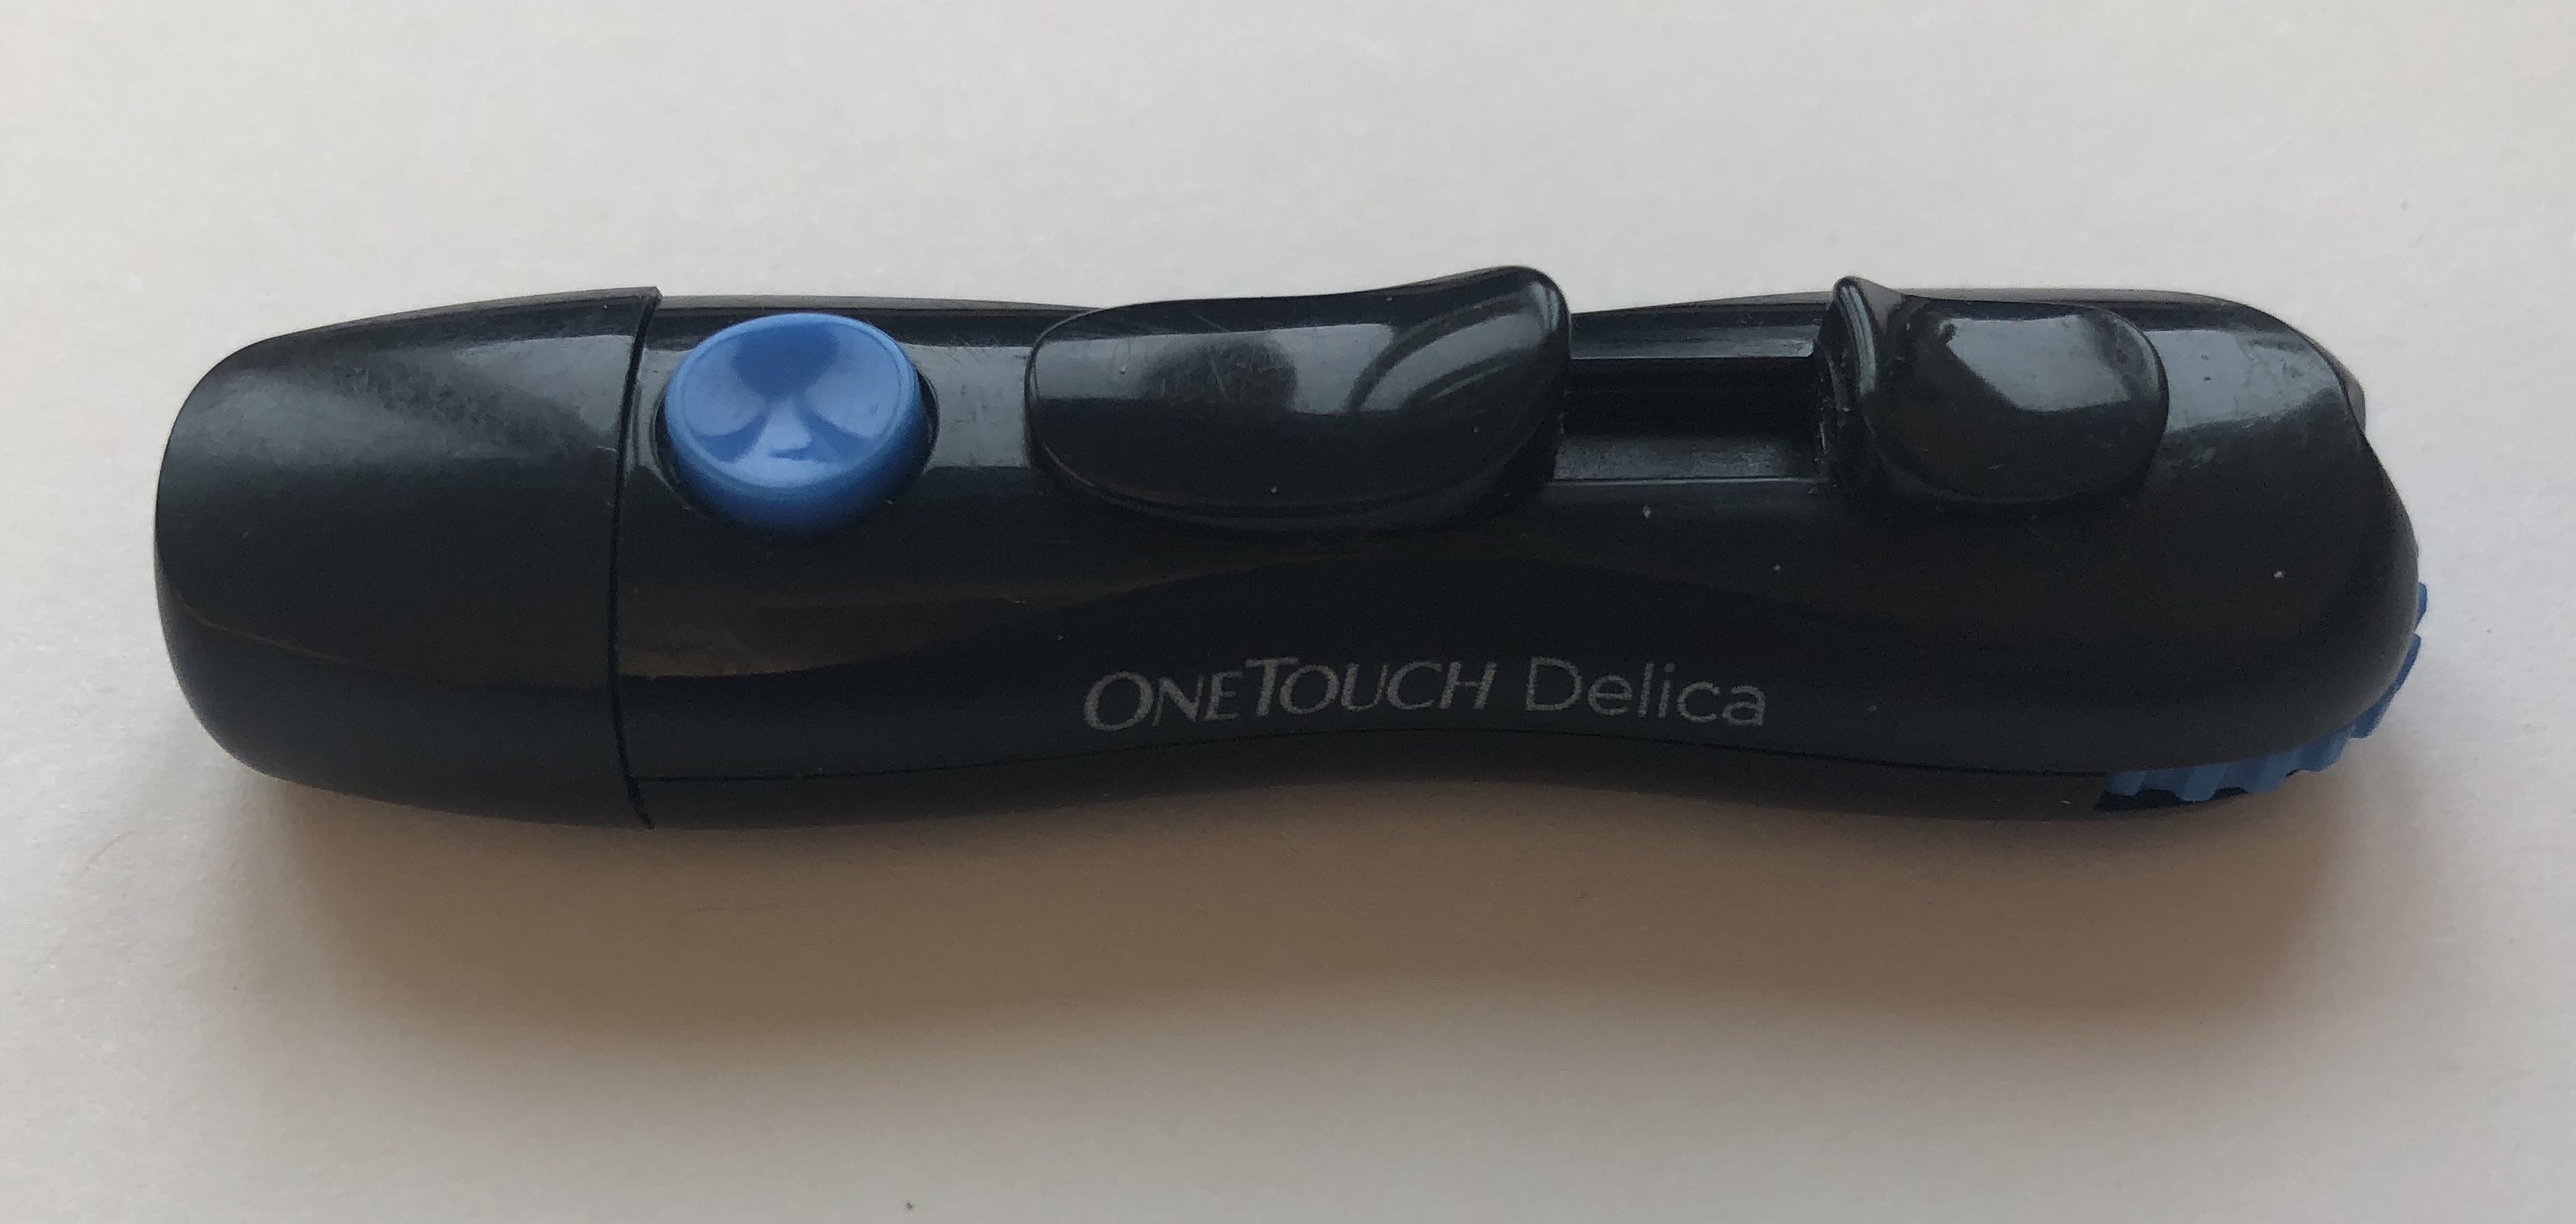
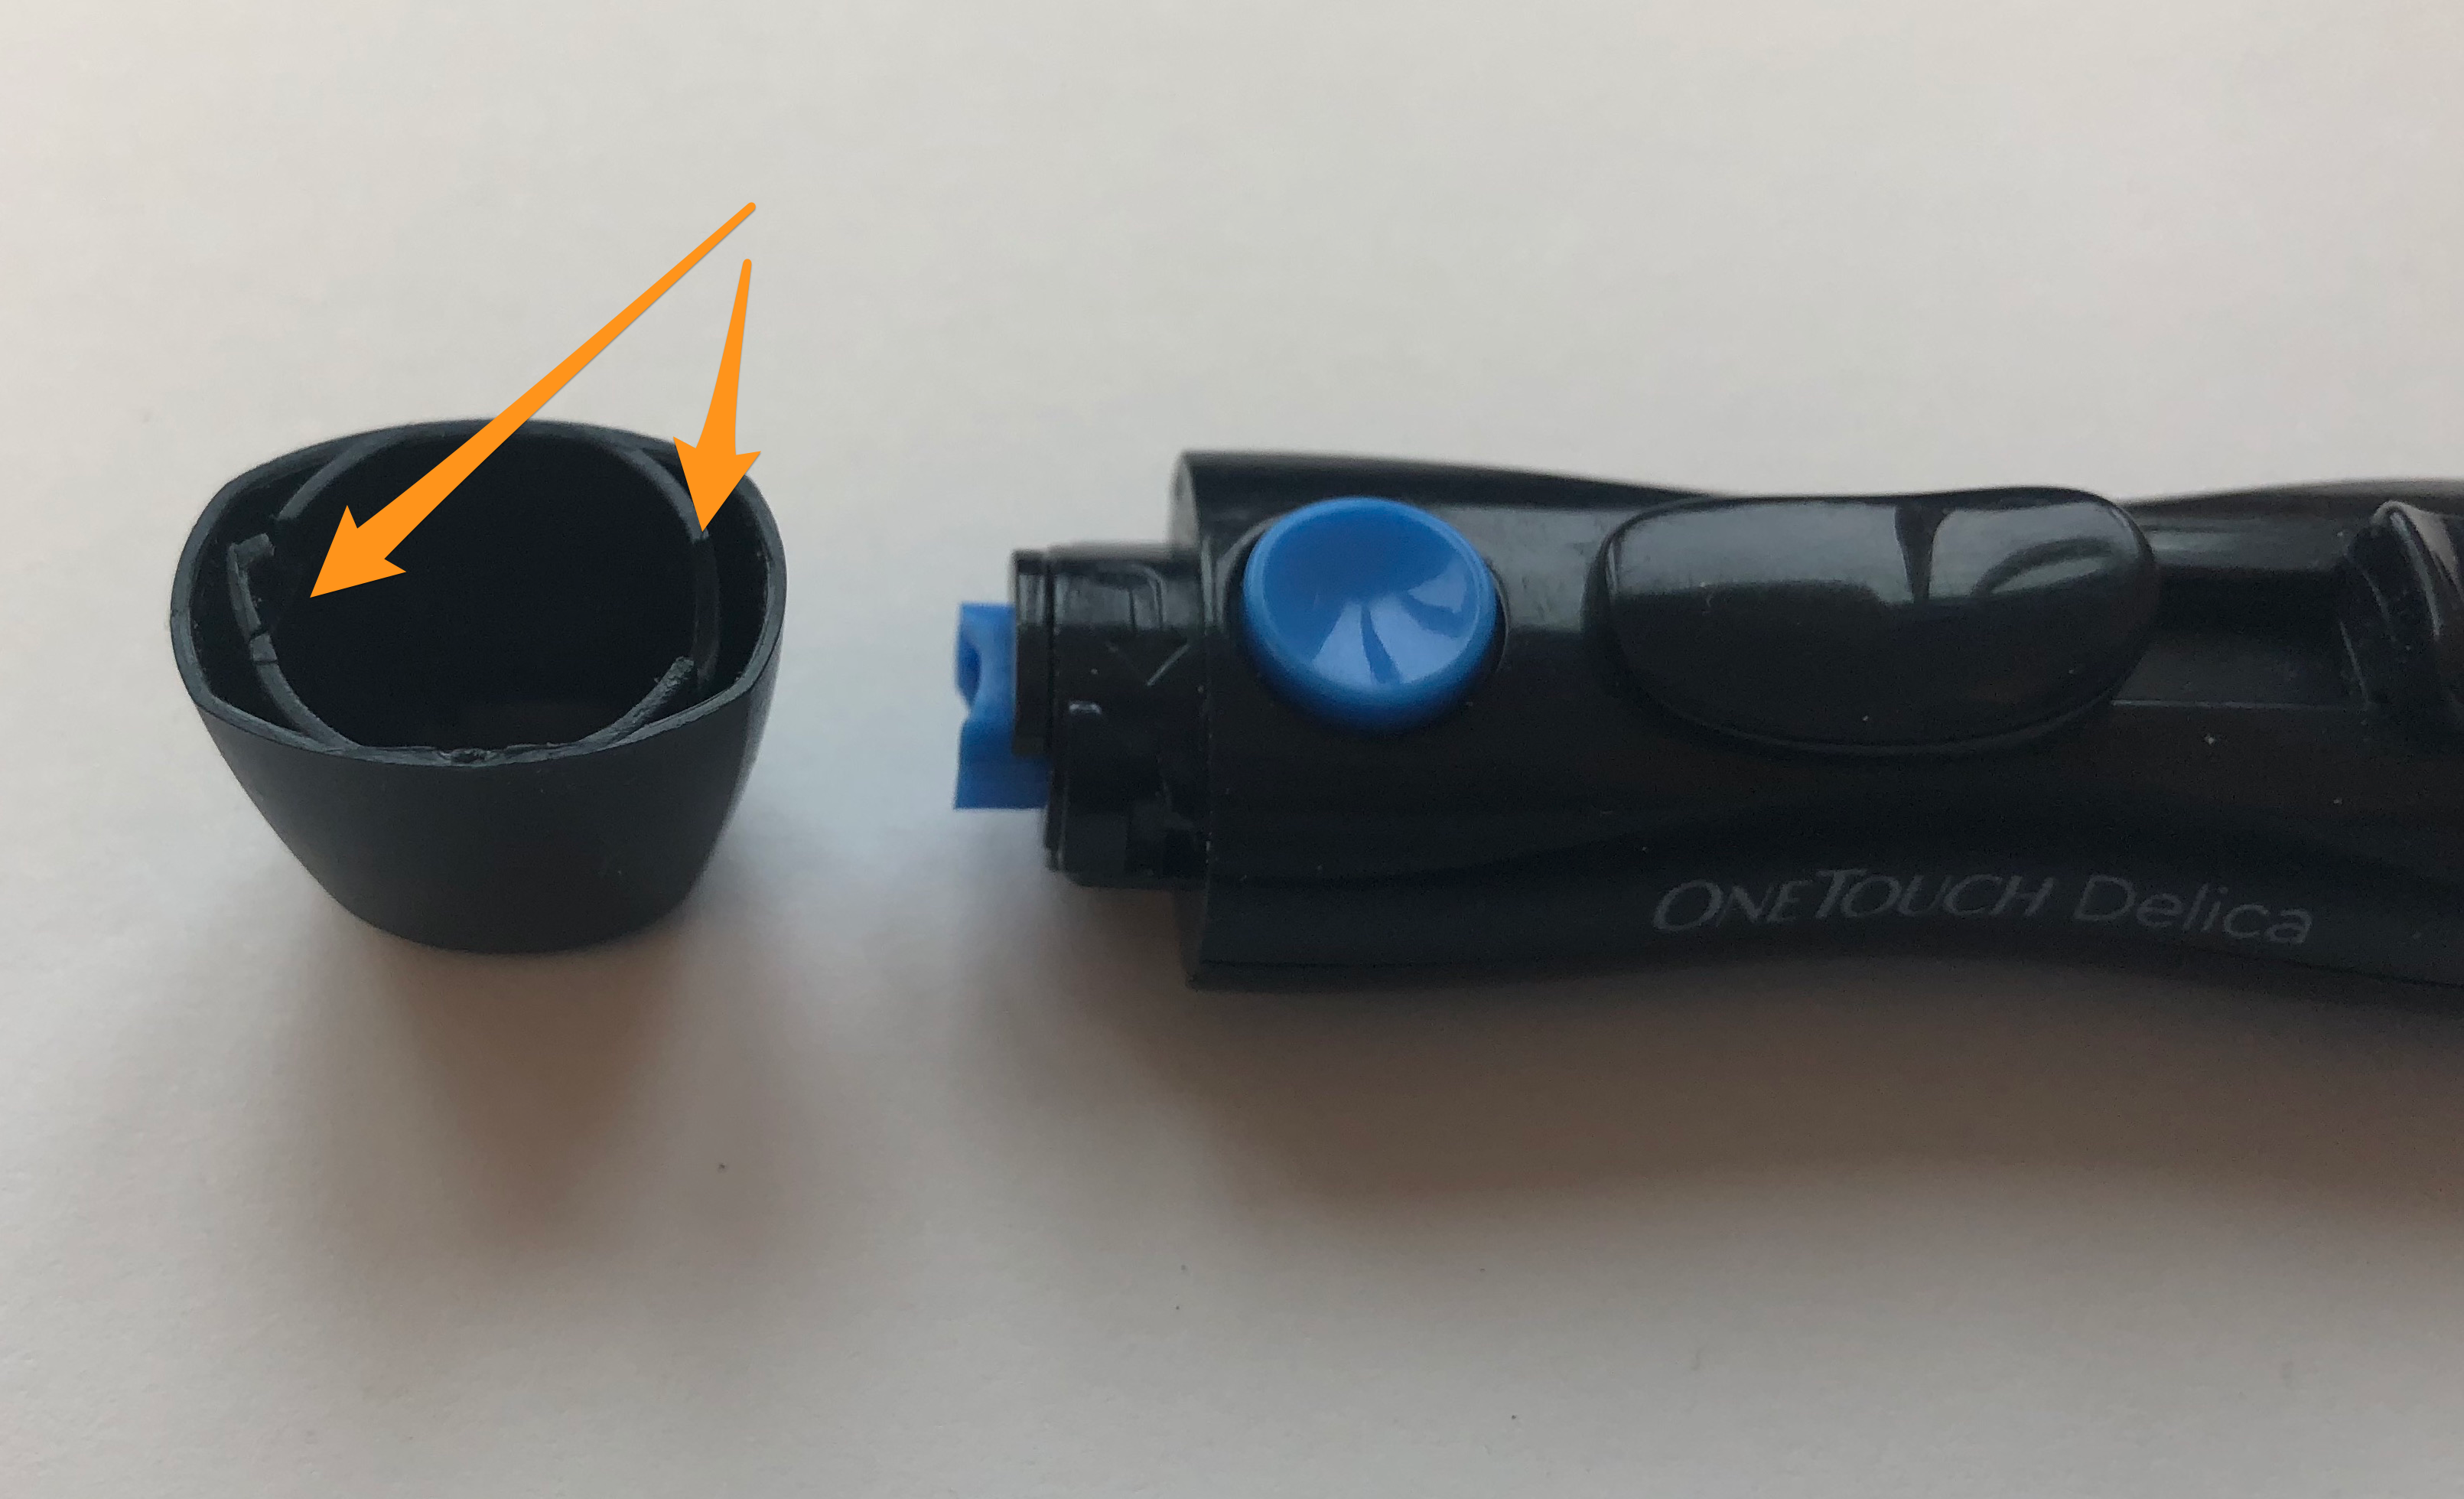
Since the whole thing costs $20, I figured I’d build a 3D printable model of the dumb piece of plastic that is the cap.
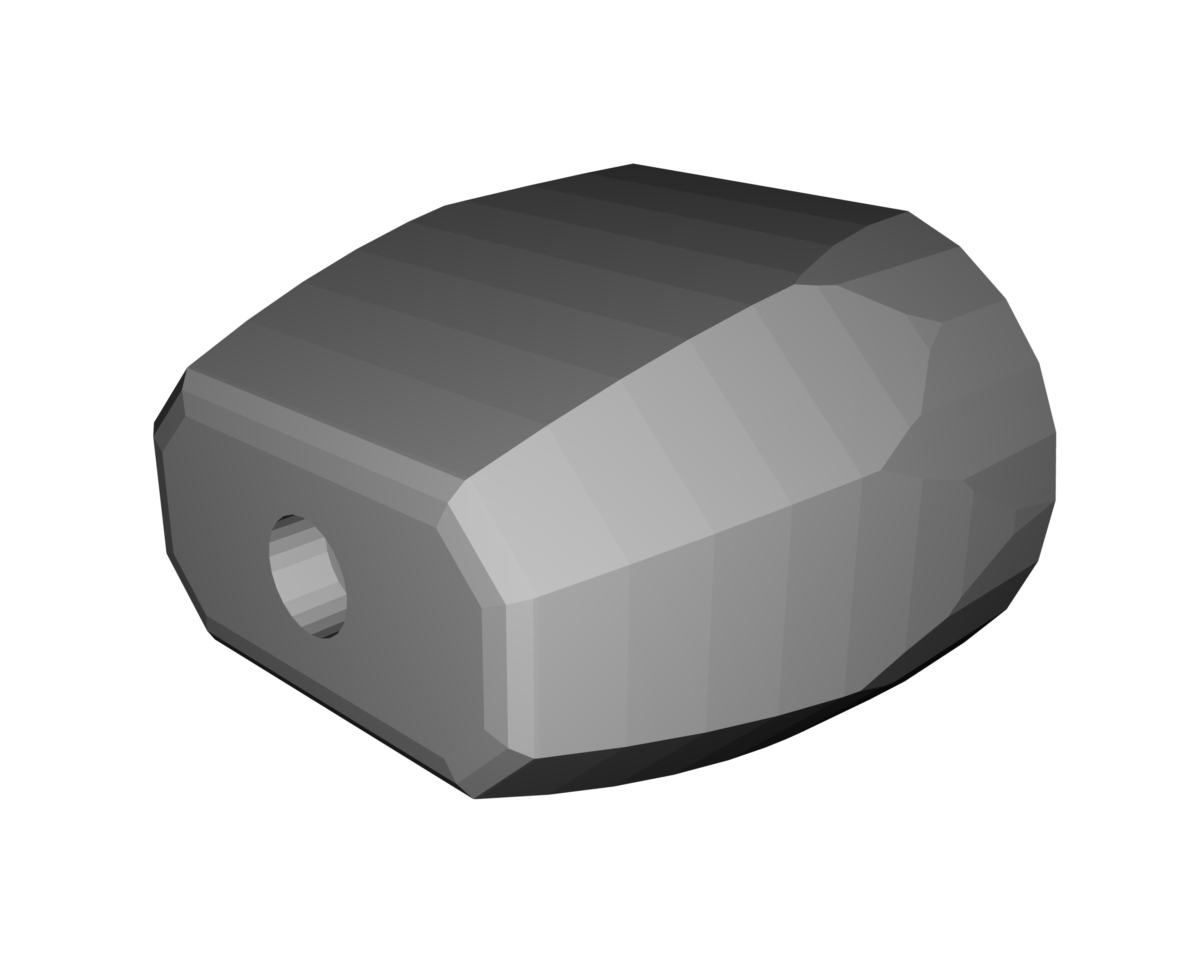
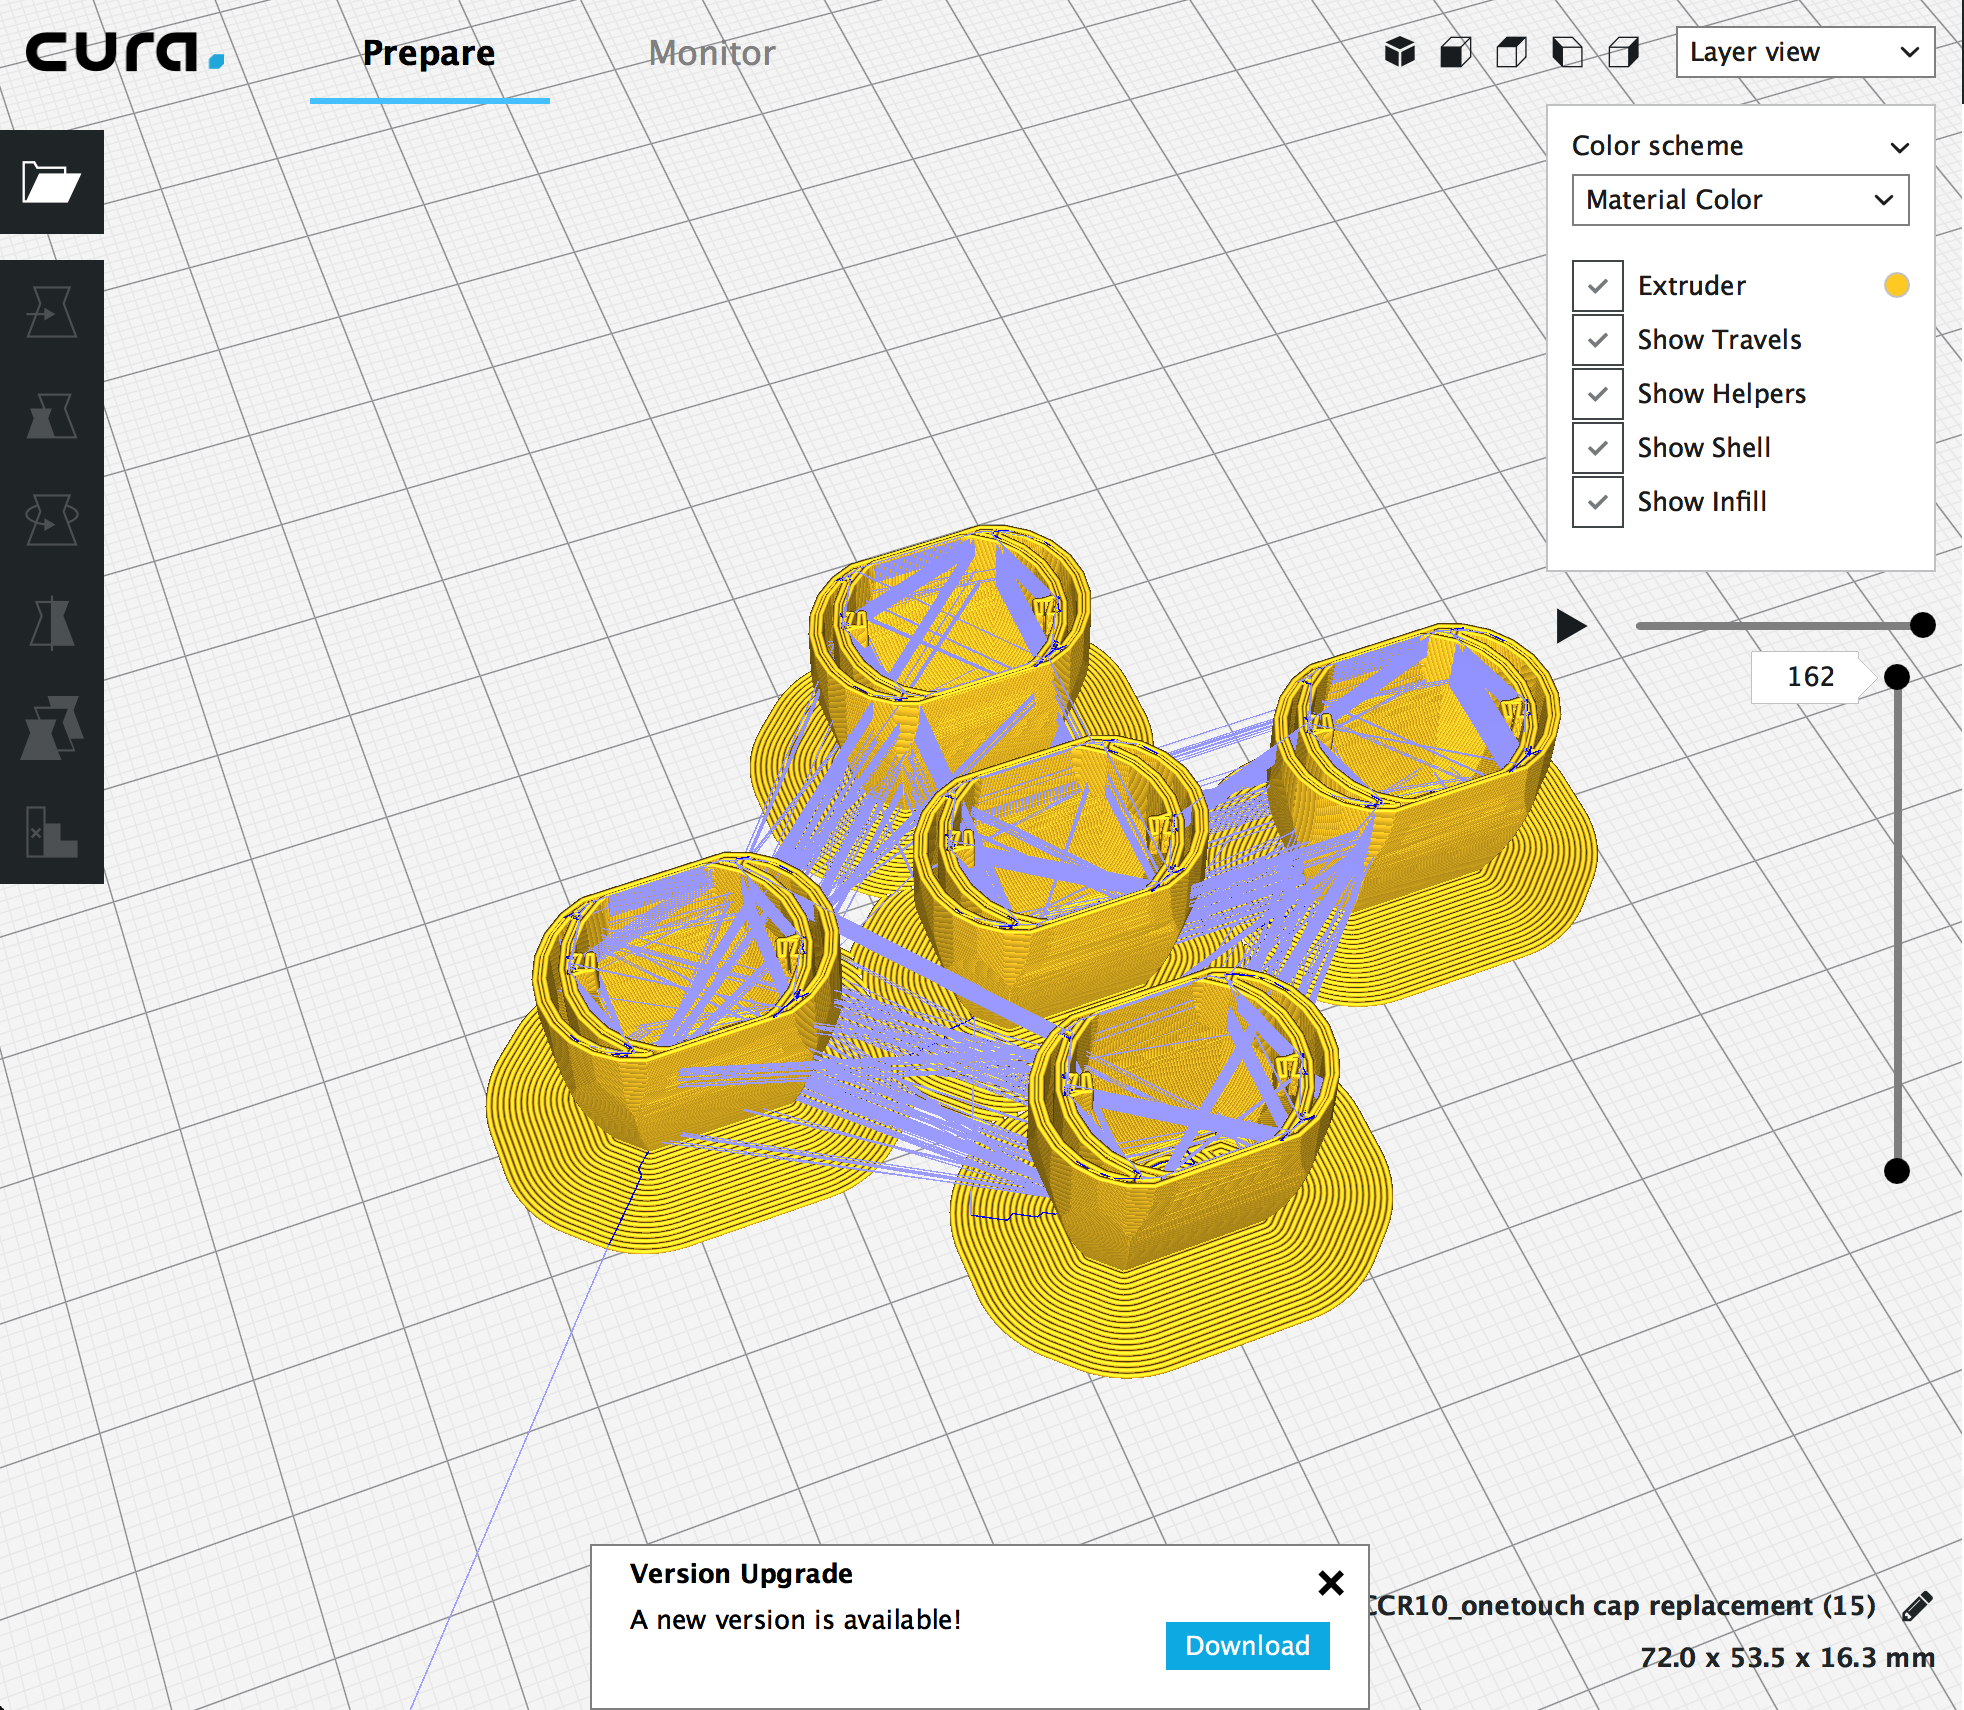
After a few iterations, mass production time
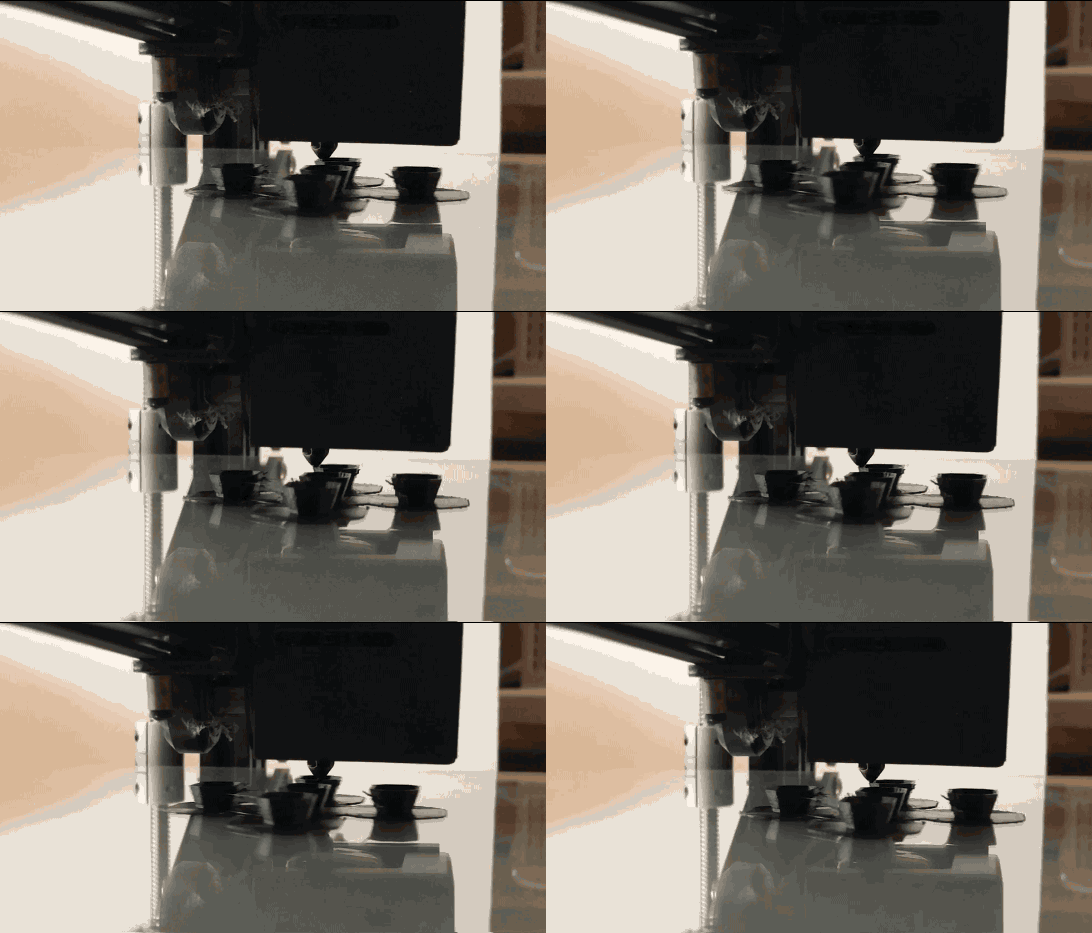
And voila: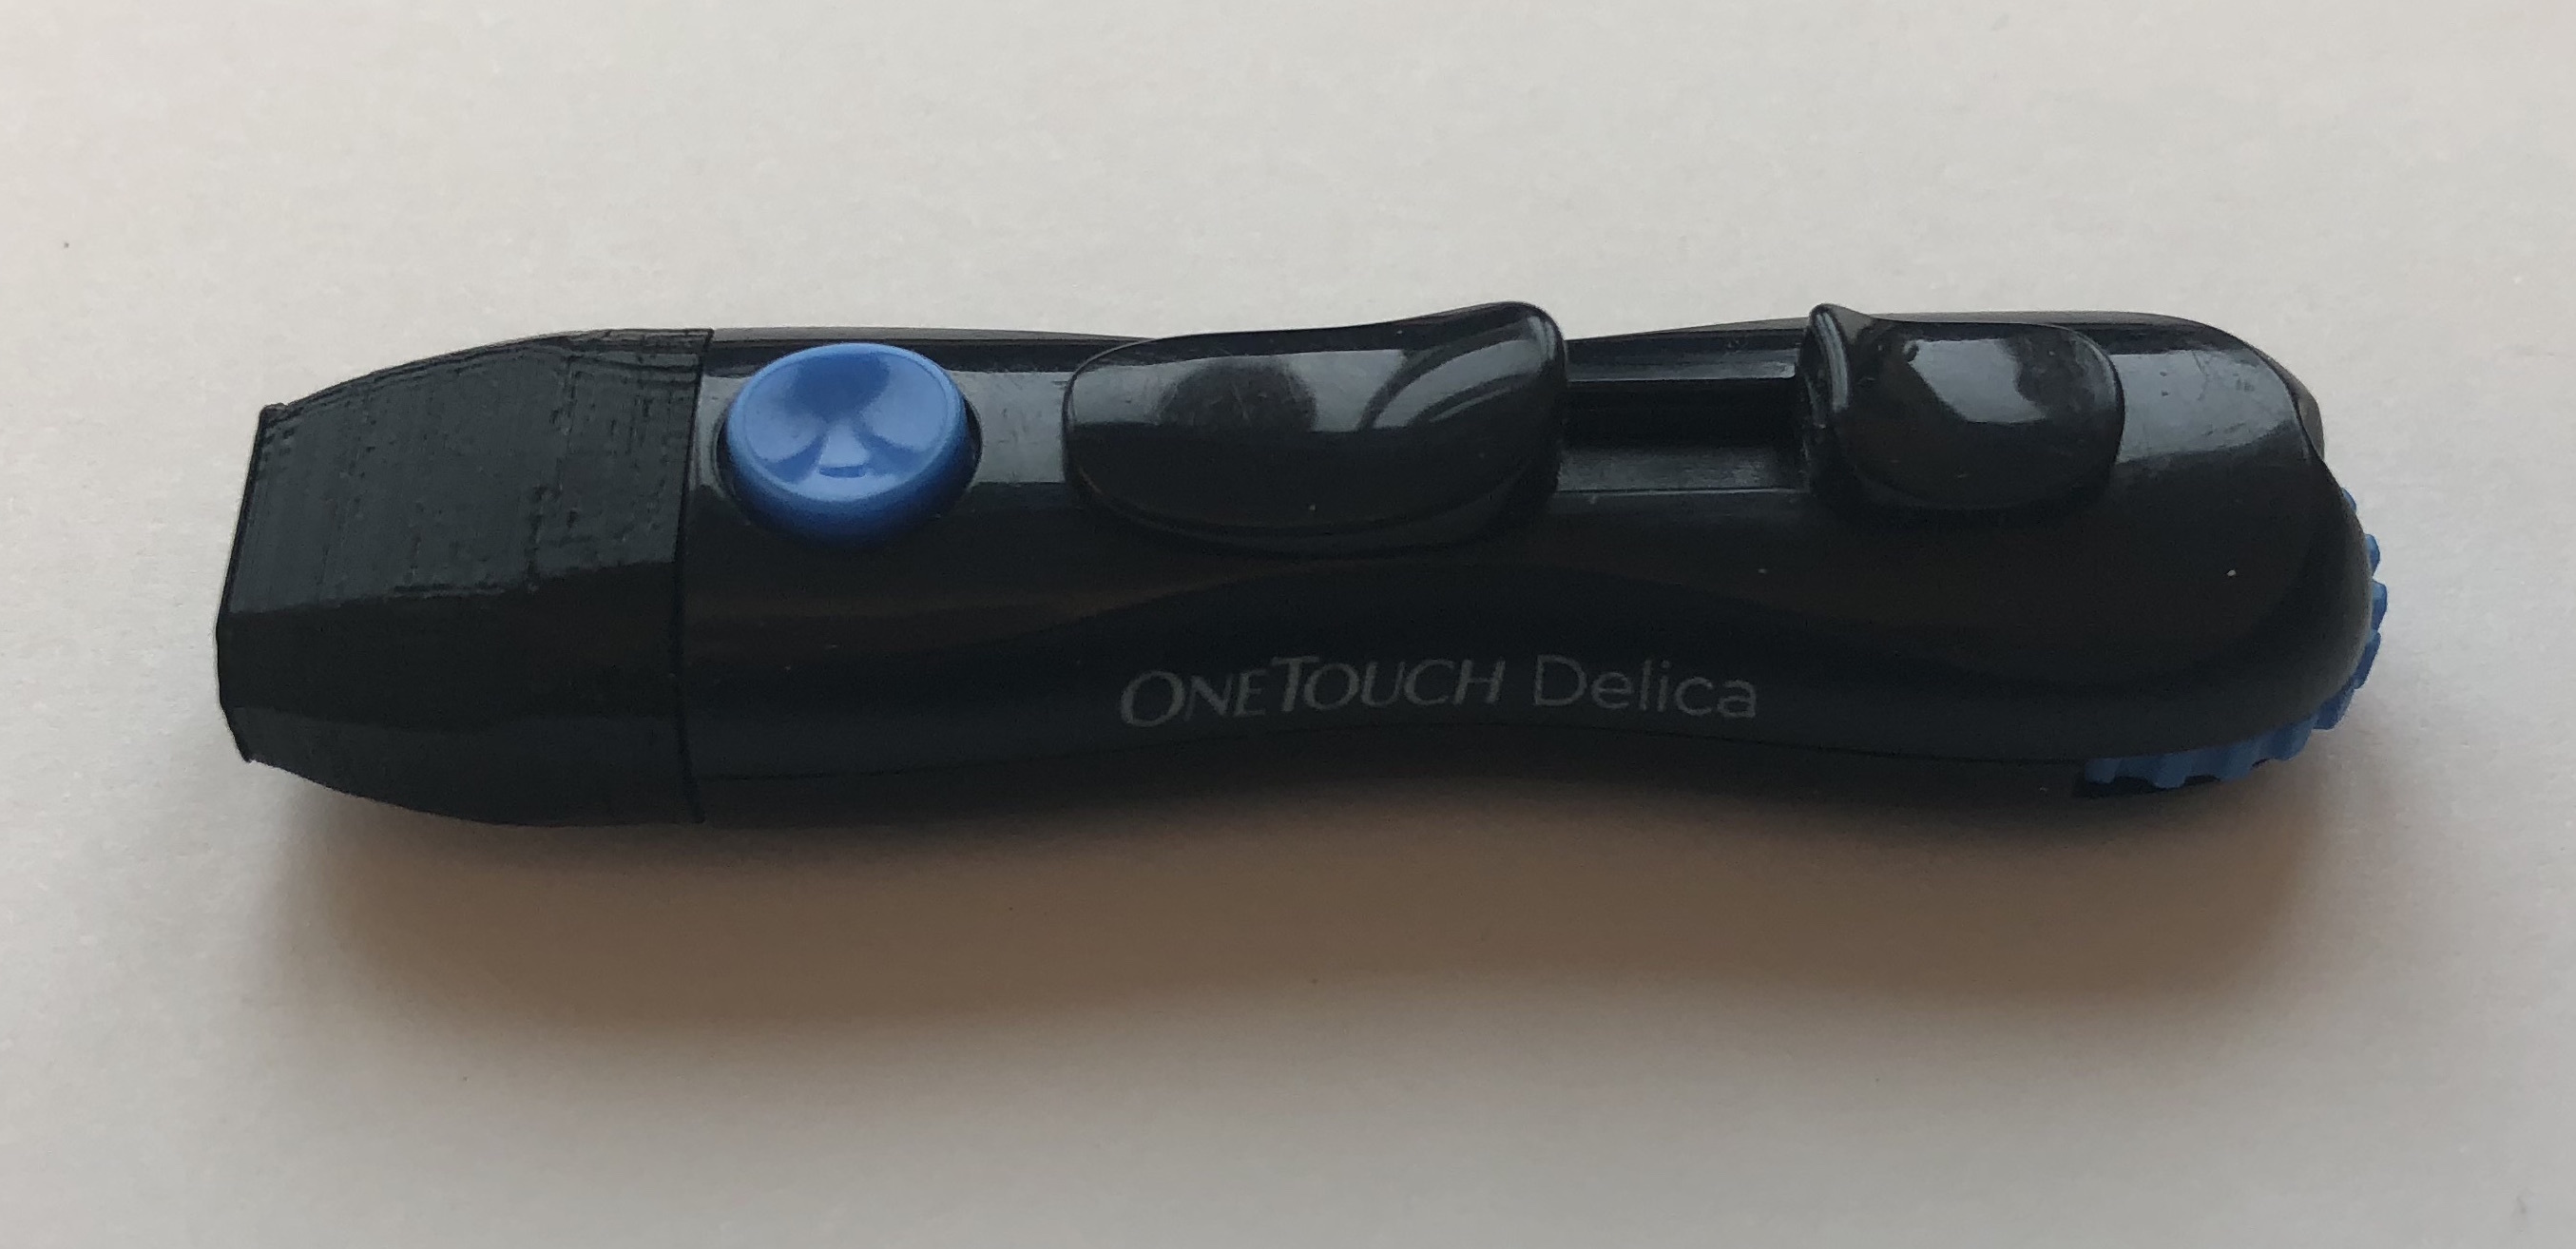
works like a charm.
House addition
We’re building again, this is what we’re going after this time. The plan isn’t 100% final yet
House – plans
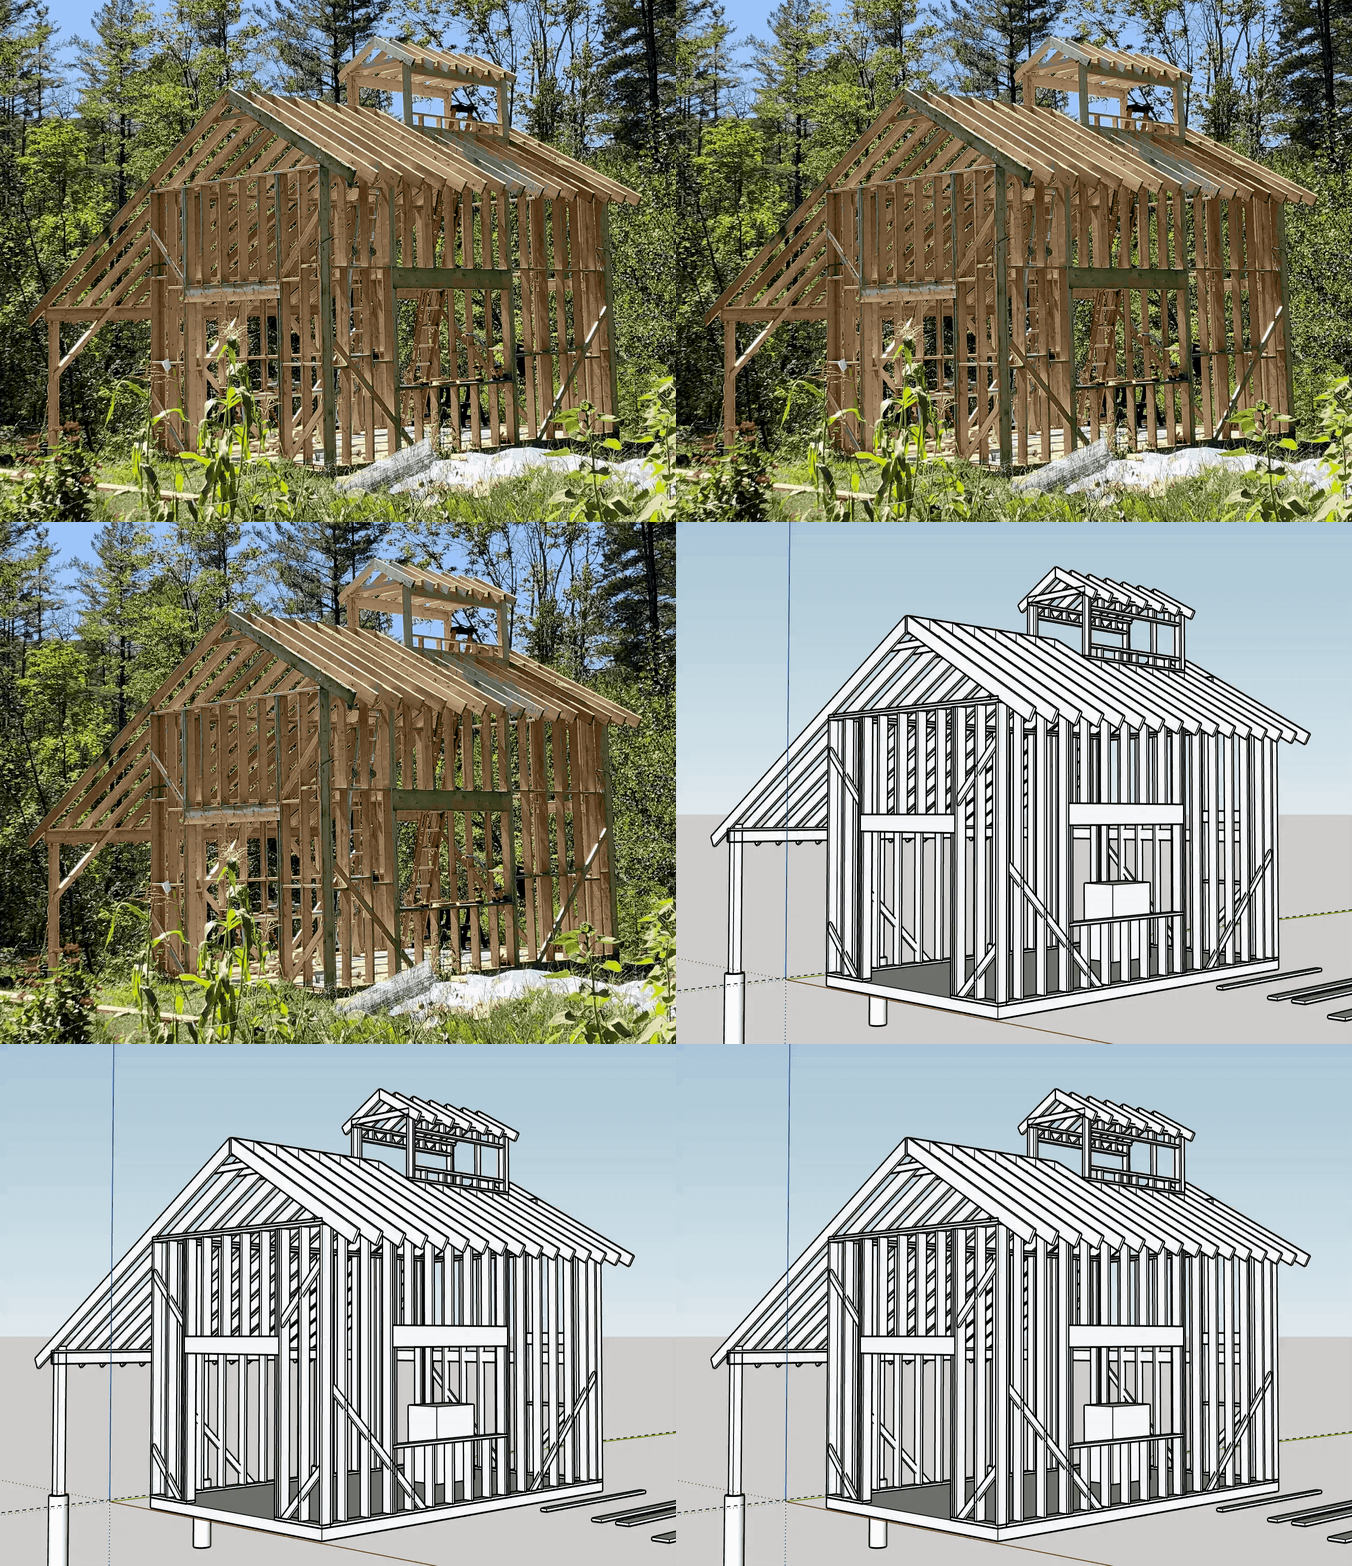
Since the modifications I’m making to the house now are quite specific to our living arrangements, I’ve stopped updating the 3D model I made to design the house. I’ve also gained in confidence and experience such that I don’t need to do everything virtually before I grab a hammer.
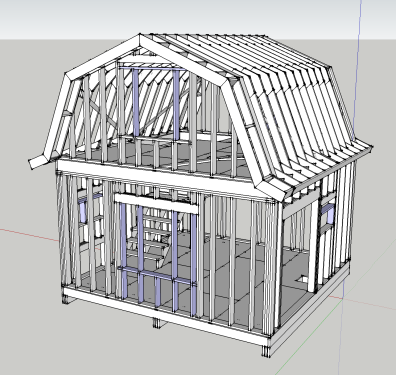
Before launching into this adventure, I spent a good deal of time online reviewing designs, techniques and best practices. In case this is useful to someone else I’m publishing the core design here. This design was critiqued over multiple iterations by many carpenters, builders, furniture makers & all around smart handymen.
A few points:
- it is very modular
- a few features are specific to us
- the gambrel design is balanced (every angle 22.5 and equal lengths)
Here we go
Only a year after buying our chunk of land we are building a house. The dream we came to pursue in Vermont is finally happening, 4 years in (we had planned on 2). Vermont felt right going in, there simply could not have been a better place, better people, better circumstances to surrounds ourselves with to make it happen. These 4 years were more than necessary to make the adjustments needed for such a lifestyle change. We are extremely appreciative and in debt to everyone who helped a couple of flatlanders get acquainted with all the awesome skills we wanted to develop. To this list of skills that is so nicely summarized in the “categories” of this blog, we are adding “building”.
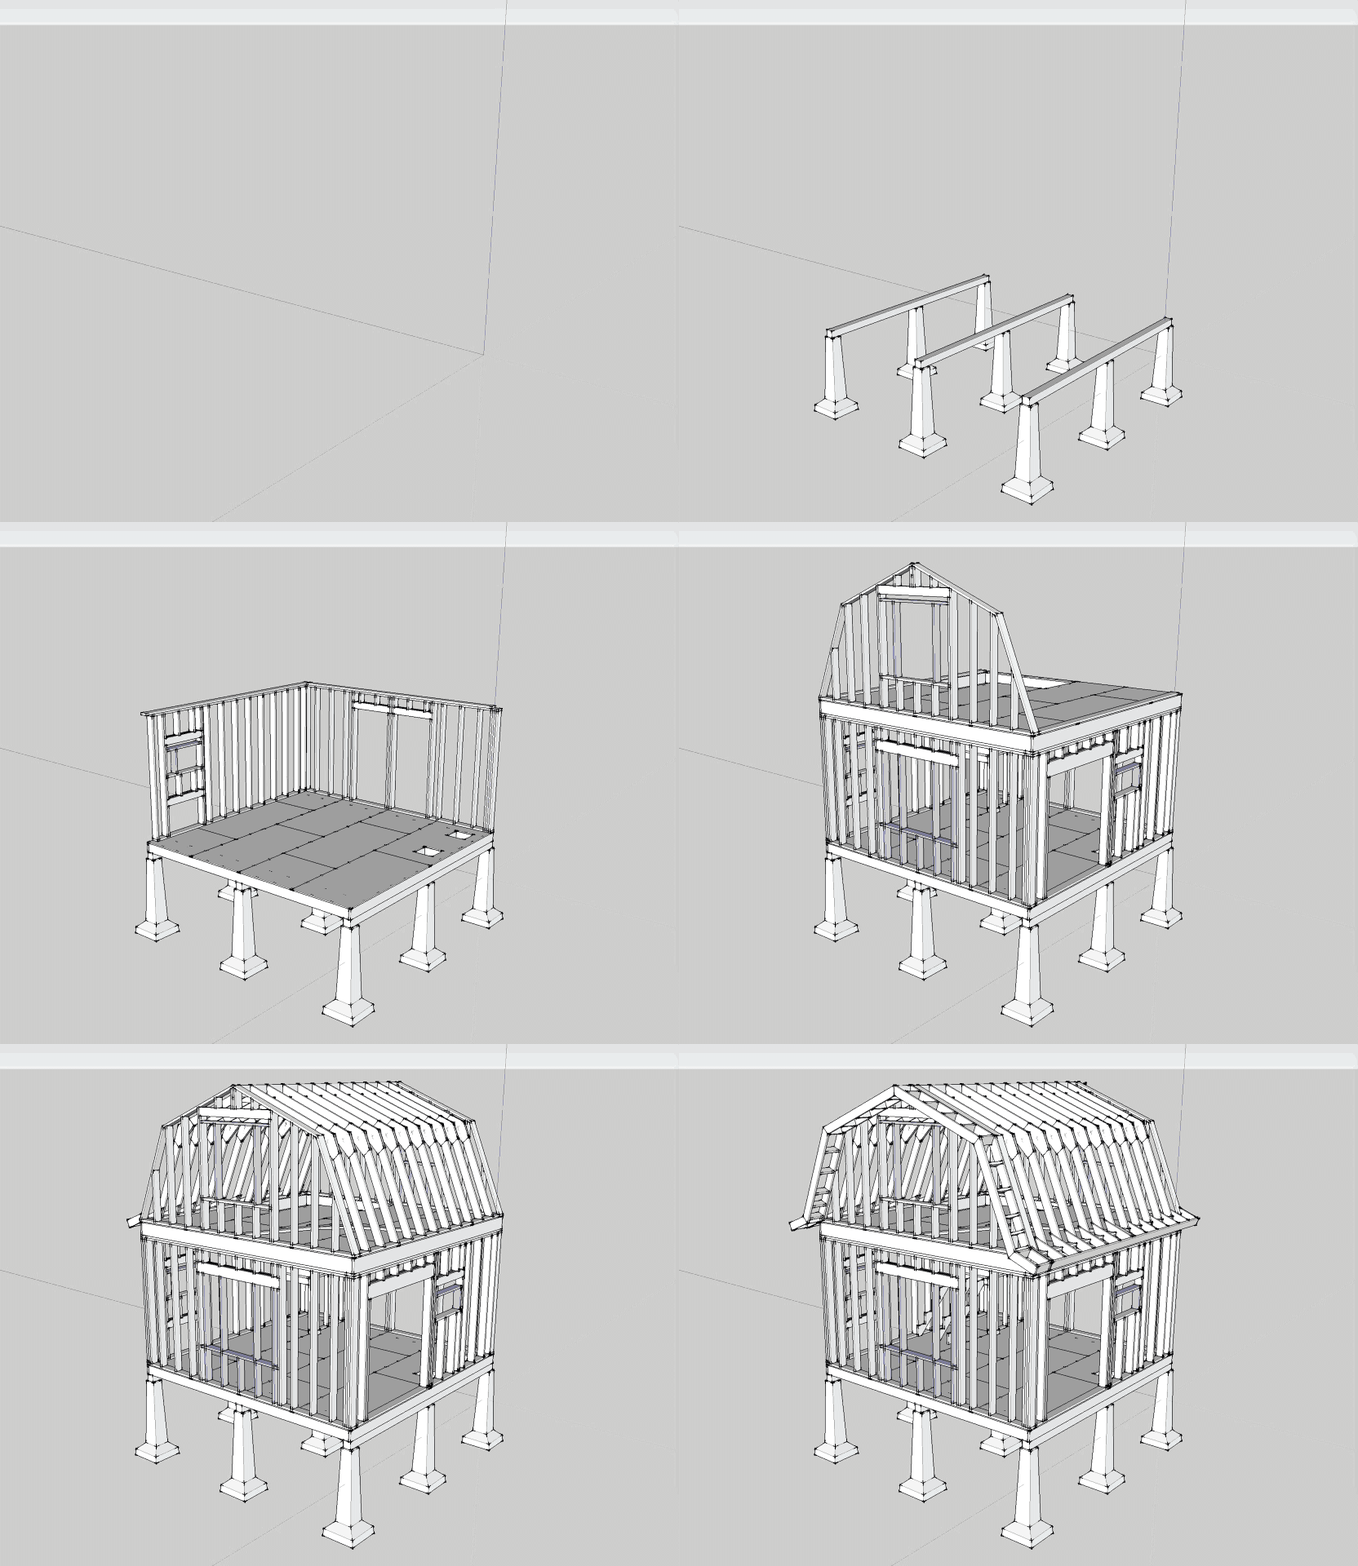
We spent all Winter learning how to build a house & designing it. It completely blows my mind that we live in a time where all this information is available online. I spent countless hours reading and watching videos on building techniques. Not only is information ubiquitous, so is stuff. Every specialized tool or object referenced in these videos is available to purchase online, with reviews, and unboxing videos…
Preparations in no particular order
- septic permit, the only paperwork/requirement
- Sketchup design
- extensive reviews by multiple trusted builders
- research & acquire needed tools
- skill saw
- clamps
- rip & plywood blades
- generator
- run generator and charge devices with it to avoid surprises
- create guides for sawing
- 2×6 with 22.5 angle
- plywood 4′ & 8′
- find cheap recovered windows & fix them up
- visit local lumber yards to get material pricing & delivery fees
- buy portable shower & potty
- emptying our current house of superfluous things we’ve accumulated to get ready for downsizing
- budgeting
- scheduling
3D Printed Snowglobe
Here’s a cool idea for a present, model someone’s house, 3D print it and stick it in a snow globe. Bonus points if the person is really attached to their house and live in a place that gets good snow.
How hard can this be right? Well it’s actually pretty hard but I feel like with all the gotchas researched and out of the way, that I would be able to do another one easily.
Here’s the process in a nutshell:
- Sketchup for modeling
- Shapeways for 3D printing
- Painting
- Sticking in snow globe
Here’s the actual process with all the gotchas:
1. Sketchup for modeling
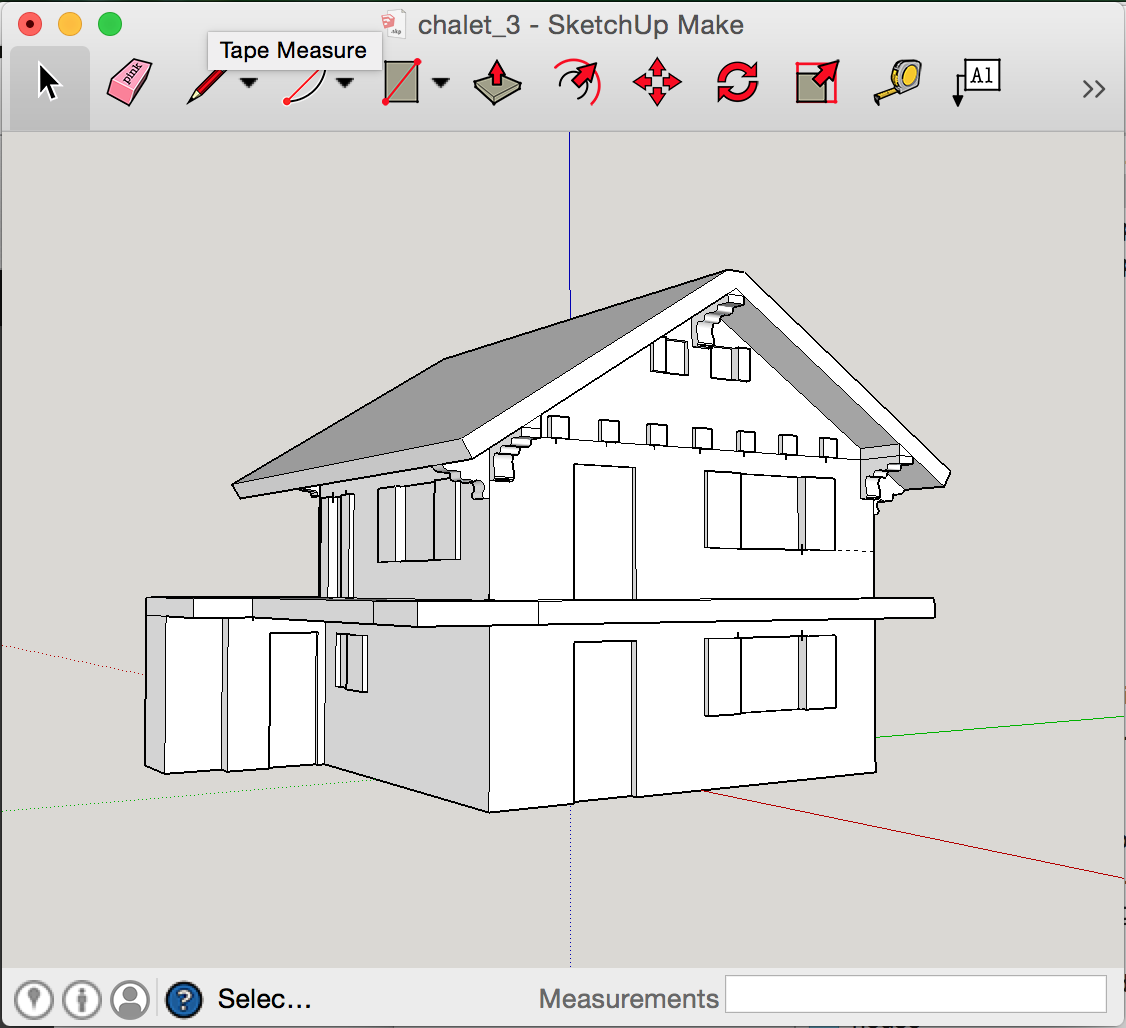
Sketchup is perfect for the job and can export models to DAE natively and STL using this plugin, both formats can be imported by Shapeways. But it can be very hard to model a solid with no leaks. And leaks will really fuck things up. Also if you have a leaky model, fixing it it out of the question requiring starting from scratch. This other plugin is quite good at finding leaks but horrible a pointing them out, I only found it later in the process but I found it useful to check the model with it every time I made a change. The same way you compile after every added line of code right? There are other products out there to find the leaks and point them out, all of them horrible and requiring various exports imports to see results. Ultimately you know you have a leak when your model looks like shit in the finder preview on your mac (yes *.daes are previewable) or in Shapeways’ excellent viewer.
2. Shapeways for 3D printing
Absolutely nothing bad to say there, Shapeways is amazing and light years ahead of the competition in terms of service & useability. I used their “strong & flexible plastic” material as it’s cheap and I had done extended submersion tests with it but it is quite limited in the small details it can render. The minimum wall size with it is 0.7 millimeters and anything around this size doesn’t look super sharp. They just came up with a line of “Detail Acrylic” materials which promise much better resolution but I was too far in the process and hadn’t tested the material in water. To compound the issue the empty snowglobes I found are on the small side and so a lot of details that make a house special to someone got lost.
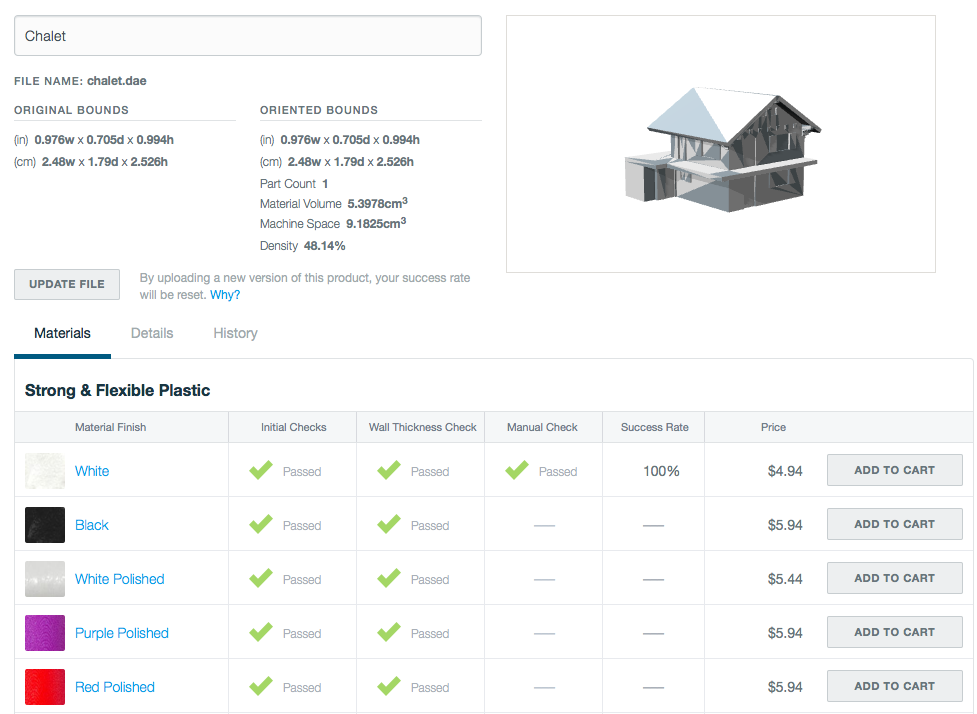
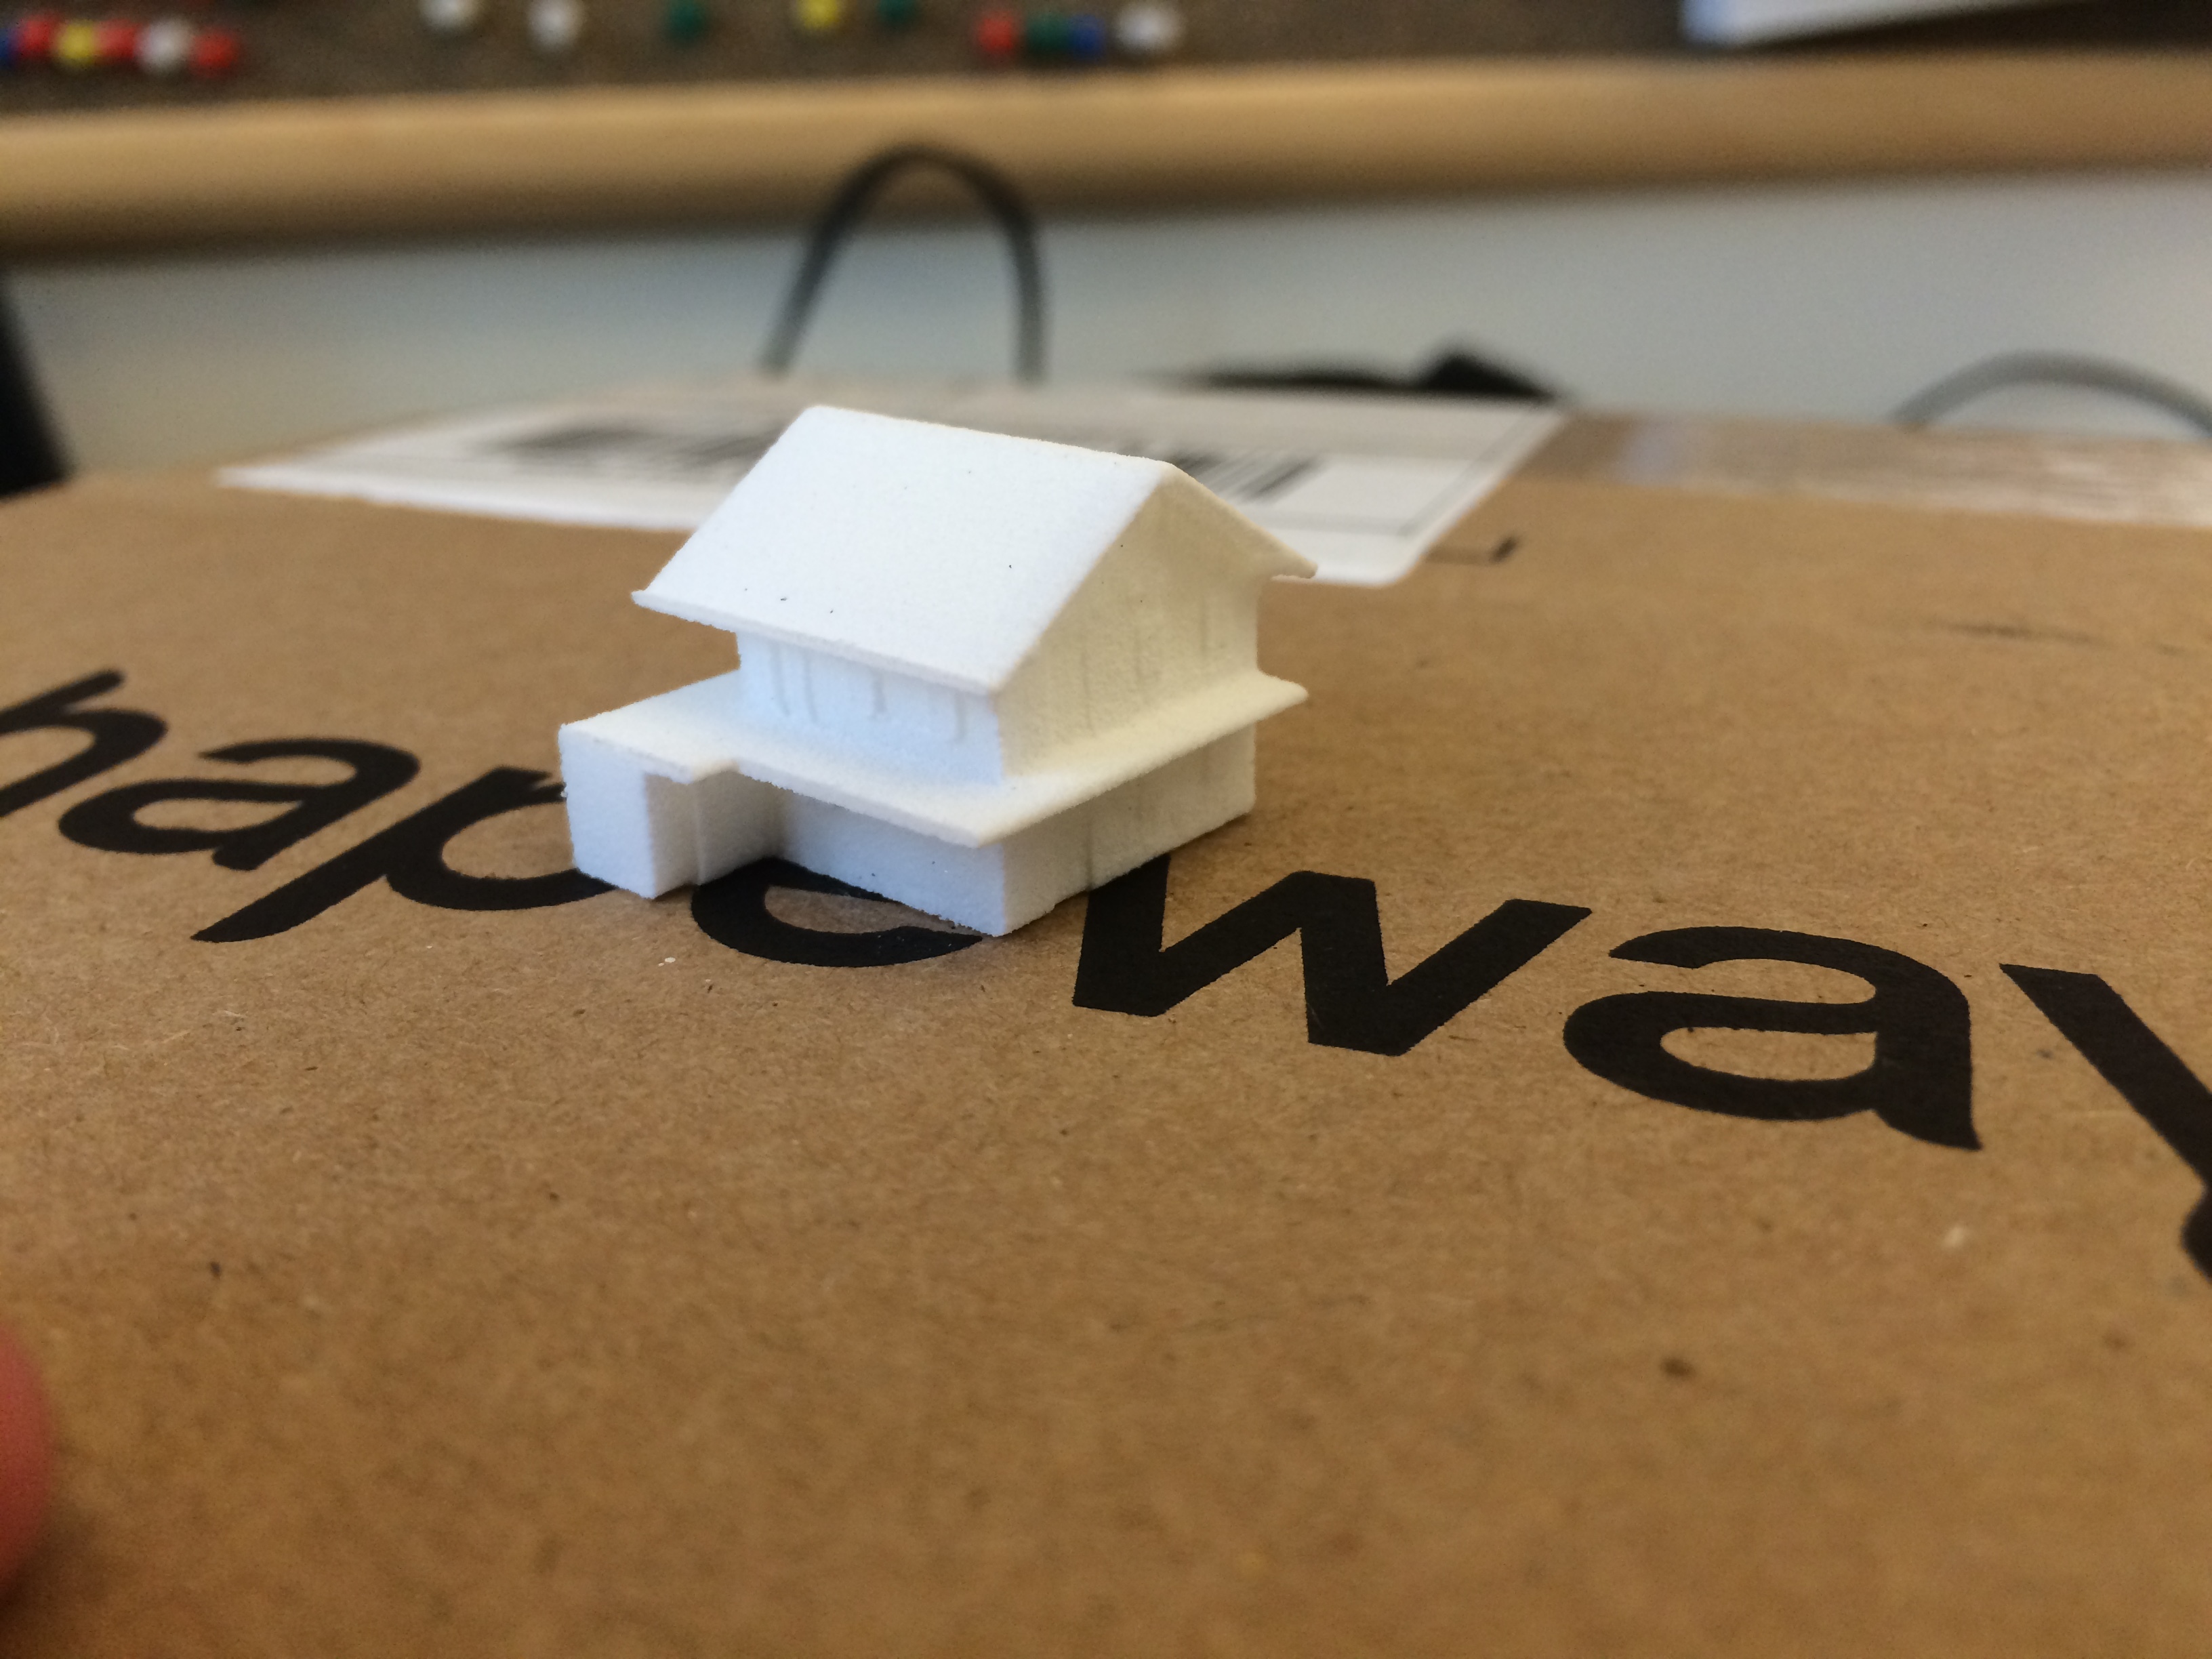
3. Painting
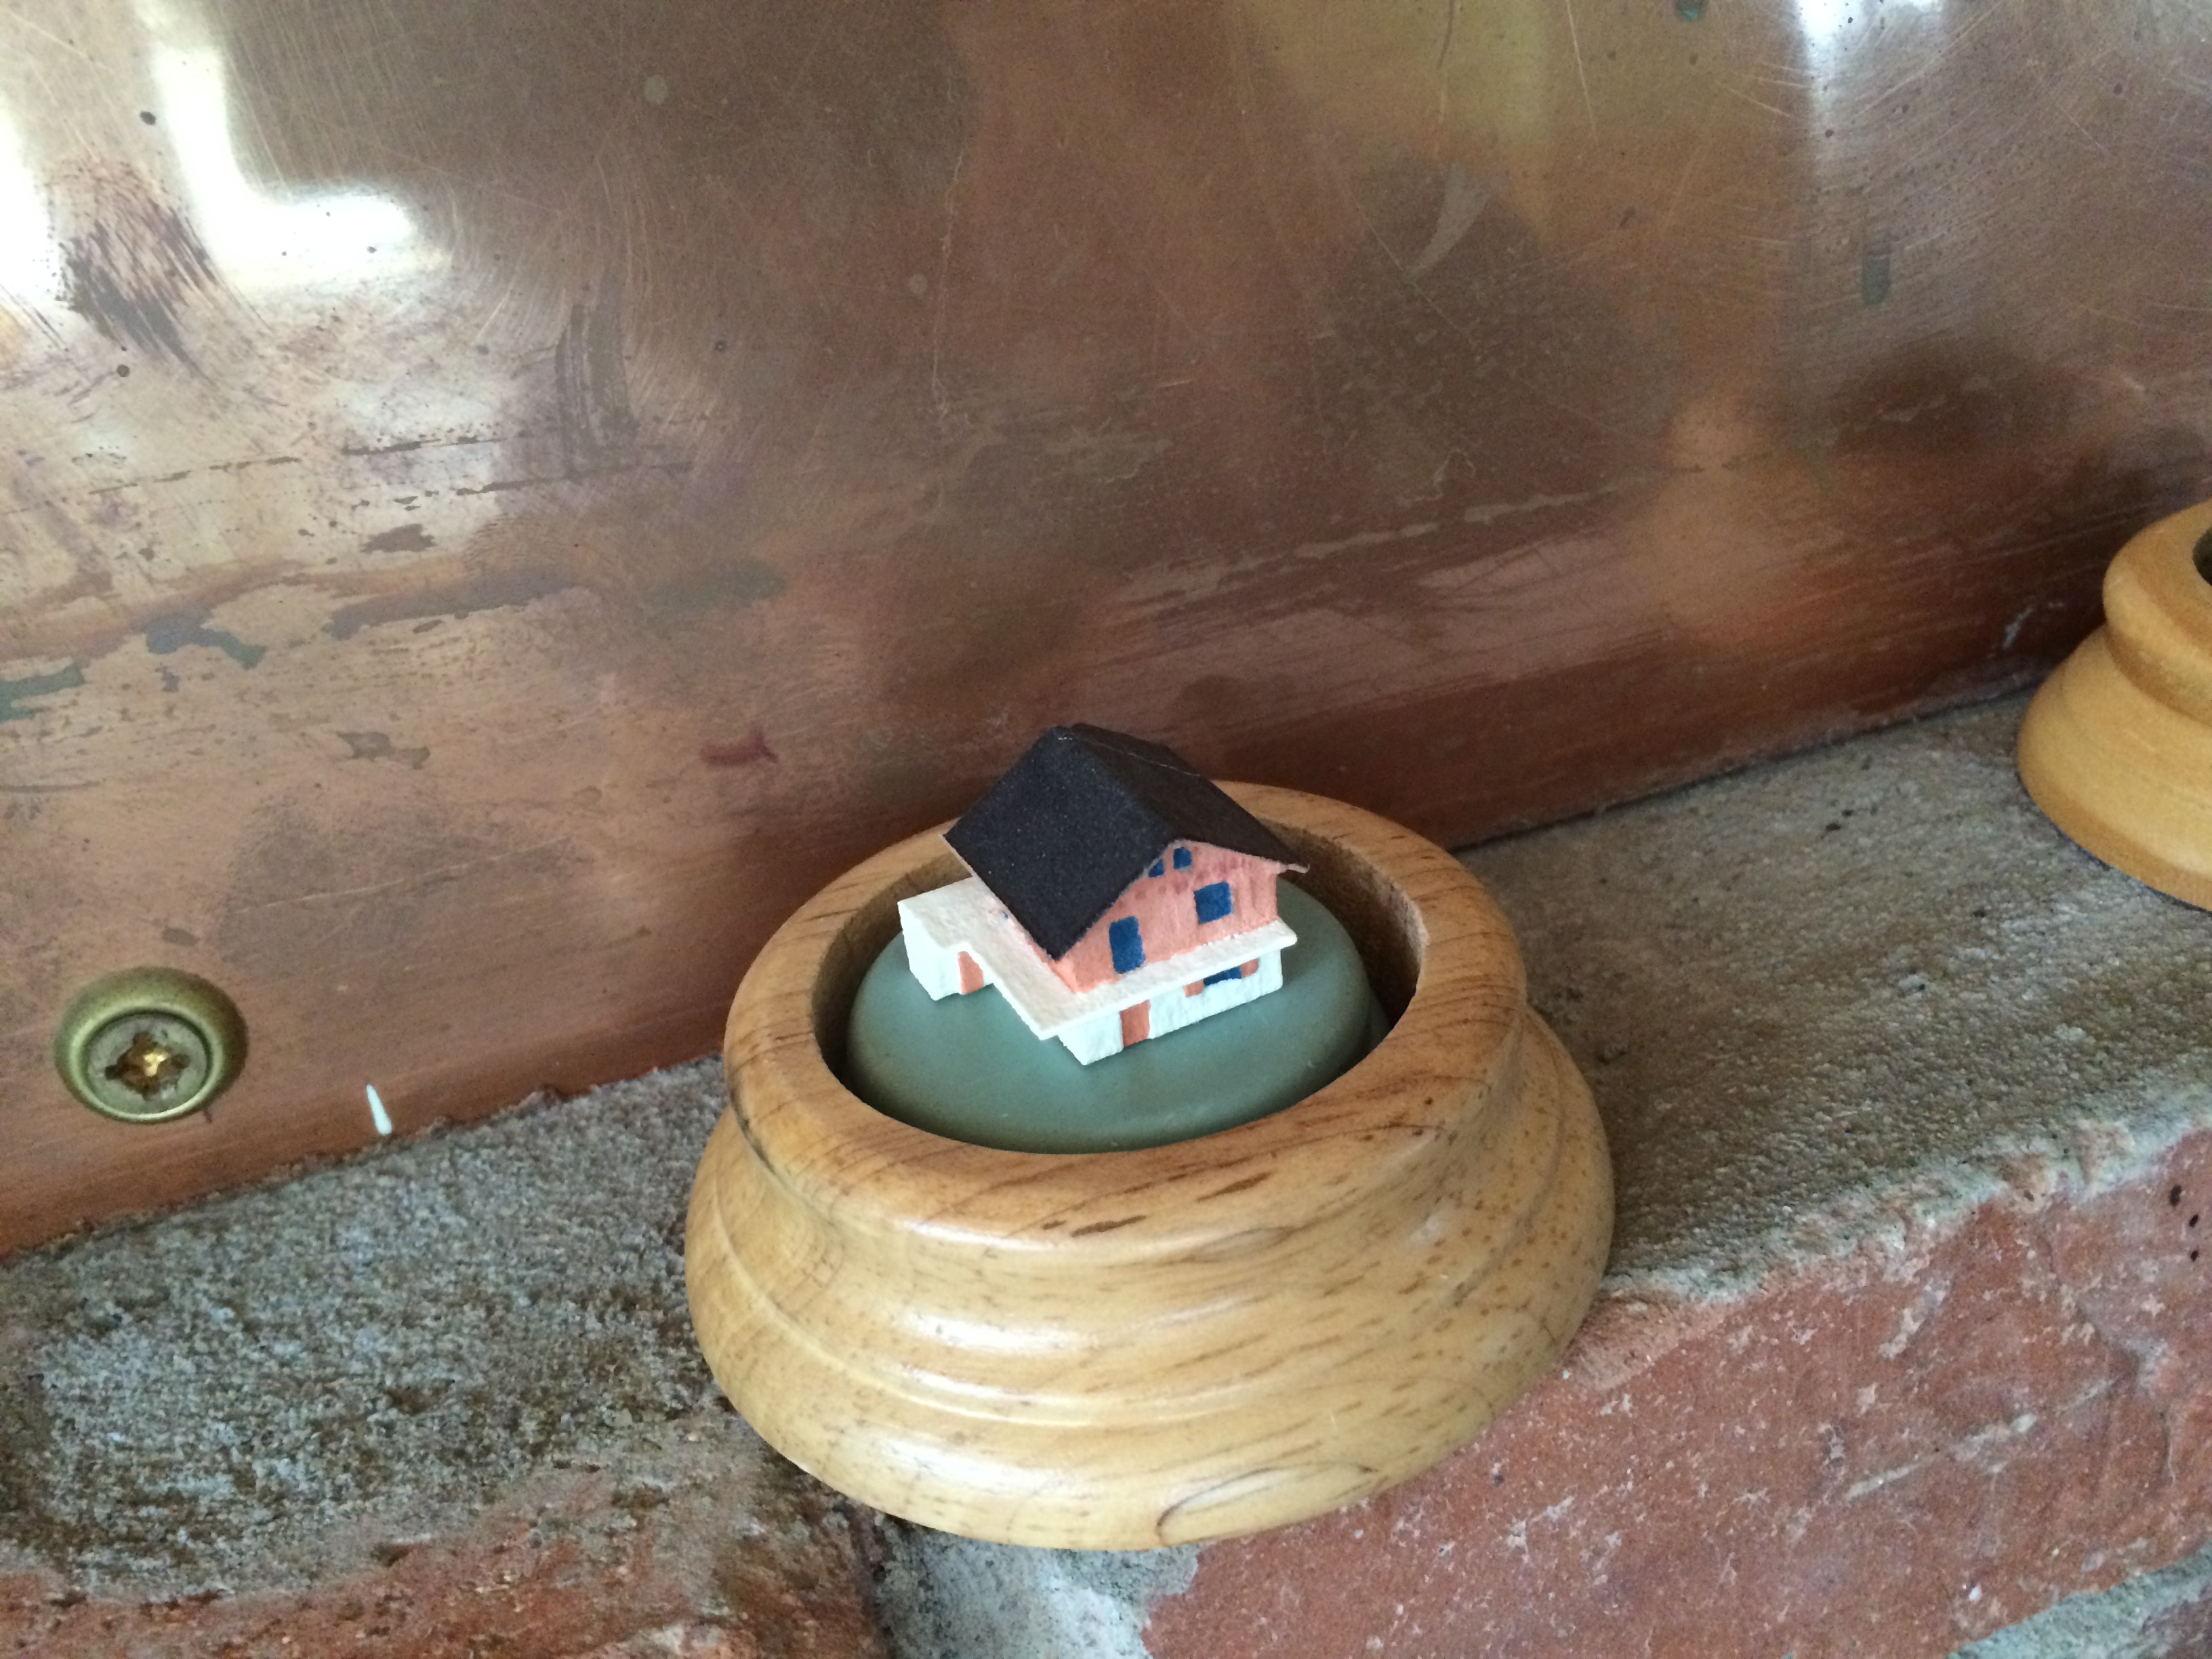
This is where small didn’t help, it was tedious but not impossible. Definitely being able to 3D print the color would have been nice but the only material that allows this at the moment (full color sandstone) doesn’t lend itself well to this project. You also want to varnish it for good measure. As far as gluing the house and subsequently the globe on its wooden base I’ve used E6000 which was recommended by the manufacturer and many custom snowglobe making blogs.
4. Sticking in snowglobe
This is the trickiest operation where everything can go wrong. First of all it’s good to play with how to insert the rubber gasket before you glue a house to it. Putting in in the freezer for 5 minutes and adding water to its edges will help slide it in.
Now about 80% of the snowflakes that were provided floated and wanted to do nothing else than float. A good idea is to put the flakes in another glass of water, scoop the shitty floating ones out and then add the rest to the globe upside down right before you add the house. Quite frankly I wish I had even filtered the snowflakes, they came with particles that gray out the water a bit. Some recommend adding glycerin to slow the falling of the flakes, I felt like they were falling at an acceptable rate with only water.
Another issue is one of bacteria growth. Per recommendations I’ve disinfected everything and used distilled water and added 1 drop of rubbing alcohol to the water. In the submersion tests I’ve done (not using distilled water or alcohol) the water would get noticeably funky after ~3 months. I don’t know how the new method holds over time.
Pull a bit of the gasket away to fill with distilled water, add some E6000 glue around the joint between the rubber and the glass and you’re set.
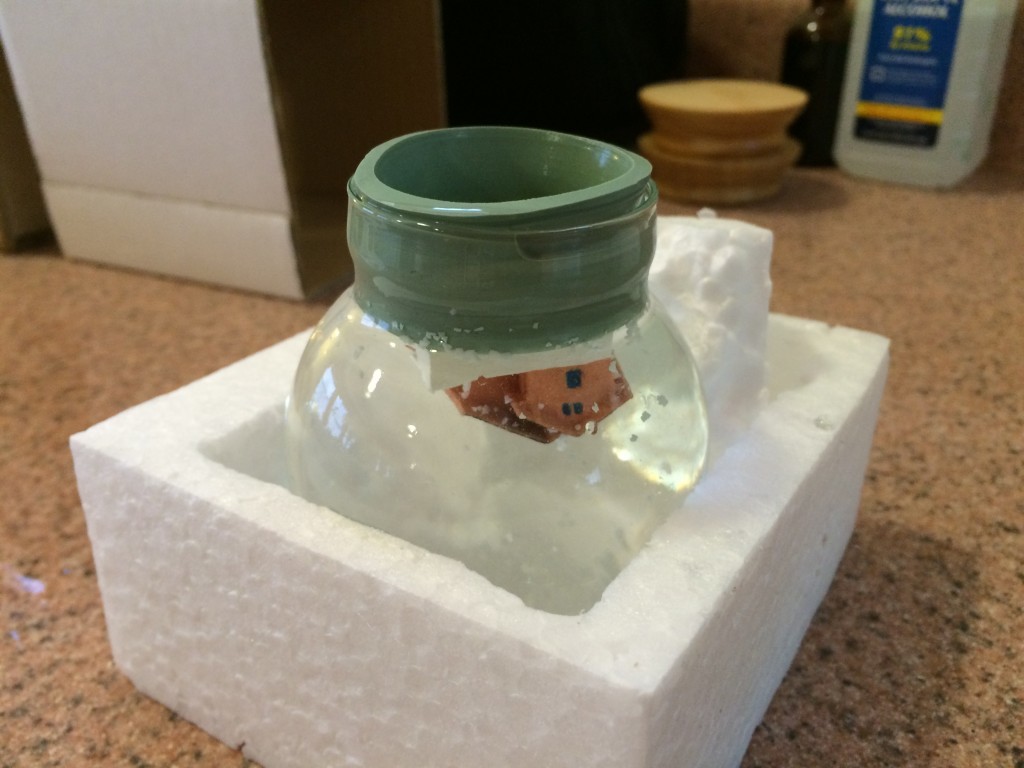
Hard truth #1: A simple house isn’t a great subject to put in a snow globe, it kind of depends on it shape but it will occupy only the bottom part of the globe. I’m still happy about the result.
Hard truth #2: Snow globe distort the view of what is inside them. Not a huge deal, this just caught me off guard.
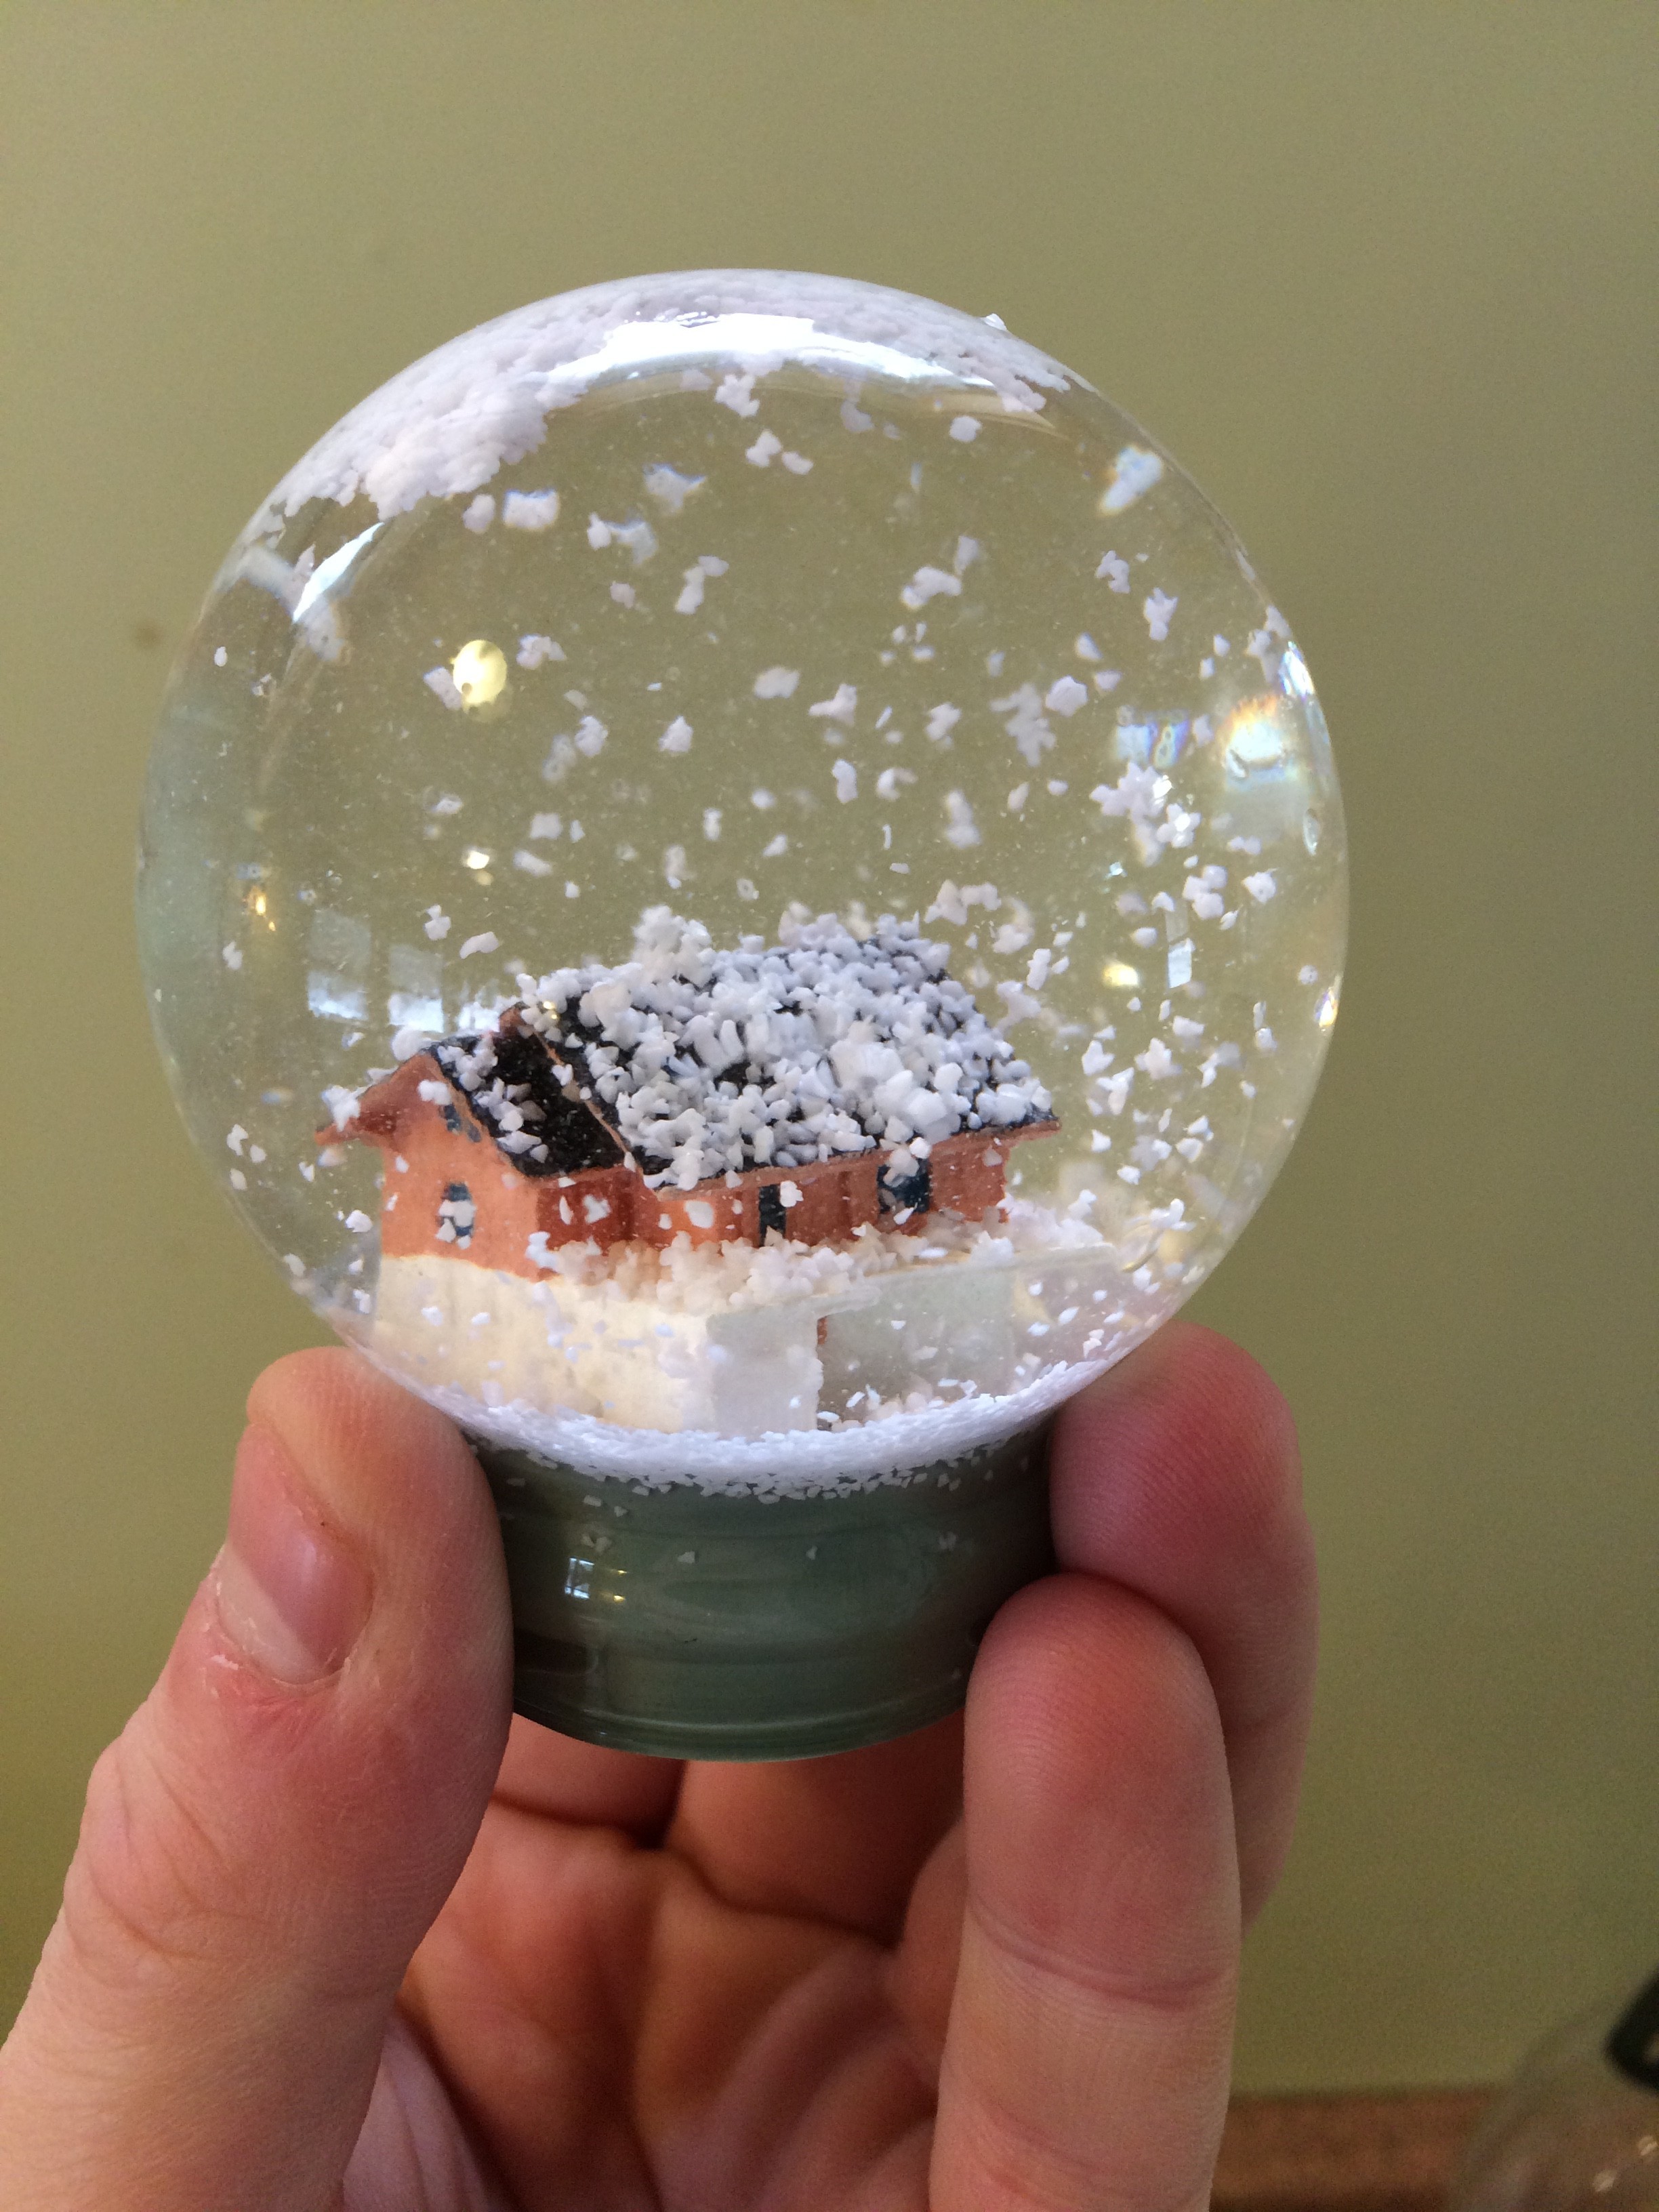
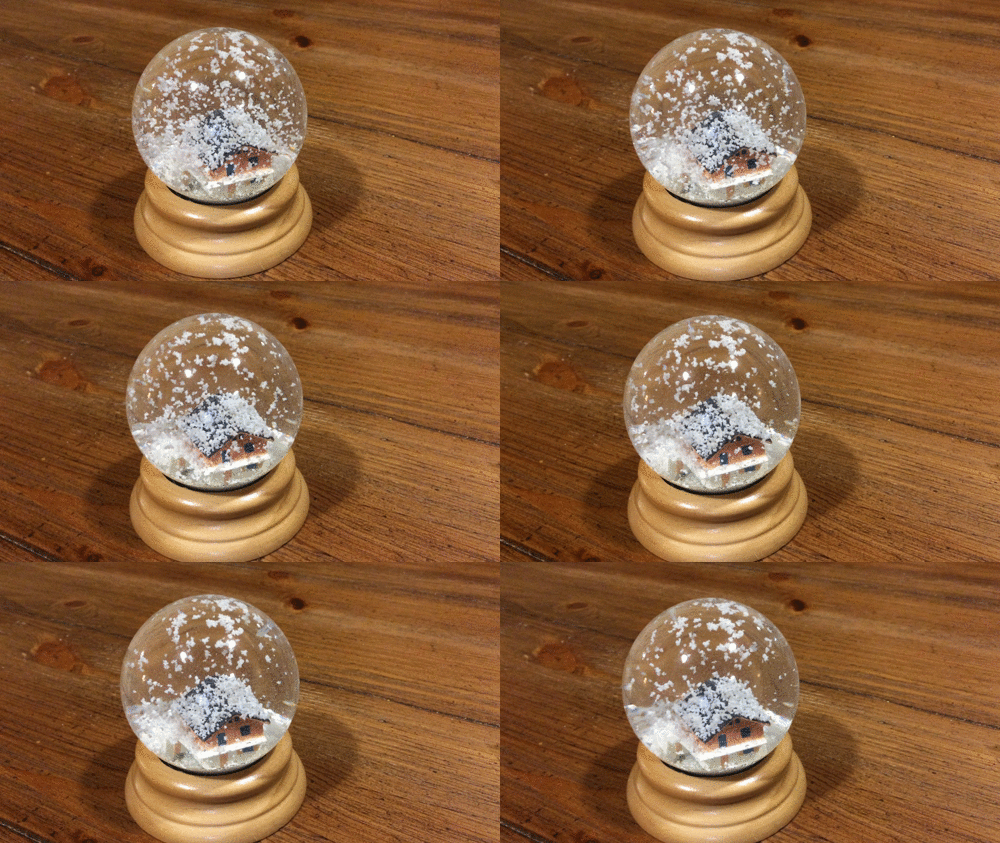
The finished product
Chicken Coop!
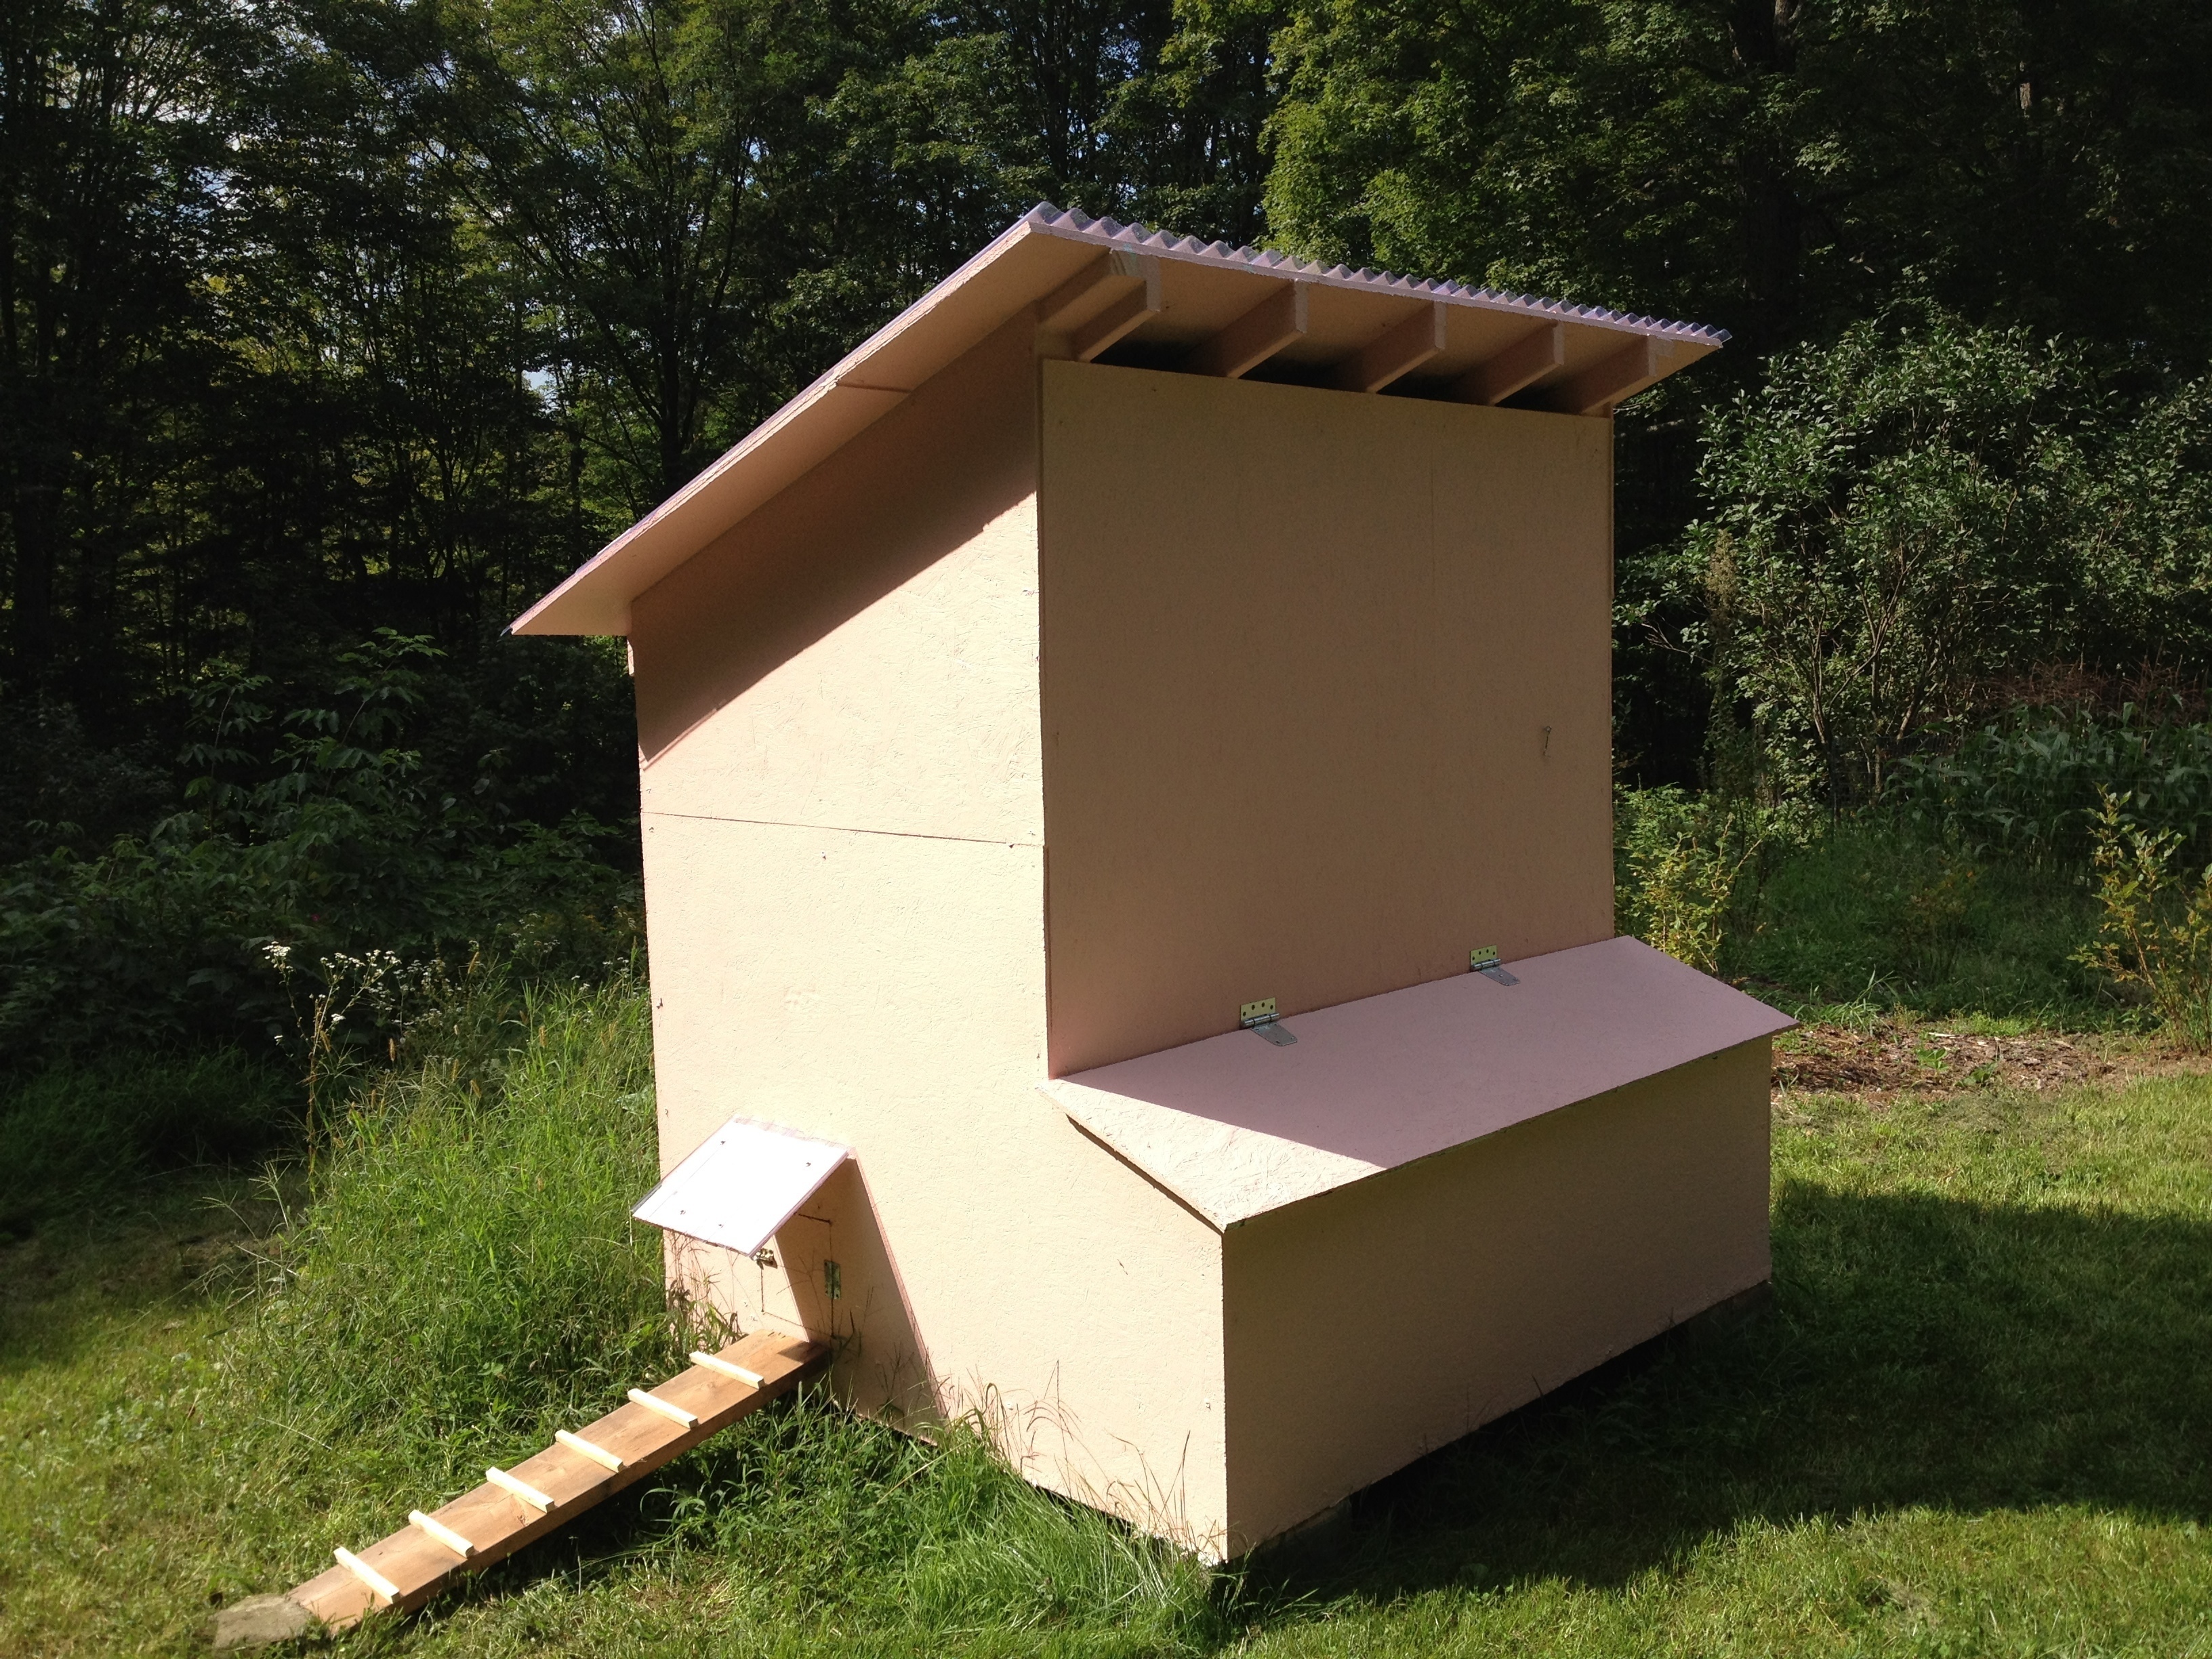
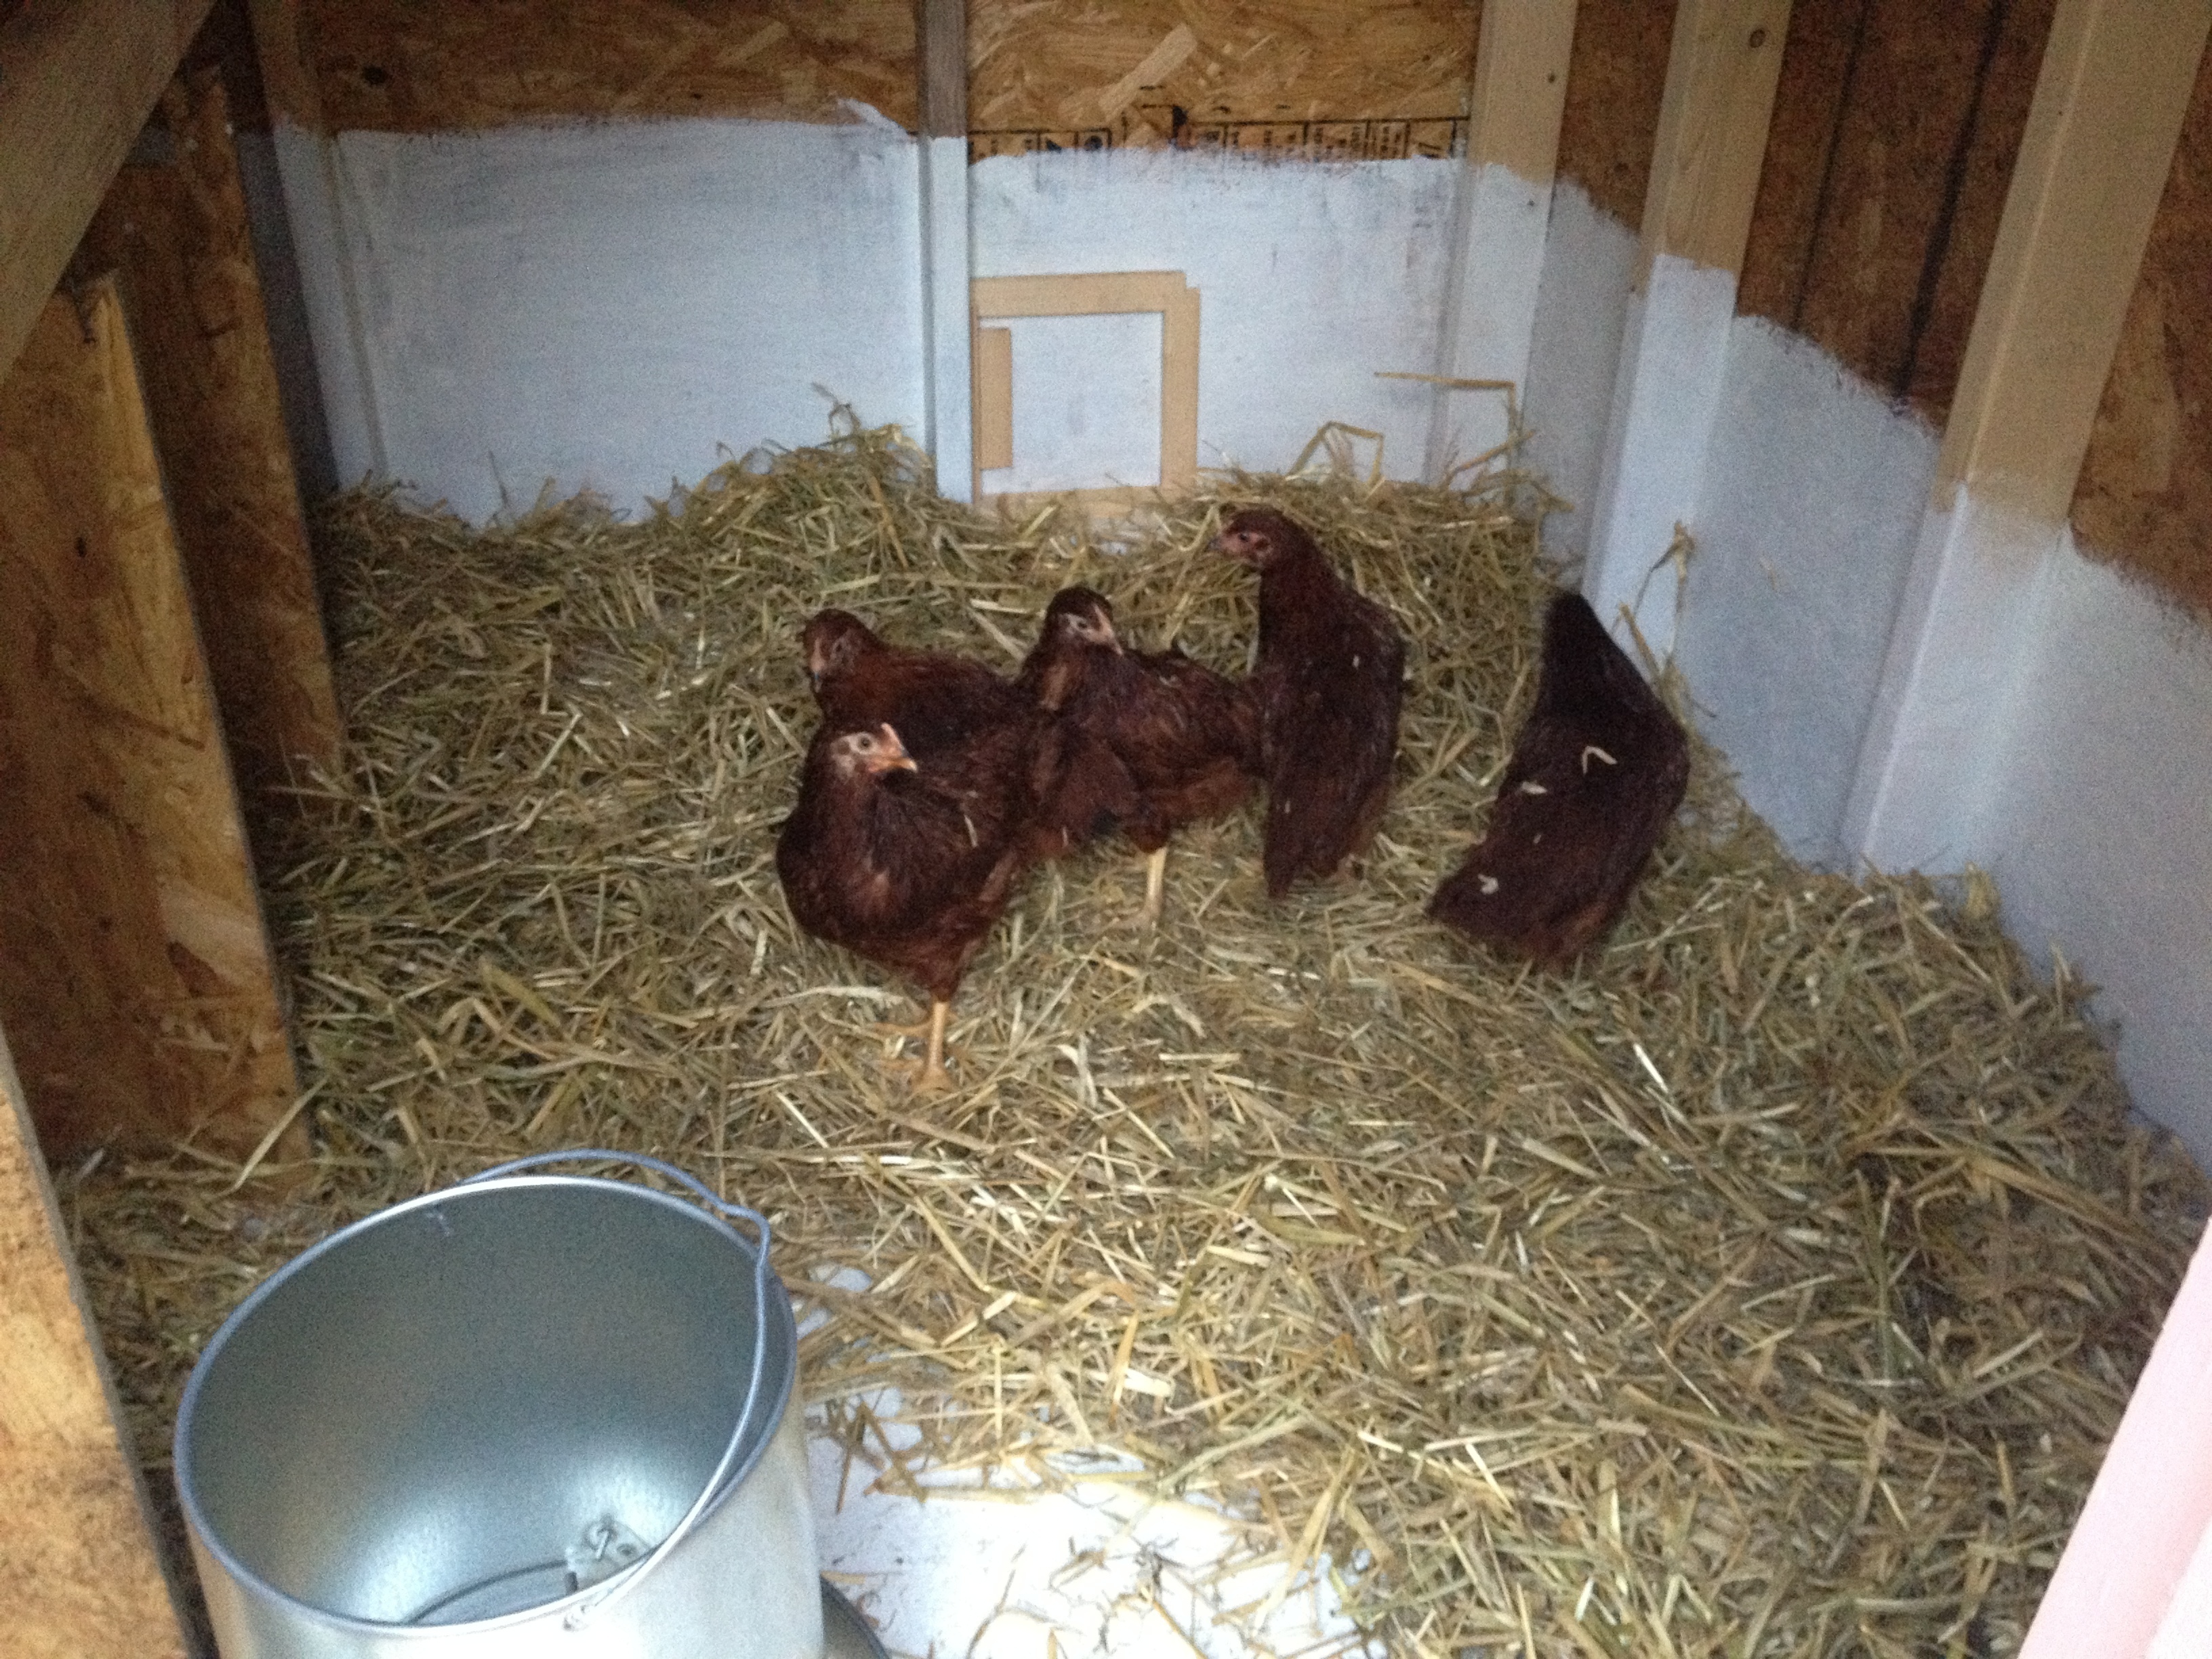
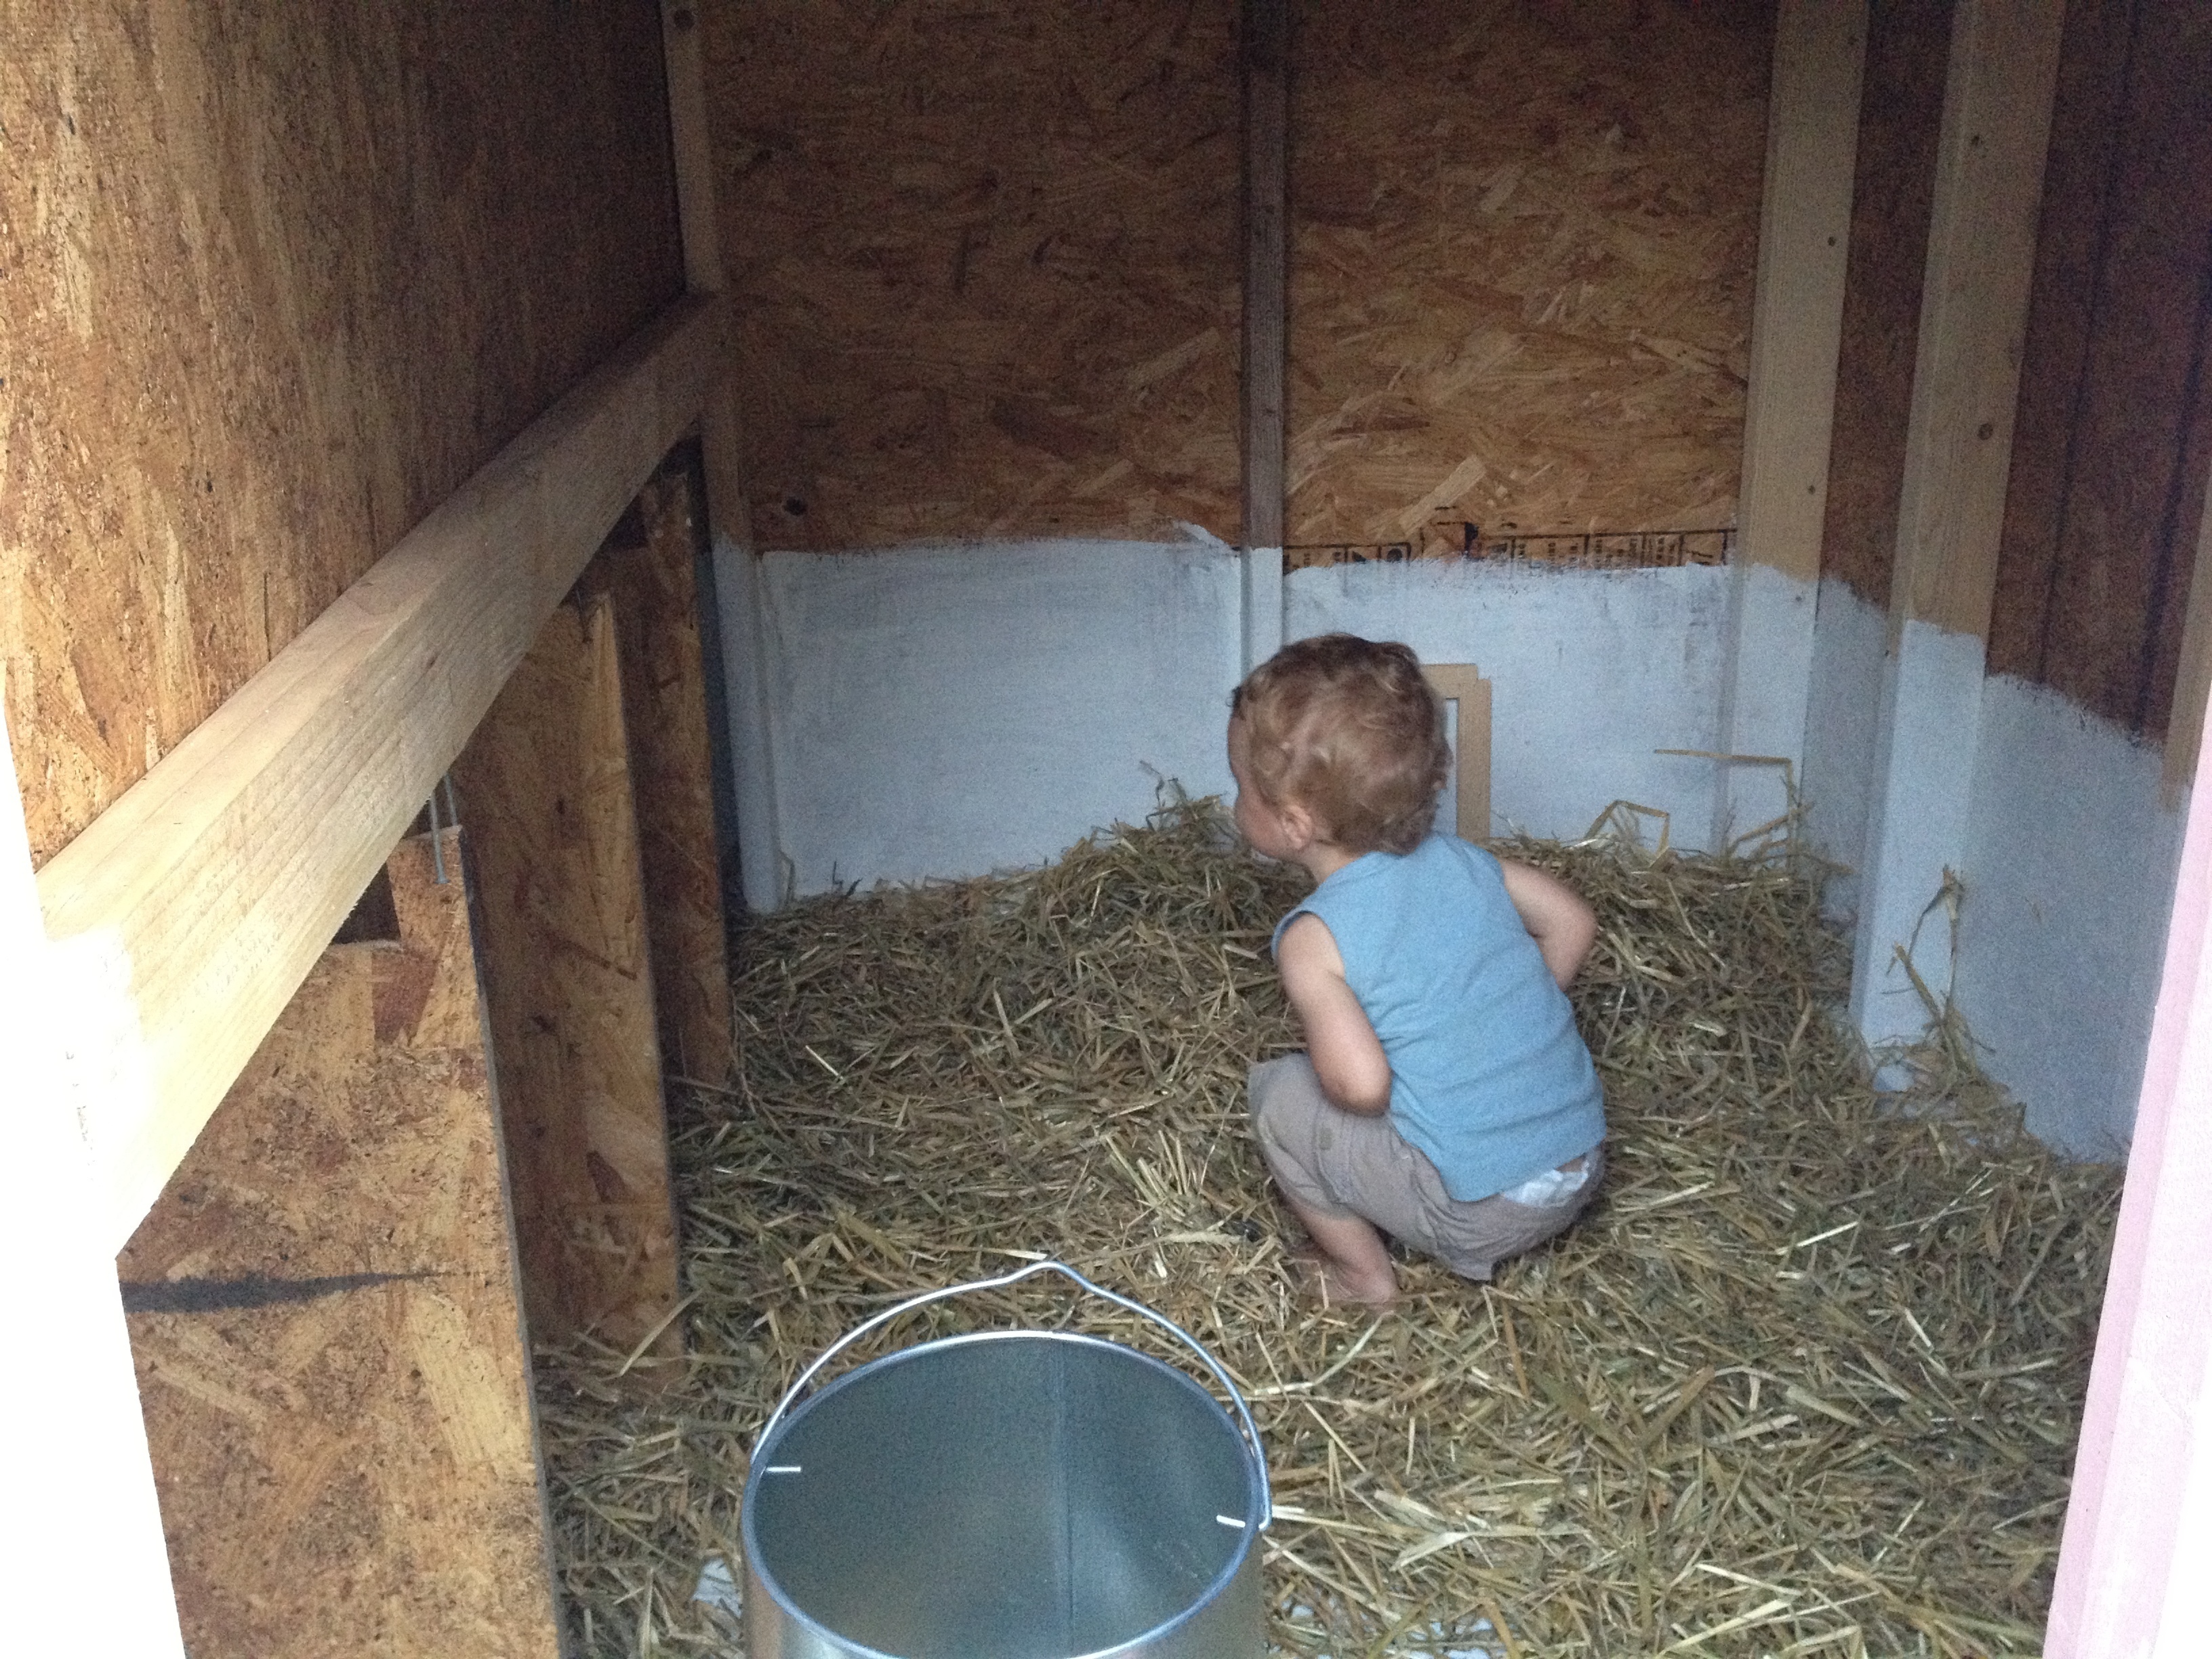
It’s been over a year since our move away from the city and we’re finally getting back into chickens. Things take time, starting fresh at the other end of the country doesn’t happen overnight. We only got 5 layers as we’re pretty late in the season, we’ll start meat birds next spring.
The coop still needs some polish and a window but here it is in all its current glory:
With a bunch of Rhode-Island Reds
Works for toddlers as well
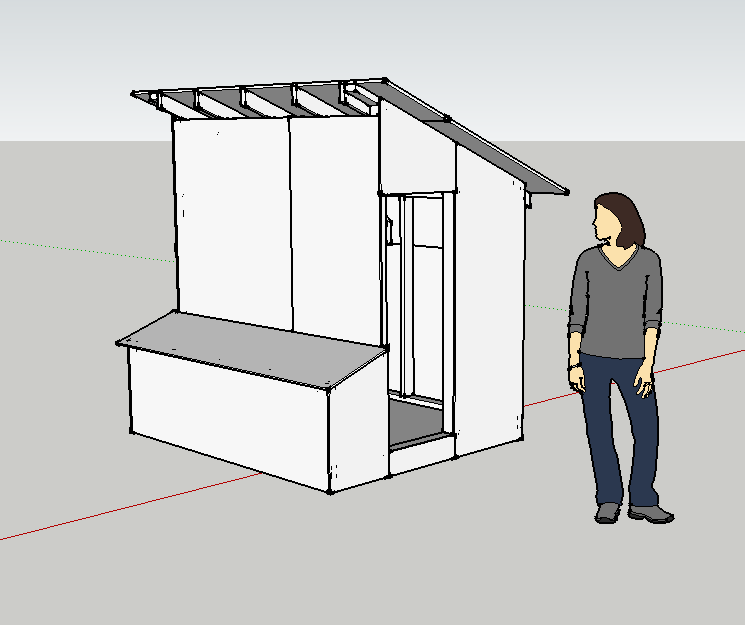
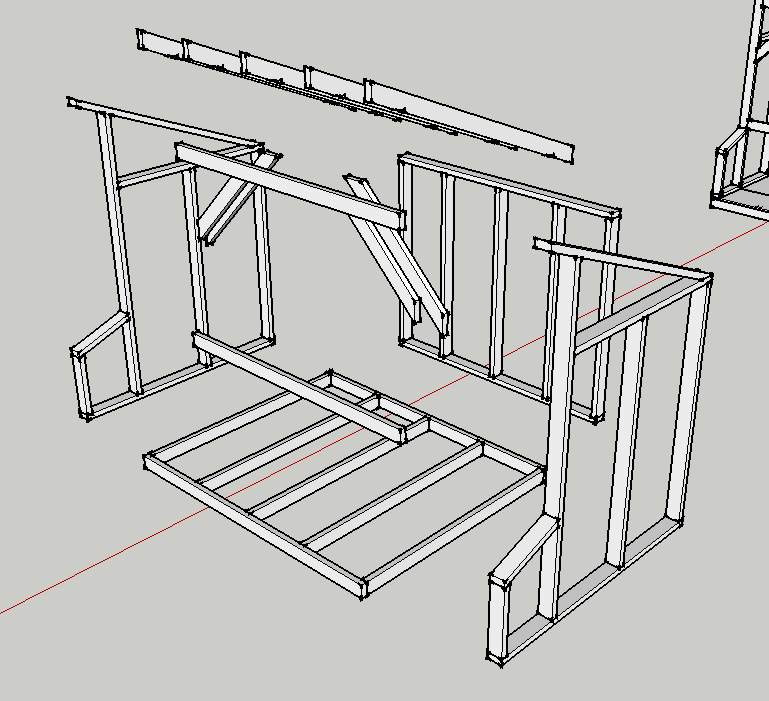
As with the beehive, I drafted everything on Google Sketchup and it made building it completely devoid of surprises. The plan can be downloaded here.
Top-bar beehive design
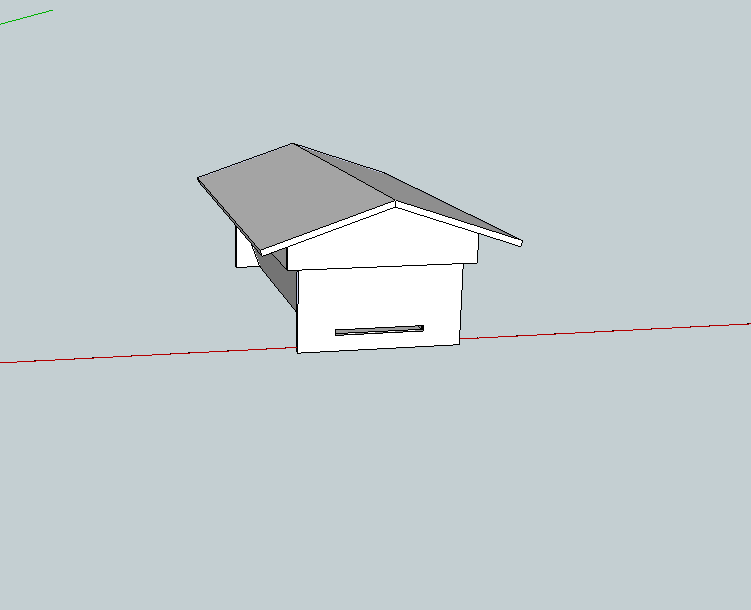
Here’s a Google Sketchup design for a simple top-bar beehive.
Some pics:
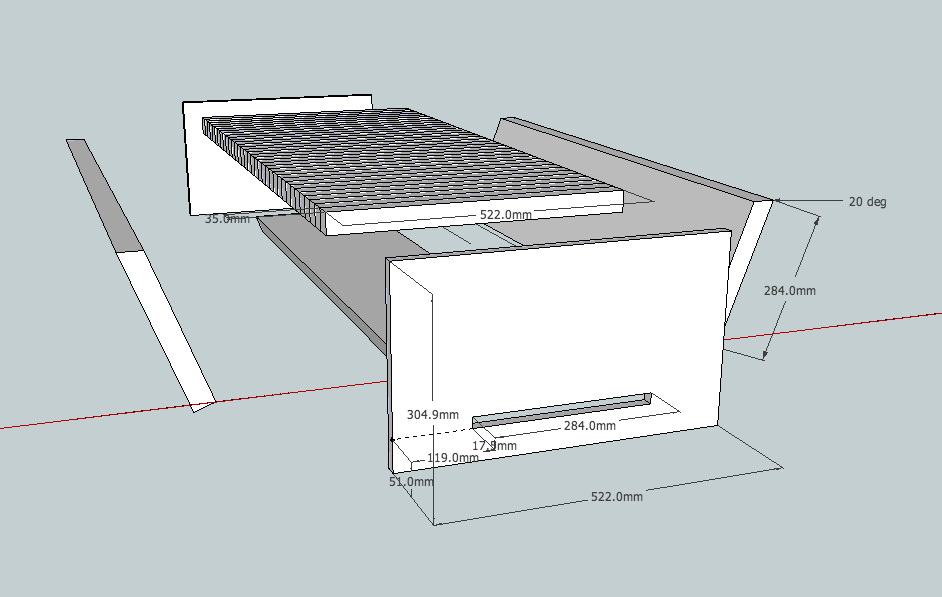
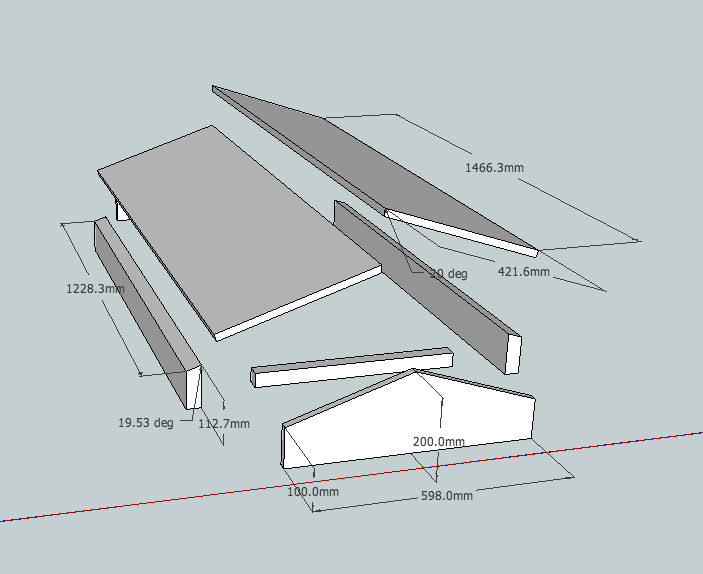
Notes:
Only 2 measurements really matter in the design of a top-bar beehive: the angle of the side panels (70 degrees) & the width of the top bars 35mm. They both pertain to bee behavior and this design has them both optimized. From what I gather, other measures are quite forgiving.
This design is simple & well researched, I do not know yet how it will fare in practice, more to come on that.
Material:
All you’ll need as far as wood is concerned is a couple of 2x12x16 and a 3/4″ sheet of plywood:
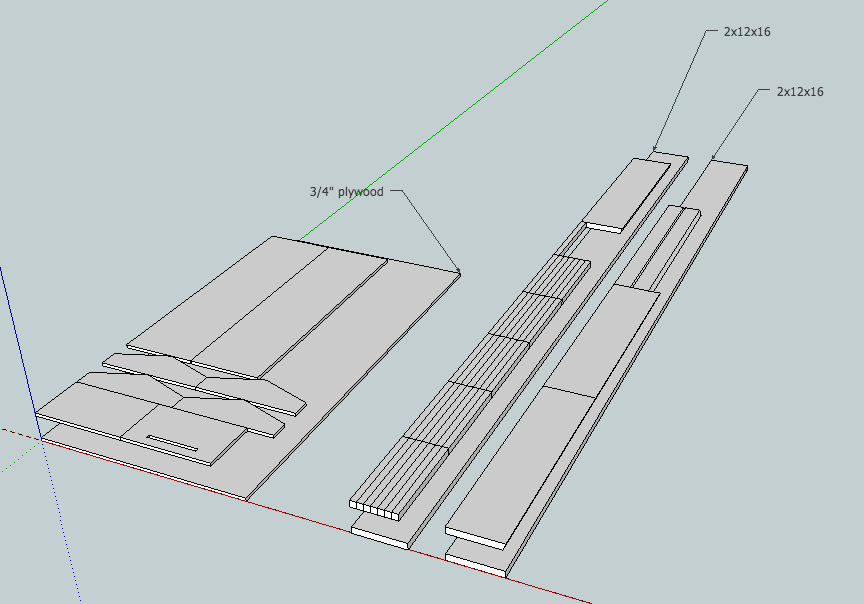 Lastly, all units are in millimeters but based on standard lumber sizes available at the hardware store.