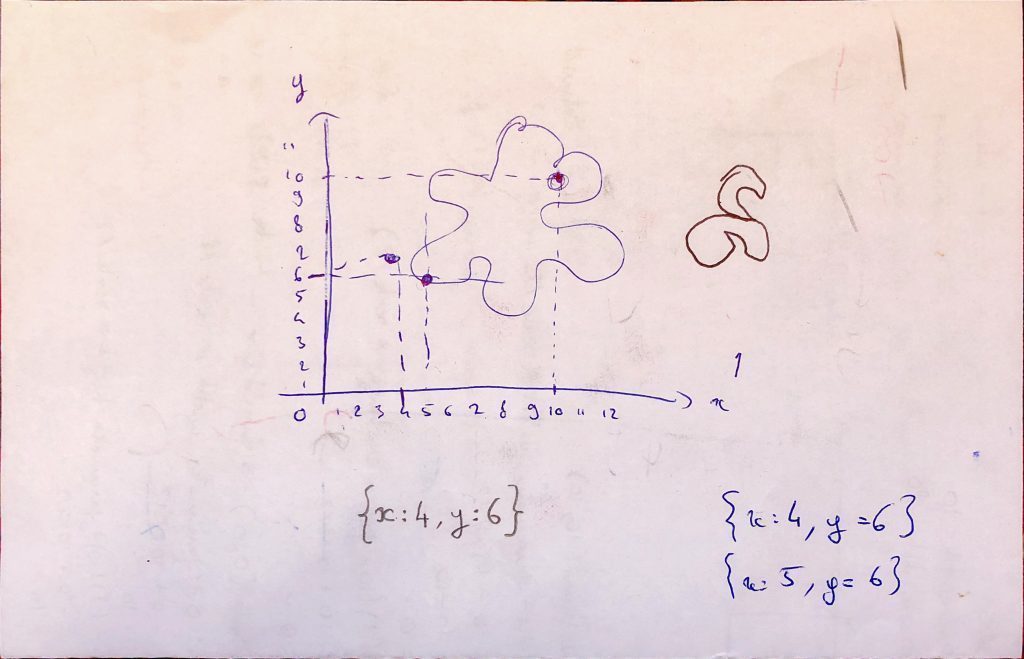
X,Y Coordinates Tradition

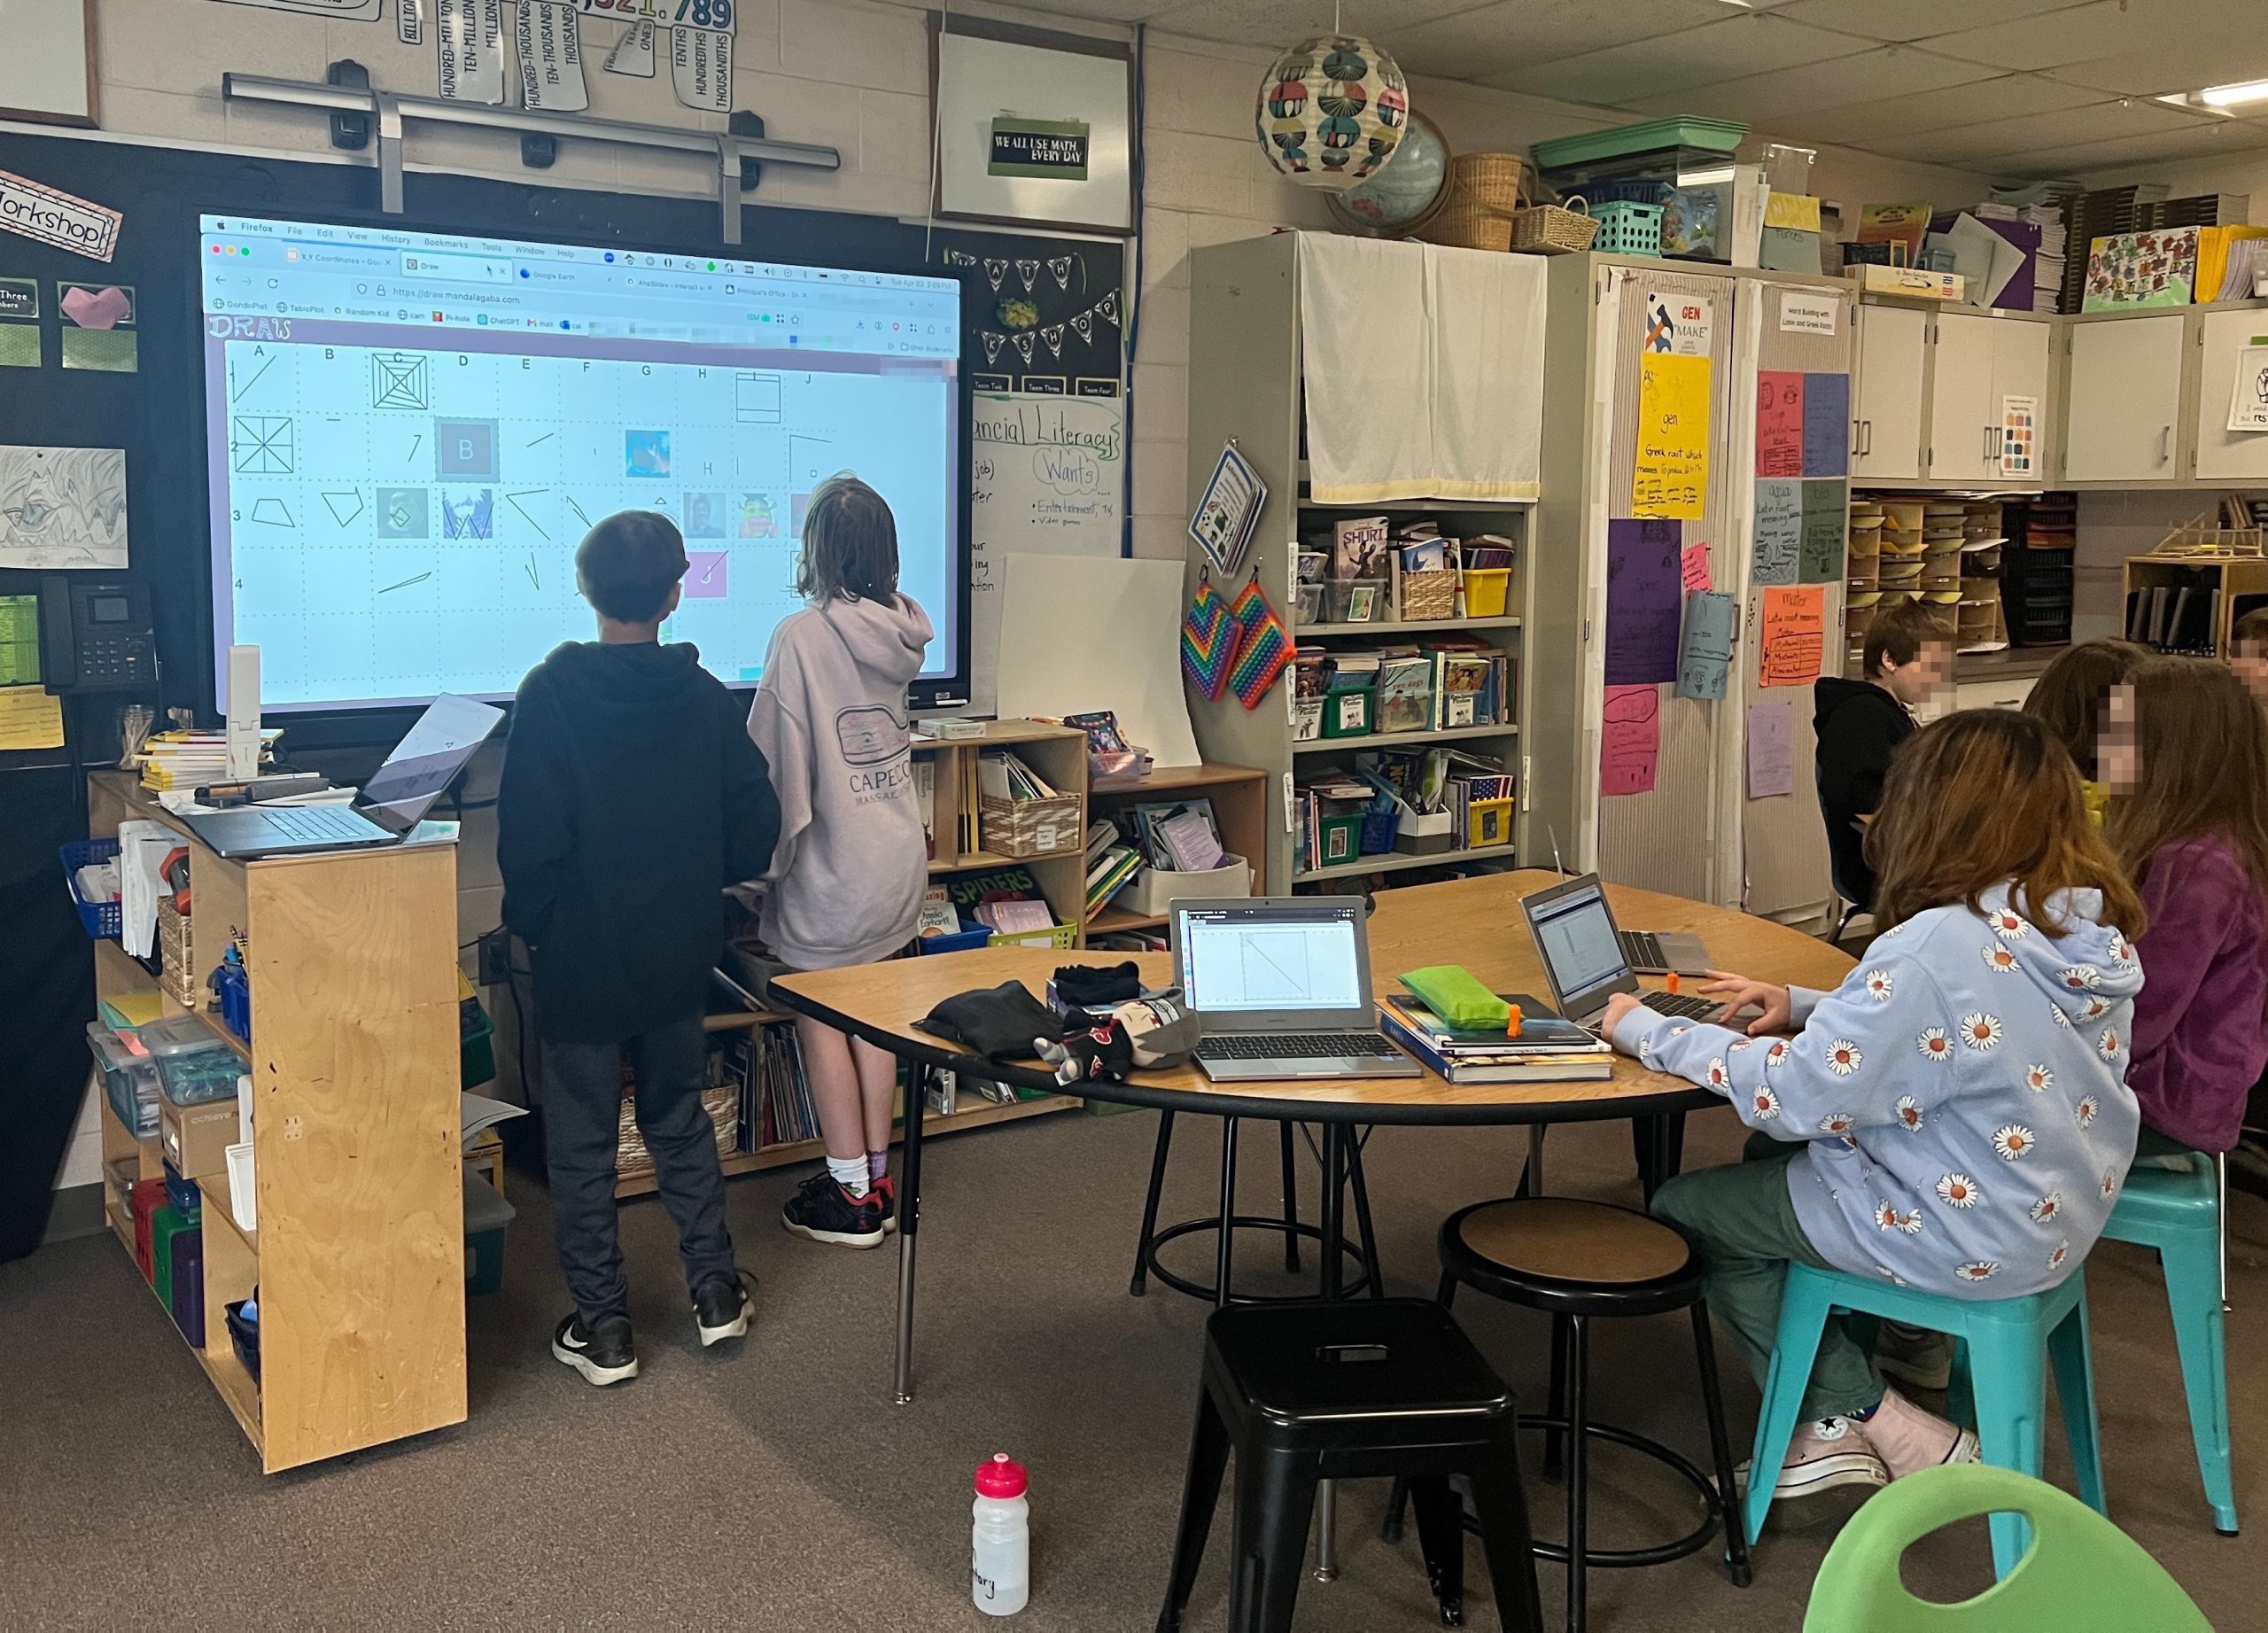
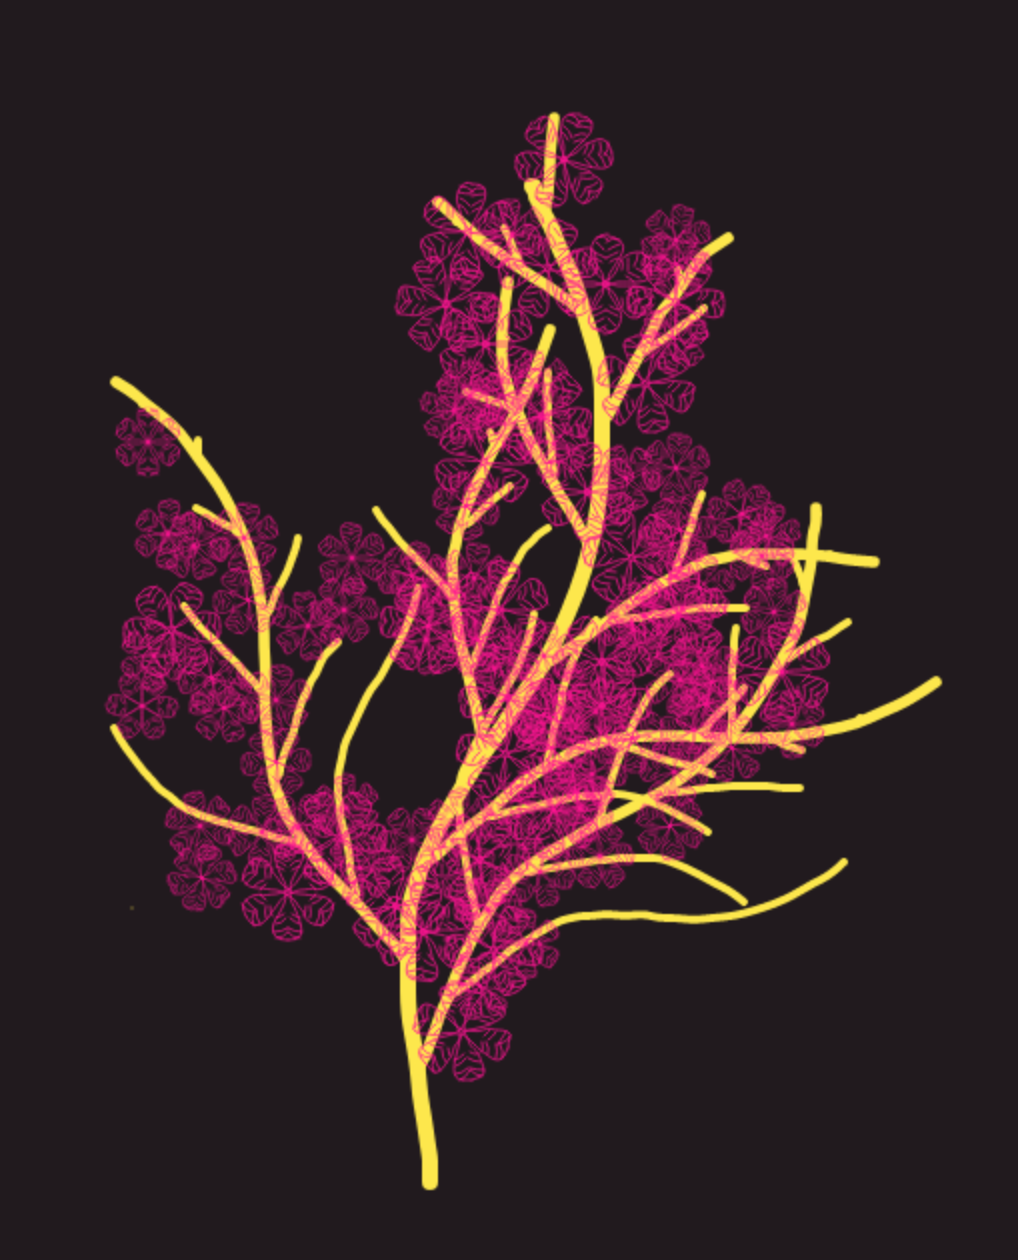
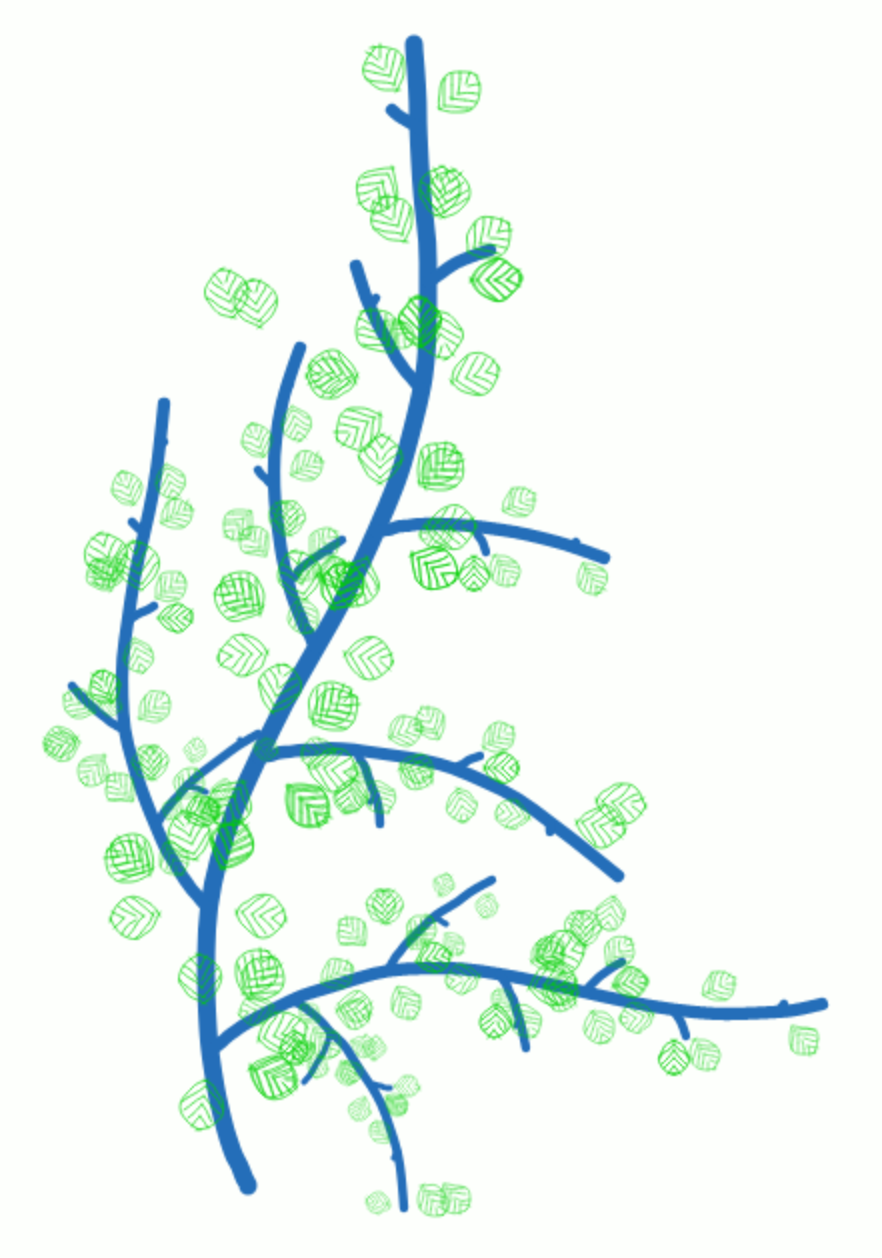
I just did my yearly X,Y Coordinates stint with local 5th graders. It’s the 5th time I do it and this year is notable in that I didn’t write anything I wanted to fix for next year. Every time previous I came out thinking I needed to fix a bug, prevent a confusion, or improve something or other. This time it looks like the formula has been refined to its optimum.
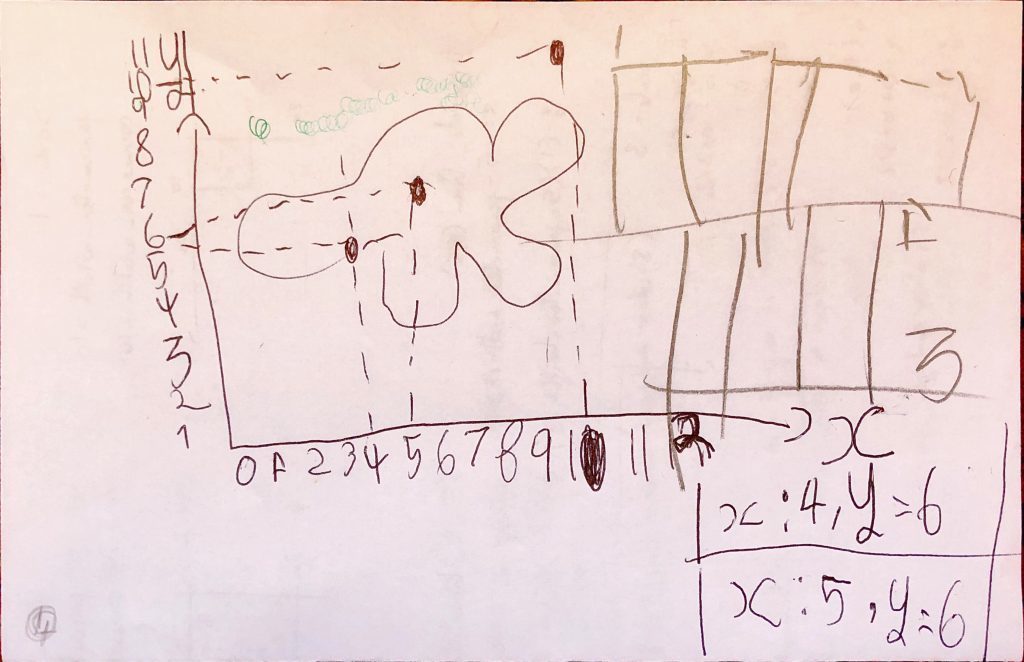
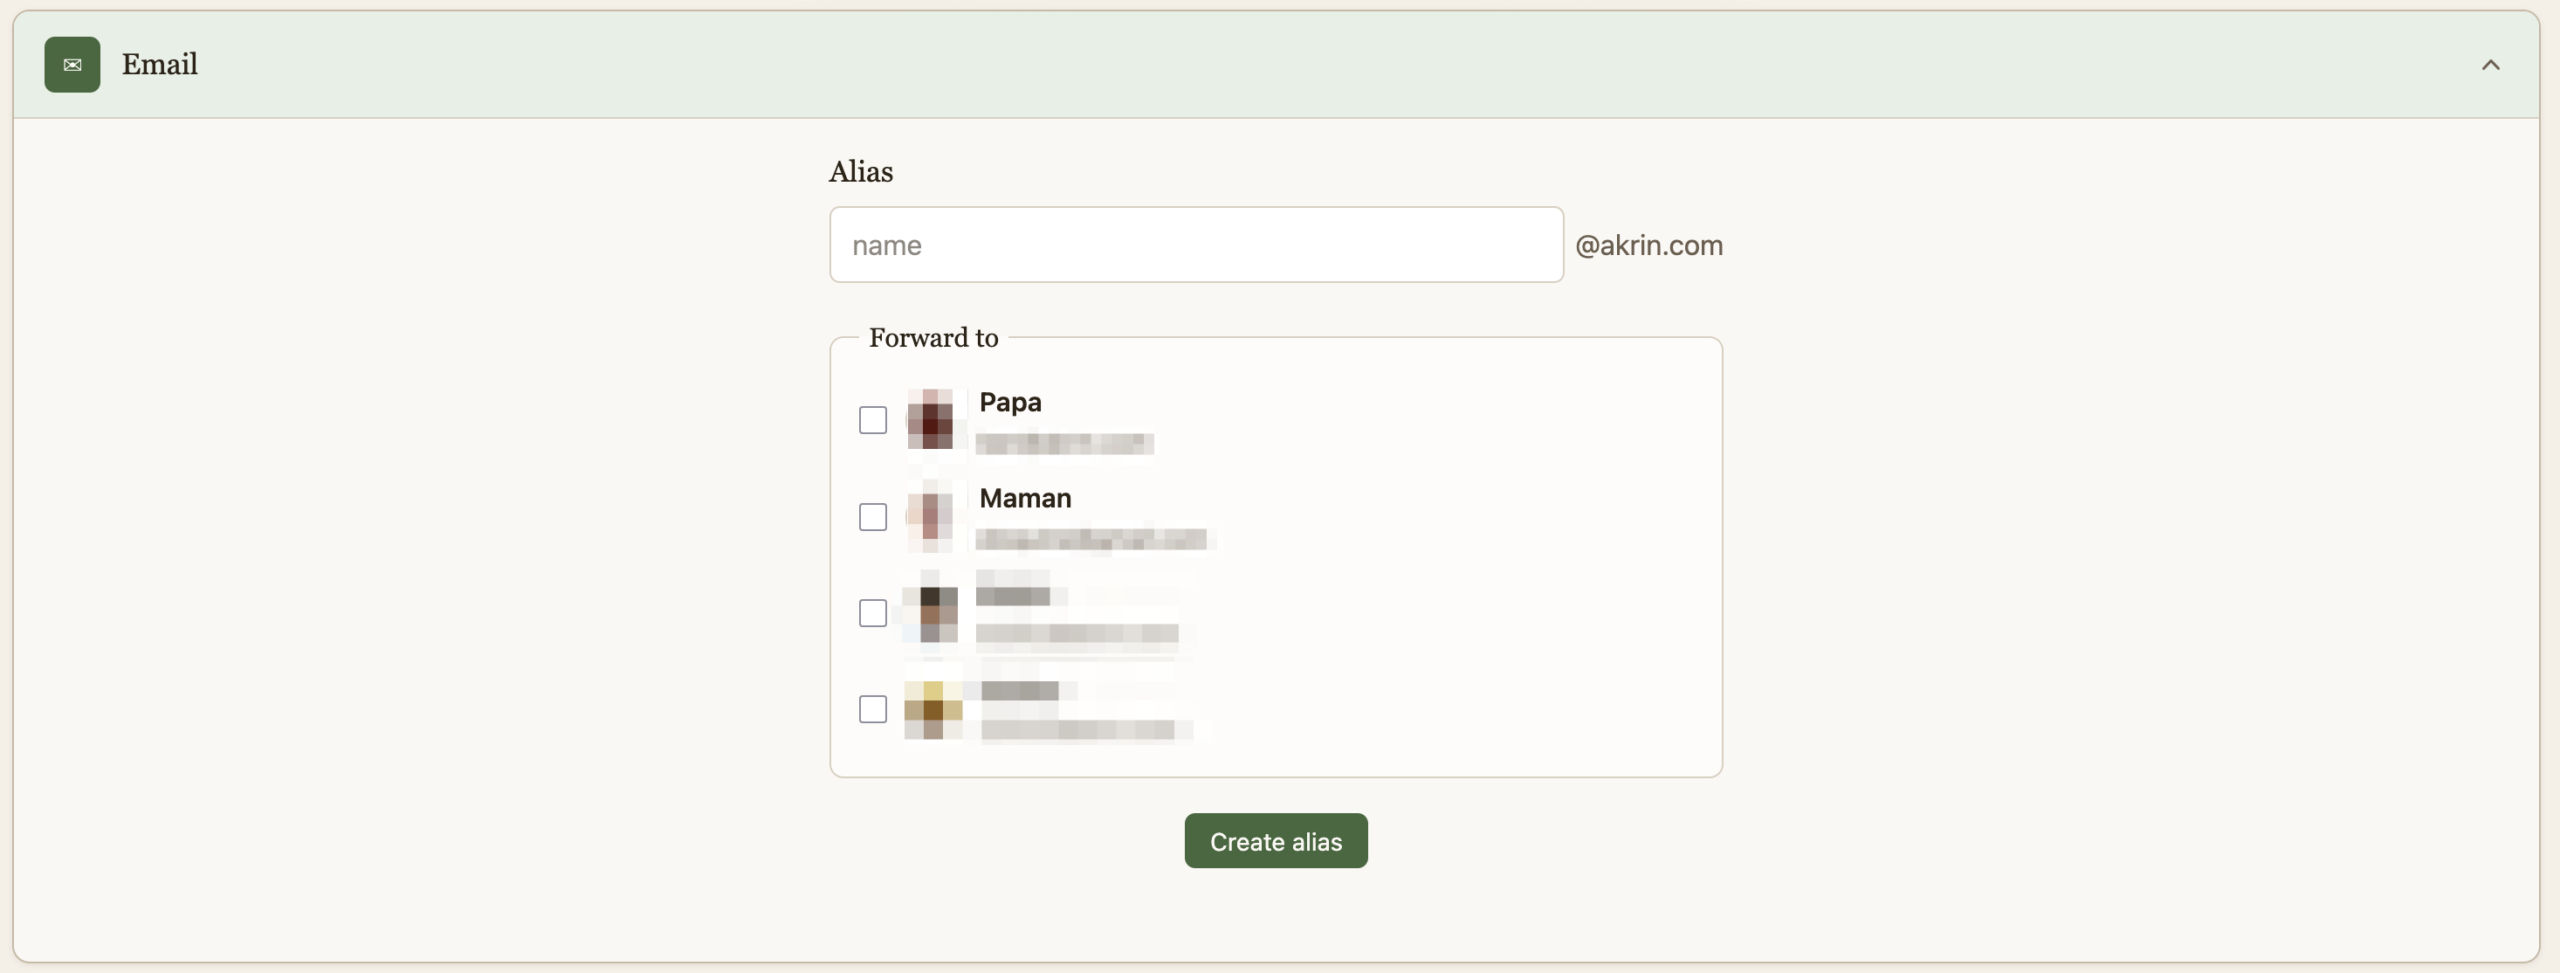
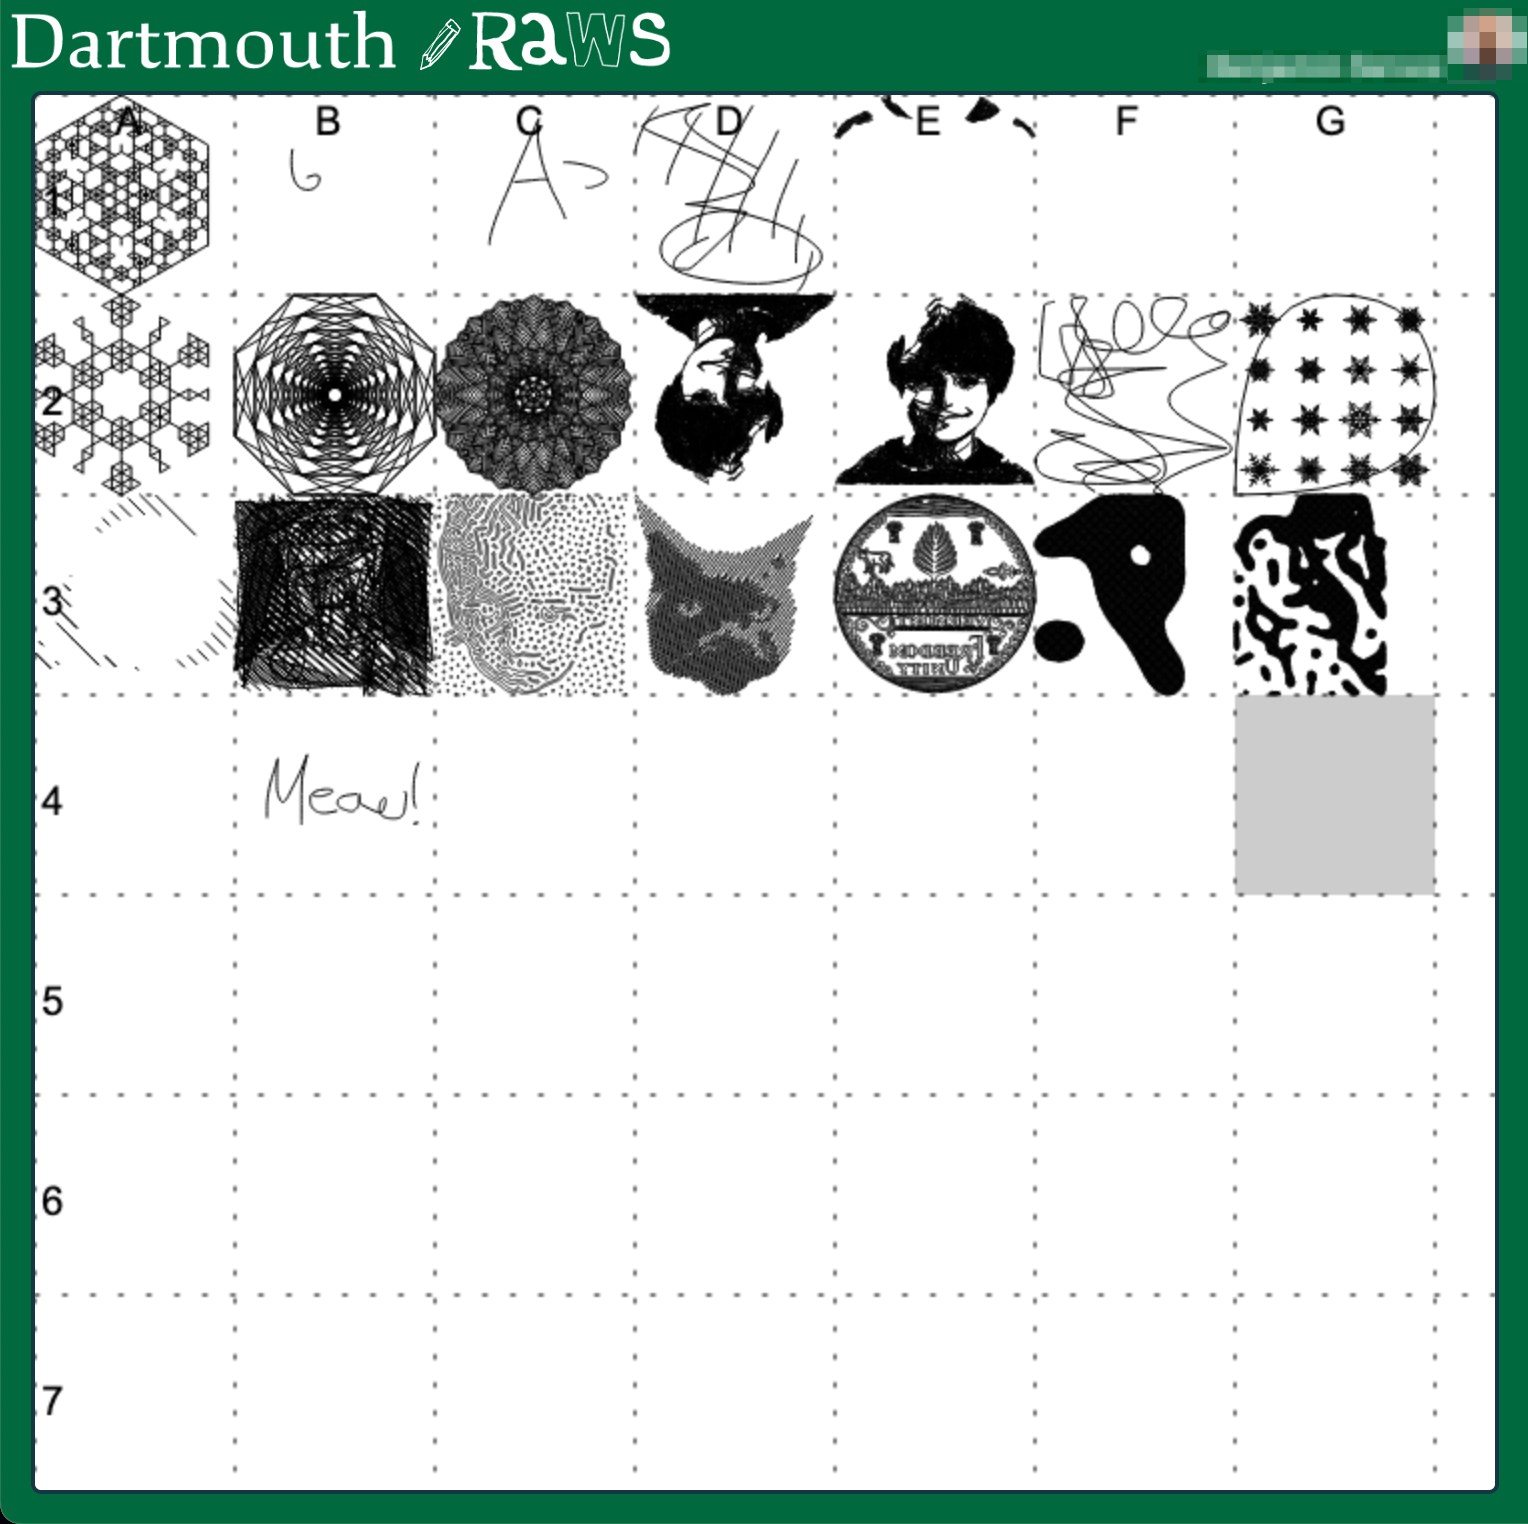
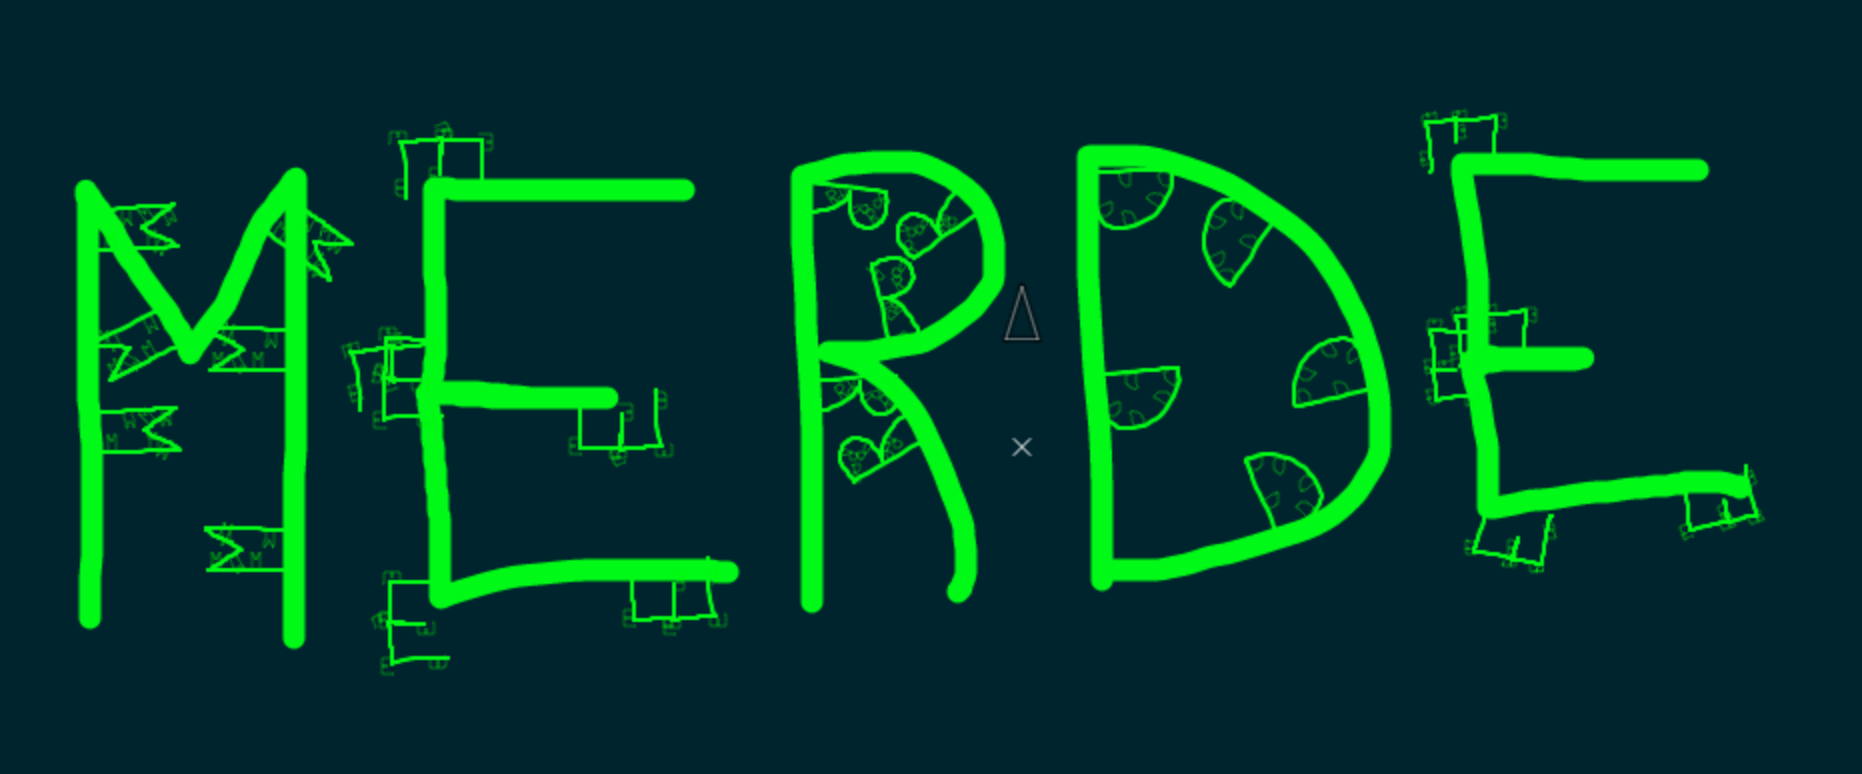
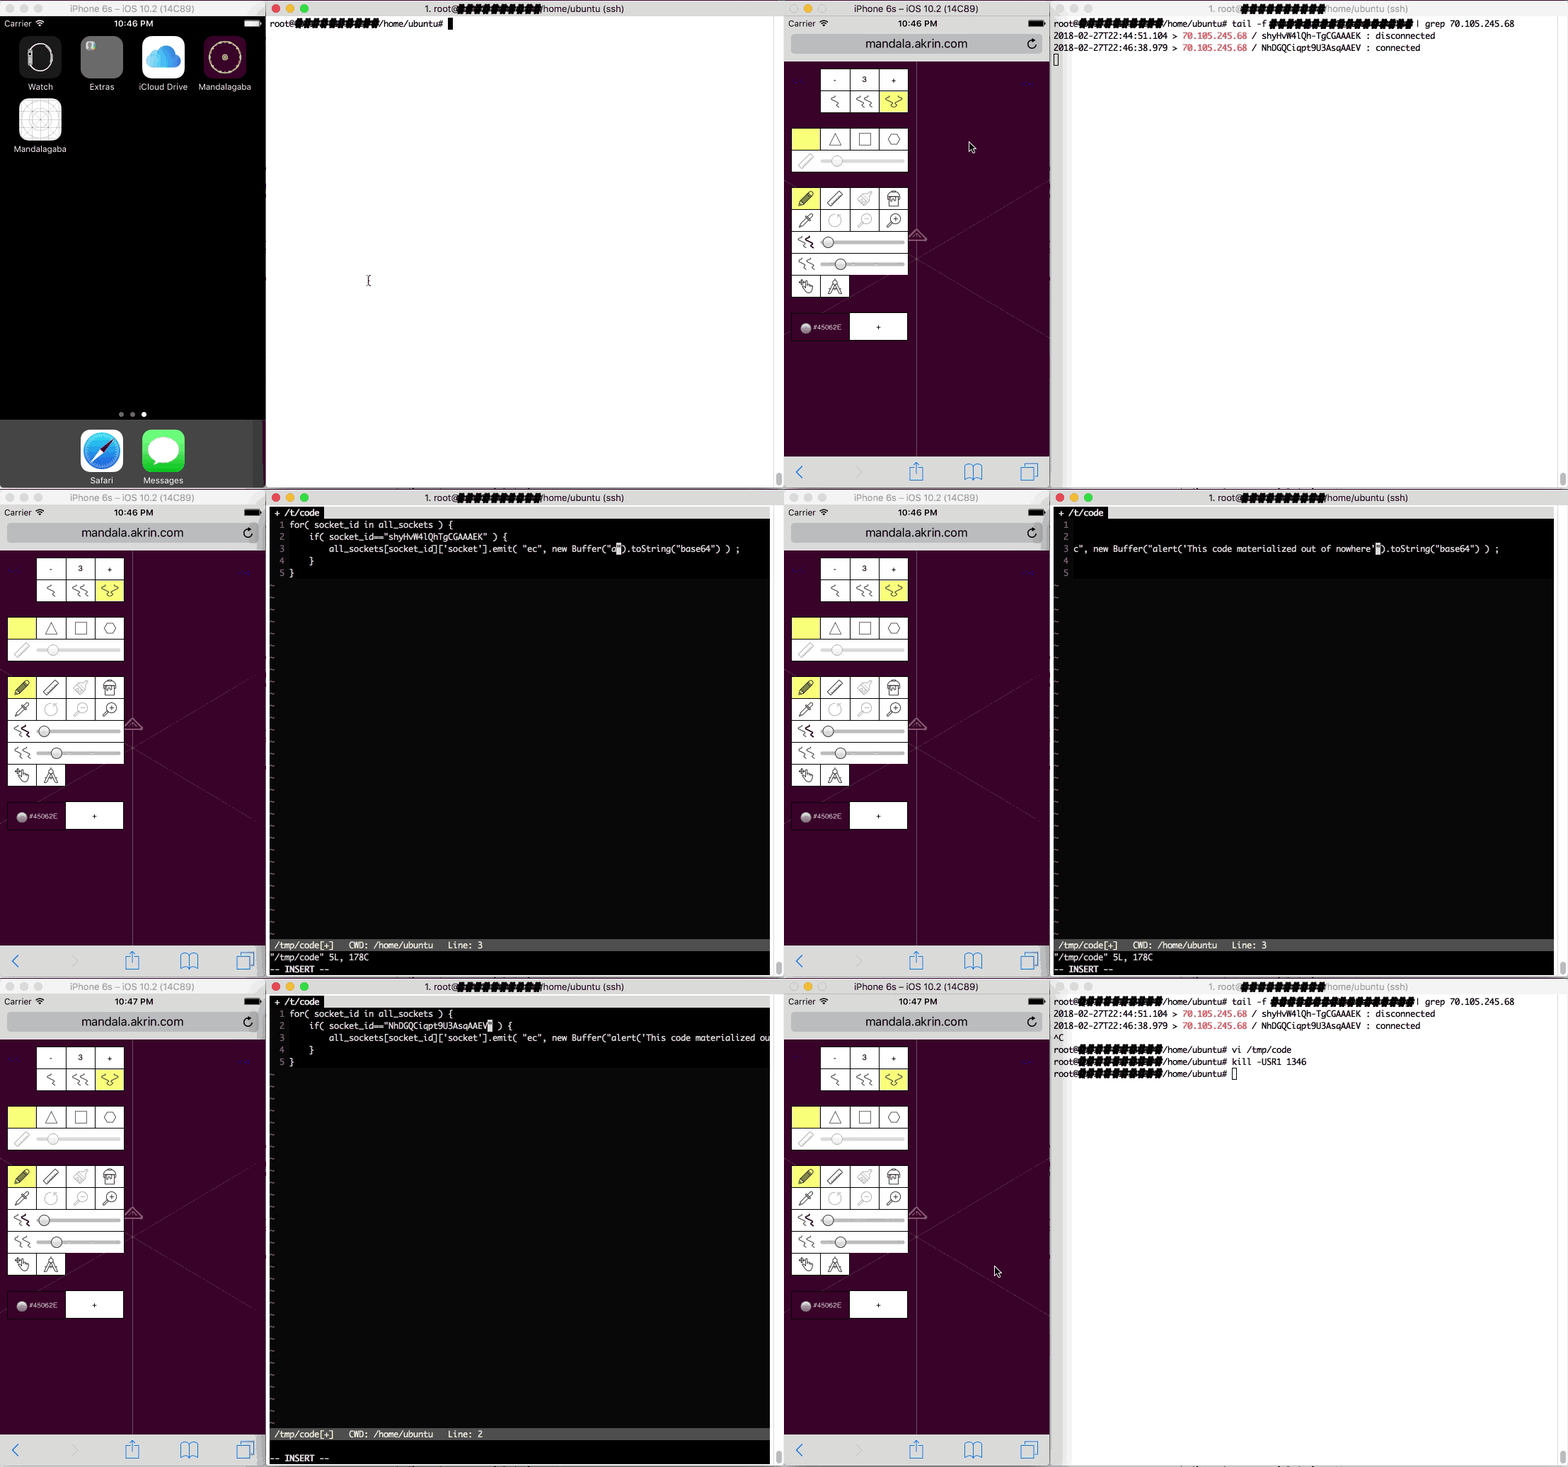
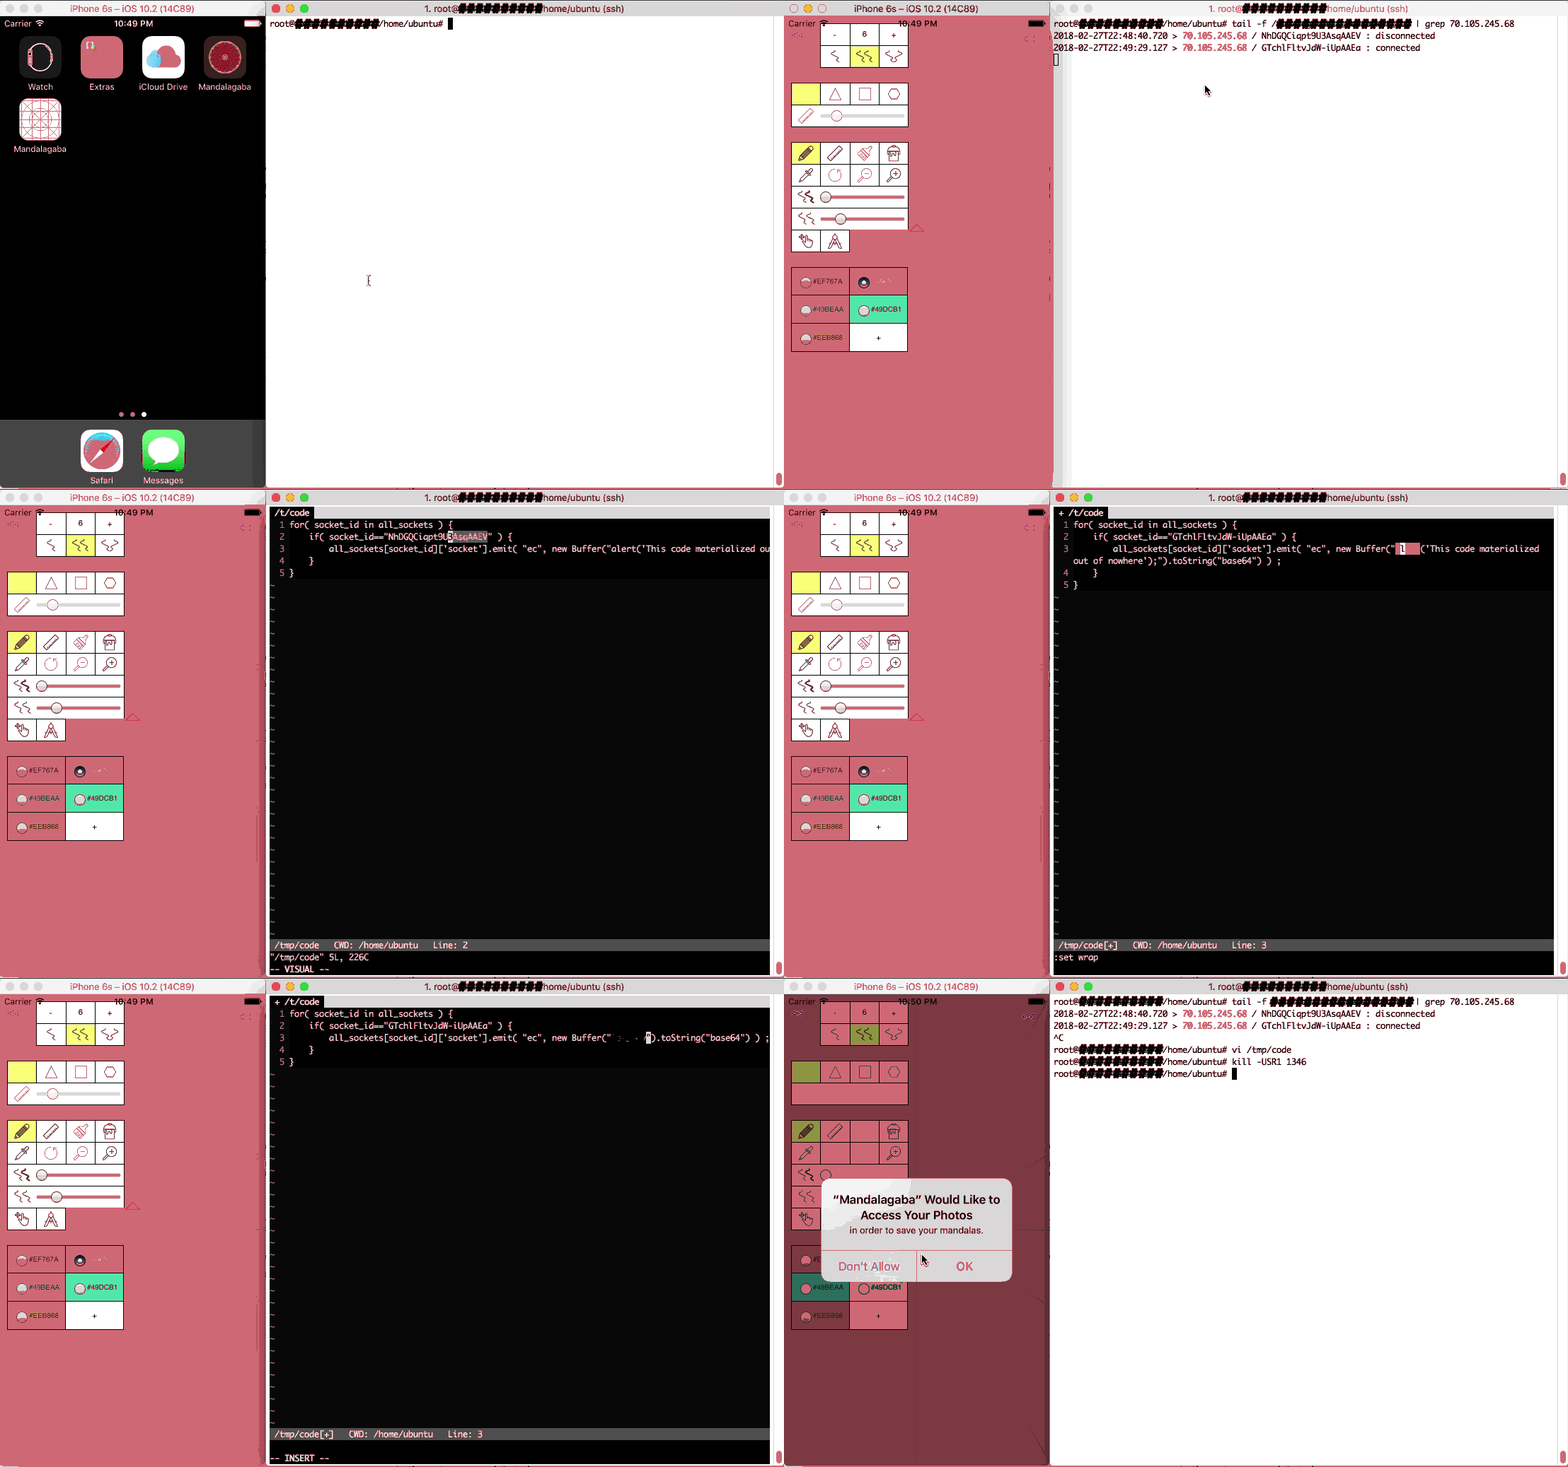
Kids will definitely push the limits, and I love that relentless will to push, it’s identical in nature to IT security curiosity. 1 kid wrote some code and then copy/pasted it a bunch of time, no problem there’s an upper limit on instructions. Another tried to hog all the squares by having them draw just a single dot, no problem there’s a cool-off timer that prevents you from blasting through squares. I haven’t had to use it but I also have a censorship mechanism :), I can scribble over any square and the machines will prioritize it.
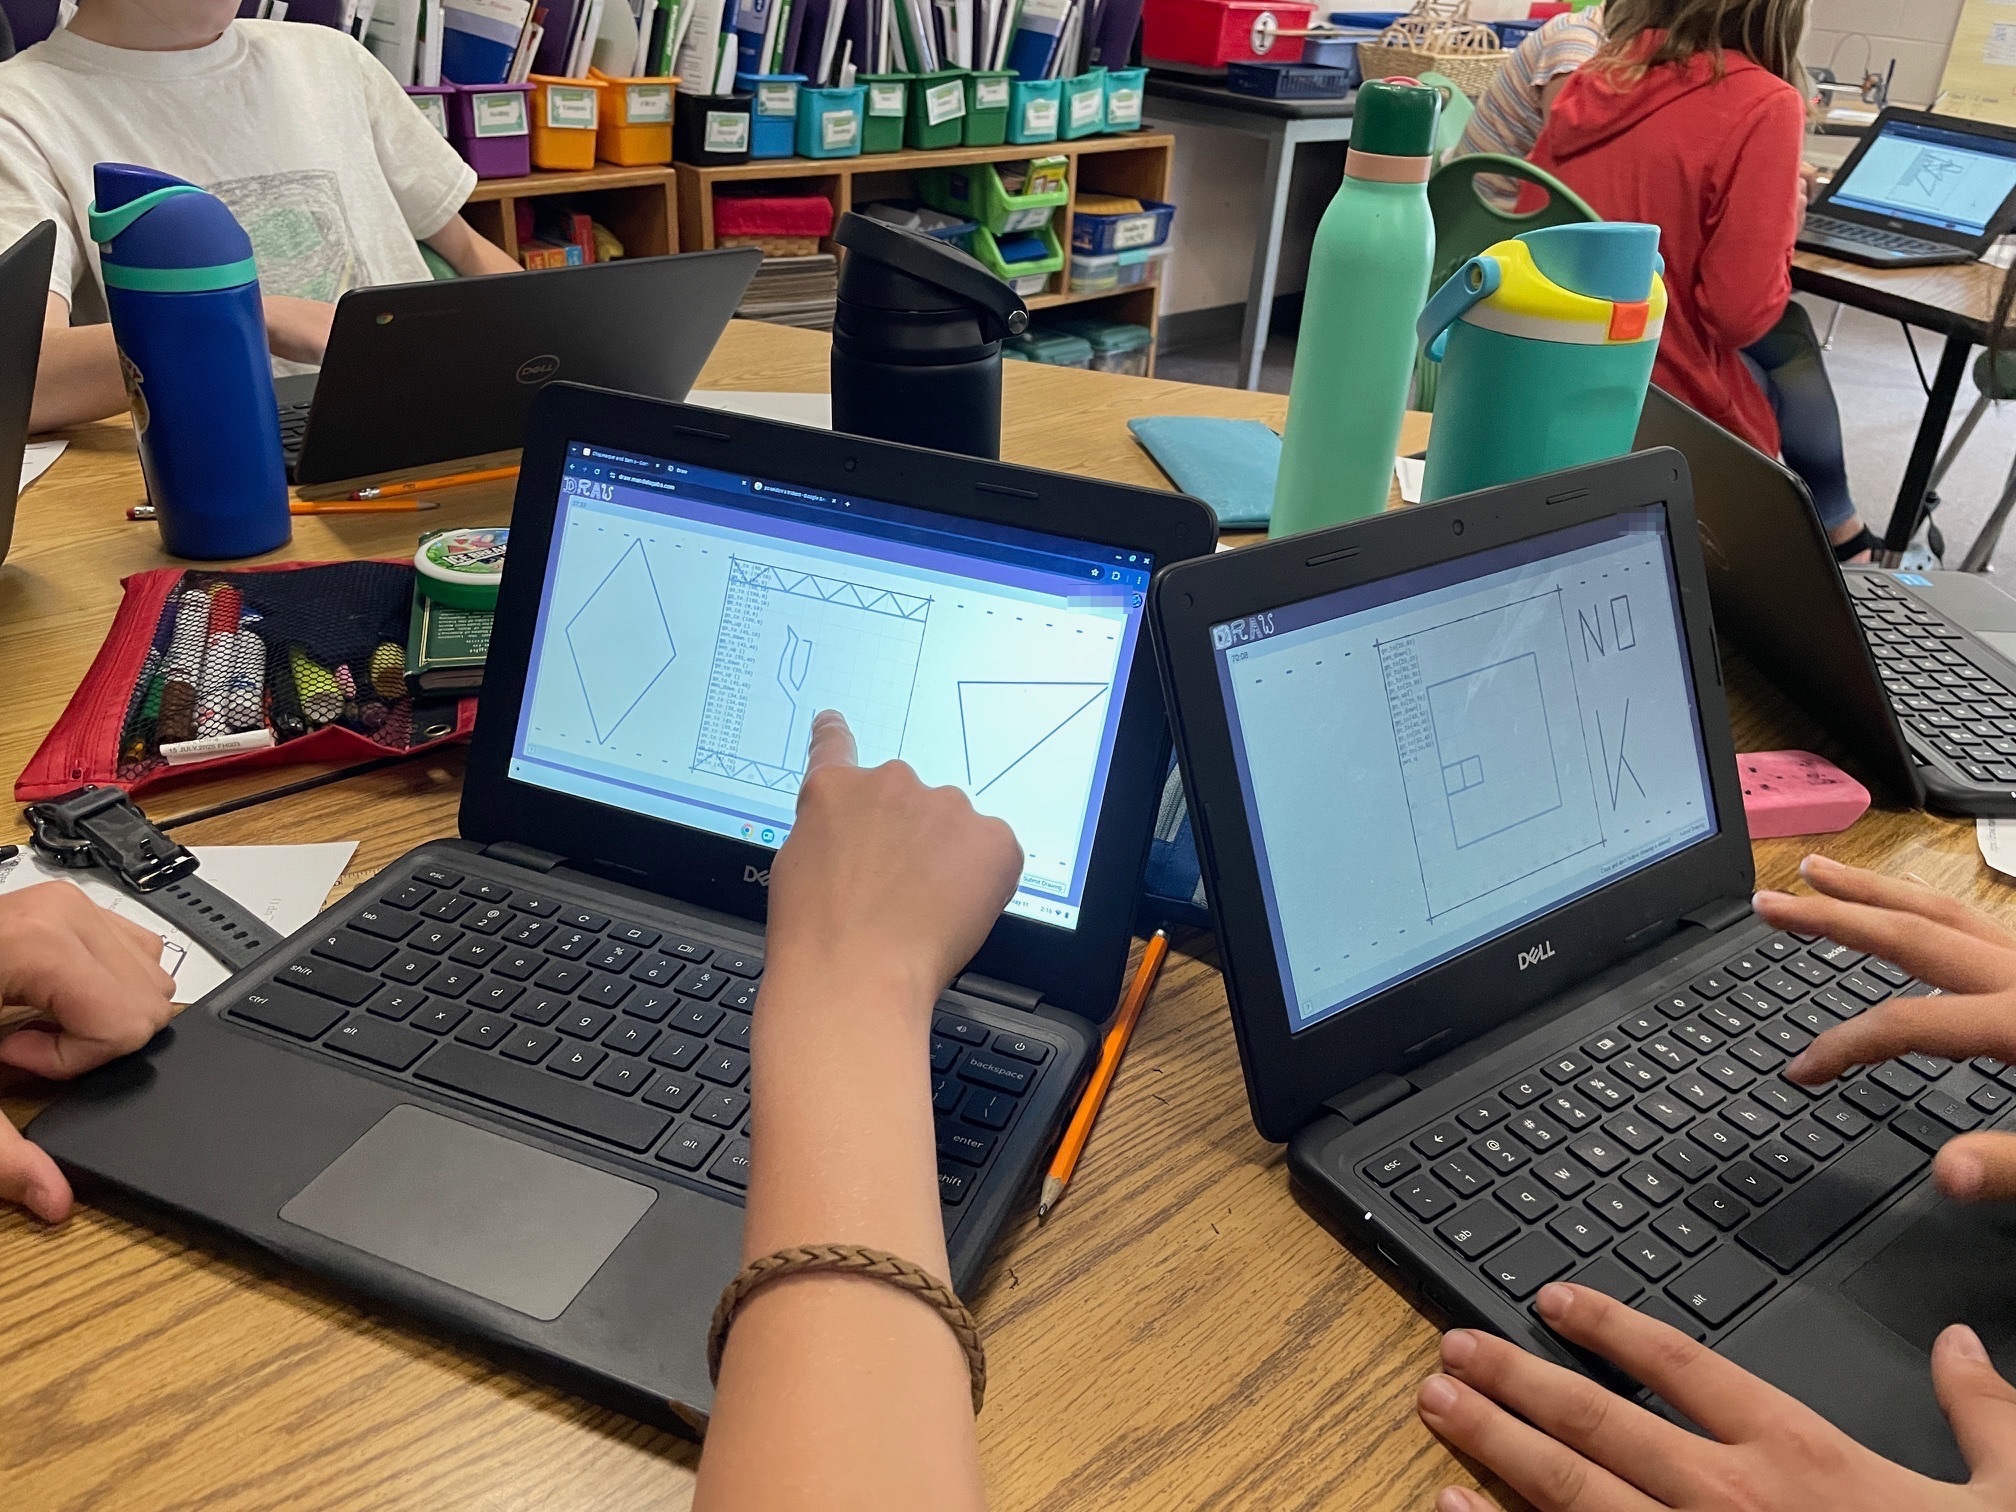
So this year went really well, I think I can say with confidence now that the magic operates every time, this isn’t just luck with a good batch of kids or other. Every time we launch into “coding”, there’s a moment of sheer teeth grinding where I think it’s going to be a disaster. And every time they are all extremely motivated by the idea of controlling the machines when they hit “submit”, and so they all pull through and help each other out. Once one of them has gotten the machines moving, there’s a real frenzy to figure things out, and then their next drawings get more and more sophisticated. 5th grade might have a few blasé pre-teens who are hard to motivate, and they will inevitably get sucked in. Now they might “whatever” out of the activity after a bit, but even they will want to have done it at least a couple of times :). I particularly like when kids realize they can coordinate action on neighboring squares to do something greater, I purposefully don’t suggest that to them. I’ve gotten good at fending off “learned-helplessness”, not that I was doing it for them before, I’m just quicker to disengage. “You want to control the laser kid? Well you better figure it out”.

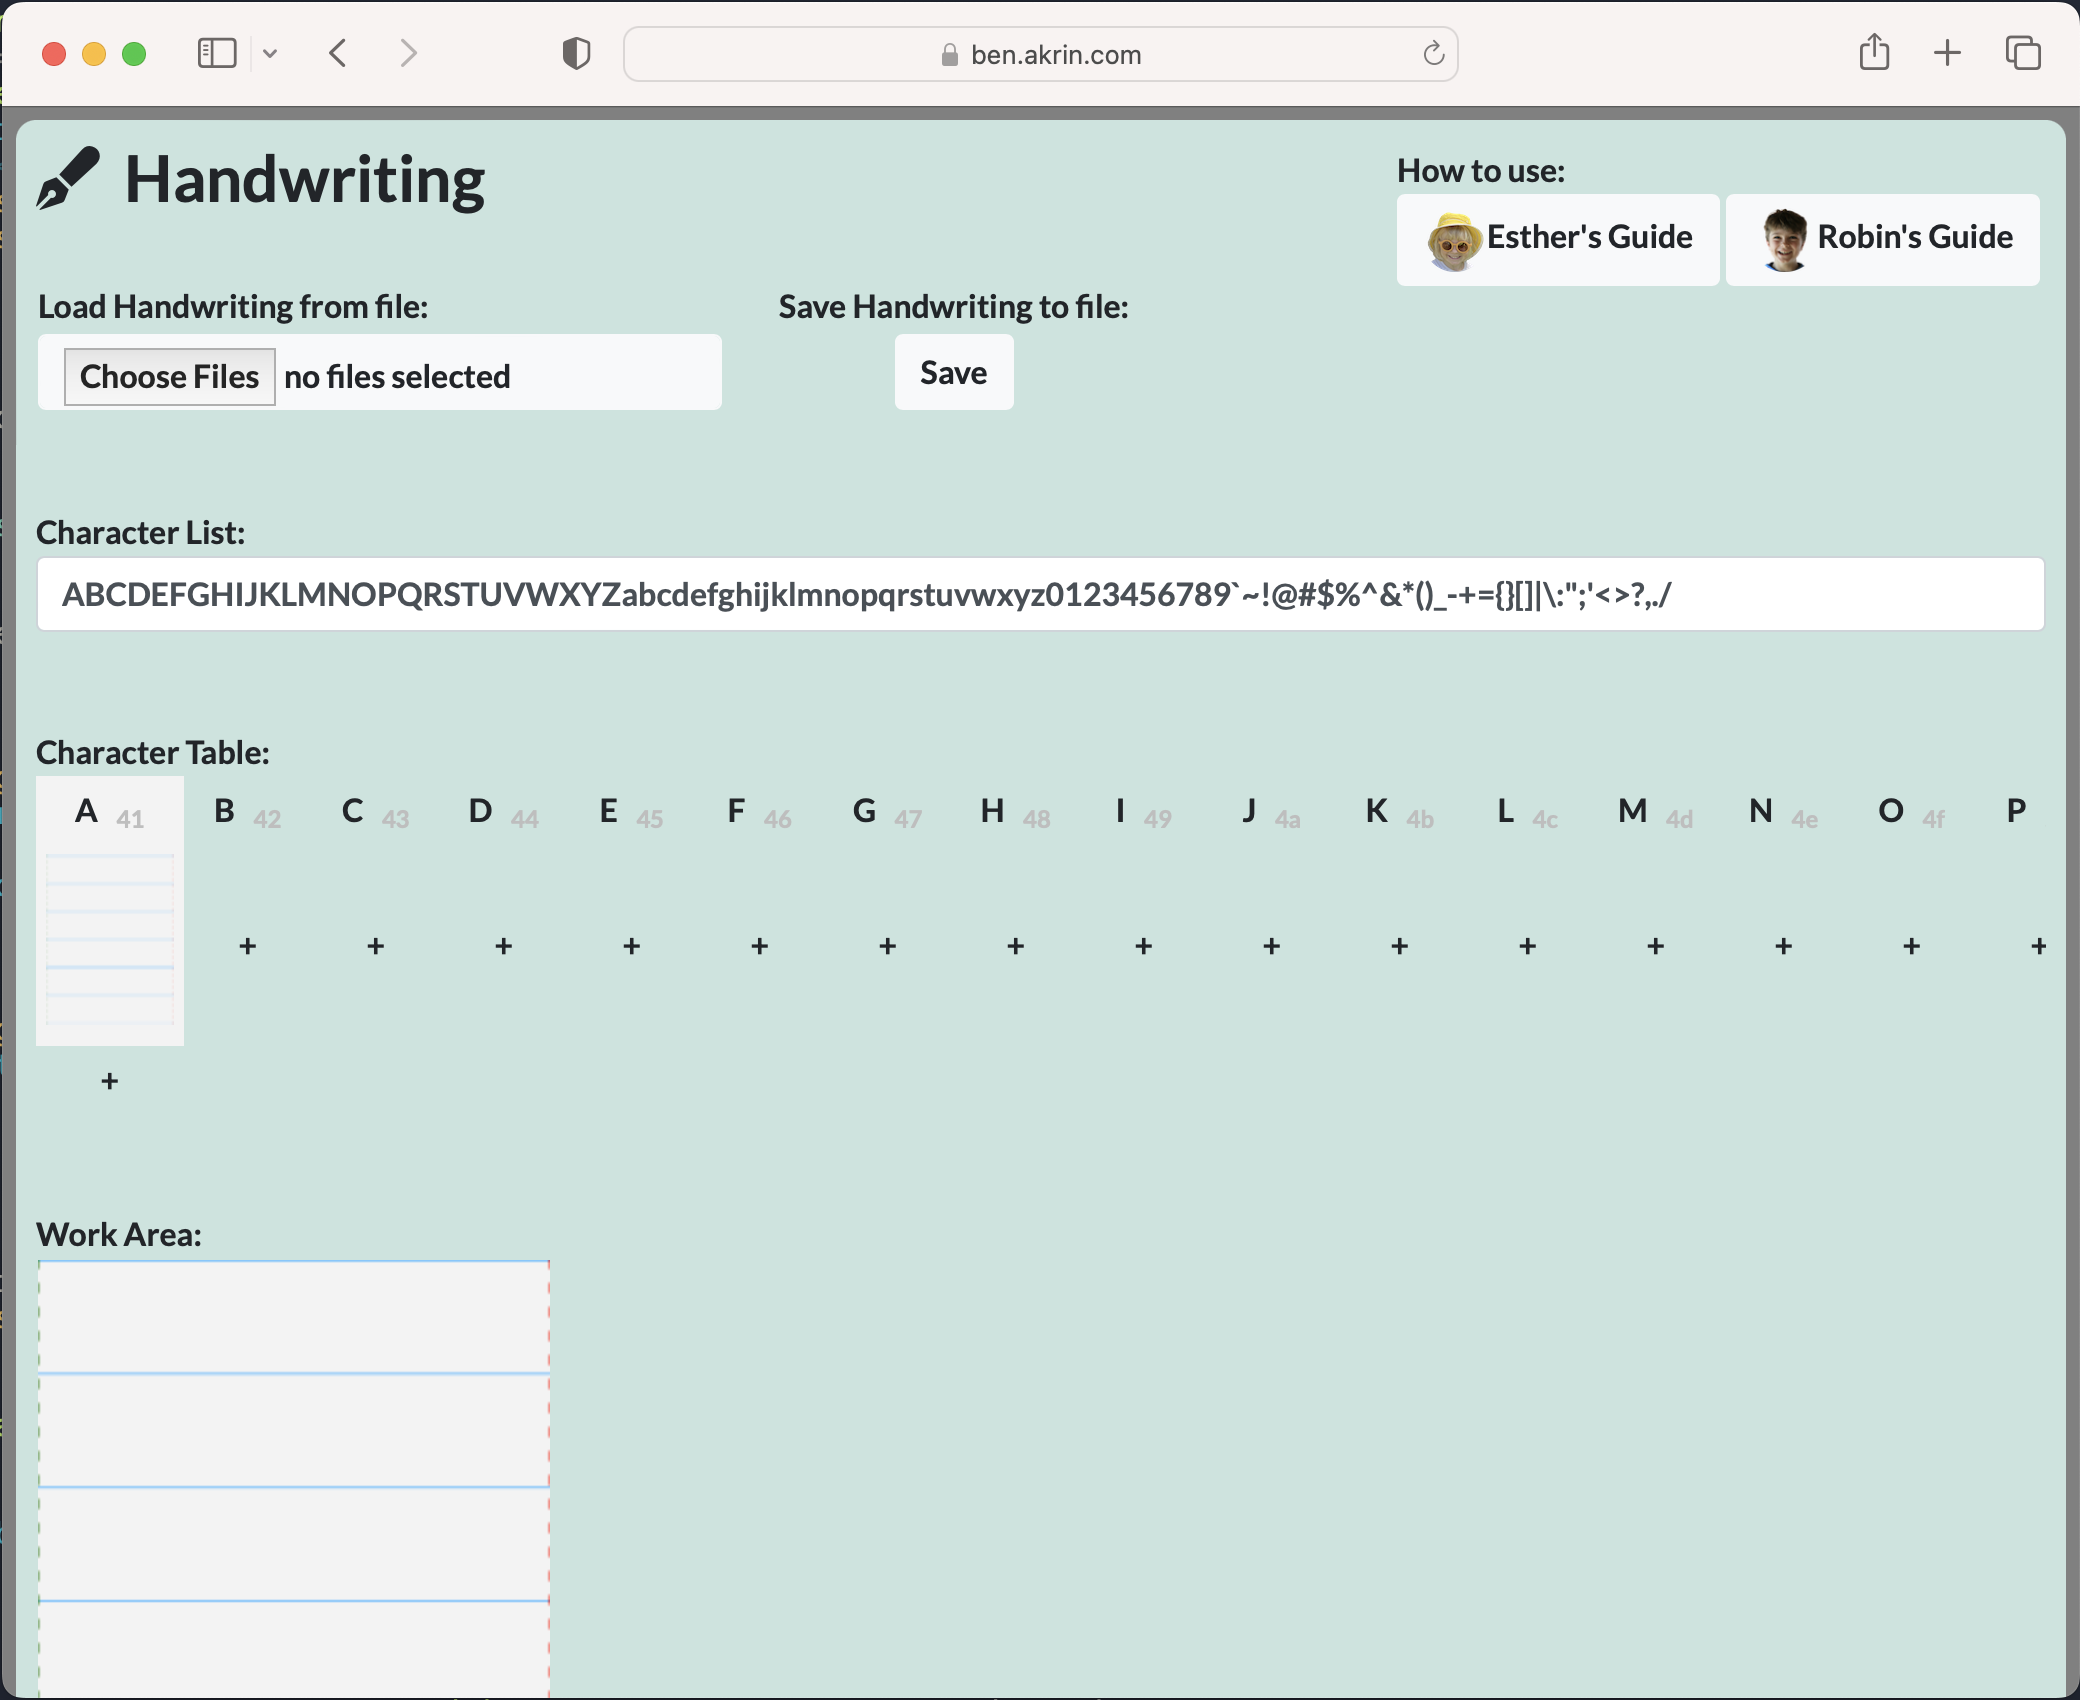
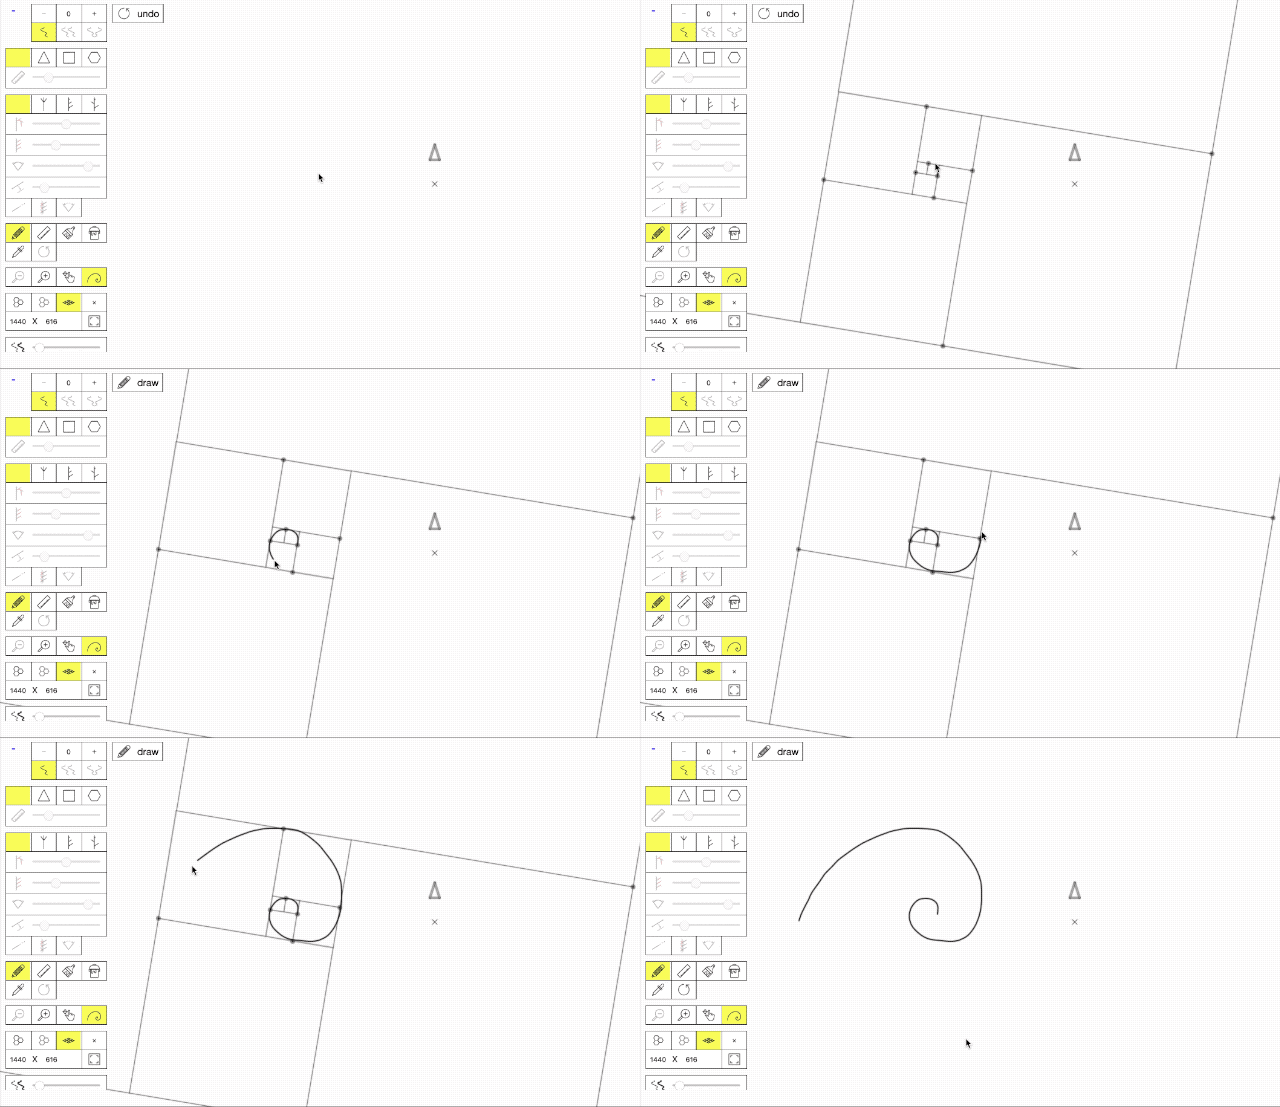
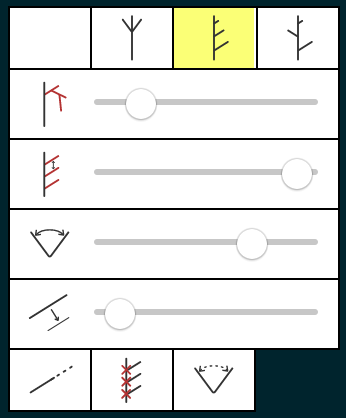
The “coding” interface

One of the snag we always hit is kids not able to discern the difference between typing in a URL or doing a search with Google. And a giant middle finger please for all the corpos purposefully blurring lines so kids form the habit early of running anything they might want to do on a computer through Big Corp Inc.

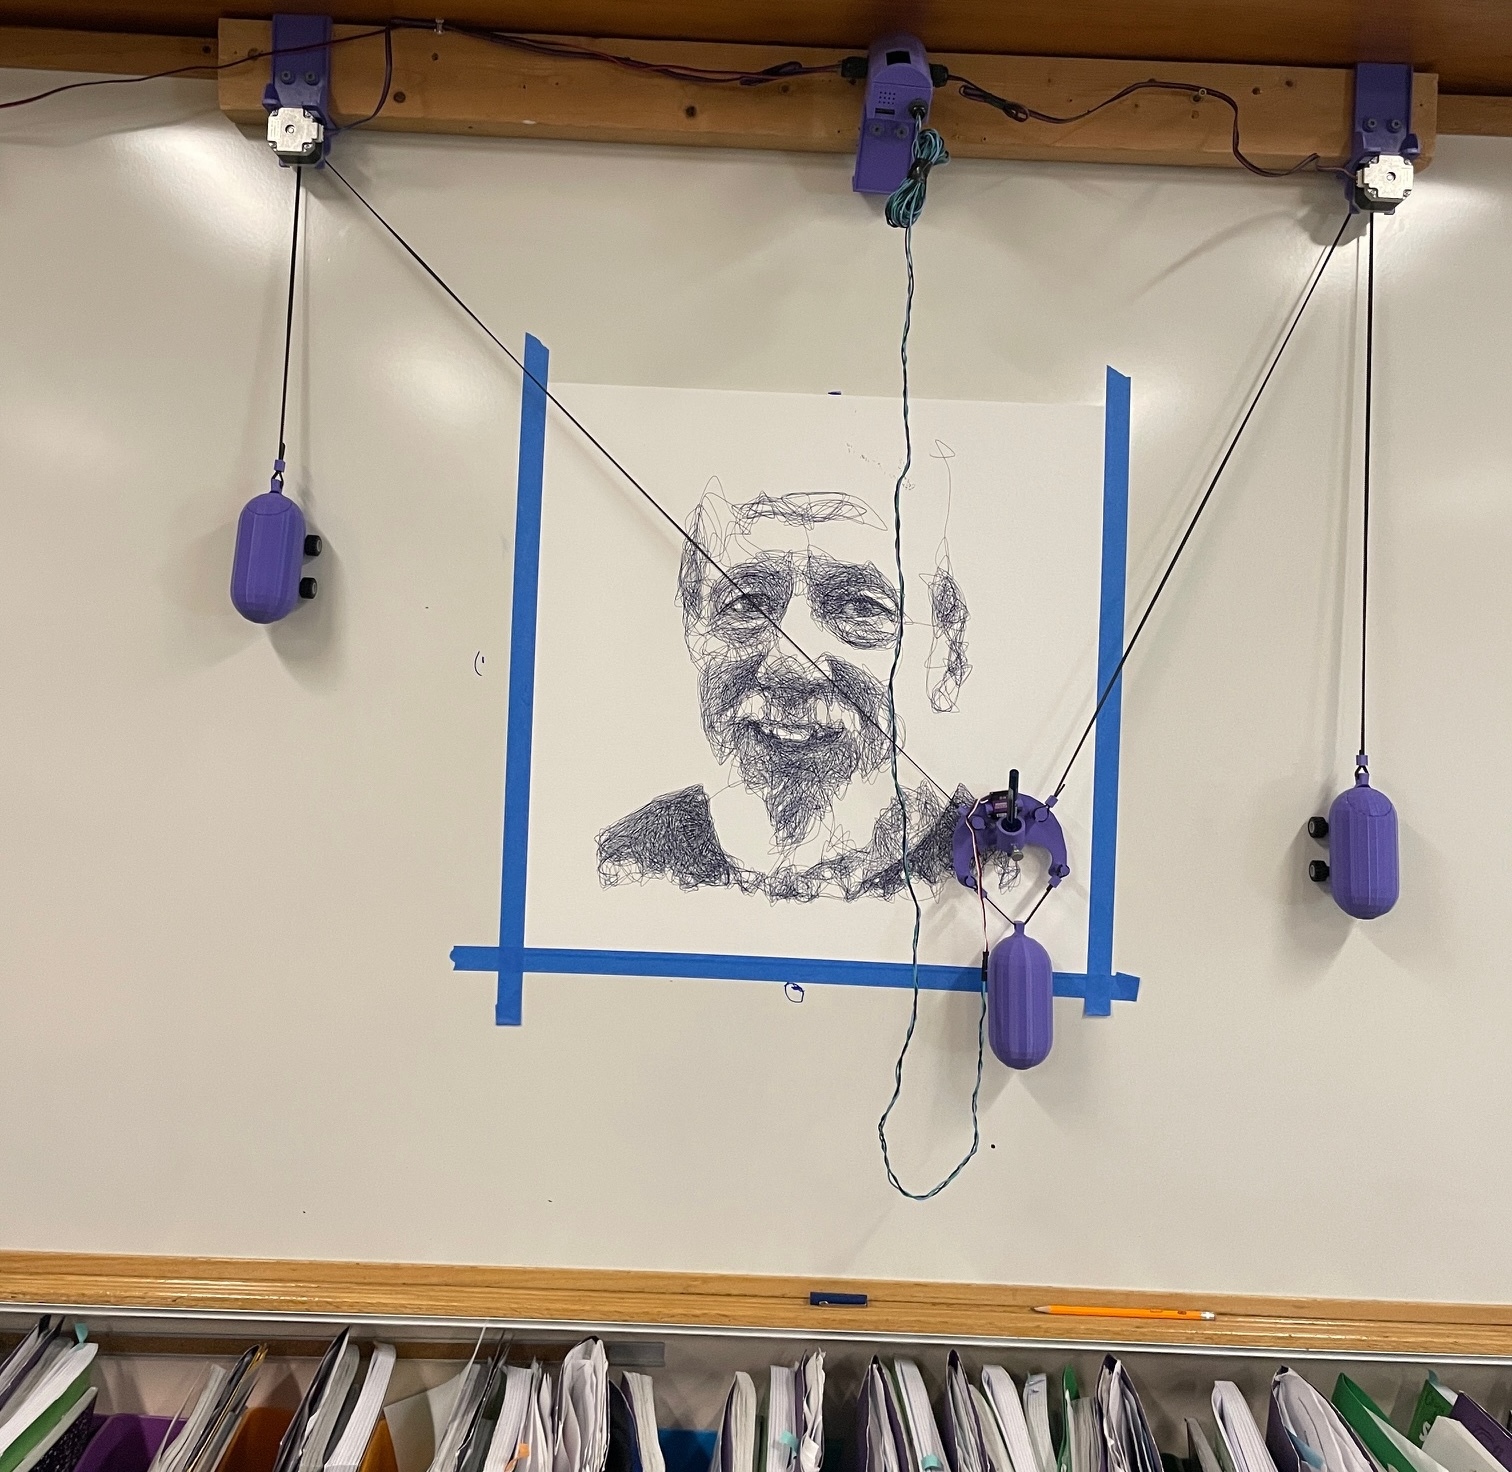
At the end of the day I send the wall plotter on an overnight portrait of a well liked central figure in the school. The next morning when I pick up the machine, the kids get one last wow effect. I’ll make a note of how many “go_to” statements went into the picture, usually several hundred thousands to get them thinking about scale and how curves can really be just a few tiny straight lines. They submit an average of 30 such statements for their cool drawings.

Inherently Programmable Pi

I’m teaching a small robotics class, we’re making the small Etch-a-Sketch plotter. Just a couple of kids, good eggs from the 5th grade X,Y coordinates class I teach every year. I’ve already done similar classes in various contexts, it’s a ton of work but very rewarding. One thing I always seek to improve is my Pi image management. Depending on the kids & material, we’ll go through some Linux CLI, or I won’t even want them to touch Linux but we’ll still have to click through some things to get going on Python to control GPIO pins.

What I’ve been wishing for for a while, is a Pi that’s always online everywhere, with the quickest way to get to just Python. Hopefully something web based so you don’t need anything other than your old faithful browser to start throwing code at GPIO pins.

Introducing IPP, the Inherently Programmable Pi! An image you can download, or build.

Step 1 – Python Forking Web Code Editor

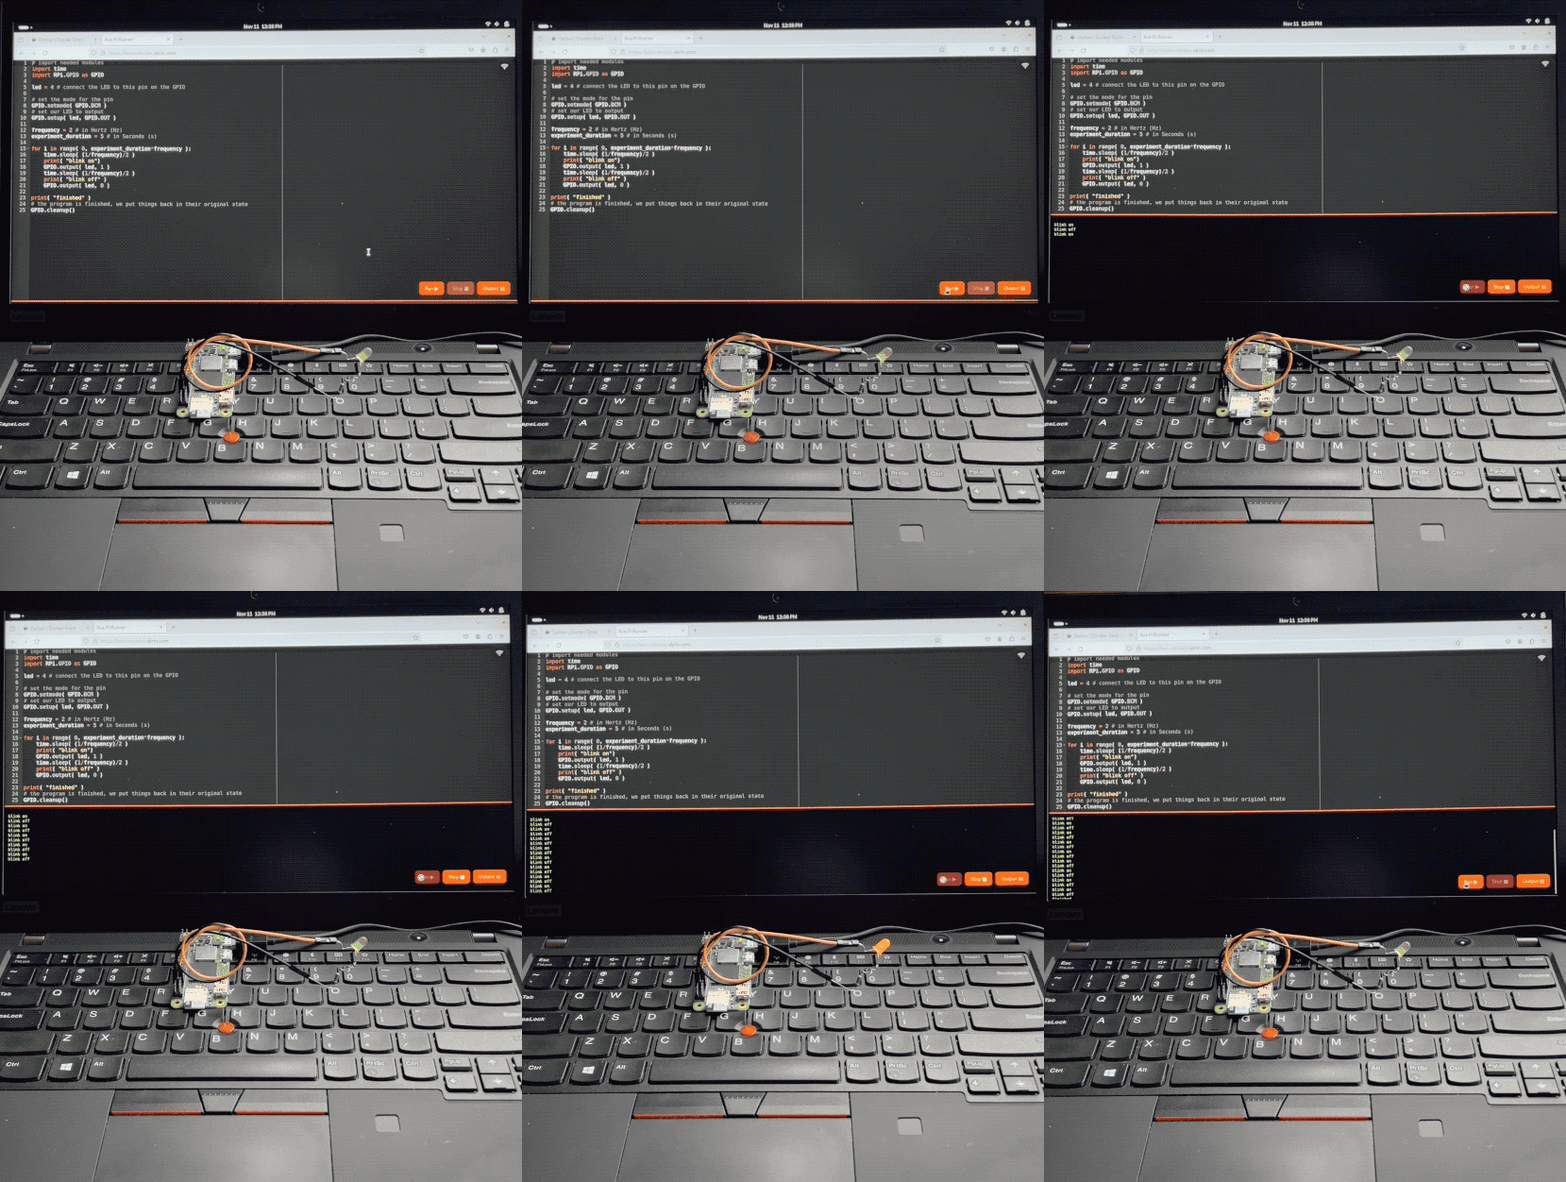
And so step 1 is obvious, I want the Ace web based code editor, preset to Python settings, and served by the very Pi it’s meant to write code for. With a few buttons for running code, stopping it, and checking the output.

AI made that a breeze to code, it always blows my mind how well it understands even convoluted assignments. There’s some pretty gnarly stuff going on there. Python runs a web server that serves a coding environment that can fork another Python process, and kill it with varying degrees of prejudice when it won’t go away on its own. I want this packaged a a single Python file with all the bits and pieces bundled in. AI got all this with little help.

Step 2 – Zerotier & Public Bridge

For step 2, I want the Pi to be easily accessible online, no matter what crazy wifi it’s connected to. For this we’re using Zerotier, and an online bridge that is publicly available to forward traffic into it. In my case this is done with Traefik and a Docker container dedicated to forwarding into Zerotier. I unfortunately can’t offer this part of the stack with the image, but you can at least specify a Zerotier network ID as a tunable when building it.

This way, no matter what Wifi network your Pi is connected to, it will always be available via a public URL.

Step 3 – Local Wifi when Nothing Else

I wanted to take the script that turns PlottyBot into a hotspot if it’s not connected to the internet and modernize it for the newest Rapios (Trixie). I also want the web interface to let you connect to existing Wifi networks. This way you are either in a spot with no Wifi, and your Pi spawns a local one which doesn’t route to the internet but you can still program. Or there is pre-configured known internet Wifi within range and your Pi connects to that.

Of course AI yet again turned a multi-hour endeavor into a 30 minutes one. Well, it did mess up some fundamental things but still, I was spared hours of grinding.

Step 4 – Easy Imaging

Finally, I want to create Raspios images with all this and a few tunables baked in. No booting each one to install stuff & tune it for each kid. For this I’m using something I built years ago for mounting *.img files and tweaking them. It’s a Docker container you can pipe an image file into and out stderr comes the customized image. This might be worth its own post, I’ve used this for years to great effect, but that’s beyond the scope of this post. The point is it’s available to use, and here’s how:

Build Your Own Image

First download & decompress the latest Raspios:

wget https://downloads.raspberrypi.com/raspios_lite_arm64/images/raspios_lite_arm64-2025-10-02/2025-10-01-raspios-trixie-arm64-lite.img.xz
unxz 2025-10-01-raspios-trixie-arm64-lite.img.xz

Then download & decompress this project’s files to tweak it with:

wget https://ben.akrin.com/downloads/ipp_2025-11-11.zip
unzip ipp_2025-11-11.zip

Finally, create your customized Raspios image with:

sudo docker run --rm -i \
    --name=raspi-image-customizer \
    --cap-add SYS_ADMIN --privileged \
    --device /dev/loop0 \
    --platform linux/amd64 \
    --cpus="1" \
    --memory="500m" \
    -e HOSTNAME=mypi \
    -e HOTSPOT_WIFI_SSID=mypiwifi \
    -e HOTSPOT_WIFI_KEY=raspberry \
    -e ZEROTIER_NETWORK_ID="<ZEROTIER_NETWORK_ID>" \
    -e PIPASSWORD="raspberry" \
    -v ./ipp:/data registry.akrin.com/raspi-image-customizer:latest < 2025-10-01-raspios-trixie-arm64-lite.img 2> ipp.img

–cap-add SYS_ADMIN, –priviledged, and the loop0 device are necessary to mount a file as a disk inside the container.
HOSTNAME is evident
HOTSPOT_WIFI_SSID & HOTSPOT_WIFI_KEY are the settings for the local wifi network that the pi will spawn when it has no known networks to connect to.
ZEROTIER_NETWORK_ID is optional, if specified the pi will join it first chance it gets (when connecting to a managed wifi that routes to the internet).
PIPASSWORD is the password for the pi user, careful SSH is enabled in this image.

You can burn the resulting ipp.img to an SD card. The first boot will be longer than the subsequent ones as stuff gets initialized, but eventually you’ll see a new wifi network pop up. Connect to it, and point your browser to http://hostname.local or if that doesn’t work http://192.168.50.1, you will see the coding web interface. Now that might be enough for your to start coding, but if you want you can click on the wifi network icon at the top right to specify a standard network to connect to. And if you do so, I recommend you have a way to “follow” your Pi, either via Zerotier, or because you manage that network and are able to see what IPs devices get assigned. And if you setup a Zerotier forwarder on top of all this, your pi essentially becomes online to the world the minute it’s on. Now that isn’t just convenient, it also significantly lowers the bar to start coding with kids.

Or… Download a prebuilt one

Here’s the link.

parameters used for building it are:

HOSTNAME=ipp
HOTSPOT_WIFI_SSID=ippwifi
HOTSPOT_WIFI_KEY=raspberry
PIPASSWORD=”raspberry”

No Zerotier, but still everything else.