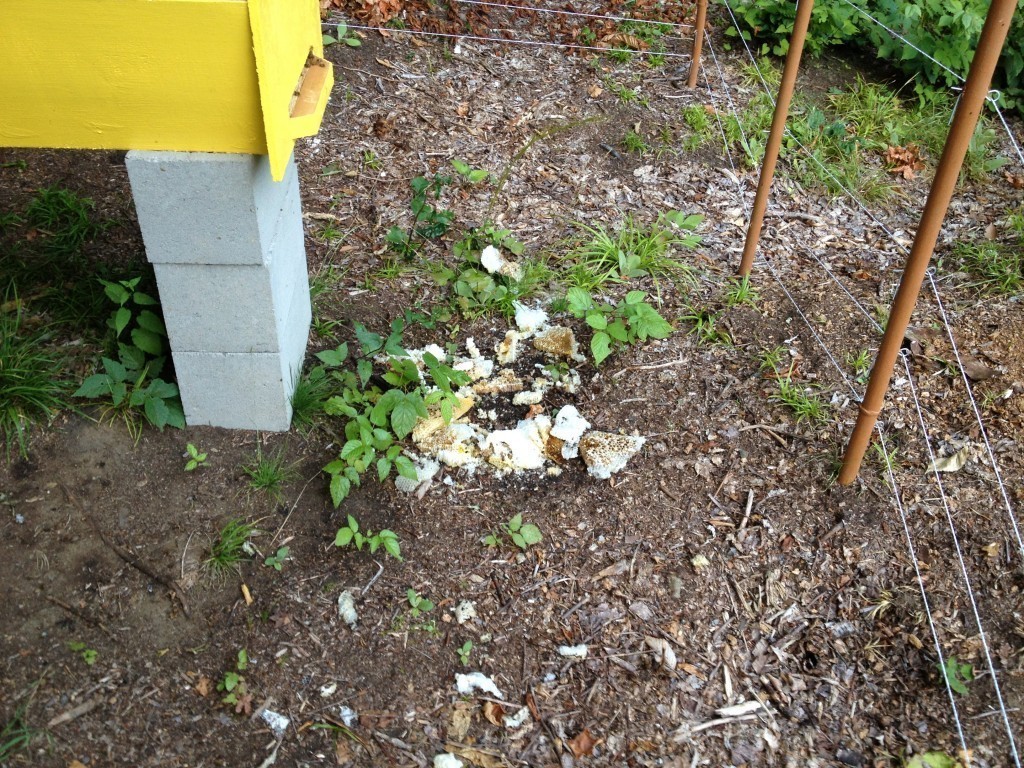
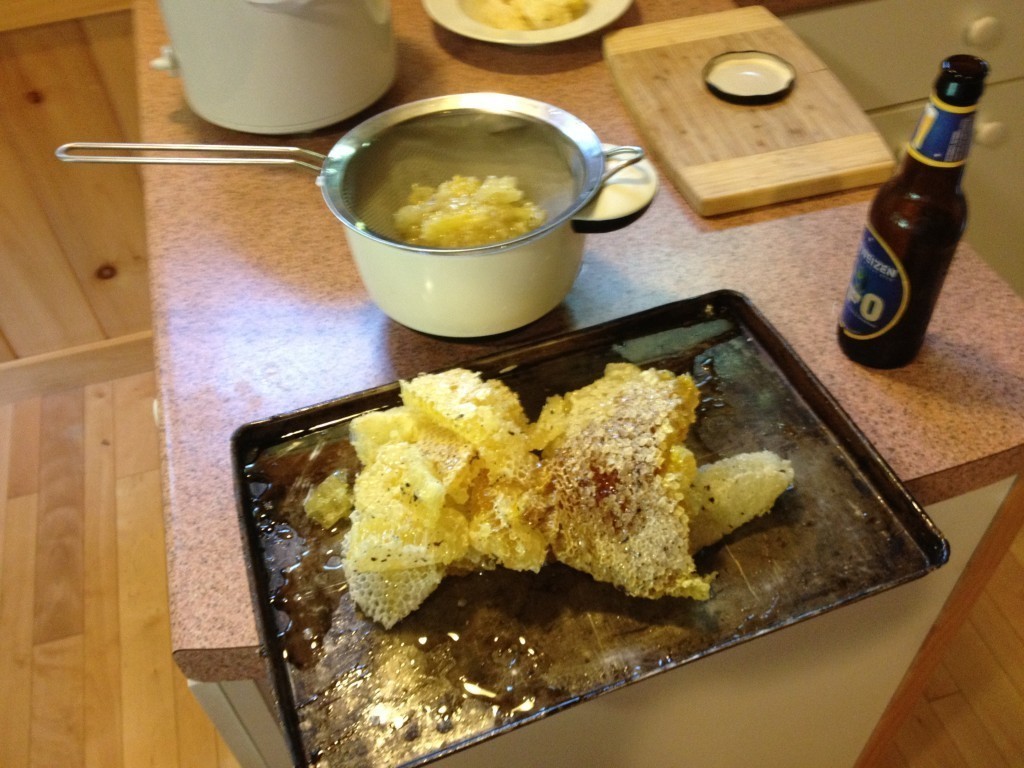
Here is all the comb that was too bad to harvest after the “clean up”. I put it in front of the hive for the bees that were on it to make their way back and hoping the bees would clean it and get the honey back inside. They didn’t take long, it’s almost empty already.
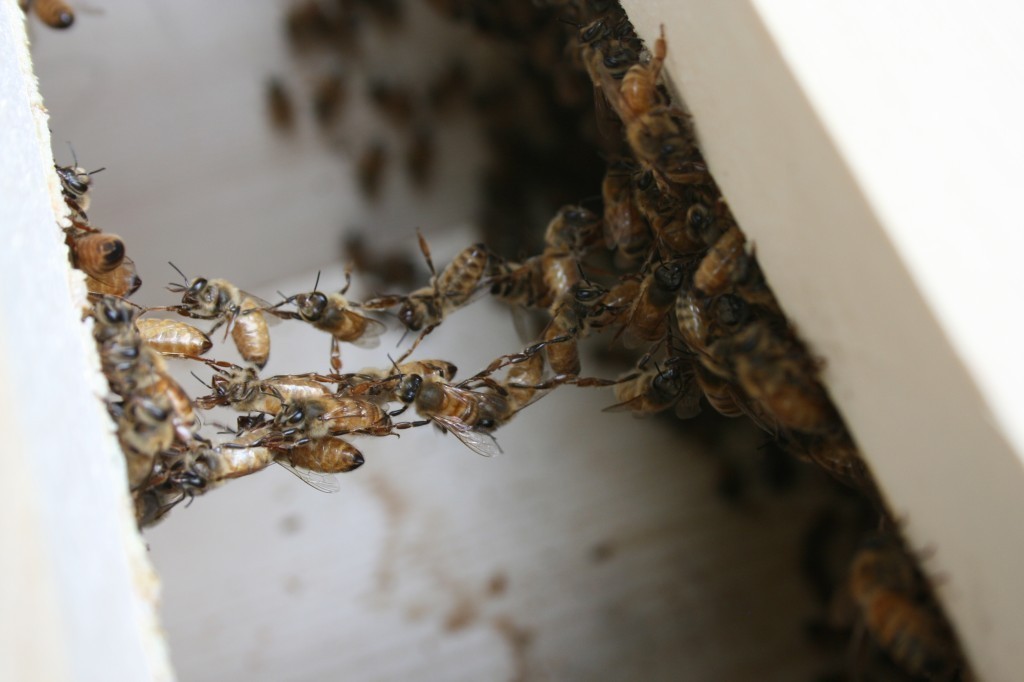
Bee Bridges
Beepocalypse – lesson learned
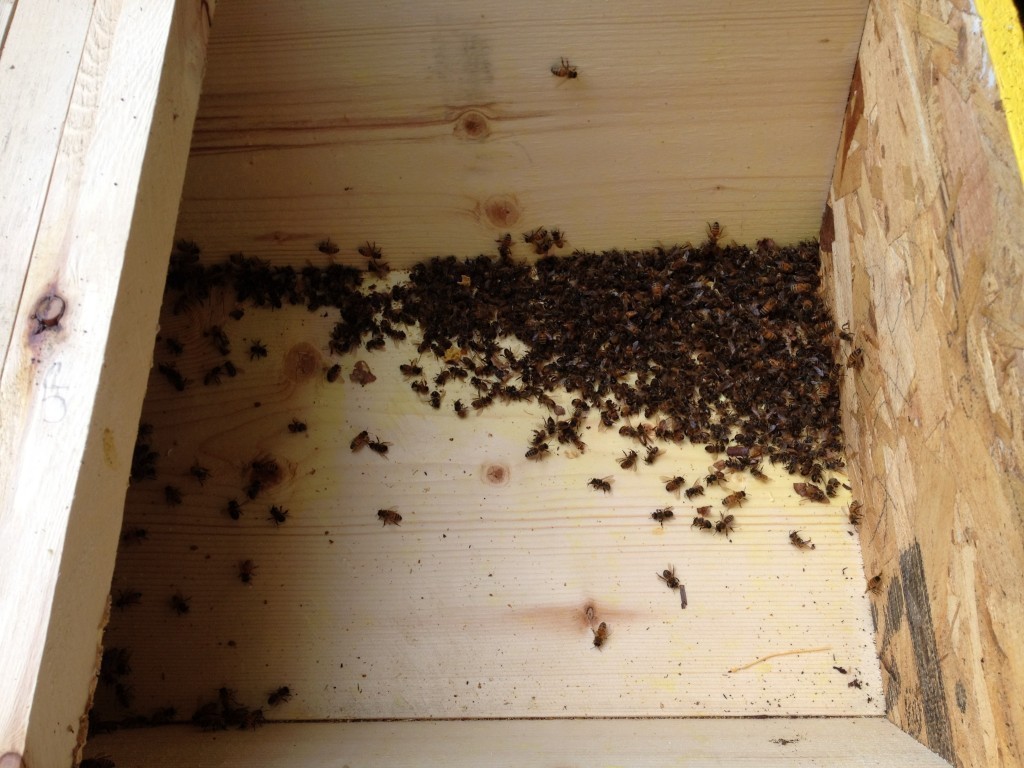
The fact that every comb built since the beginning had been so perfectly straight made me loose the habit of checking every frame. Horrible mistake, what started as a little bump in an early bar became more and more angled resulting in comb crossing bars. When I caught it, it was simply too late and a major operation had to be done to set things straight. Comb fell, deep cutting needed to be done & a ton of bees died in the process. I lost half of my honey production & half of my colony. There was just no easy way to do this.
The lesson learned here is to inspect often and all the bars, especially when the bees lay a lot of comb.
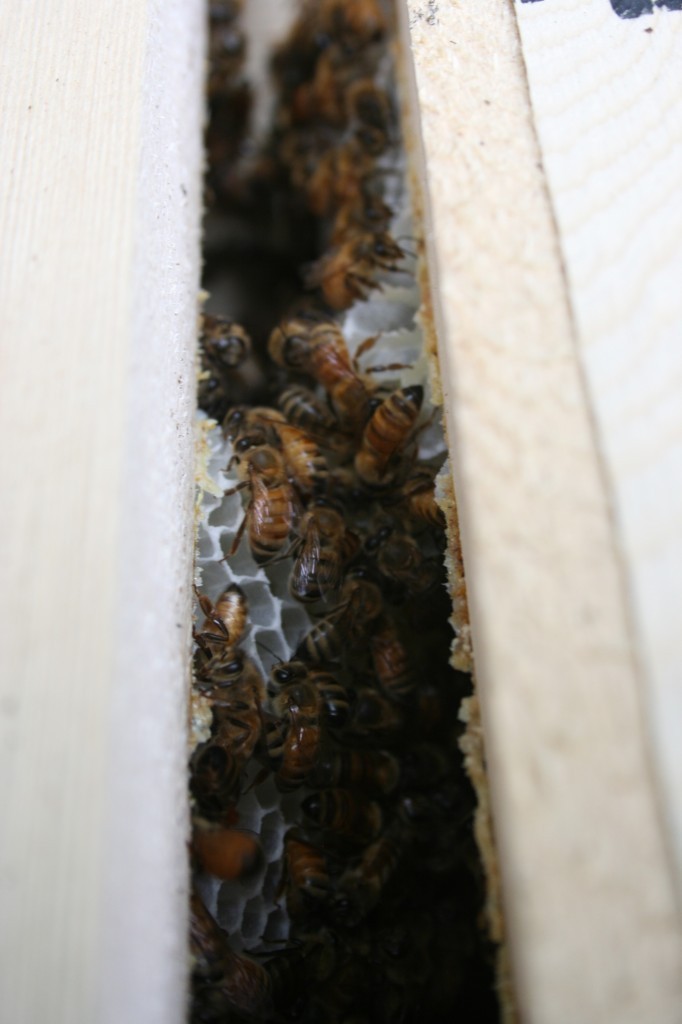
Some crossed comb, when things weren’t ugly enough that I was still taking pictures
Here are some tips to incentivize the bees to build straight:
- lay some wax in a line that you want them to follow (I had done that and it worked really well for a while)
- cut if they deviate, cut again until they stop
- keep the following board close to where the last comb is built because it is a straight reference, in other words, don’t expand to far from the comb.
- add an empty bar between the ones that had crooked comb
I’m not sure how these techniques work but I certainly am religiously following them now. Hopefully this will save us from another traumatic experience.
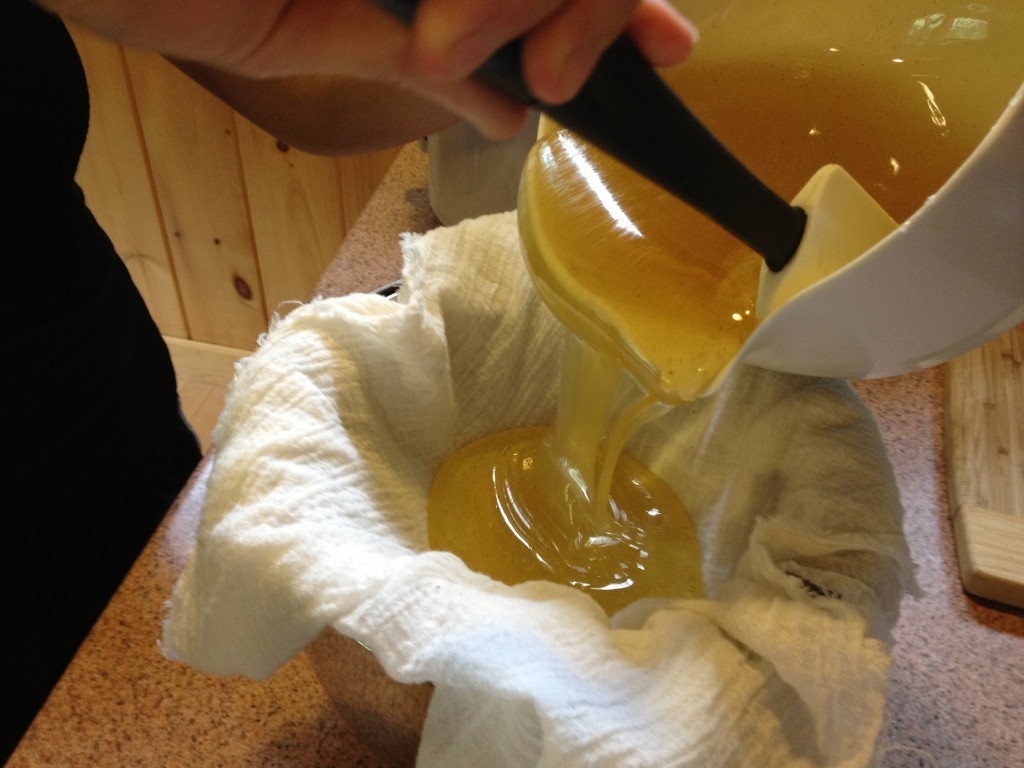
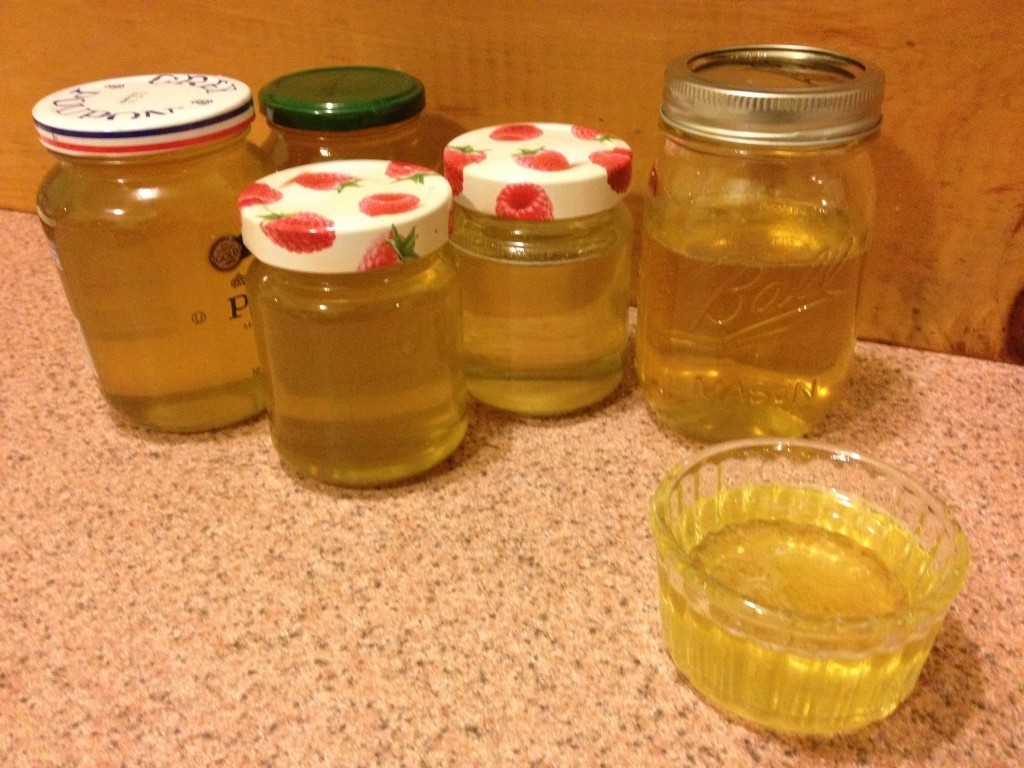
All in all this sucked and I feel really bad for failing my bees. I still got some 6 jars of honey out but I could have gotten a lot more. It’s the most delicious honey I ever had but every time I have some I am reminded of the beepocalypse.
Lesson learned…
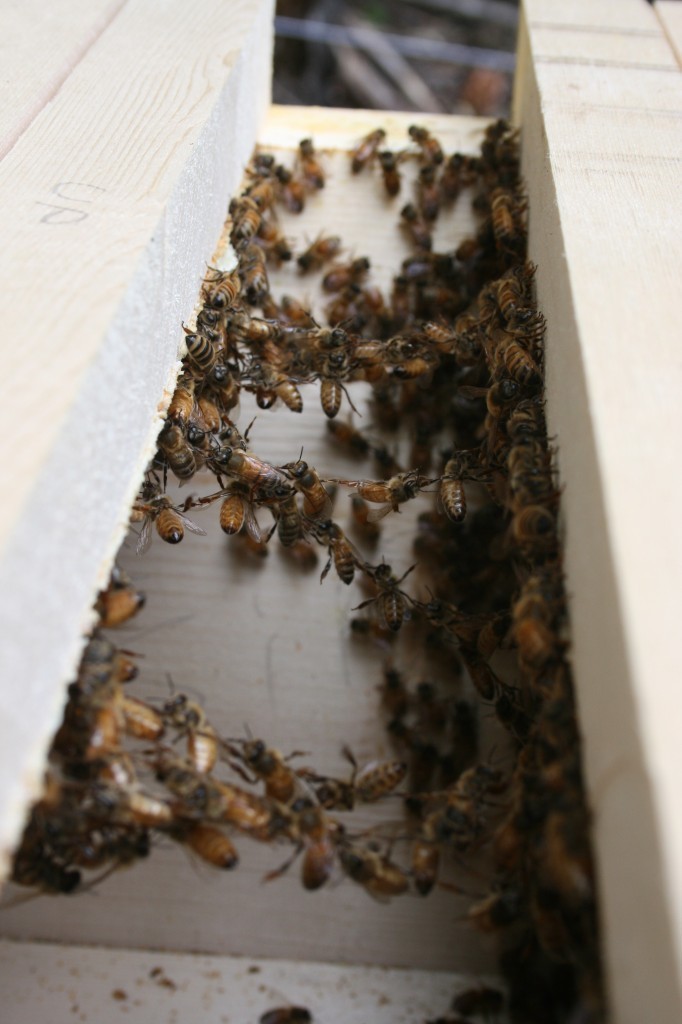
It’s a freaking mass-grave in there
