Here’s a cool idea for a present, model someone’s house, 3D print it and stick it in a snow globe. Bonus points if the person is really attached to their house and live in a place that gets good snow.
How hard can this be right? Well it’s actually pretty hard but I feel like with all the gotchas researched and out of the way, that I would be able to do another one easily.
Here’s the process in a nutshell:
- Sketchup for modeling
- Shapeways for 3D printing
- Painting
- Sticking in snow globe
Here’s the actual process with all the gotchas:
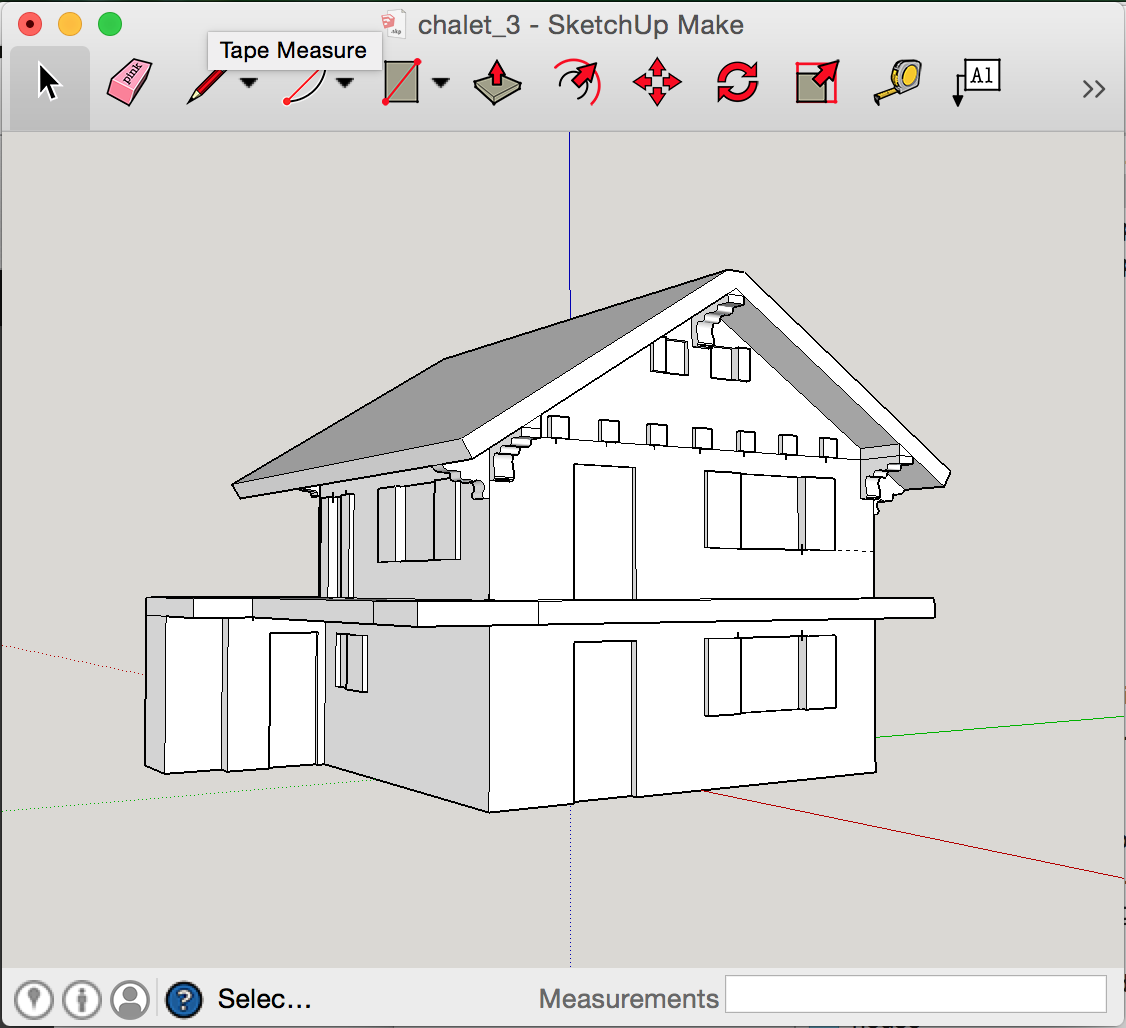
1. Sketchup for modeling
Sketchup is perfect for the job and can export models to DAE natively and STL using this plugin, both formats can be imported by Shapeways. But it can be very hard to model a solid with no leaks. And leaks will really fuck things up. Also if you have a leaky model, fixing it it out of the question requiring starting from scratch. This other plugin is quite good at finding leaks but horrible a pointing them out, I only found it later in the process but I found it useful to check the model with it every time I made a change. The same way you compile after every added line of code right? There are other products out there to find the leaks and point them out, all of them horrible and requiring various exports imports to see results. Ultimately you know you have a leak when your model looks like shit in the finder preview on your mac (yes *.daes are previewable) or in Shapeways’ excellent viewer.
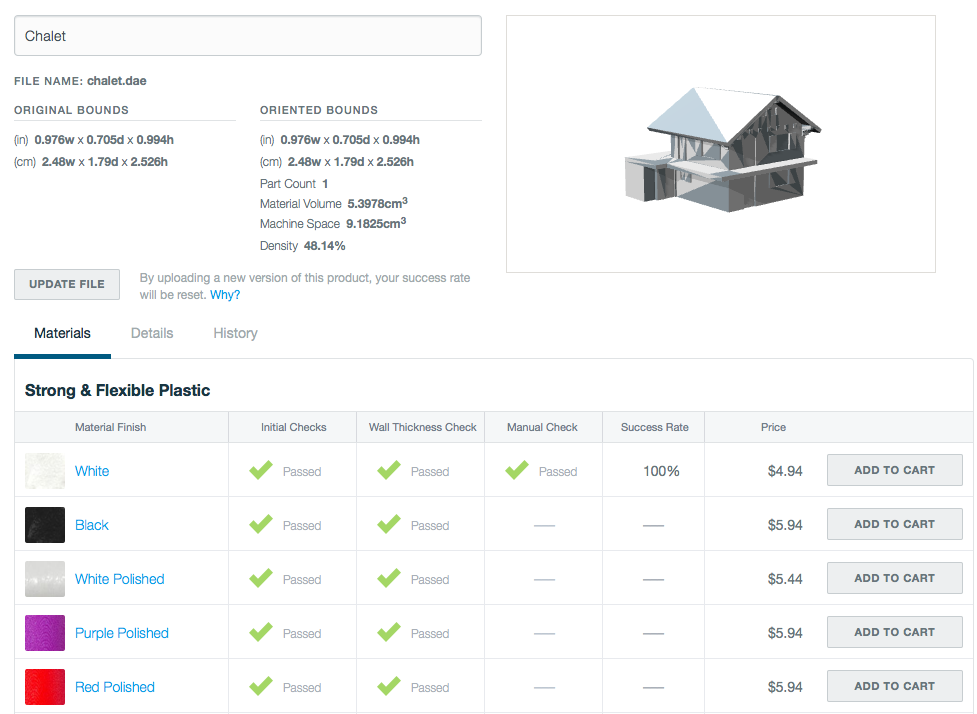
2. Shapeways for 3D printing
Absolutely nothing bad to say there, Shapeways is amazing and light years ahead of the competition in terms of service & useability. I used their “strong & flexible plastic” material as it’s cheap and I had done extended submersion tests with it but it is quite limited in the small details it can render. The minimum wall size with it is 0.7 millimeters and anything around this size doesn’t look super sharp. They just came up with a line of “Detail Acrylic” materials which promise much better resolution but I was too far in the process and hadn’t tested the material in water. To compound the issue the empty snowglobes I found are on the small side and so a lot of details that make a house special to someone got lost.
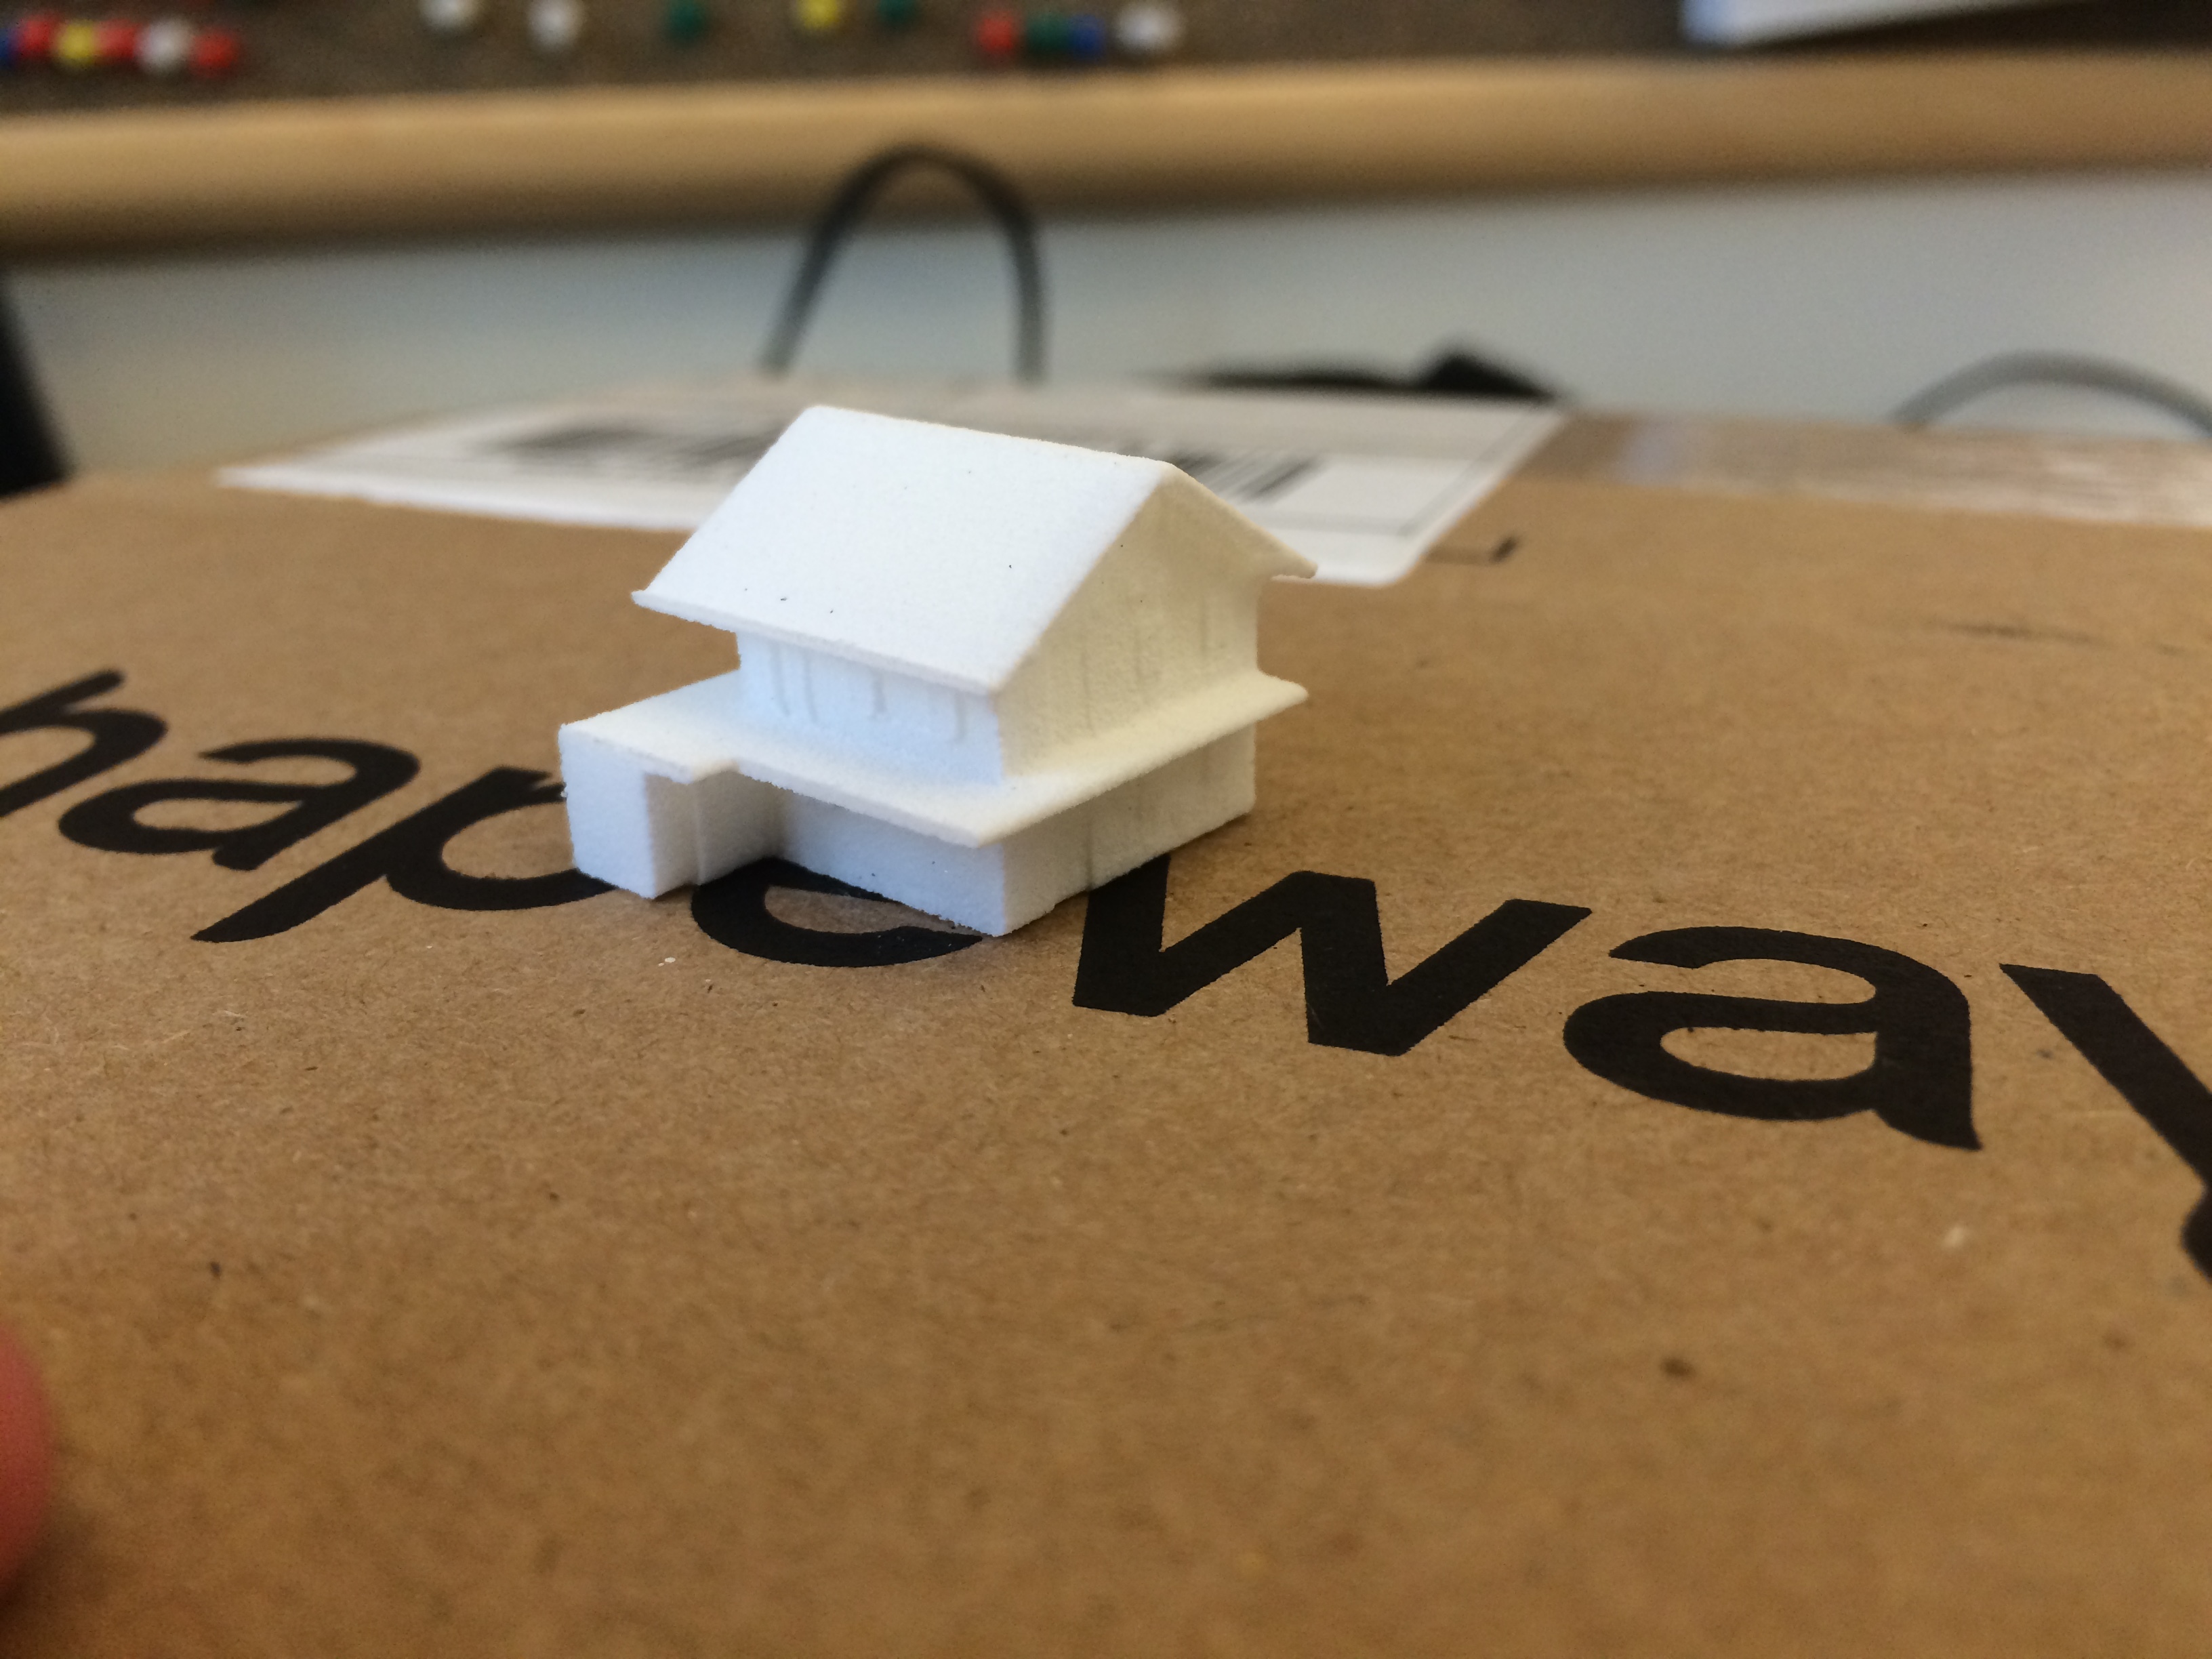
3. Painting
This is where small didn’t help, it was tedious but not impossible. Definitely being able to 3D print the color would have been nice but the only material that allows this at the moment (full color sandstone) doesn’t lend itself well to this project. You also want to varnish it for good measure. As far as gluing the house and subsequently the globe on its wooden base I’ve used E6000 which was recommended by the manufacturer and many custom snowglobe making blogs.
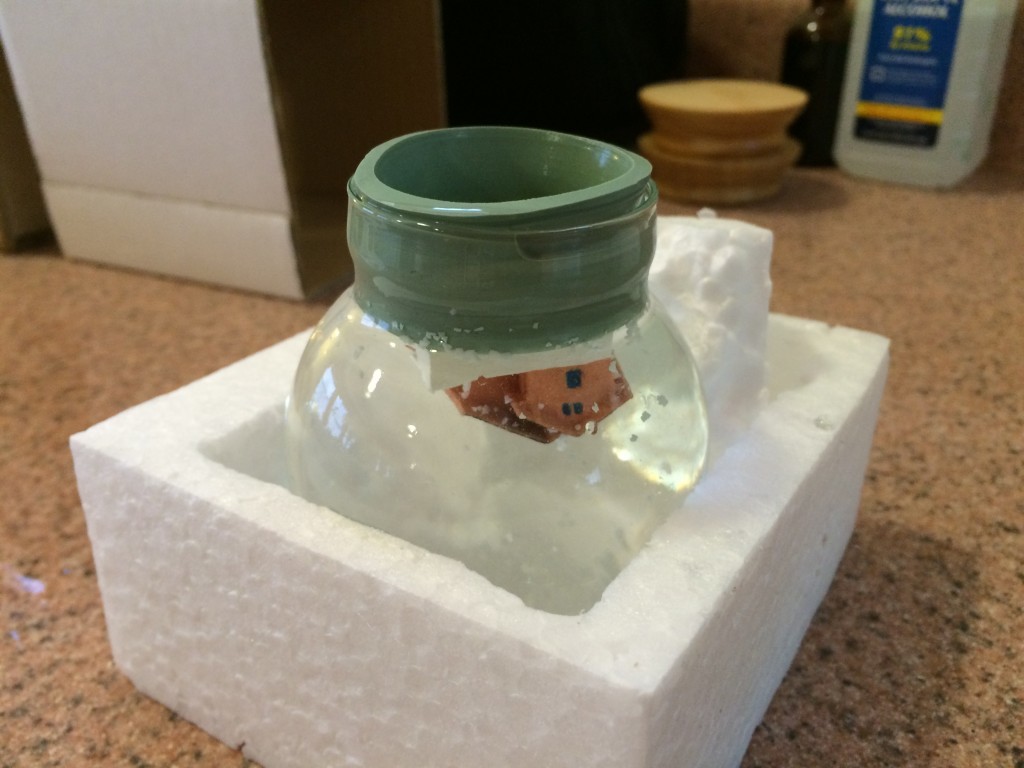
4. Sticking in snowglobe
This is the trickiest operation where everything can go wrong. First of all it’s good to play with how to insert the rubber gasket before you glue a house to it. Putting in in the freezer for 5 minutes and adding water to its edges will help slide it in.
Now about 80% of the snowflakes that were provided floated and wanted to do nothing else than float. A good idea is to put the flakes in another glass of water, scoop the shitty floating ones out and then add the rest to the globe upside down right before you add the house. Quite frankly I wish I had even filtered the snowflakes, they came with particles that gray out the water a bit. Some recommend adding glycerin to slow the falling of the flakes, I felt like they were falling at an acceptable rate with only water.
Another issue is one of bacteria growth. Per recommendations I’ve disinfected everything and used distilled water and added 1 drop of rubbing alcohol to the water. In the submersion tests I’ve done (not using distilled water or alcohol) the water would get noticeably funky after ~3 months. I don’t know how the new method holds over time.
Pull a bit of the gasket away to fill with distilled water, add some E6000 glue around the joint between the rubber and the glass and you’re set.
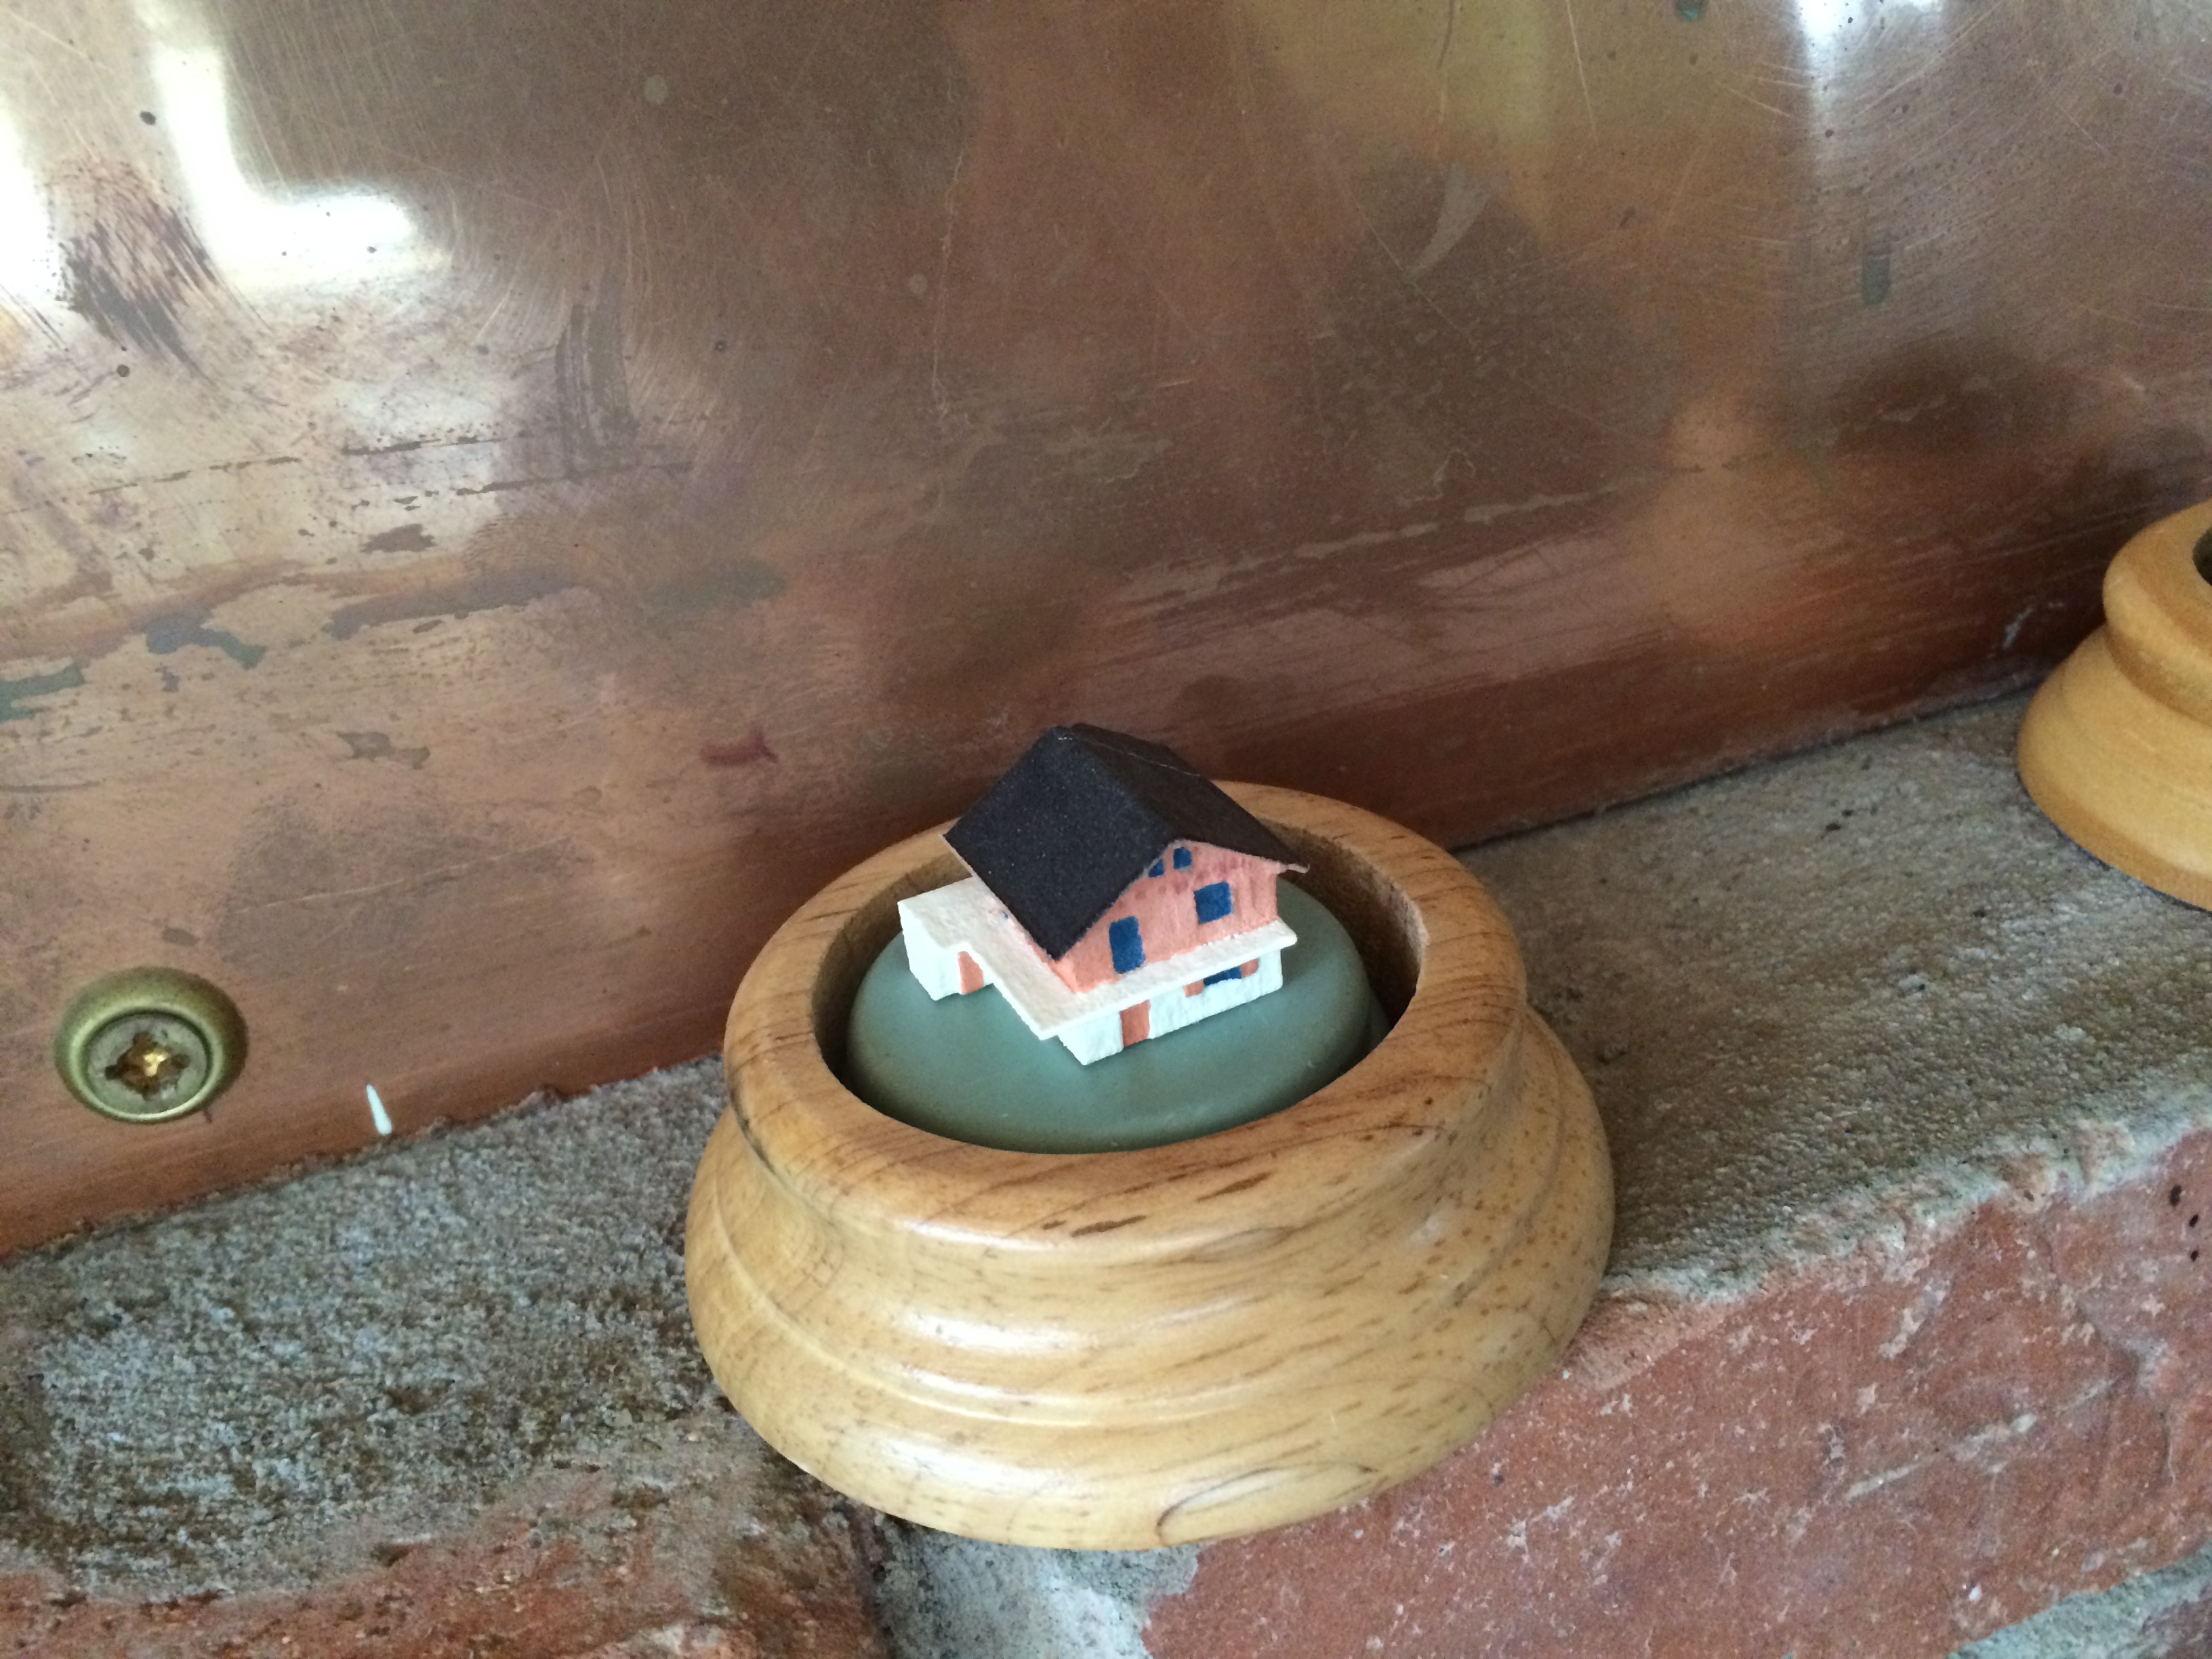
Hard truth #1: A simple house isn’t a great subject to put in a snow globe, it kind of depends on it shape but it will occupy only the bottom part of the globe. I’m still happy about the result.
Hard truth #2: Snow globe distort the view of what is inside them. Not a huge deal, this just caught me off guard.
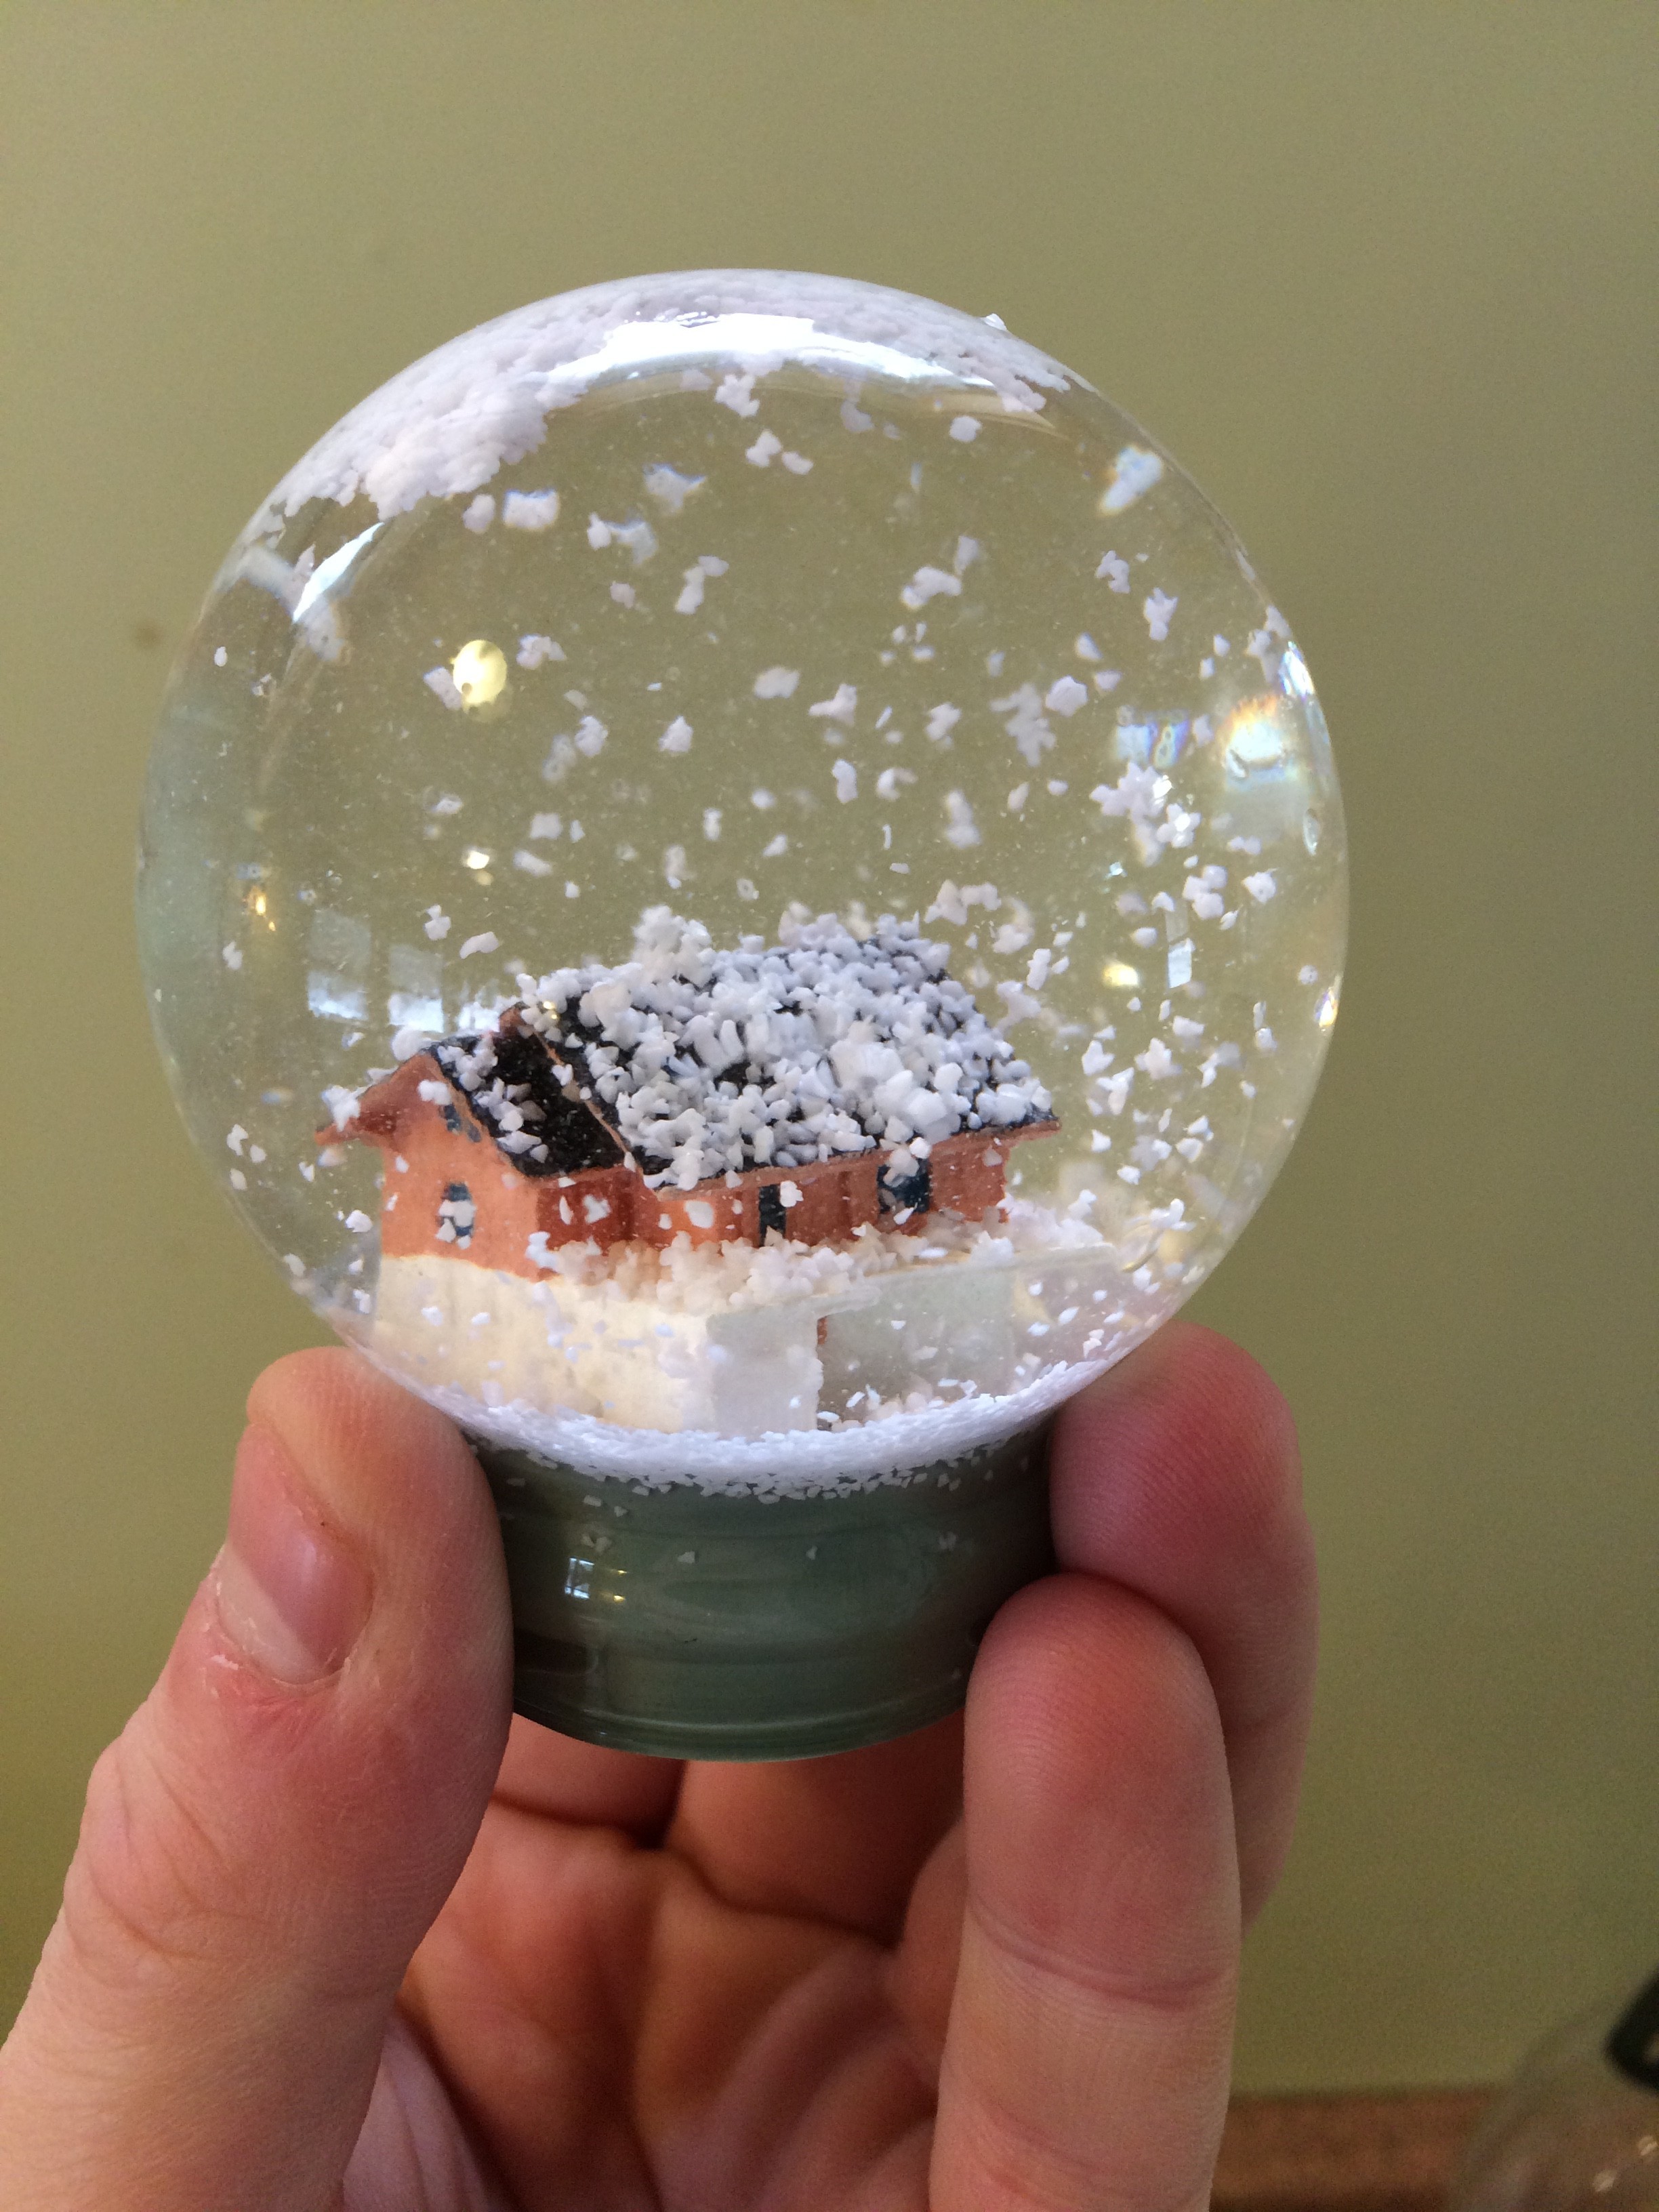
The finished product
This would be such a wonderful housewarming gift. I would love our home immortalized in a snow globe.
Hi ,
Nice job.
What do you mean by (Putting in in the freezer for 5 minutes and adding water to its edges will help slide it in.)?
Is it to put the rubber gasket in the freezer and fill the glass with water ?
Or this is unnecessary process?
And did you glued the (glass+rubber gasket ) with the base? Or it is just easily stick able?
If you put the rubber gasket in the freezer a bit, it’ll contract making it easier to go into the glass (it’s a very tight fit). Also making it wet will lubricate it a bit to help it slide. I did not glue the rubber gasket to the glass, the fit is plenty tight.
Shapeways has new materials which allow for much finer details nowadays, I’ve been meaning to revisit this house :). Good luck with your project!
Thank you for your reply