All the rafters are done, tomorrow I’ll go after the cupola and do as much blocking as I can.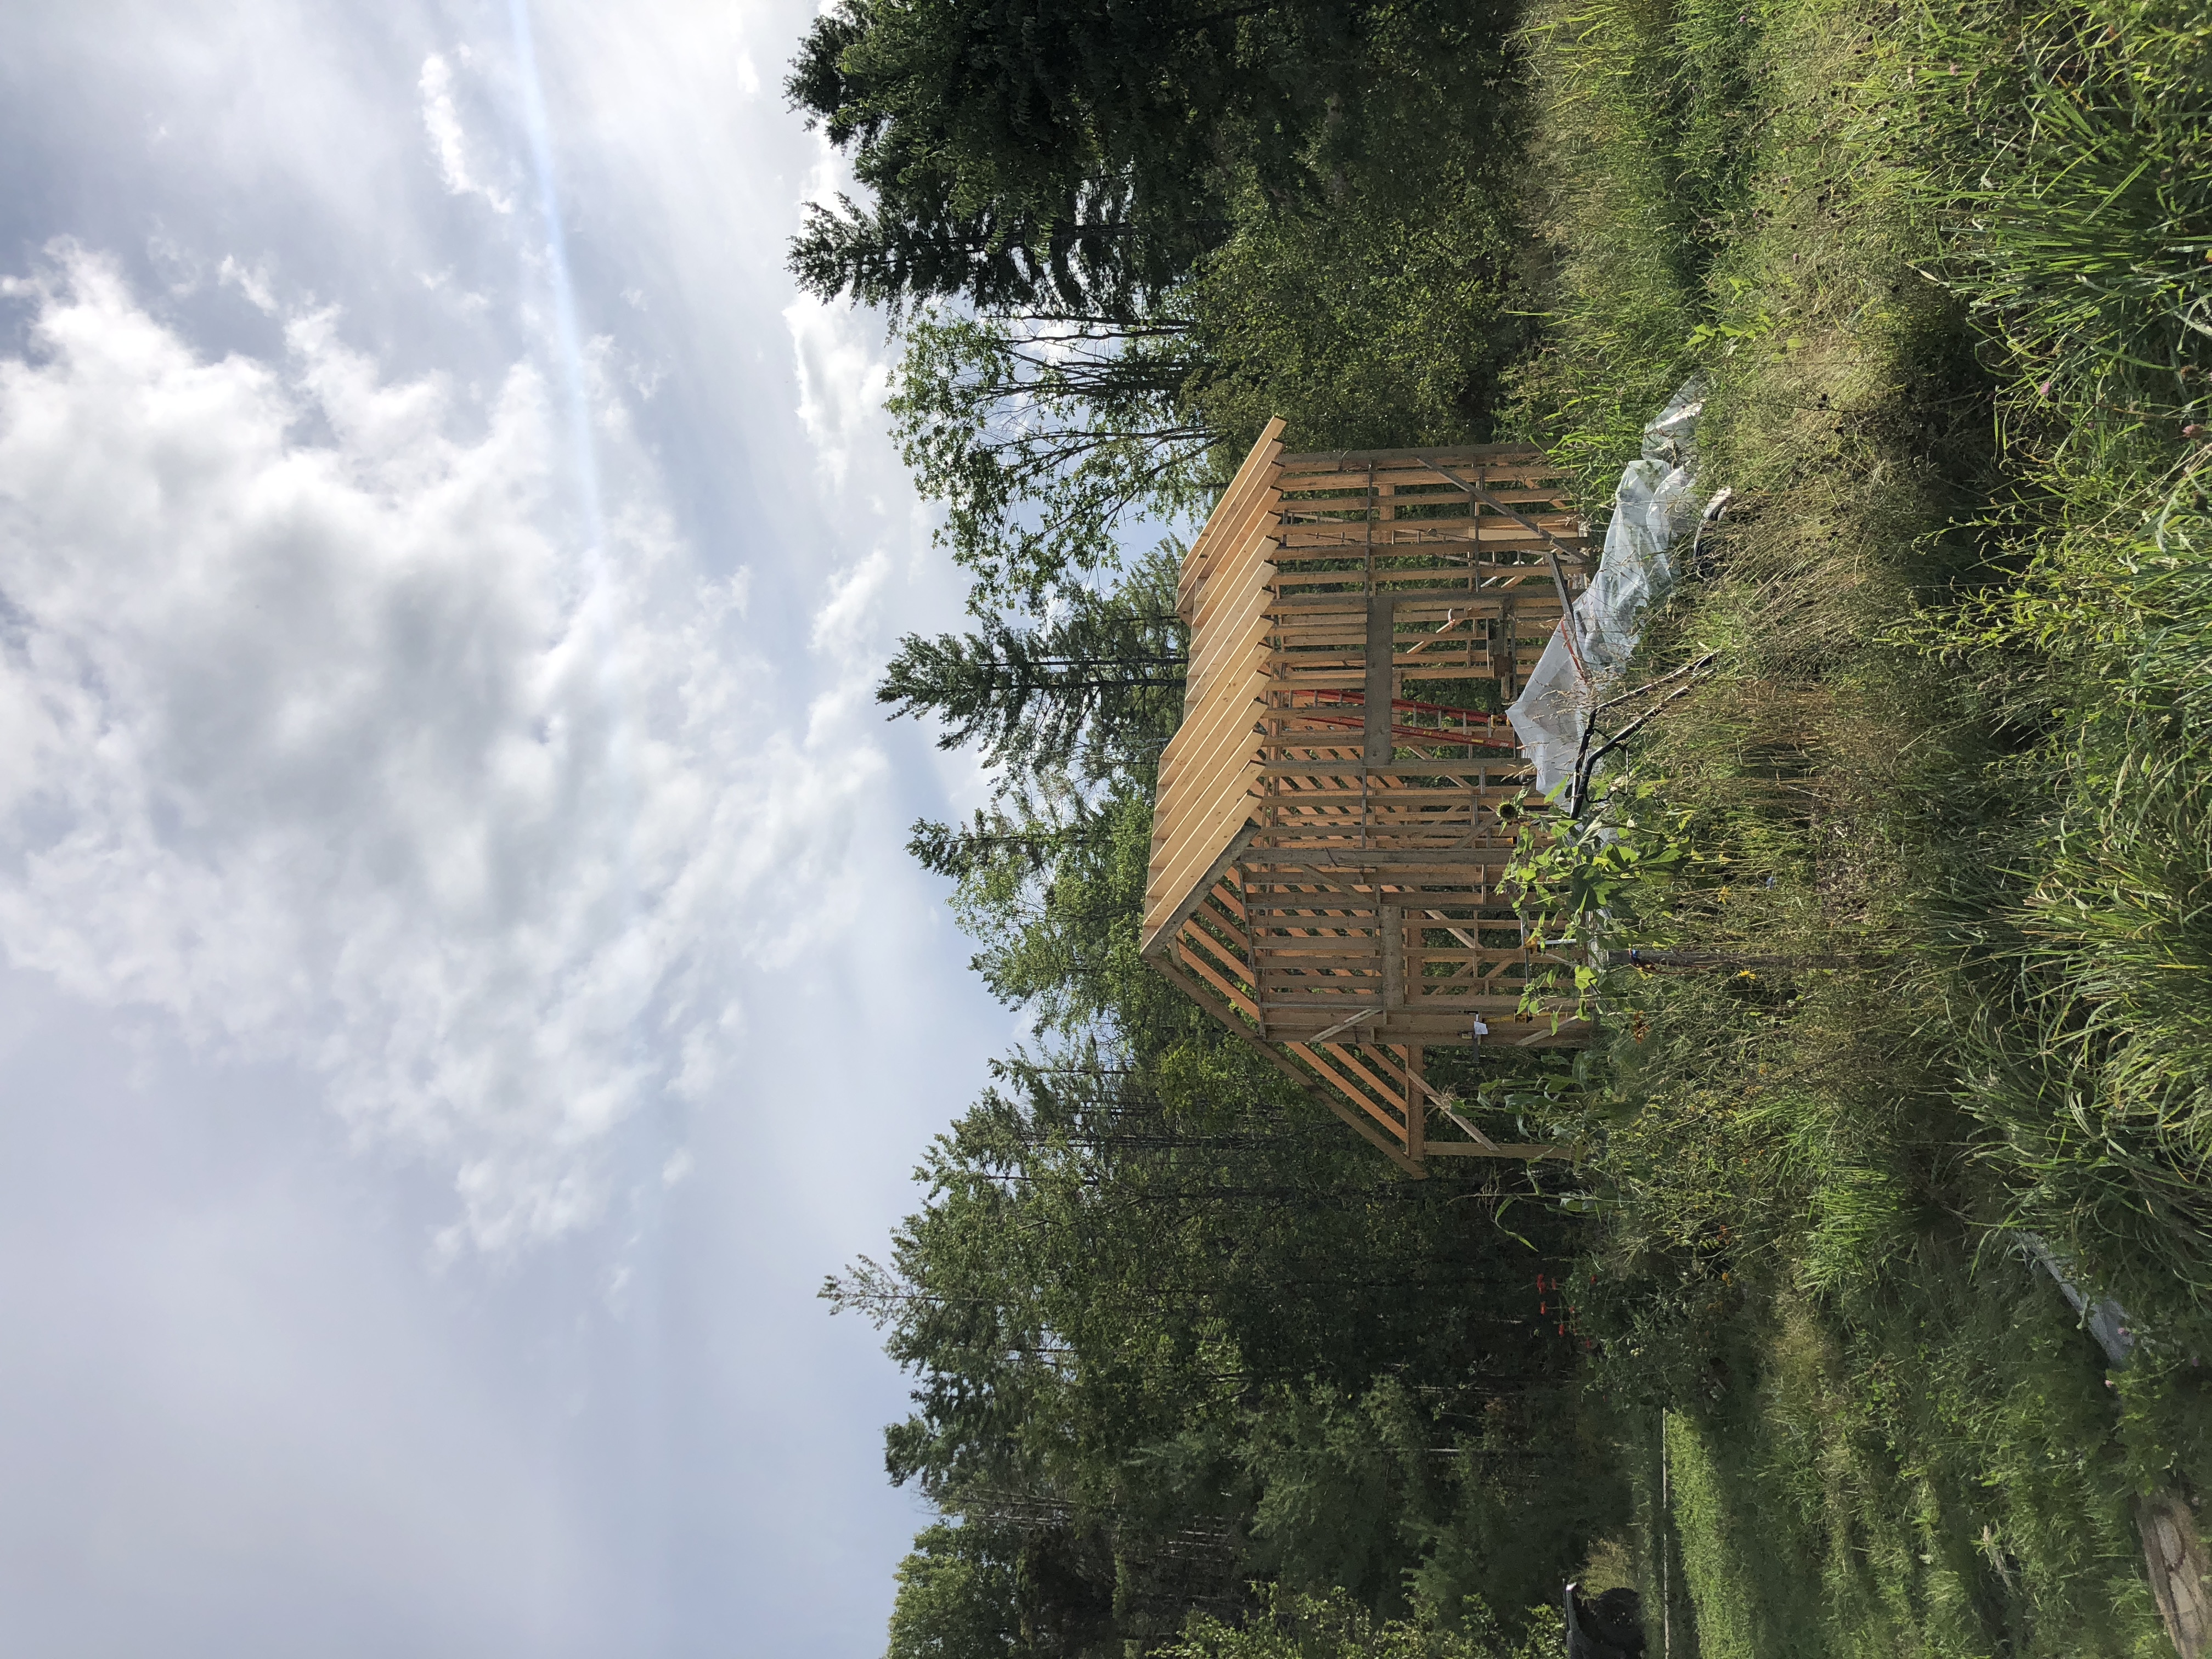
Vapor hole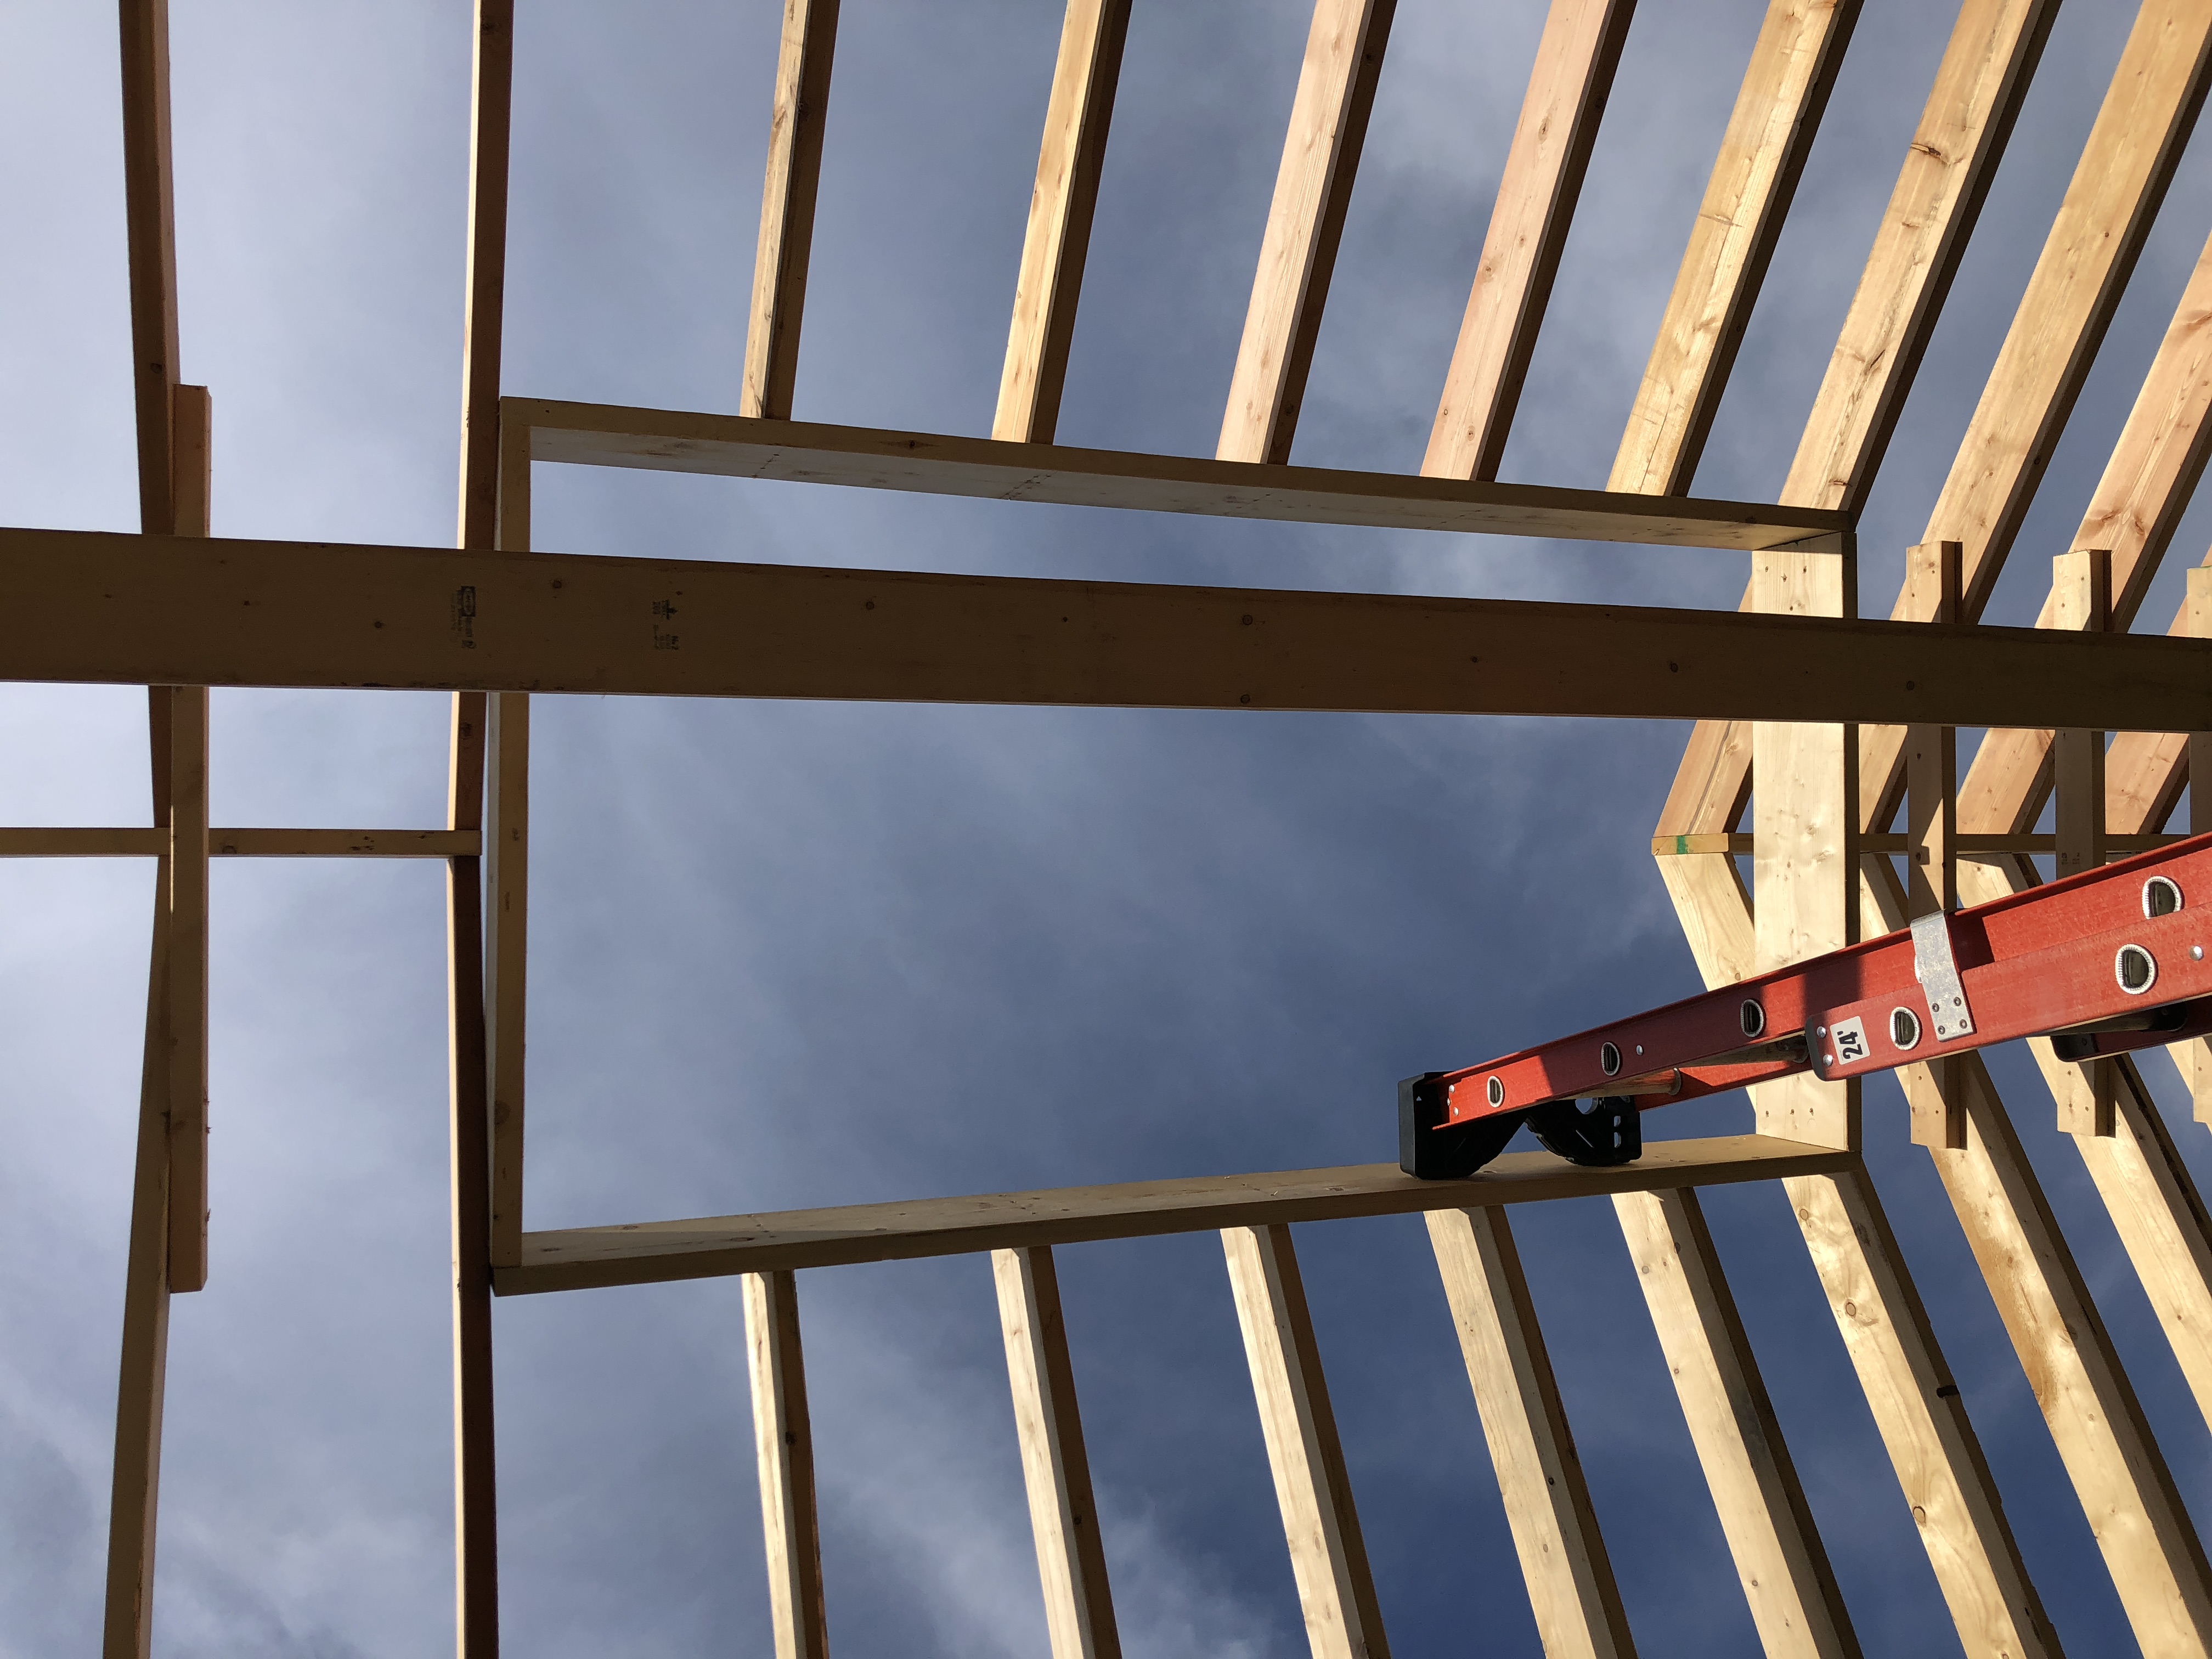
Found a Monarch chrysalis, I’ll have to keep an eye on it in the next few days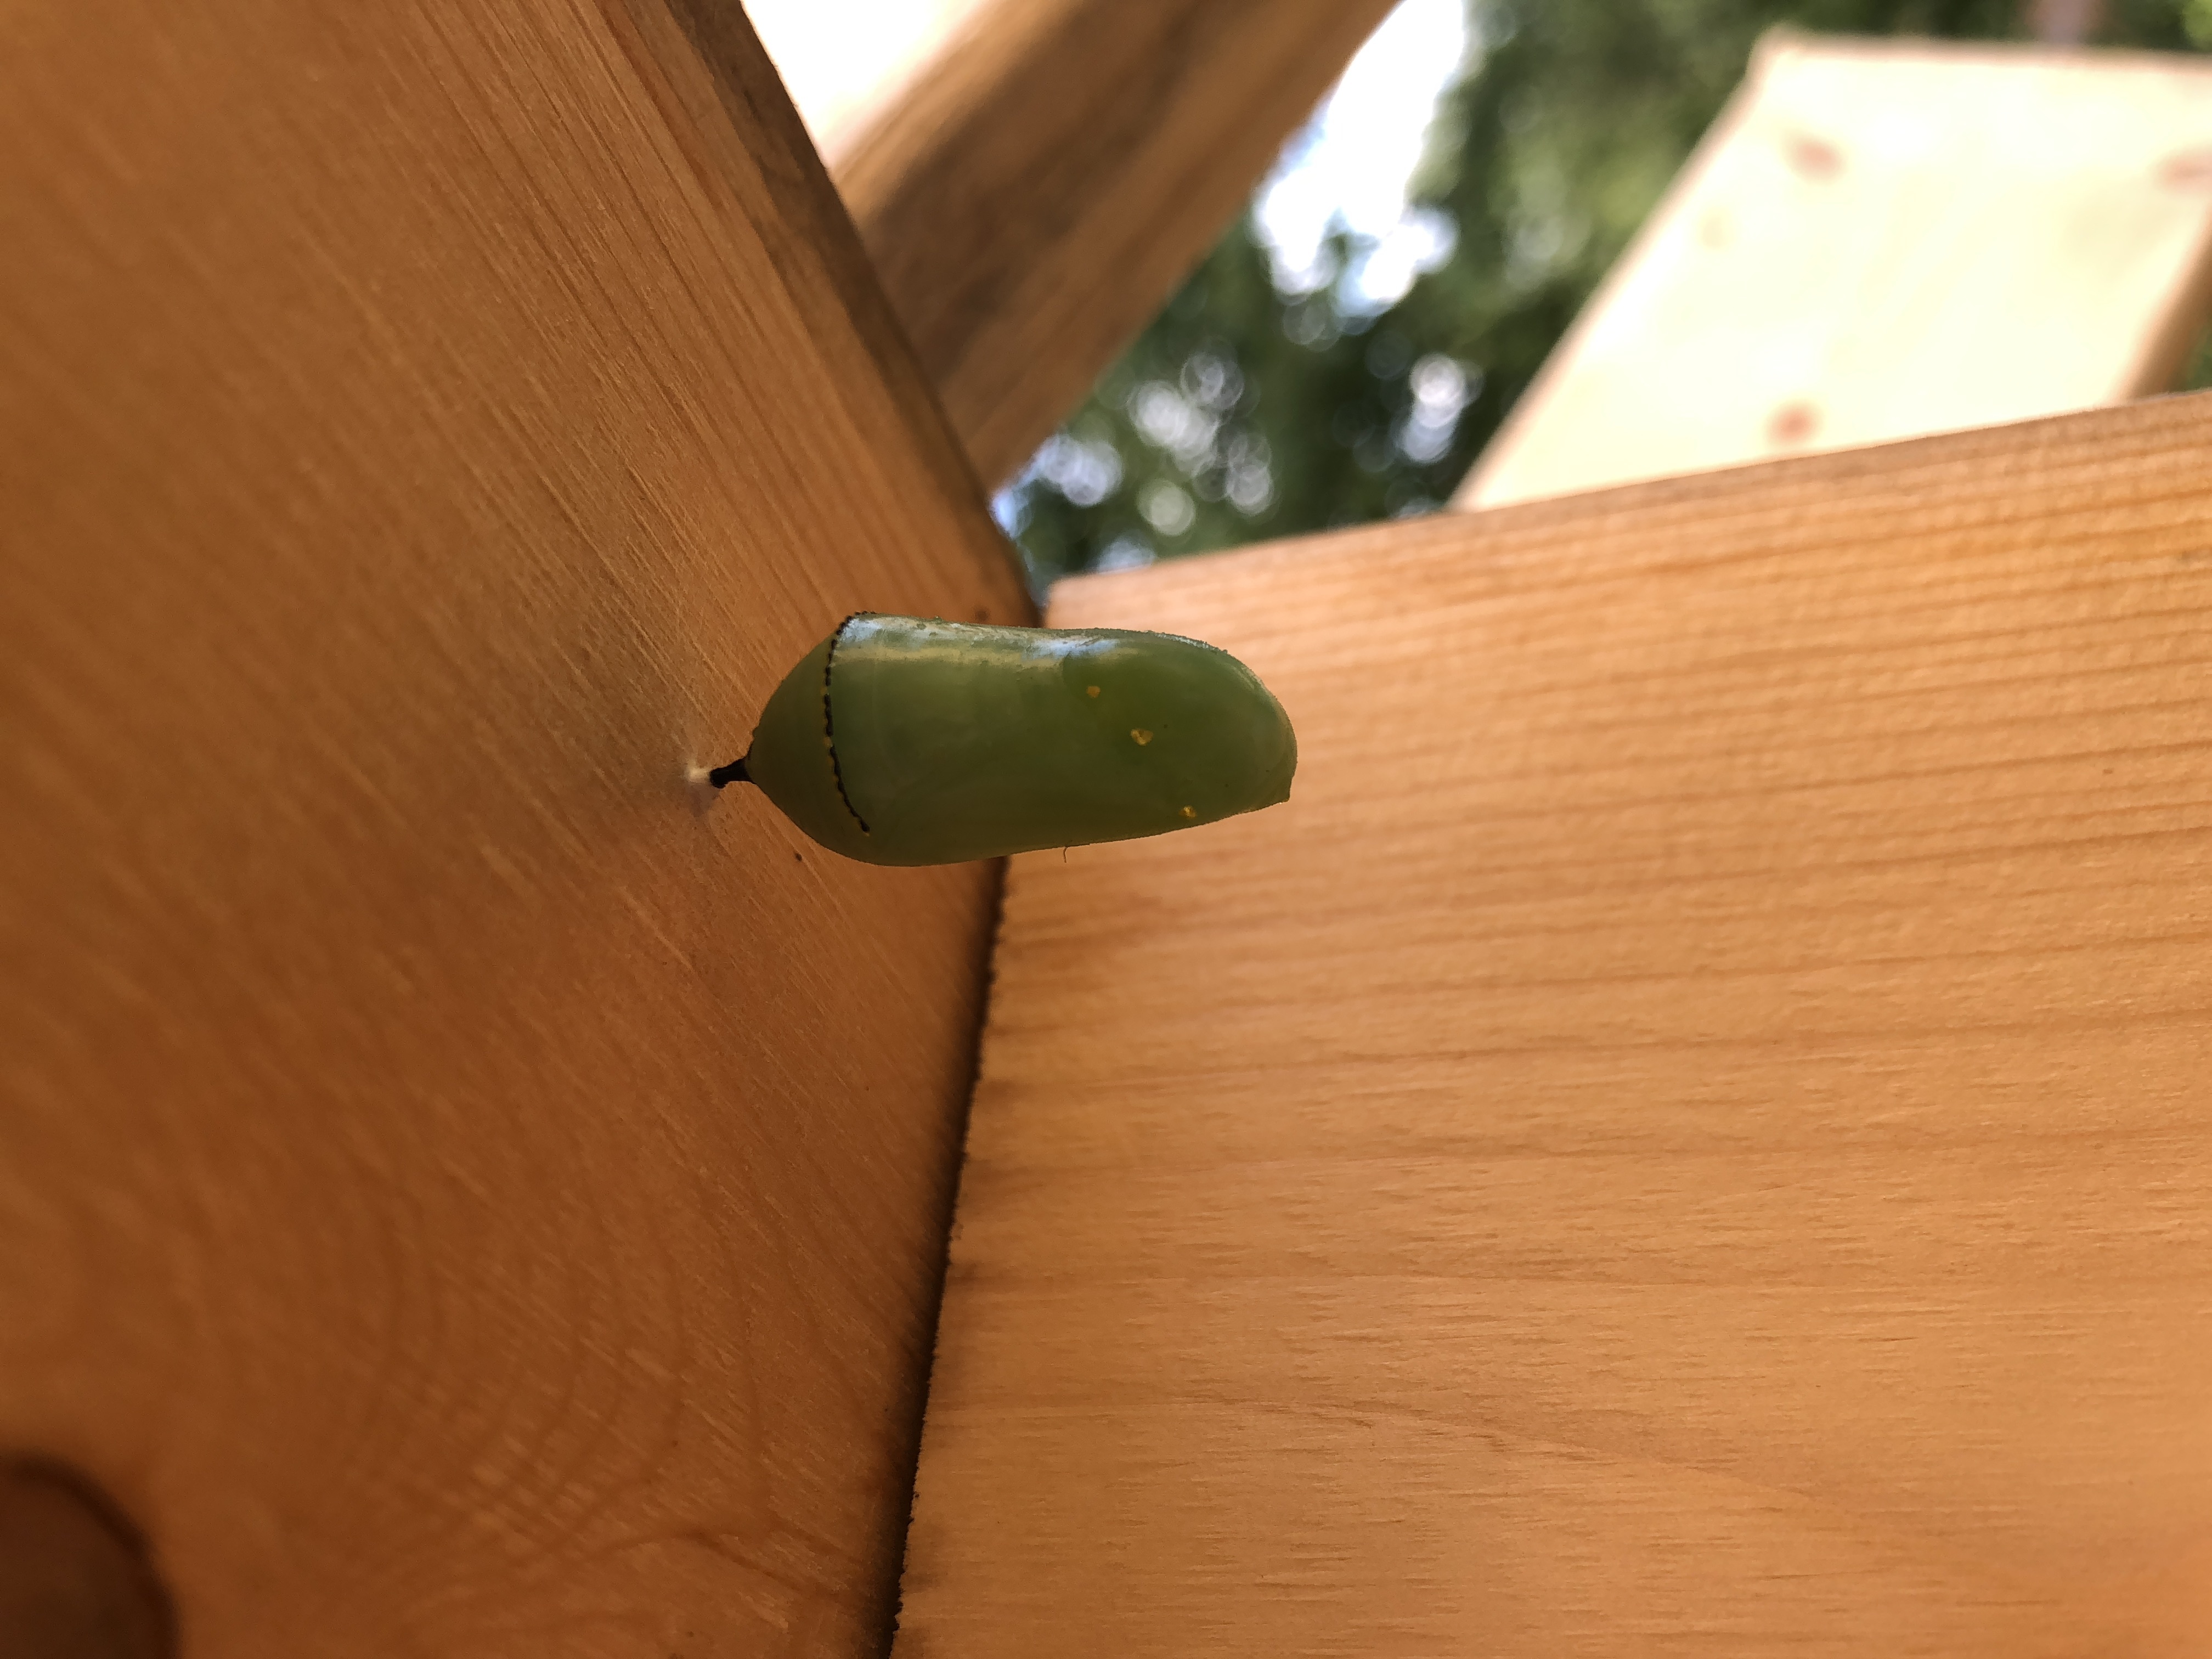
All the rafters are done, tomorrow I’ll go after the cupola and do as much blocking as I can.
Vapor hole
Found a Monarch chrysalis, I’ll have to keep an eye on it in the next few days
A sugarhouse / tool shed / tractor garage / soap making shop, is being born. We’ve had many projects lacking dry space. I’m barely documenting anything, I also have to post some pictures of how incredible the garden is this year. This has all become less than extraordinary: growing awesome gardens, putting together buildings is simply what we do now. A sign of the completeness of the transformation we undertook 8 years ago. In a lot of ways we feel like we don’t need to achieve anything anymore while looking ahead to several large projects for the coming years. Maybe all we had to achieve was making this who we are, everything else follows naturally without fuss.
3 pillars which will be buried to support the lean-to part of the building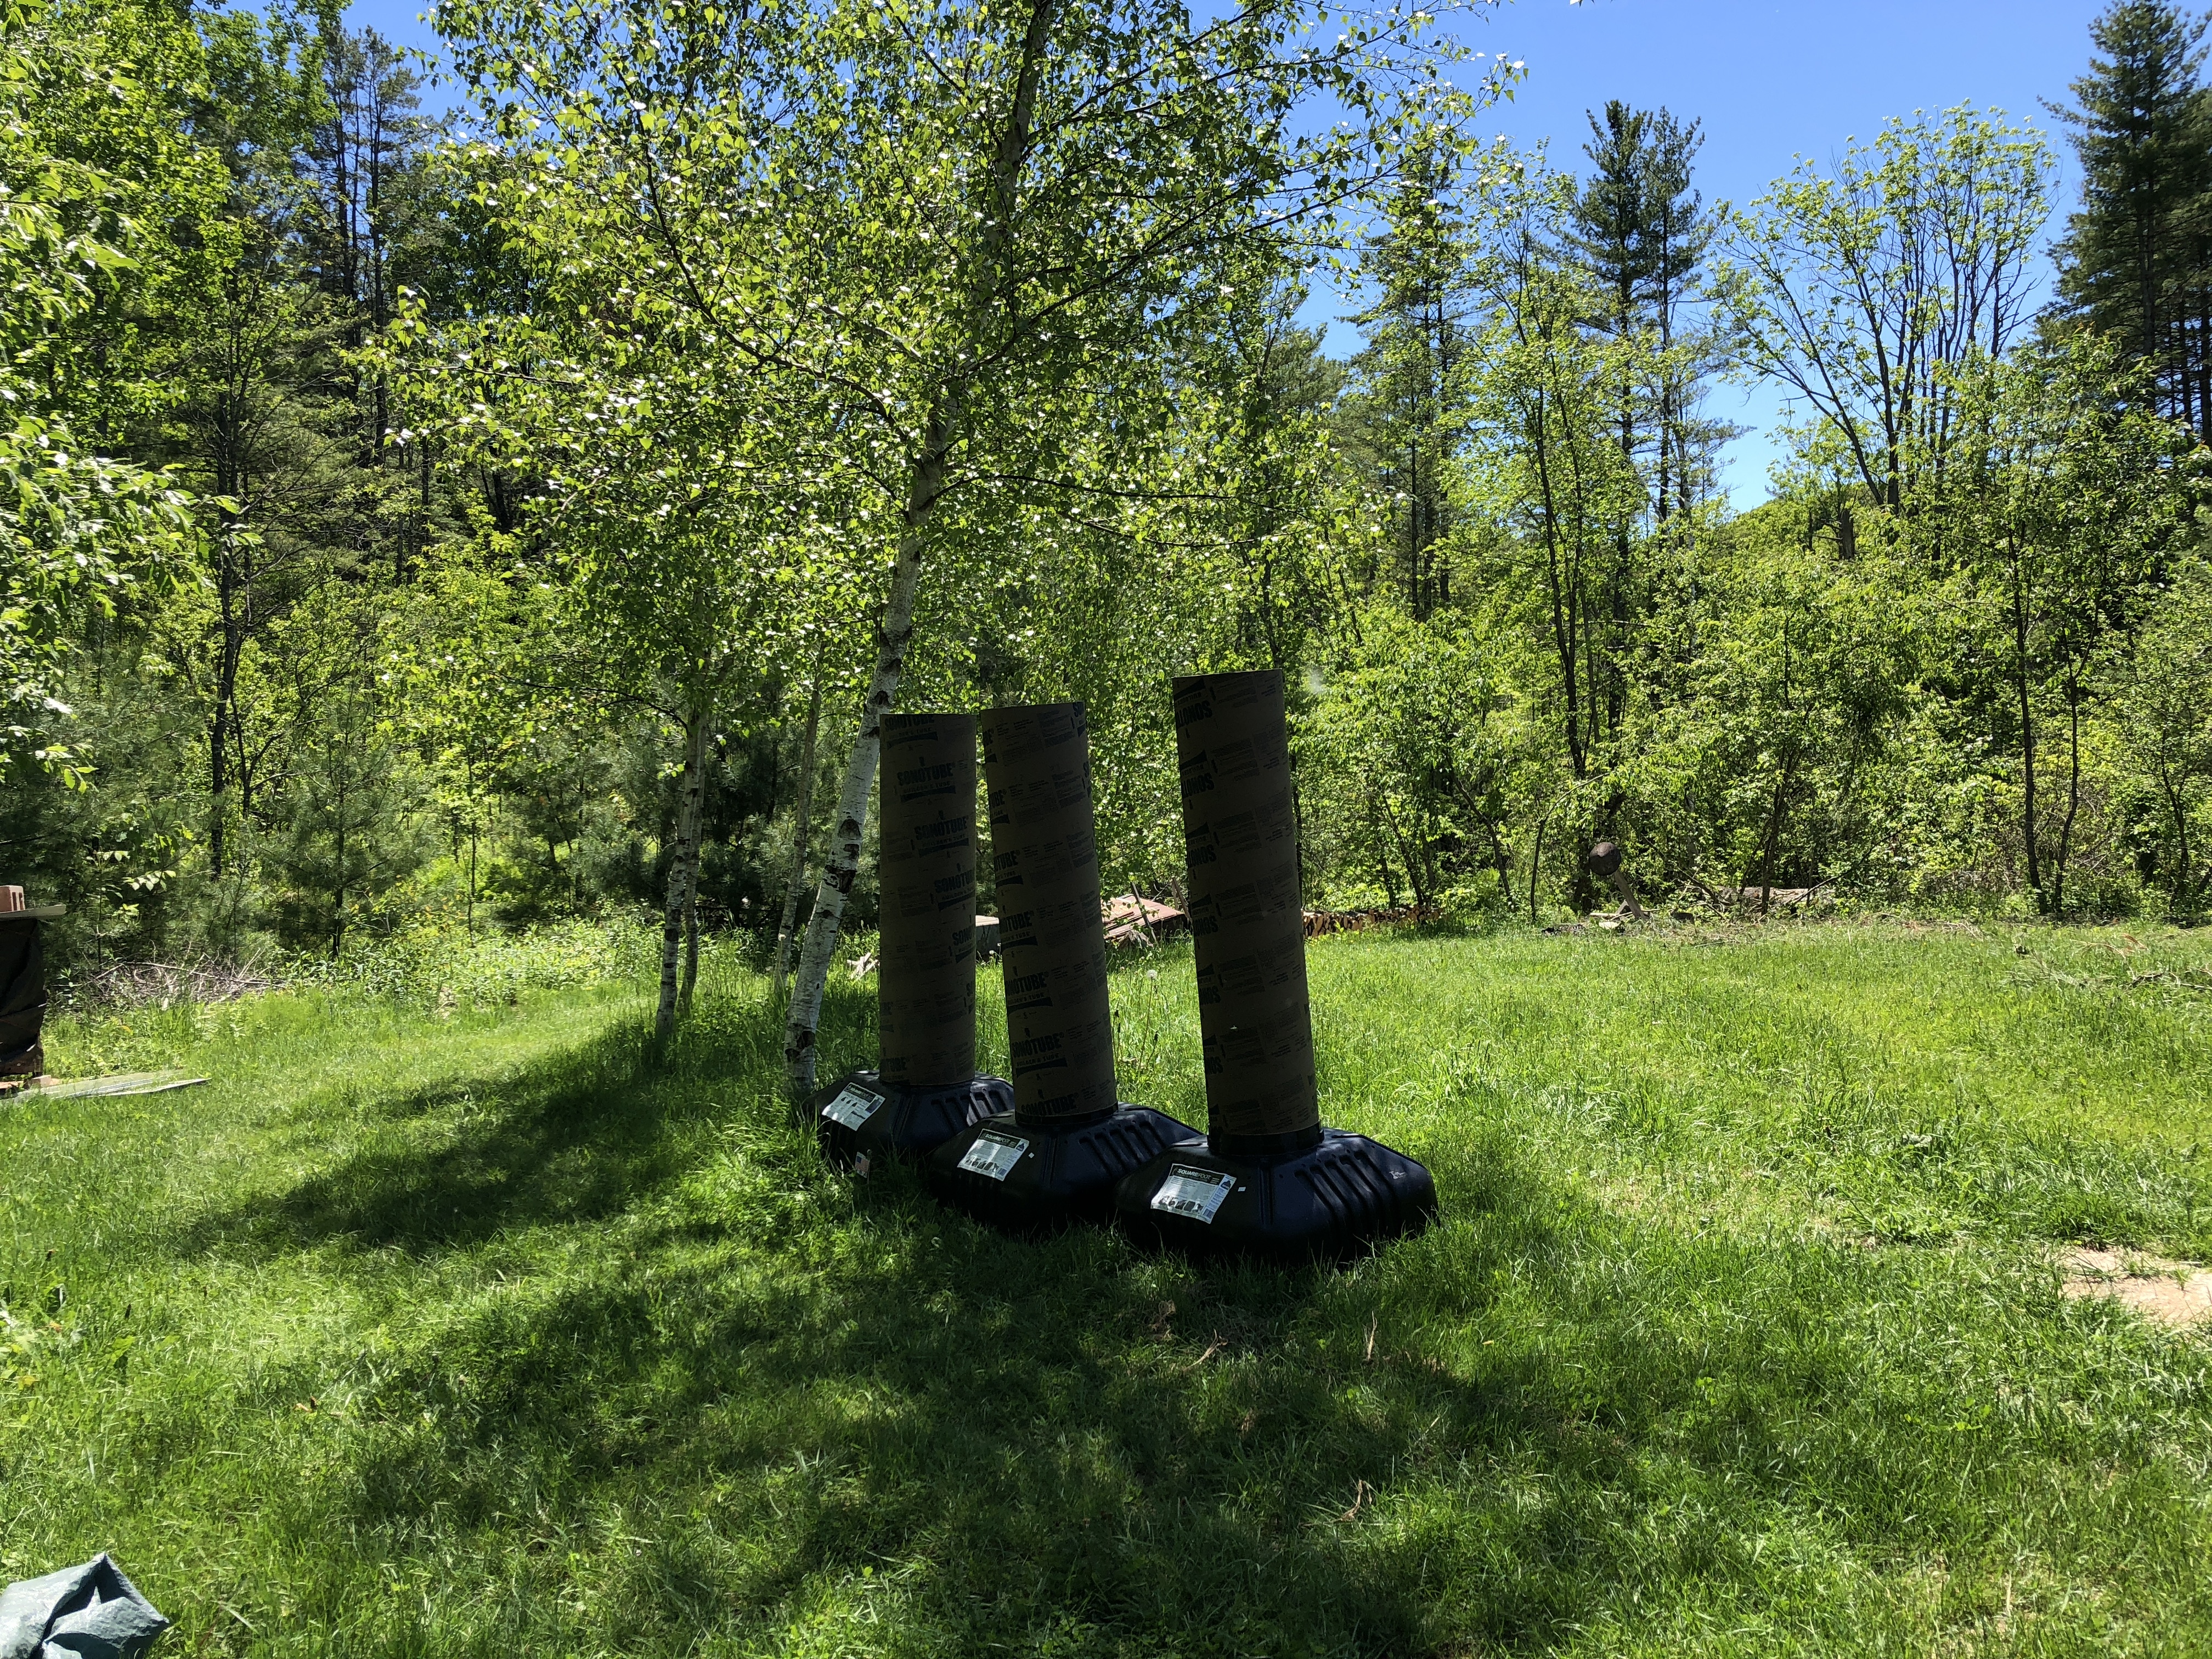
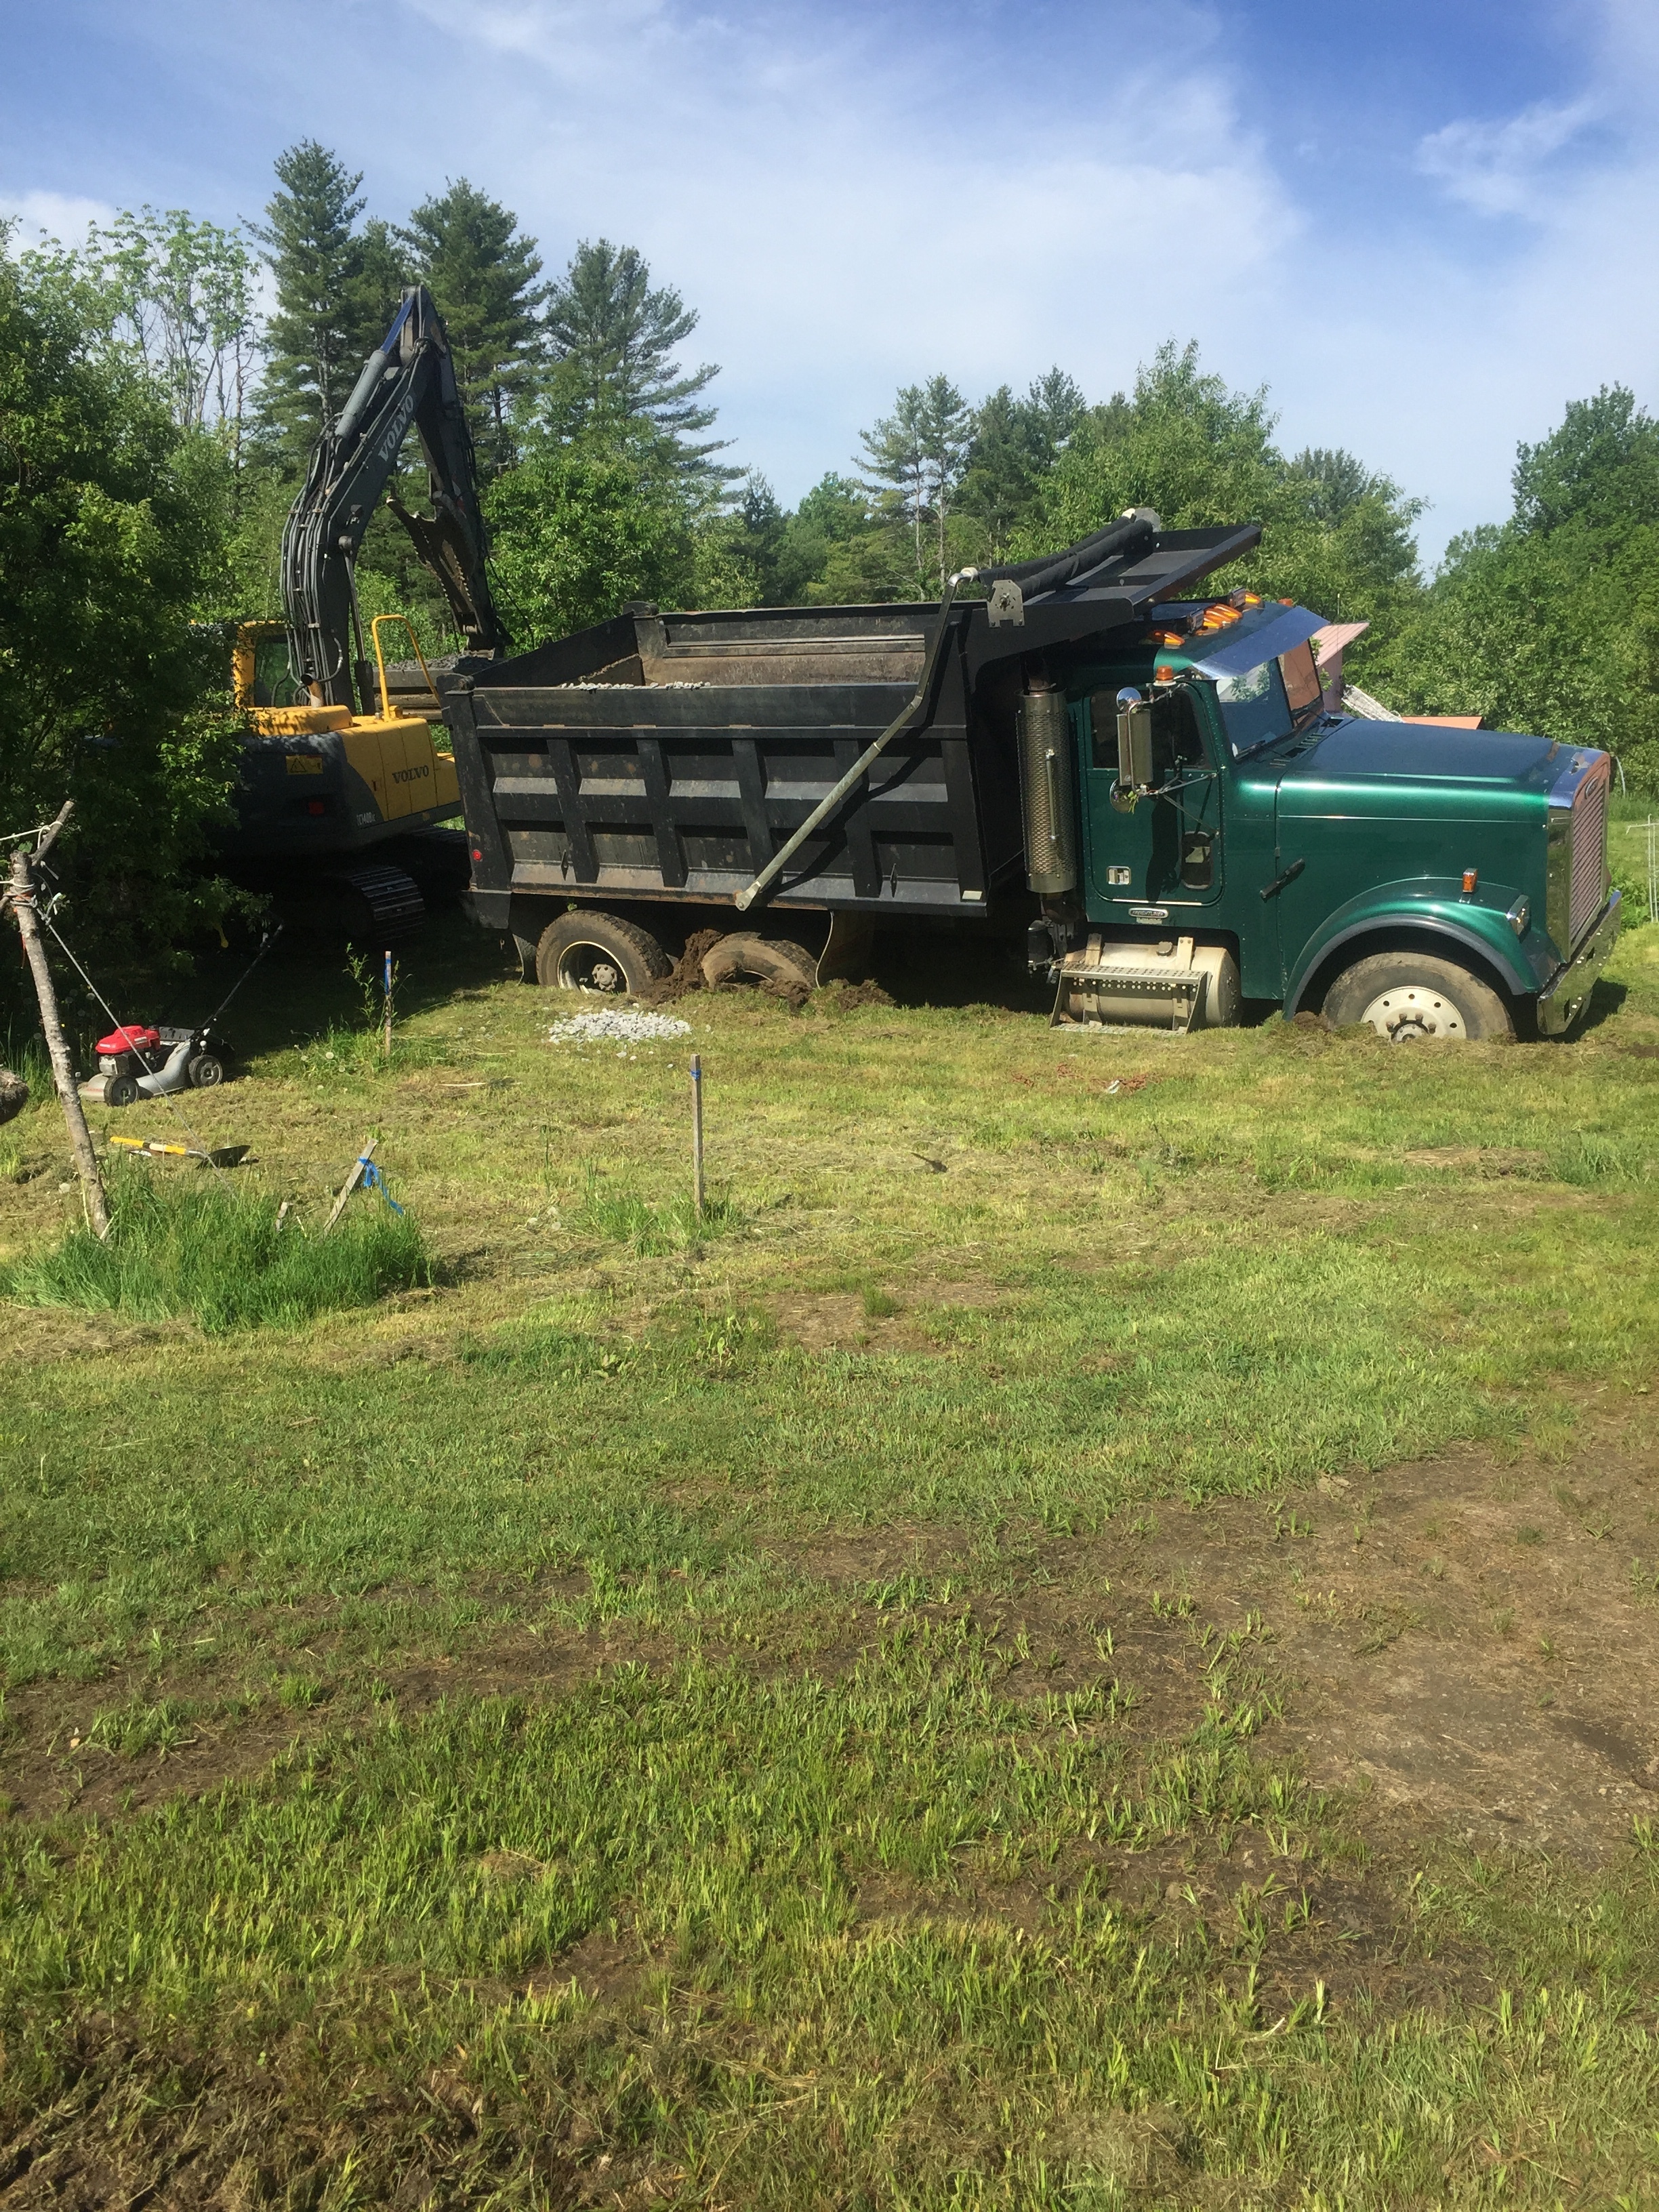
Site prep day, truck got stuck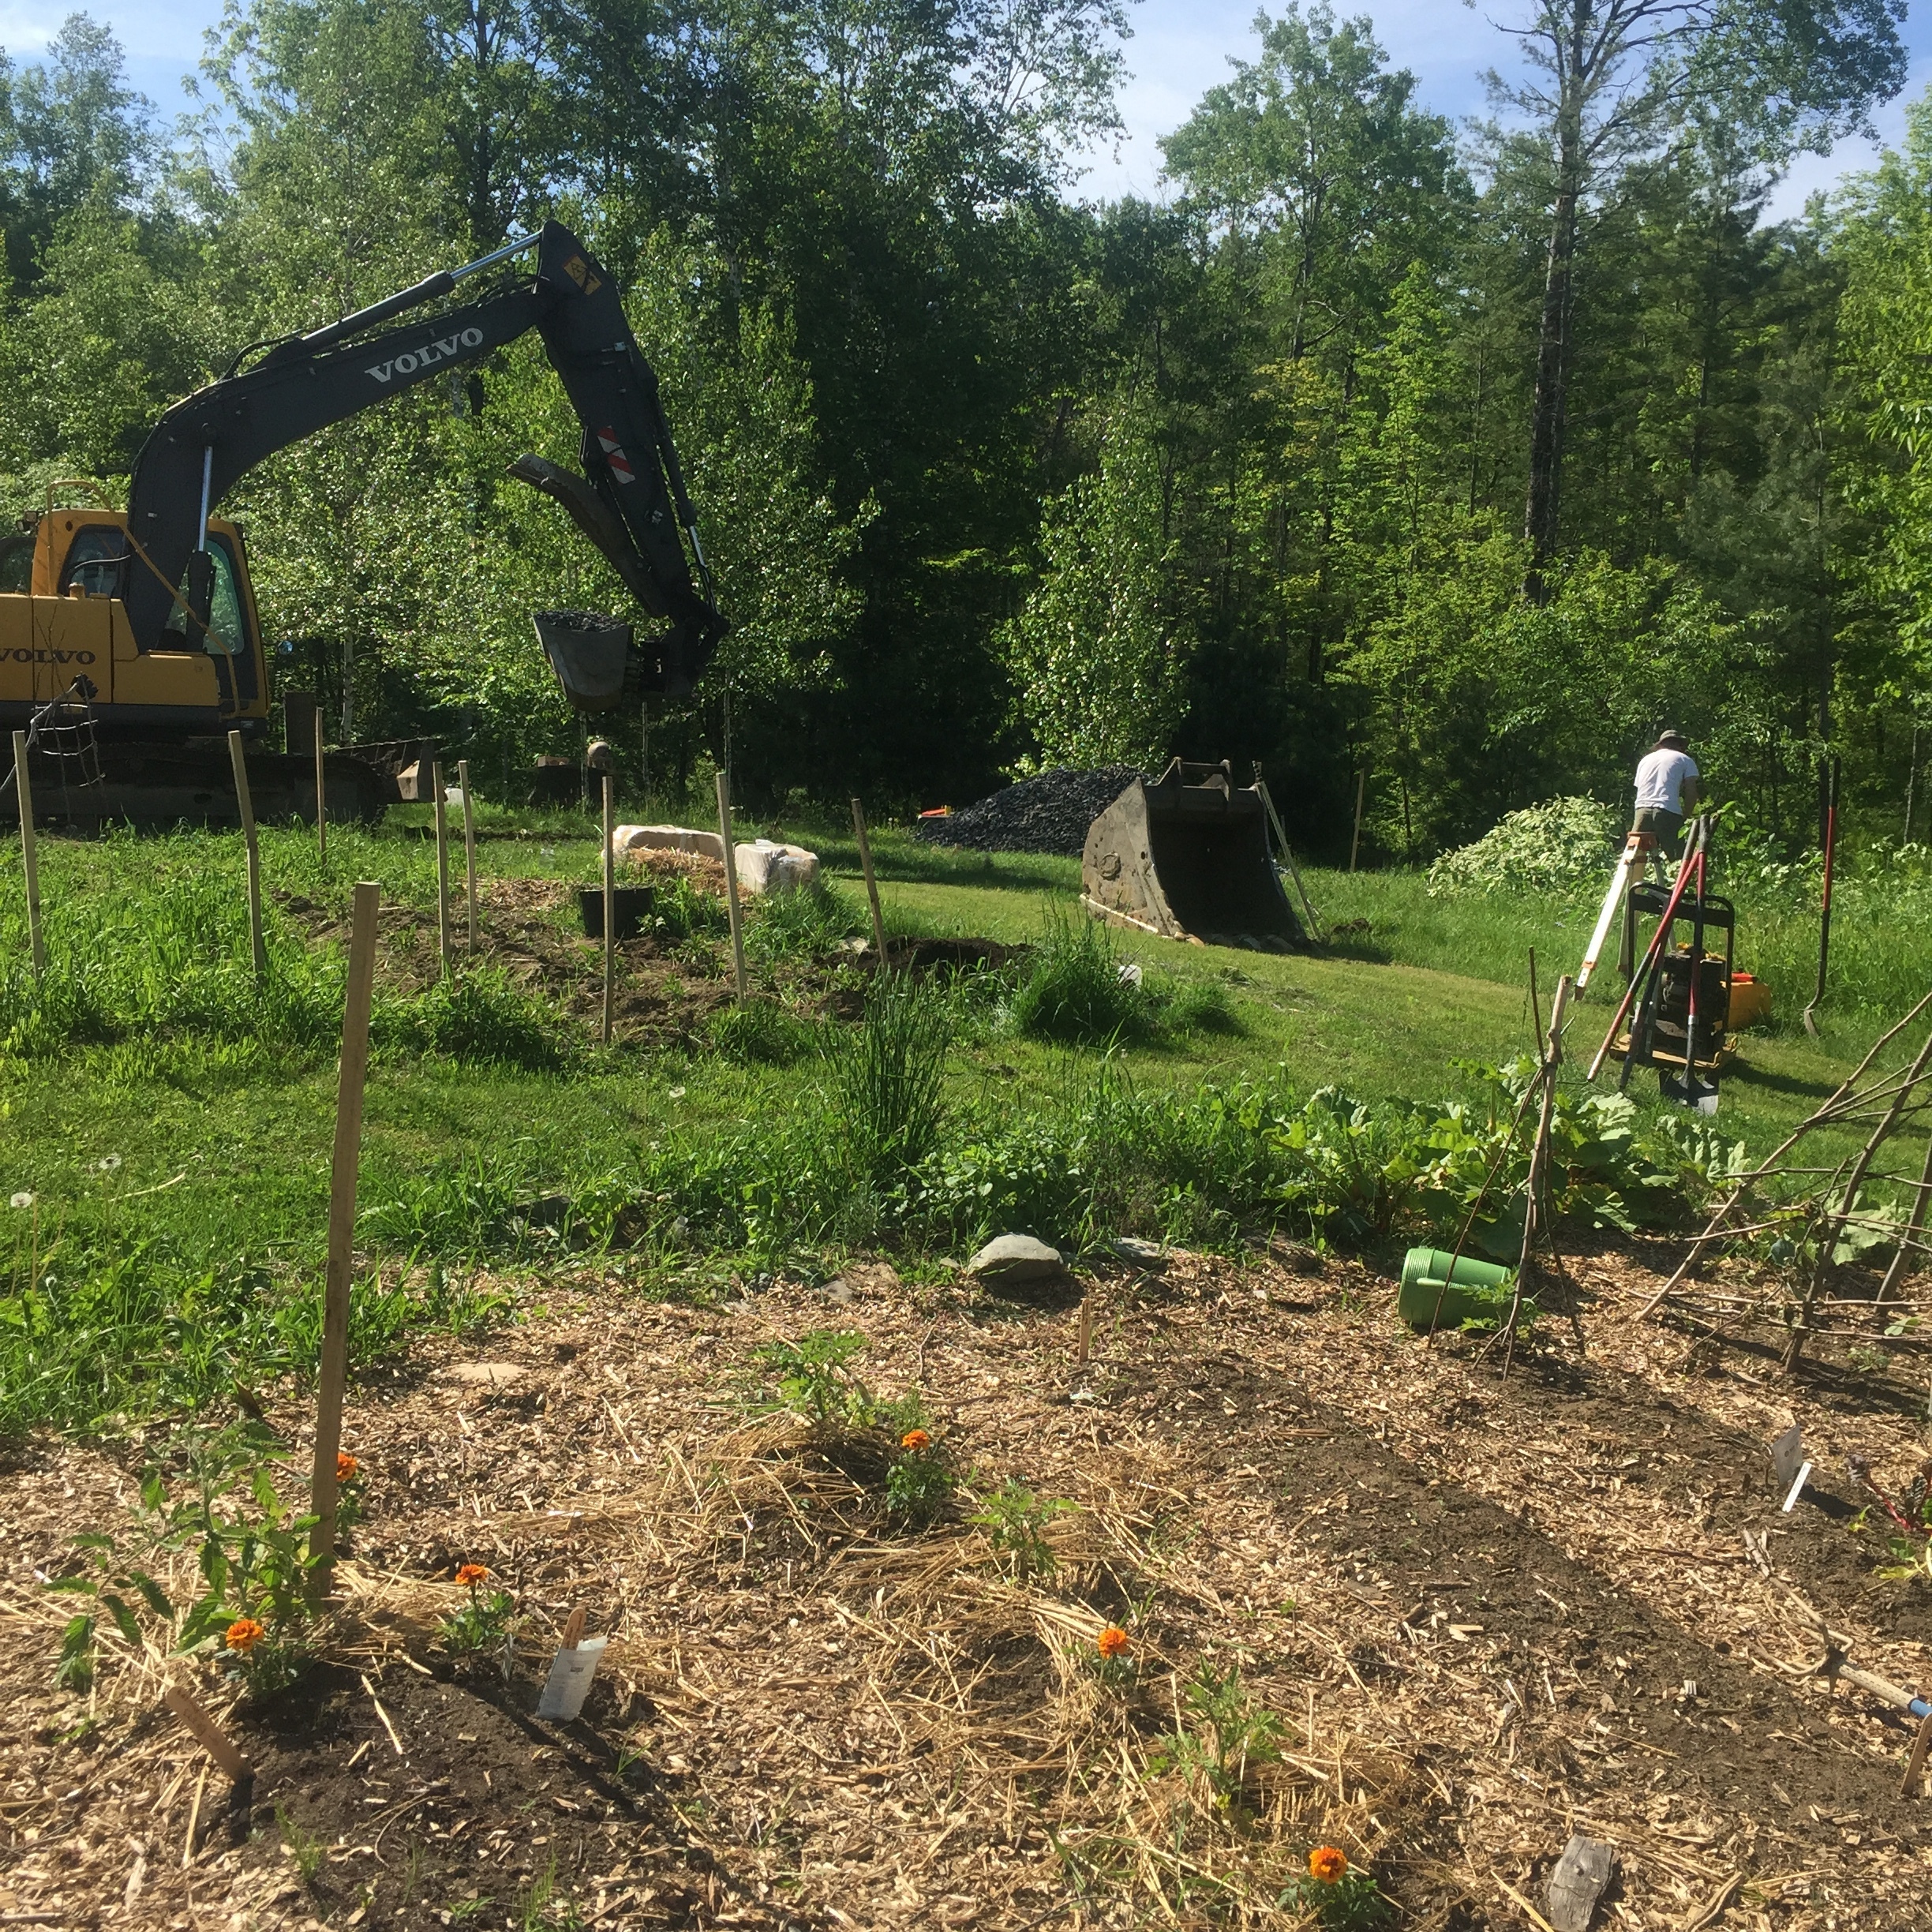
Concrete pouring day, I’ll skip the stresses of dealing with contractors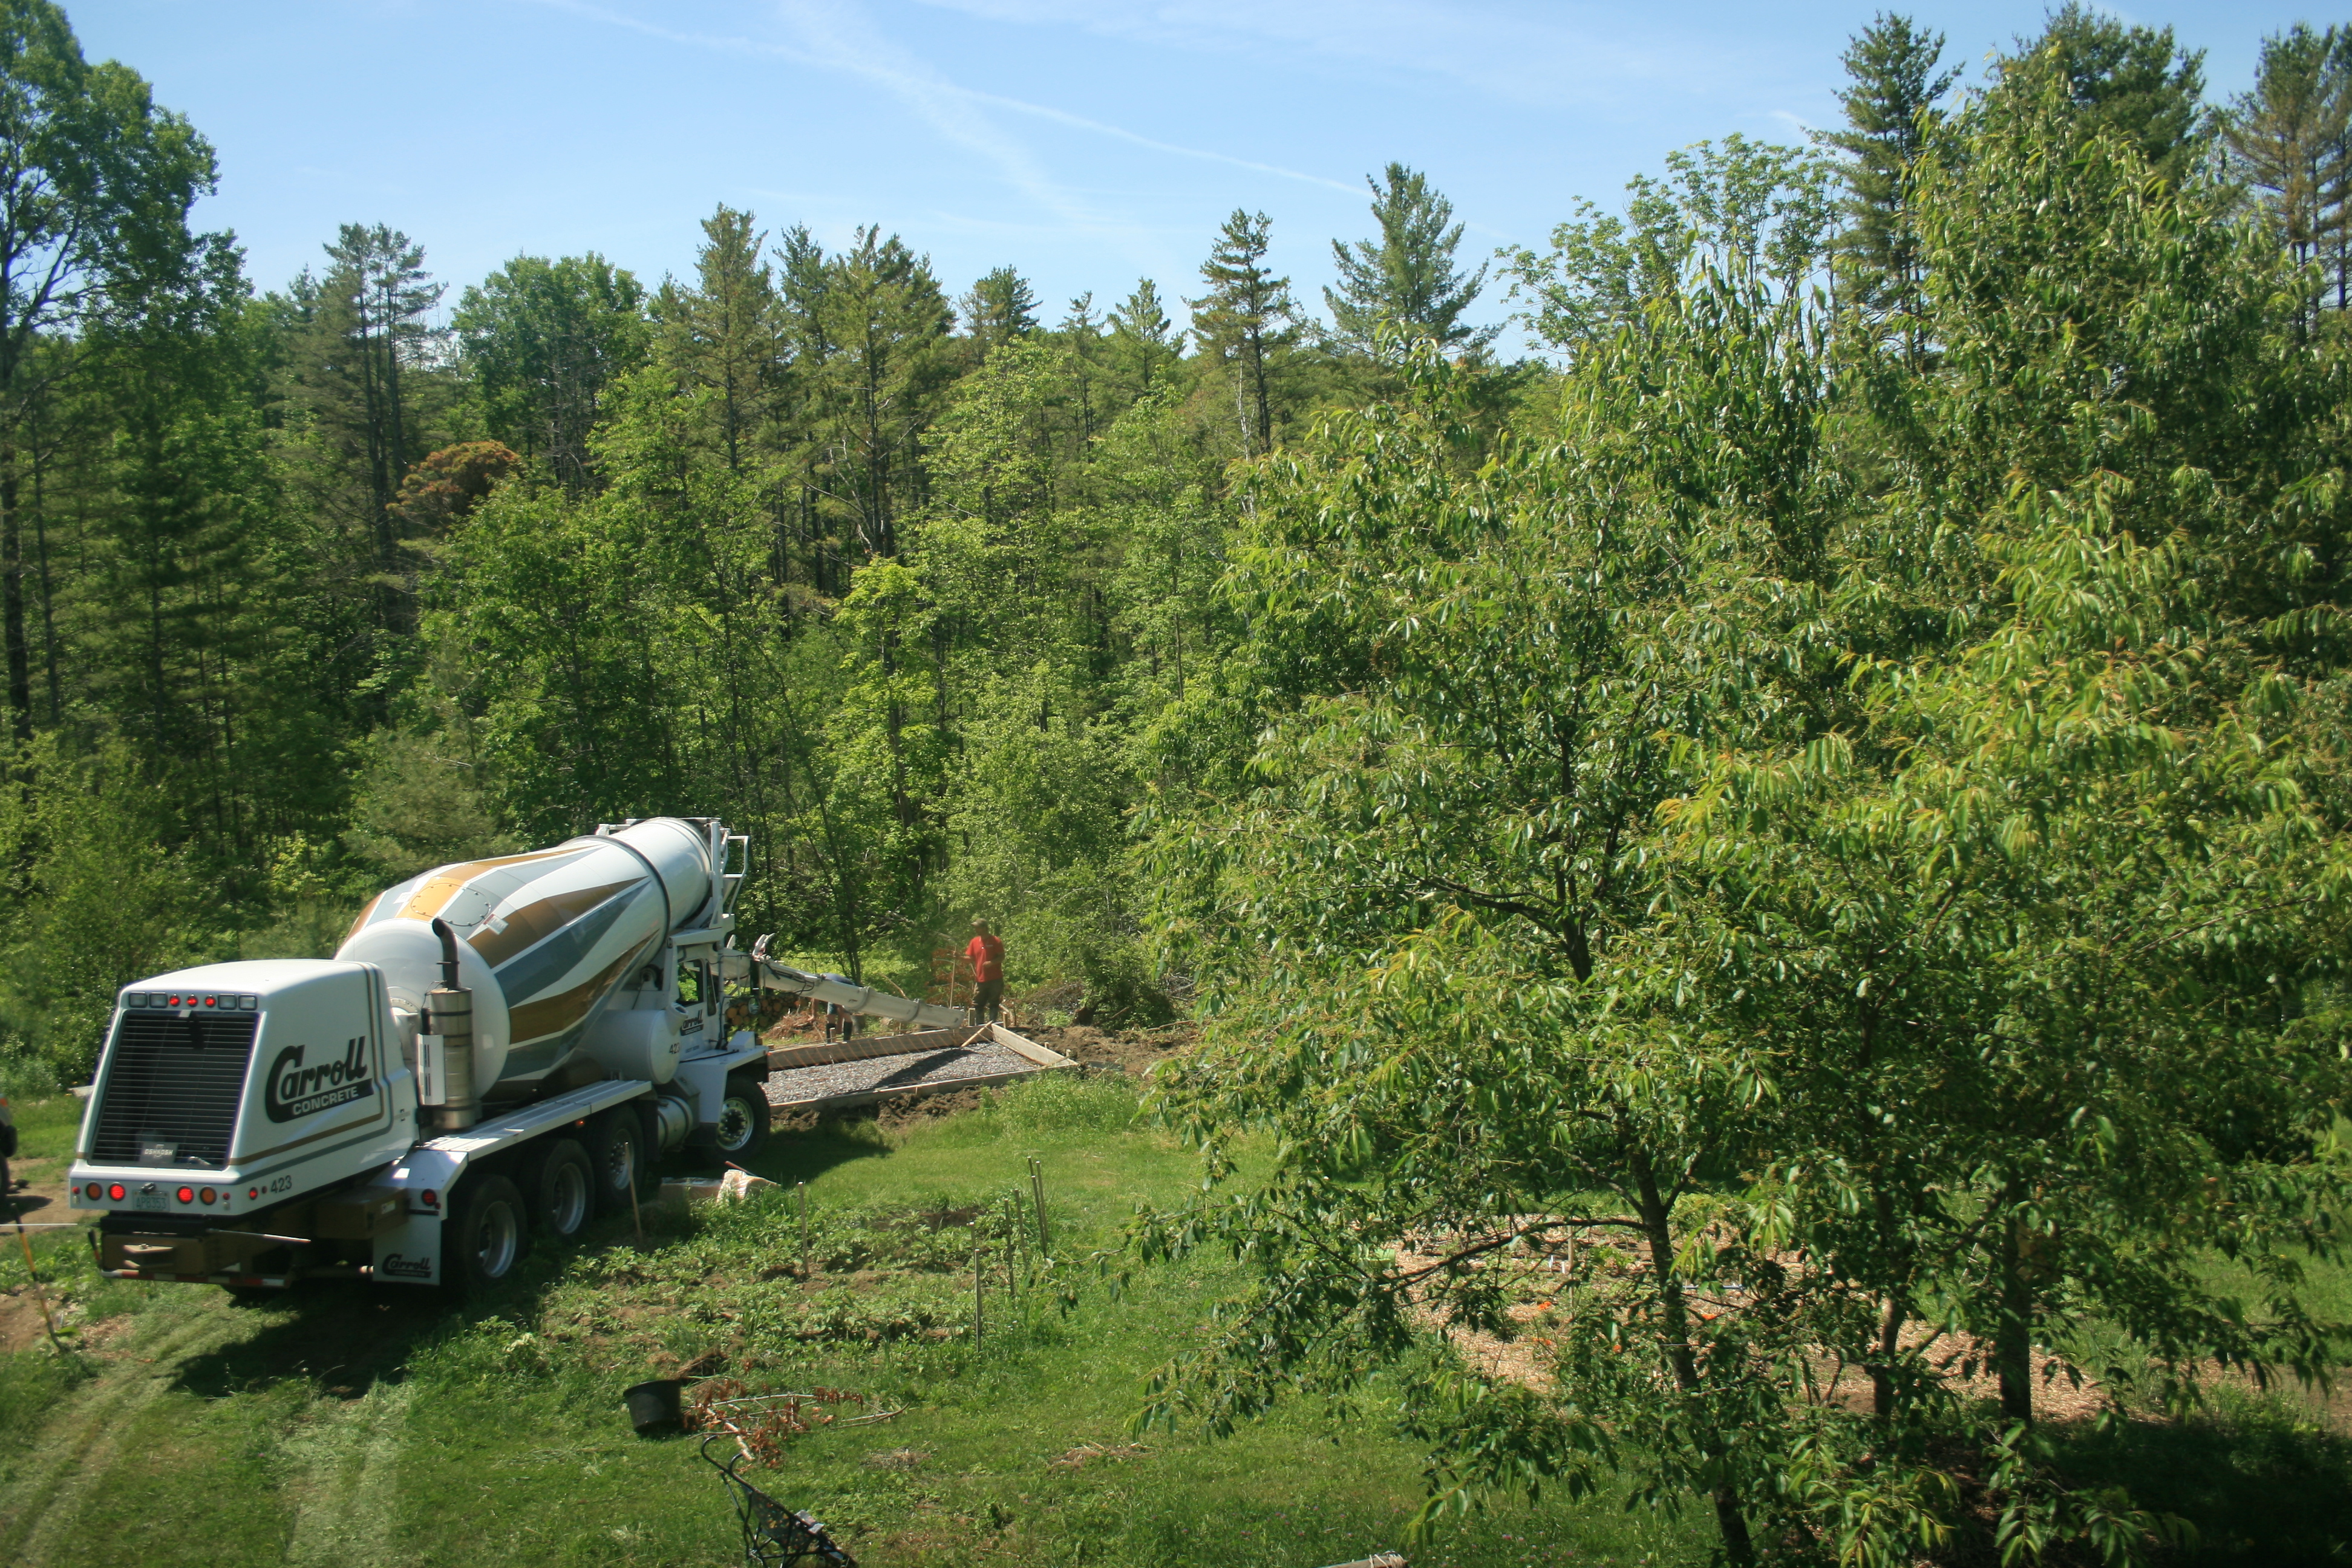
12′ walls are no joke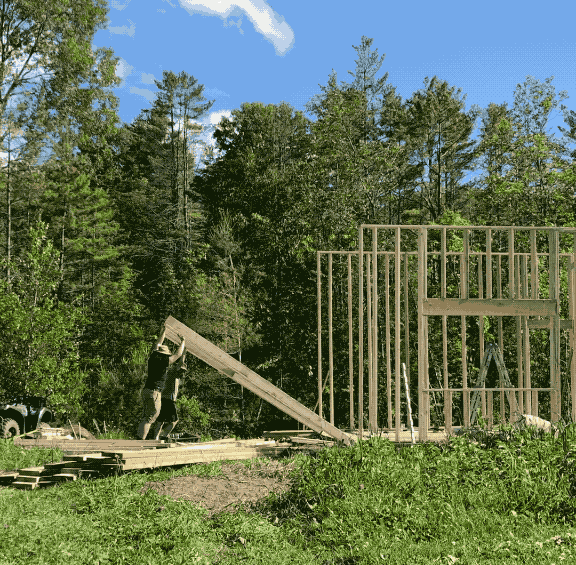
He can help more and more but it’s still hard to have him around the site for all the dangers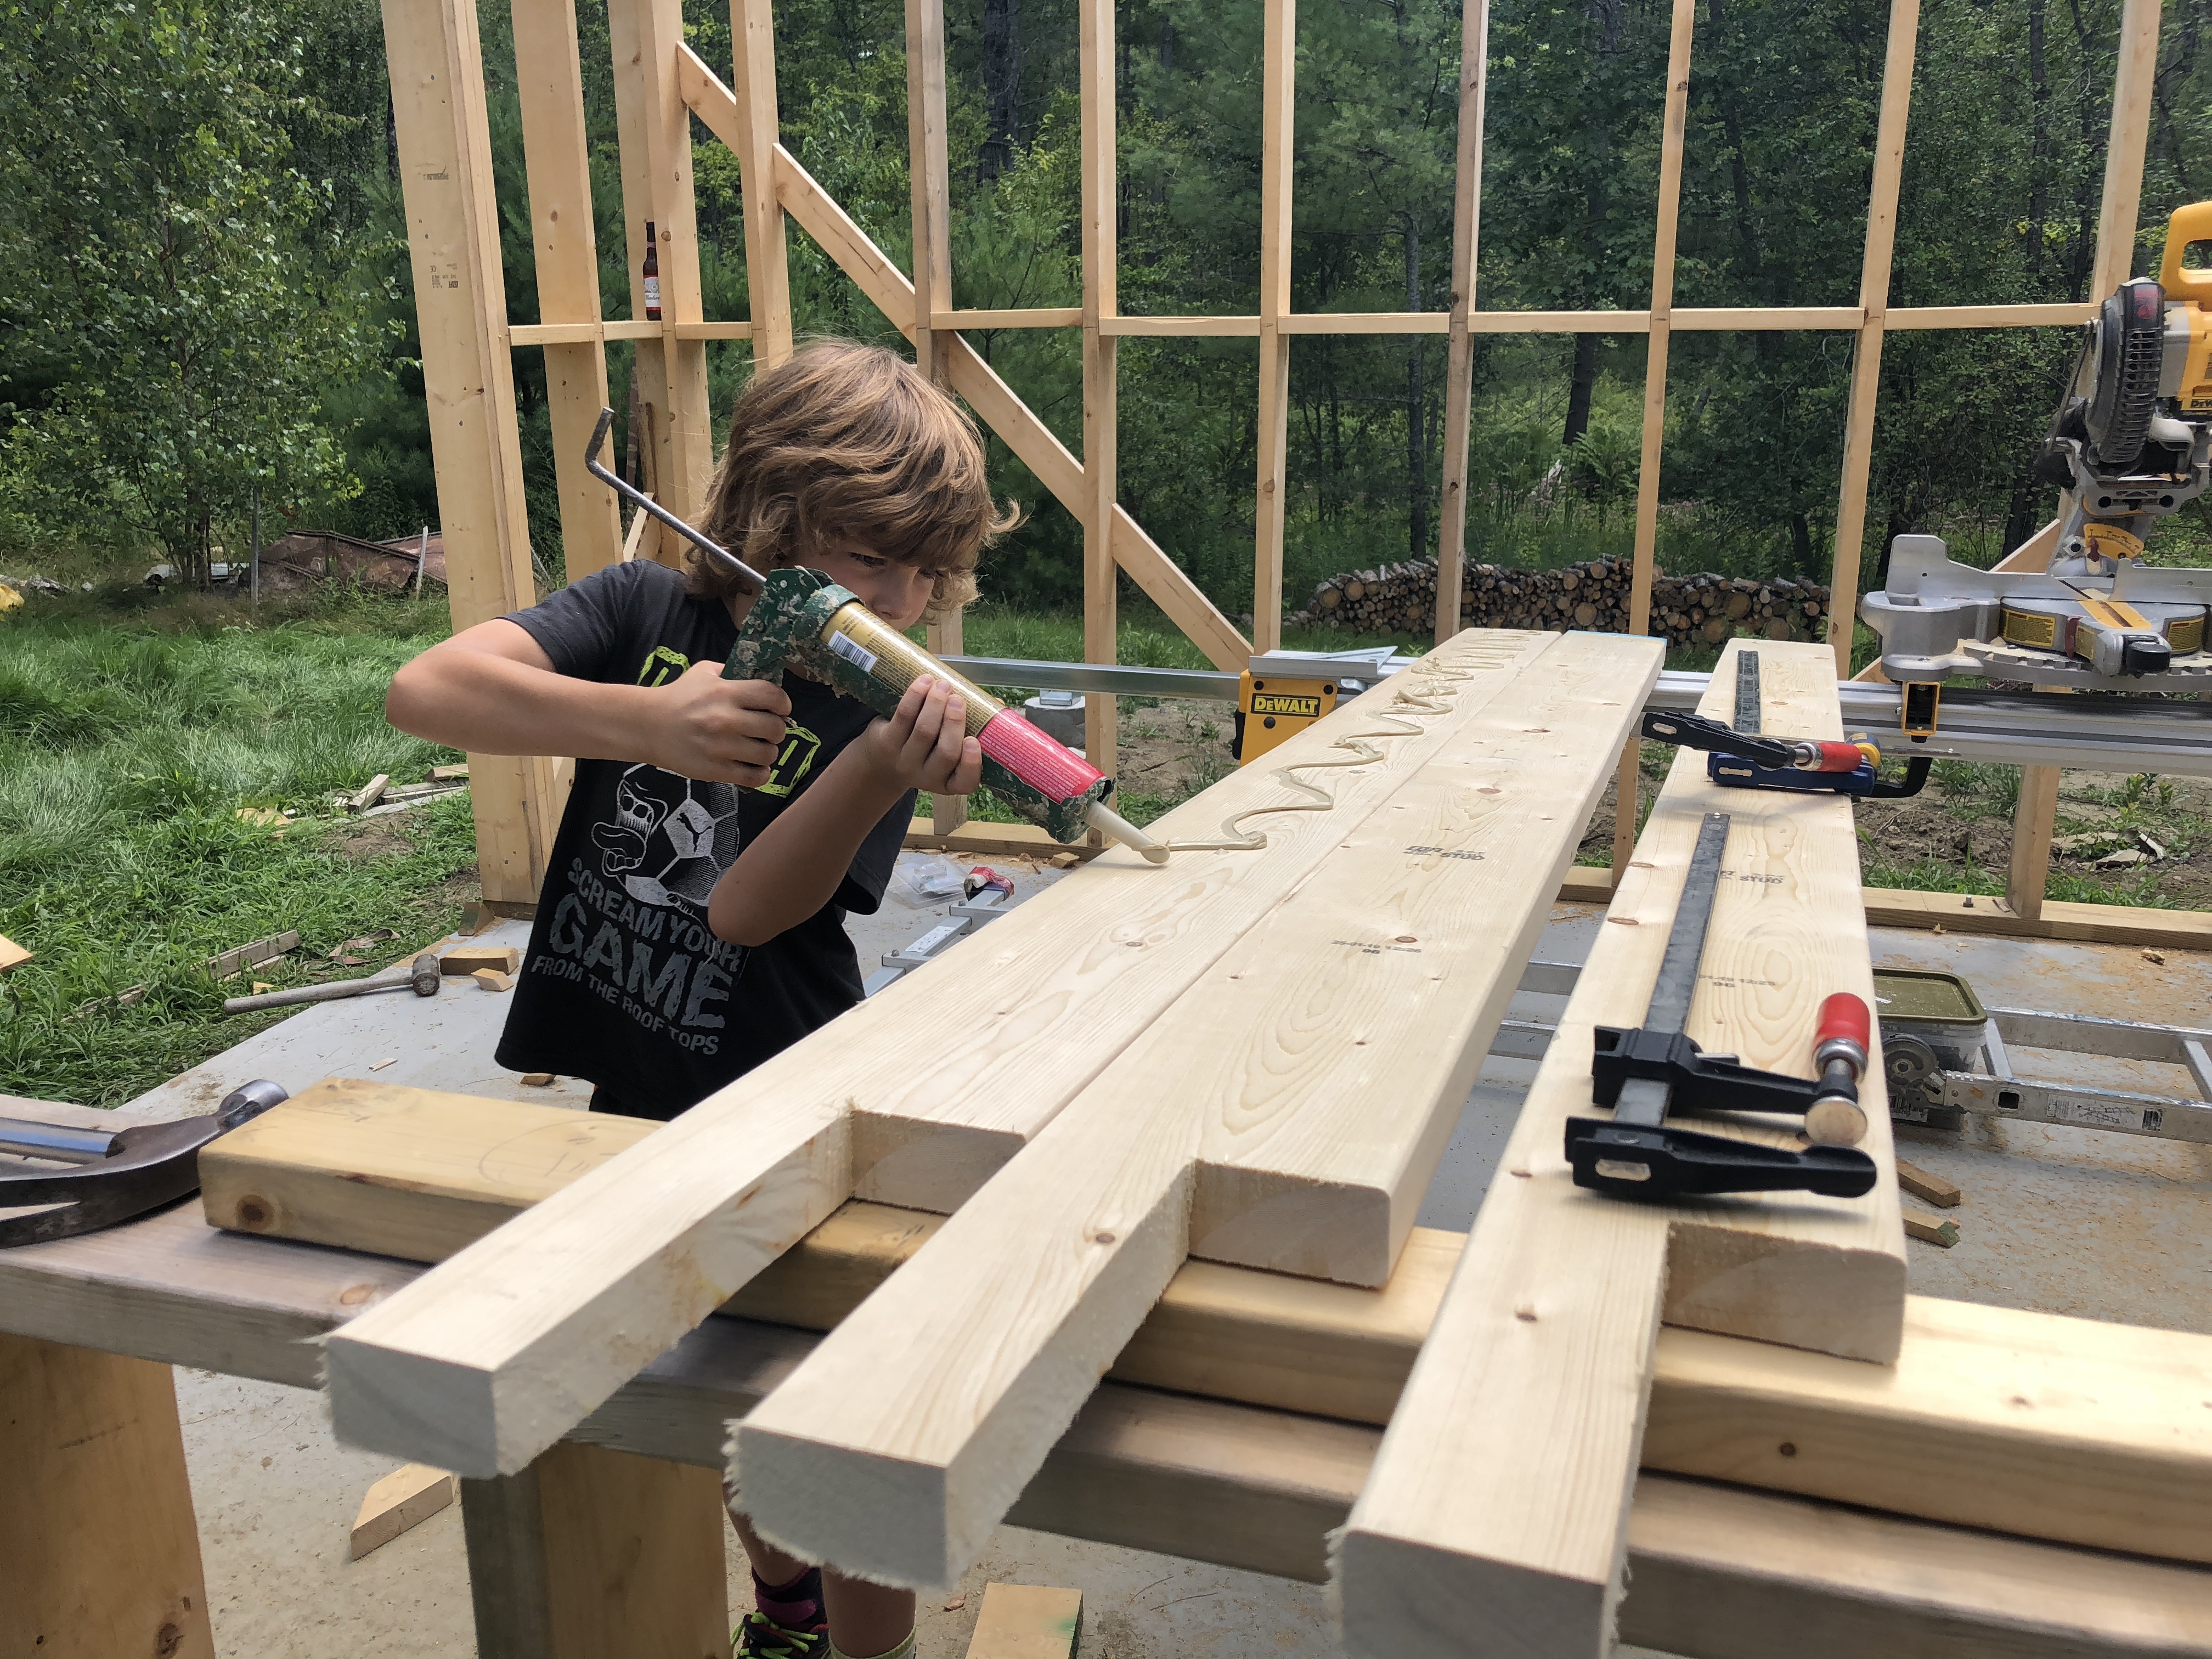
Not the most conventional framing method but the computer model says it’ll work and I’ve grown accustomed to not questioning what the computer says. I braced the building because there won’t be shearing rated sheathing on the walls and we do get high winds. The roof line will be broken by a sizeable cupola. 20′ rafters also are no joke.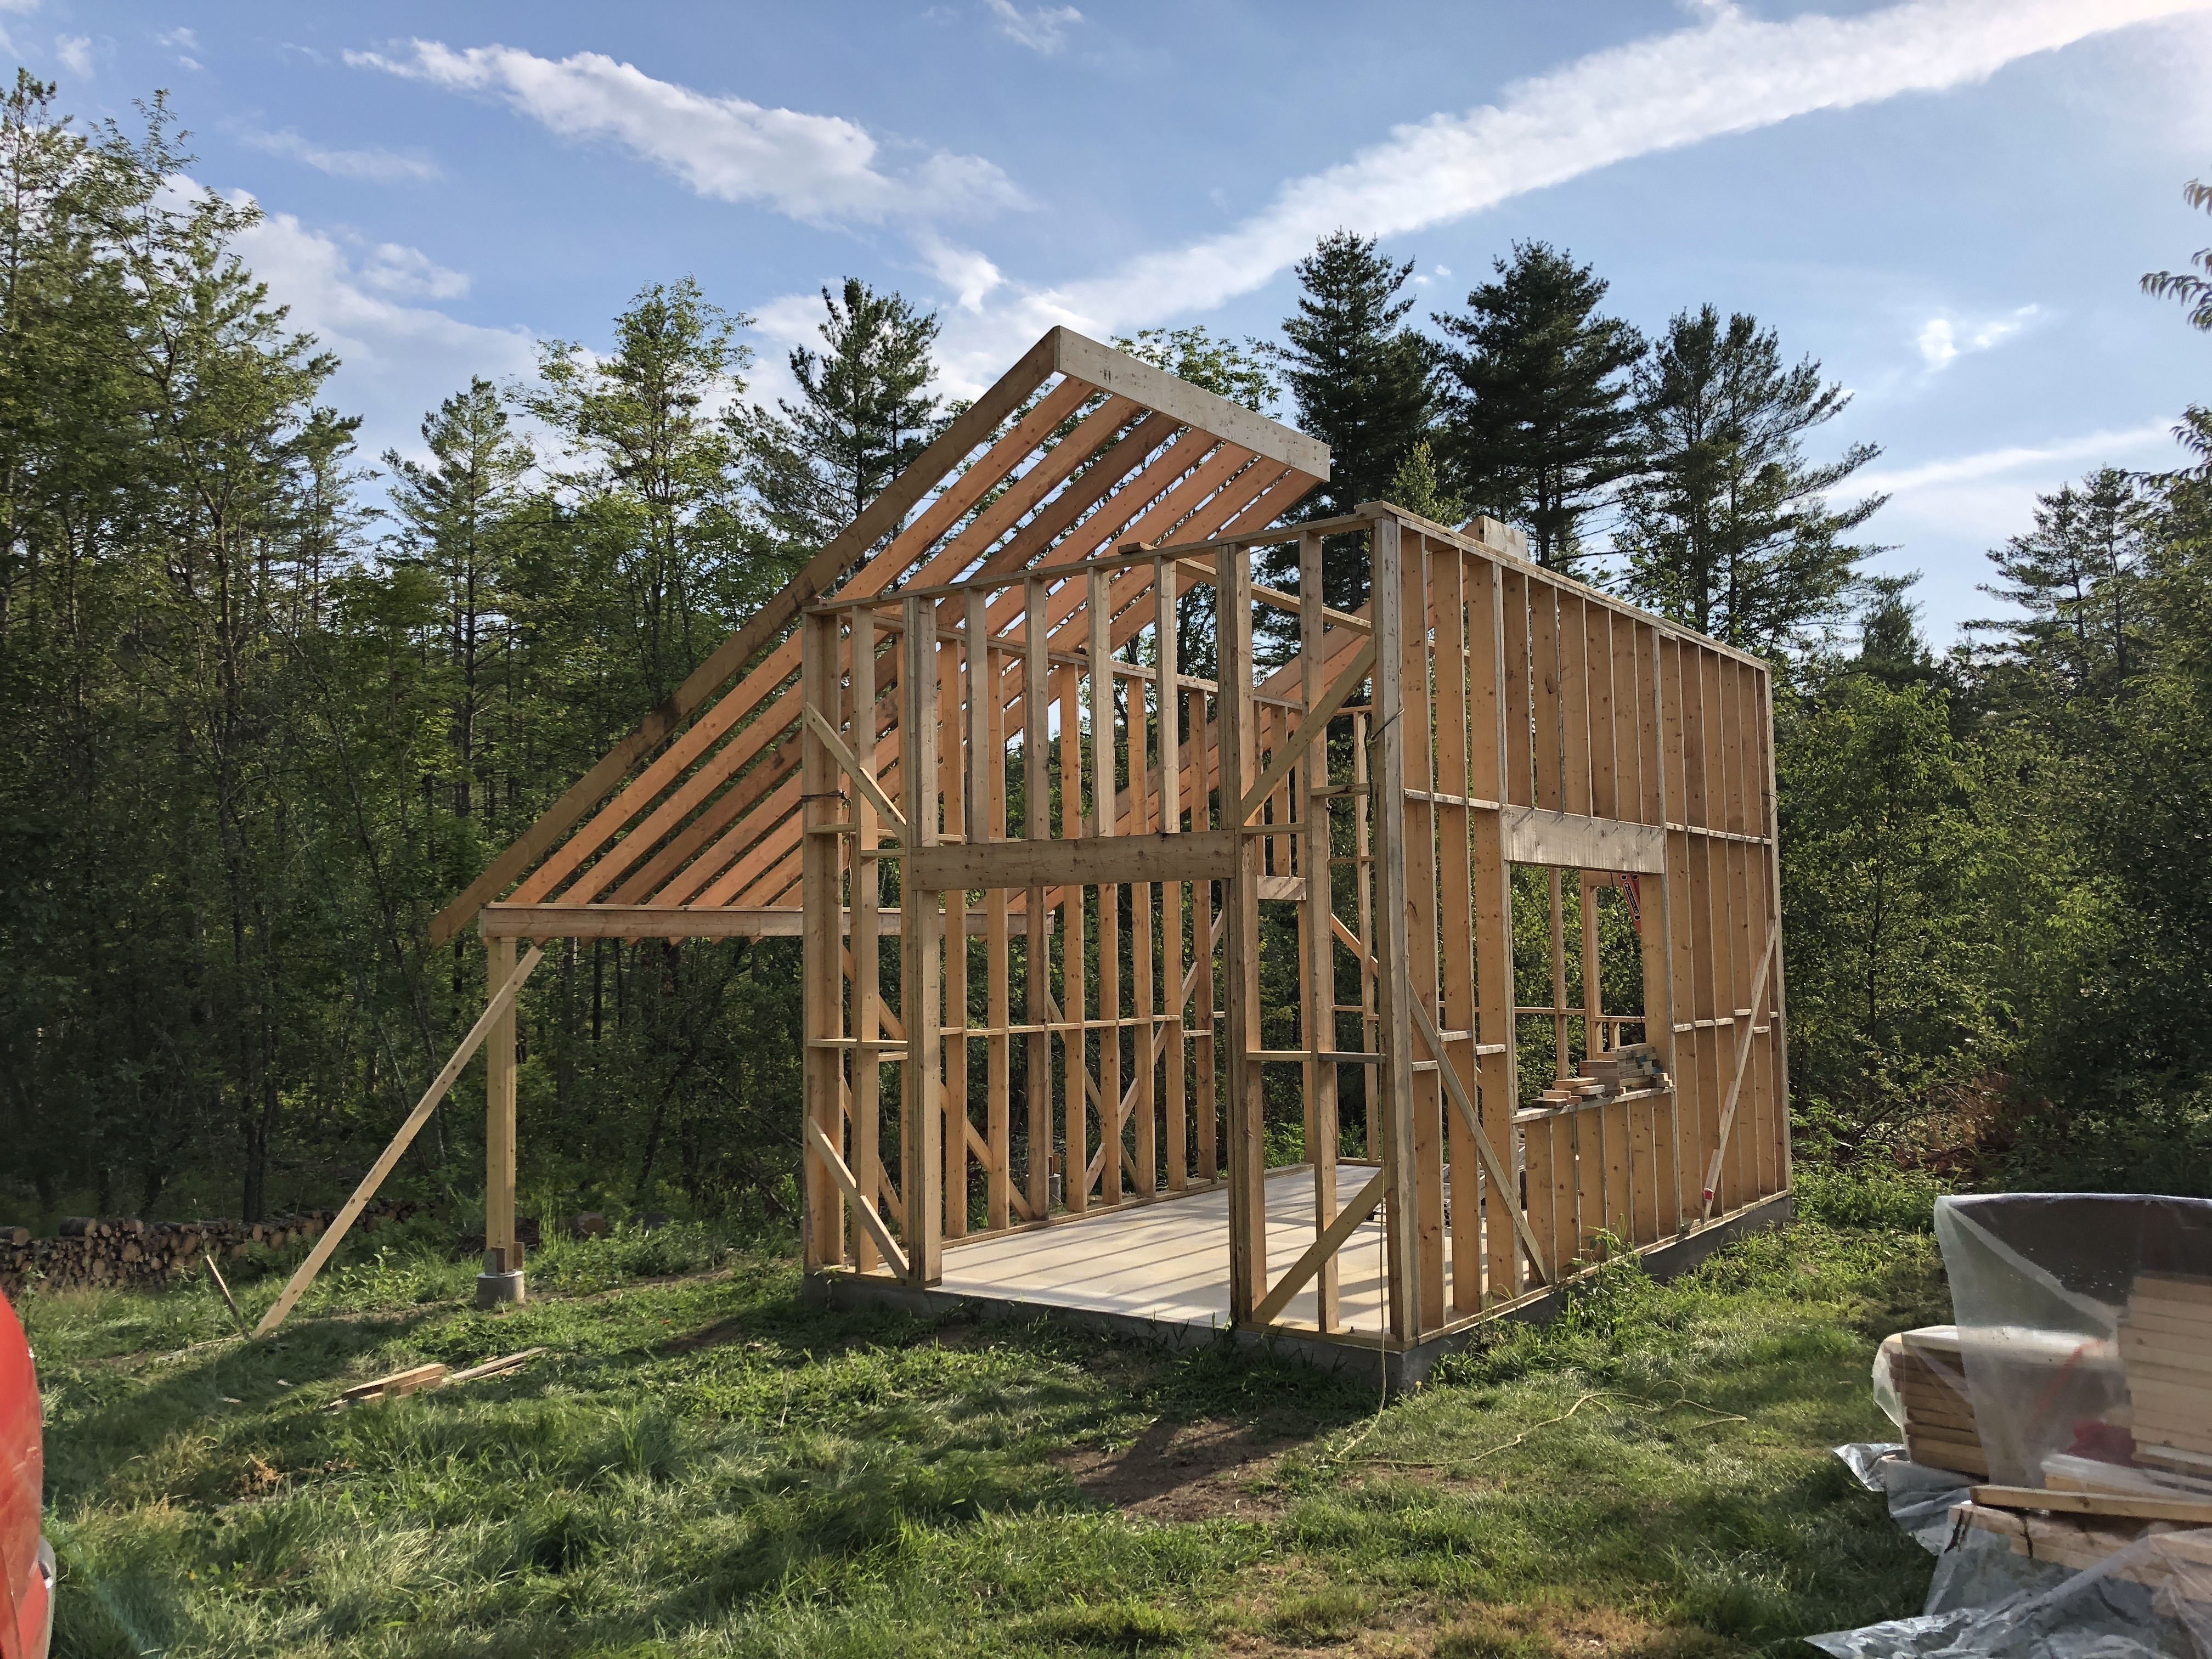
Starting to look good 🙂 
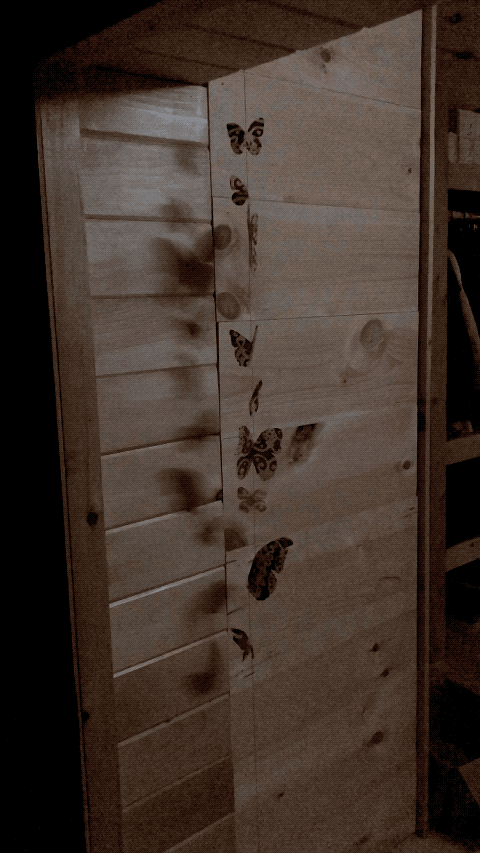
The thermosiphon has been proving itself this whole Winter. It’s quickly becoming one of the best features of our house design and it’s not hard to imagine why. 100% passive & efficient air circulation taking heat from the stove to every nook and cranny of the house. No power, no fan, no duct.
As a bonus, it animates decorative butterflies. Now I don’t really care about the butterflies; I only like seeing them as an indicator of the free work our house is giving us. They’re a great analog anemometer.
We went to a window store once and were quoted $2200 for a single window. More than we paid for all our windows combined. I really don’t mind paying for nice things but I never understood how windows were so expensive. Also annoying, why I need to deal with catalogs & resellers. I avoid resellers like the plague in any context. Give me a website, I punch in my measurements, pick a few options and click “Go”.
There’s no way we’d pay this much for a window. Thankfully there’s plenty of second-hand ones out there. From recover stores to word-of-mouth. The ones at the recover store are in high demand and fly off the shelves pretty fast. The word-of-mouth ones don’t show up when you need them so you need to store them until you do.
I found this one next to a “free” sign along with 3 others. I pounced on them and they’ve been sitting in storage for a few years until today. Most second hand windows need a little TLC.
Definitely not $2200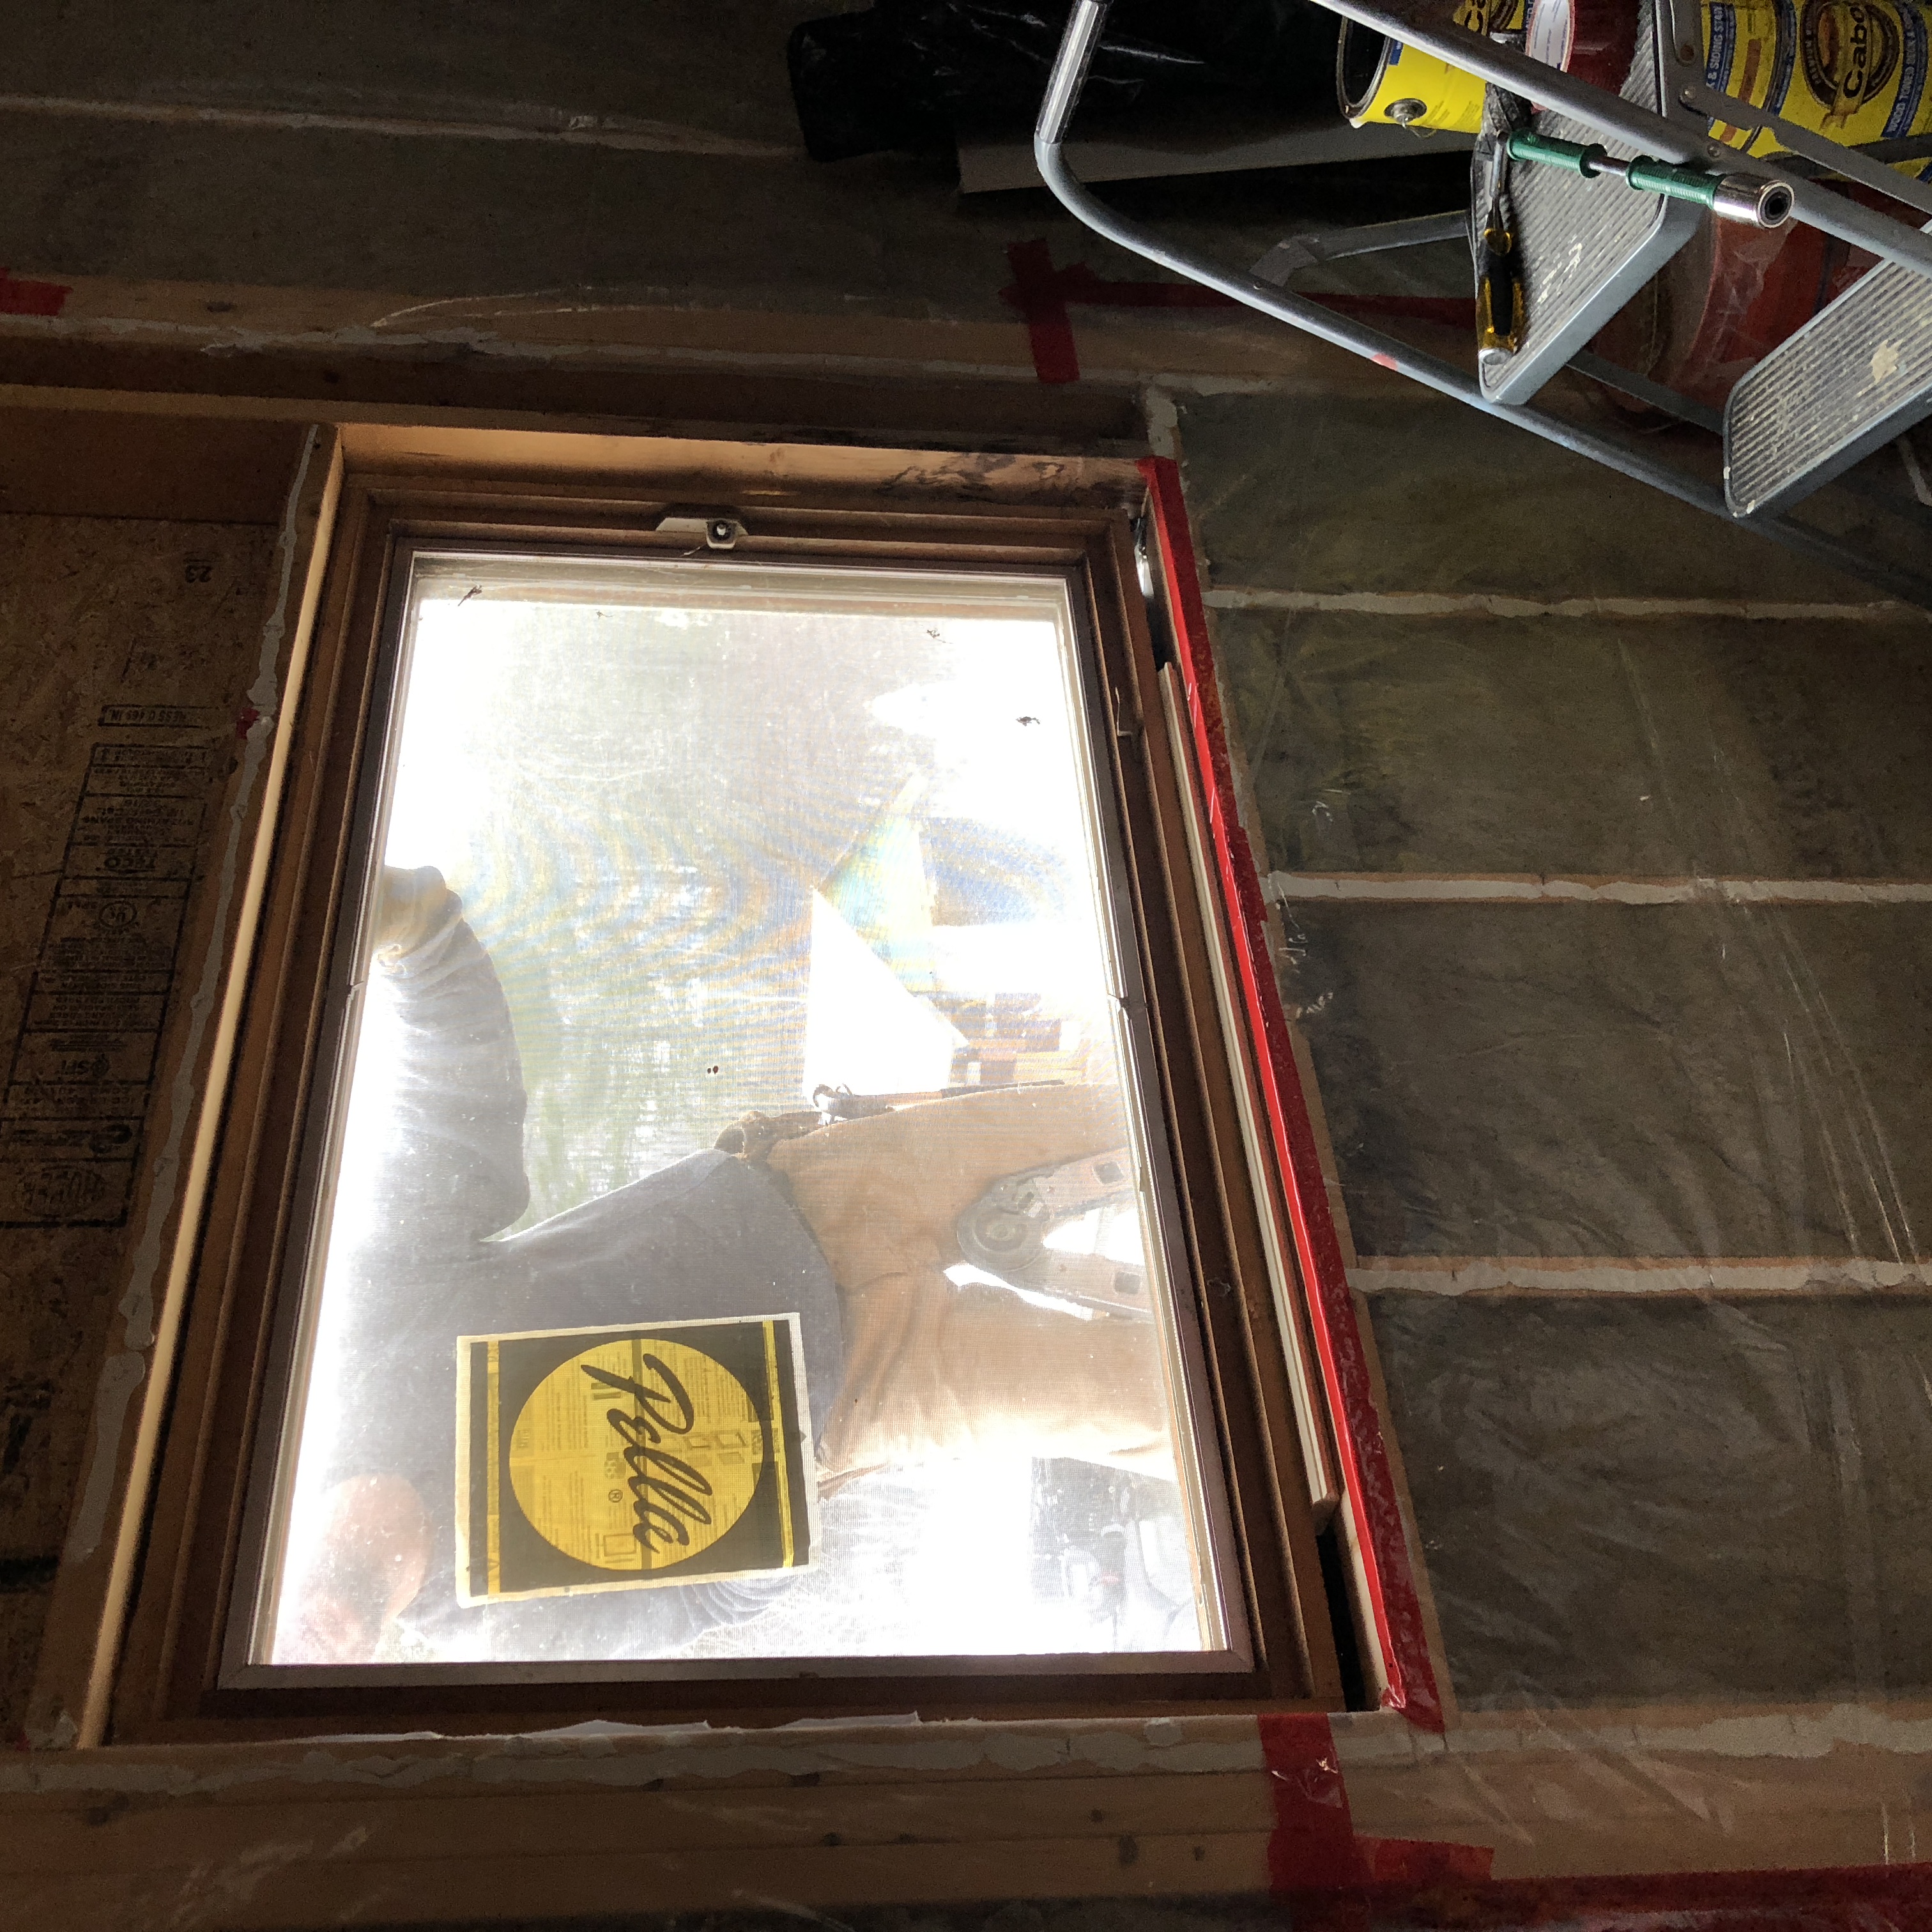
Making a hole for another window 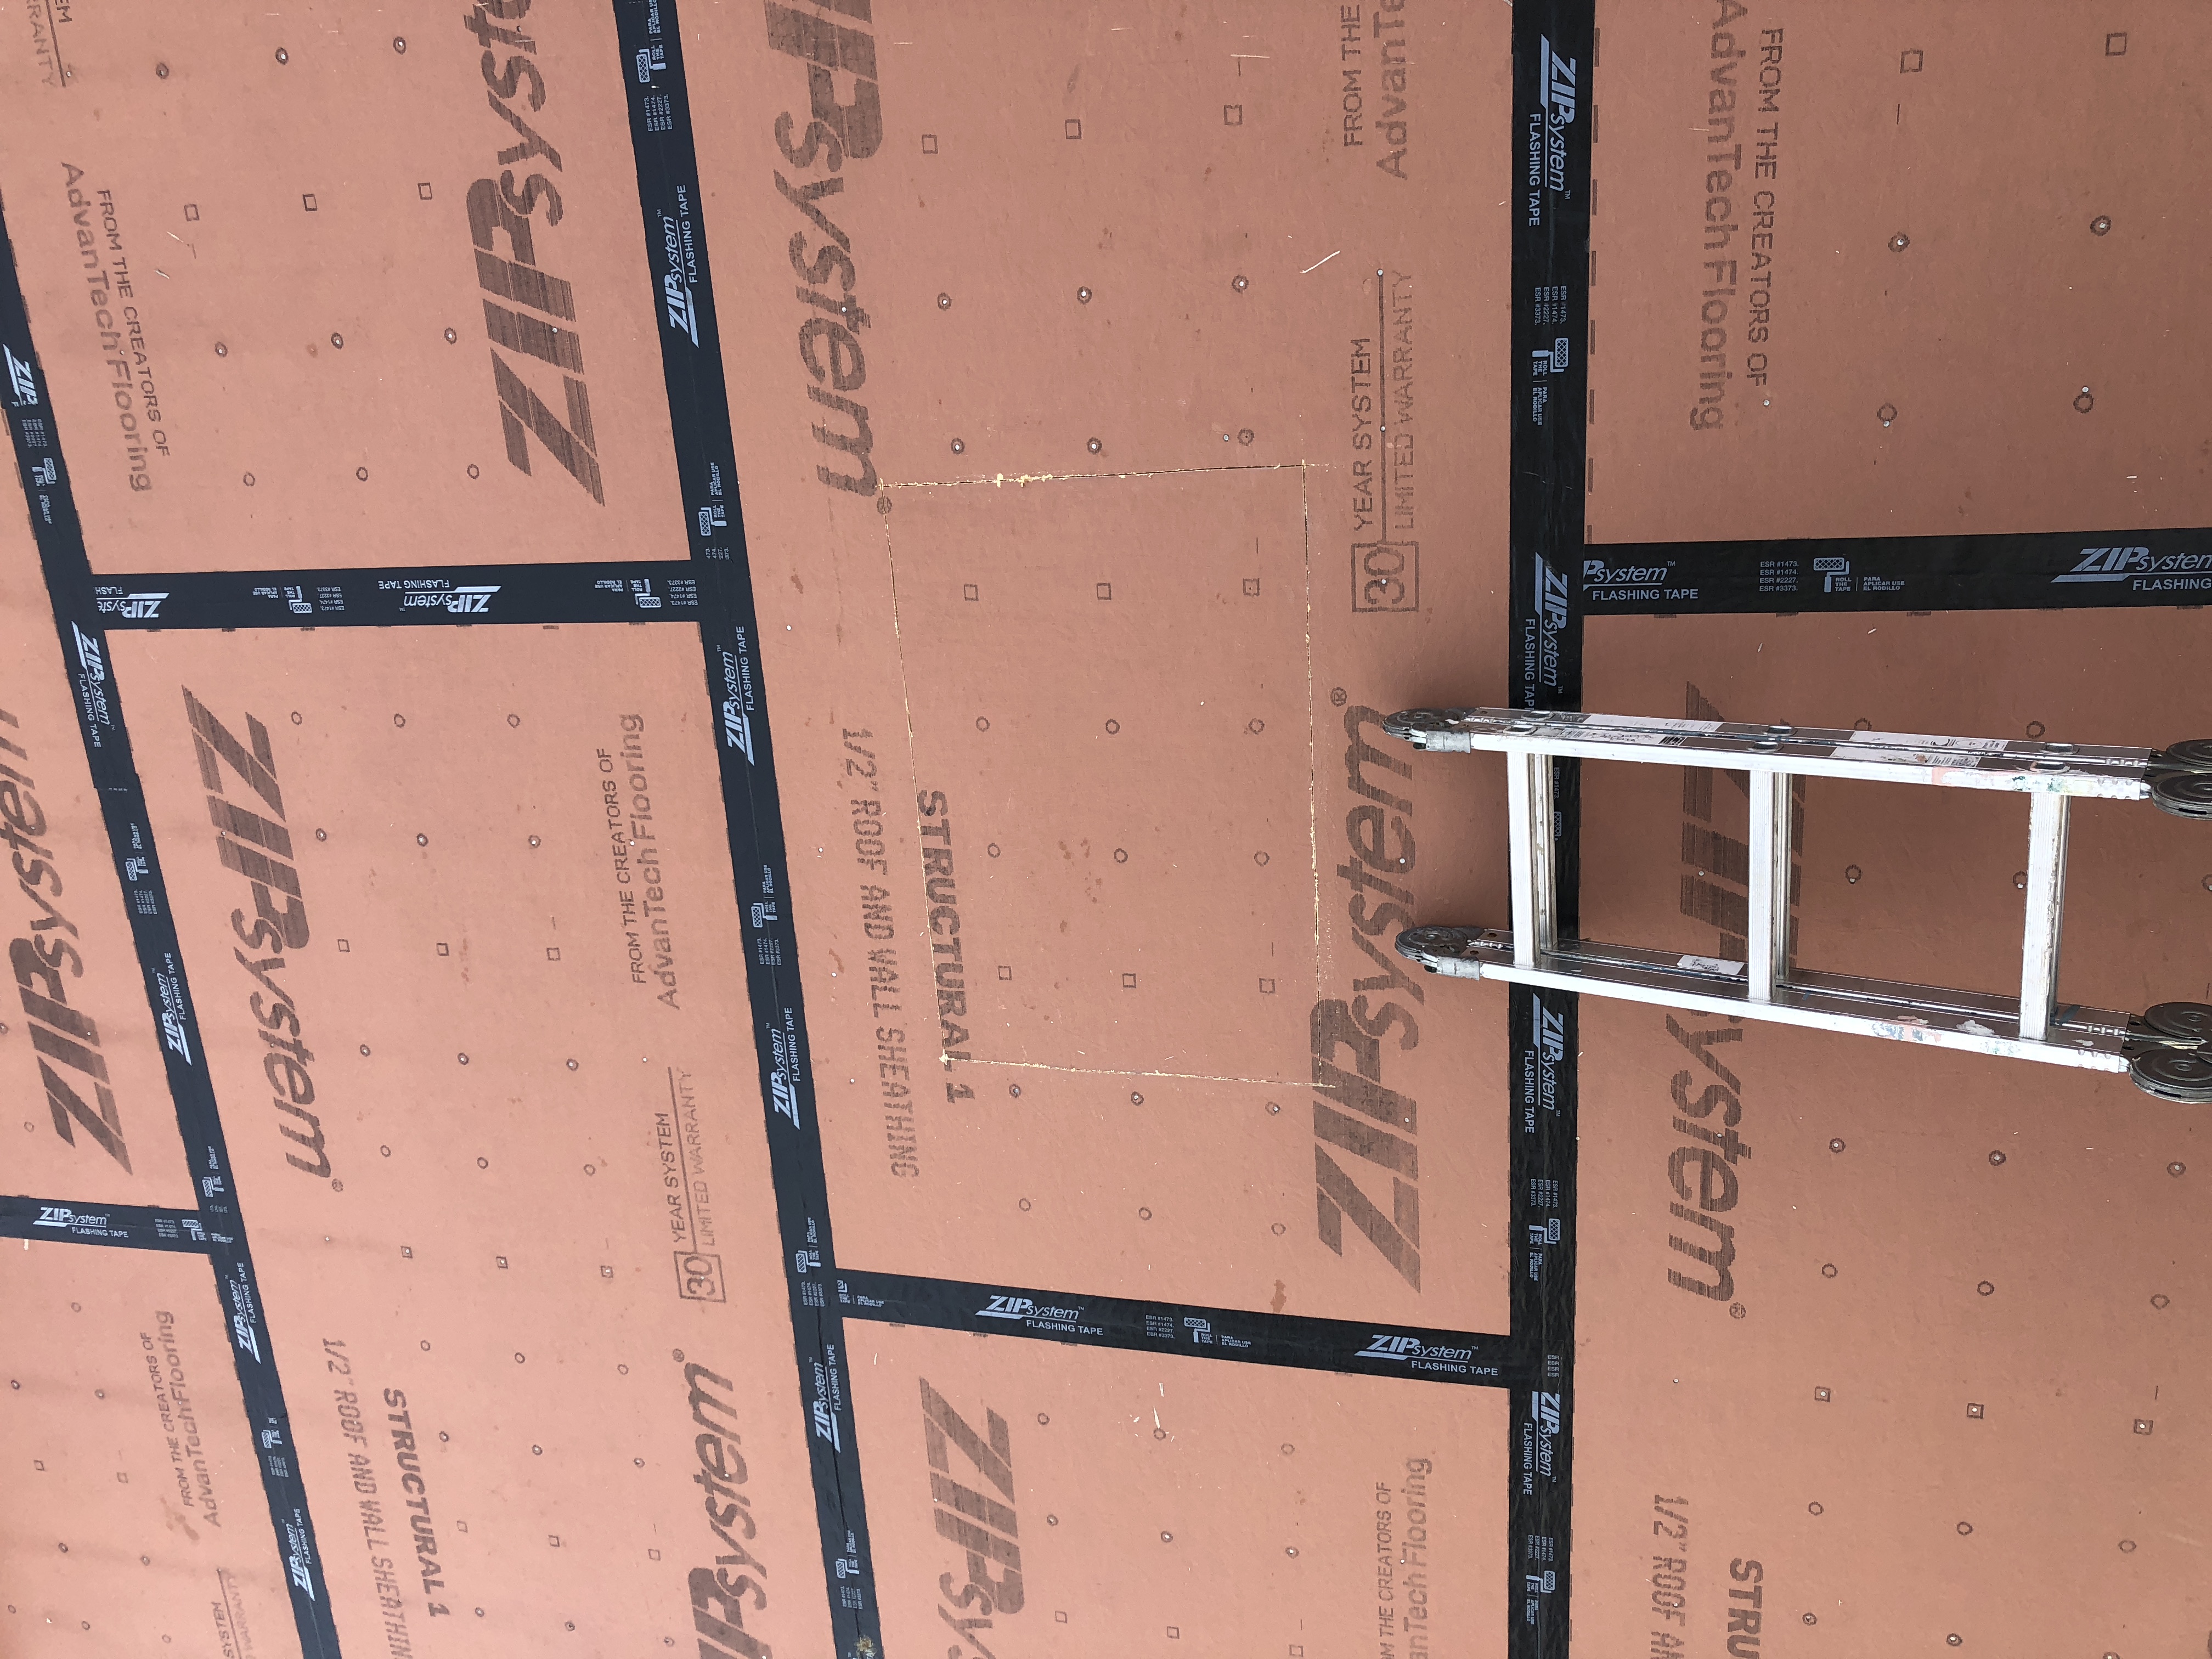
This one only costs ~$100 new, we’ve got several in the house and I really like them. They’re clearly not the nicest looking windows but they’re good bang for the buck weather shielding wise.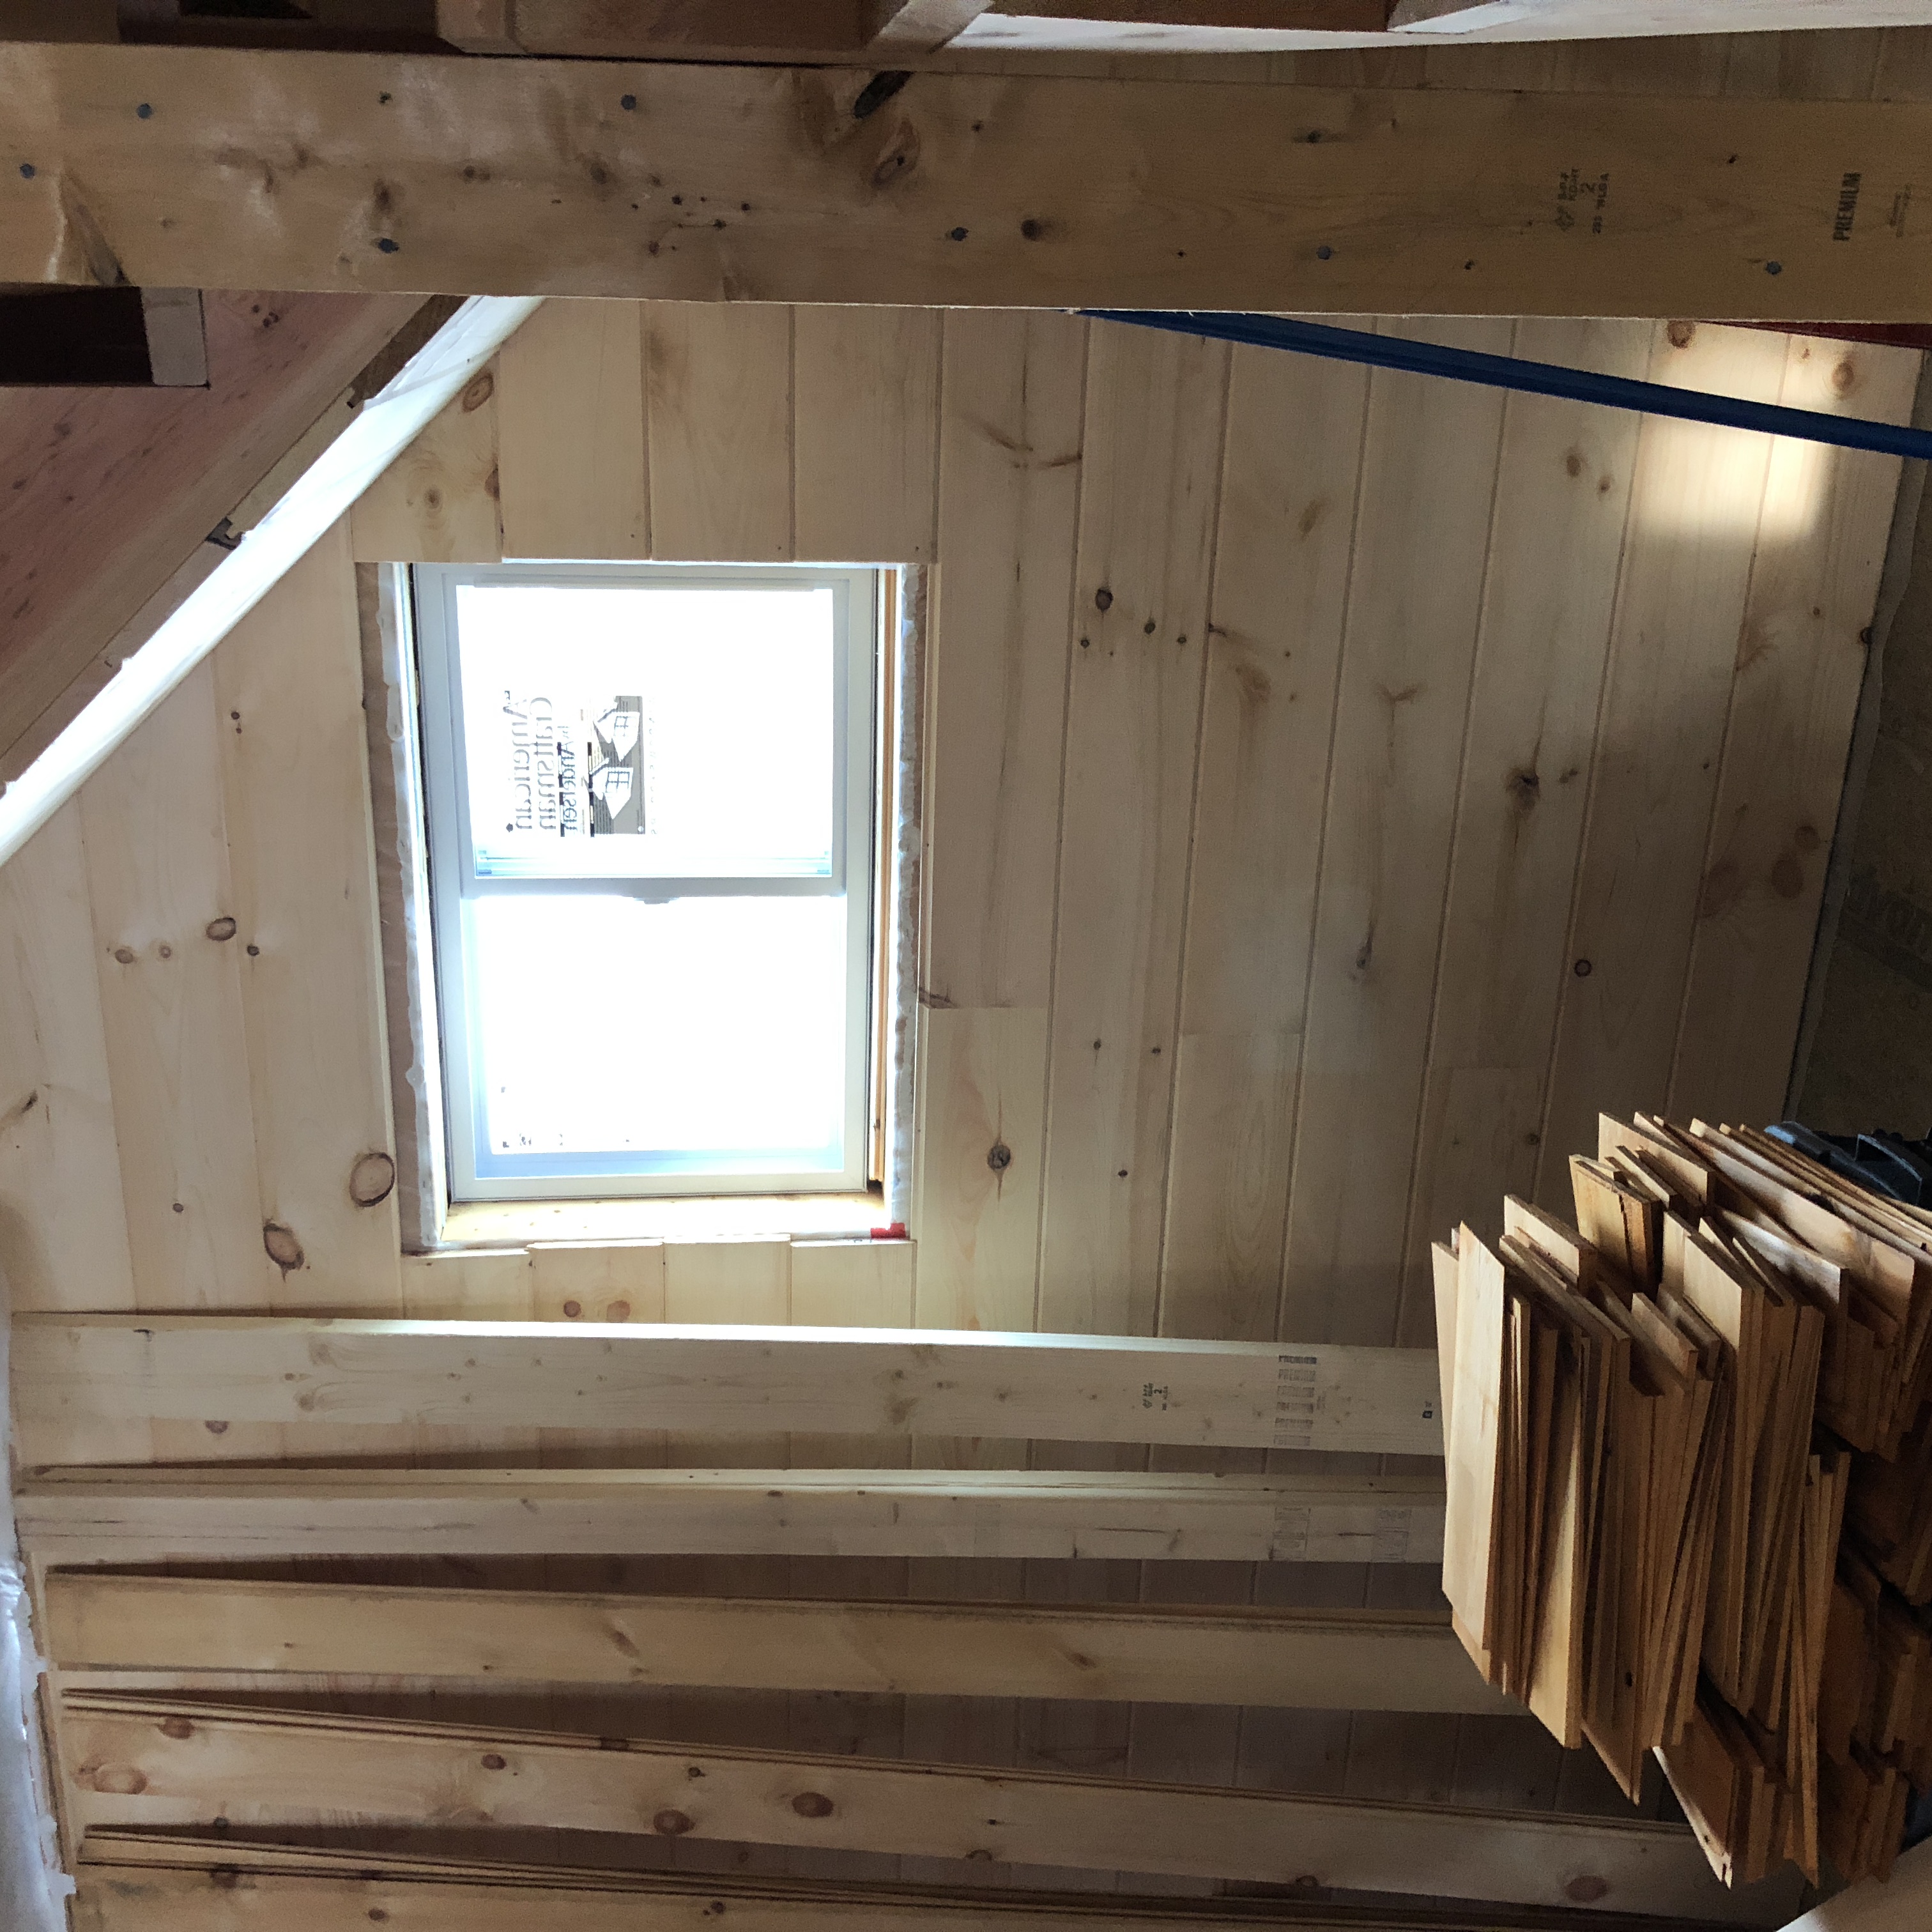
We have daylight 🙂 We’re trying to figure out what to do with this little alcove.
This living room is going to be my master piece. The experience I’ve acquired these past few years is starting to show. Our house is a great timeline of my progress working with wood, it’s crazy to think I even got something together with no experience and lack of proper tools. I now possess so many routines, tools, subconscious movements which all add up to perfect walls with no mistakes or swear words. Now I’m sure this will change when I do the ceiling.
I’m pushing hard for a living room. It’ll be a while longer before it’s ready but I can already tell it will signal once and for all the end of tiny living.
I didn’t open the windows or run lights yet, so I’m working with a flashlight. It’s surprisingly a non-issue.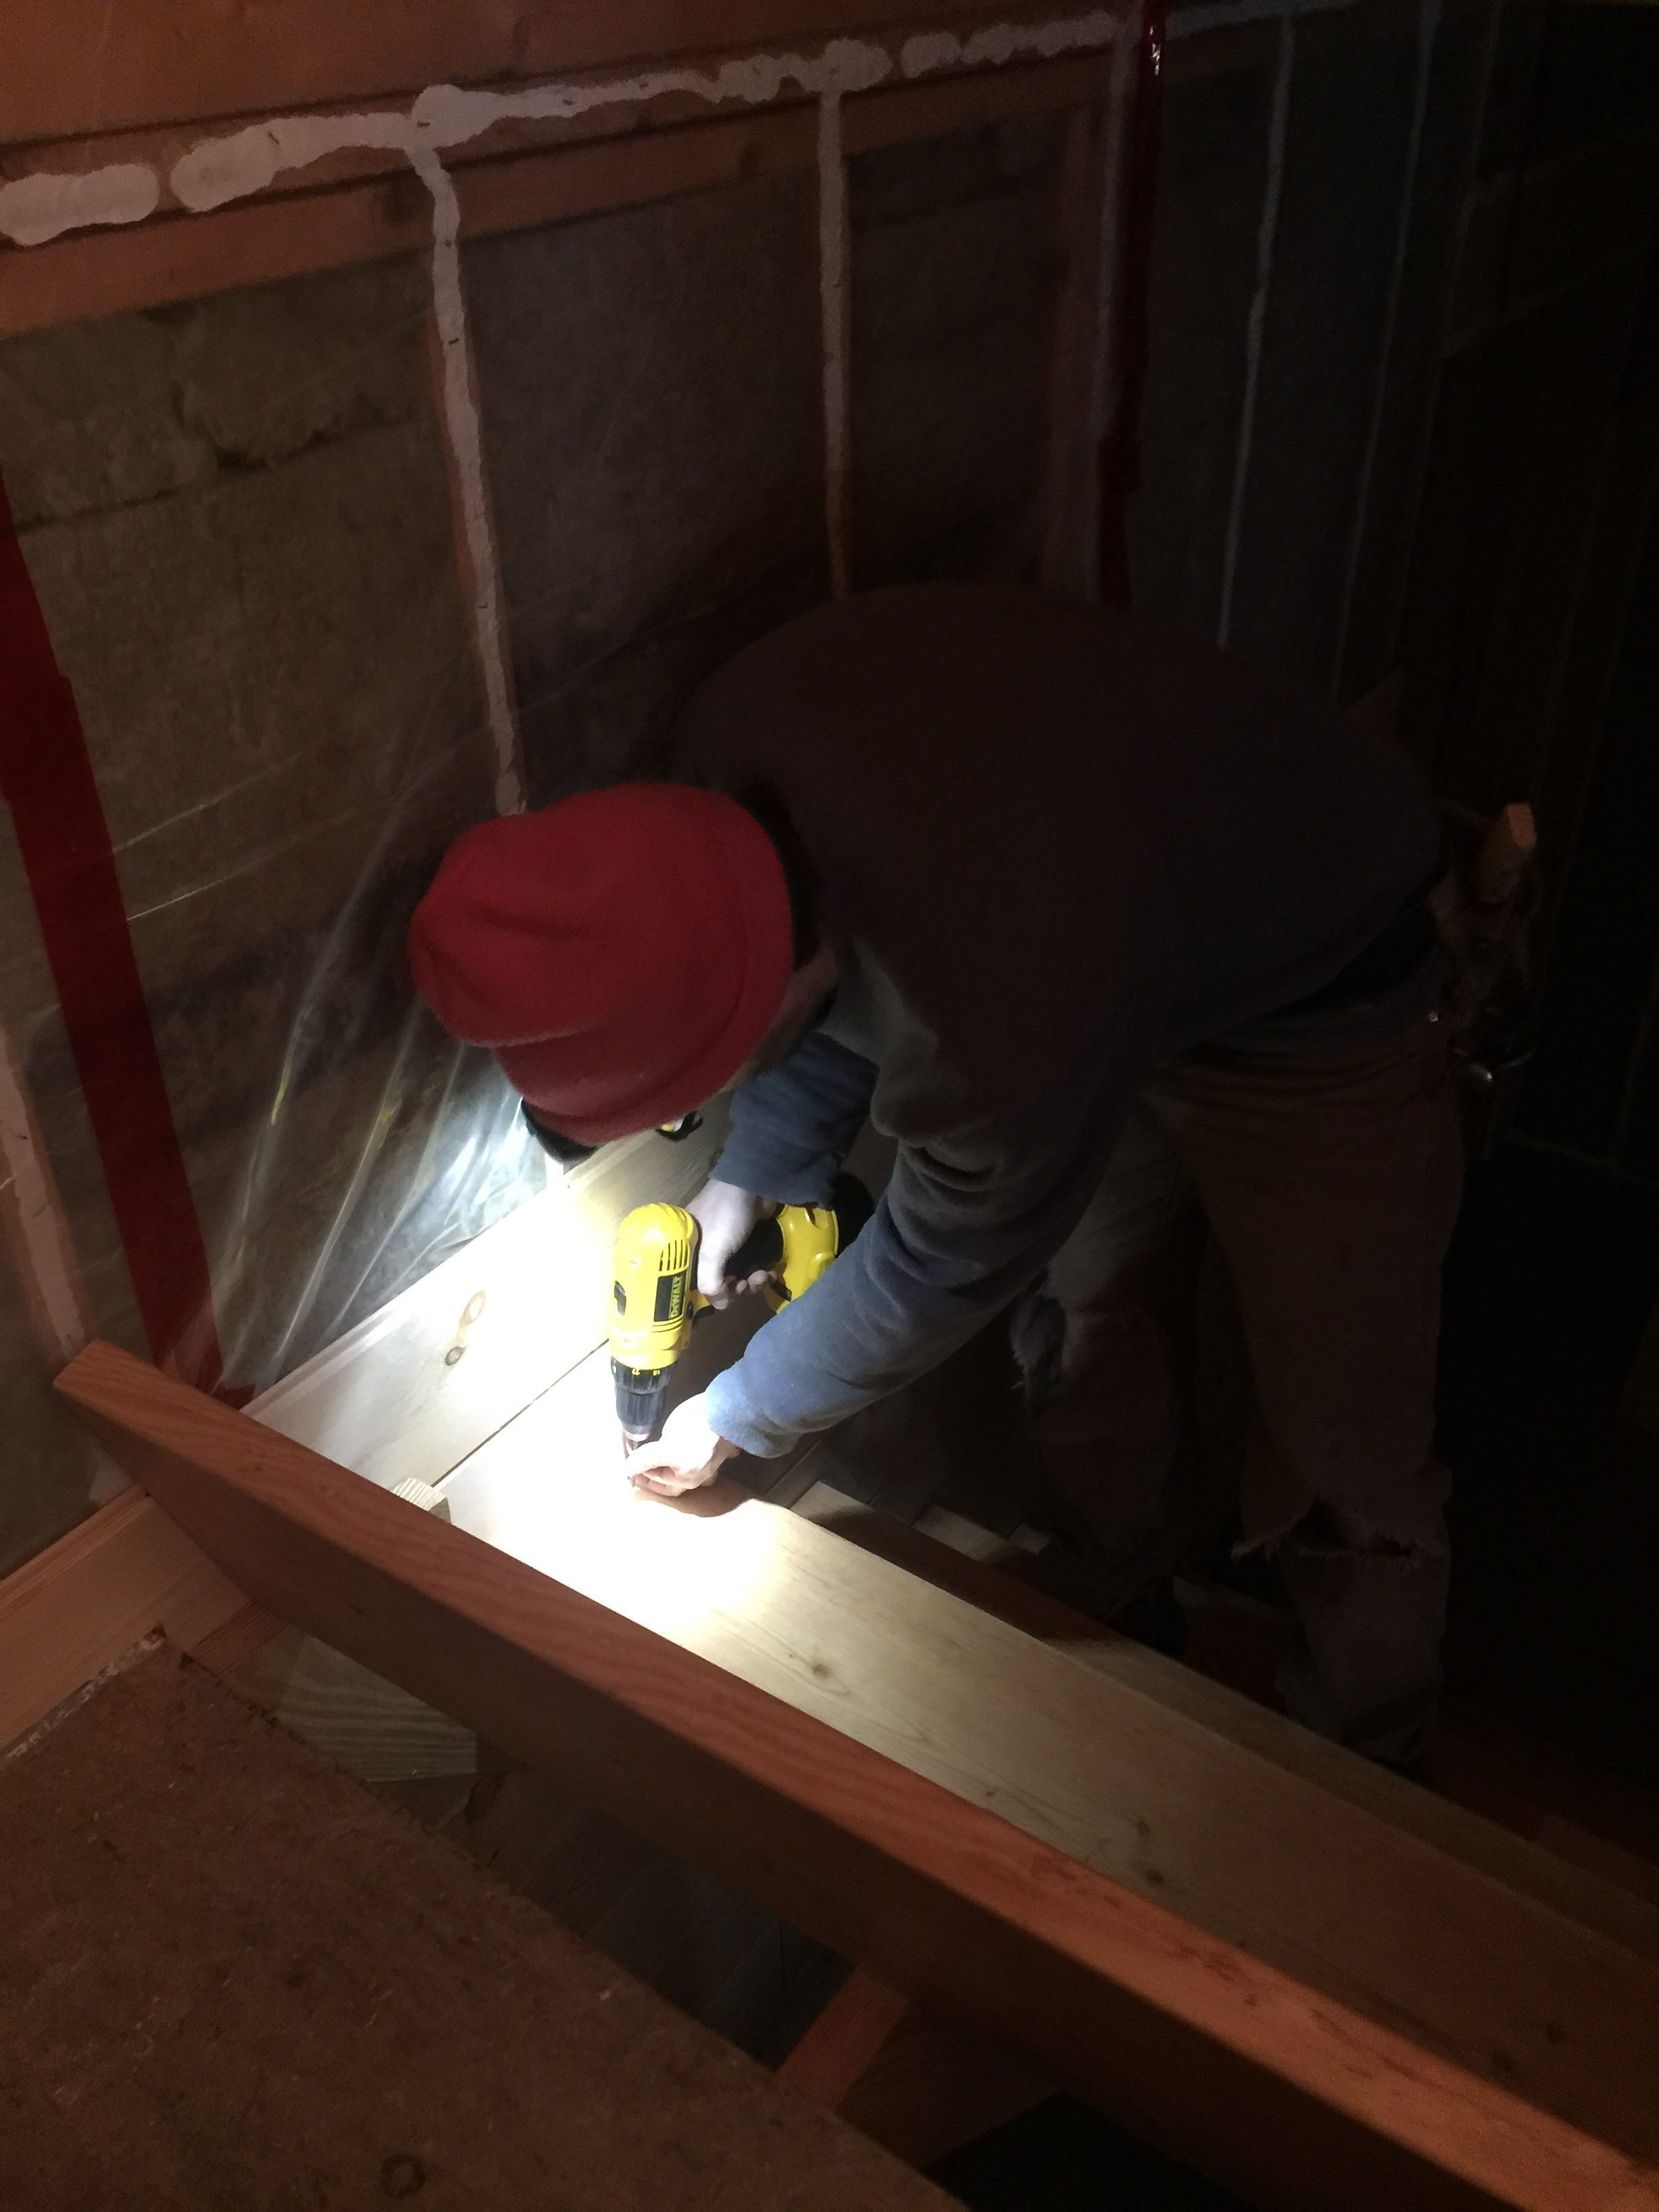
Construction baby doesn’t let a few nails get in a the way of a good nap.
[mejsvideo mp4=”http://ben.akrin.com/videos/sleep_hammering.mov.mp4″ ogg=”http://ben.akrin.com/videos/sleep_hammering.mov.ogv” webm=”http://ben.akrin.com/videos/sleep_hammering.mov.webm” poster=”http://ben.akrin.com/videos/sleep_hammering.mov.png” width=”360″ height=”640″]
I’m pushing my luck a bit here, getting the 2nd chimney ready in November. It’s not quite there yet but I made good progress. We’re at a phase in our adventure where we do not do temporary arrangements anymore. While I’ll have to redo the first chimney, this one is built for a lifetime and so it takes longer to do.
11′ of insulated flue, cement board in the casing
Closing it up foot by foot, siding first, then cement board added with spacing.
From the bottom floor 
I’ll make the top removable to keep an eye on things, it’ll just be open for the first few stove firings. I love the crazy angles in this house.
I built the house with 2 flights of stairs, pretty overkill for a 1200sqft house and I’ve often gotten this feedback. There’s a couple of reasons I went through the extra trouble and extra wasted space.
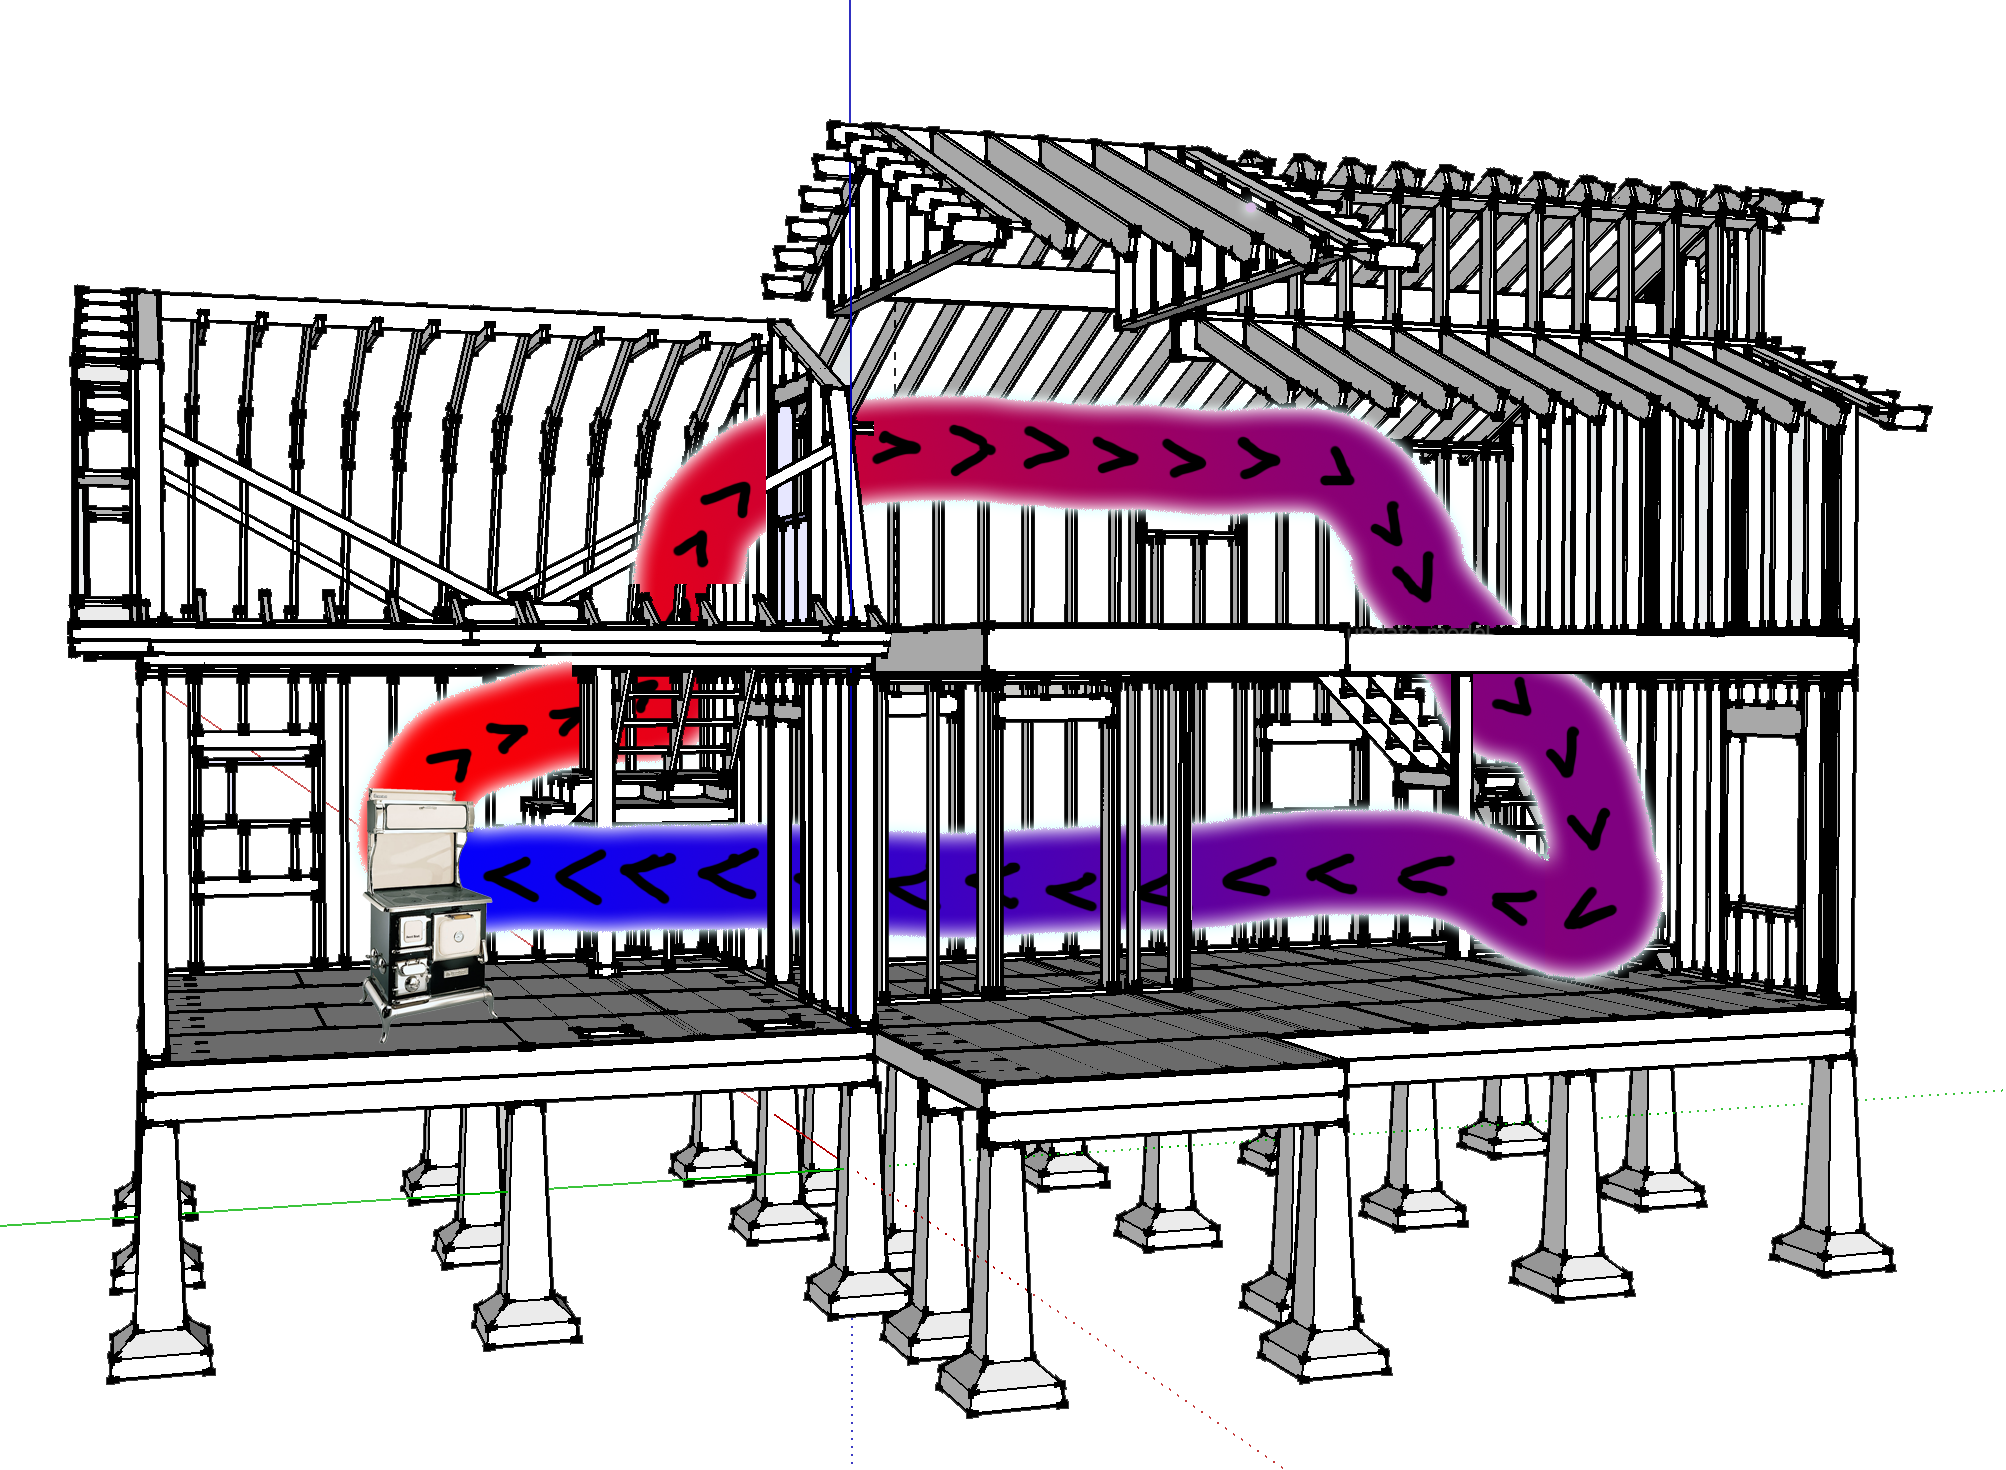
With lower temperatures upon us, we have finally tested it and it works beautifully. I was worried that practice and theory would diverge, such was not the case and so we heated the whole house for the first time with one stove and awesome passive circulation keeping every nook and cranny warm.
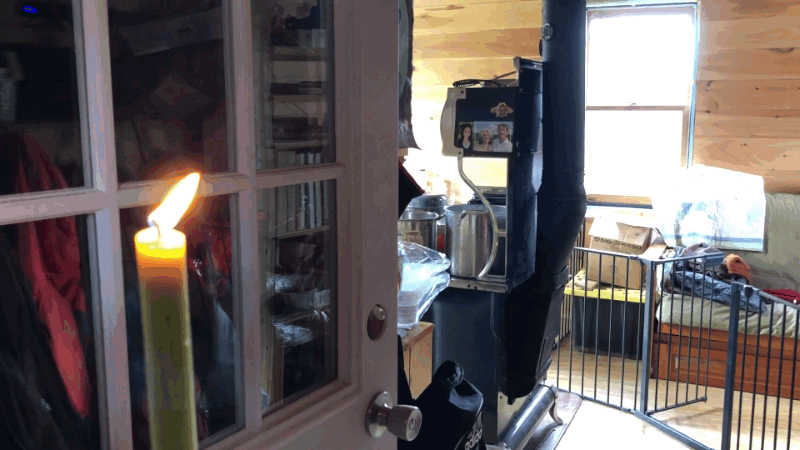
Standing at a choking point such as a doorway, you can clearly feel the air moving. I’m super happy this is working.
Candle test
Now the one thing we still need to get used to is how much more wood we’re burning. We more than doubled our living space going from the tiny 450sqft to the more appropriate 1185sqft, circulate all you want it takes a lot more wood to heat it all up :).
I’ll be using thermosiphons to heat water too at some point.
Things are getting serious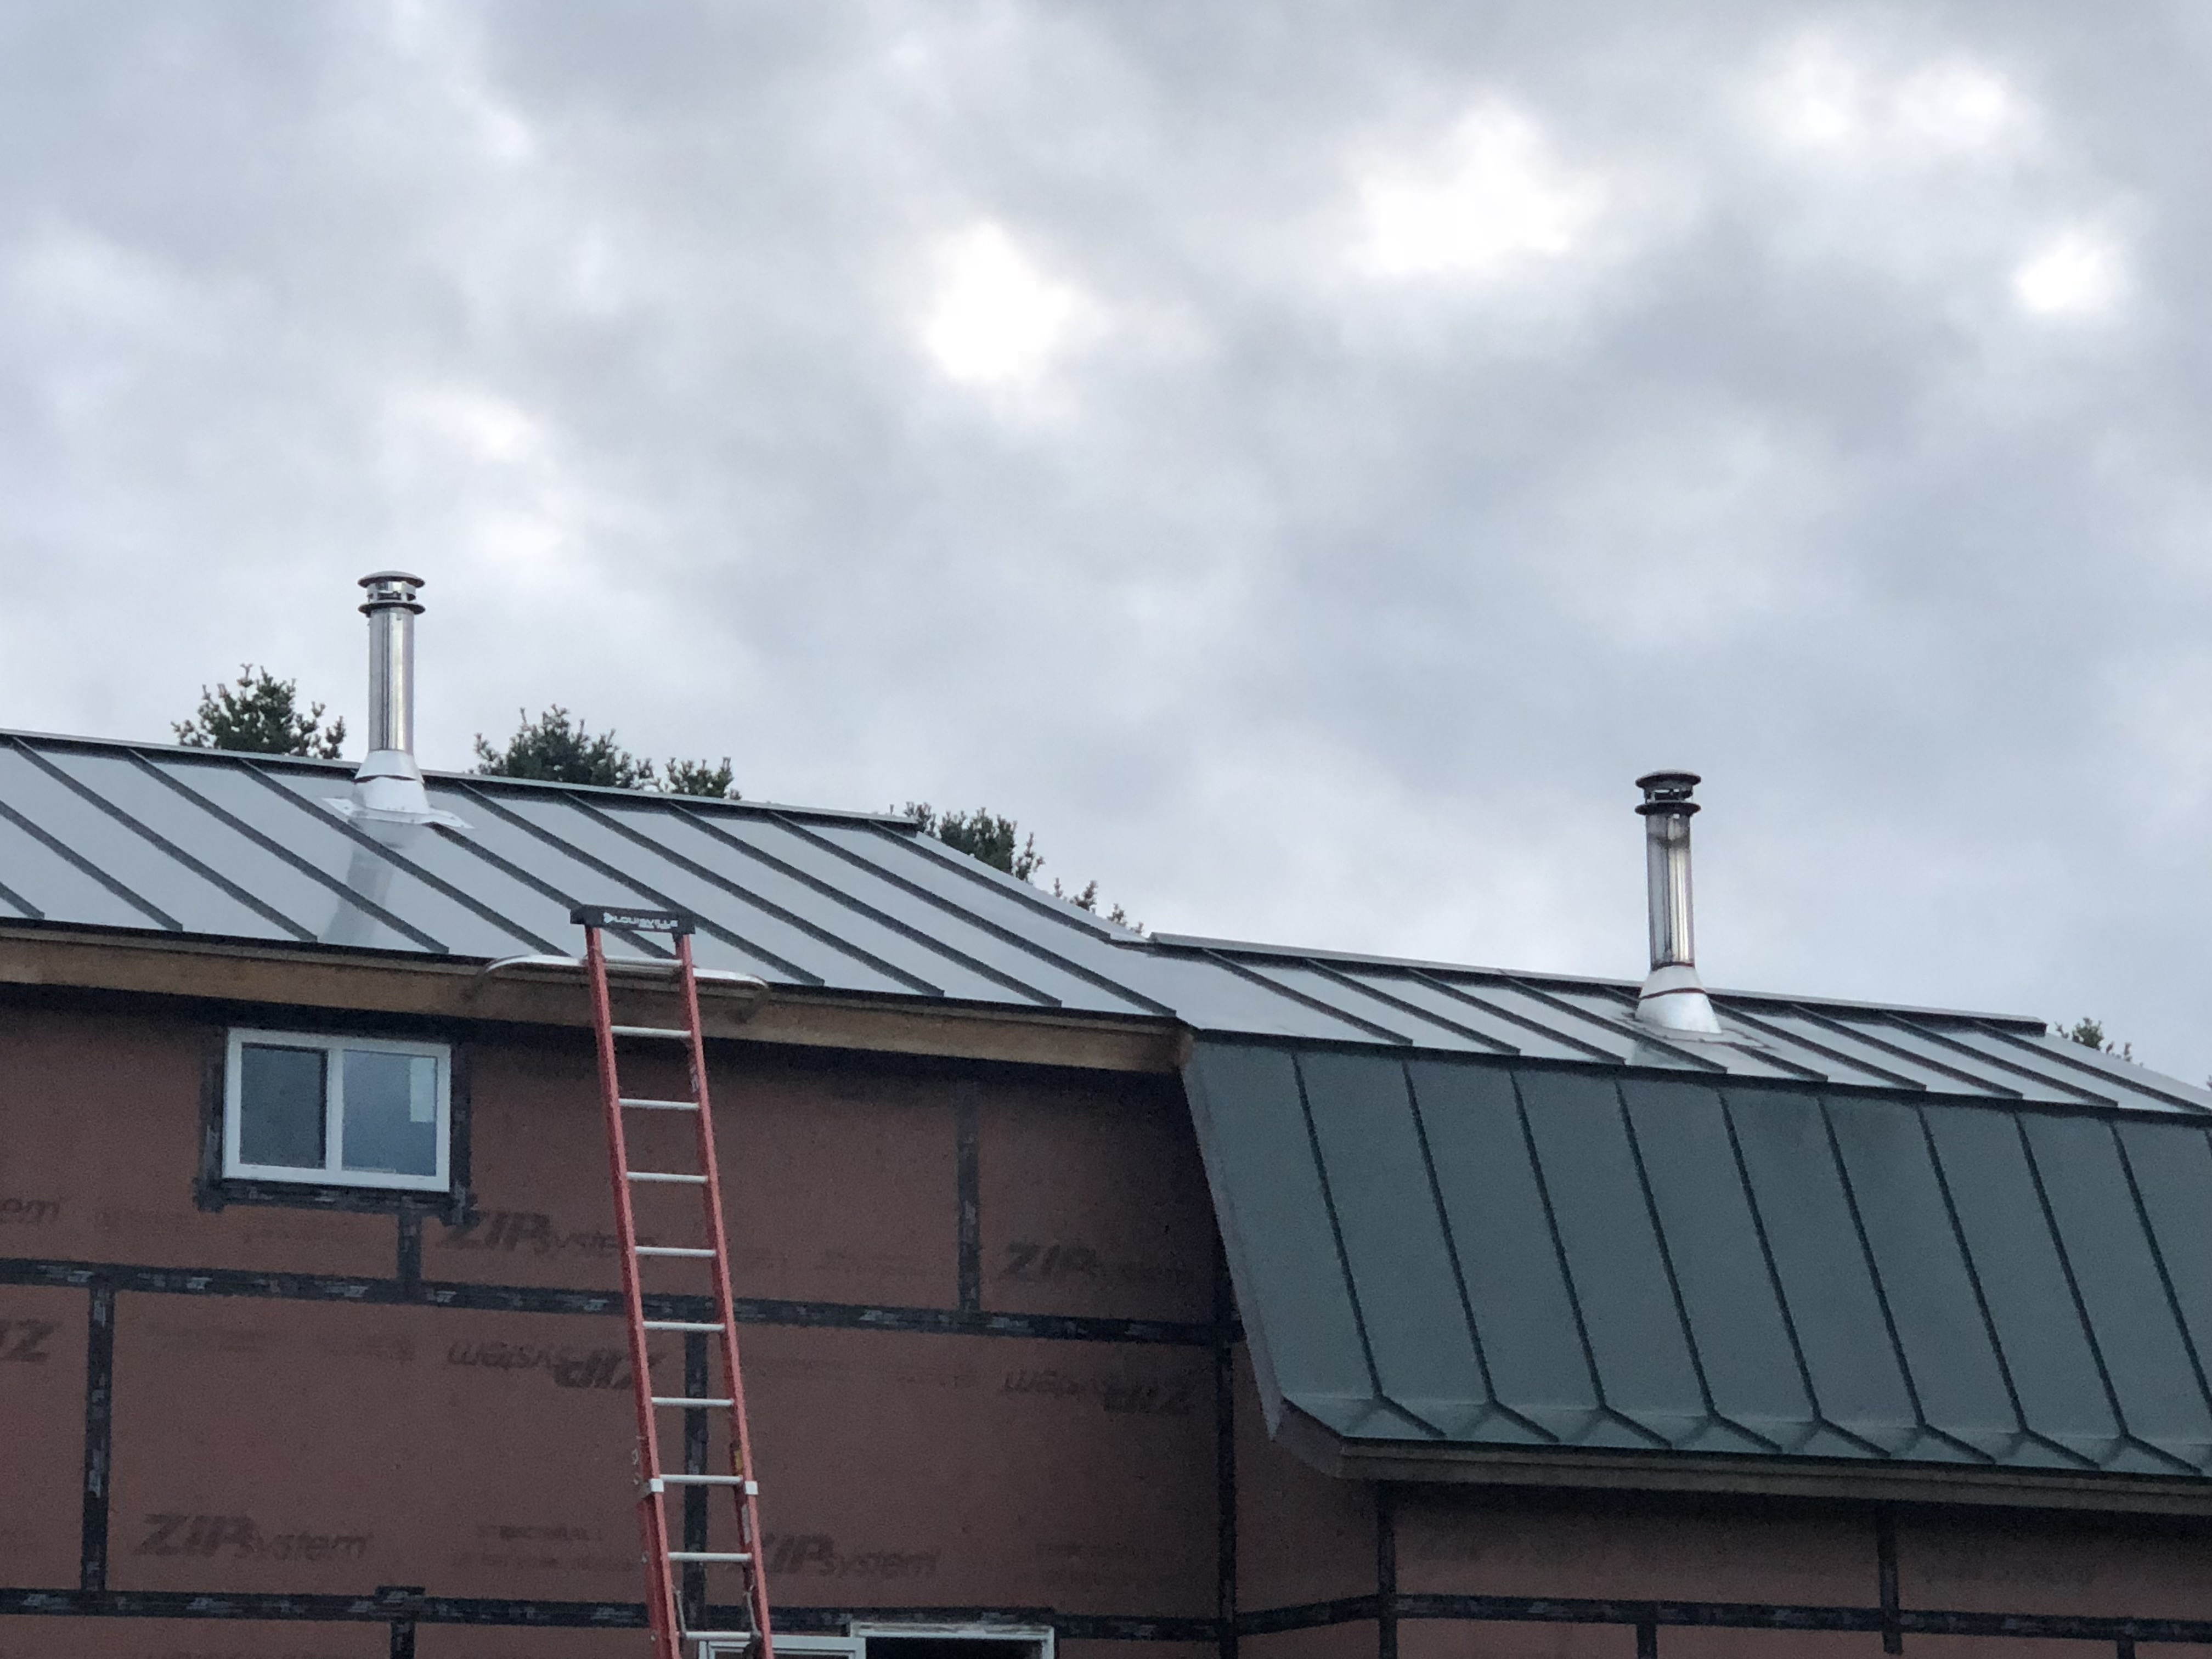
My brother & I just spent a tough week end tackling 2 projects which are needed to take the house addition through next Winter.
The first project was to cut a hole through the roof for a stove pipe to come out. This will allow us to hook up a second stove: the alpiner. Woodstoves are very low tech and unlikely to break, but I’ll be relieved to have a backup source of heat. At this point we have no idea how much or even if we’ll need to fire both stoves, the addition will be fully insulated for this Winter when it wasn’t for the last one.
High, slippery & dusty, but with a nice view on our energy independence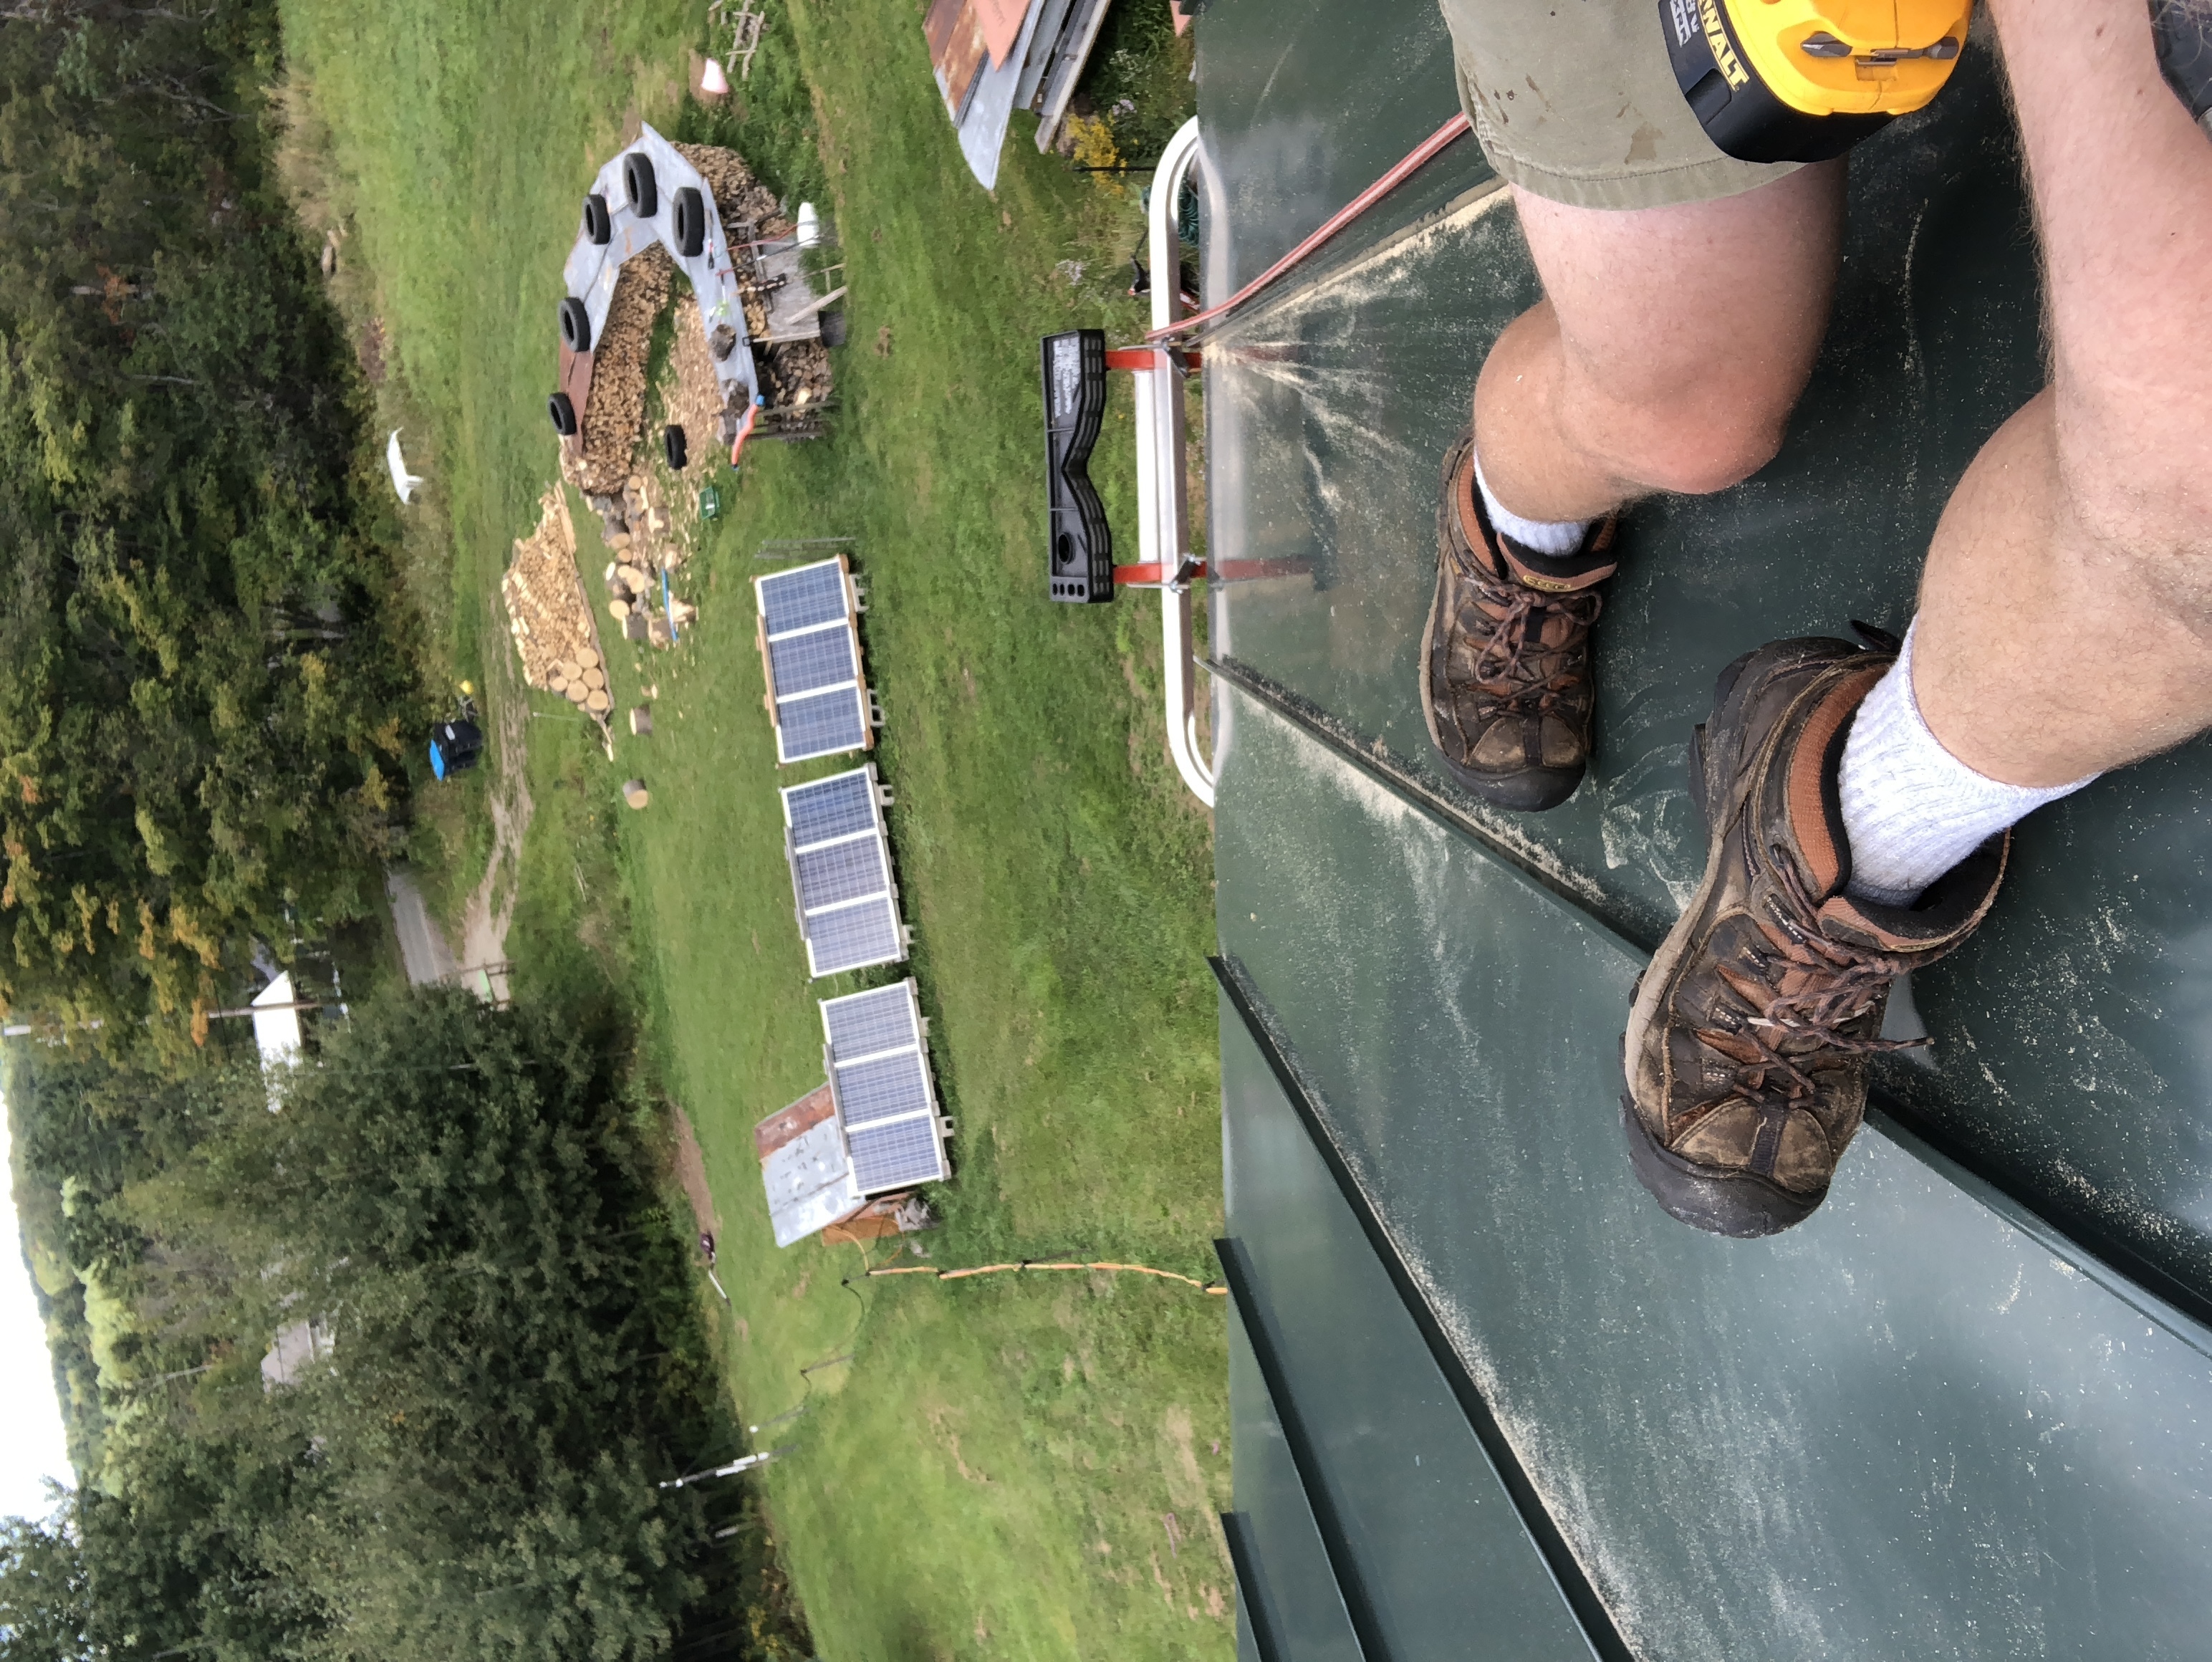
And our maple syrup independence 🙂 
While I’m up there enjoying the views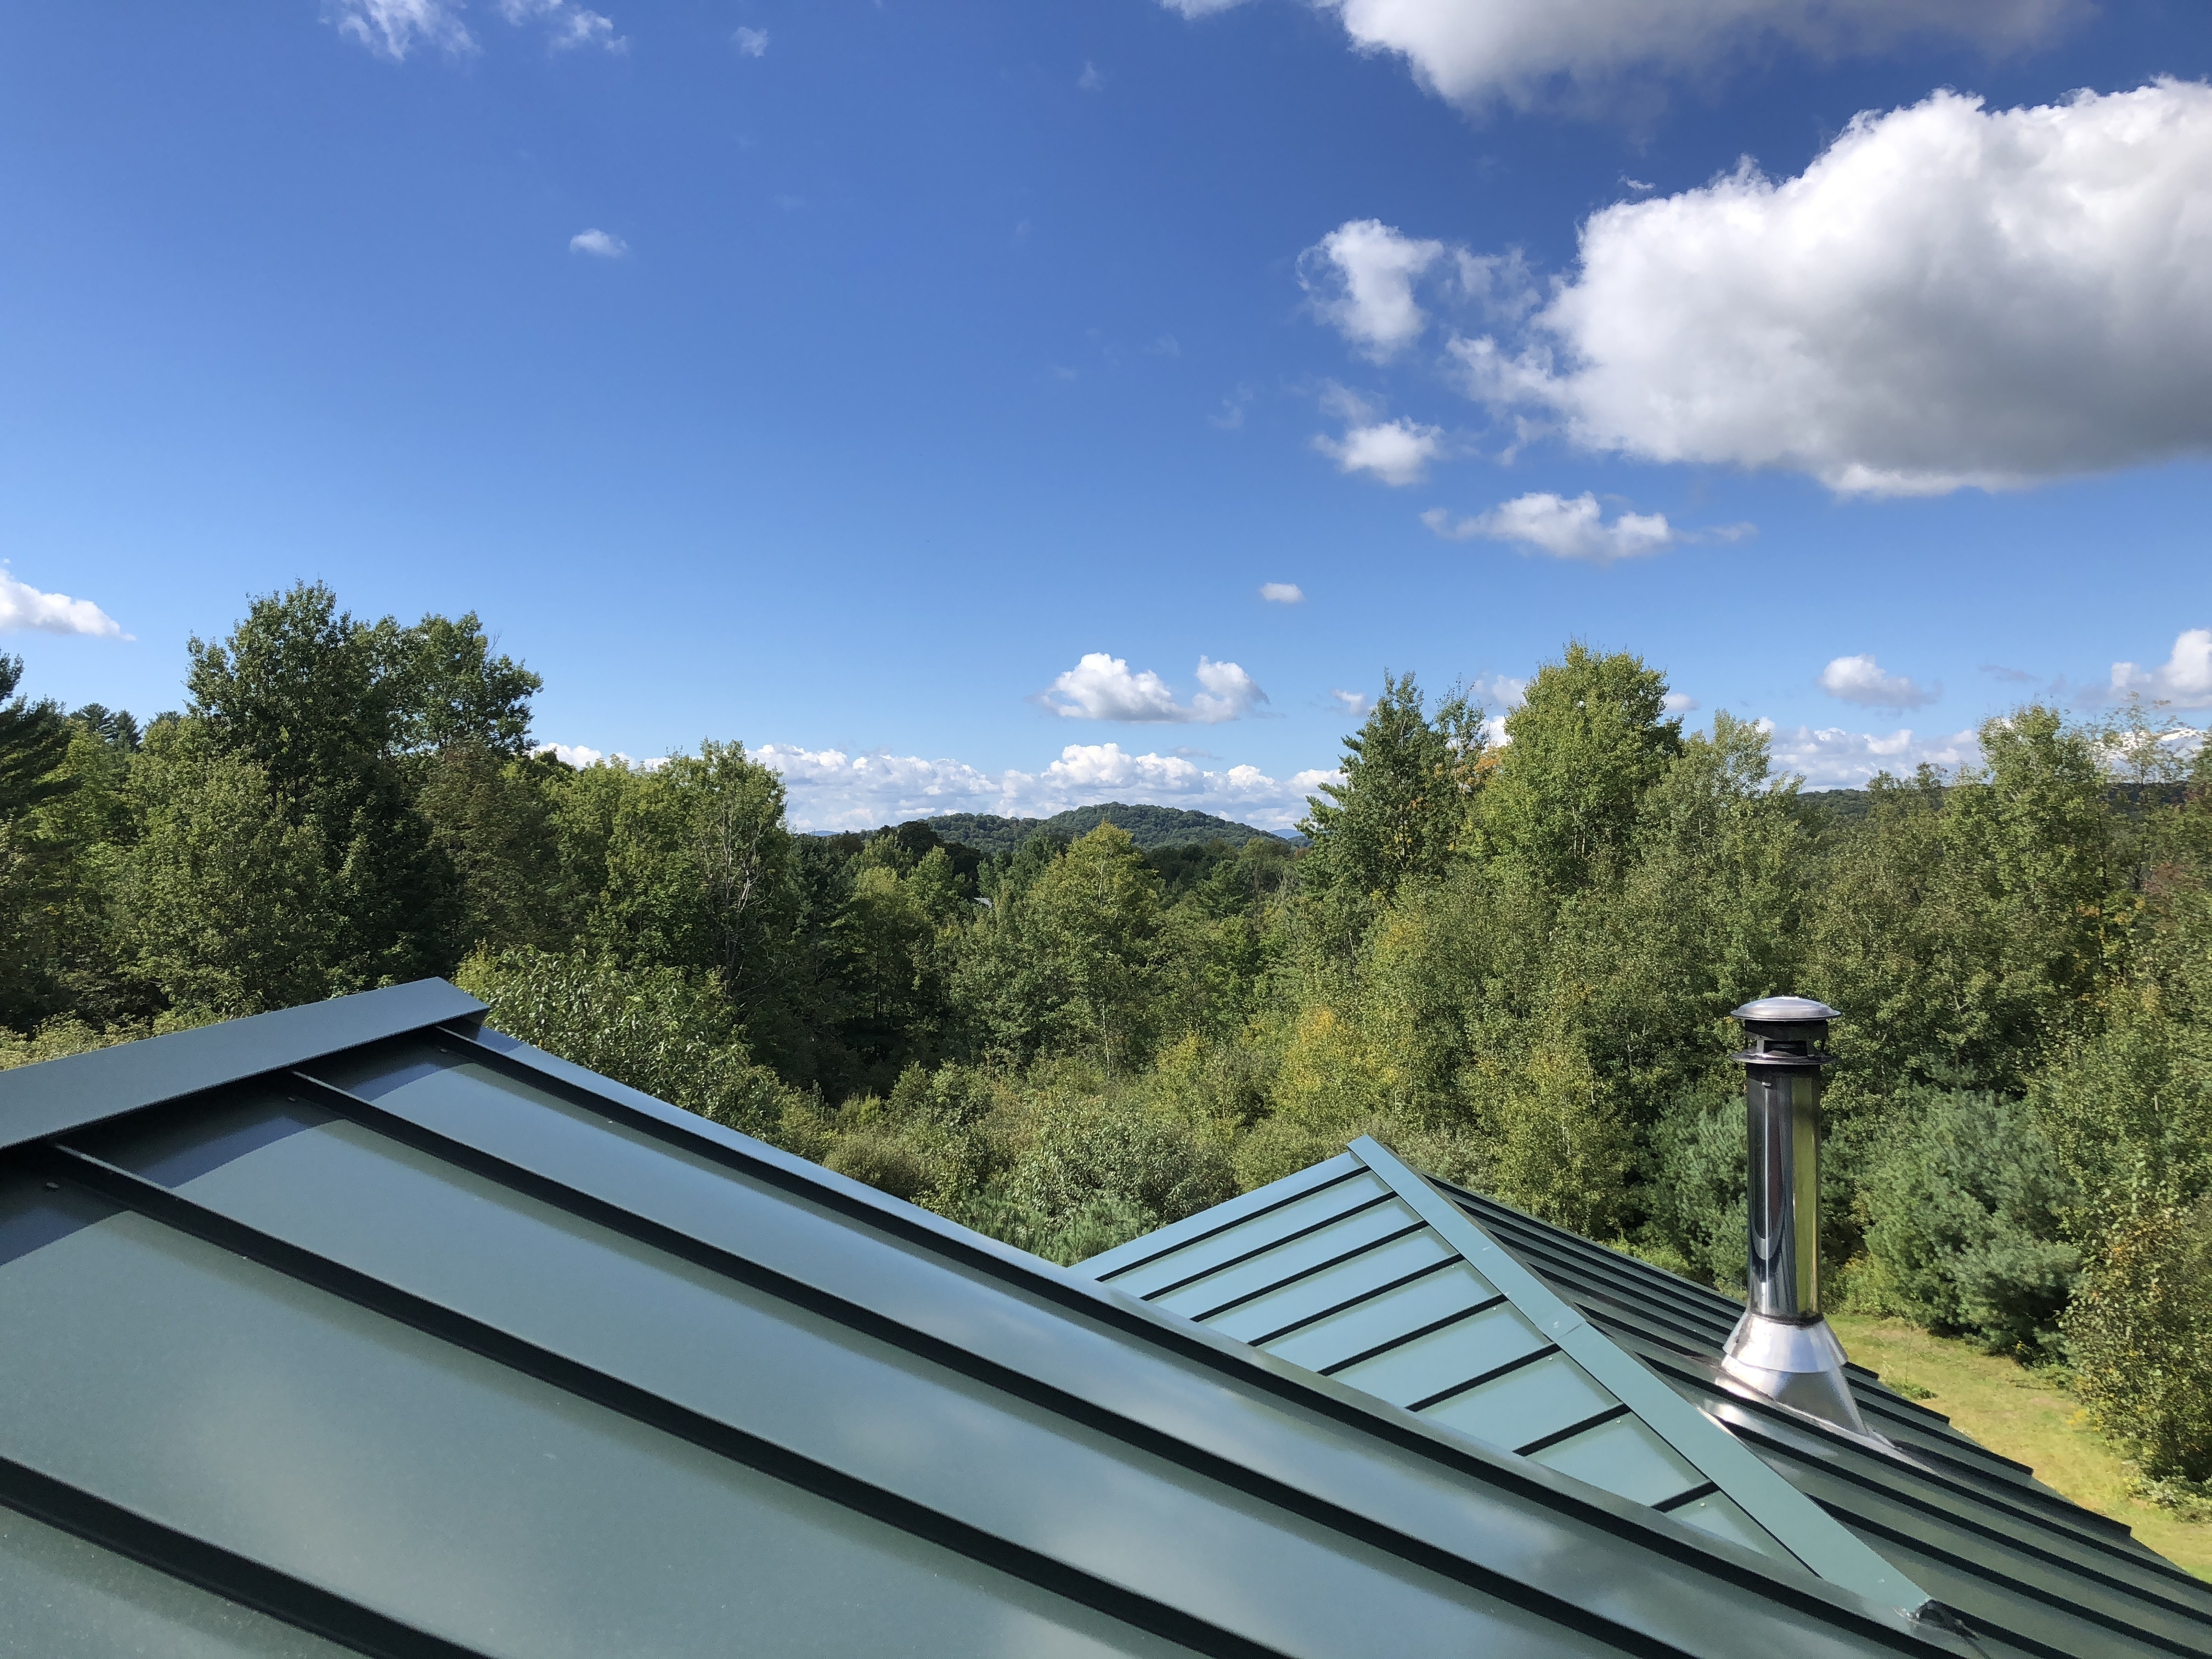
When I designed the house addition, I framed a section in an odd way so as to be able to pop out the roof and grow half a floor. I’m not sure if we’ll ever do it but I wanted to have the option. Being up there is a great reminder why.
Ok let’s get to the business at hand, a big hole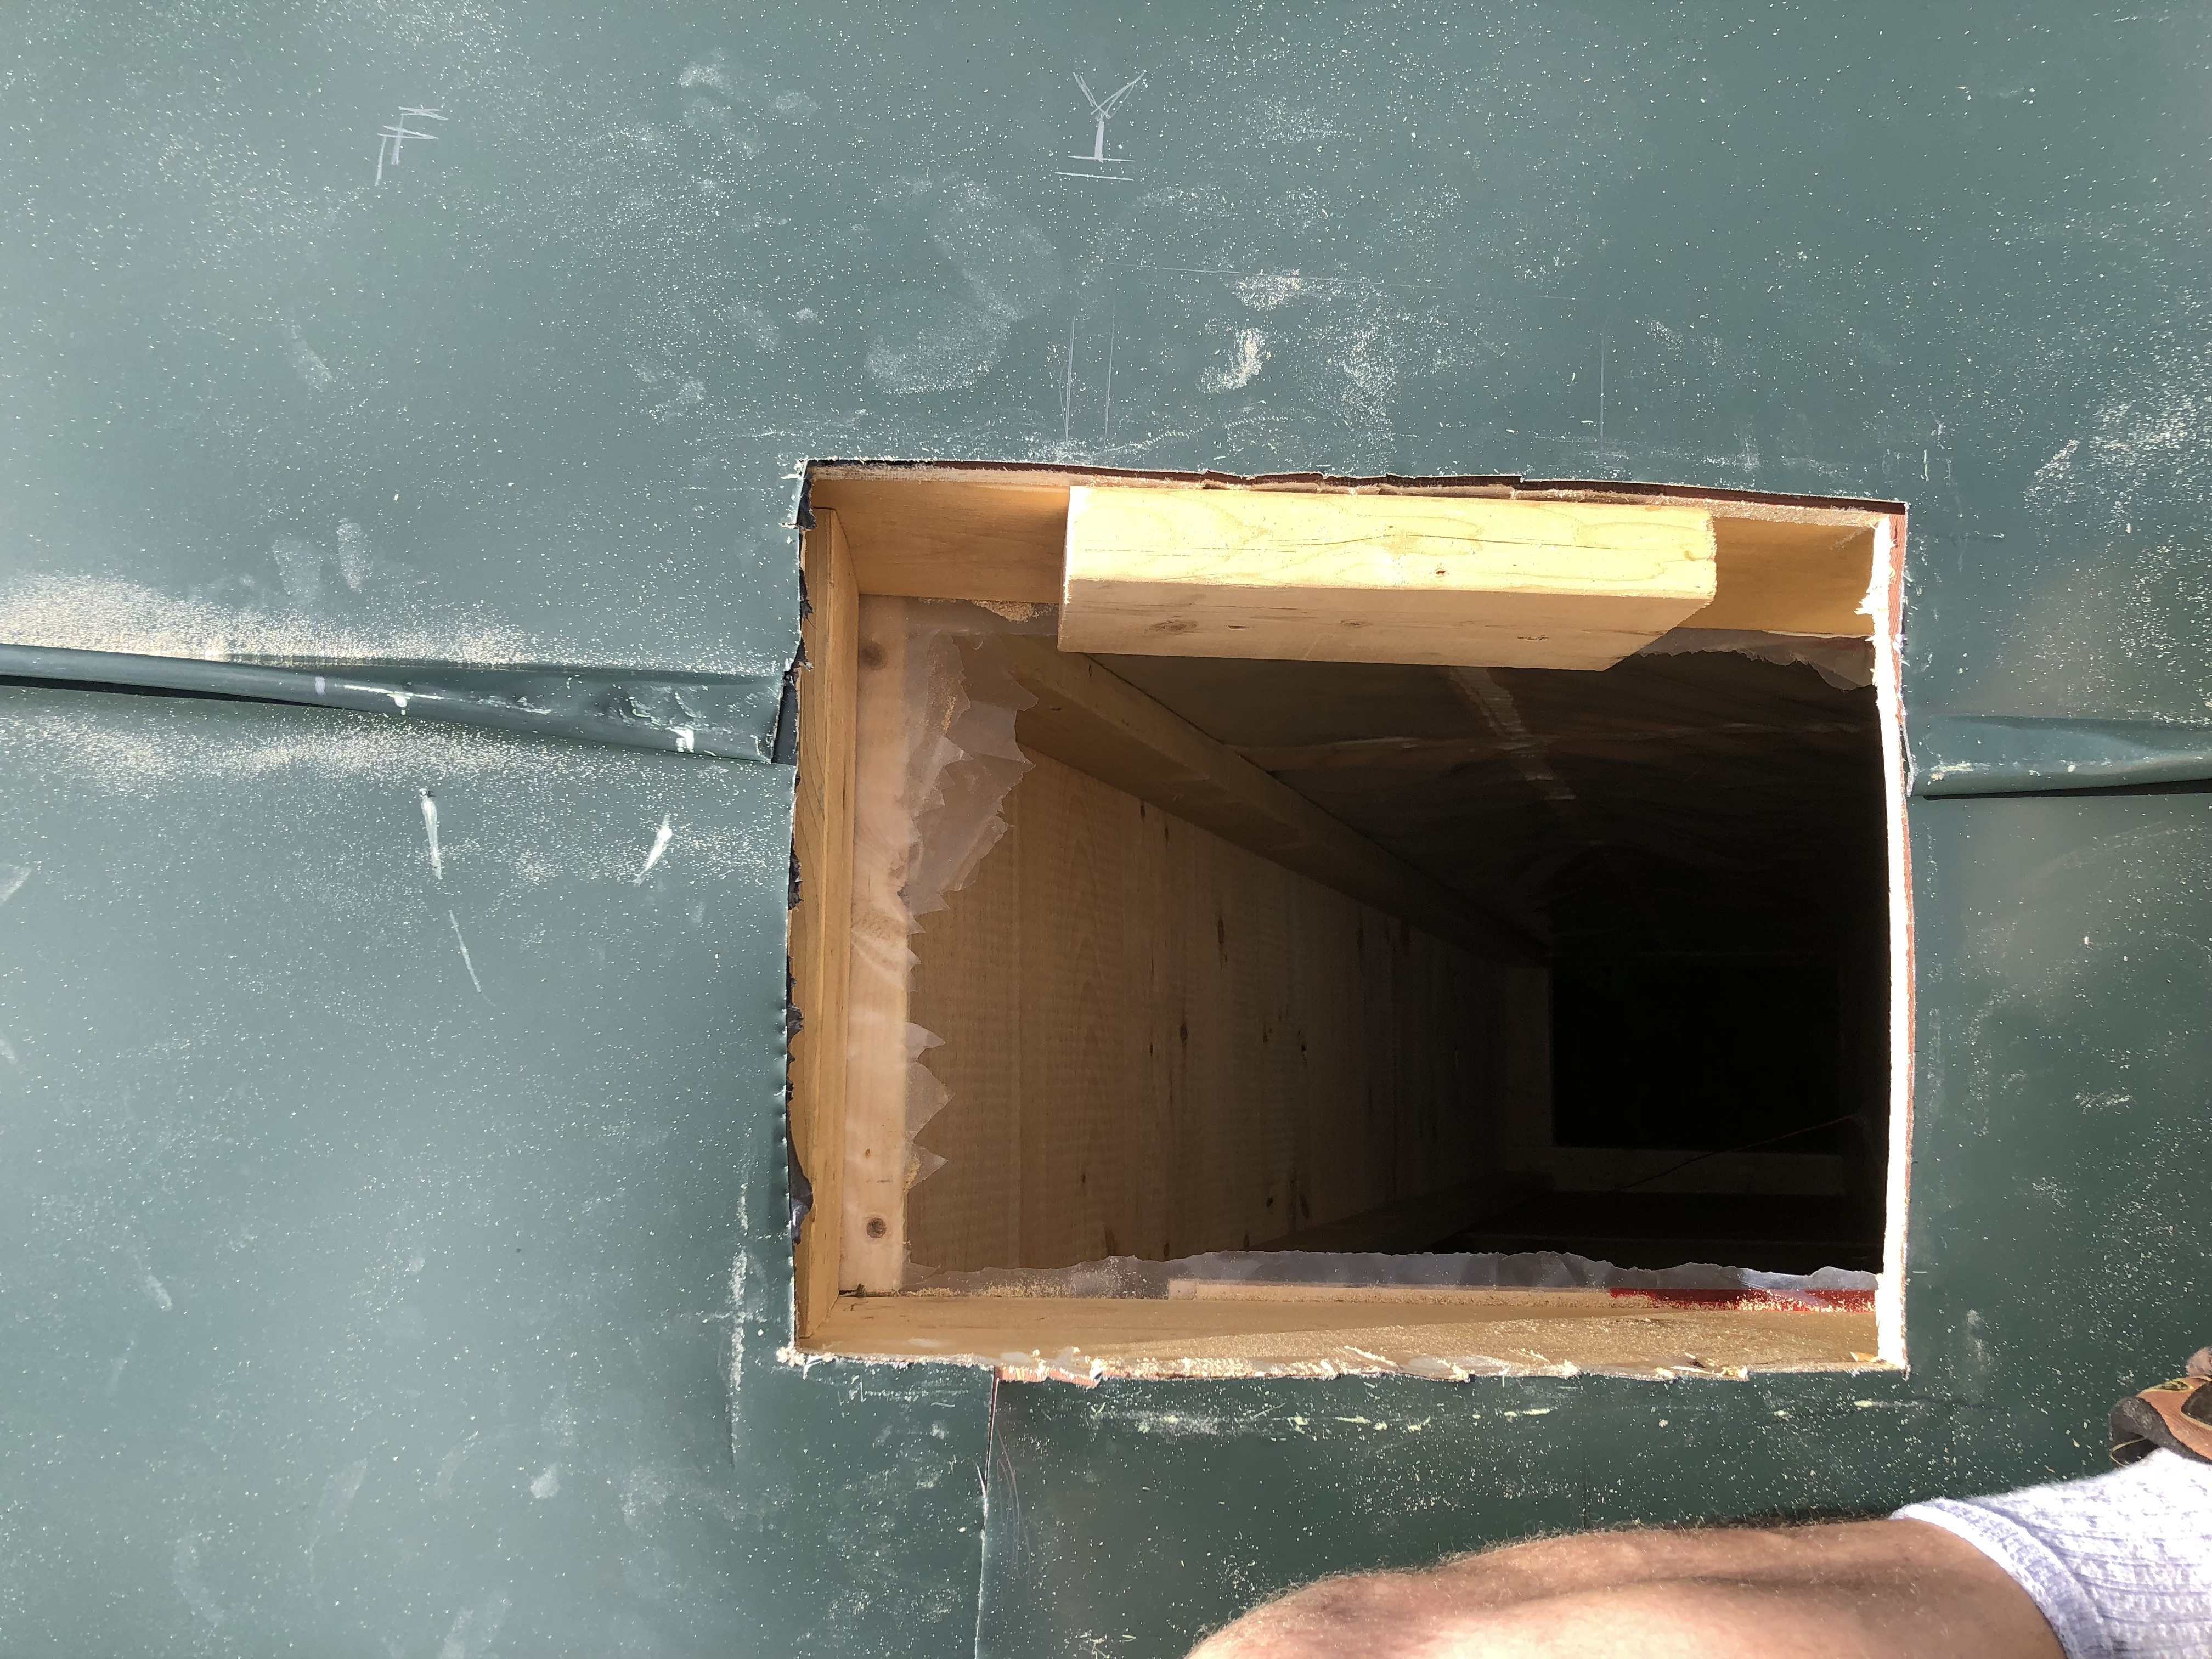
I did this one with full climbing gear, I have no idea how I did the previous one without.
I have yet to take a picture of it with the flashing, I’ll be back up in a couple of days to put the cap on.
2nd horribly shitty project, insulating the floors.
from this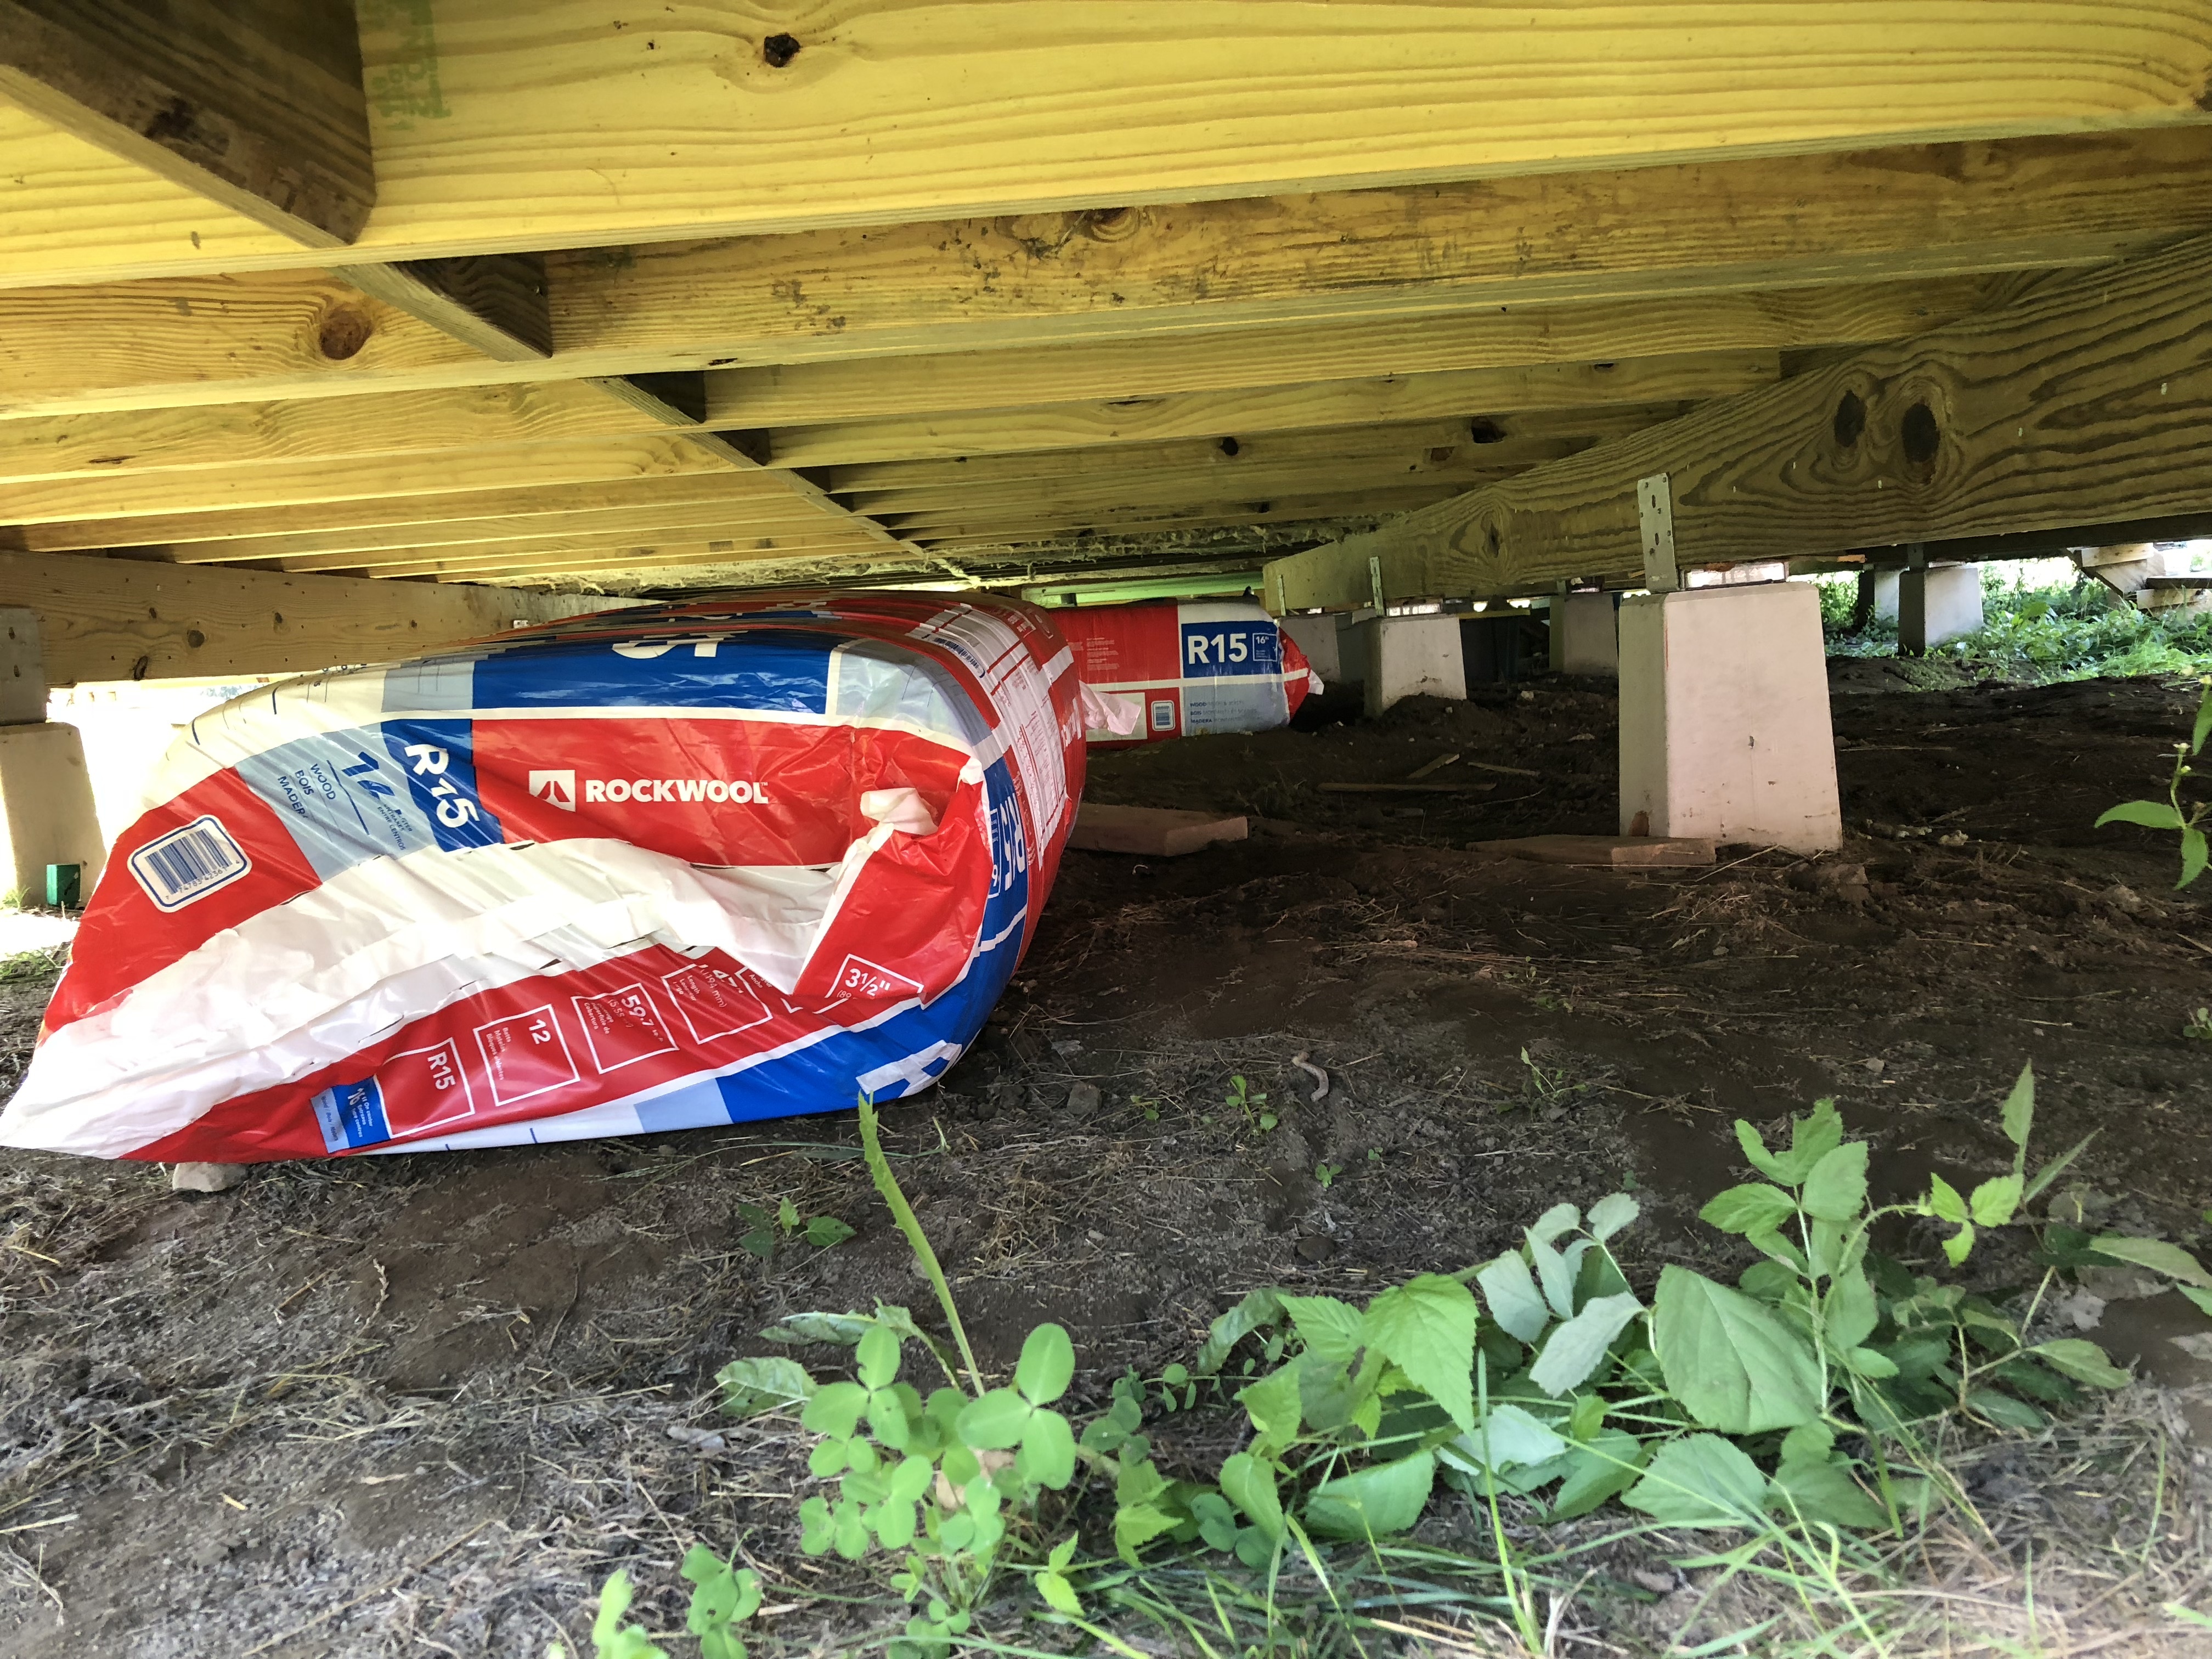
to this 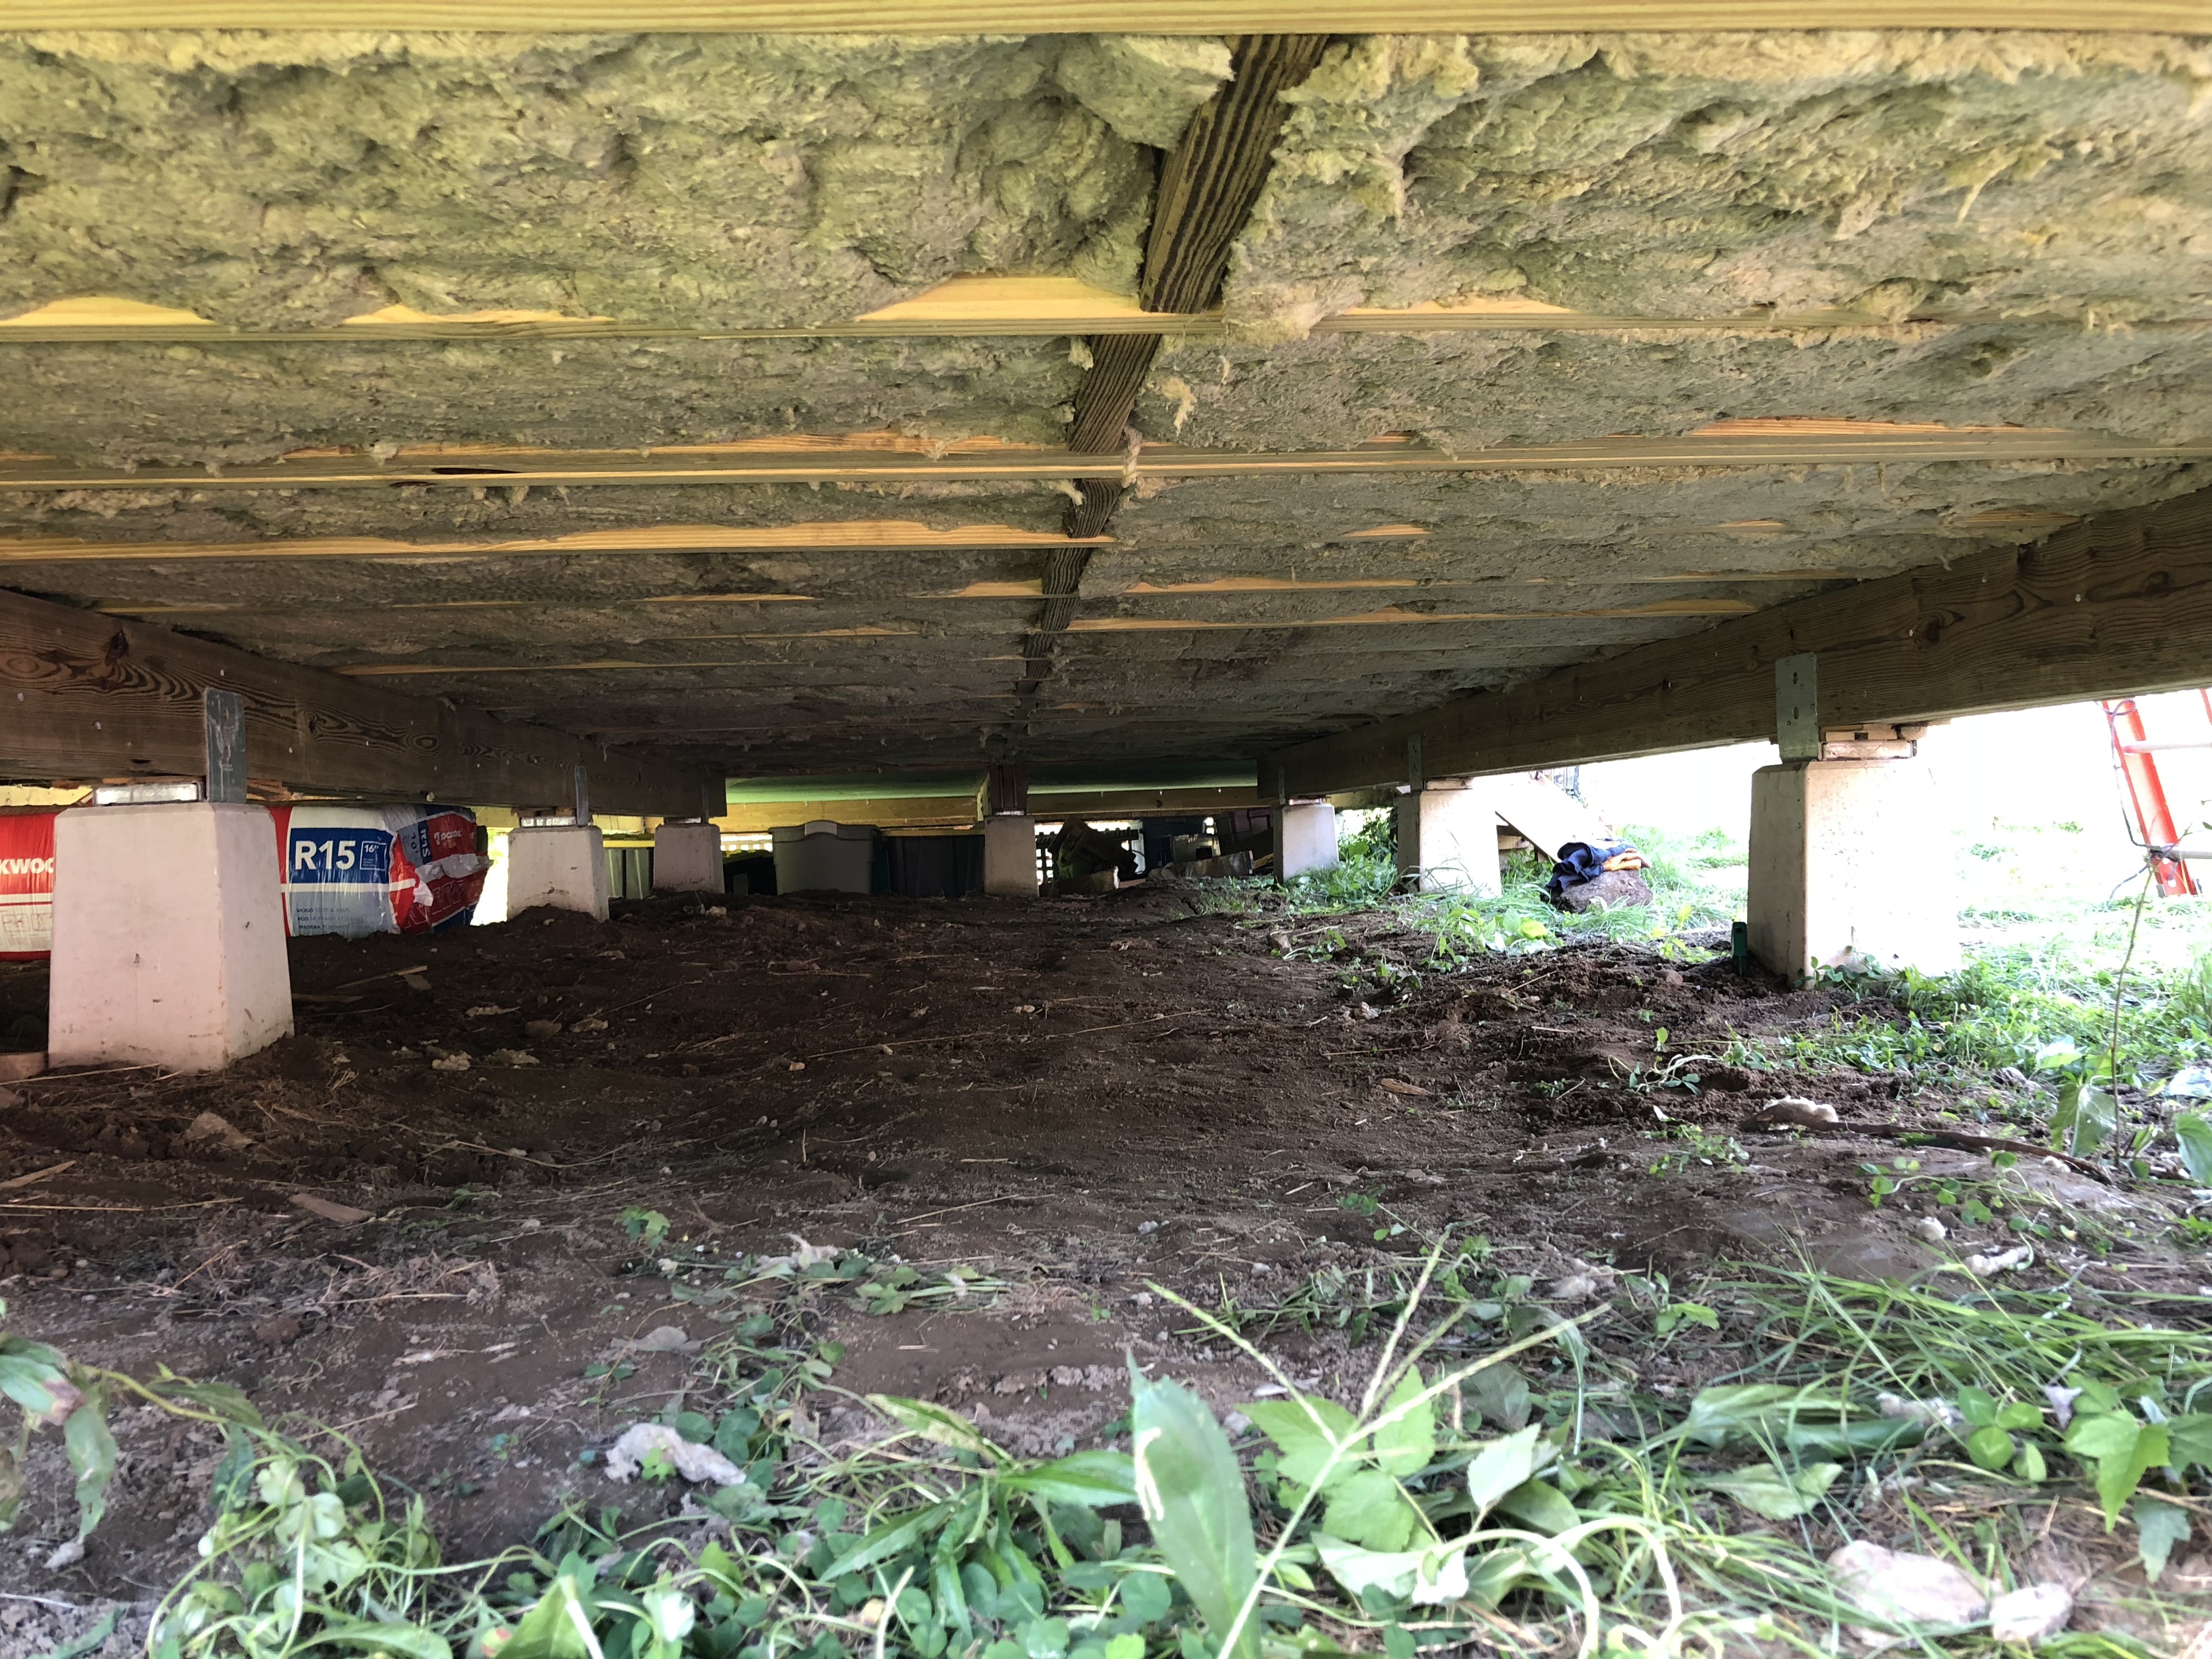
We spend the hole day working in the dirt and against gravity, it sucked just as much as I remember from when we last did it to the original tiny house. Here we’re covering everything with plywood.
Thank you to my brother for suffering through 2 rewarding yet miserable days, to Russ for the climbing equipment, and to Dan for the reciprocating saw.