I’m getting closer to a very usable plotter, for now the prototype is serving all my plotting needs. Another prototype is in the works, this way I’ll be able to work on a plotter and keep another one for drawing. I keep finding ideas for really cool videos which I’m certain will make splashes online. I want to have my next steps figured out before I try to do just that. I know that at least the plotter build will be documented as a DYI project.
I found my birthday presents for the next 10 years
First trial with paint, I coded for “ink refill” capabilities for all instruments which require it. Obviously I’ve learned a few lessons here 🙂

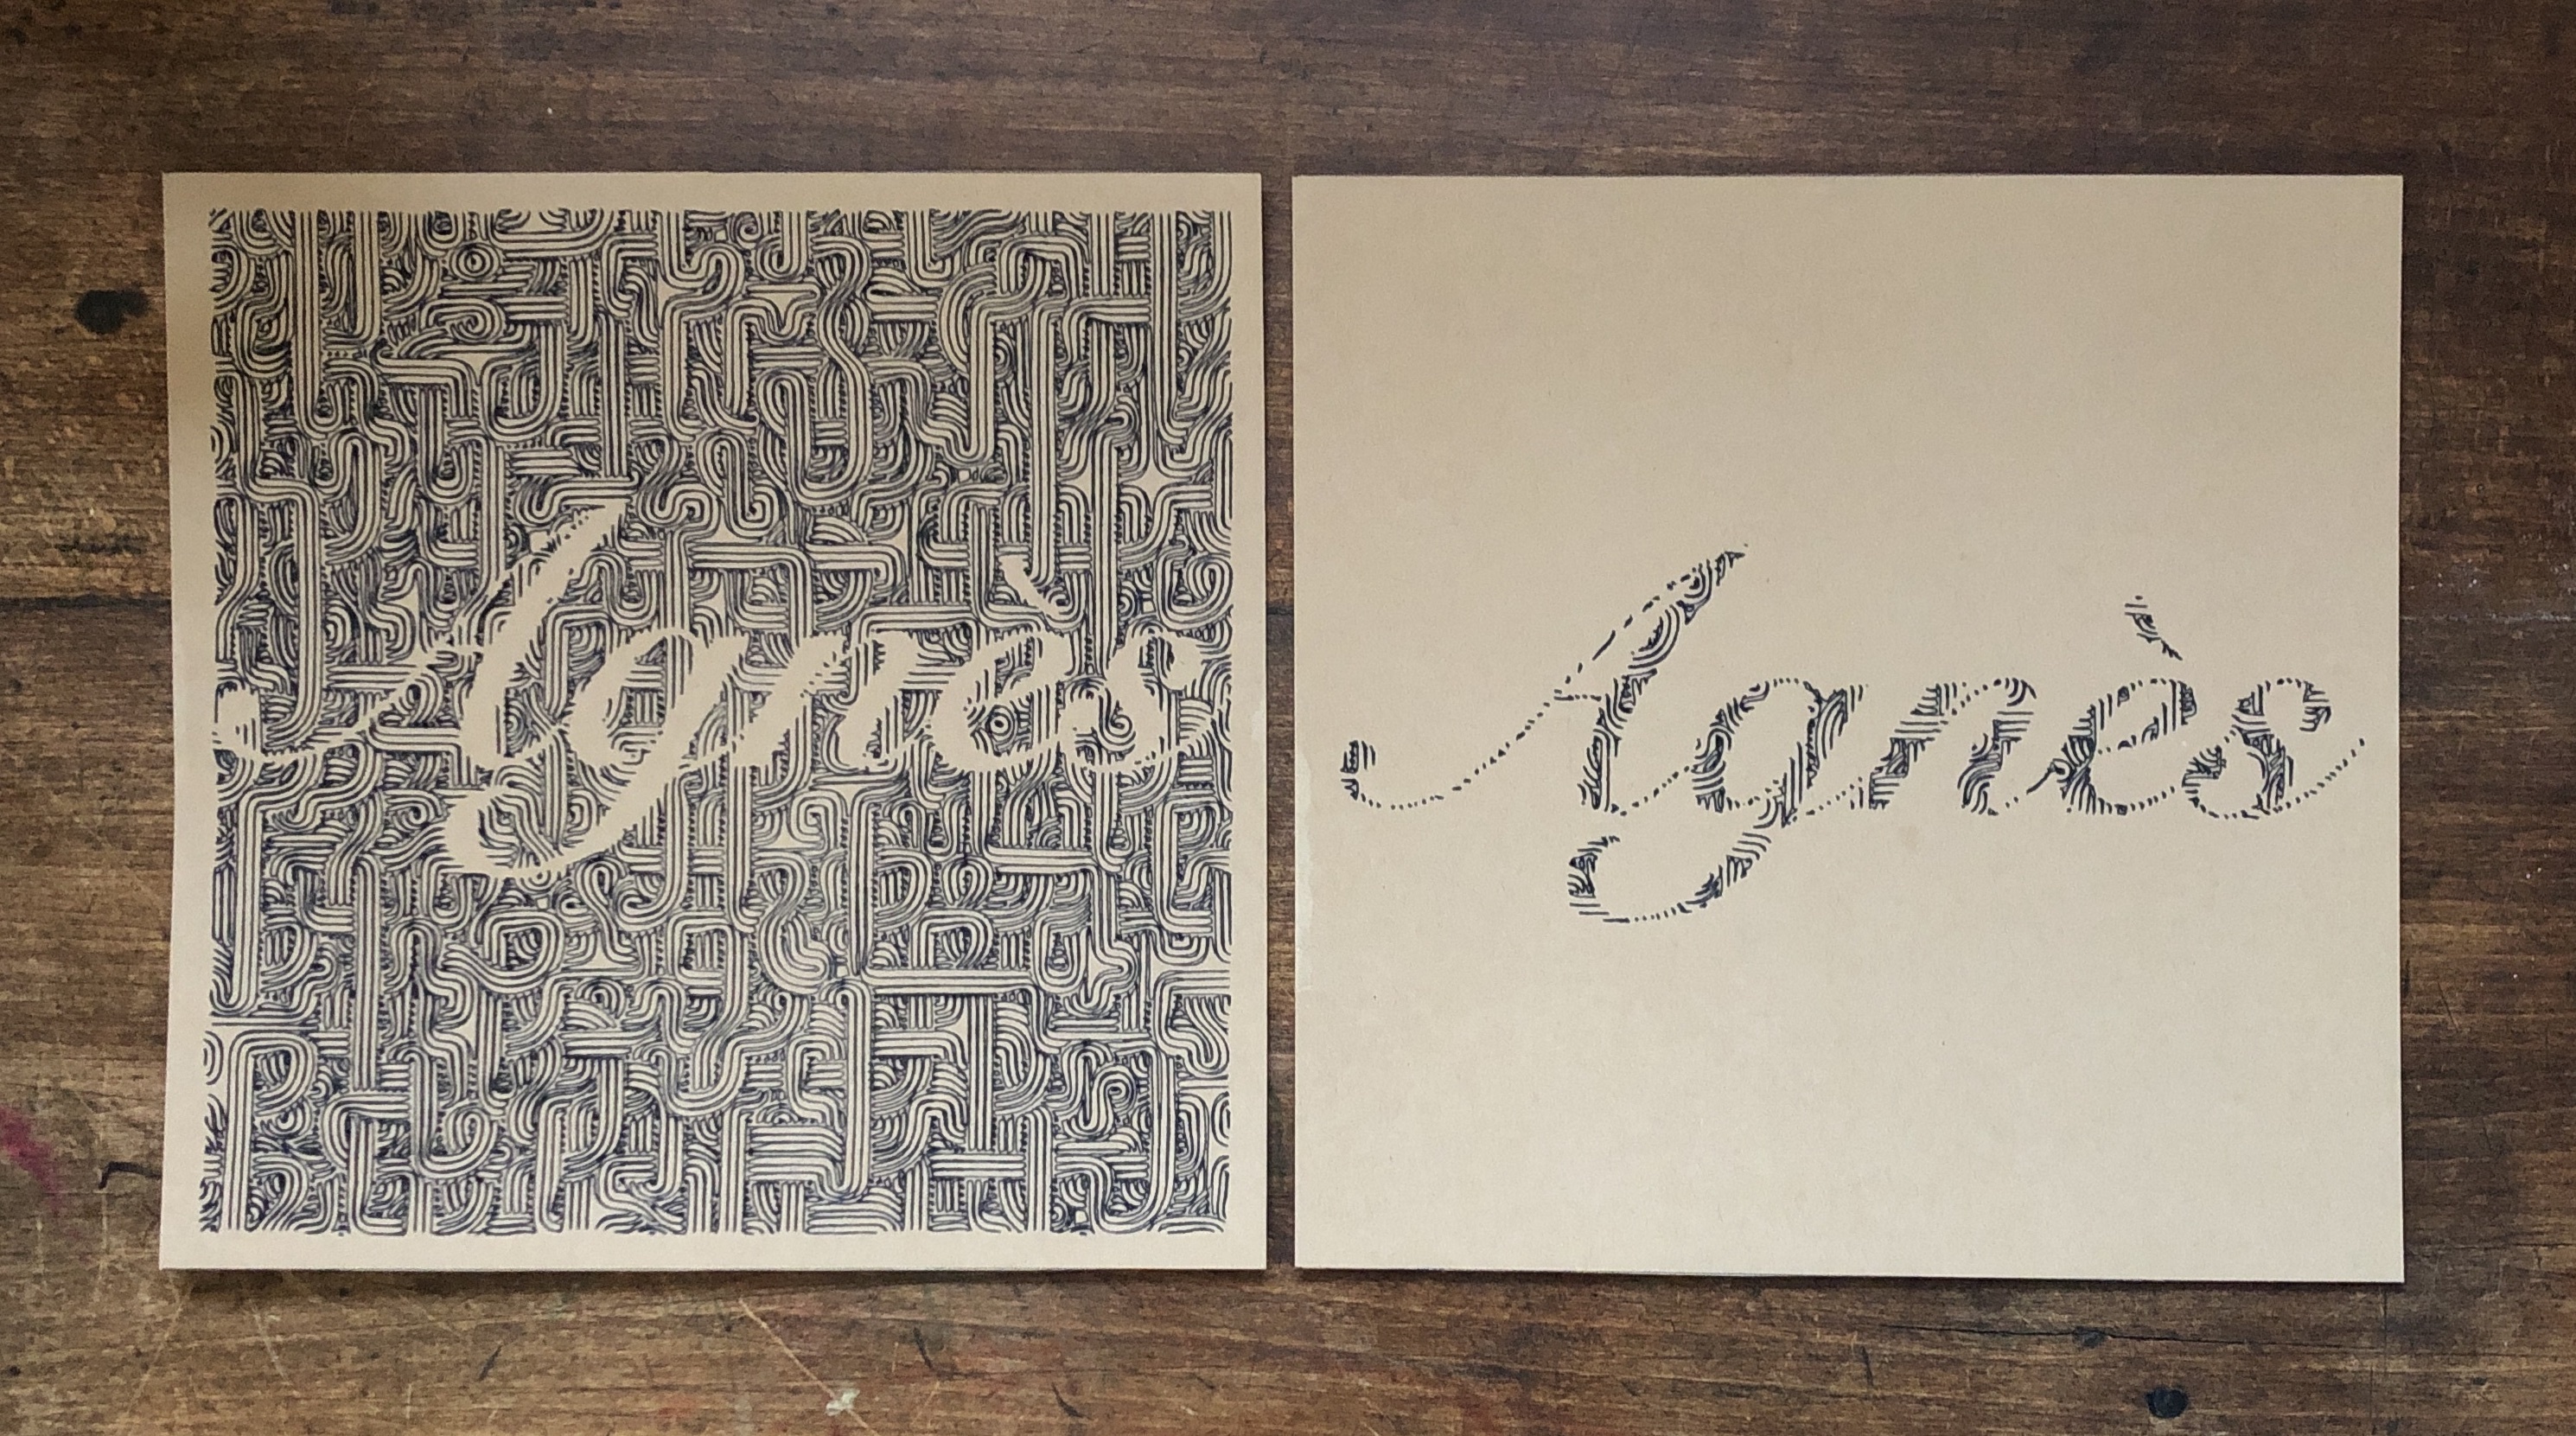
Can you share your process for the name plots above? I love the outcome of these.
I’m simply using Inkscape’s path logical operations (union, difference, intersection, exclusion, et cetra) on some cool base I like and the name I typed as text and converted to path.
The one trick that took me the longest time to figure out, is that these logical operations do NOT function on simple paths with no “volume”. They only work if the paths form a shape that the logic is then applied to. So what I do is that I select the path and give them a stroke that is as thin as possible, then I use the stroke to path operation. This creates a shape around the simple path, it looks like a simple path, but if you zoom in enough, you’ll see that it’s actually a shape surrounding it. Then you get to apply your logic operations on that :).
This will result in the plotter running twice on the same paths, that’s ok in most cases.
It took me a while to figure out all the little details, and it depends on what you’re starting point is, but this above was my biggest obstacle. Let me know if you’re stuck somewhere and I might be able to give you more pointers.
Thank you for this. I was stuck on the same thing you were and stroke to path worked perfectly!
Cheers!
Very nice!