UV Snowflakes
Pictures don’t do justice to what it looks like in person unfortunately.




Snowflakes
I finally tuned the plotter a bit to make it perform faster. I was trying to make it move faster by increasing the stepper motor speed, it turns out optimizing the pen up/down action was really where all the slowness was and makes everything appear to run faster. It’s quite spiffy now and I’ve been plotting non-stop this past week.
Snowflakes courtesy of llemarie @ turtletoy.net.



RC On Ice
Sick drifts bro!


And that was bound to happen

RC Car upgrade
Chasing the cat is even more fun
Creating Sugaring Paths
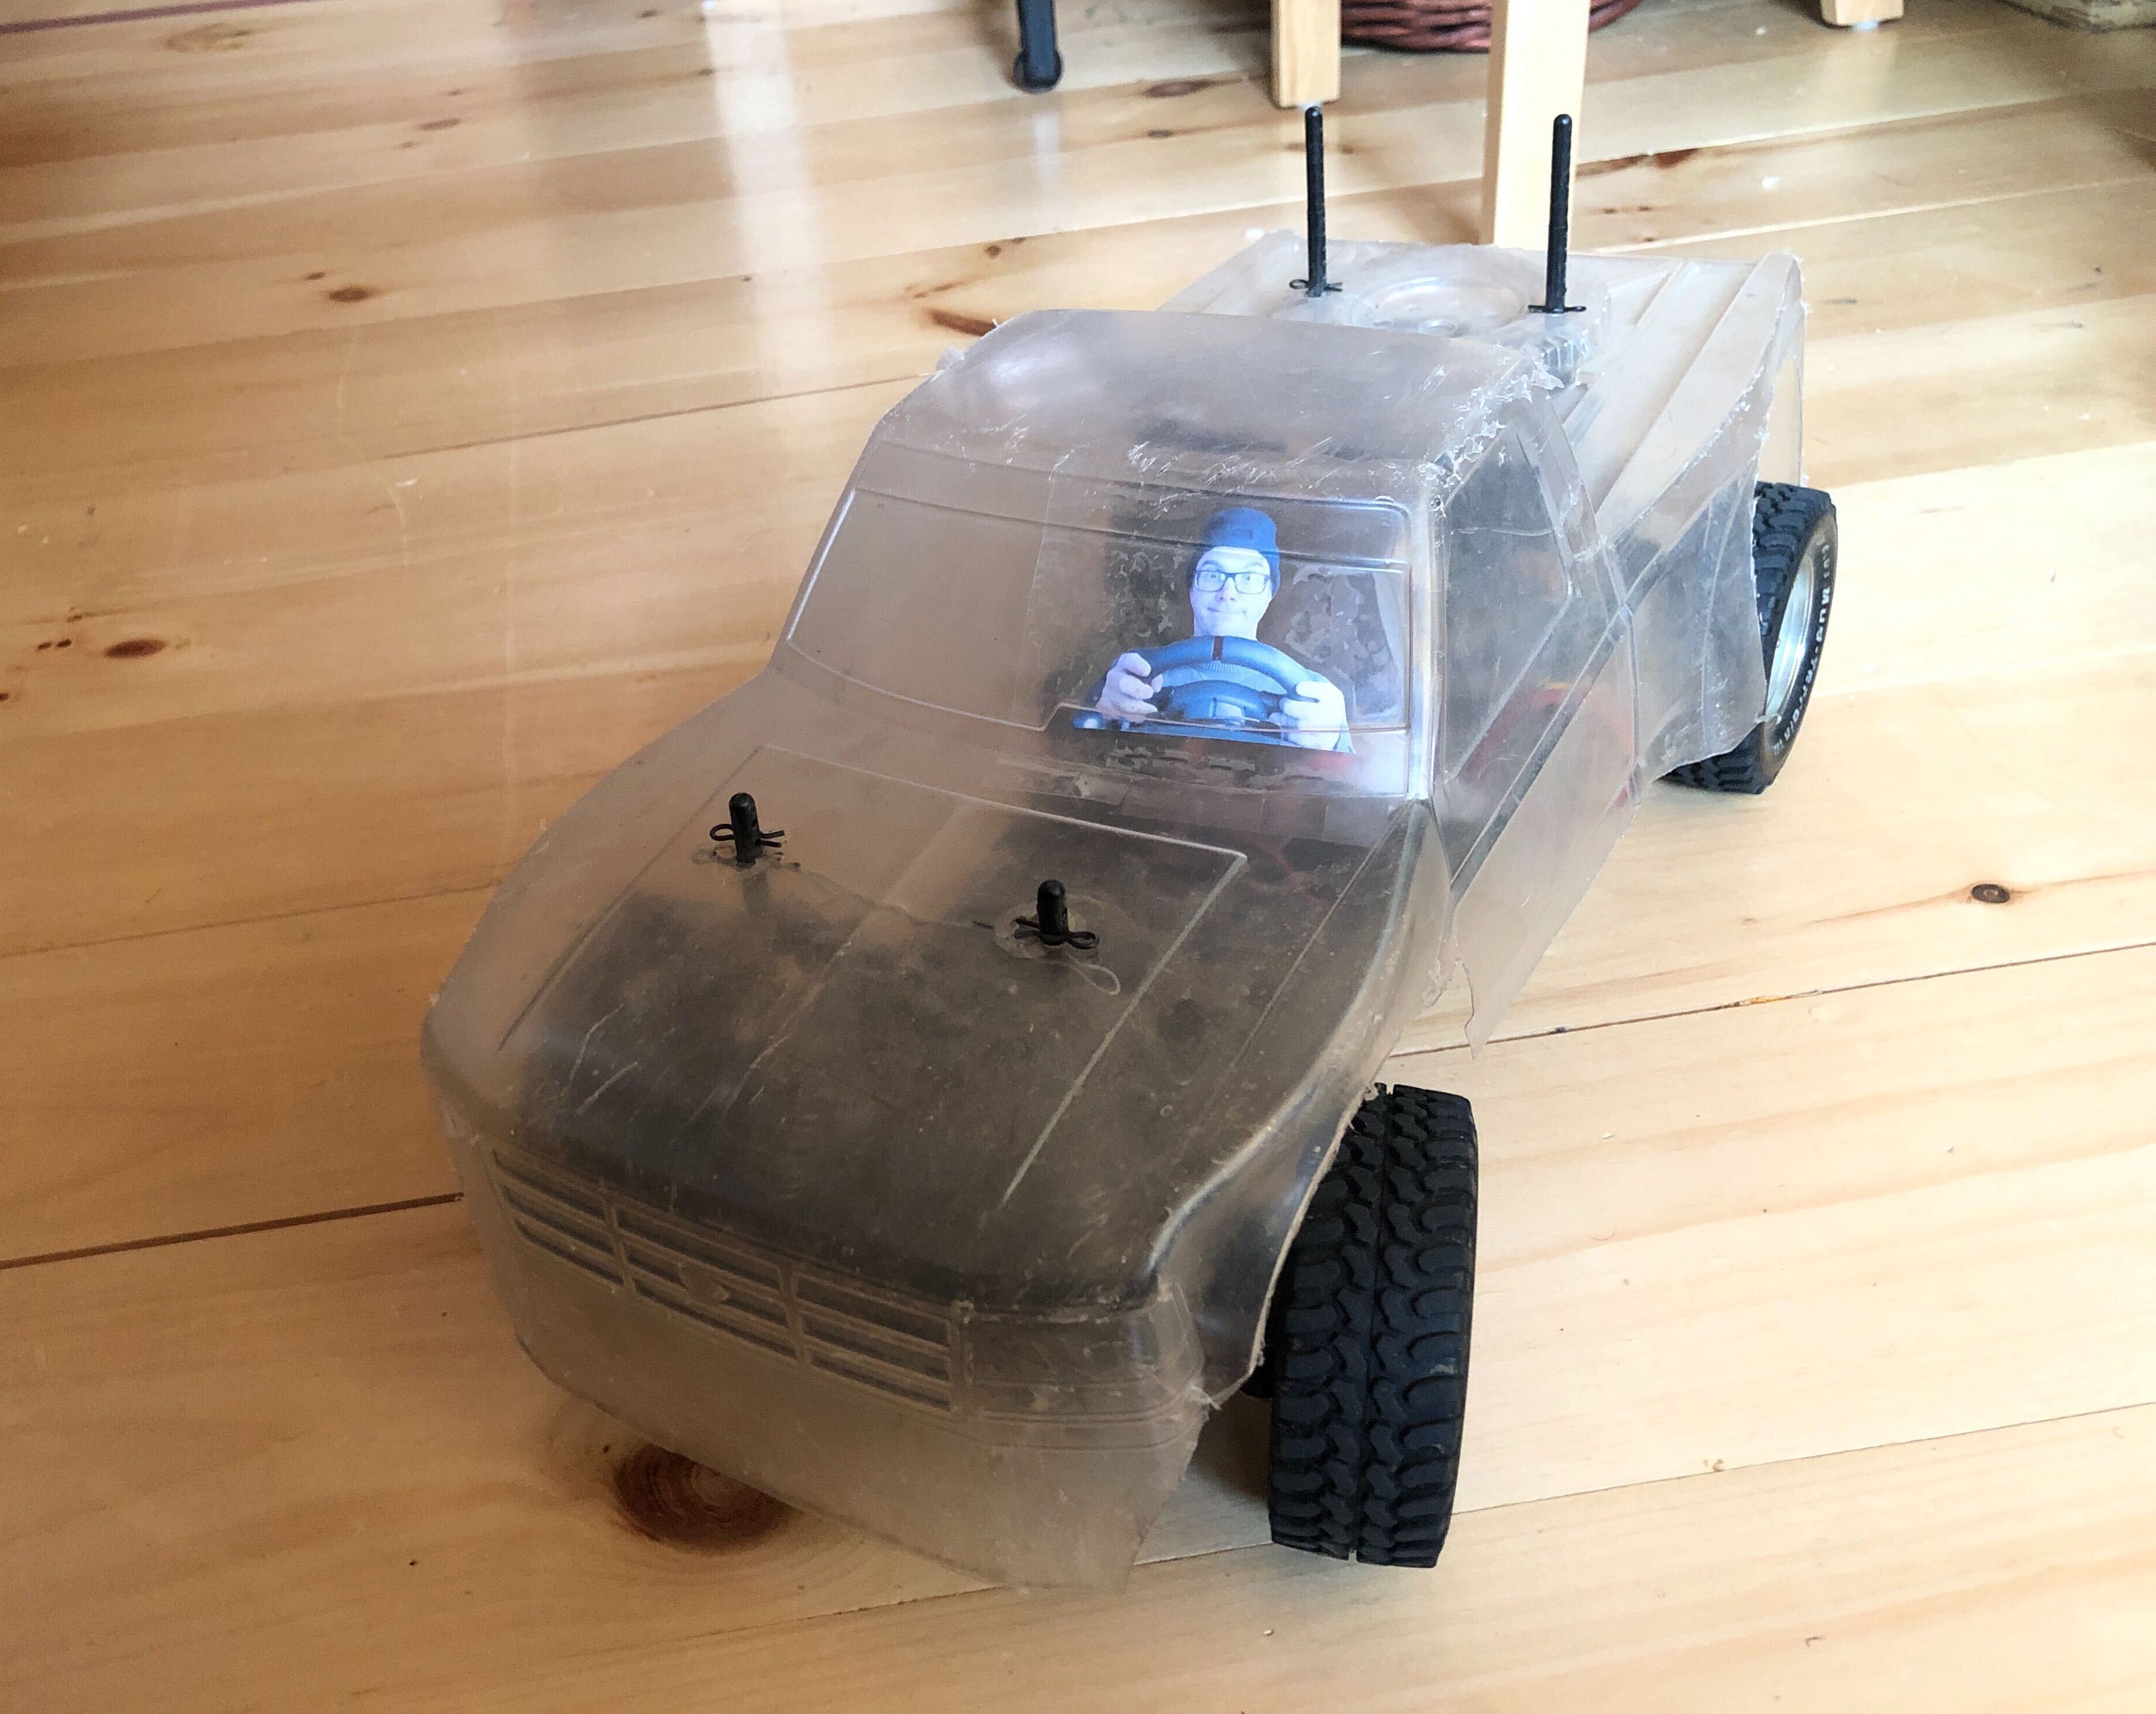
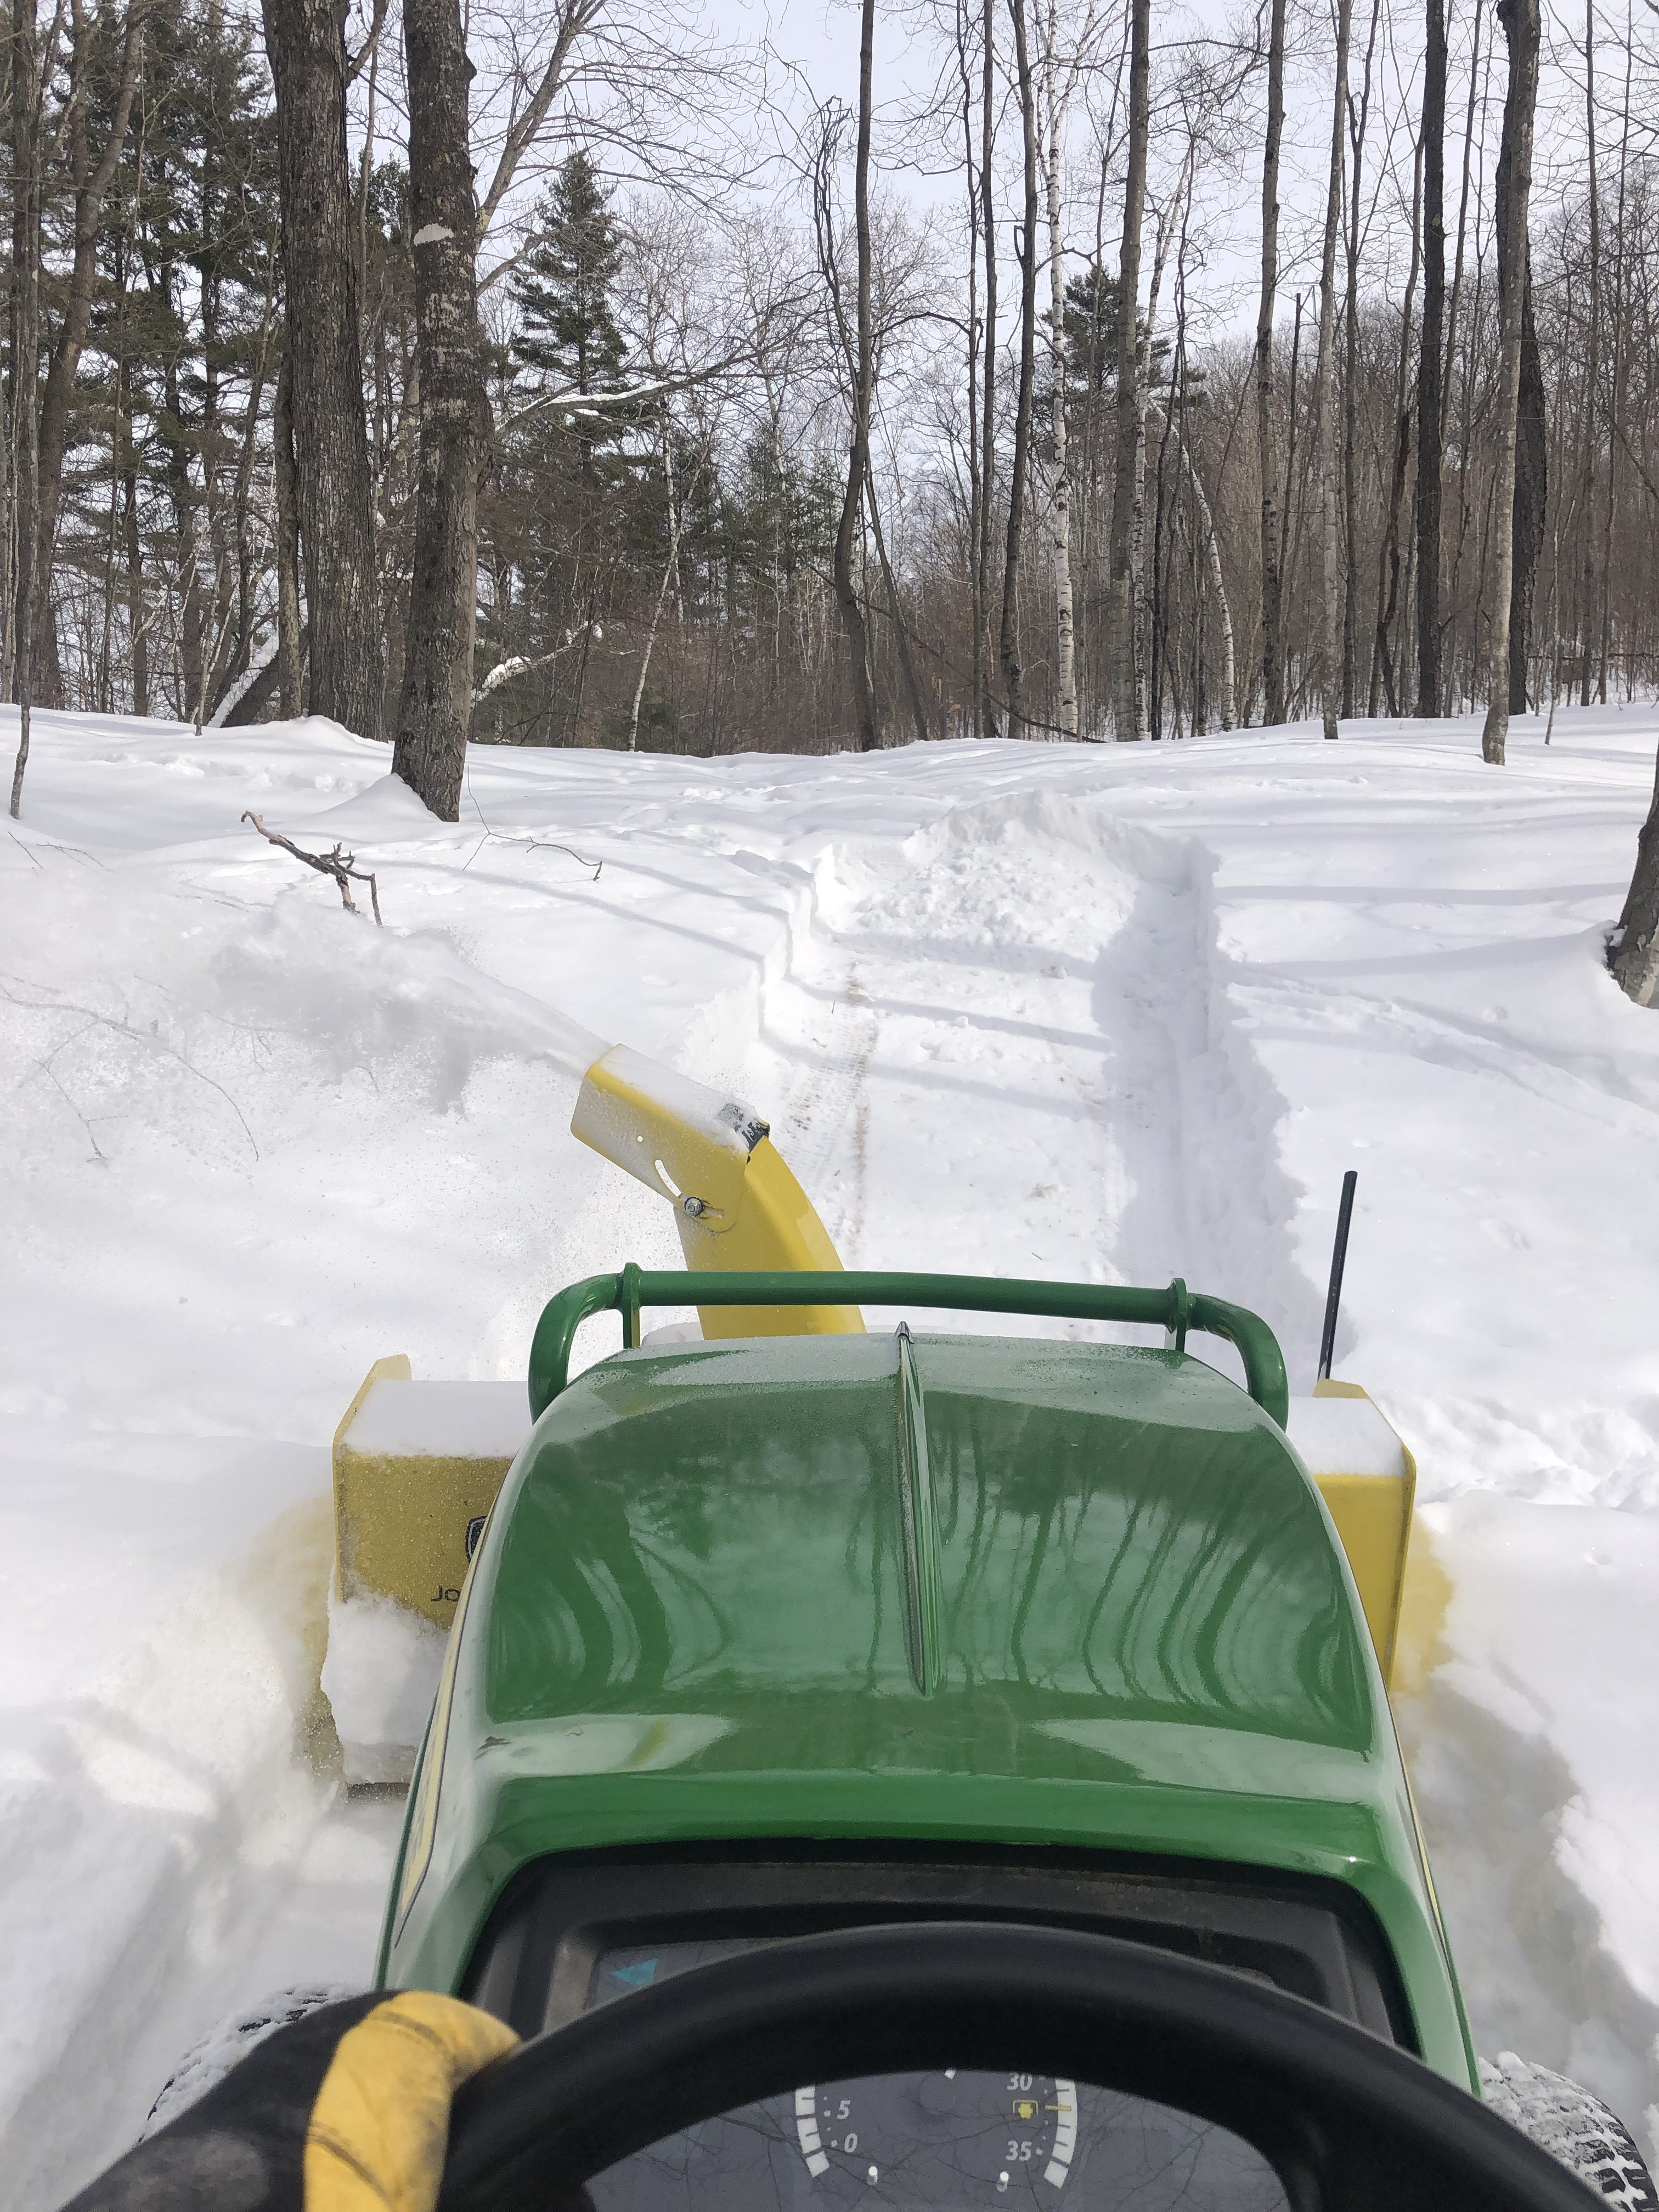
Sugaring season is around the corner and so I’m giving us paths through the woods. No sledding 35 gallons of sap, no stuck ATVs. One hard lesson after another, we now know what to do and when. We also know how: I didn’t even get the tractor stuck and made quick work of it all. It’s so nice for these things to have become evident.
Winter Fun
The kids don’t need to ask twice, I absolutely love riding and hearing giggles the whole time.
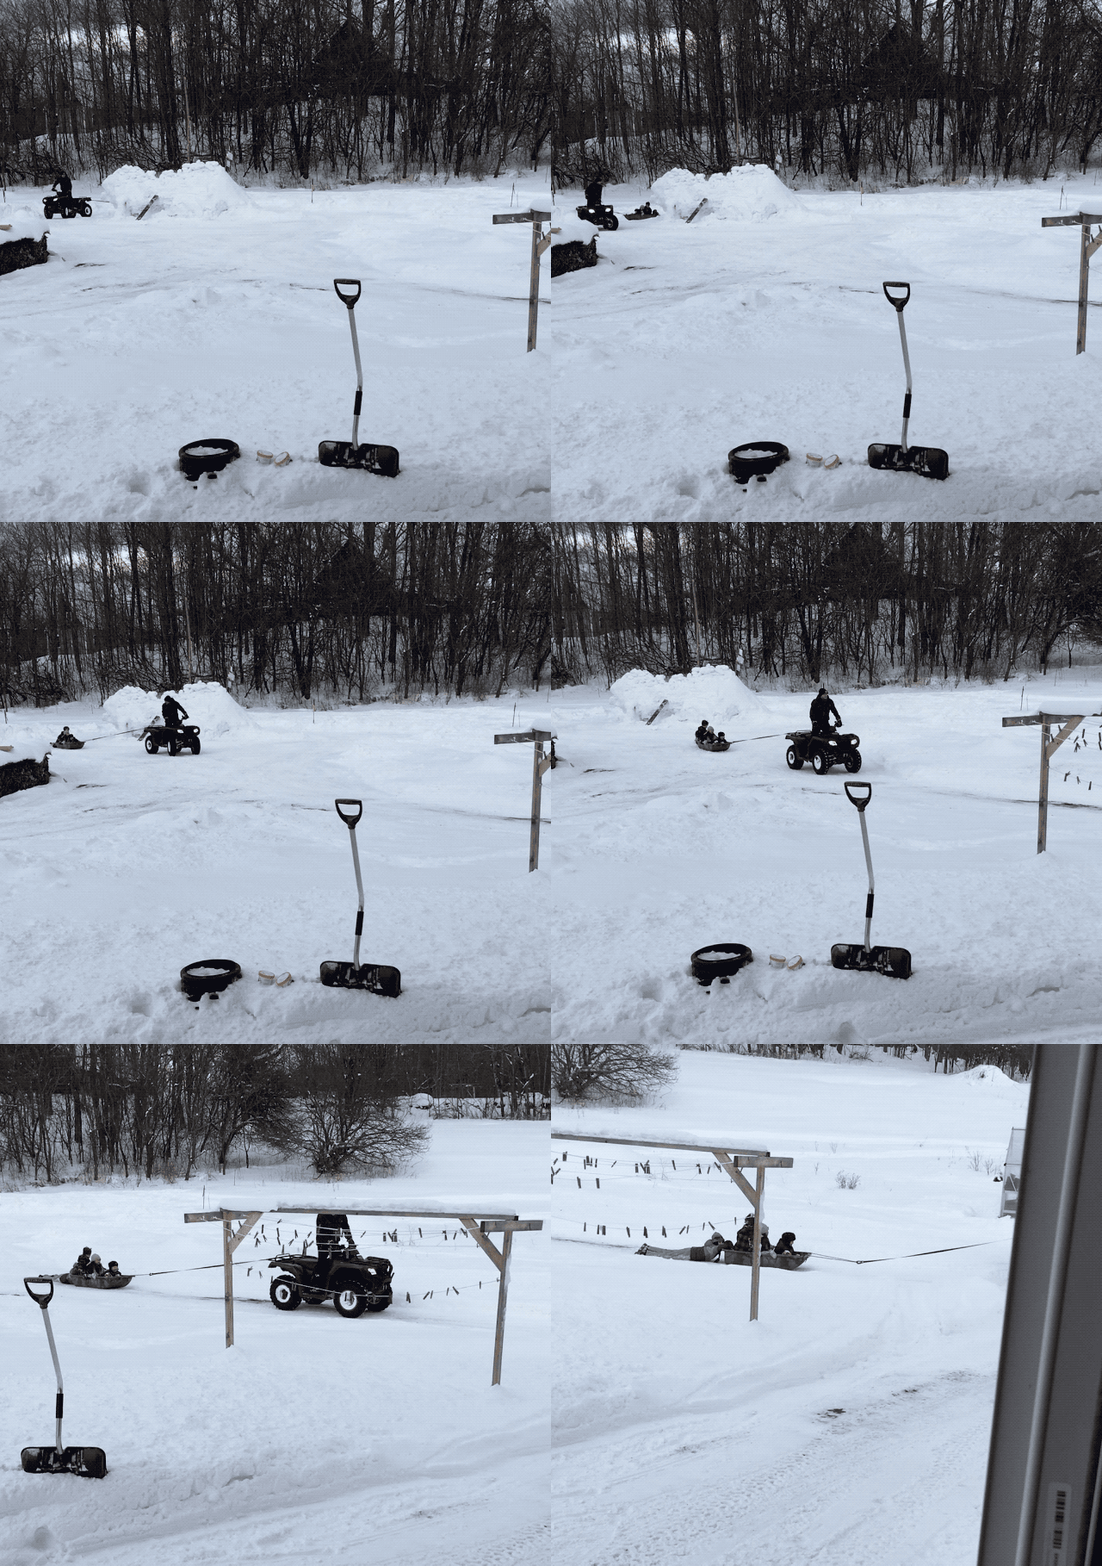
He discovered doughnuts.

The gifs came out a little faster than the actual actions, we’re not that reckless, we hope to remain wreckless.
First year on the ice and she’s doing quite well already.


Our family is a net positive on the ice.
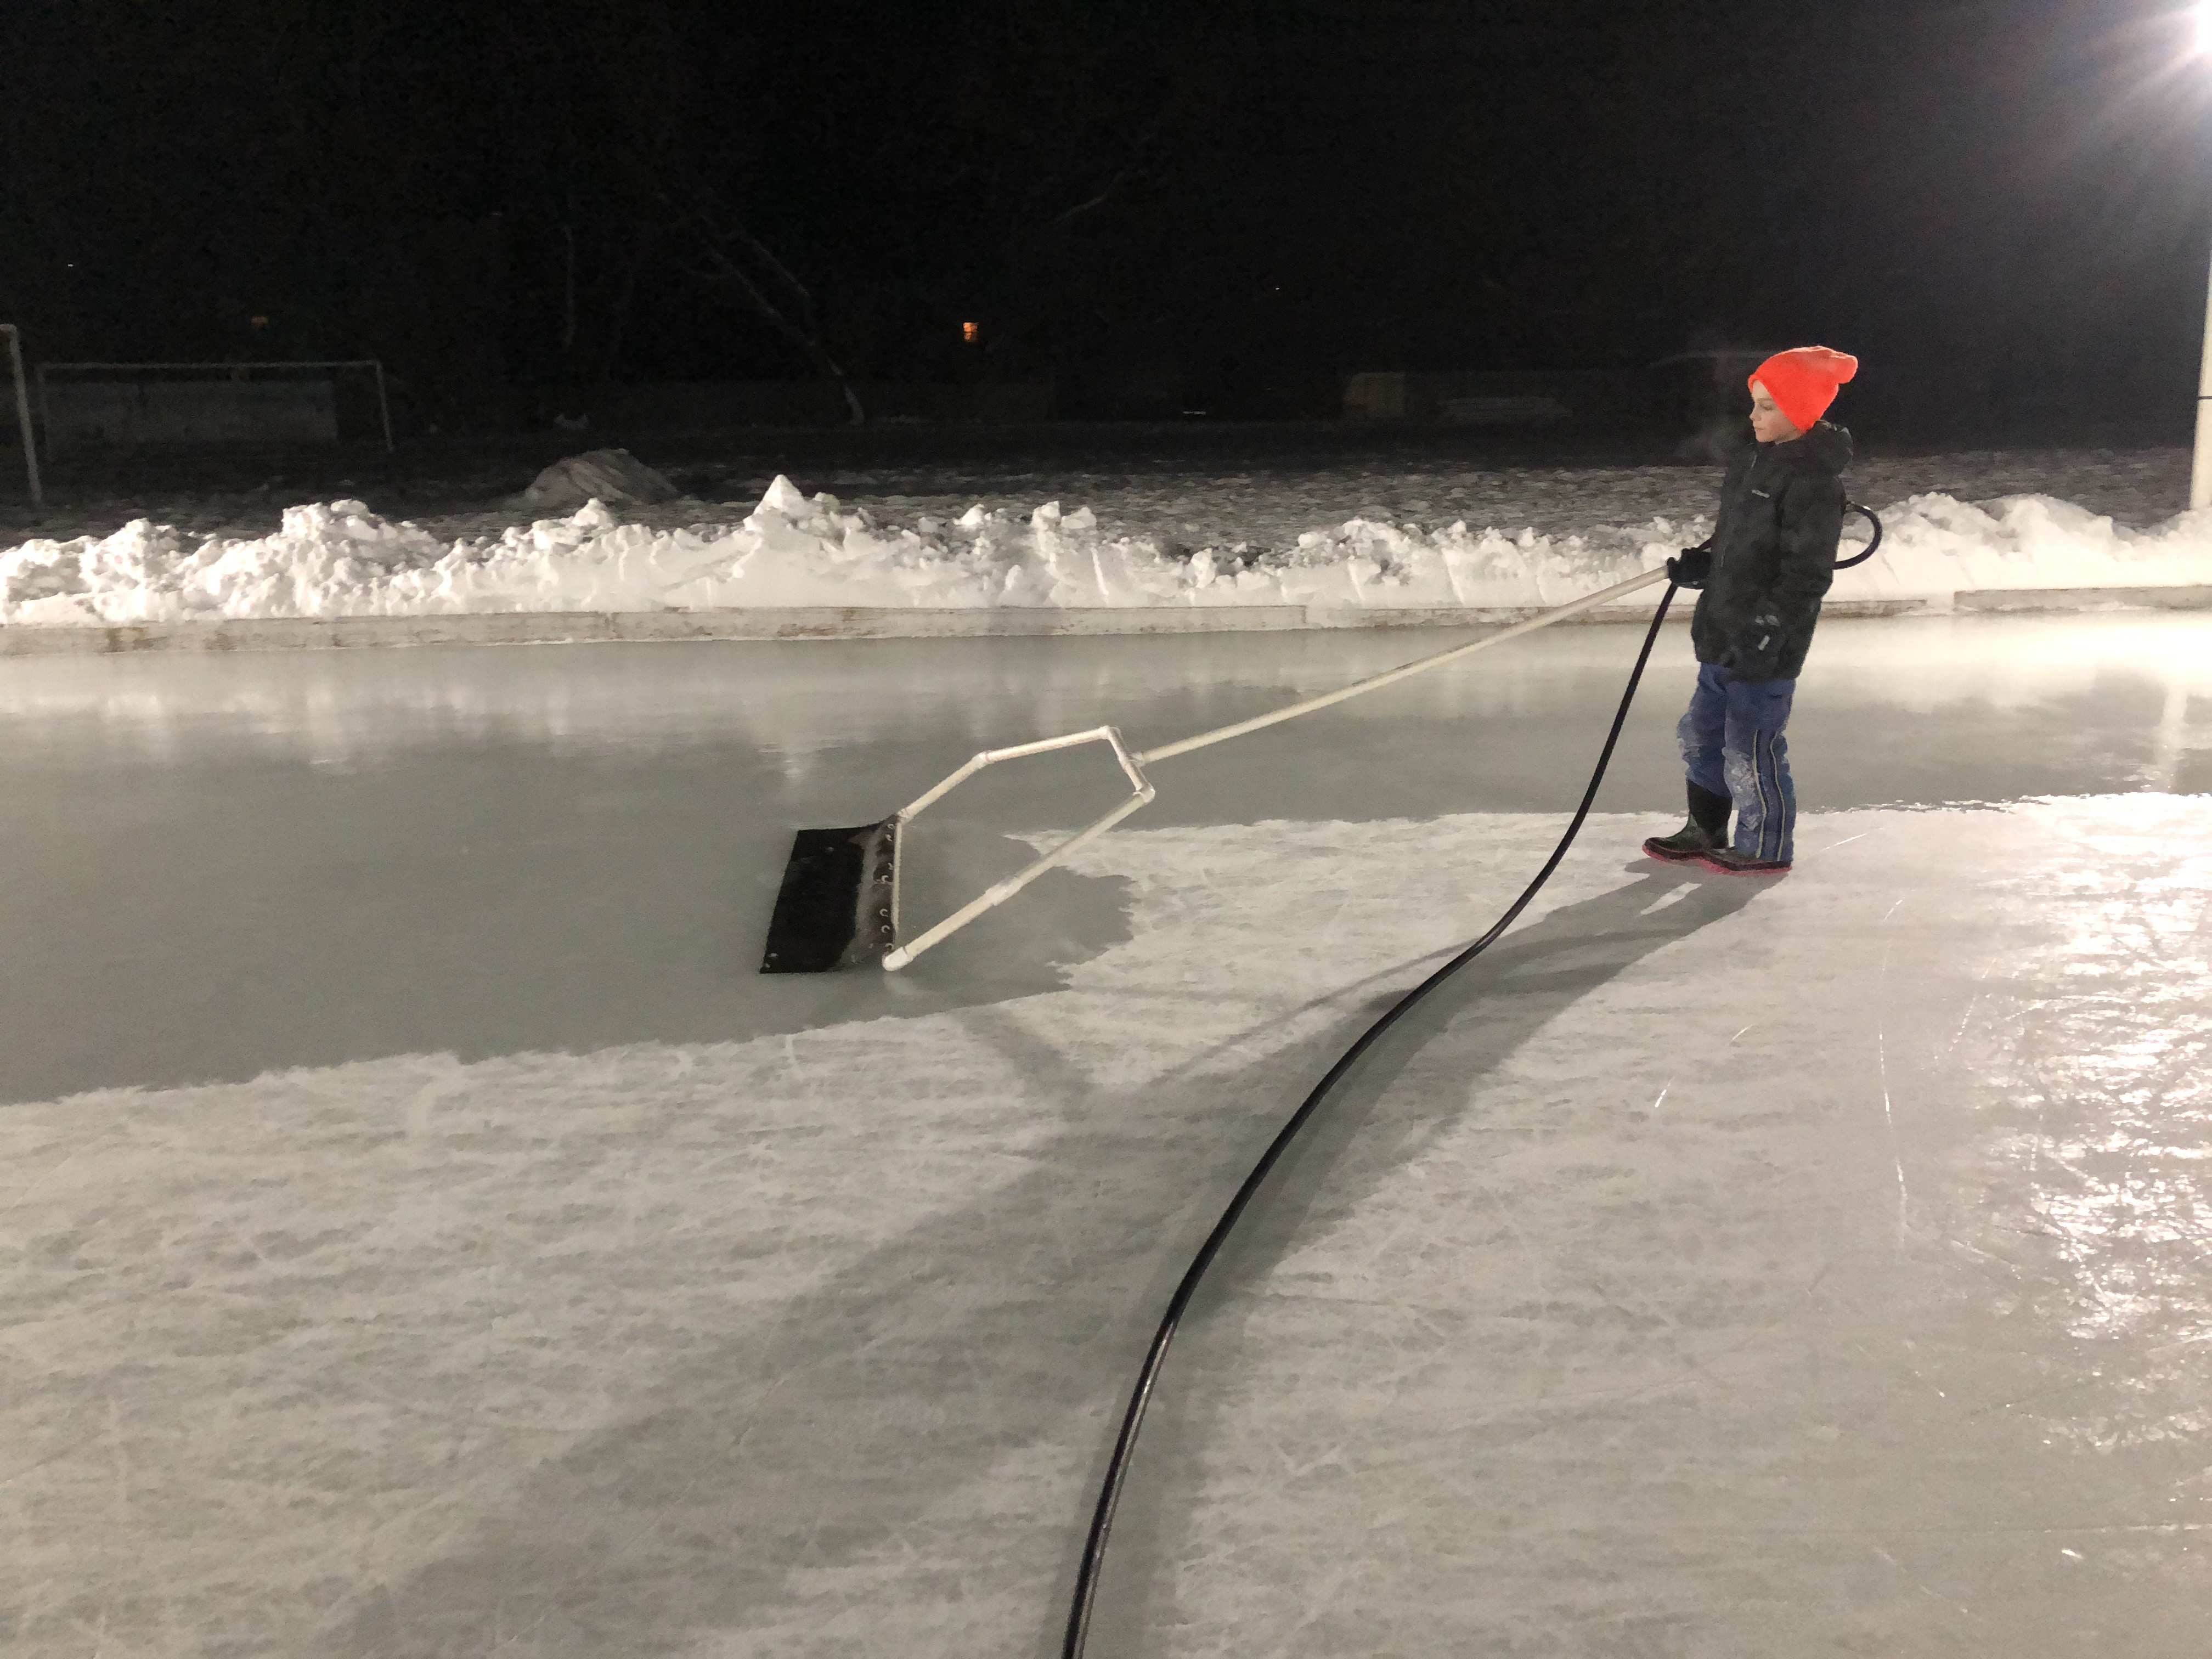
Winter Wonder
Work from Home = Work from a Snowglobe

Soon to be used sugarhouse & blue jays.

Trogdor was a boat. I mean he was a snow fort dragon boat.


Girls help the weakest, boy throws himself over the wood piles and eats snow unconcerned by others.

Blue Jays in Force

An interesting thing about the birdfeeder is how birds species time share on it. Blue Jays, when they descend on it, will take over all the surrounding trees. Several dozens of them raiding the feeder for 20 minutes. None of them were there before, none left after. They act as a group, are punctual, and expedient.
Scary Math
Our lives just took an enormous leap in comfort as we now have running water. It isn’t fully installed yet, and I’ll post more about the pump when it is.
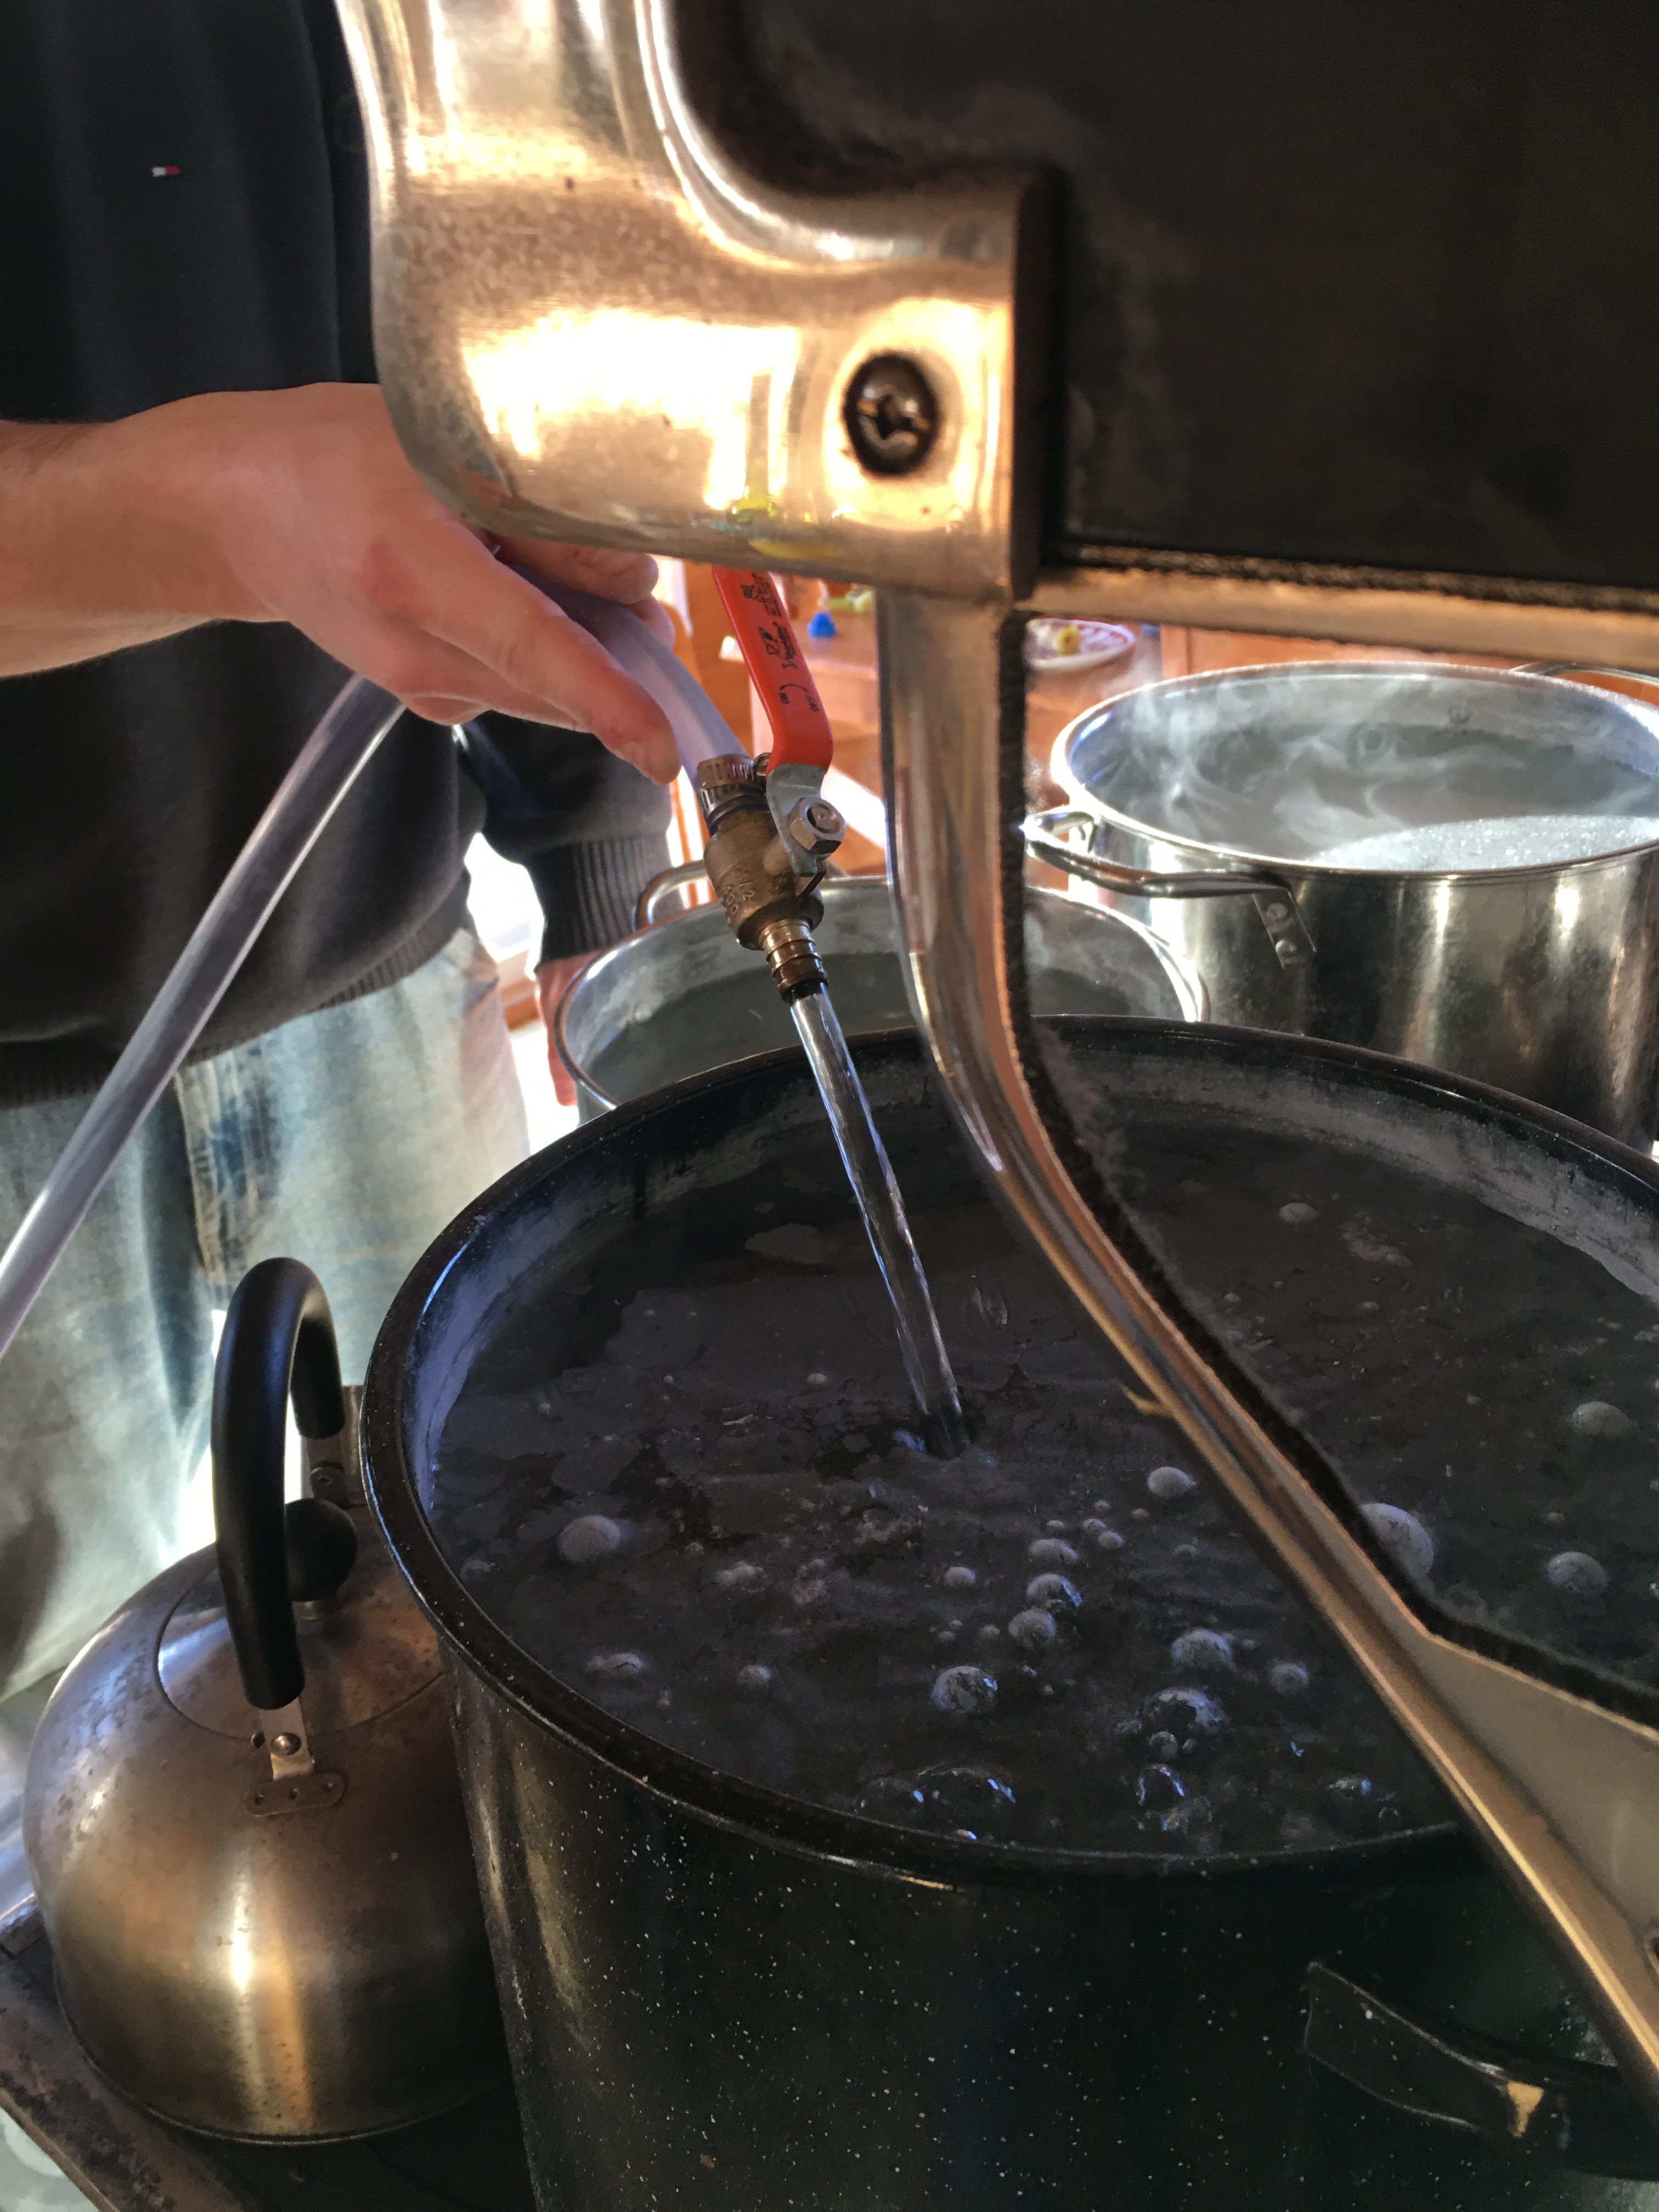
I estimate that in the past 5 and a half years, We pumped and carried 248,930 liters (65,760 gallons) of water from the well 100ft away. I’d love to know how many joules this represents, and how much ingested Ben & Jerry’s this translates to, but I don’t need to go down this rabbit hole right now :).
It isn’t yet perfect, I’m still figuring out a few things around priming and proper plumbing. But it’s still an enormous improvement. Running water, which we took for granted most of our lives, is the culmination of not only all the projects surrounding it (well work, frost lines, piping, et cetera), but also all the projects surrounding electricity. No wonder it took 5.5 years to get here with our starting point being zero understanding of any of these things. We often run into the people we once were, who have no concept of the fact water can move outside of pipes, in buckets for example. It seems evident when you read it, but I can guarantee we were met with confused looks more than once.
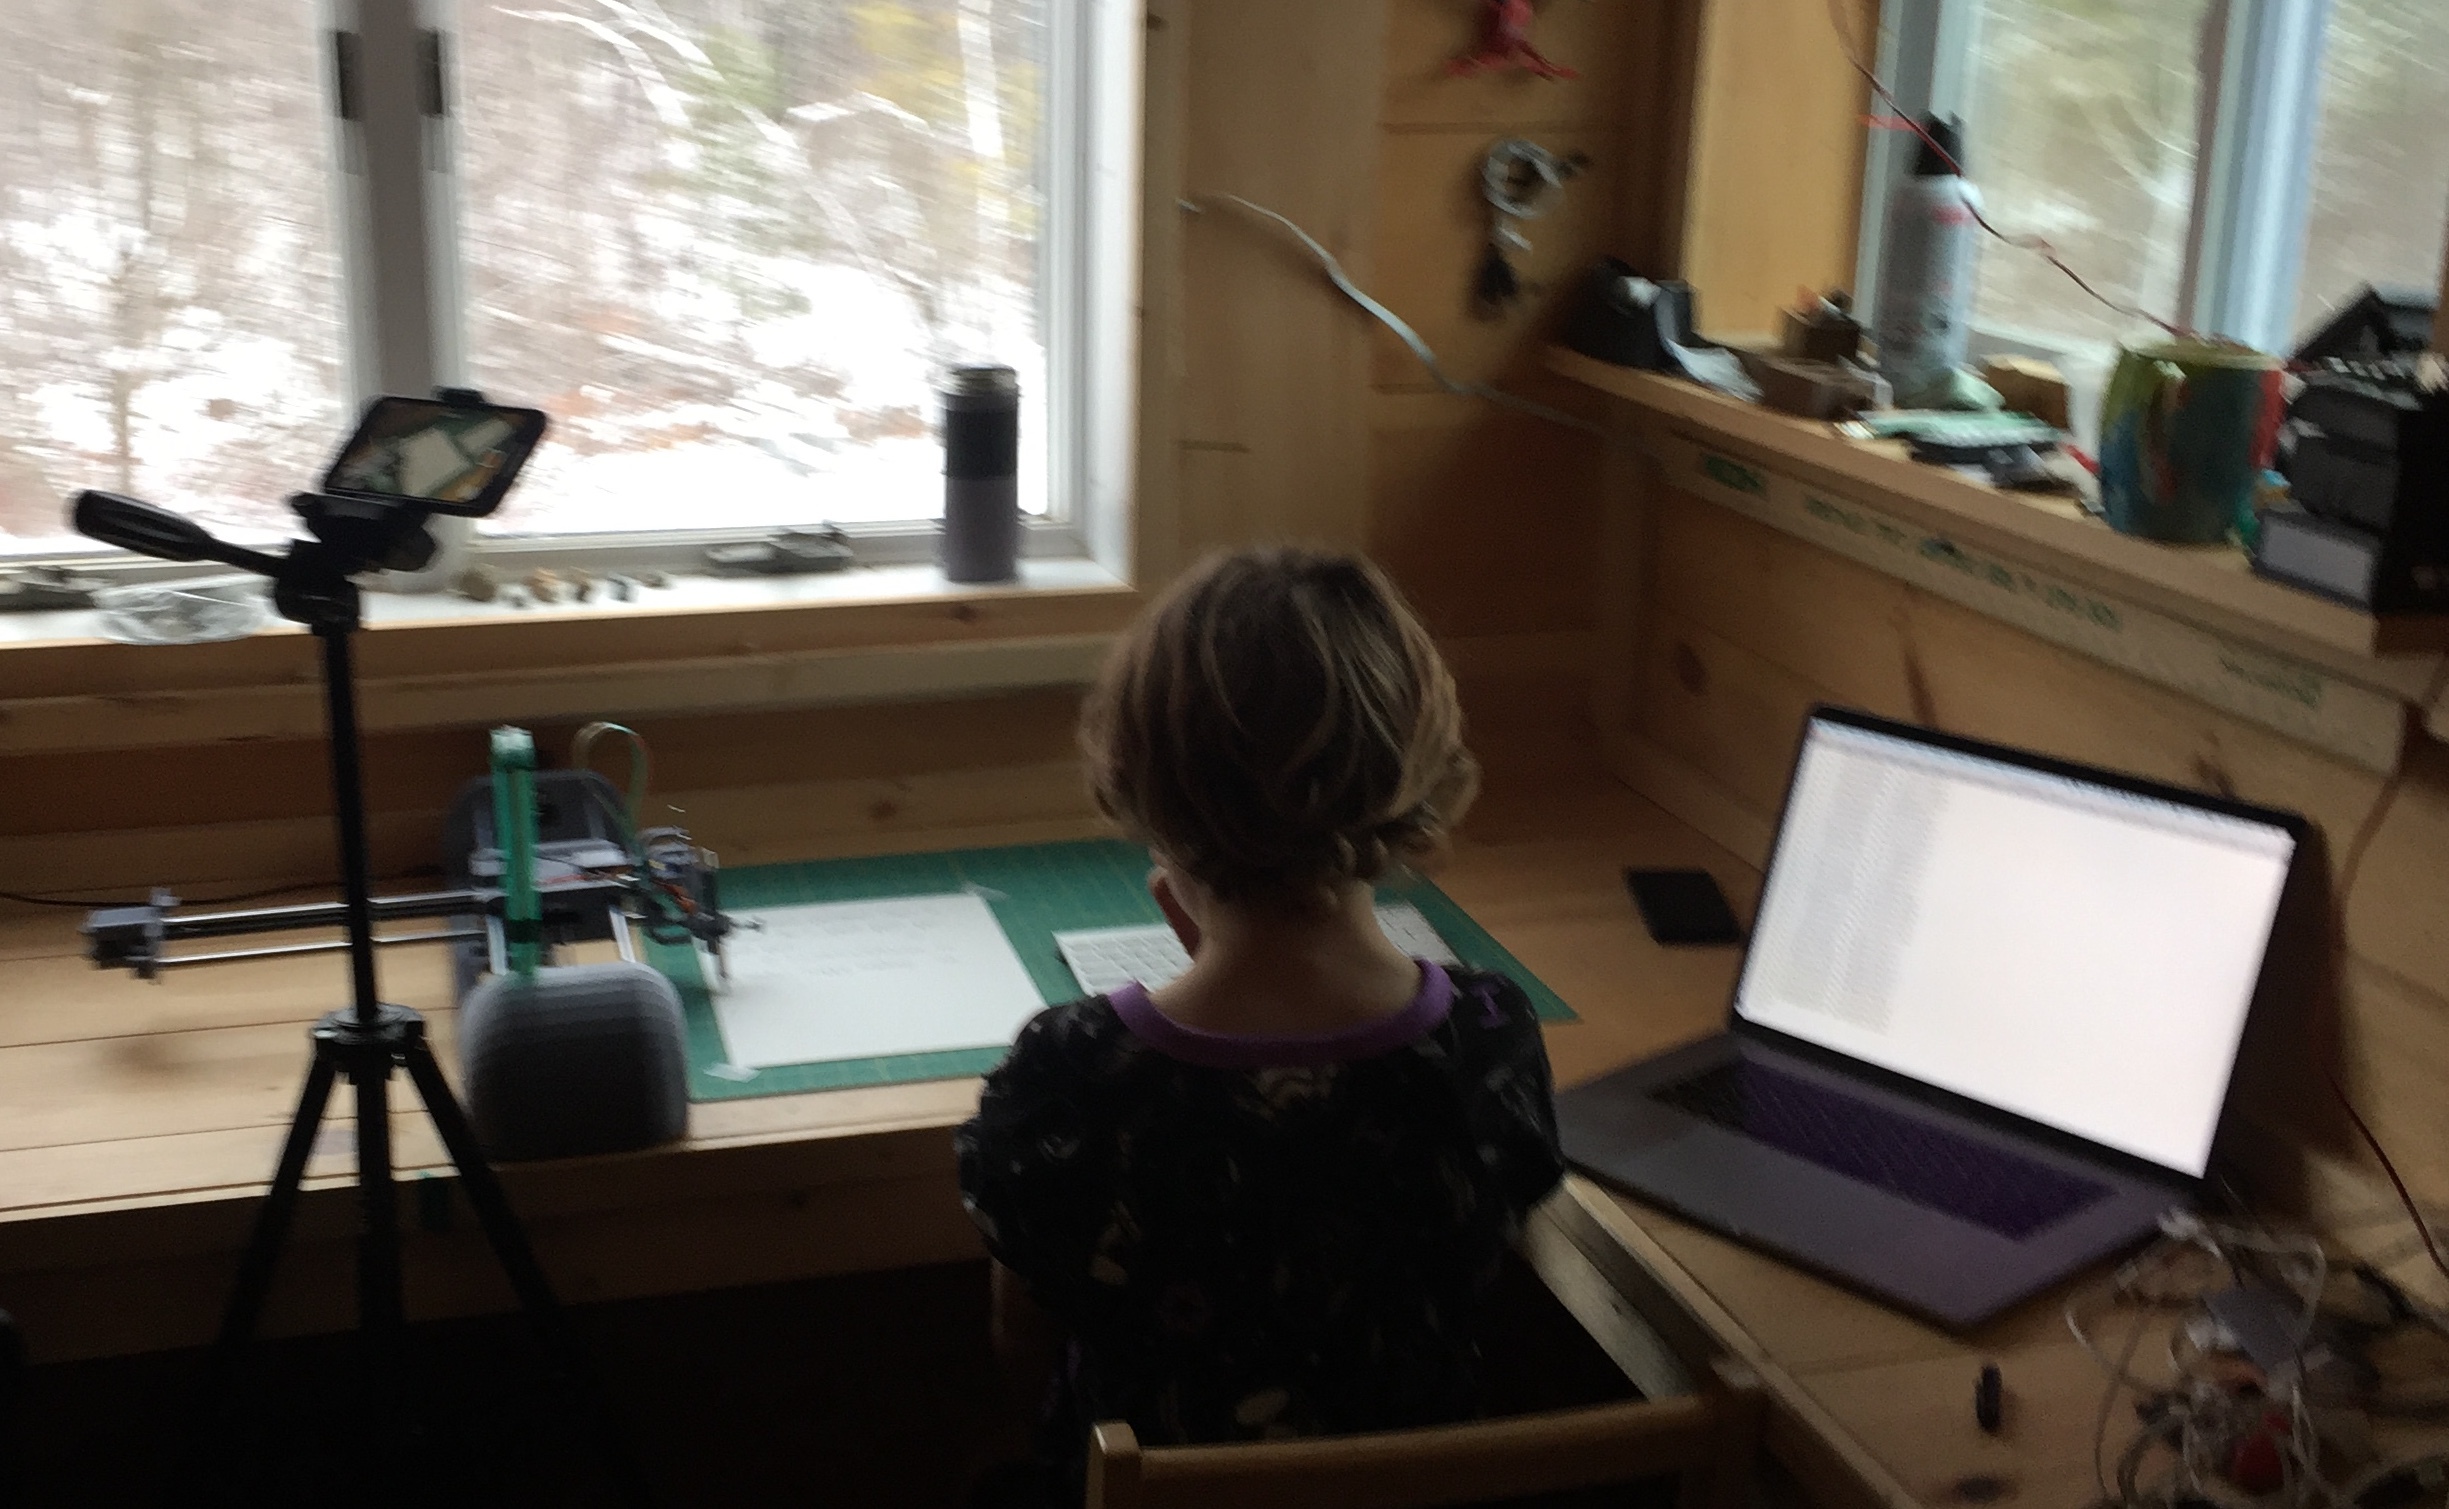
Captured Robin’s handwriting at age 10
It’s a surprisingly endearing thing to do. A personality snapshot in time.

Working with Handwriting
One of my obsessions in developing PlottyBot has been handwriting. Even with Mandalagaba I care very much that the penstrokes originate from one’s hand and avoid tools which “do the drawing for you”. This is where your personality transpires on paper beyond your ability to draw. I thought it’d be neat to have a pen plotter able to write in one’s handwriting.
This idea came up a long time ago, and I researched many ways to achieve it. The unfortunate but predictable conclusion was that I would need to write my own font format to get there.
Introducing Flexible Font. PlottyBot comes with the ability to capture your handwriting. The Flexible Font format is monoline based, holds metadata on your pen strokes to define where ligatures may occur, it also allows for character variations. It’s tailored just for plotters :).
The video bellow shows several ways to use PlottyBot with handwriting. The first is a simple live replay of pen strokes from https://plottybot.mandalagaba.com, the next ones use Flexible Font.
UV Ink Experiment
One advantage of a drawing machine working with coordinates is that it does not need to see what it draws.
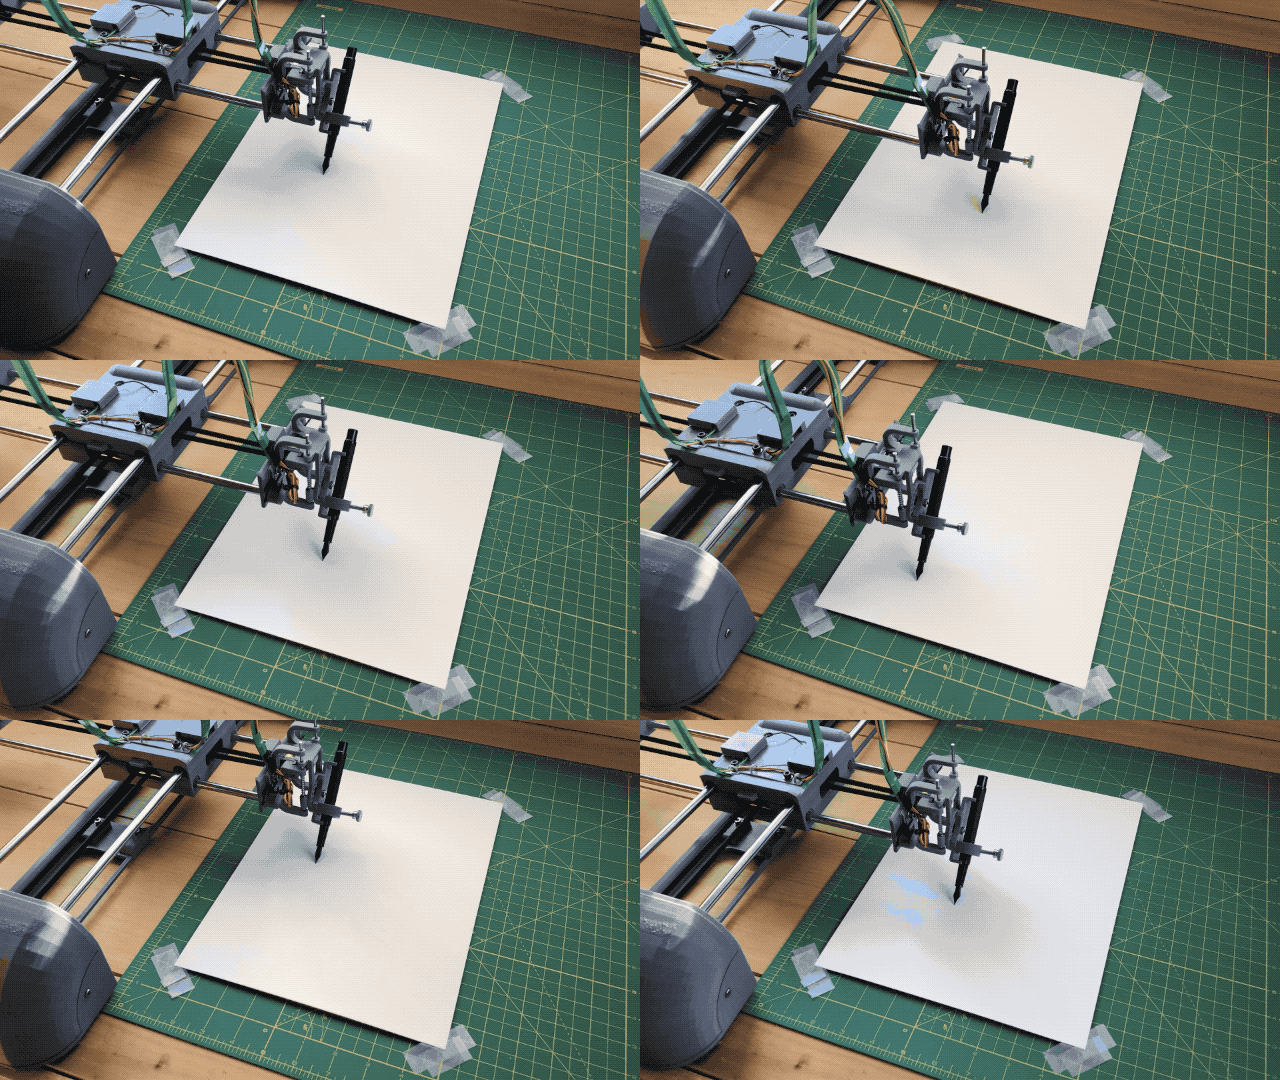
Under the blue light
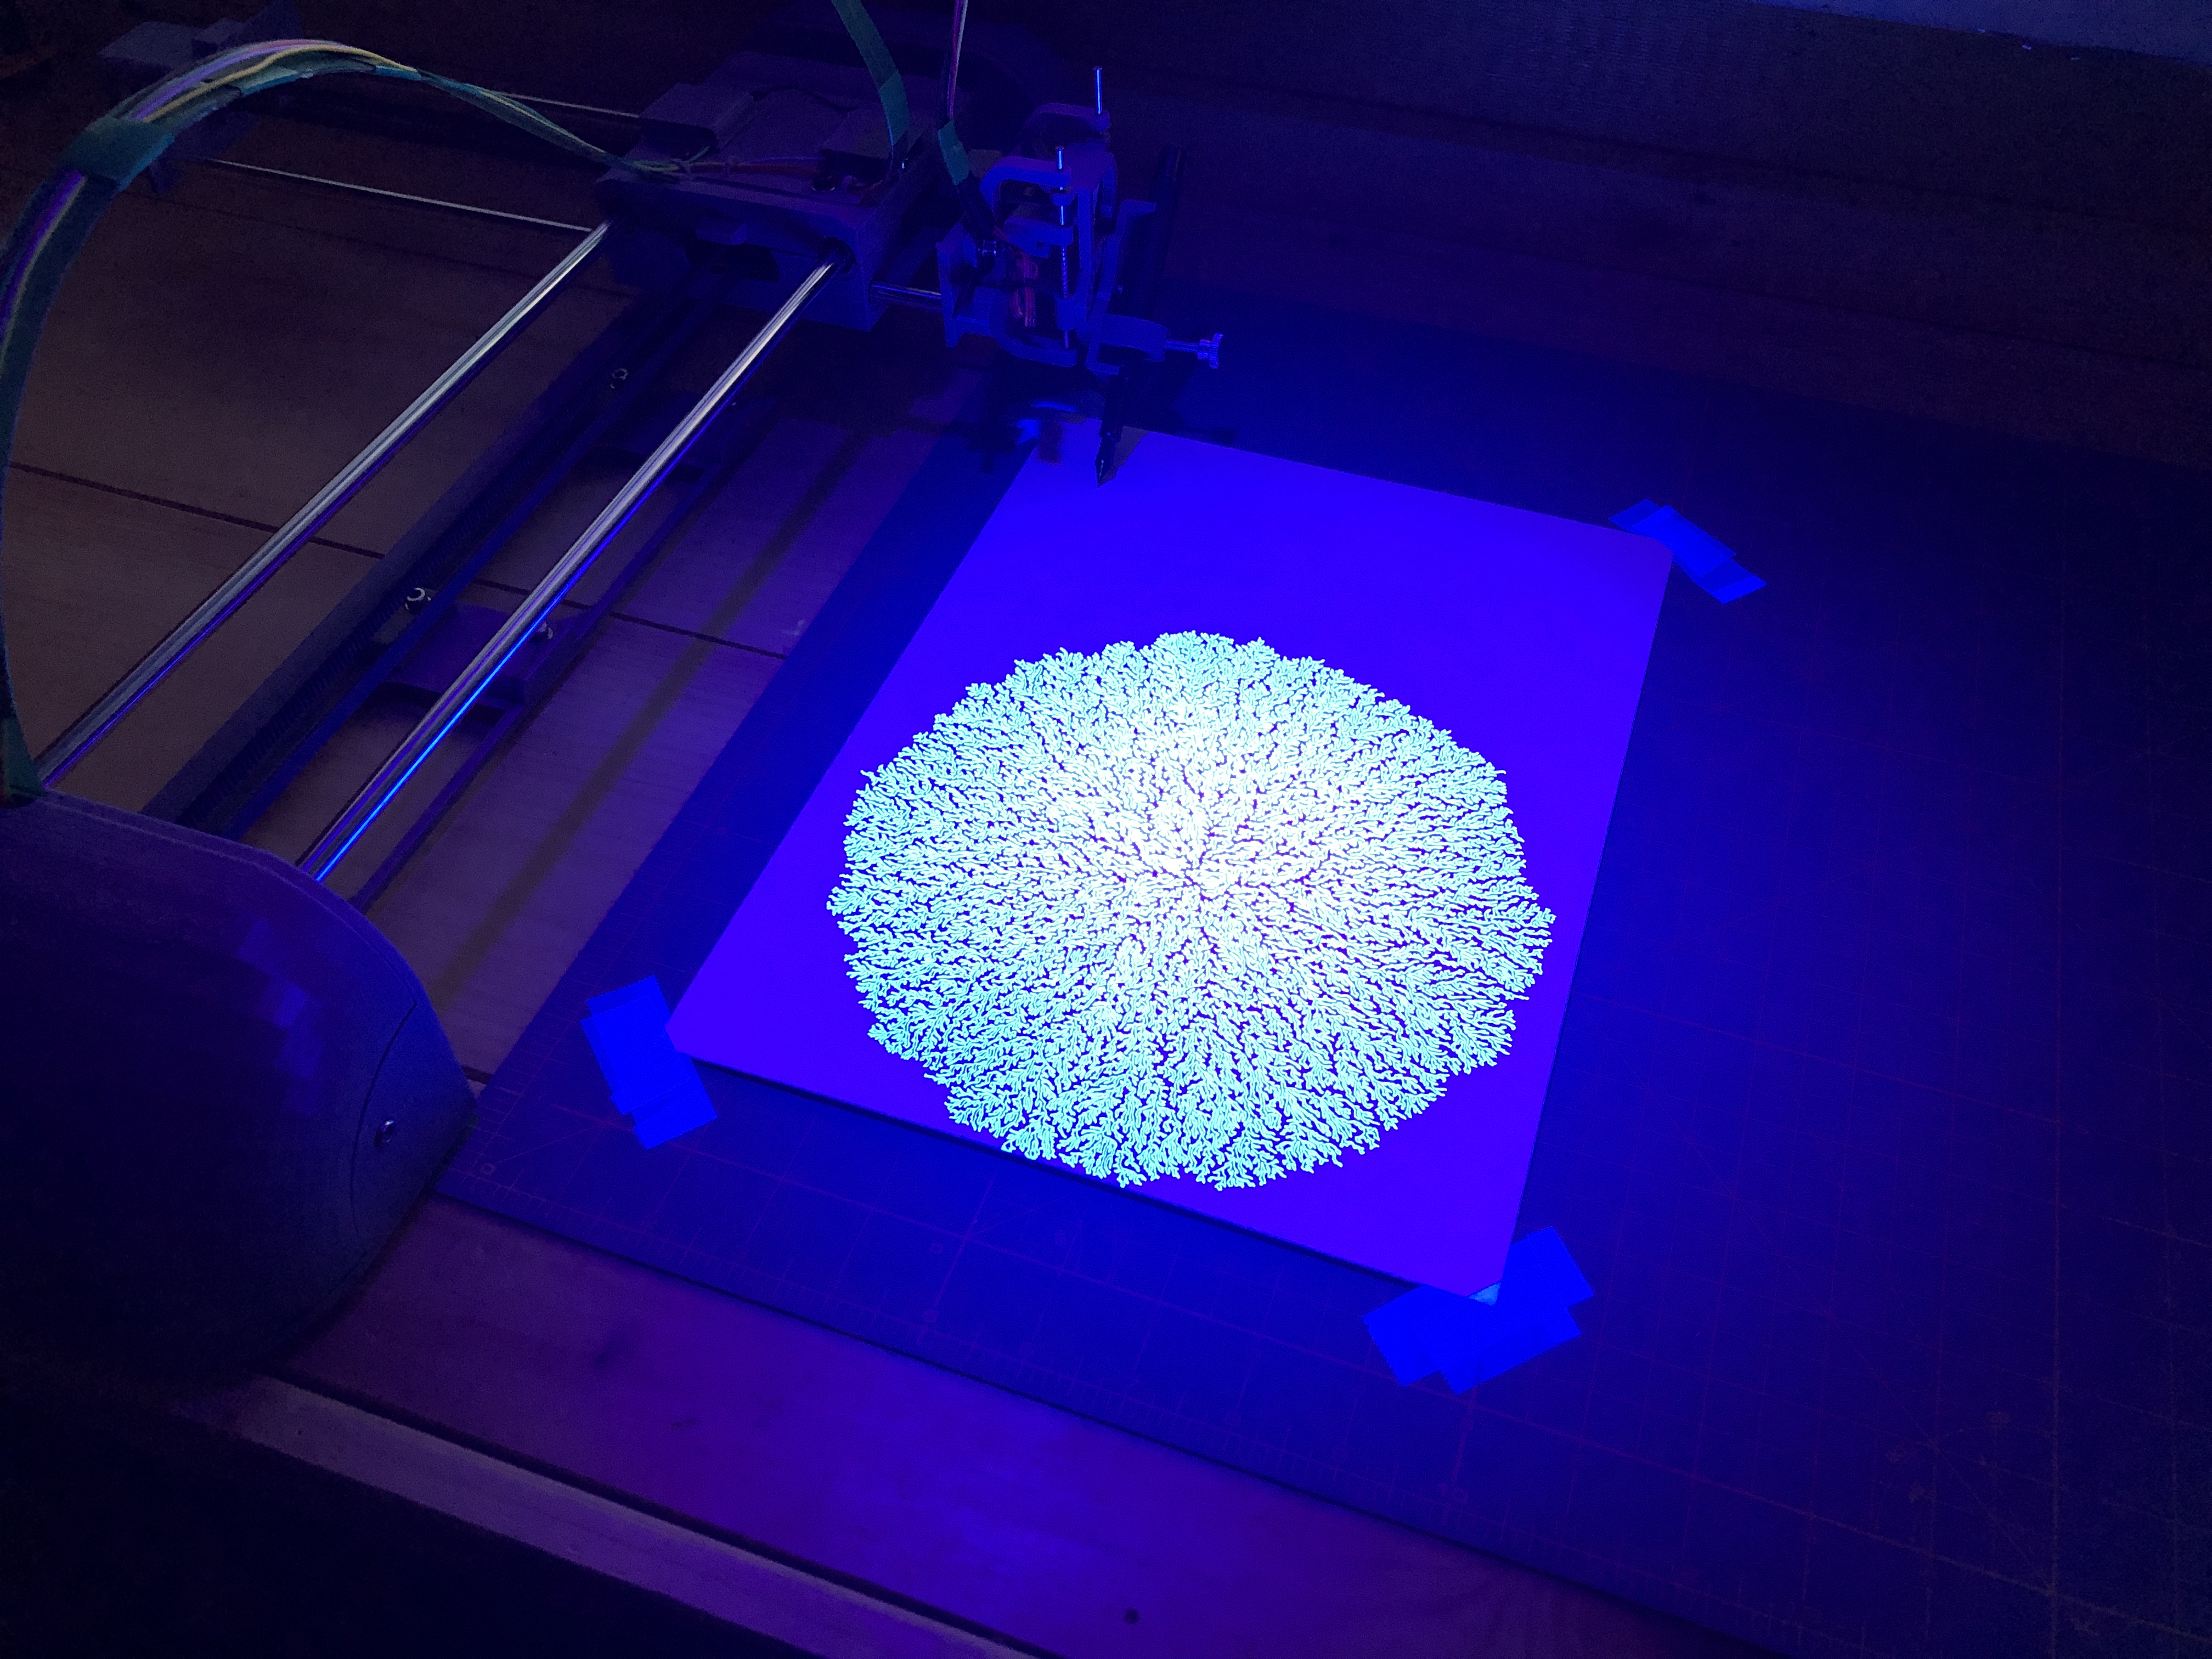
I bought a fountain pen with a refillable cartridge, and some UV ink.

The UV ink is invisible to the naked eye but the pen did leave trails on the paper.


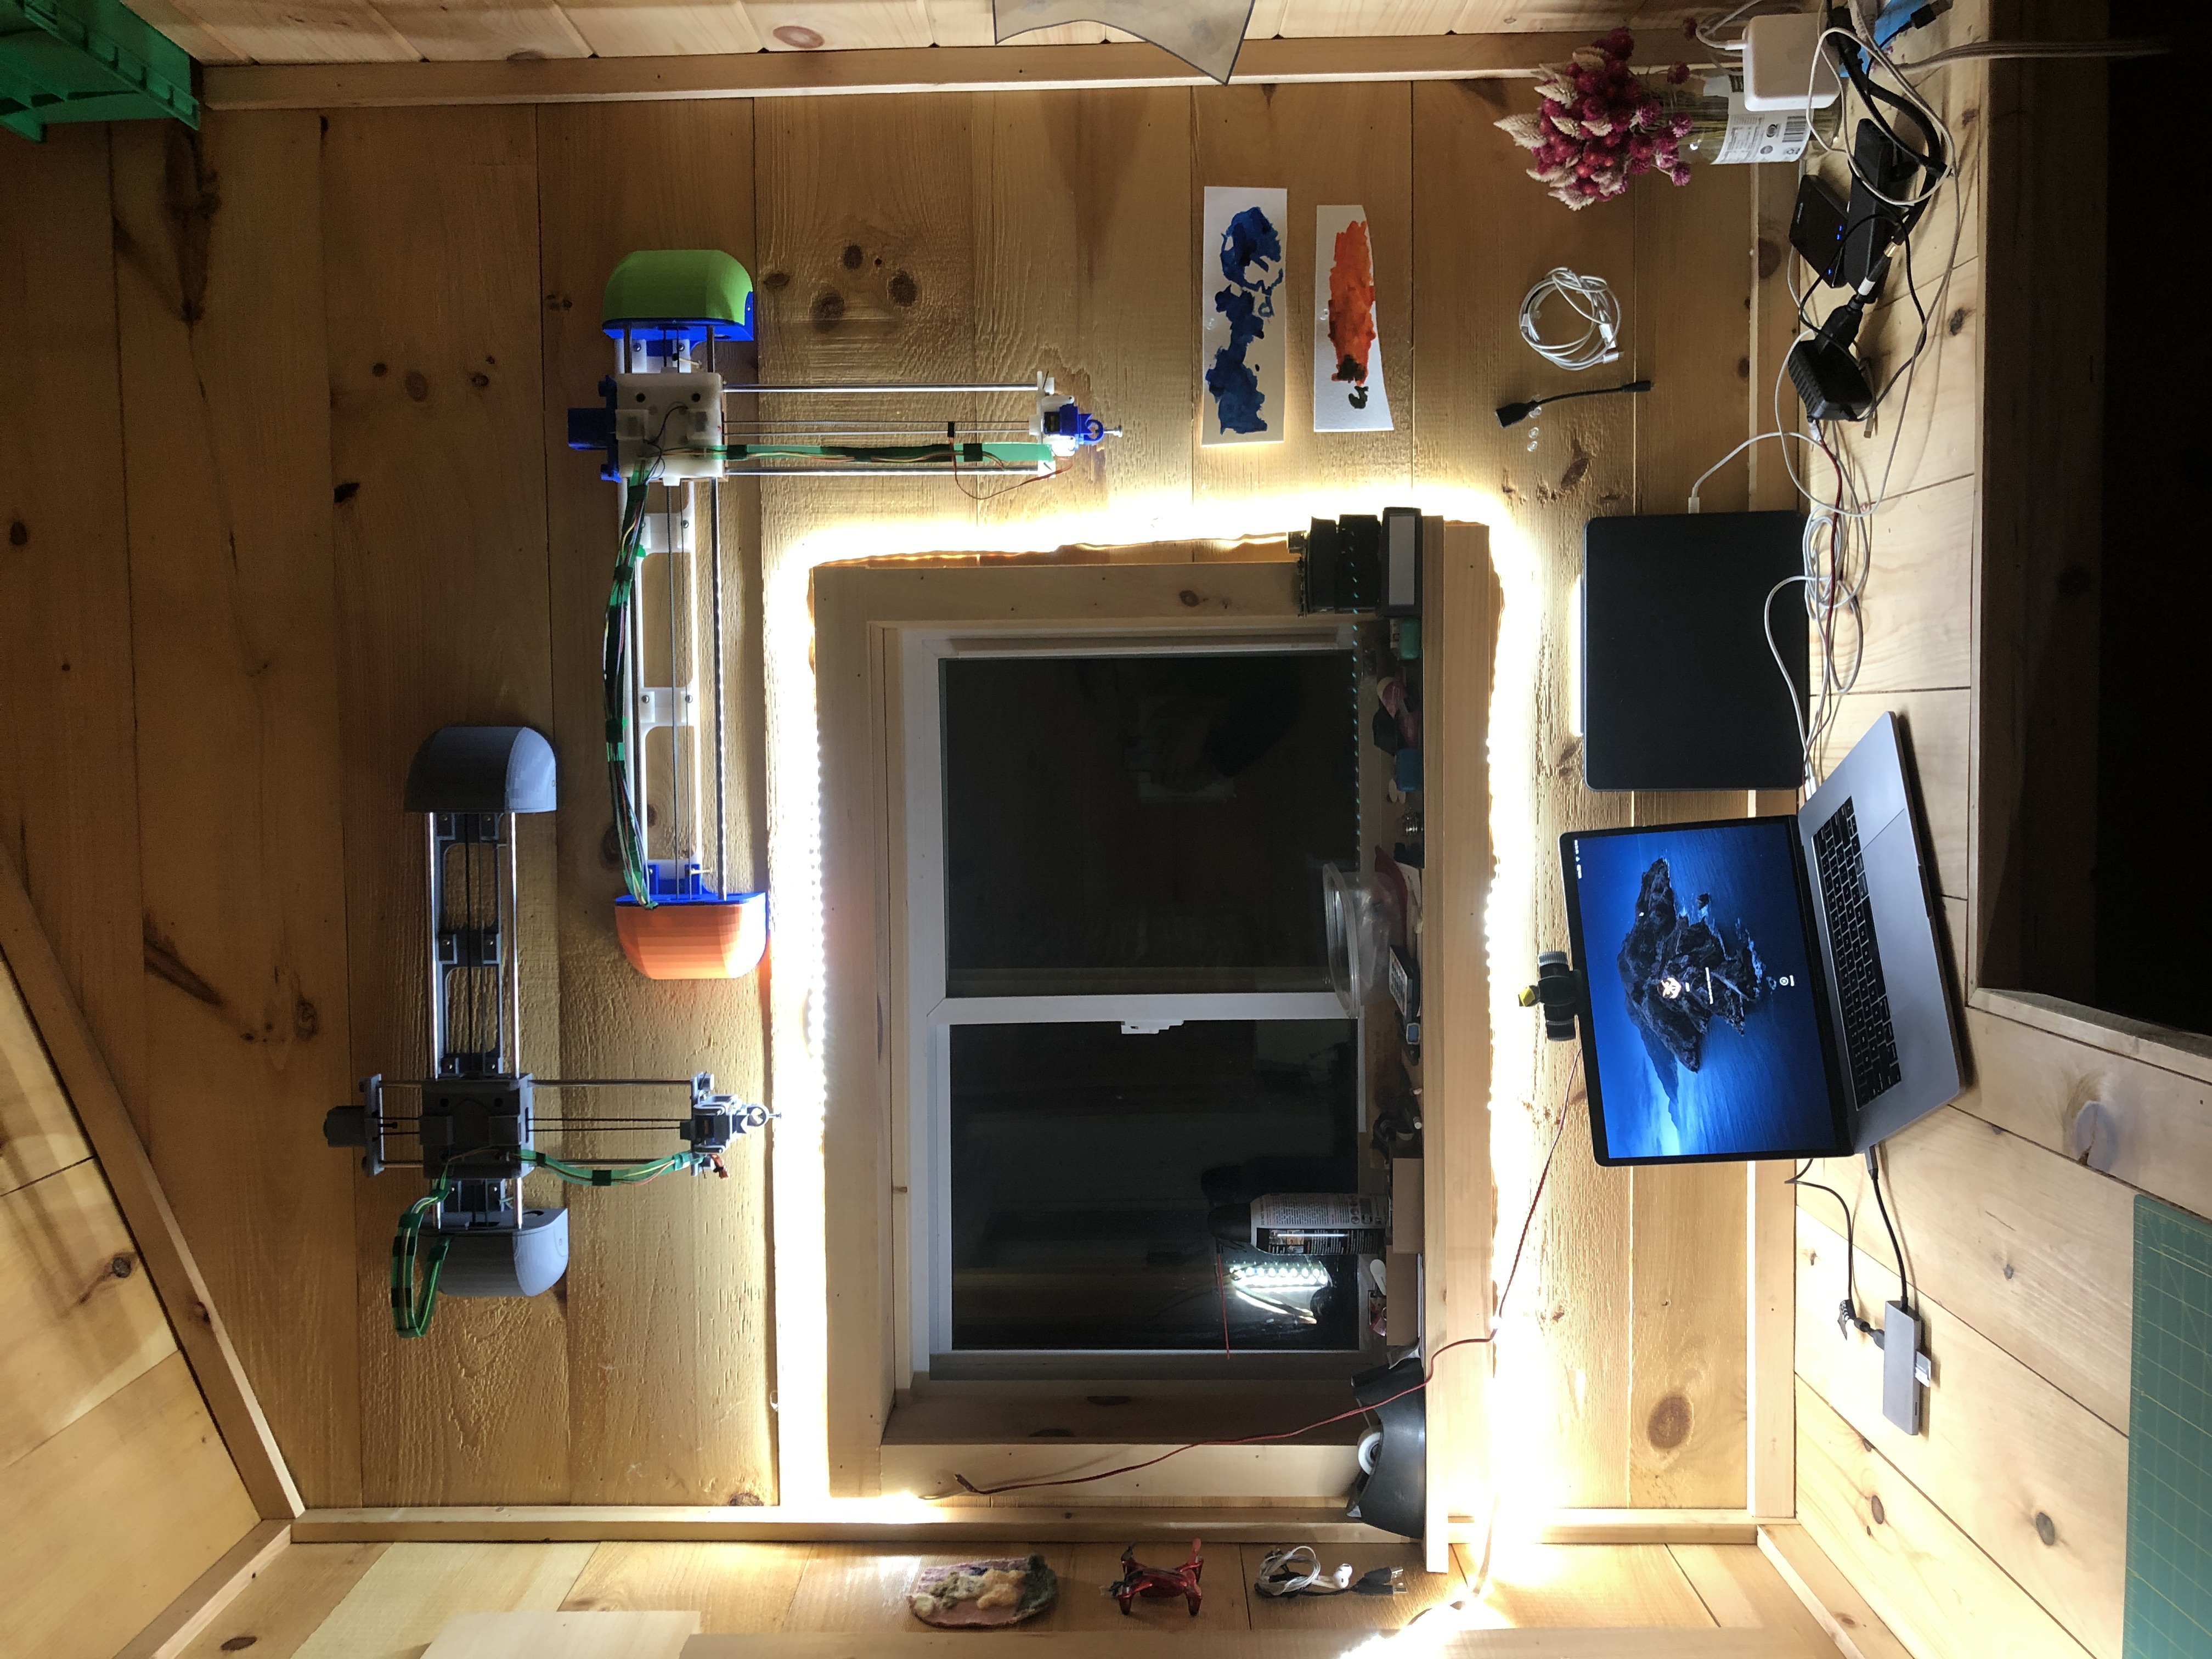
PlottyBot is born
Years in the making, many prototypes, and I hope a software stack which brings novelty and ease of use to the world of pen plotting. It’s been a marathon building the final version and documenting the process carefully. I’m too pooped to say anything more about it for now.
Driving a 28BYJ-48 Stepper Motor & ULN2003 driver with a Raspberry Pi
Quick points about this motor & driver
They are wonderfully cheap and extremely accurate due to 1/64 gearing. They move by 0.087890625° per step! However, the gearing is made of plastic and will wear out overtime, especially if moving heavy objects. Lastly the motors can become a little toasty if you work them hard.
Circuit
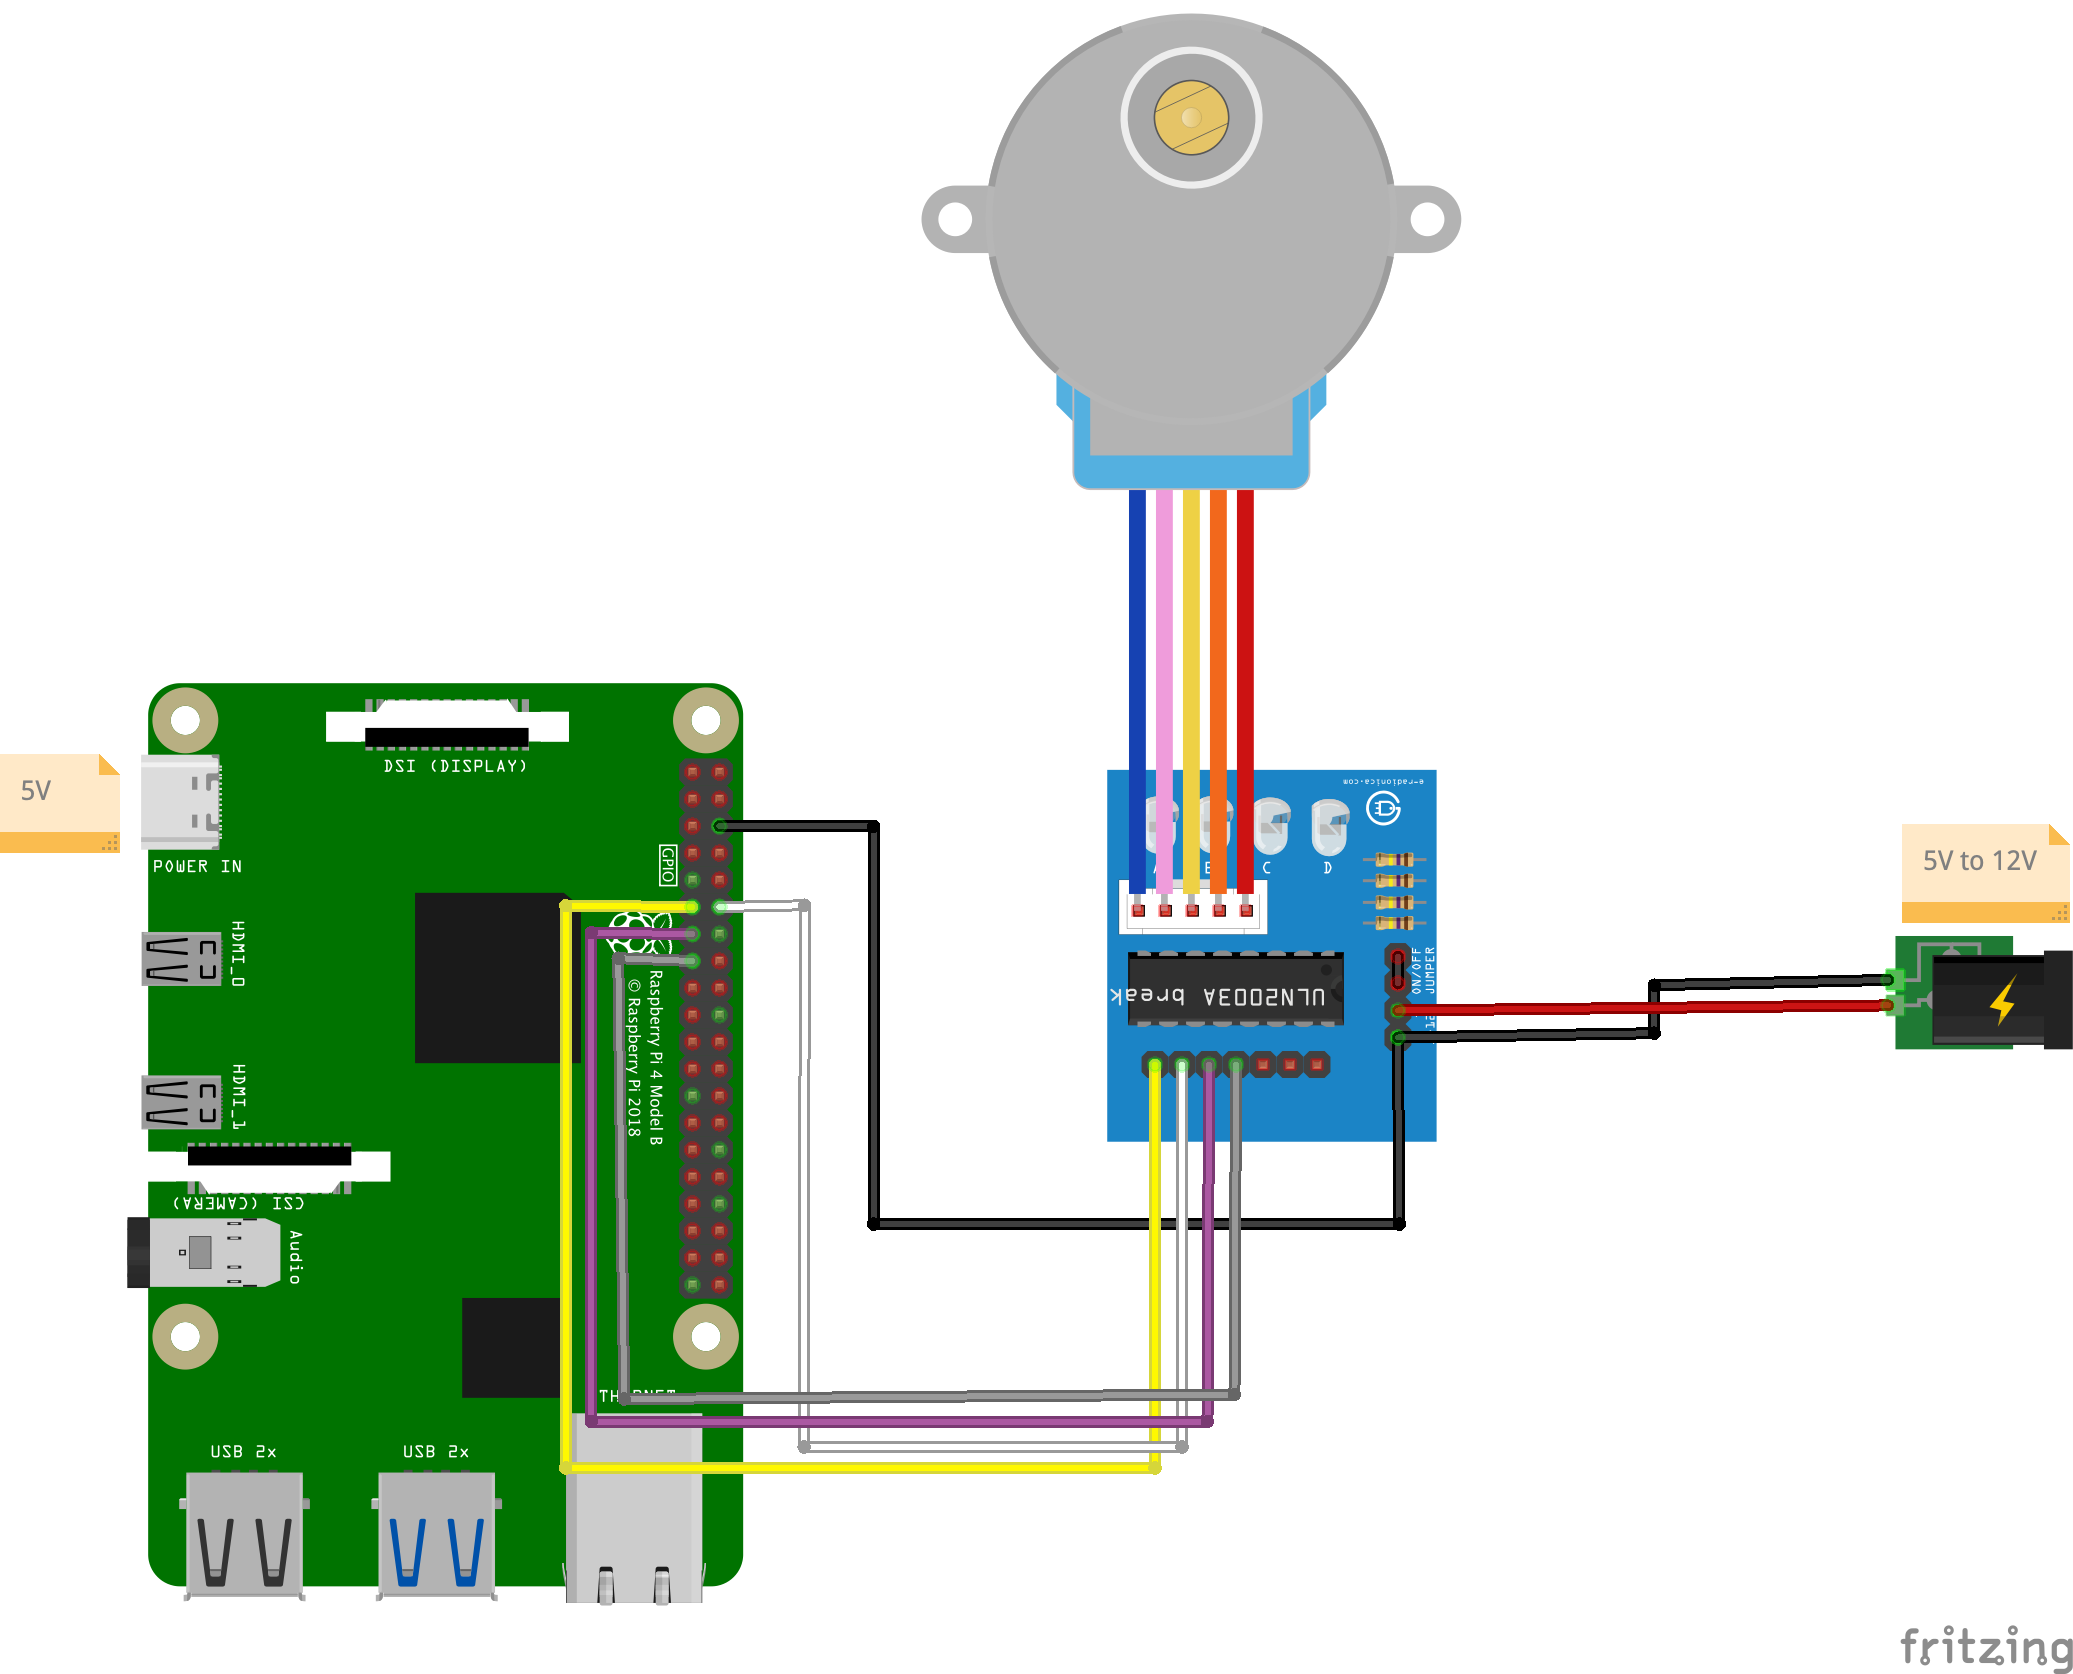
Code
#!/usr/bin/python3
import RPi.GPIO as GPIO
import time

in1 = 17
in2 = 18
in3 = 27
in4 = 22

# careful lowering this, at some point you run into the mechanical limitation of how quick your motor can move
step_sleep = 0.002

step_count = 4096 # 5.625*(1/64) per step, 4096 steps is 360°

direction = False # True for clockwise, False for counter-clockwise

# defining stepper motor sequence (found in documentation http://www.4tronix.co.uk/arduino/Stepper-Motors.php)
step_sequence = [[1,0,0,1],
                 [1,0,0,0],
                 [1,1,0,0],
                 [0,1,0,0],
                 [0,1,1,0],
                 [0,0,1,0],
                 [0,0,1,1],
                 [0,0,0,1]]

# setting up
GPIO.setmode( GPIO.BCM )
GPIO.setup( in1, GPIO.OUT )
GPIO.setup( in2, GPIO.OUT )
GPIO.setup( in3, GPIO.OUT )
GPIO.setup( in4, GPIO.OUT )

# initializing
GPIO.output( in1, GPIO.LOW )
GPIO.output( in2, GPIO.LOW )
GPIO.output( in3, GPIO.LOW )
GPIO.output( in4, GPIO.LOW )

motor_pins = [in1,in2,in3,in4]
motor_step_counter = 0 ;

def cleanup():
    GPIO.output( in1, GPIO.LOW )
    GPIO.output( in2, GPIO.LOW )
    GPIO.output( in3, GPIO.LOW )
    GPIO.output( in4, GPIO.LOW )
    GPIO.cleanup()

# the meat
try:
    i = 0
    for i in range(step_count):
        for pin in range(0, len(motor_pins)):
            GPIO.output( motor_pins[pin], step_sequence[motor_step_counter][pin] )
        if direction==True:
            motor_step_counter = (motor_step_counter - 1) % 8
        elif direction==False:
            motor_step_counter = (motor_step_counter + 1) % 8
        else: # defensive programming
            print( "uh oh... direction should *always* be either True or False" )
            cleanup()
            exit( 1 )
        time.sleep( step_sleep )

except KeyboardInterrupt:
    cleanup()
    exit( 1 )

cleanup()
exit( 0 )
Stuff you might need for this to run:
sudo apt-get update --fix-missing && sudo apt-get install python3-rpi.gpioResults
This motor takes 5.625*(1/64)° per step, this means 2048 steps for 180°:
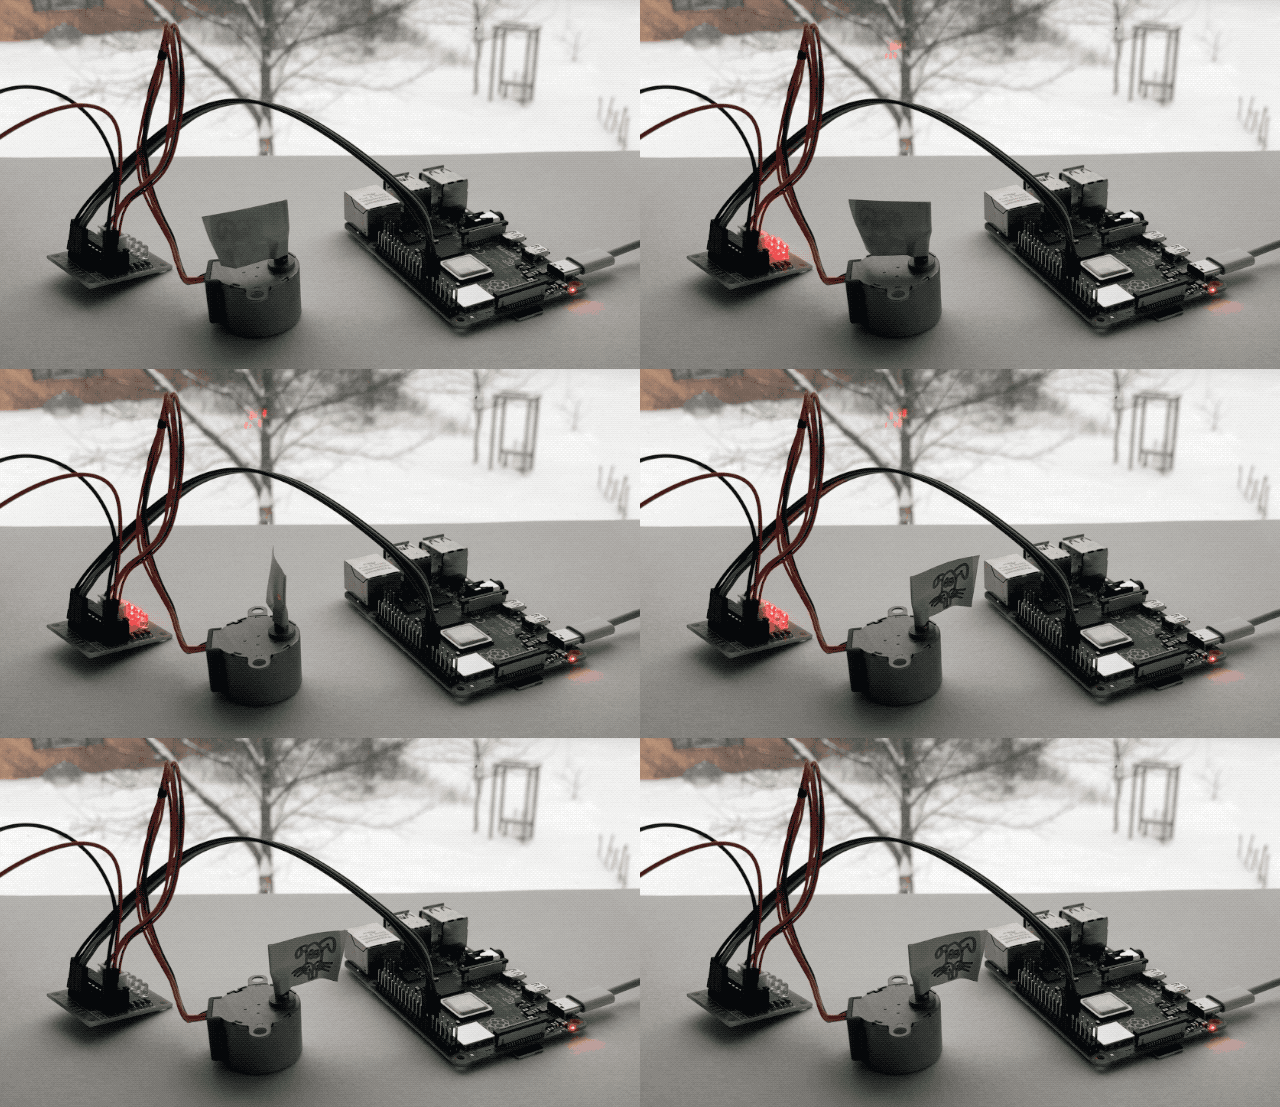
and 4096 steps for 360°:

One thing that is super cool about the driver board are the LEDs. Projects are always cooler with blinky LEDs, but these guys also help show what is actually going on inside the stepper, and can help you find issues. They are supposed to light up in sequence.

Compromises, Getting 70 Amps on Demand
We barely used our Champion generator these past 5 years, but it did come in handy on rare occasions. It sat for 2 years unused at one point and needed some TLC to get back going again, a fact we didn’t want another way. Working from home in the time of Covid, having upgraded our solar setup, and still not making enough power through very cloudy days, we had to compromise our values a bit more and get decent fossil based 🙁 regenerating capabilities.
I’m still gathering information on water and wind turbines to diversify down the road, but today we are not ready to pull that trigger and we need to work.
So we acquired a very nice Honda EU2200i, and a wonderful little device that plugs into it and produces 70A at 12VDC on demand.
The Honda generator is really nice and very quiet.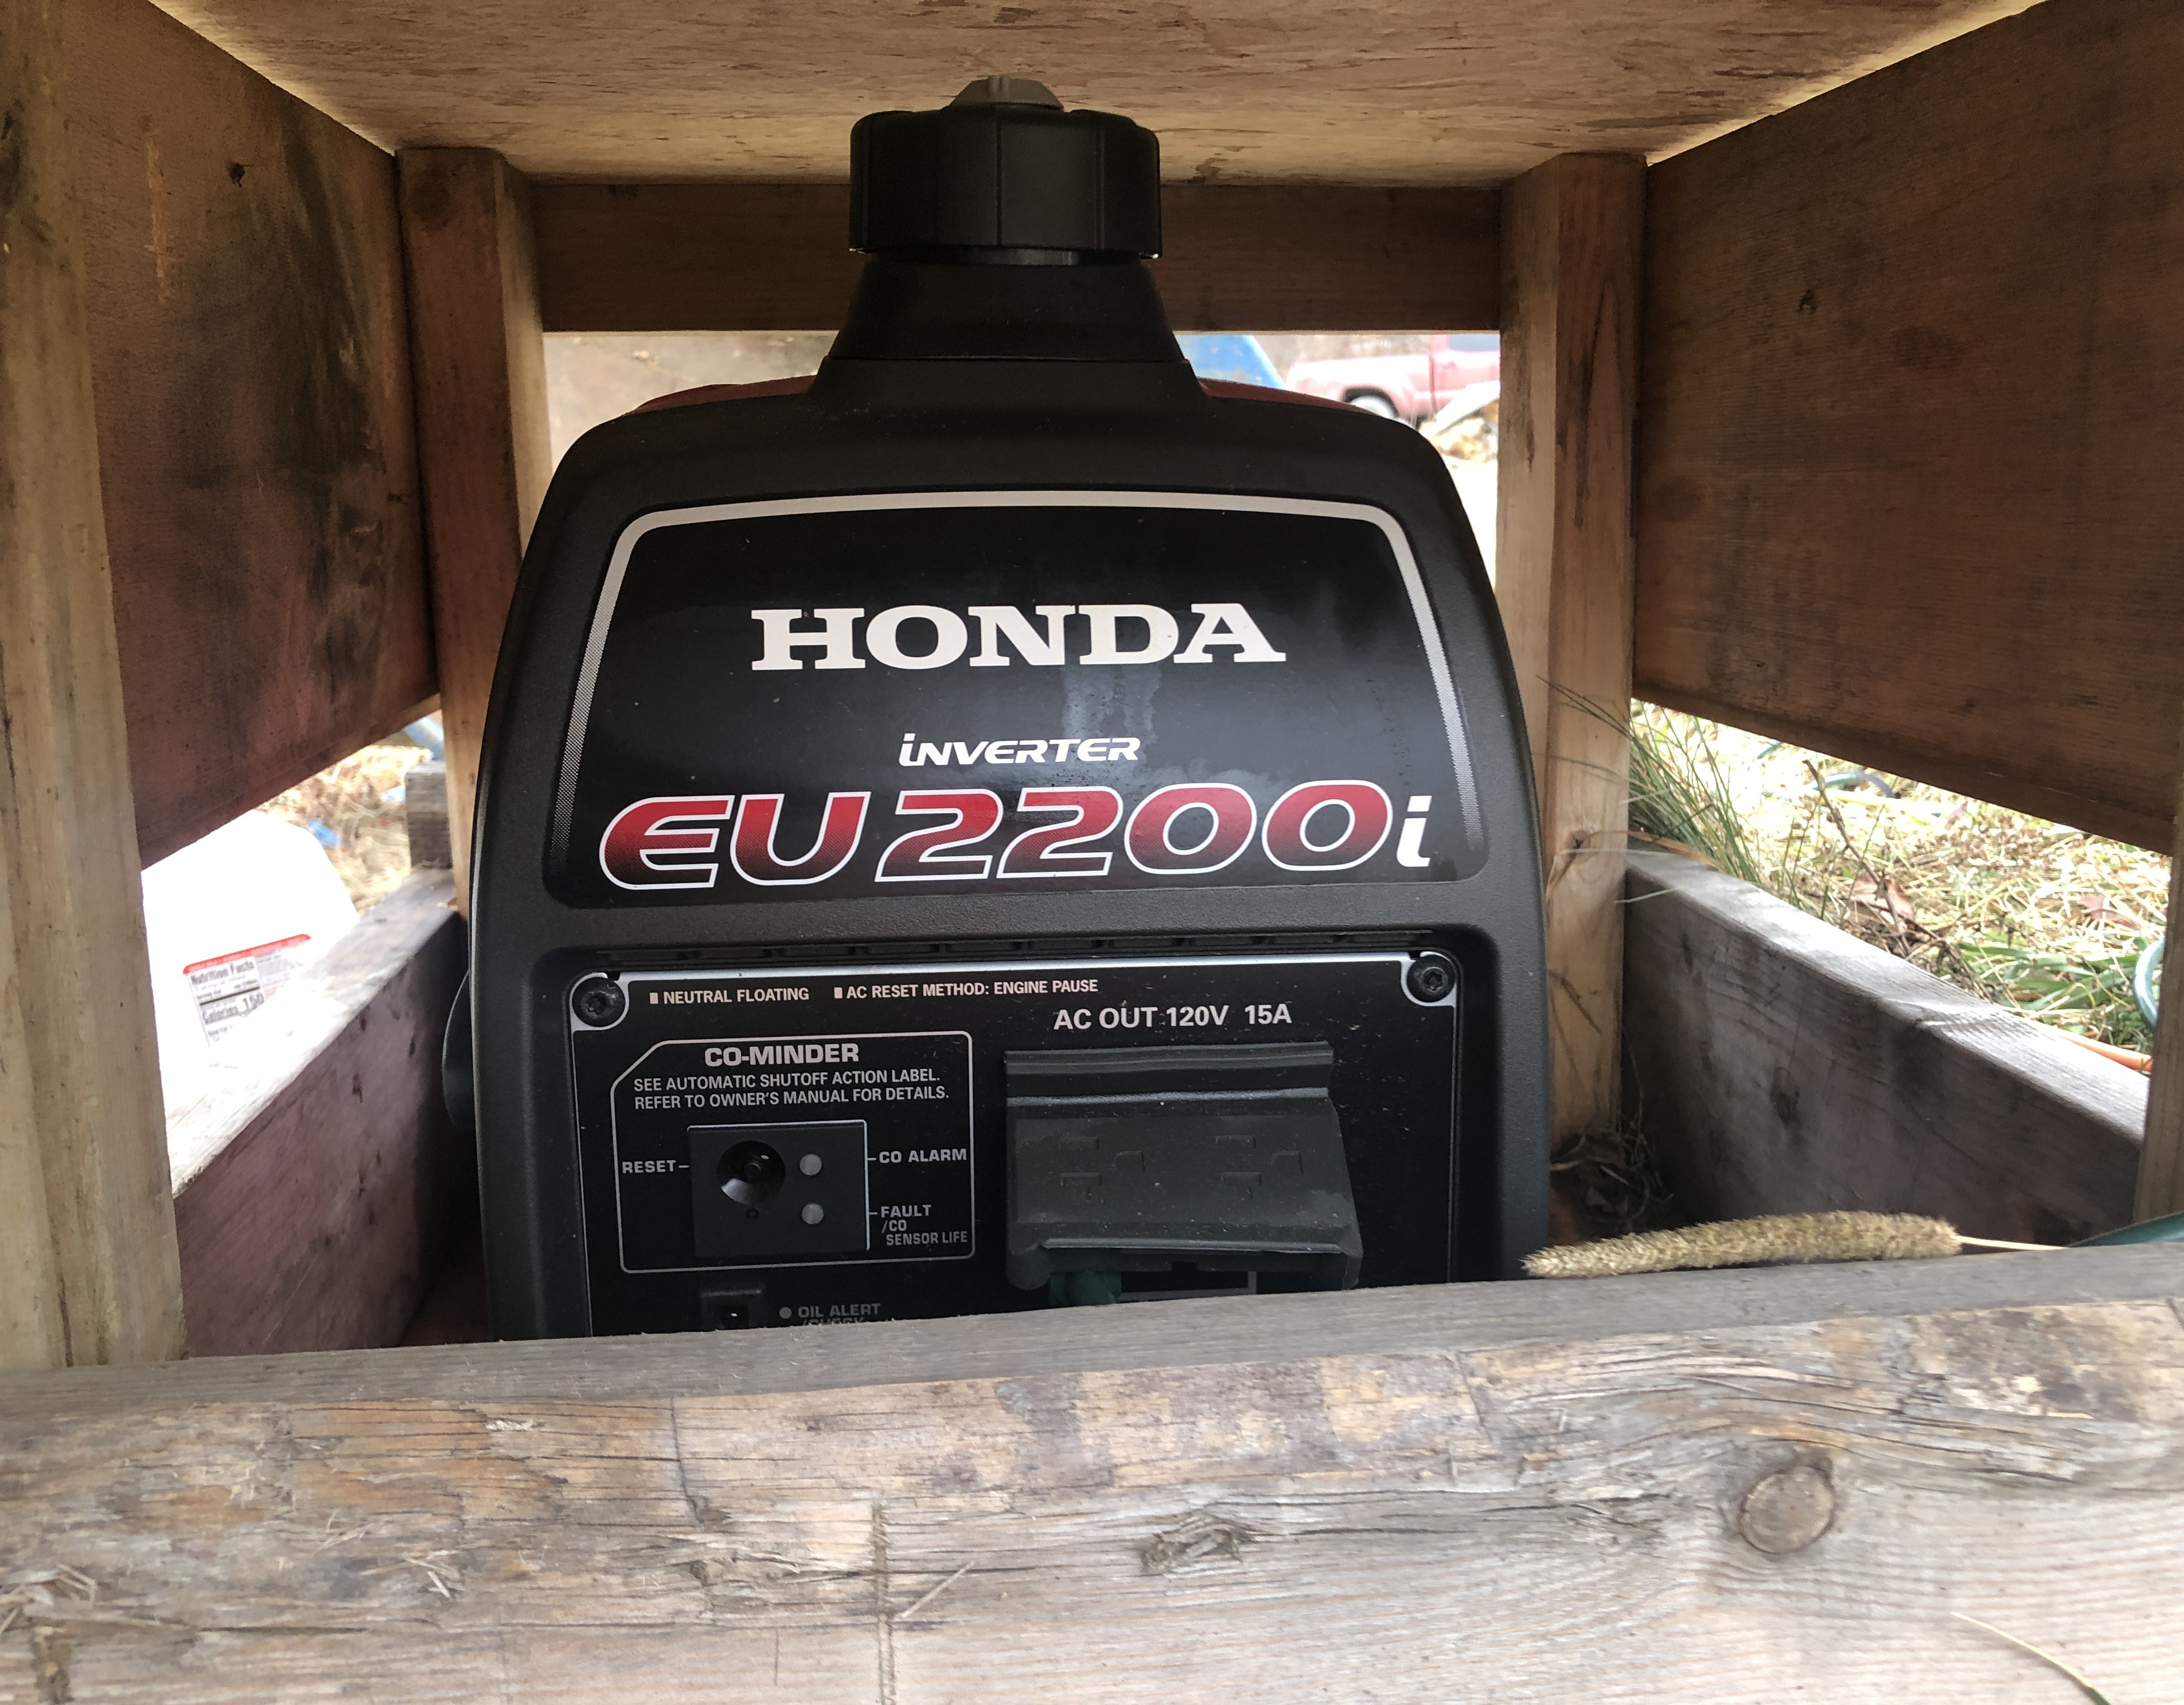
The AIMS Power CON120AC1224DC is very impressive, is can truly put out 70A on demand, it can be tuned to charge several battery types, and it decouples the load. I don’t need to switch the load to the generator, which means it’s always on the nice clean pure sine inverter.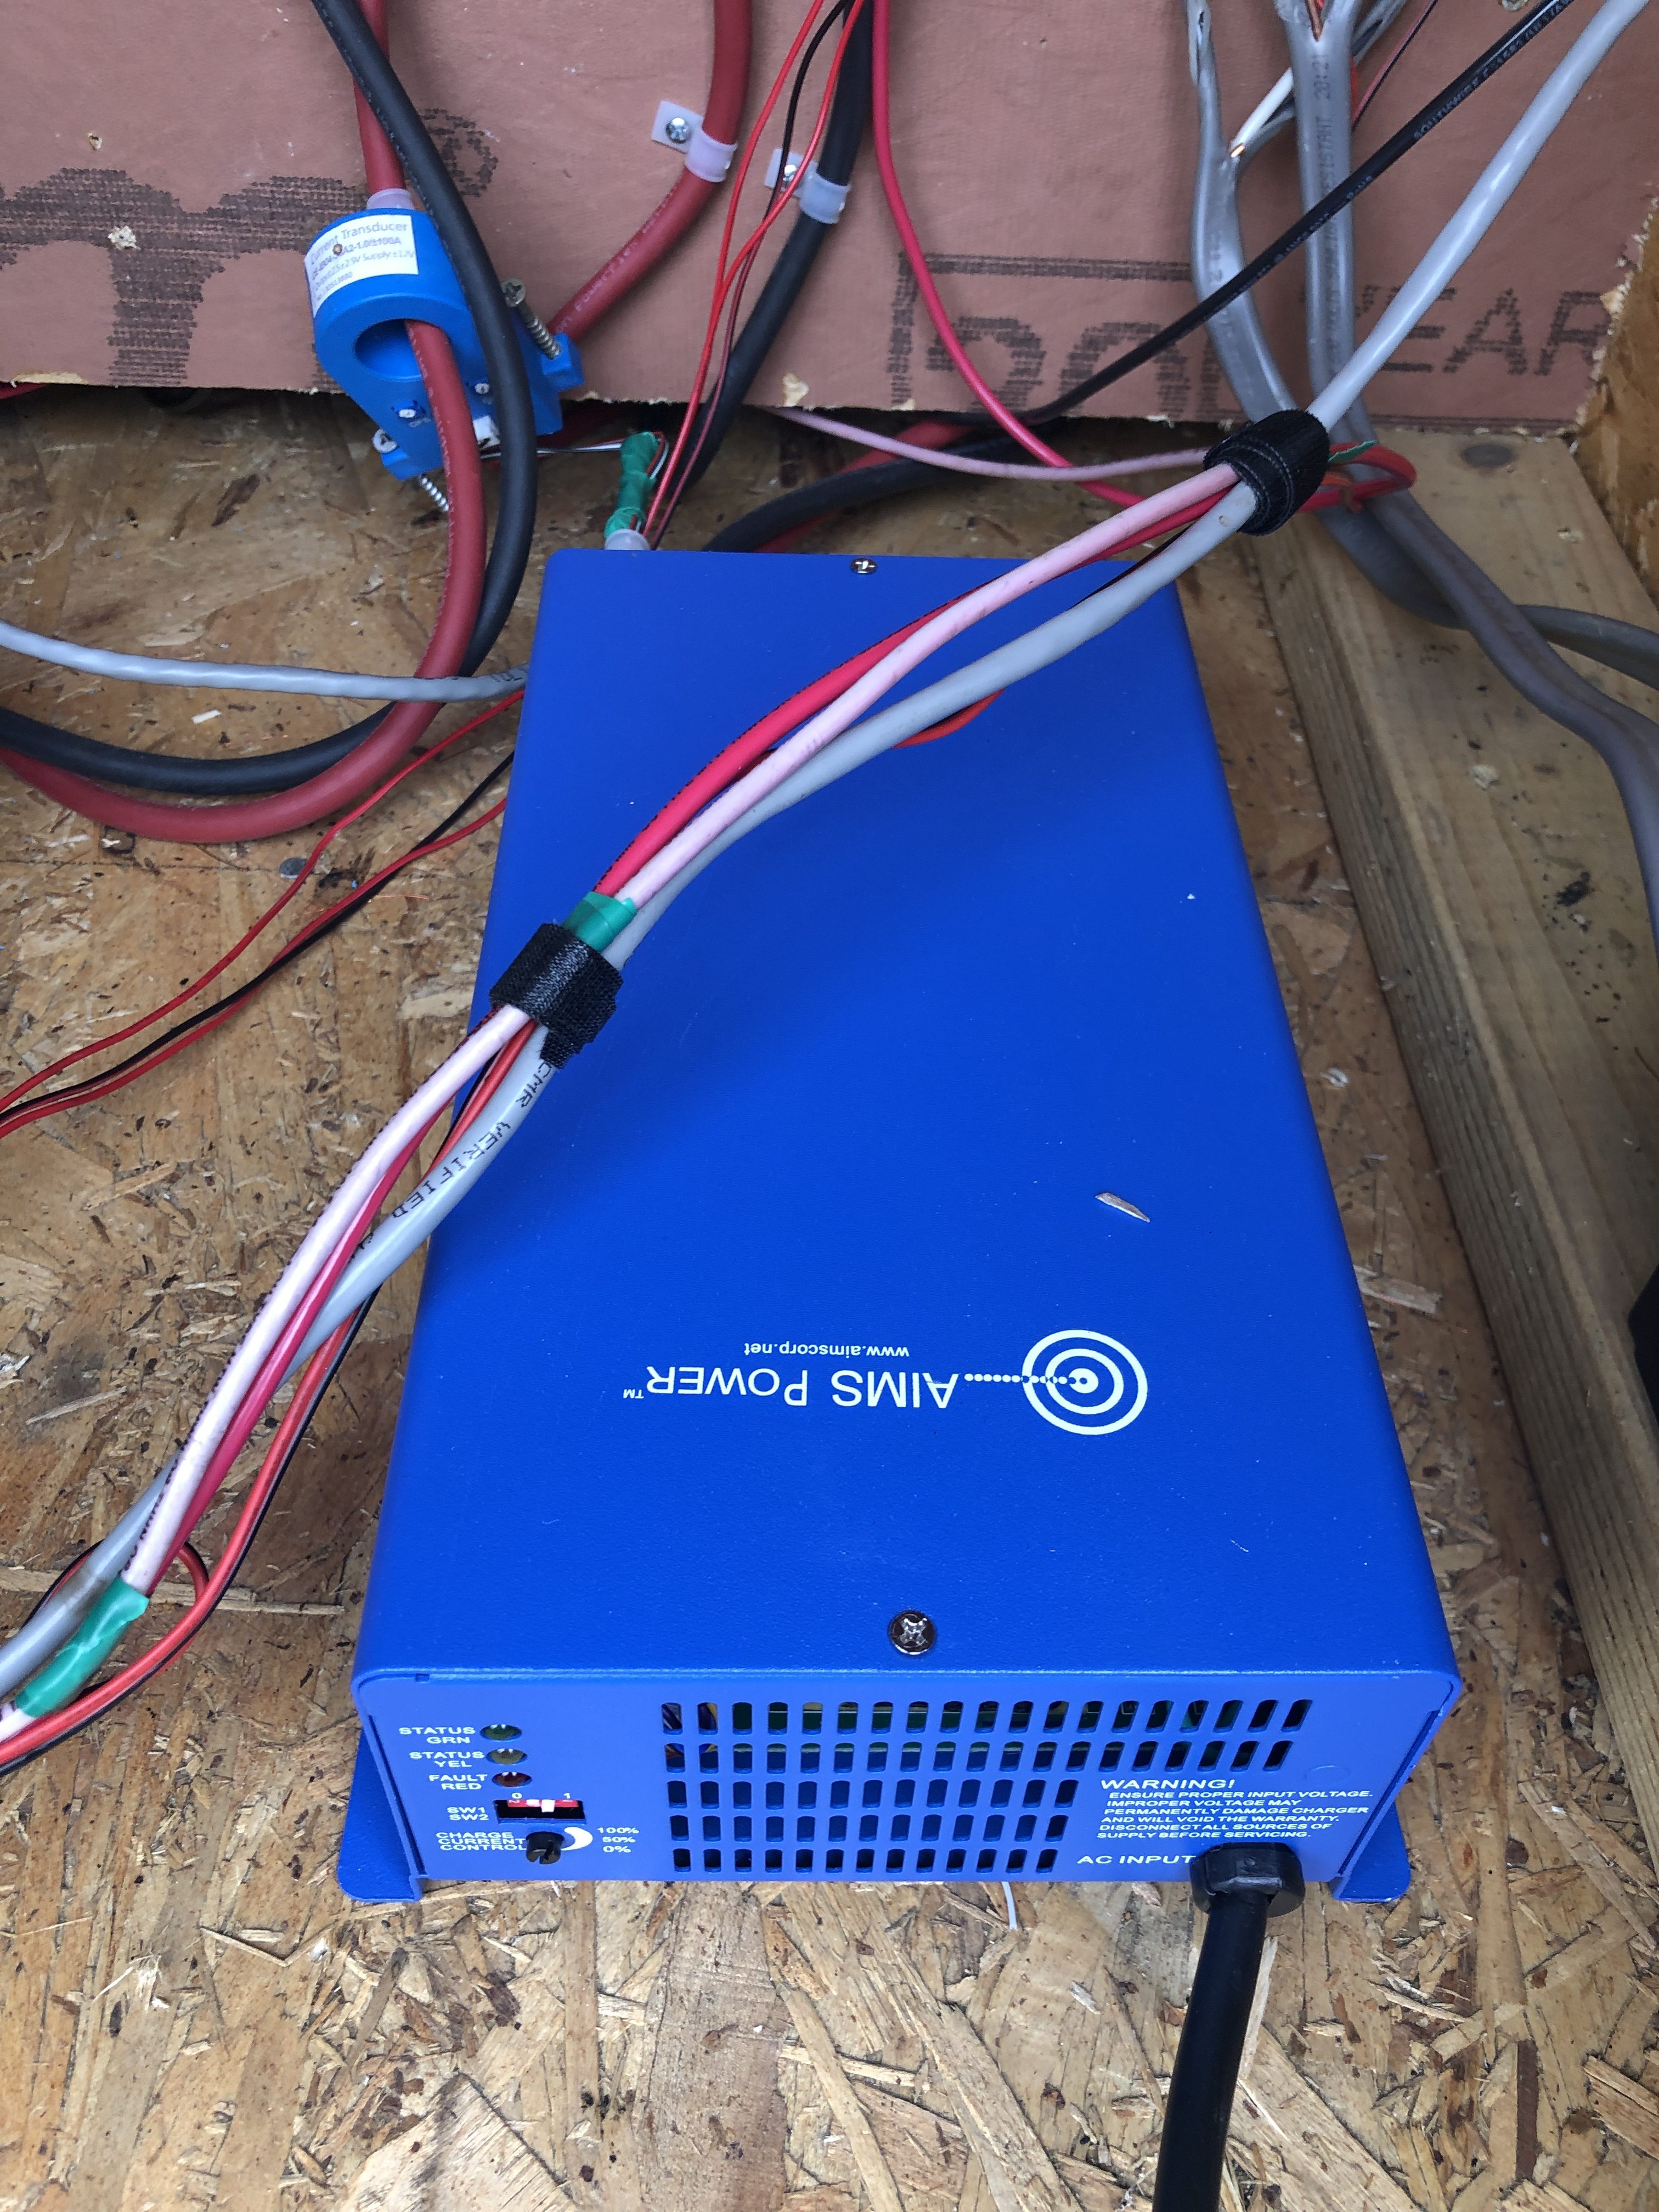
The Honda generator comes with Bluetooth, a fact I was not happy about as it’s gimmicky, but I have to say it is nice to not have to go back outside to turn off the generator. The AIMS converter is definitely working it hard.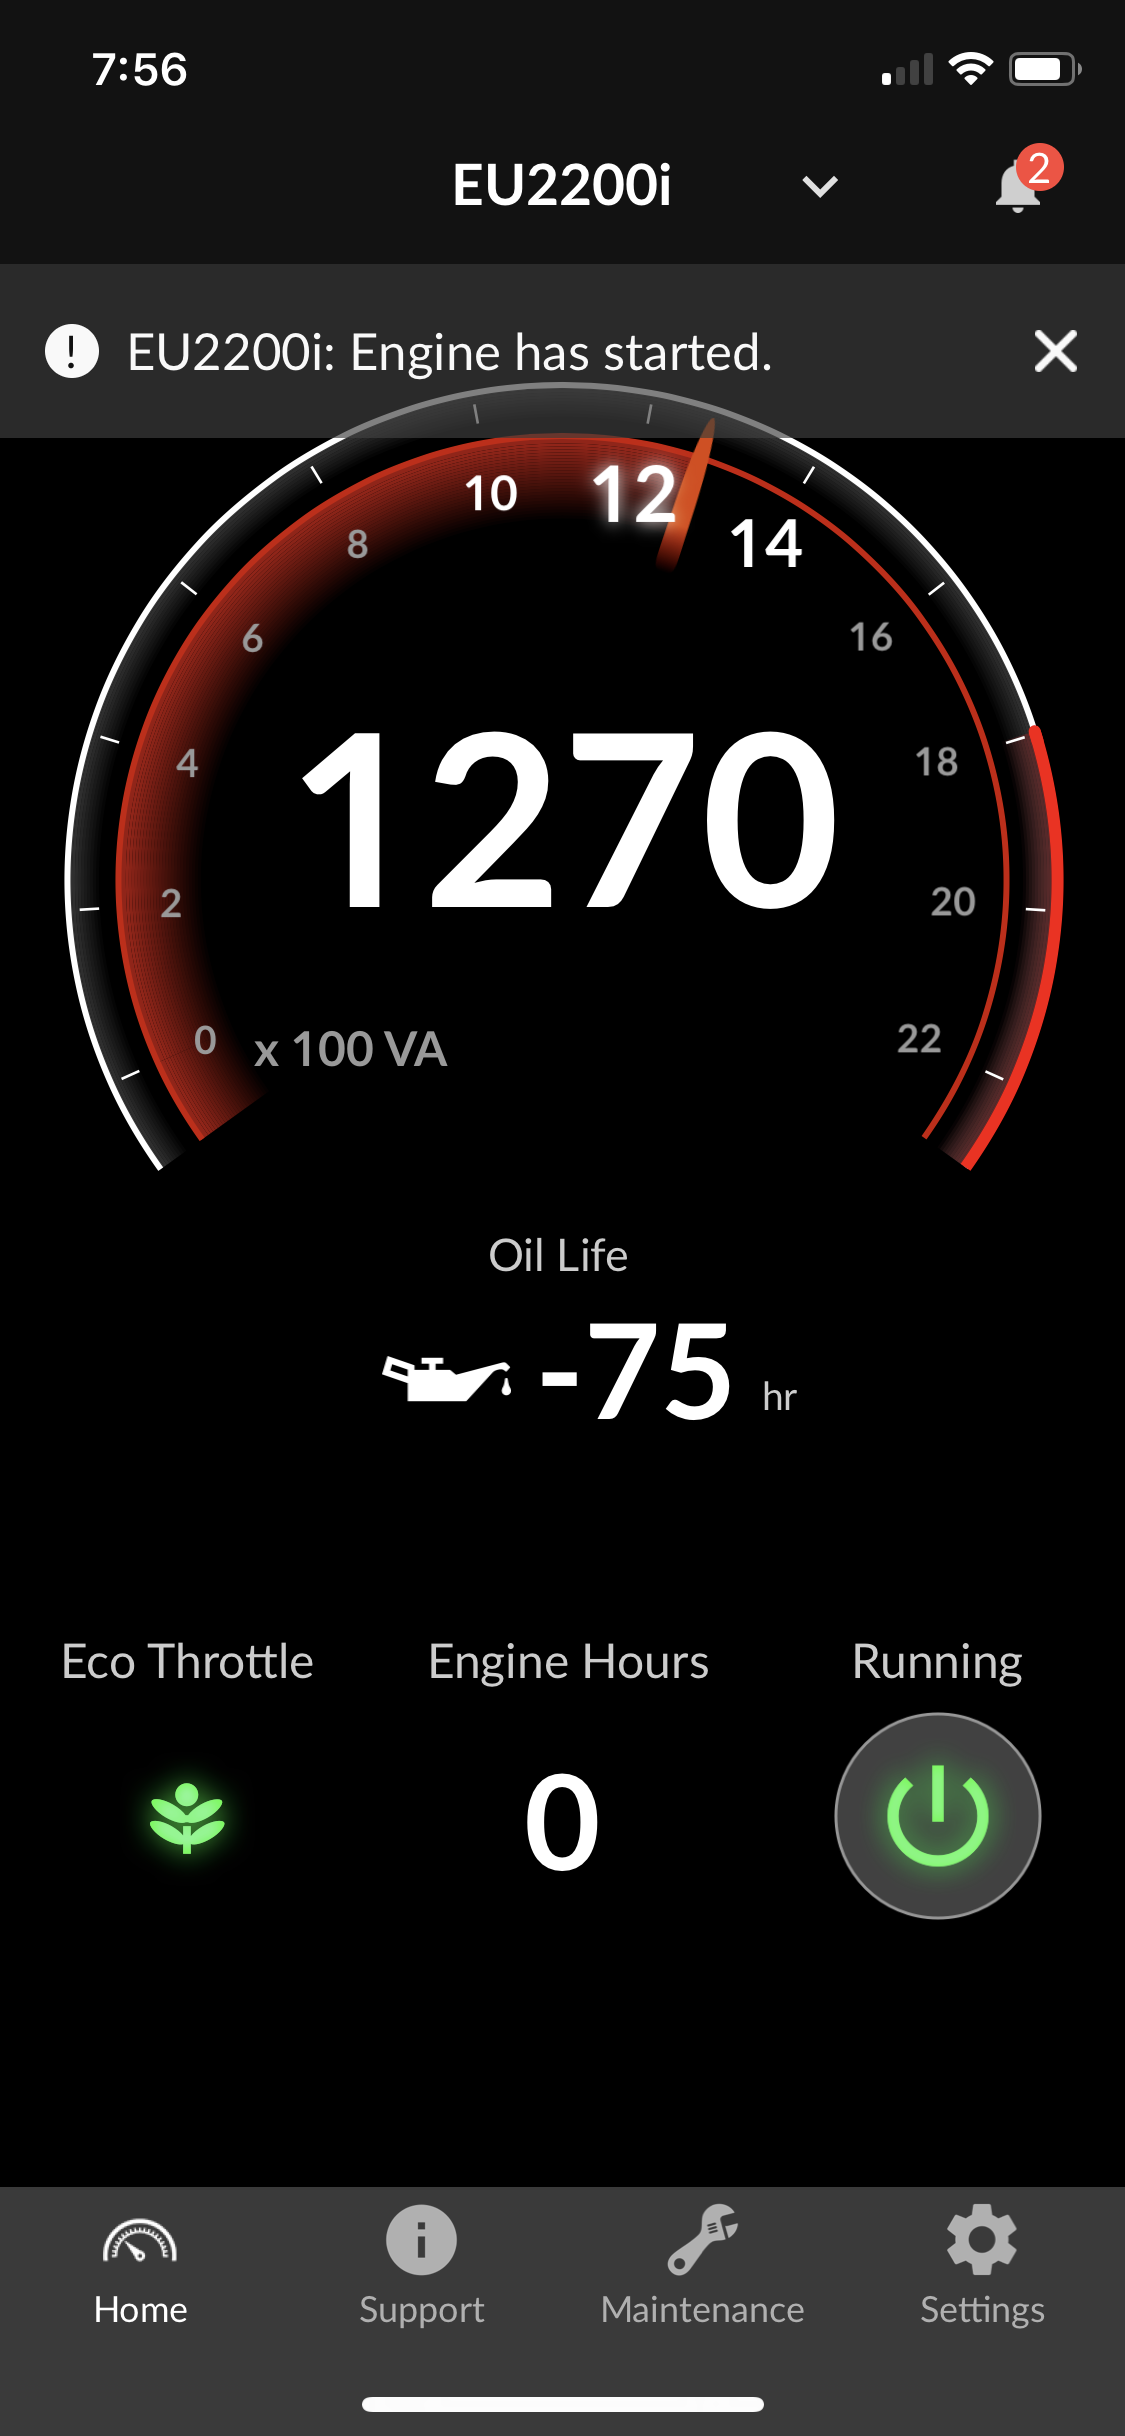
The results on the solar graph are, well, a bit absurd to look at :). 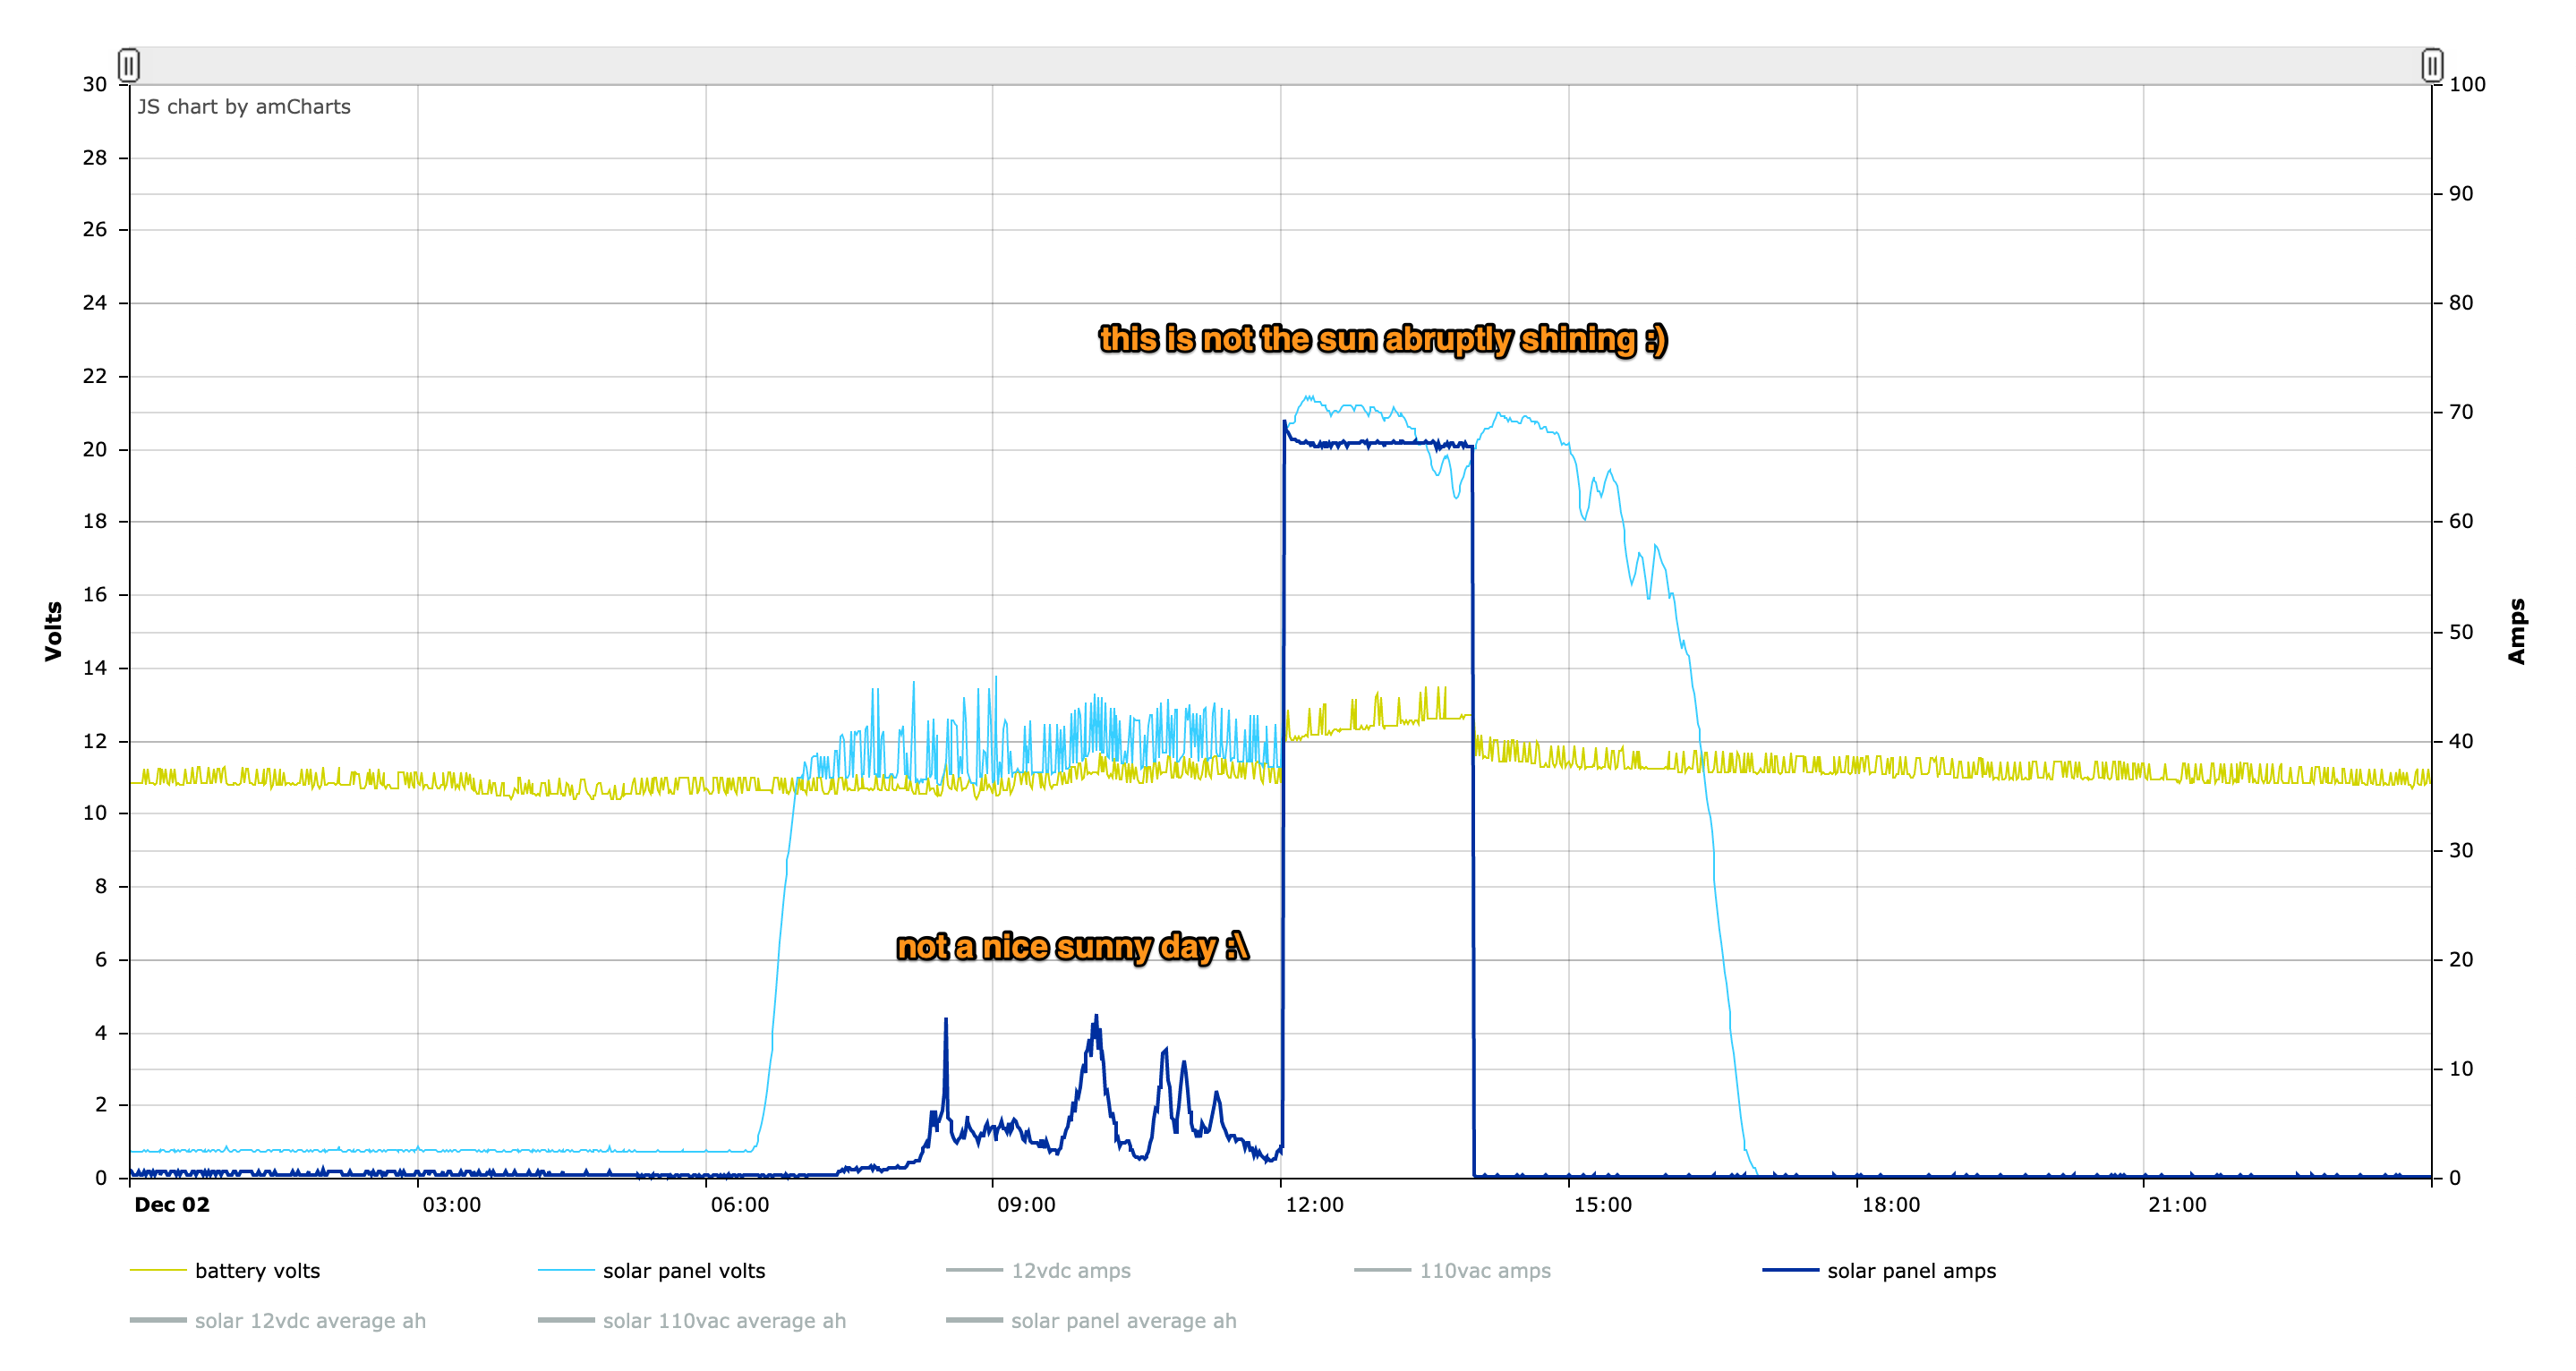
Driving a Bipolar Stepper Motor with an L298N and a Raspberry Pi
A few things to know about the L298N
This is a rudimentary way to drive a stepper motor. You are activating the motor’s coils in sequence yourself to have it take steps. There exist cheap stepper drivers which only require 1 signal from the Pi to be instructed to execute a full step sequence.
There are 2 coils on a bipolar stepper motor, each with a + and a – side. As such, this method requires 4 pins from your Pi to drive the Motor Vs only 1 pin with a more advanced stepper driver. Equally true is that a more advanced stepper driver will require at least another pin for direction and they’ll usually have other pins for micro-stepping.
This method does not allow for micro-stepping, only full steps. This is fine enough for most applications.
Lastly, while the L298N method might appear less appealing because of the above points, I find it to be extremely robust (advanced stepper drivers can be very finicky). You can power your Pi or Arduino with it thanks to a 5V port (warning, it can only provide so many amps and a Pi running heavy processing will crash).
It can be used to drive 2 DC motors instead of 2 stepper coils of a bipolar stepper motor, and has 2 PWM pins to adjust power given to the motors. It’s a very versatile and enabling device to master. You’ll also learn a lot about how stepper motors work.
Finding your stepper motor coils
Documentation for electronics is often inaccurate, disparate, when it’s even available. It’s good to find or verify what wires you think your coils are on. To do so you can put an LED on 2 motor pins and spin it until it lights up. When it does, induction powered your LED so you know you are holding the 2 wires of a coil. The other 2 wires are obviously the other coil.
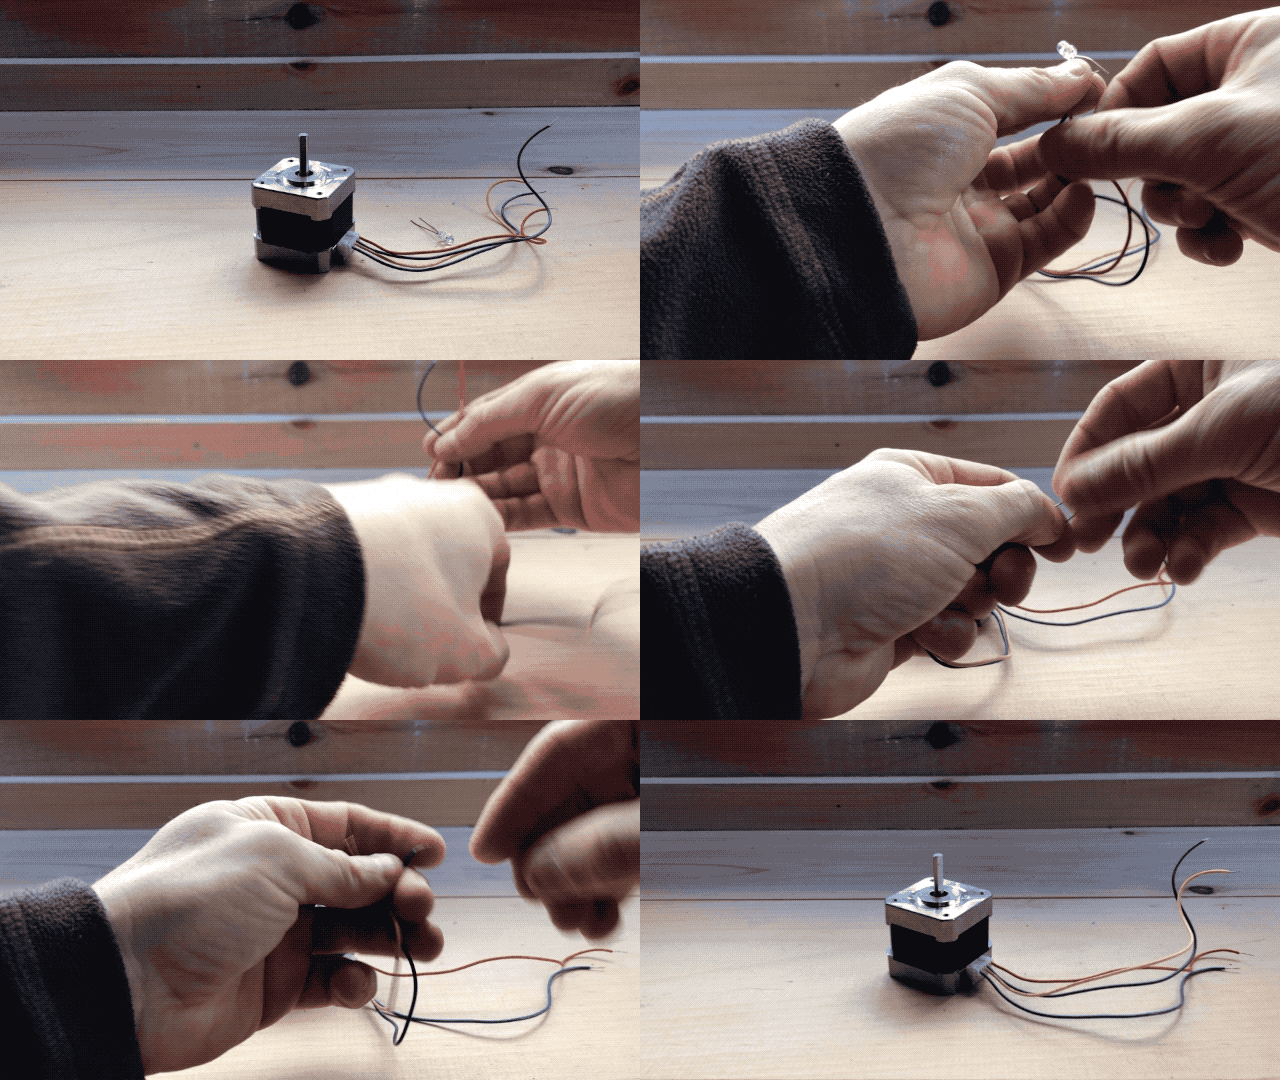
There is no good way I could find to verify which of a coil’s wire is positive or negative. In my trials, I found that it doesn’t matter for a bipolar stepper motor on an L298N. The worst that will happen is that your motor may turn in the other direction which is easy enough to fix by flipping wires.
Circuit
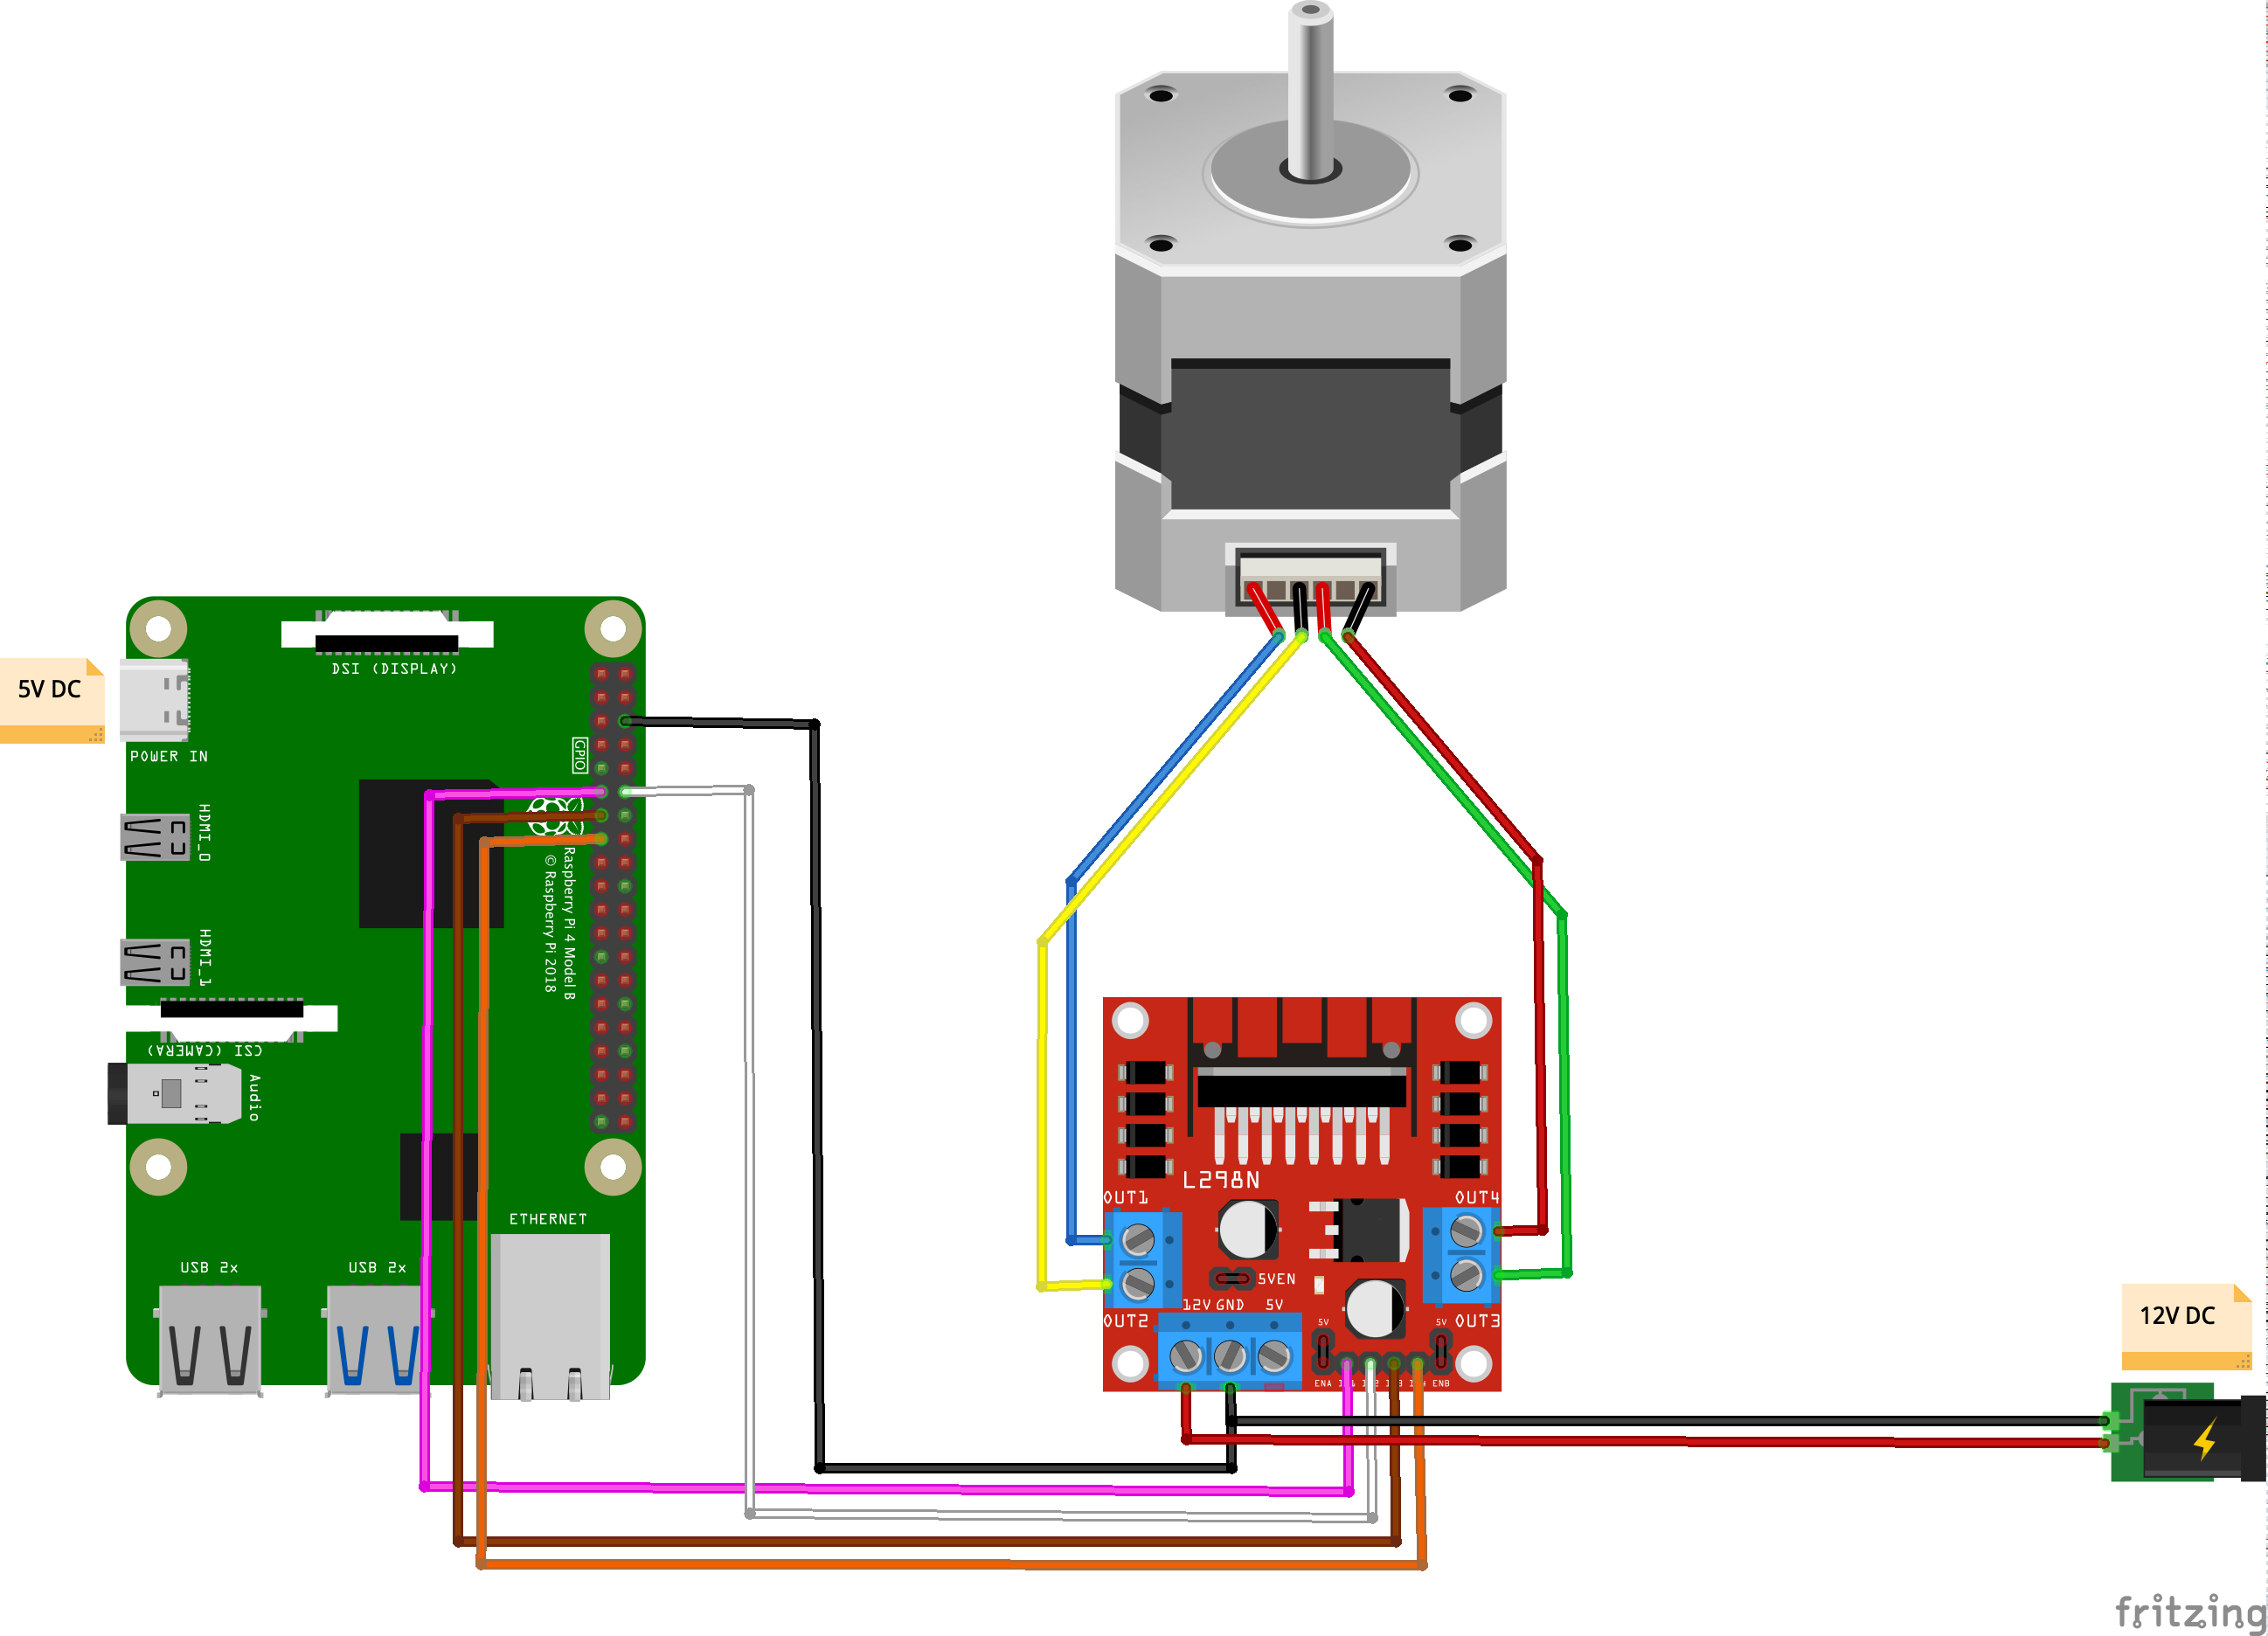
Code
[python]#!/usr/bin/python3
import RPi.GPIO as GPIO
import time
out1 = 17
out2 = 18
out3 = 27
out4 = 22
# careful lowering this, at some point you run into the mechanical limitation of how quick your motor can move
step_sleep = 0.002
step_count = 200
# setting up
GPIO.setmode( GPIO.BCM )
GPIO.setup( out1, GPIO.OUT )
GPIO.setup( out2, GPIO.OUT )
GPIO.setup( out3, GPIO.OUT )
GPIO.setup( out4, GPIO.OUT )
# initializing
GPIO.output( out1, GPIO.LOW )
GPIO.output( out2, GPIO.LOW )
GPIO.output( out3, GPIO.LOW )
GPIO.output( out4, GPIO.LOW )
def cleanup():
GPIO.output( out1, GPIO.LOW )
GPIO.output( out2, GPIO.LOW )
GPIO.output( out3, GPIO.LOW )
GPIO.output( out4, GPIO.LOW )
GPIO.cleanup()
# the meat
try:
i = 0
for i in range(step_count):
if i%4==0:
GPIO.output( out4, GPIO.HIGH )
GPIO.output( out3, GPIO.LOW )
GPIO.output( out2, GPIO.LOW )
GPIO.output( out1, GPIO.LOW )
elif i%4==1:
GPIO.output( out4, GPIO.LOW )
GPIO.output( out3, GPIO.LOW )
GPIO.output( out2, GPIO.HIGH )
GPIO.output( out1, GPIO.LOW )
elif i%4==2:
GPIO.output( out4, GPIO.LOW )
GPIO.output( out3, GPIO.HIGH )
GPIO.output( out2, GPIO.LOW )
GPIO.output( out1, GPIO.LOW )
elif i%4==3:
GPIO.output( out4, GPIO.LOW )
GPIO.output( out3, GPIO.LOW )
GPIO.output( out2, GPIO.LOW )
GPIO.output( out1, GPIO.HIGH )
time.sleep( step_sleep )
except KeyboardInterrupt:
cleanup()
exit( 1 )
cleanup()
exit( 0 )[/python]
Stuff you might need for this to run:
[bash]sudo apt-get update –fix-missing && sudo apt-get install python3-rpi.gpio[/bash]
This stepper motor is rated for rotating by 1.8° per step. This means that it takes 100 steps to rotate 180 degrees: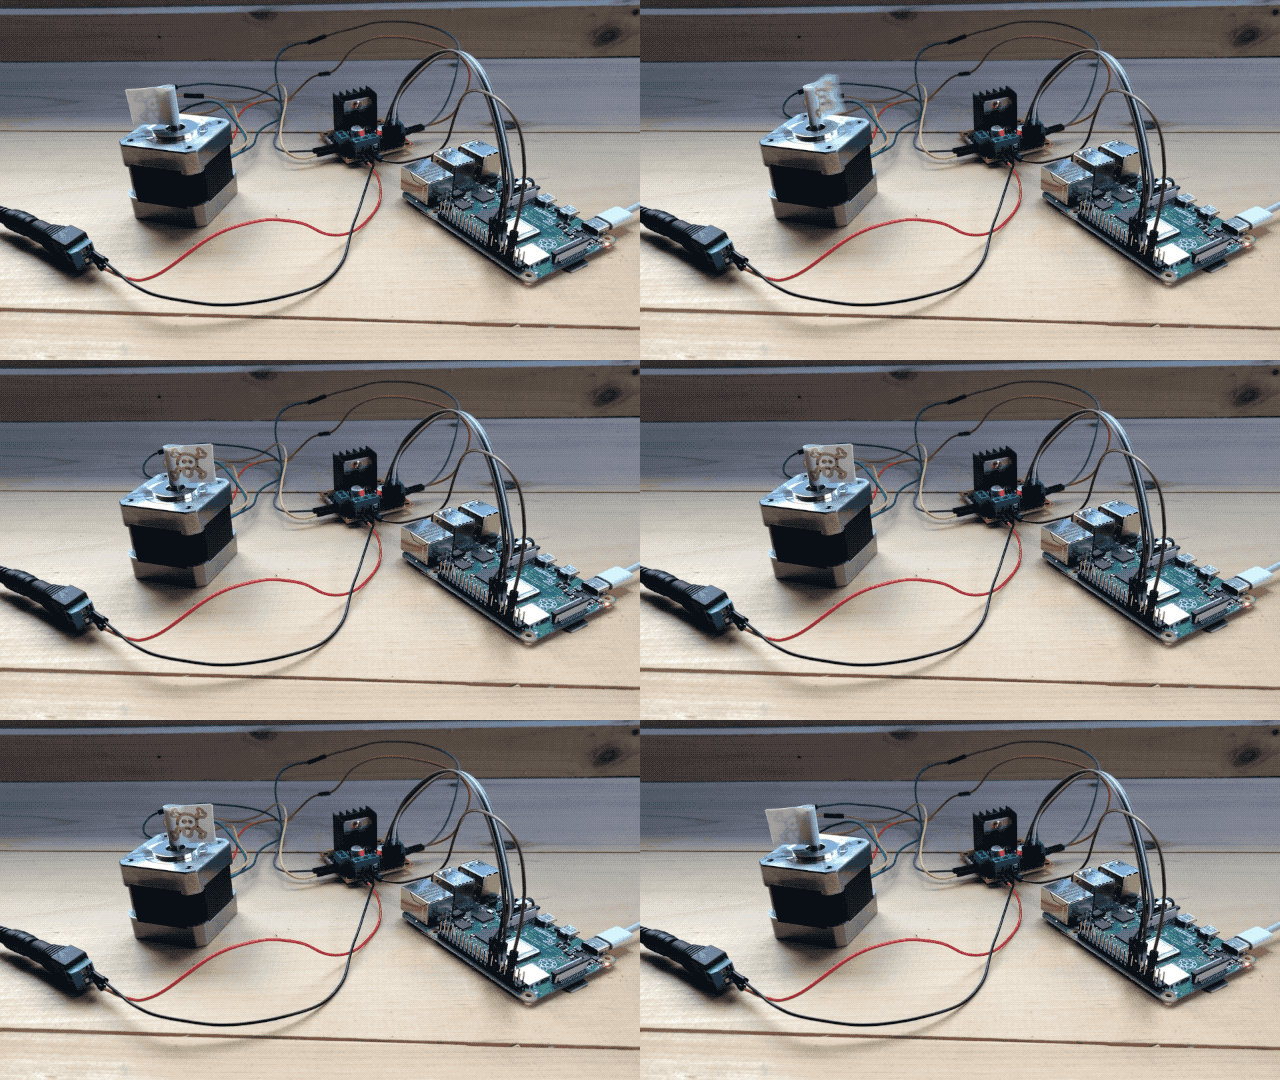
and 200 to do a full 360: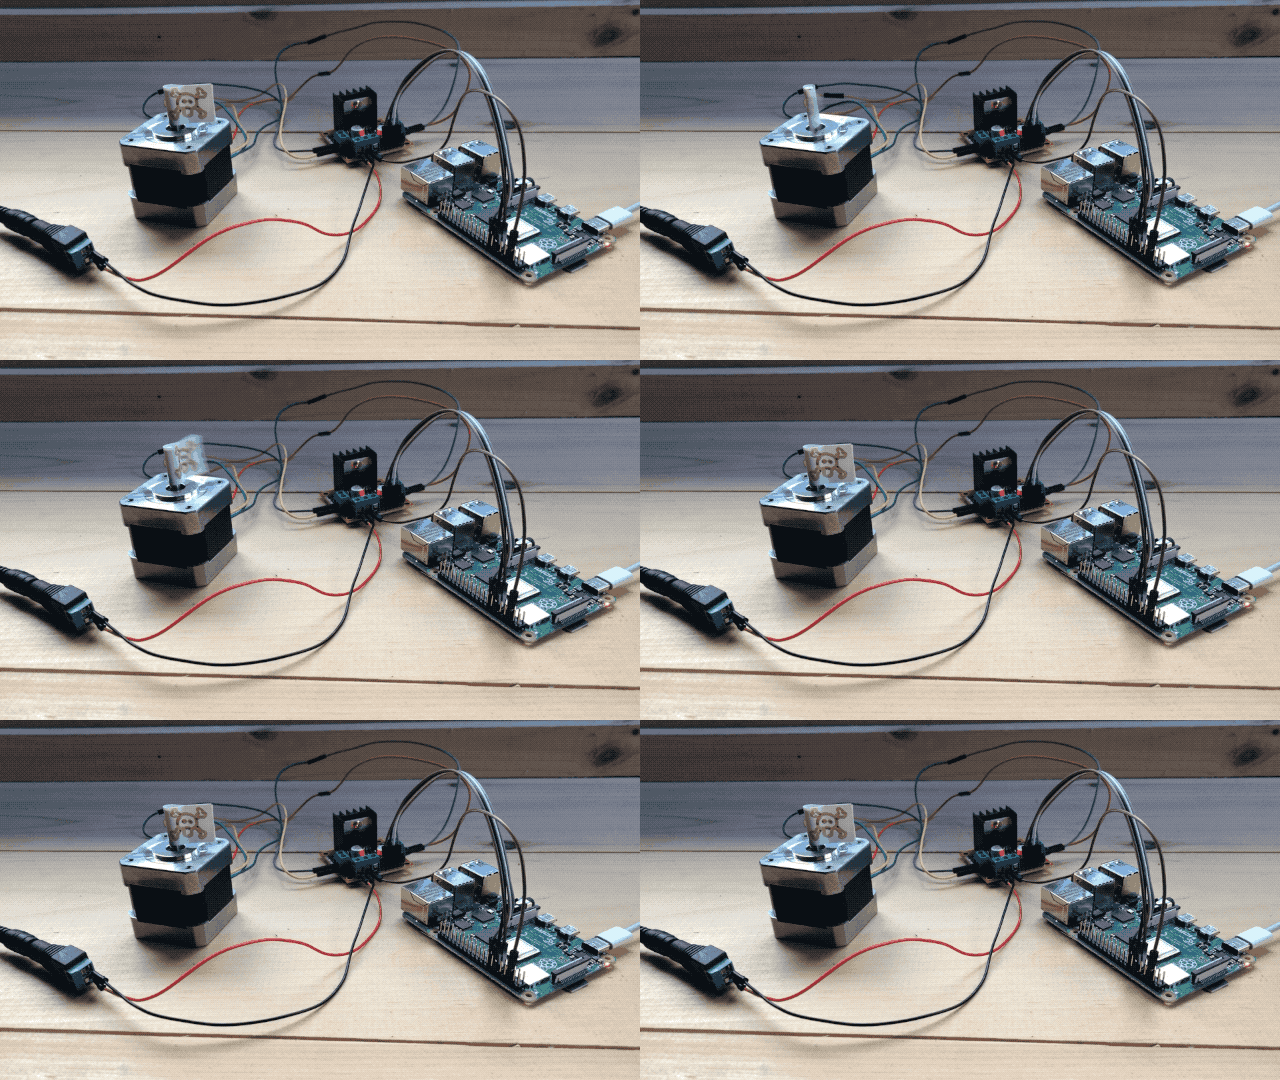
Power the Pi from the L298N?
As I alluded to earlier, the L298N comes with a 5V power output that is most convenient to power Pis and Arduinos as it allows you to eliminate one of the 2 power supplies to your system. Be advised that while it provides the right voltage, it does not provide enough amps to power a standard Raspberry Pi, and while it can power a Pi Zero, the later will not get enough power and crash if it works hard enough (having a camera and a live streaming server pushed it over the edge in my testing). It will power a Pi Zero on Wifi running Python which is enough for a lot of applications.
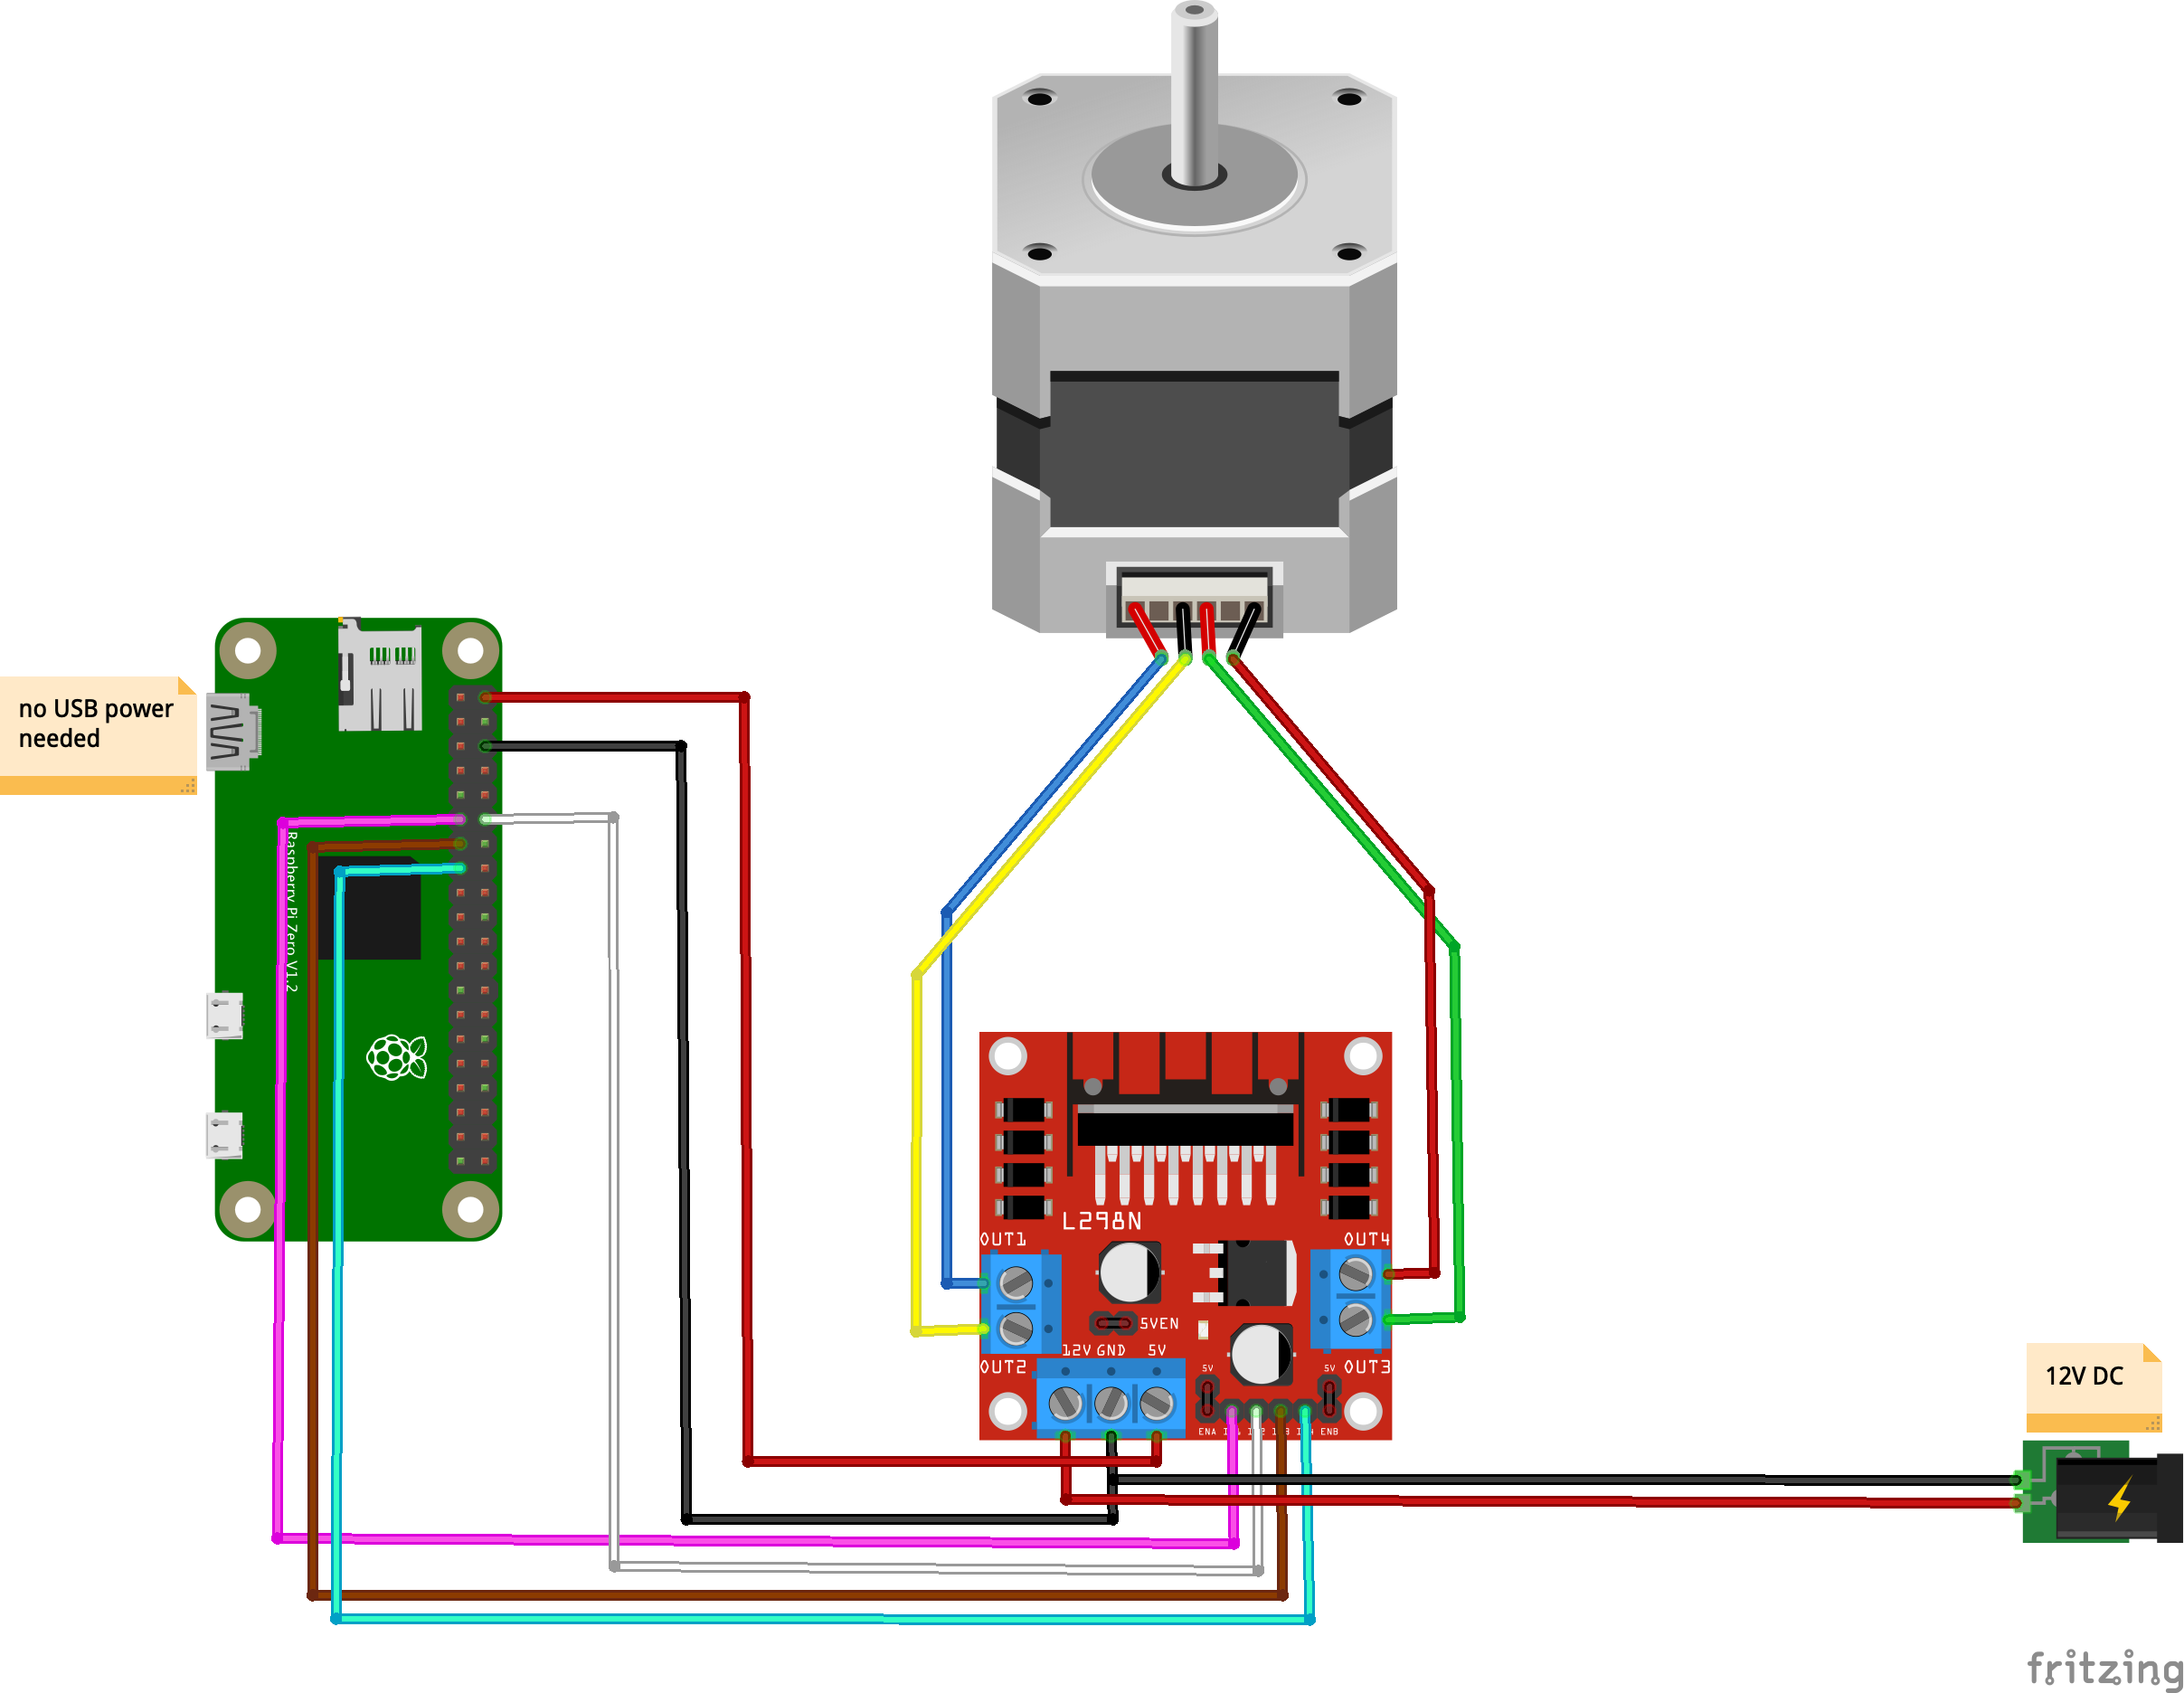
Here’s the circuit if you want to do this:
6 and 1/2 hour job
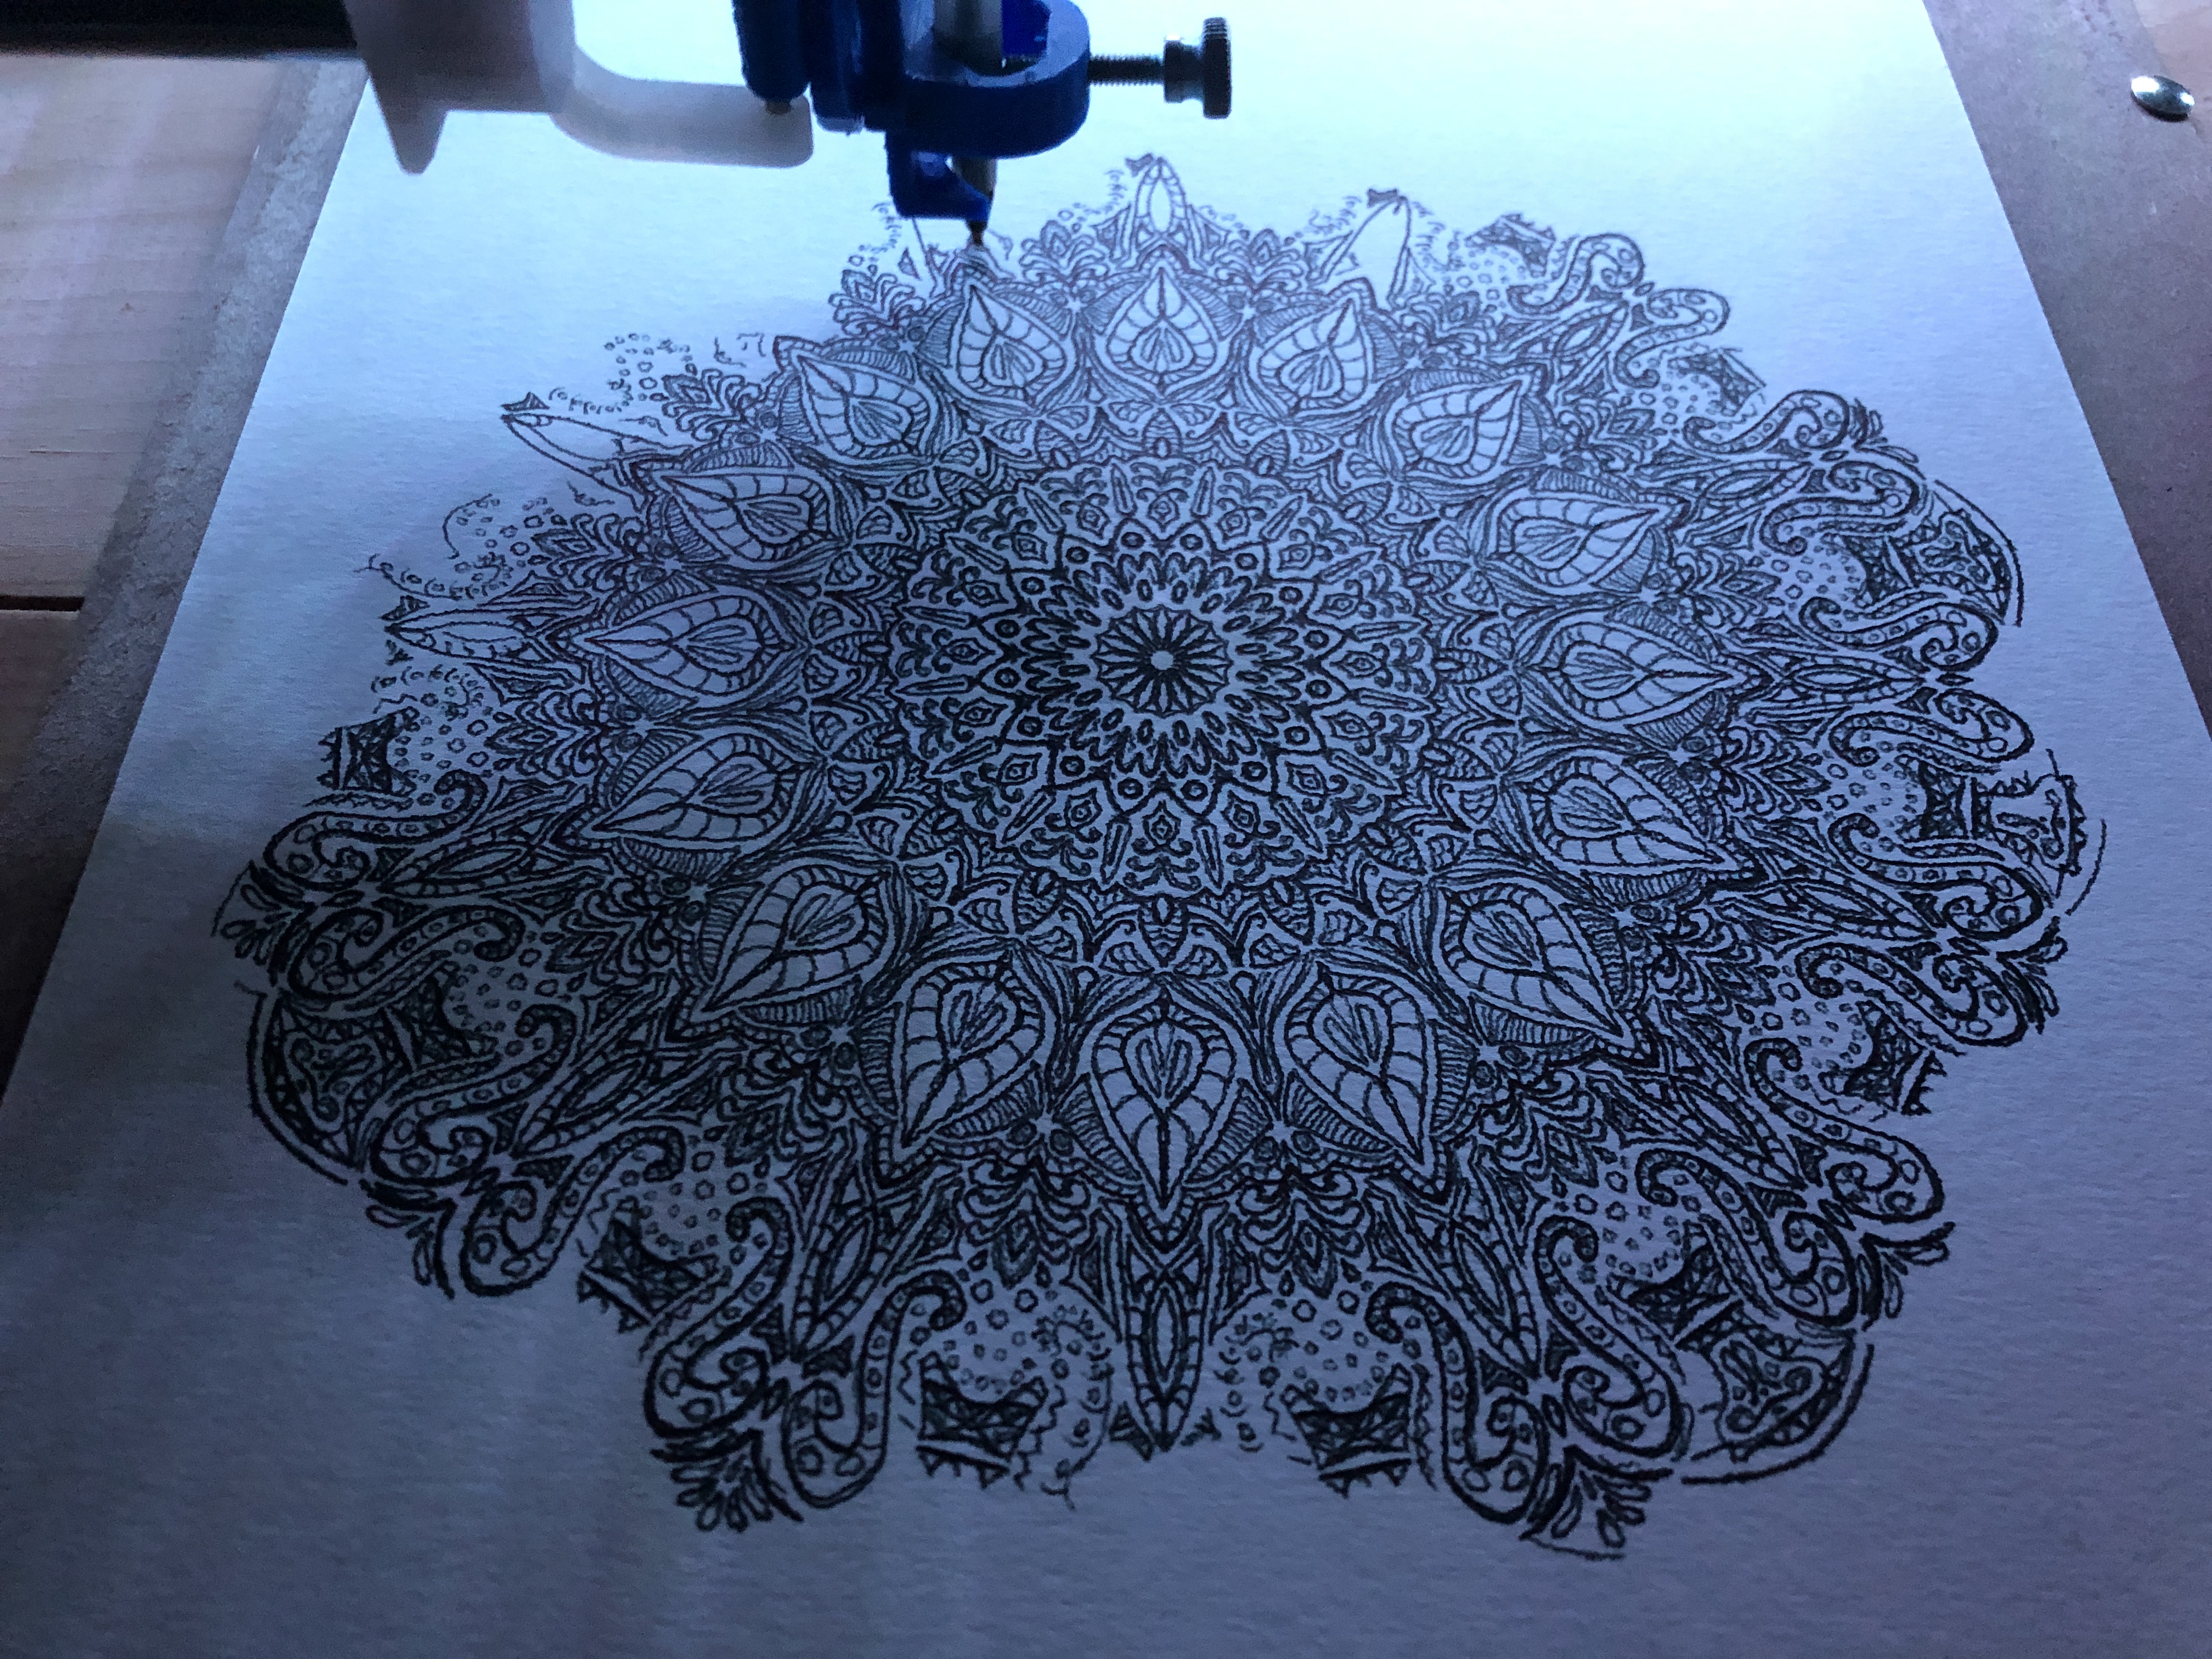
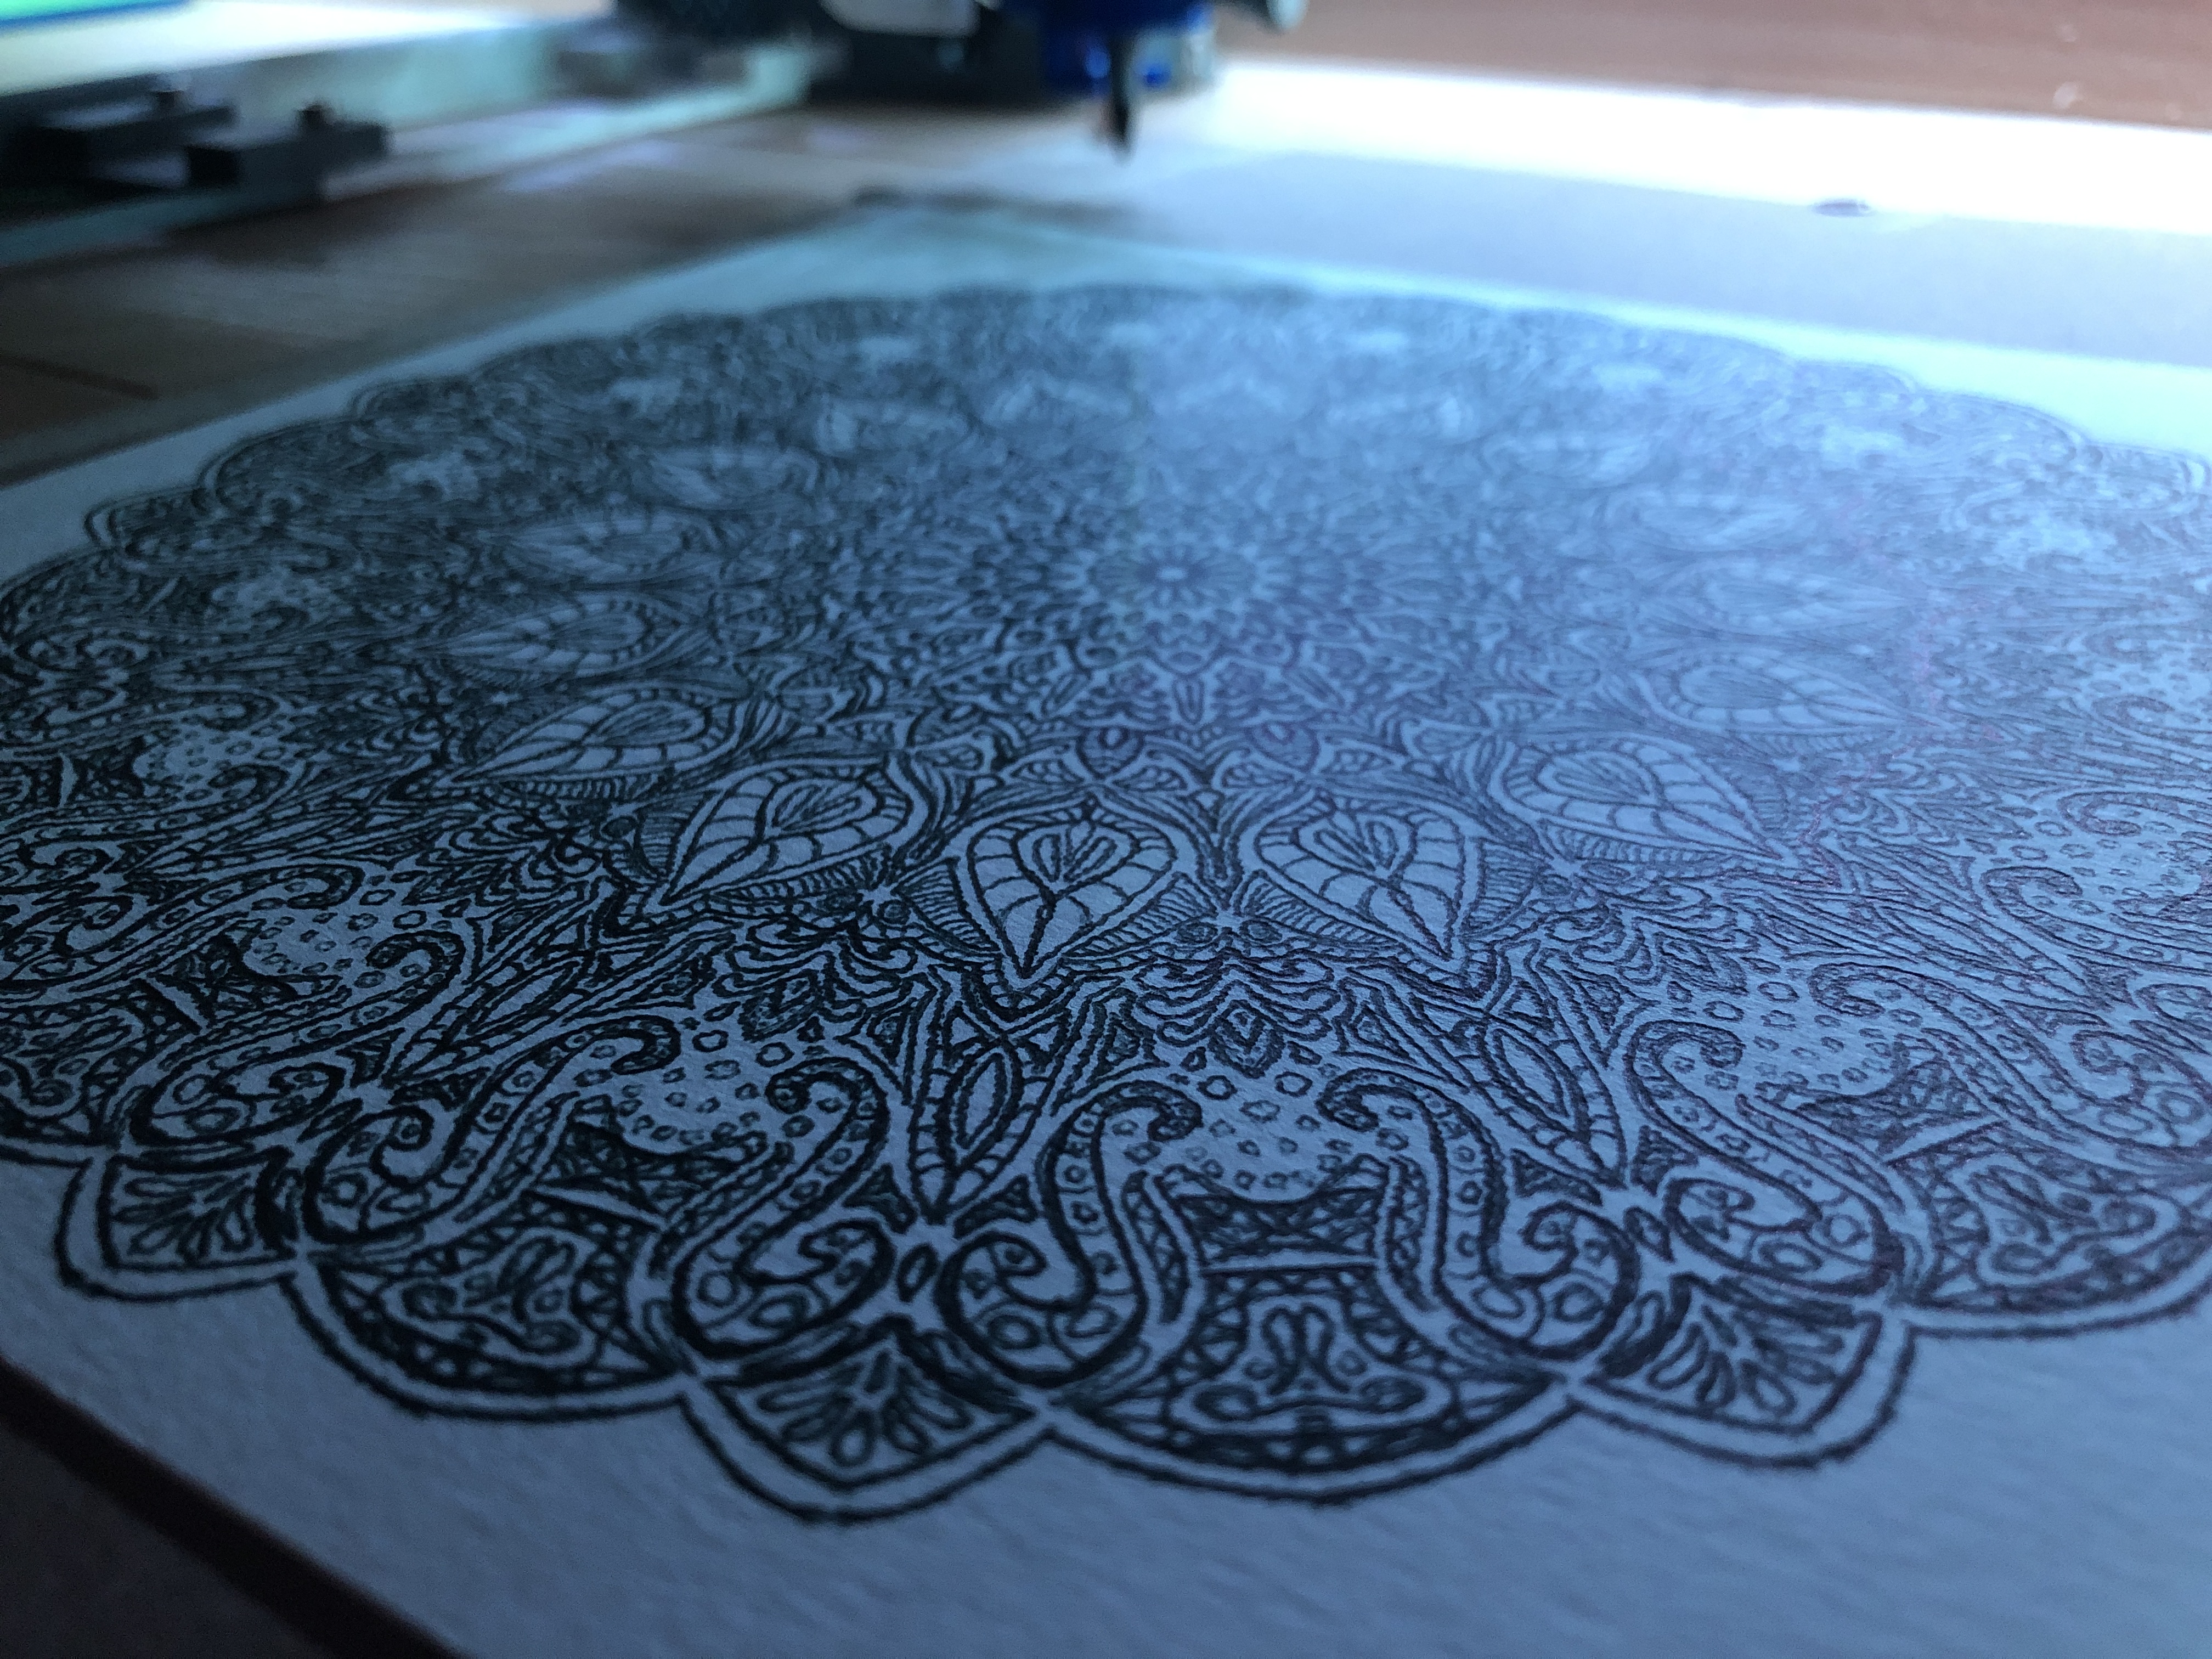
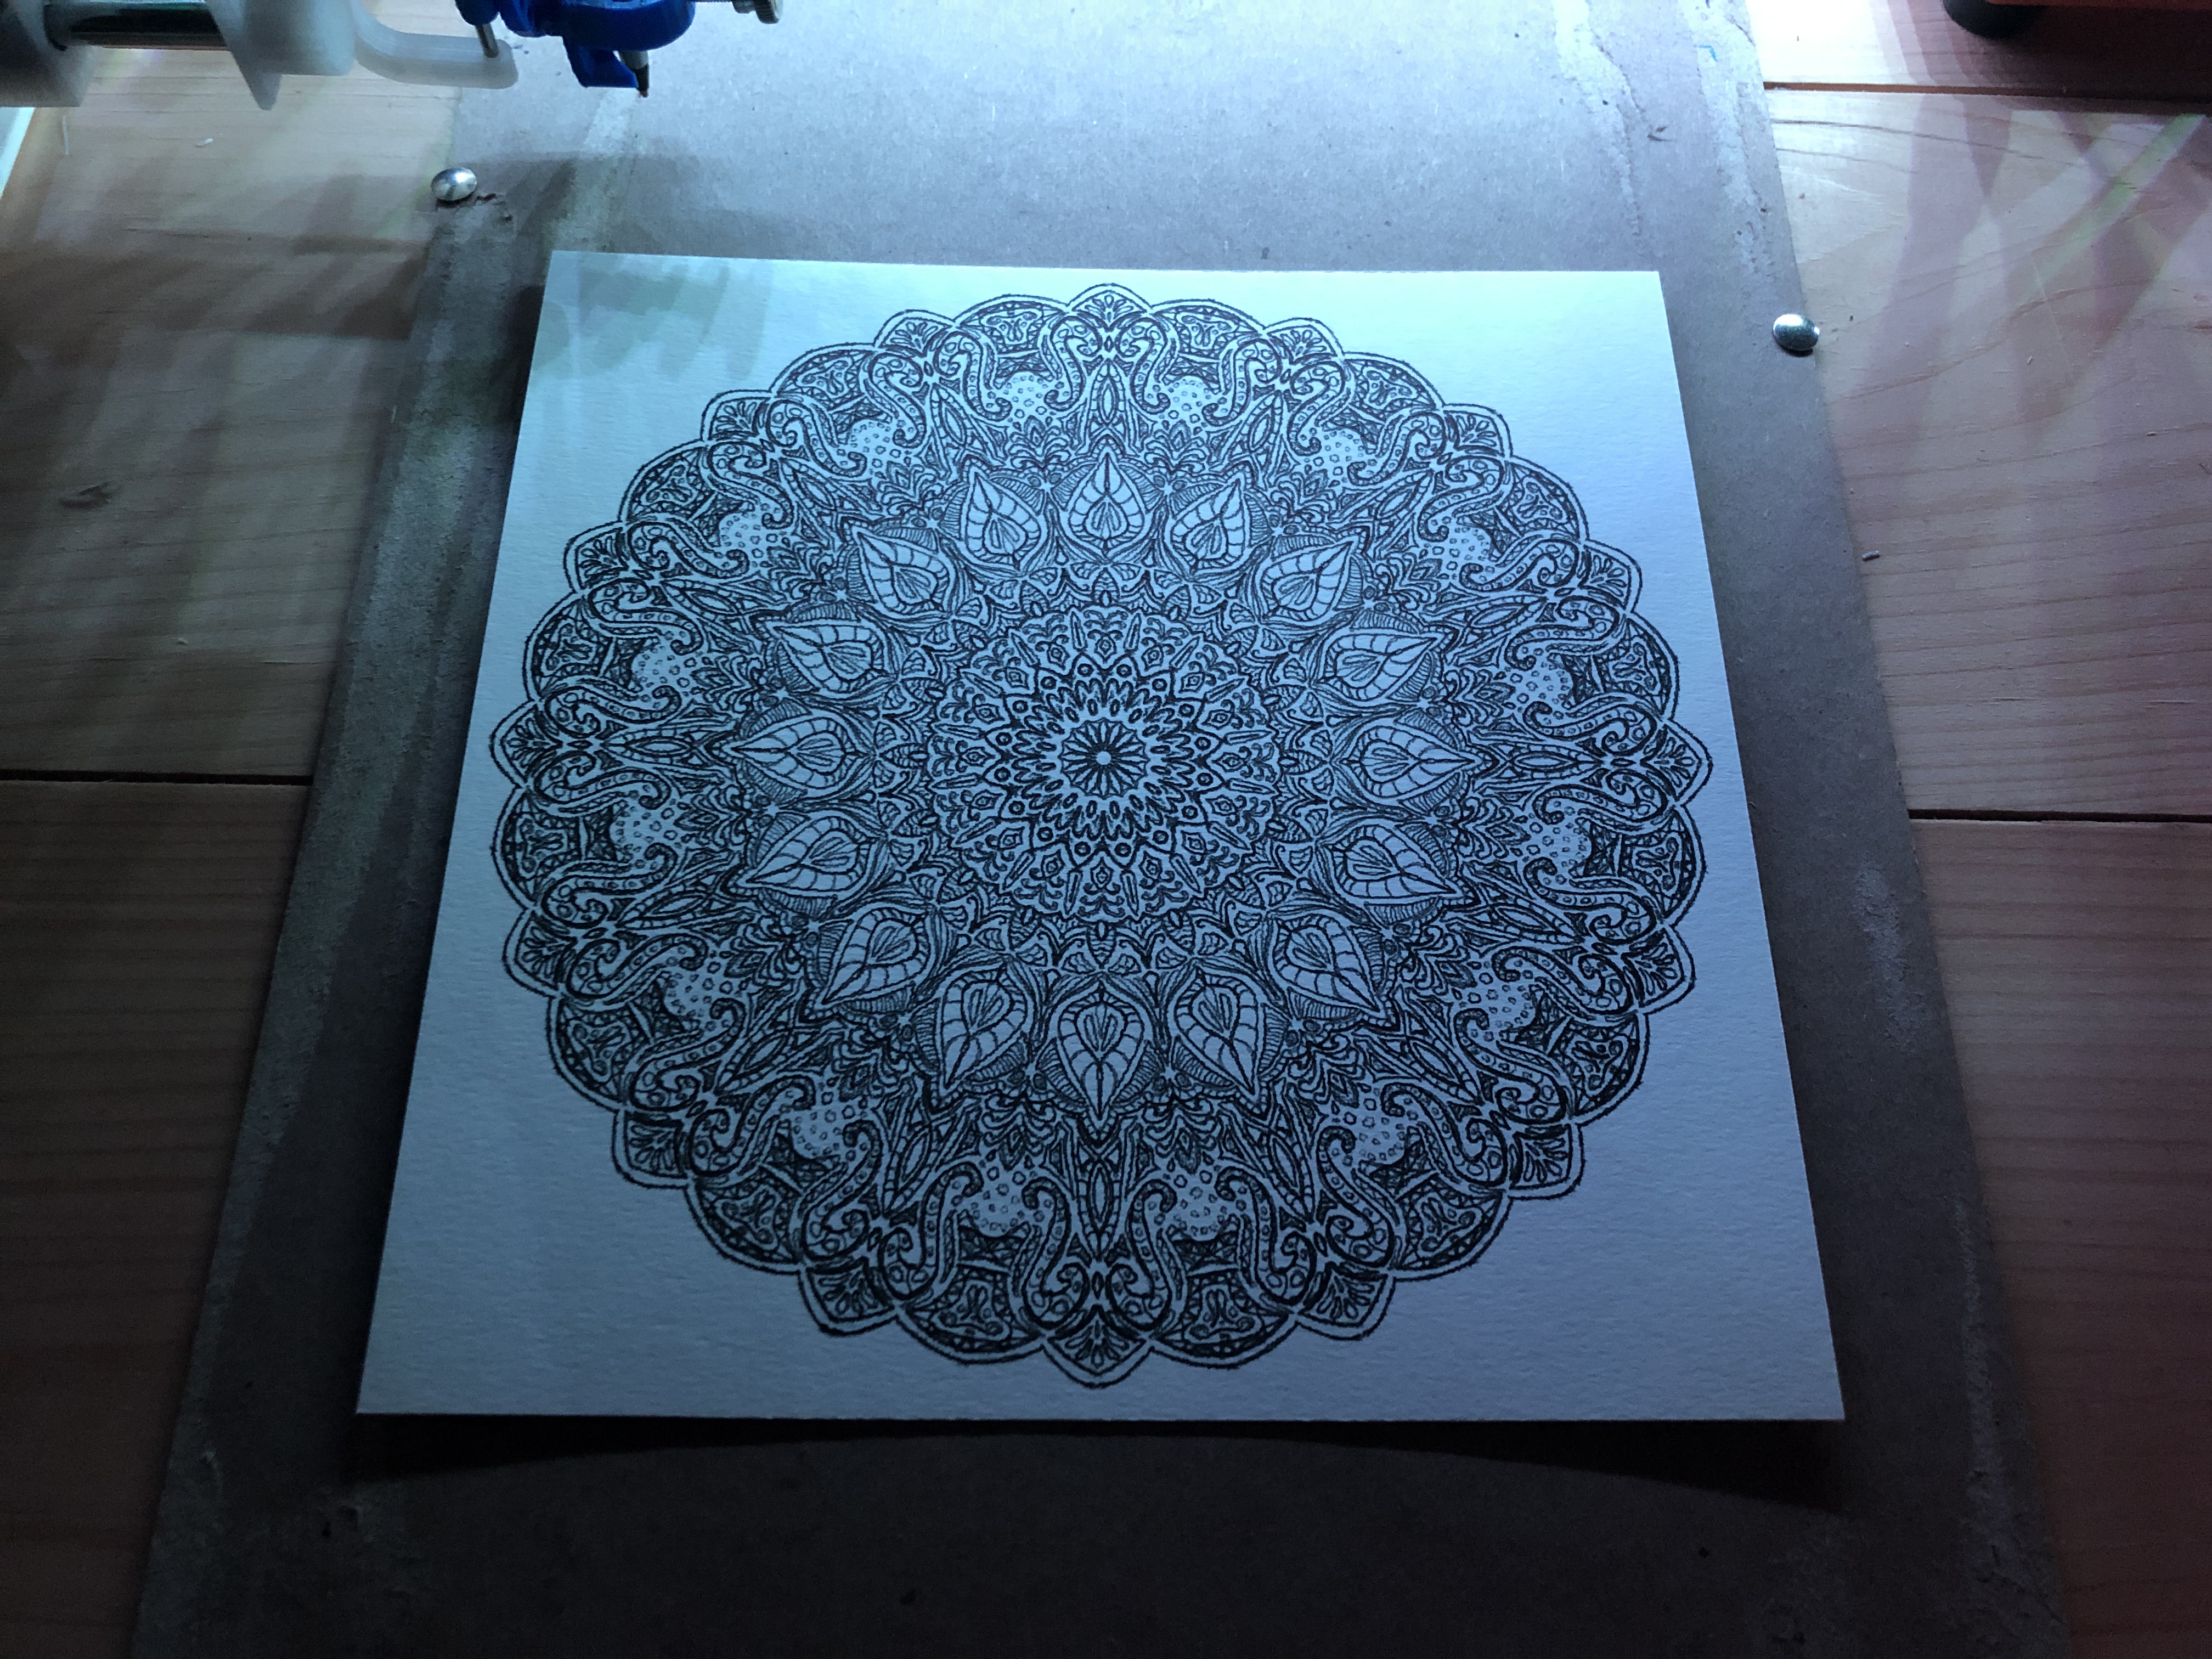
Someone in Brazil drew this on Mandalagaba years ago and I’ve used it to stress test plotters since :). I wish I could get in touch to show them.
Chasing the Dip
As Murphy’s law would have it, our solar upgrade coincided with a strange phenomenon which affected us for the whole month of November. Our batteries voltage took a sudden drop every night around 9:00PM going to well bellow any usable voltage and leaving us scrambling for power through the nights.
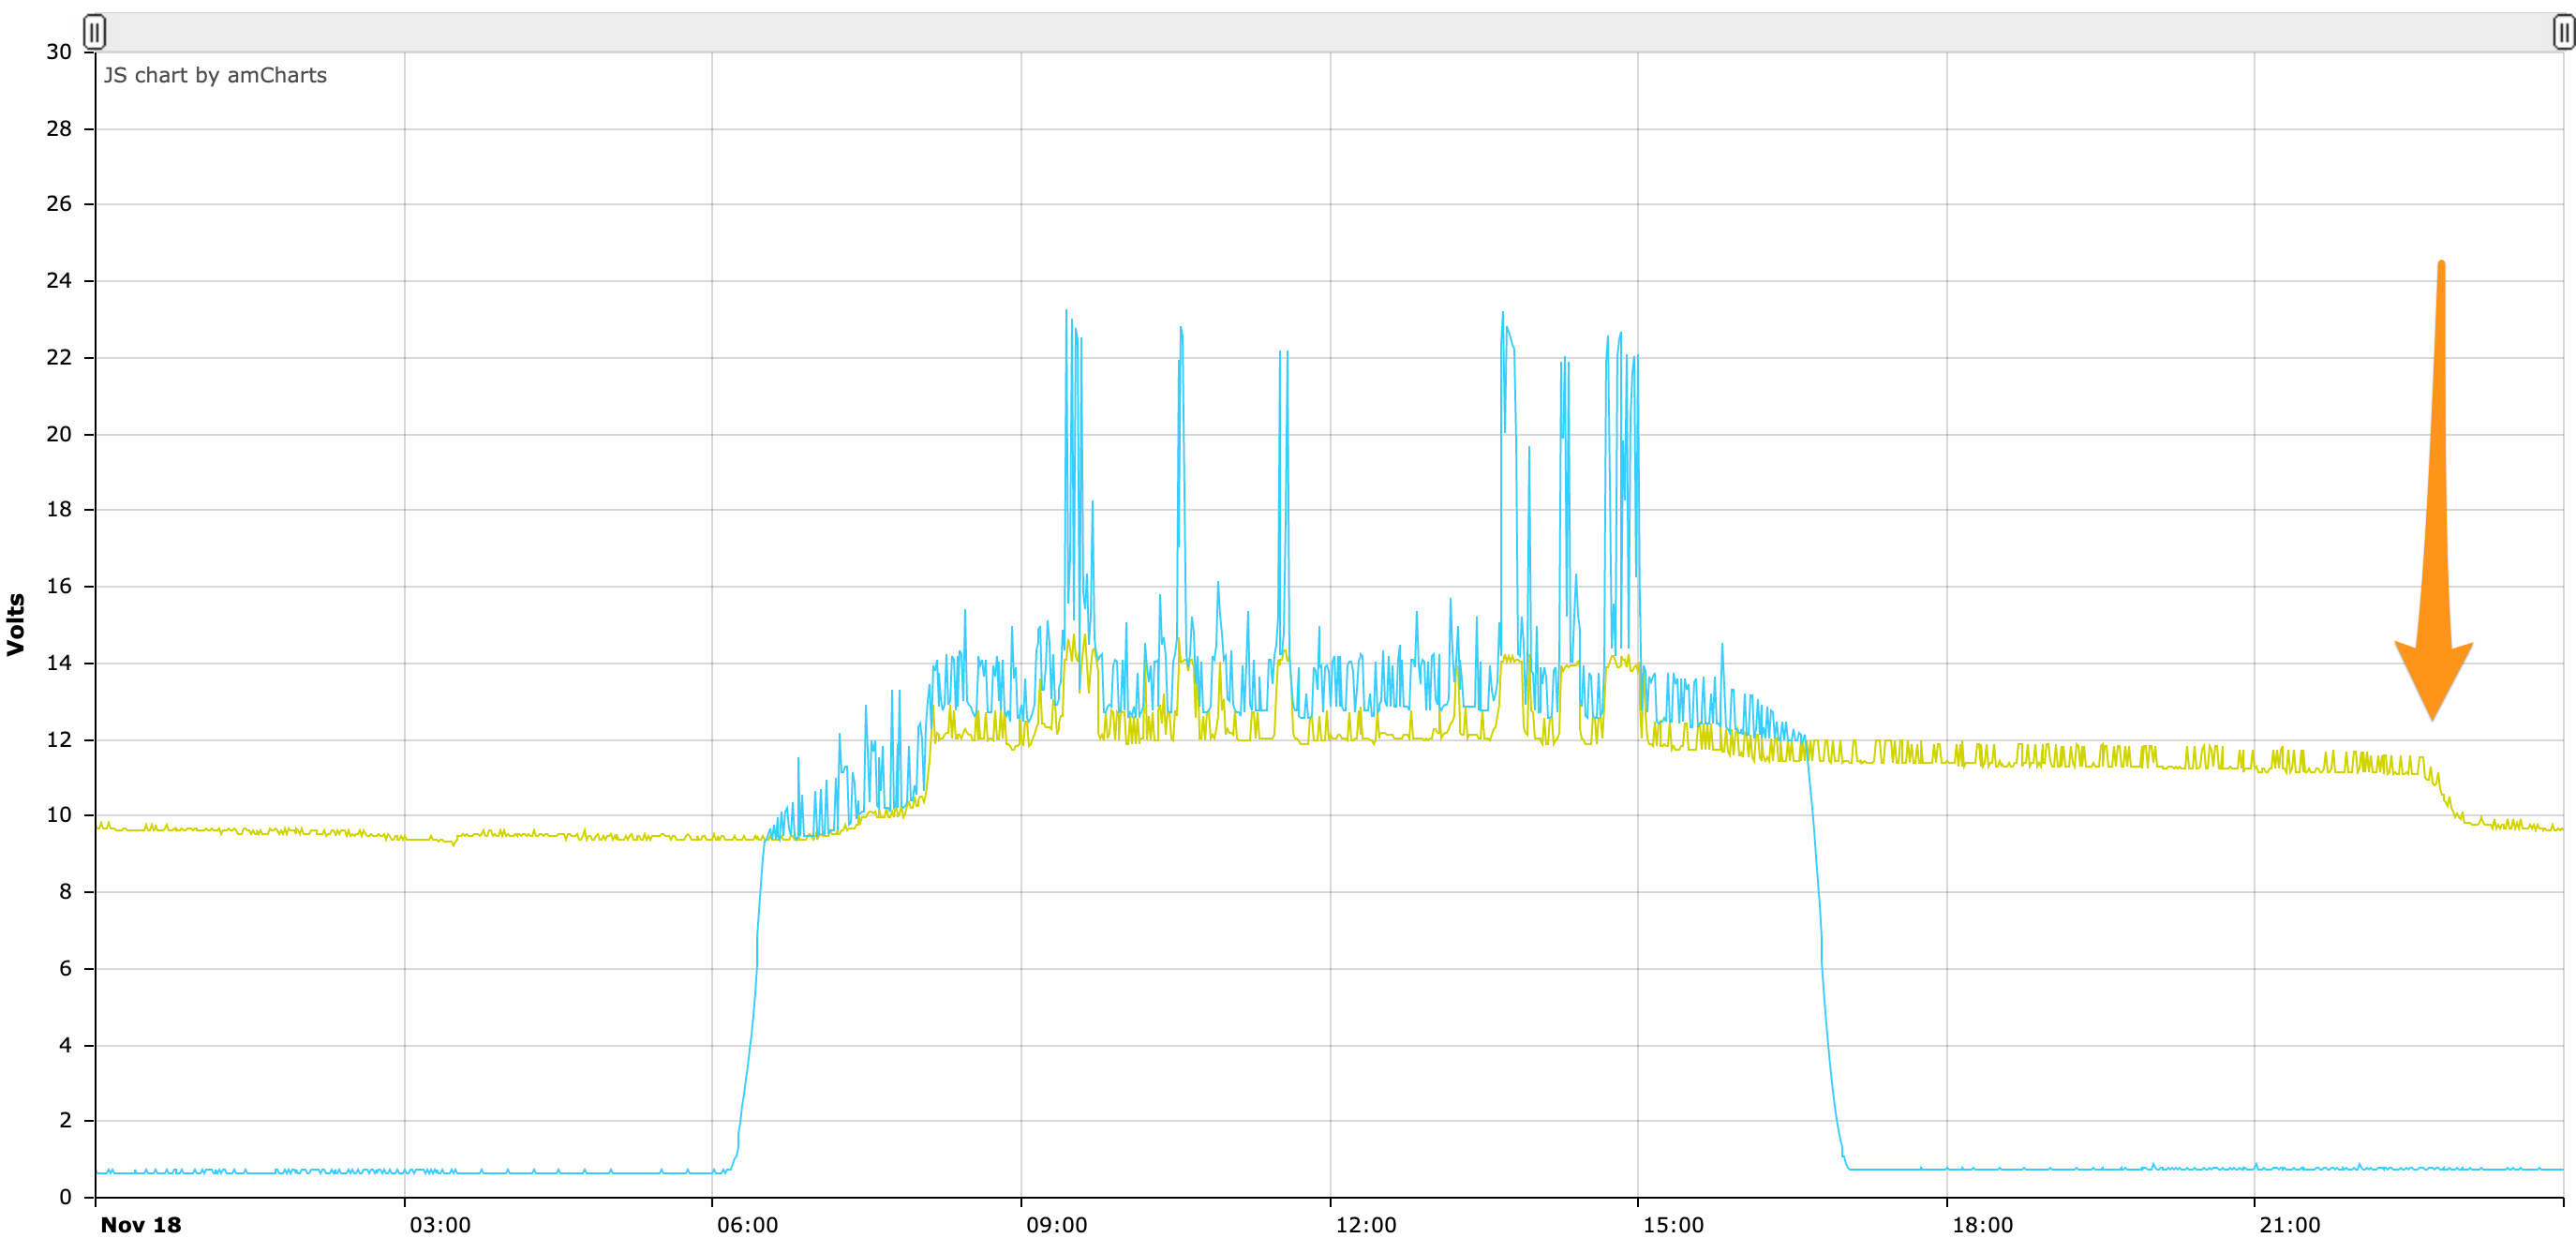
Because of this unfortunate timing, and my lack of understanding of all things battery related. I ended up chasing this dip for weeks, trying everything under the sun isolate it. Long story short, all our AGM batteries are shot.
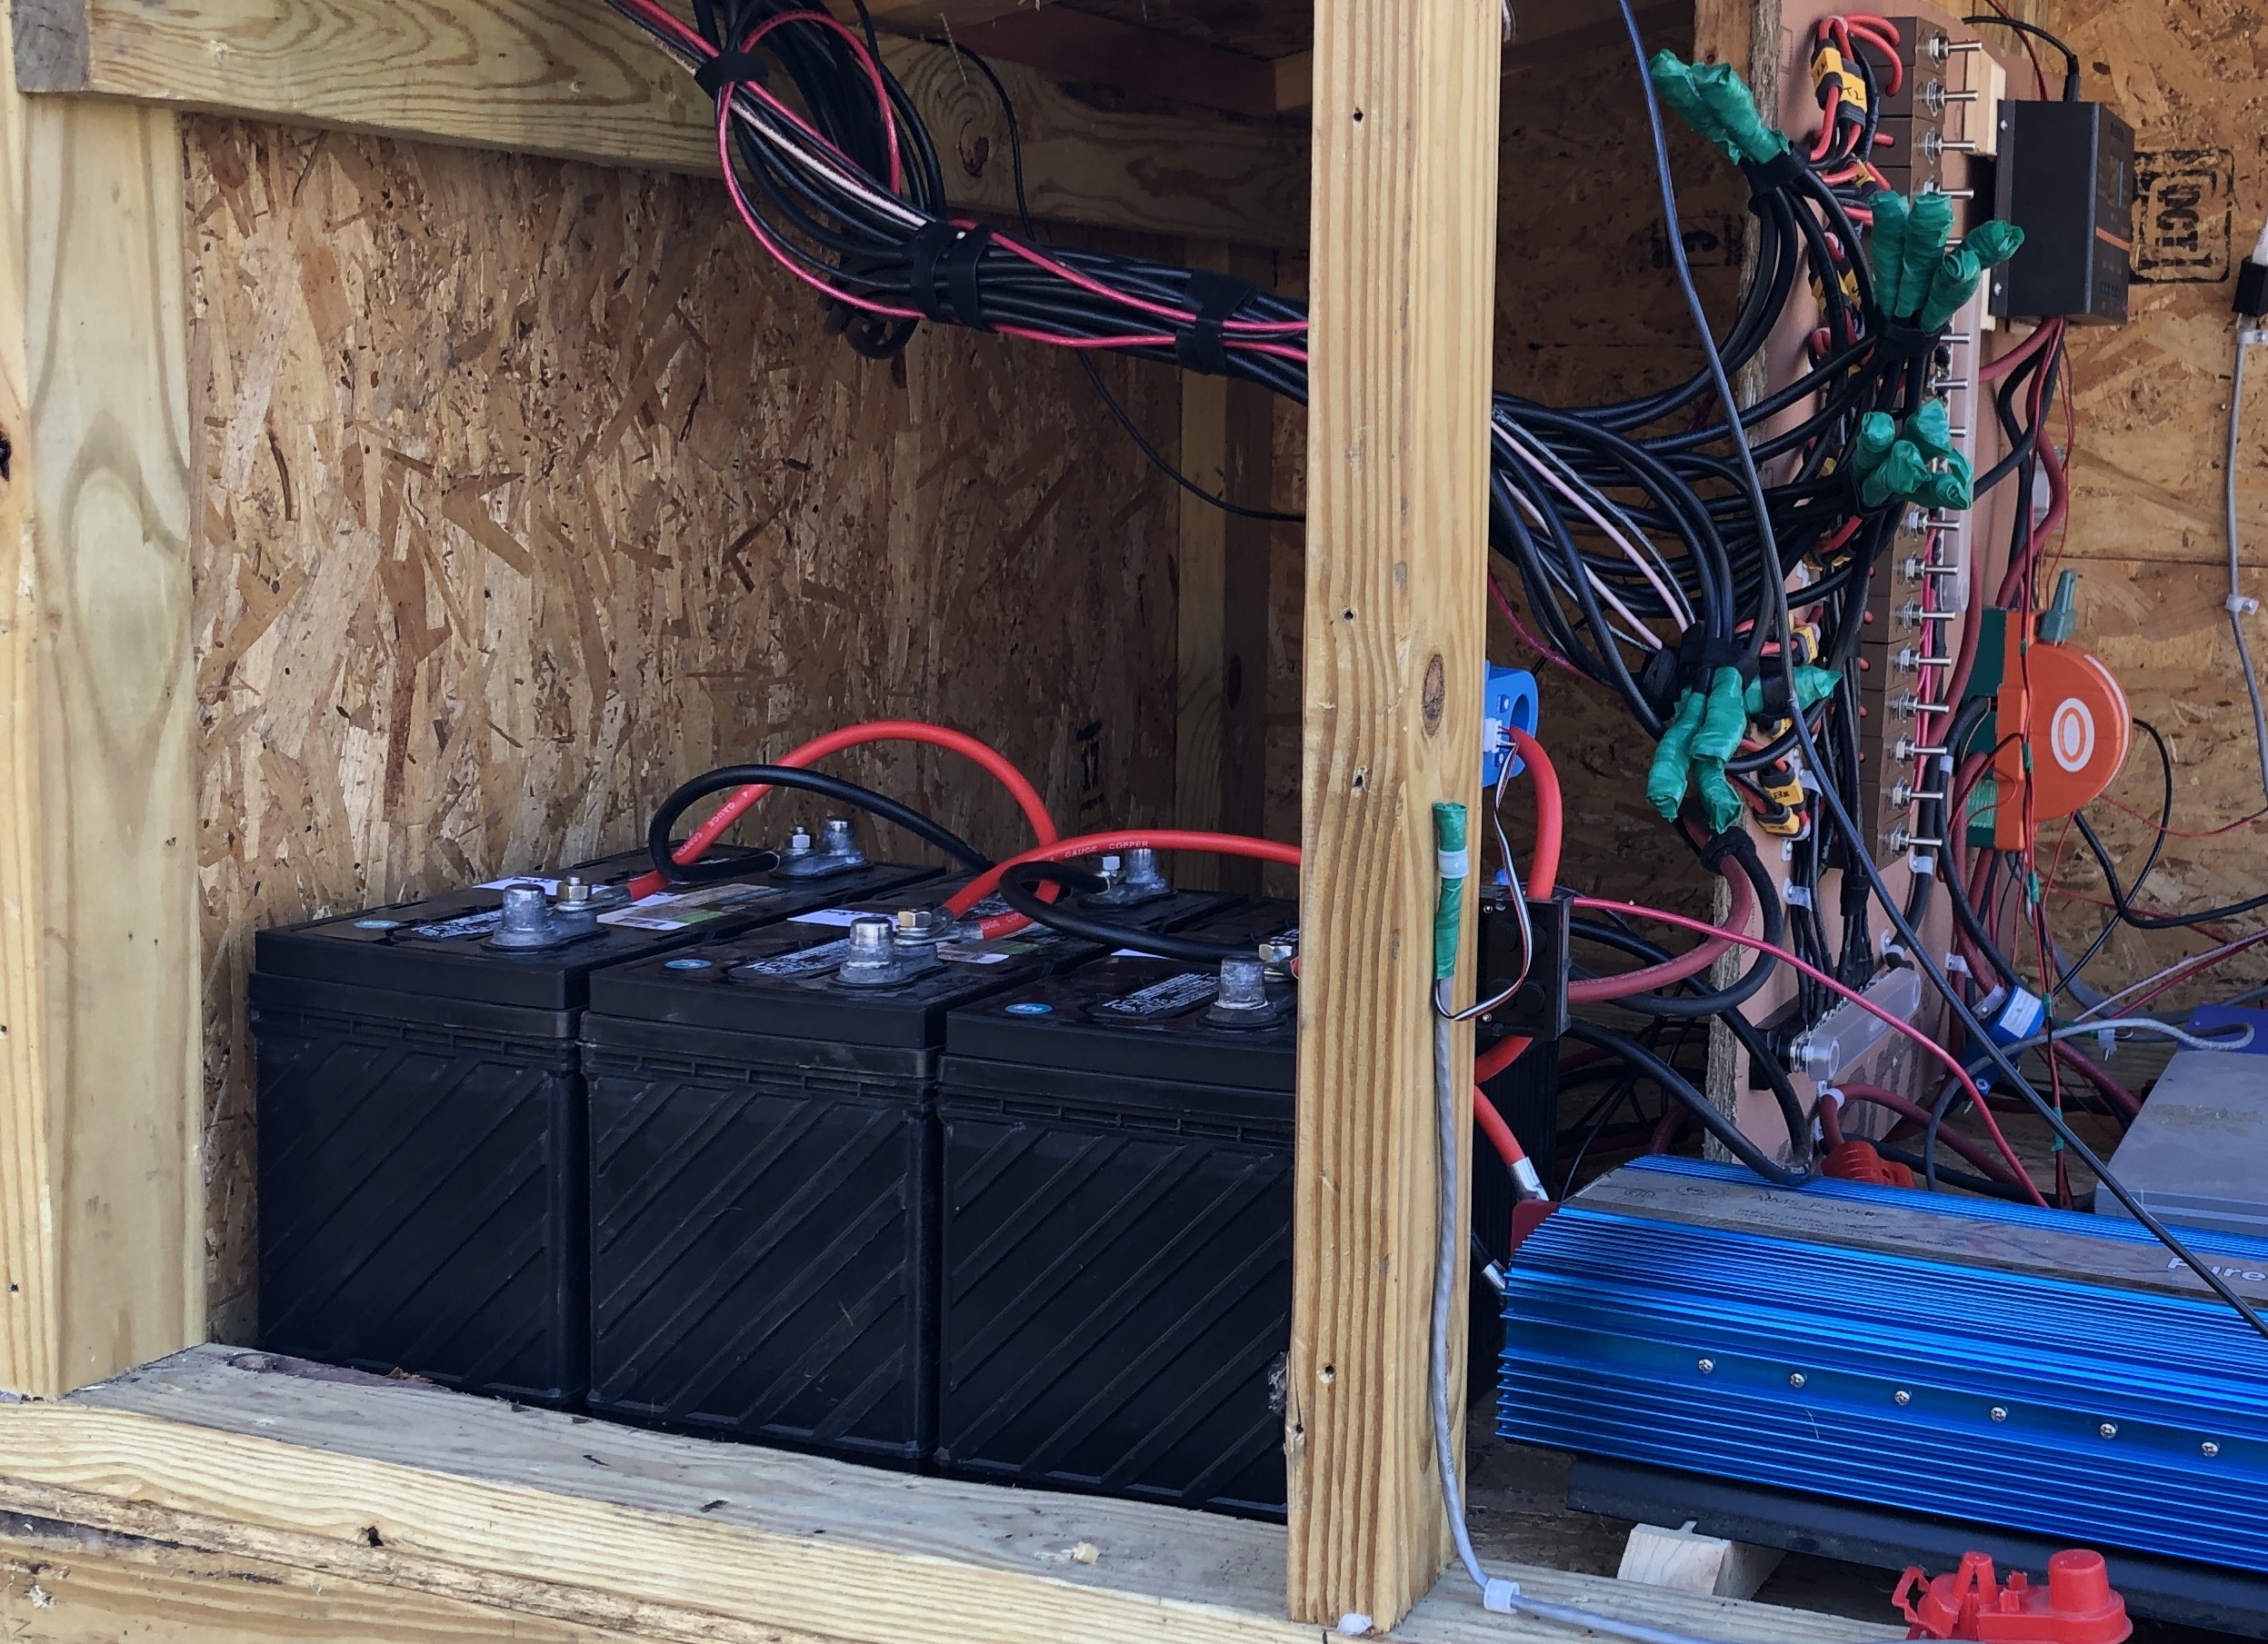
Years ago I bought AGM batteries because they are more self contained and don’t require maintenance (no off gazing, no re-filling them). A choice that made sense when everything was new and too much to think about. Today, I’m realizing that the flip side of this is that AGM batteries have a shorter lifetime and that there is nothing you can do about it. Sure they were no maintenance for a few years, but today they are between 3 and 5 years old and we have to replace them all (all $1600 worth of them).
I reevaluated our battery situation, and with a much better grasp of all things solar, I decided to go with regular flooded lead acid batteries, they are deep cycle, they have 65Ah, they have a port to maintain the chemicals in them.
It does mean I’ll be poking at them every couple of months to better quantify their state and not let a slow boiling voltage dip sneak up on me. And I’ll be maintaining the chemicals (mostly adding distilled water on occasion).
This conclusion was confirmed by chatting with a couple of old timers who have been off-grid for decades. One gets 6 to 8 years out of his batteries which are allowed to freeze (our situation today), the other gets 10 to 13 in a controlled environment and a water turbine providing constant power 24h a day. This helps the batteries not cycle so much.
It was a real education talking to people who have been doing this for decades. As I build my own experience, I make mistakes and sub-optimal decisions. For today though, I’ve eliminated a blind spot of our solar setup. I can recognize the phenomenon for what it is, the data I collect was really helpful and I have ideas for algorithms to interpret them automatically and get a health measure of the battery array.
So I bought only 3 new batteries, giving us 195Ah to get through night and cloud. It turns out it’s a thousand times better than where we were with our theoretical 775Ah as it had slow boiled down to pretty much nothing :). I’ll get in the habit of maintaining these batteries properly.
Mild Winter Bathroom
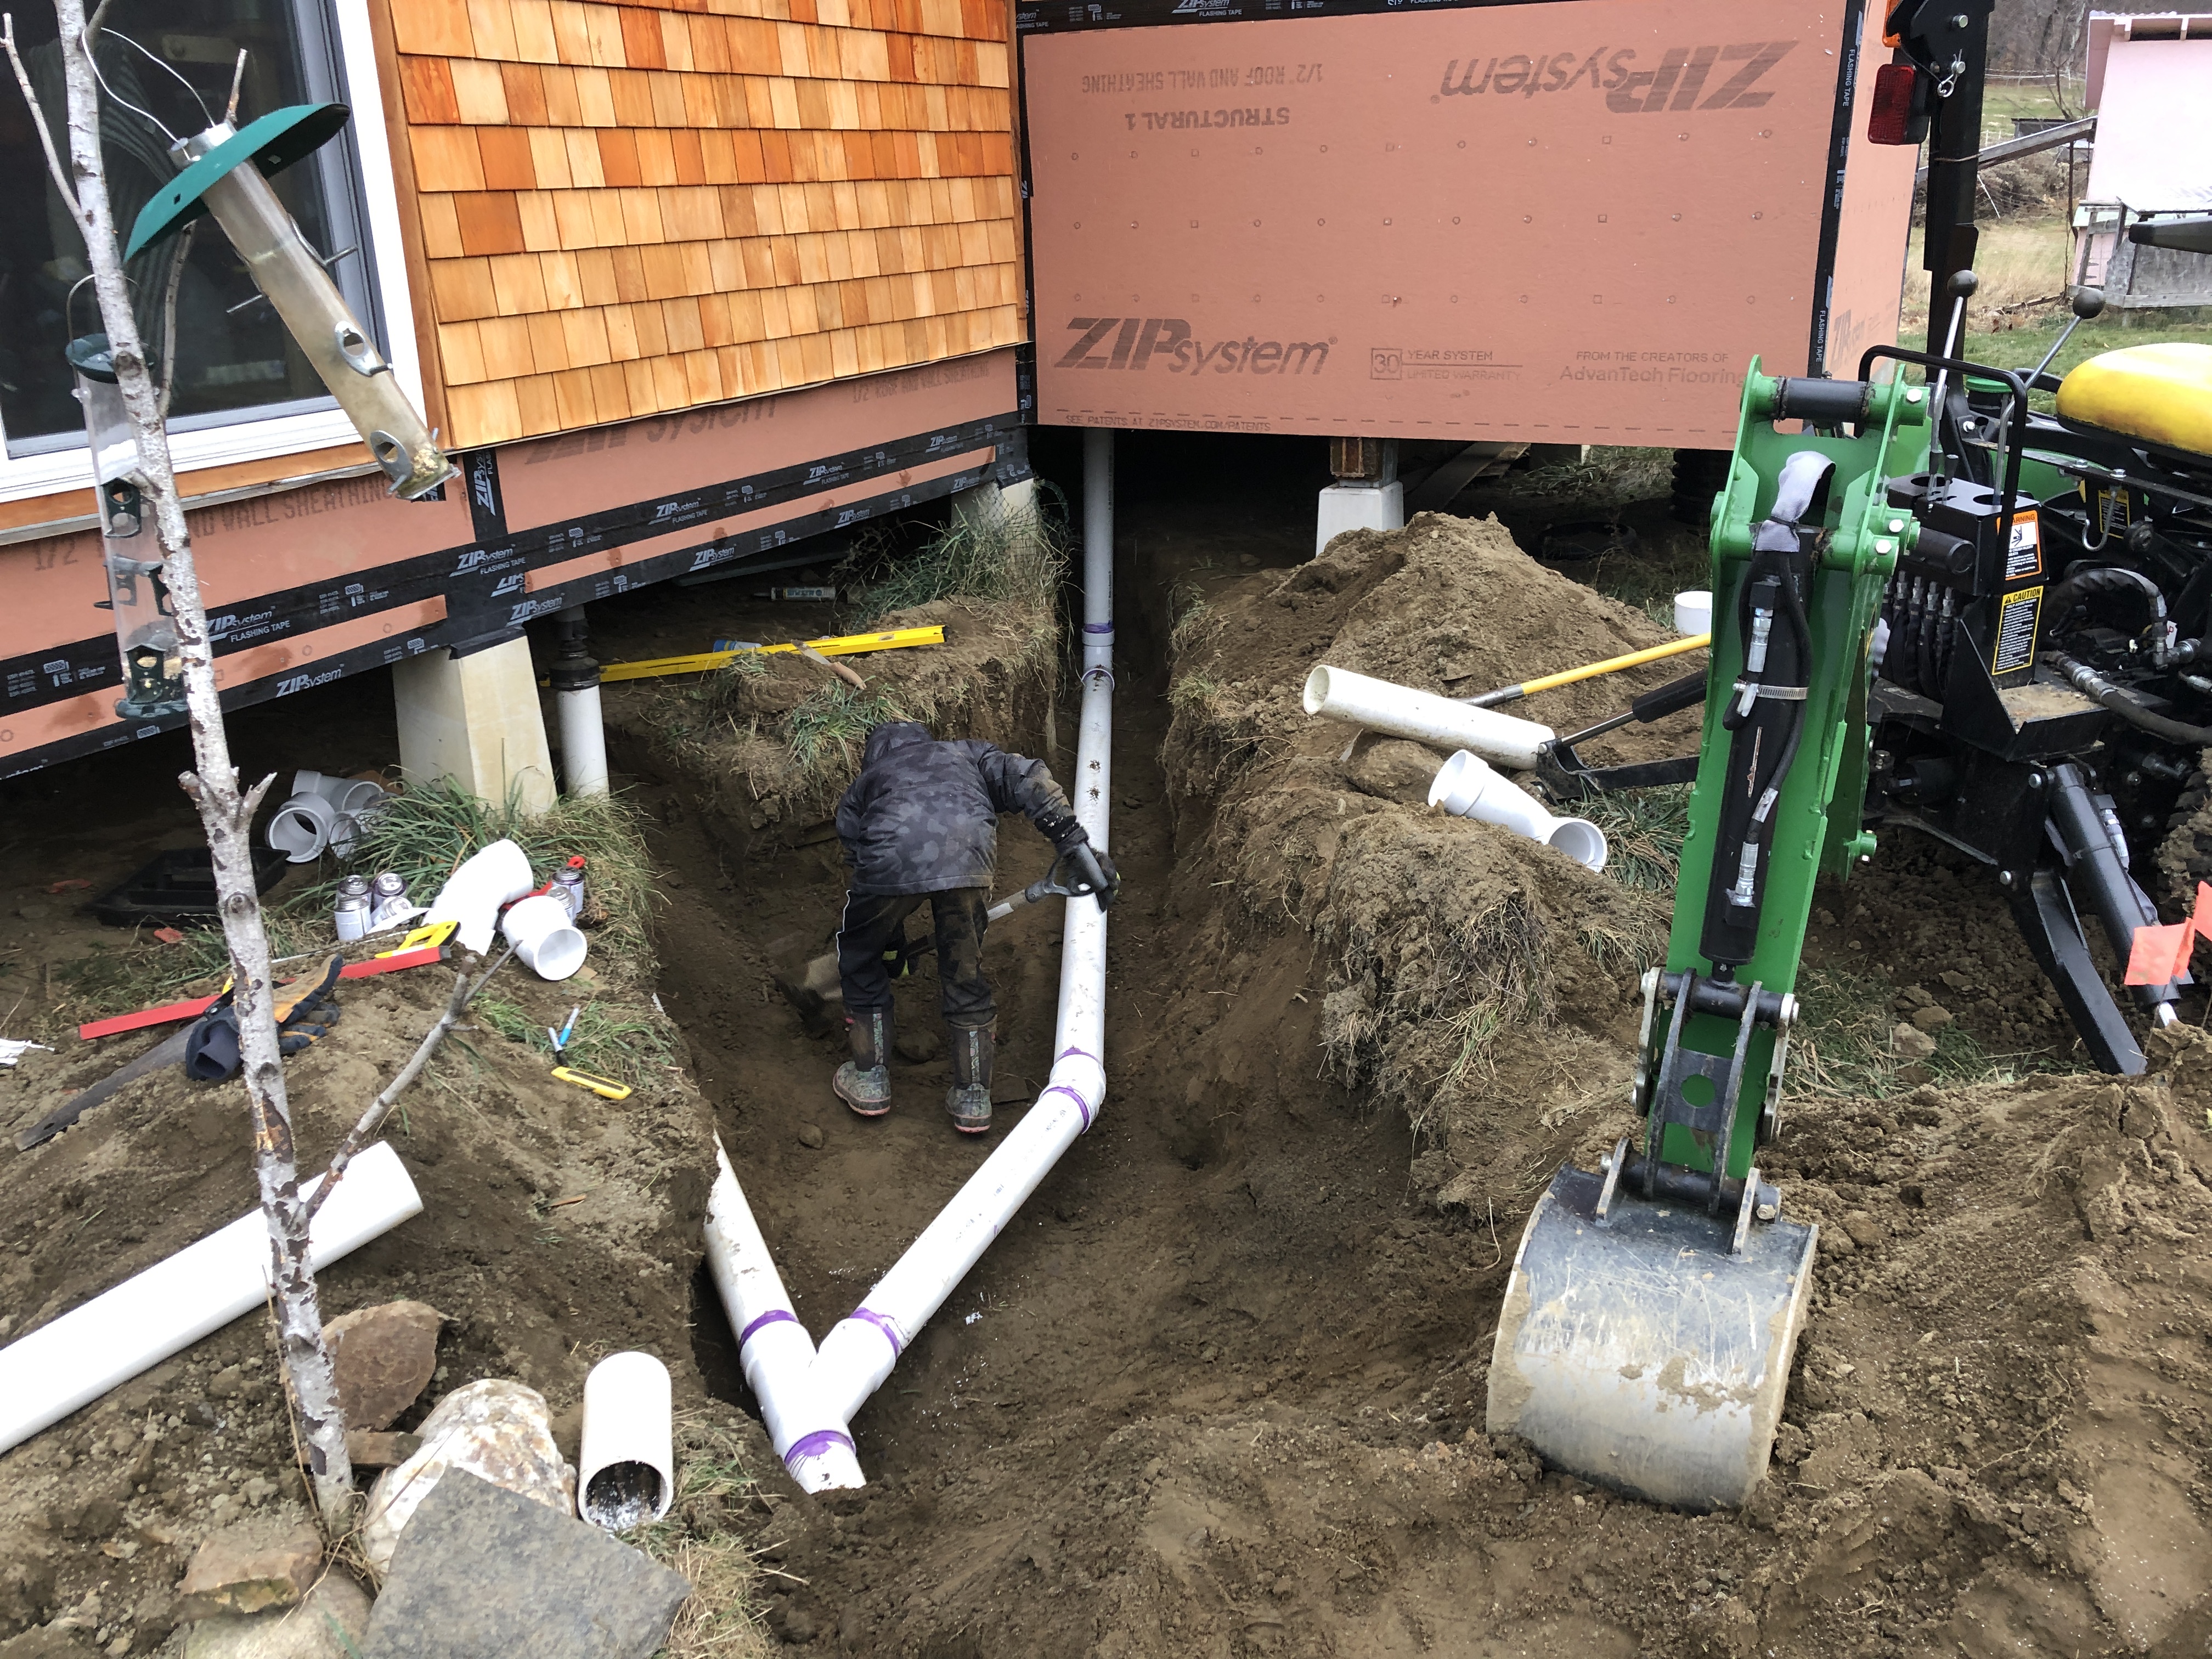
It’s late November and the ground isn’t frozen, it’s a perfect opportunity to work on water evacuation to the septic tank as we get ready to create our bathroom. If we don’t do it now we’ll have to wait another 4 months. We unearthed the existing line to split it into another one for the bathroom.