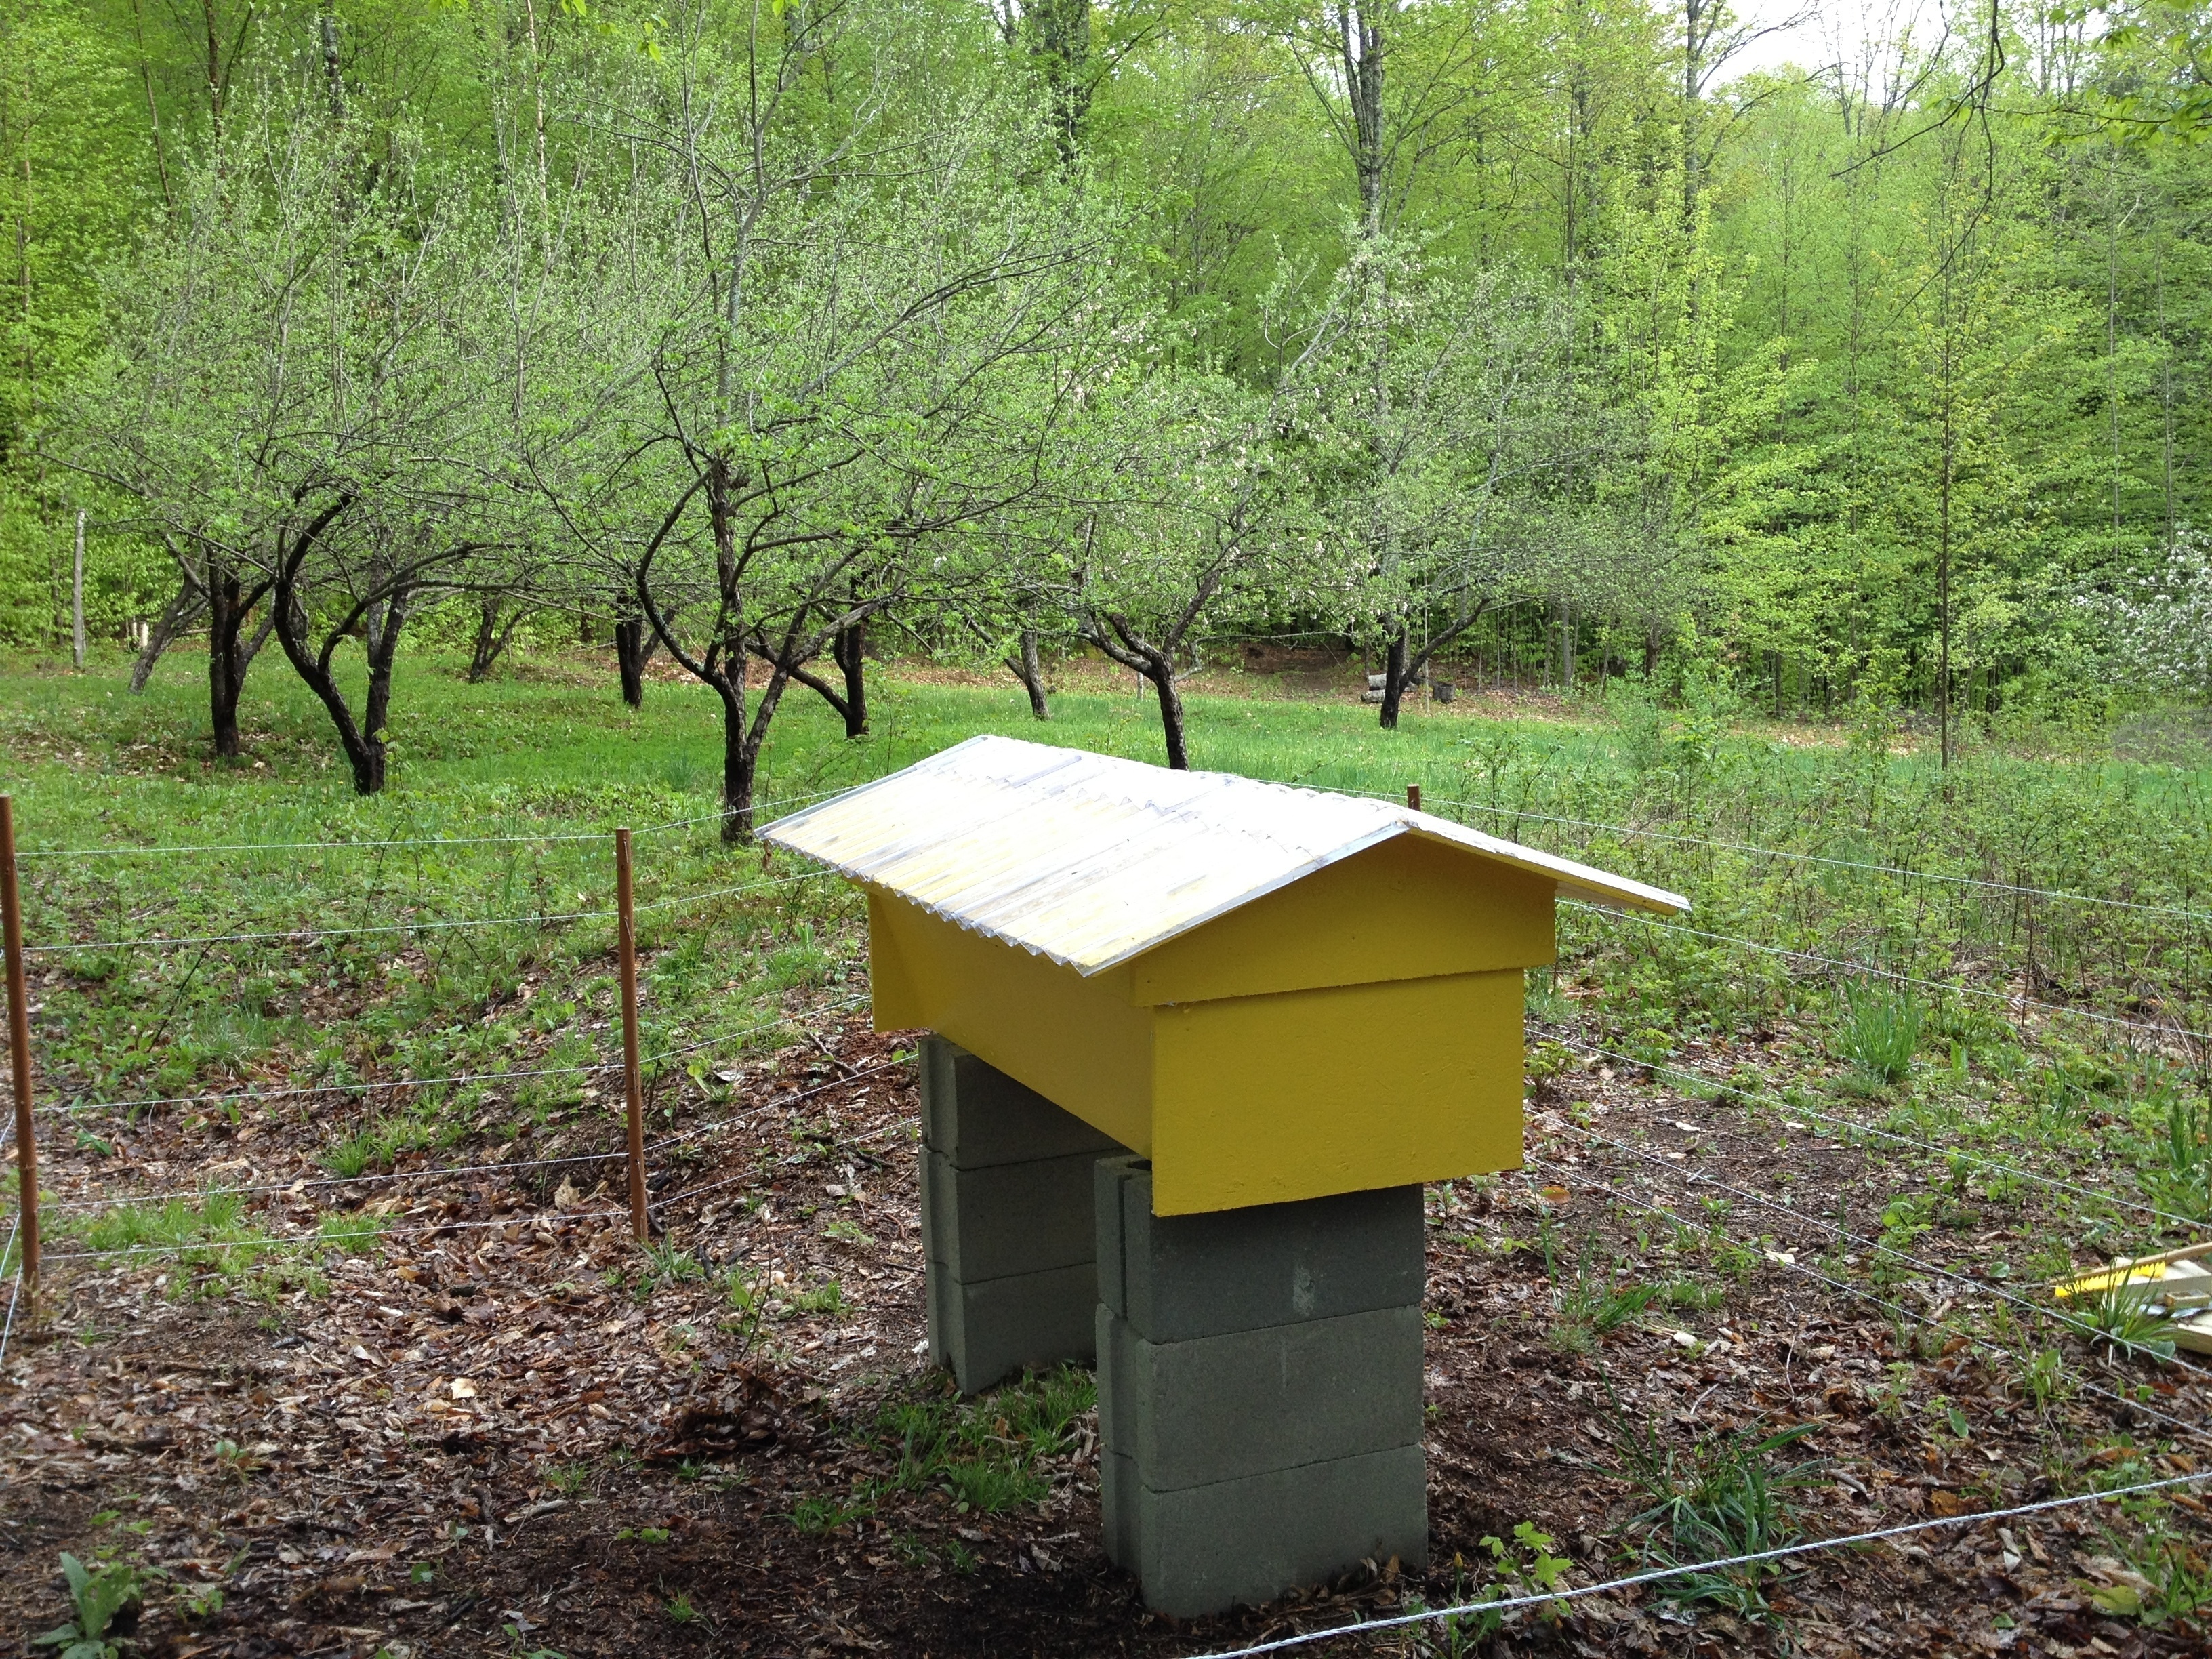
Beehive in place & housing a colony!
Well, this is it. After much prep work I have finally released my first package of bees in the hive. Everything did not go according to plan, the candy separating the queen from the rest of the colony had already been eaten. As a result the queen did not get a chance to be released by the workers. I managed to keep her in there while I was releasing the remaining 3lbs of bees. Things went well other than this and I am hopeful that she’ll be accepted by the others as they had been traveling together for a while. I’ll try and locate her in a couple of days and if I can’t find her, I will rush order another queen. It’s nice that I get another shot if needed.
All the extensive information I gathered online (various blogs, Youtube videos) prepared me pretty well for what to do. Nothing however can prepare you for the experience of handling a liquid-like swarm of buzzing bees. It was very impressive & I was definitely glad I got a full suit. Not that they were even really pissed at me for shaking them in their new hive. But it felt like a wrong move could change everything for the worse very fast. I eventually learned to trust my suit.
I went back to install an electric fence with a friend the next morning (bears & skunks are an issue in the area), no buzzing was to be heard. Nothing at all, I opened a couple of bars and couldn’t see a thing. Finally I found them on a few bars and disturbing them made the whole swarm start the day. It was super cool to see them do their thing.
The hive in its final location, with a new roof & fenced in to withstand the local wildlife
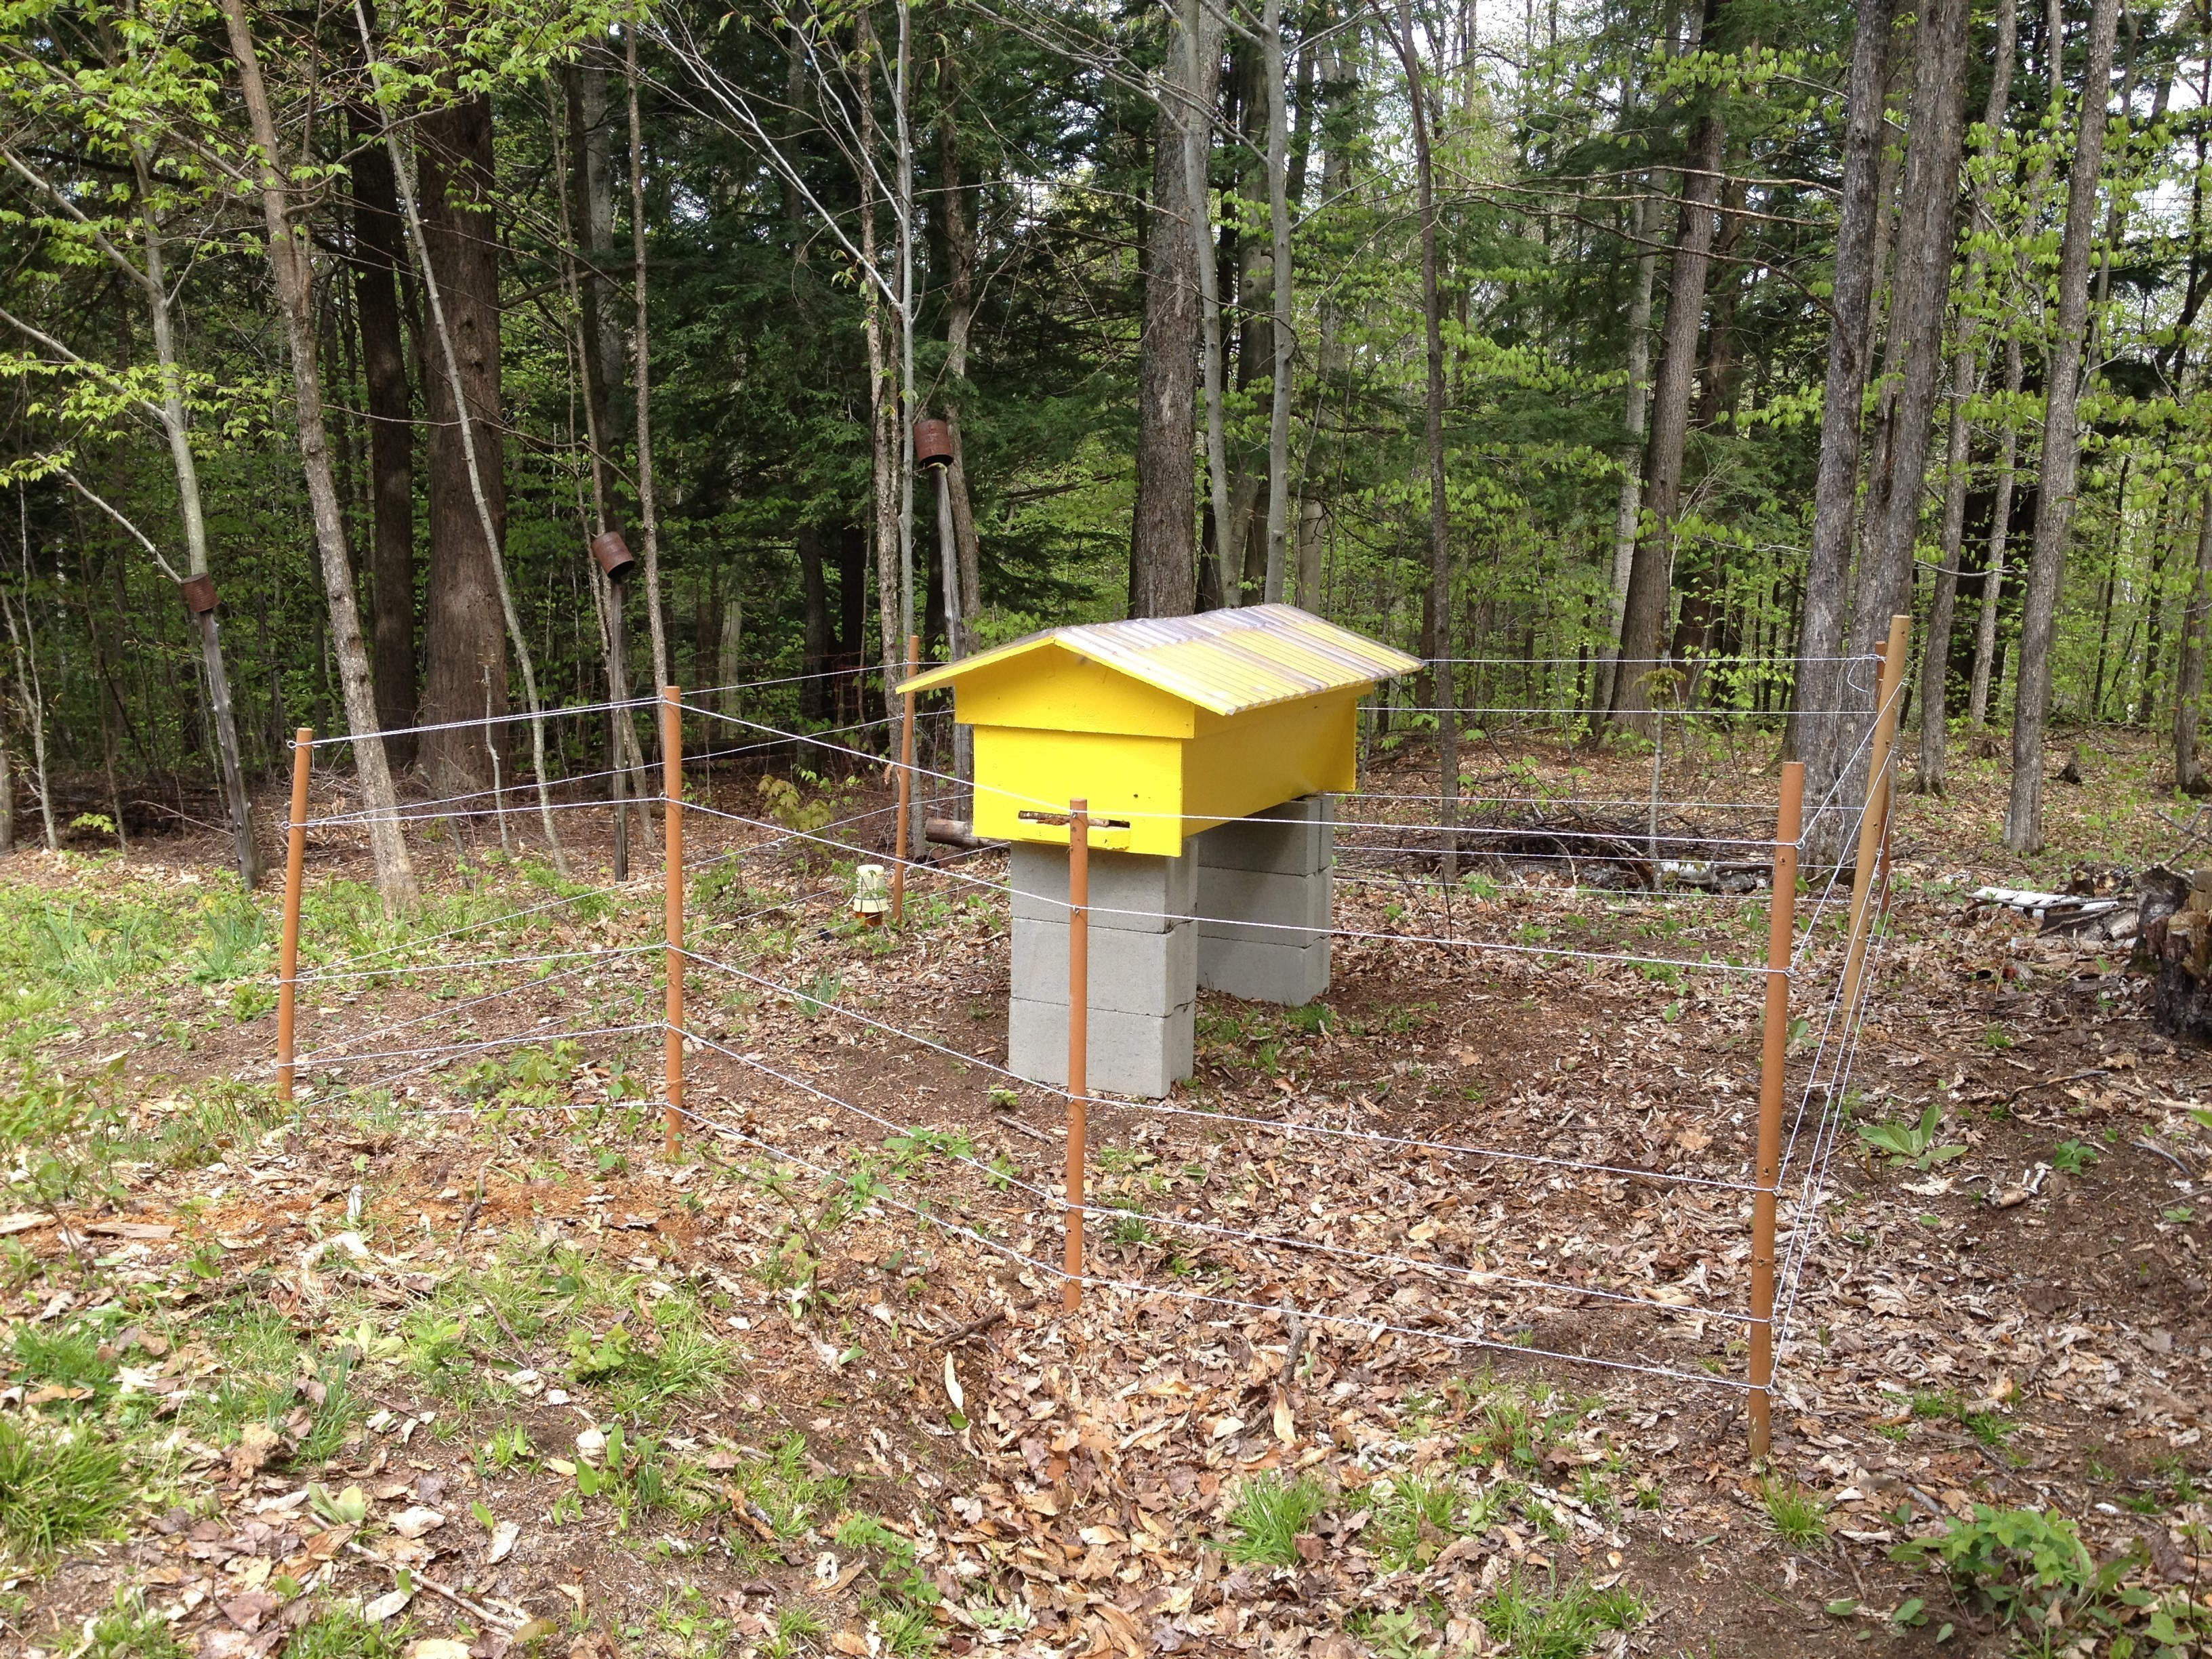
The hive actually faces an orchard which is starting to bloom, perfect timing for some pollination help. I intend on taking more pictures in a few days.
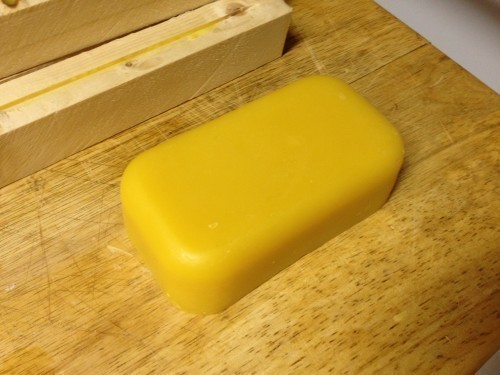

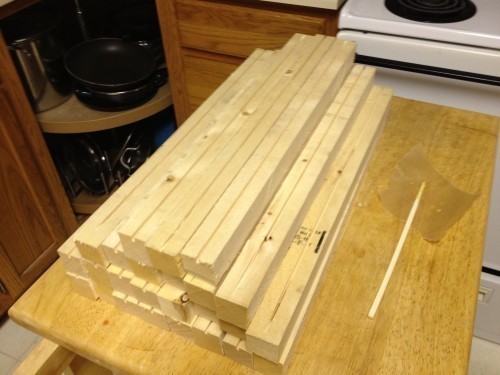


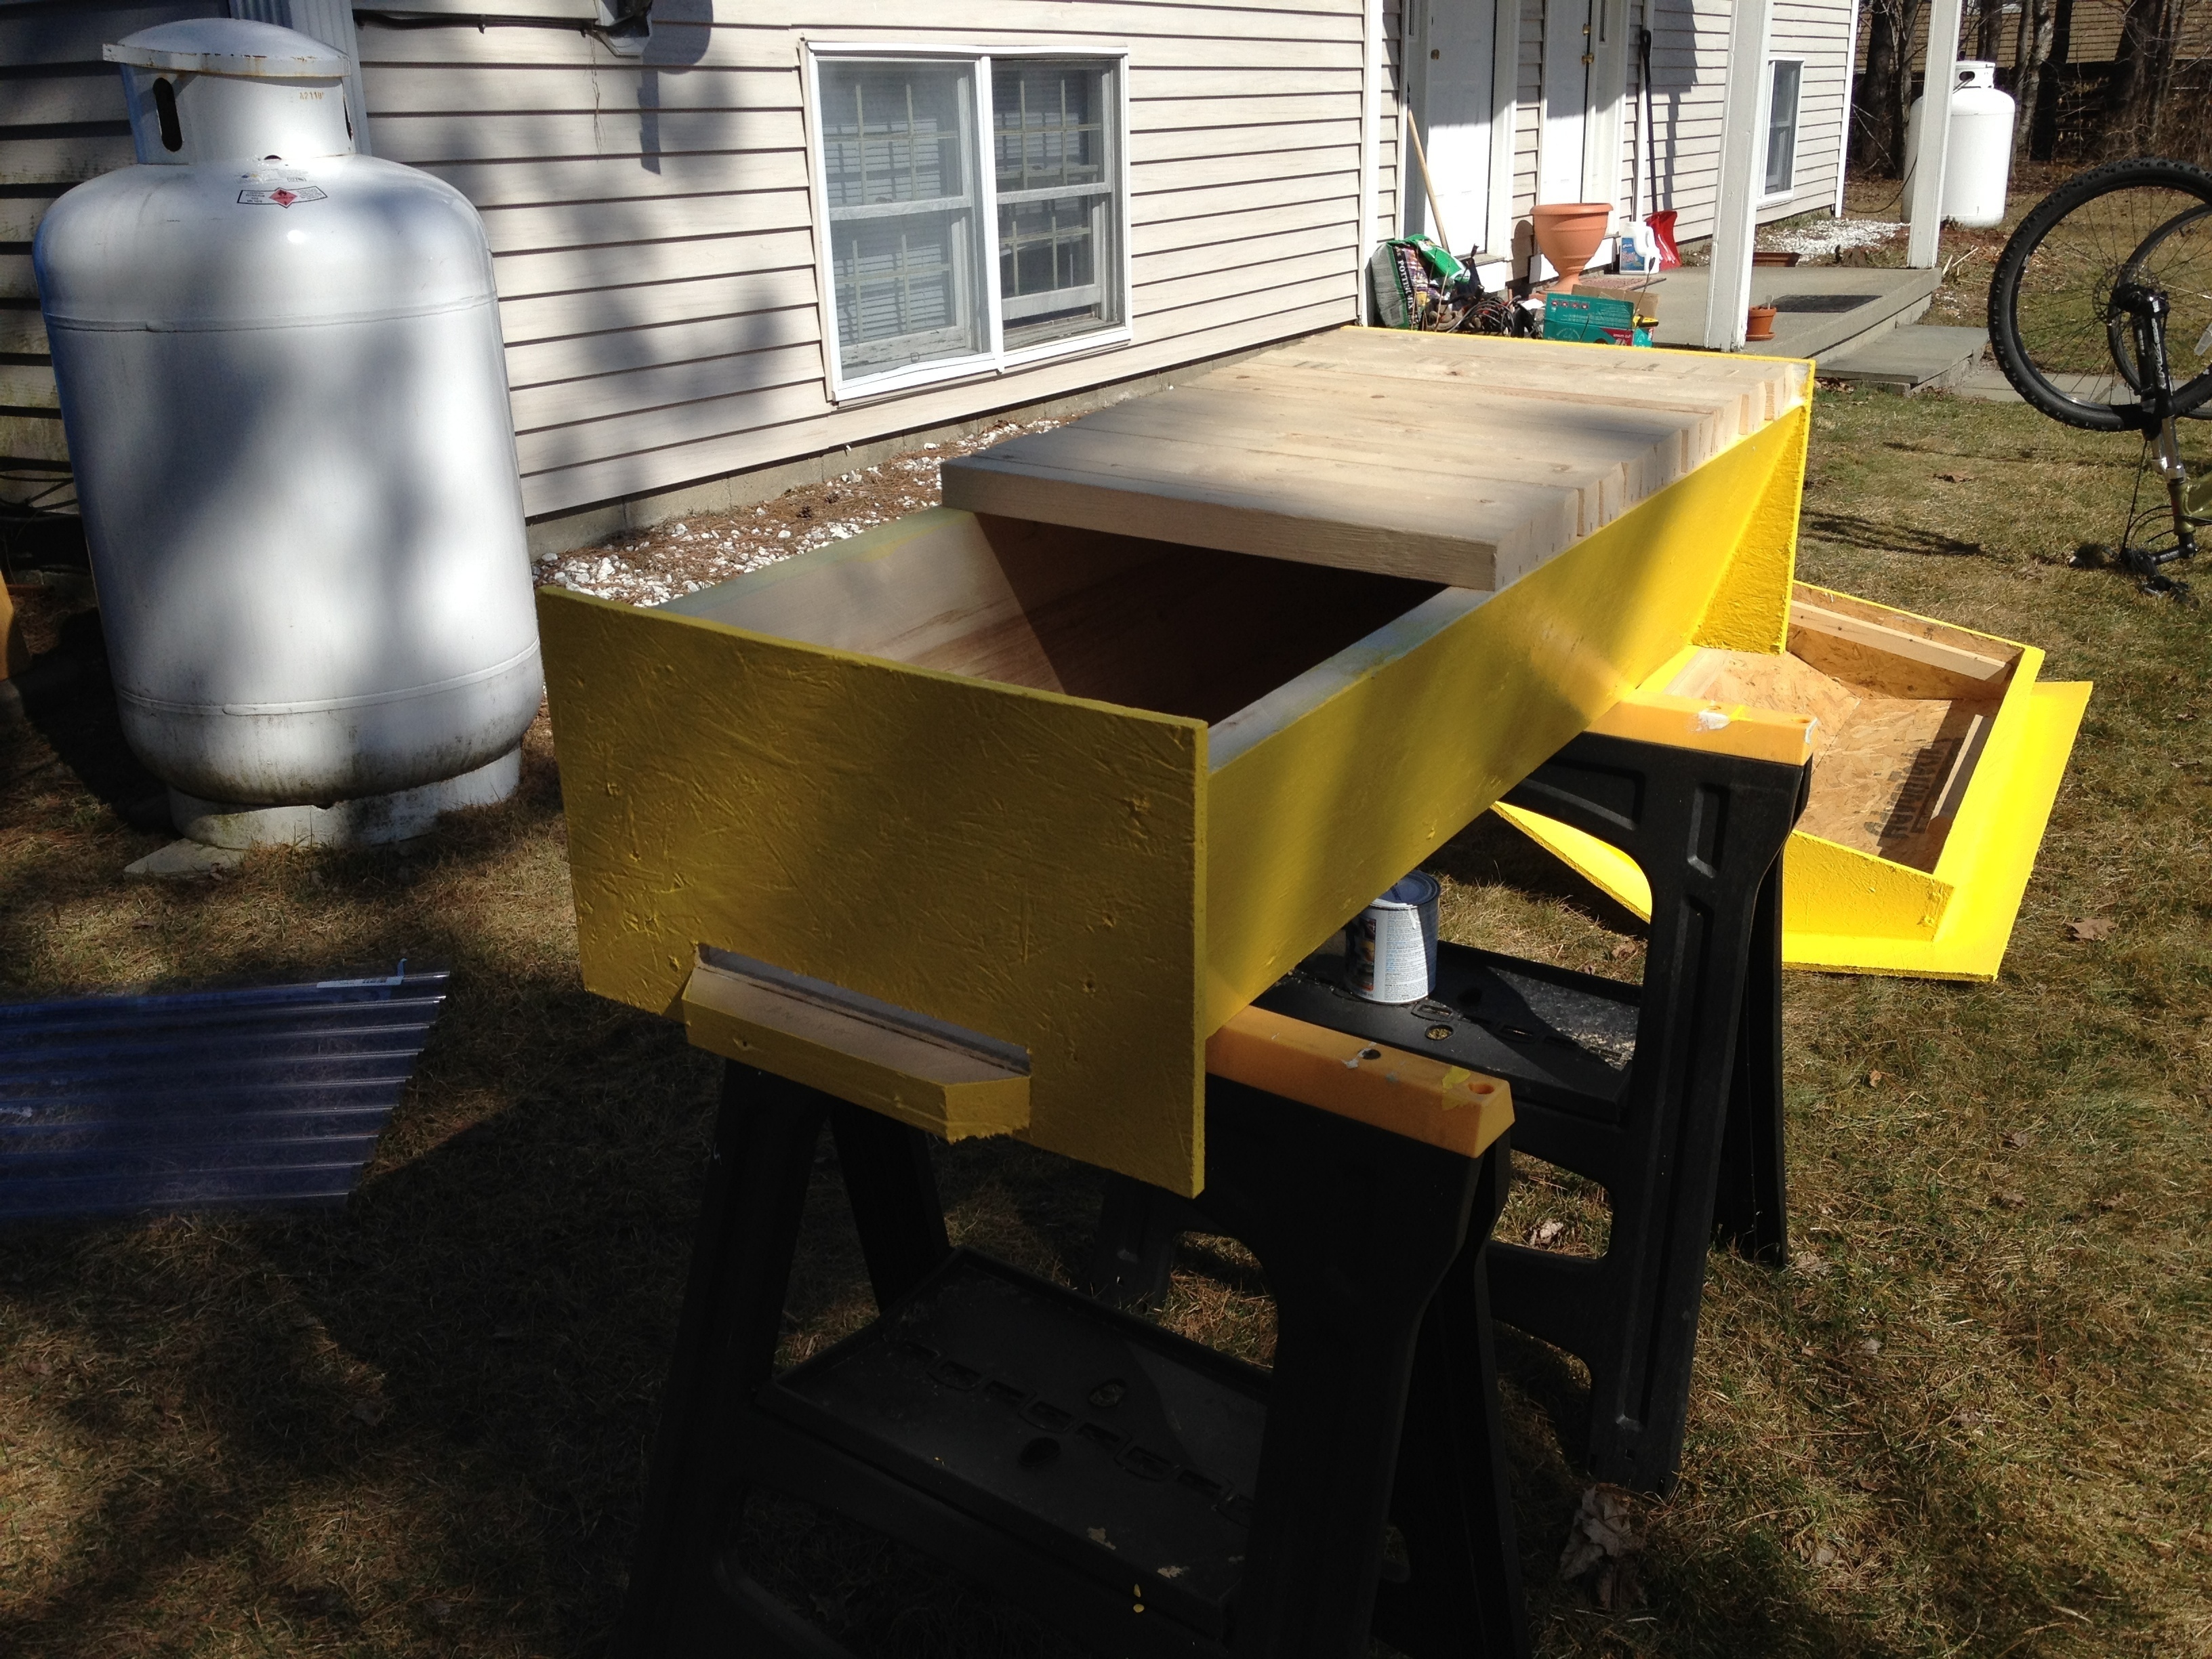
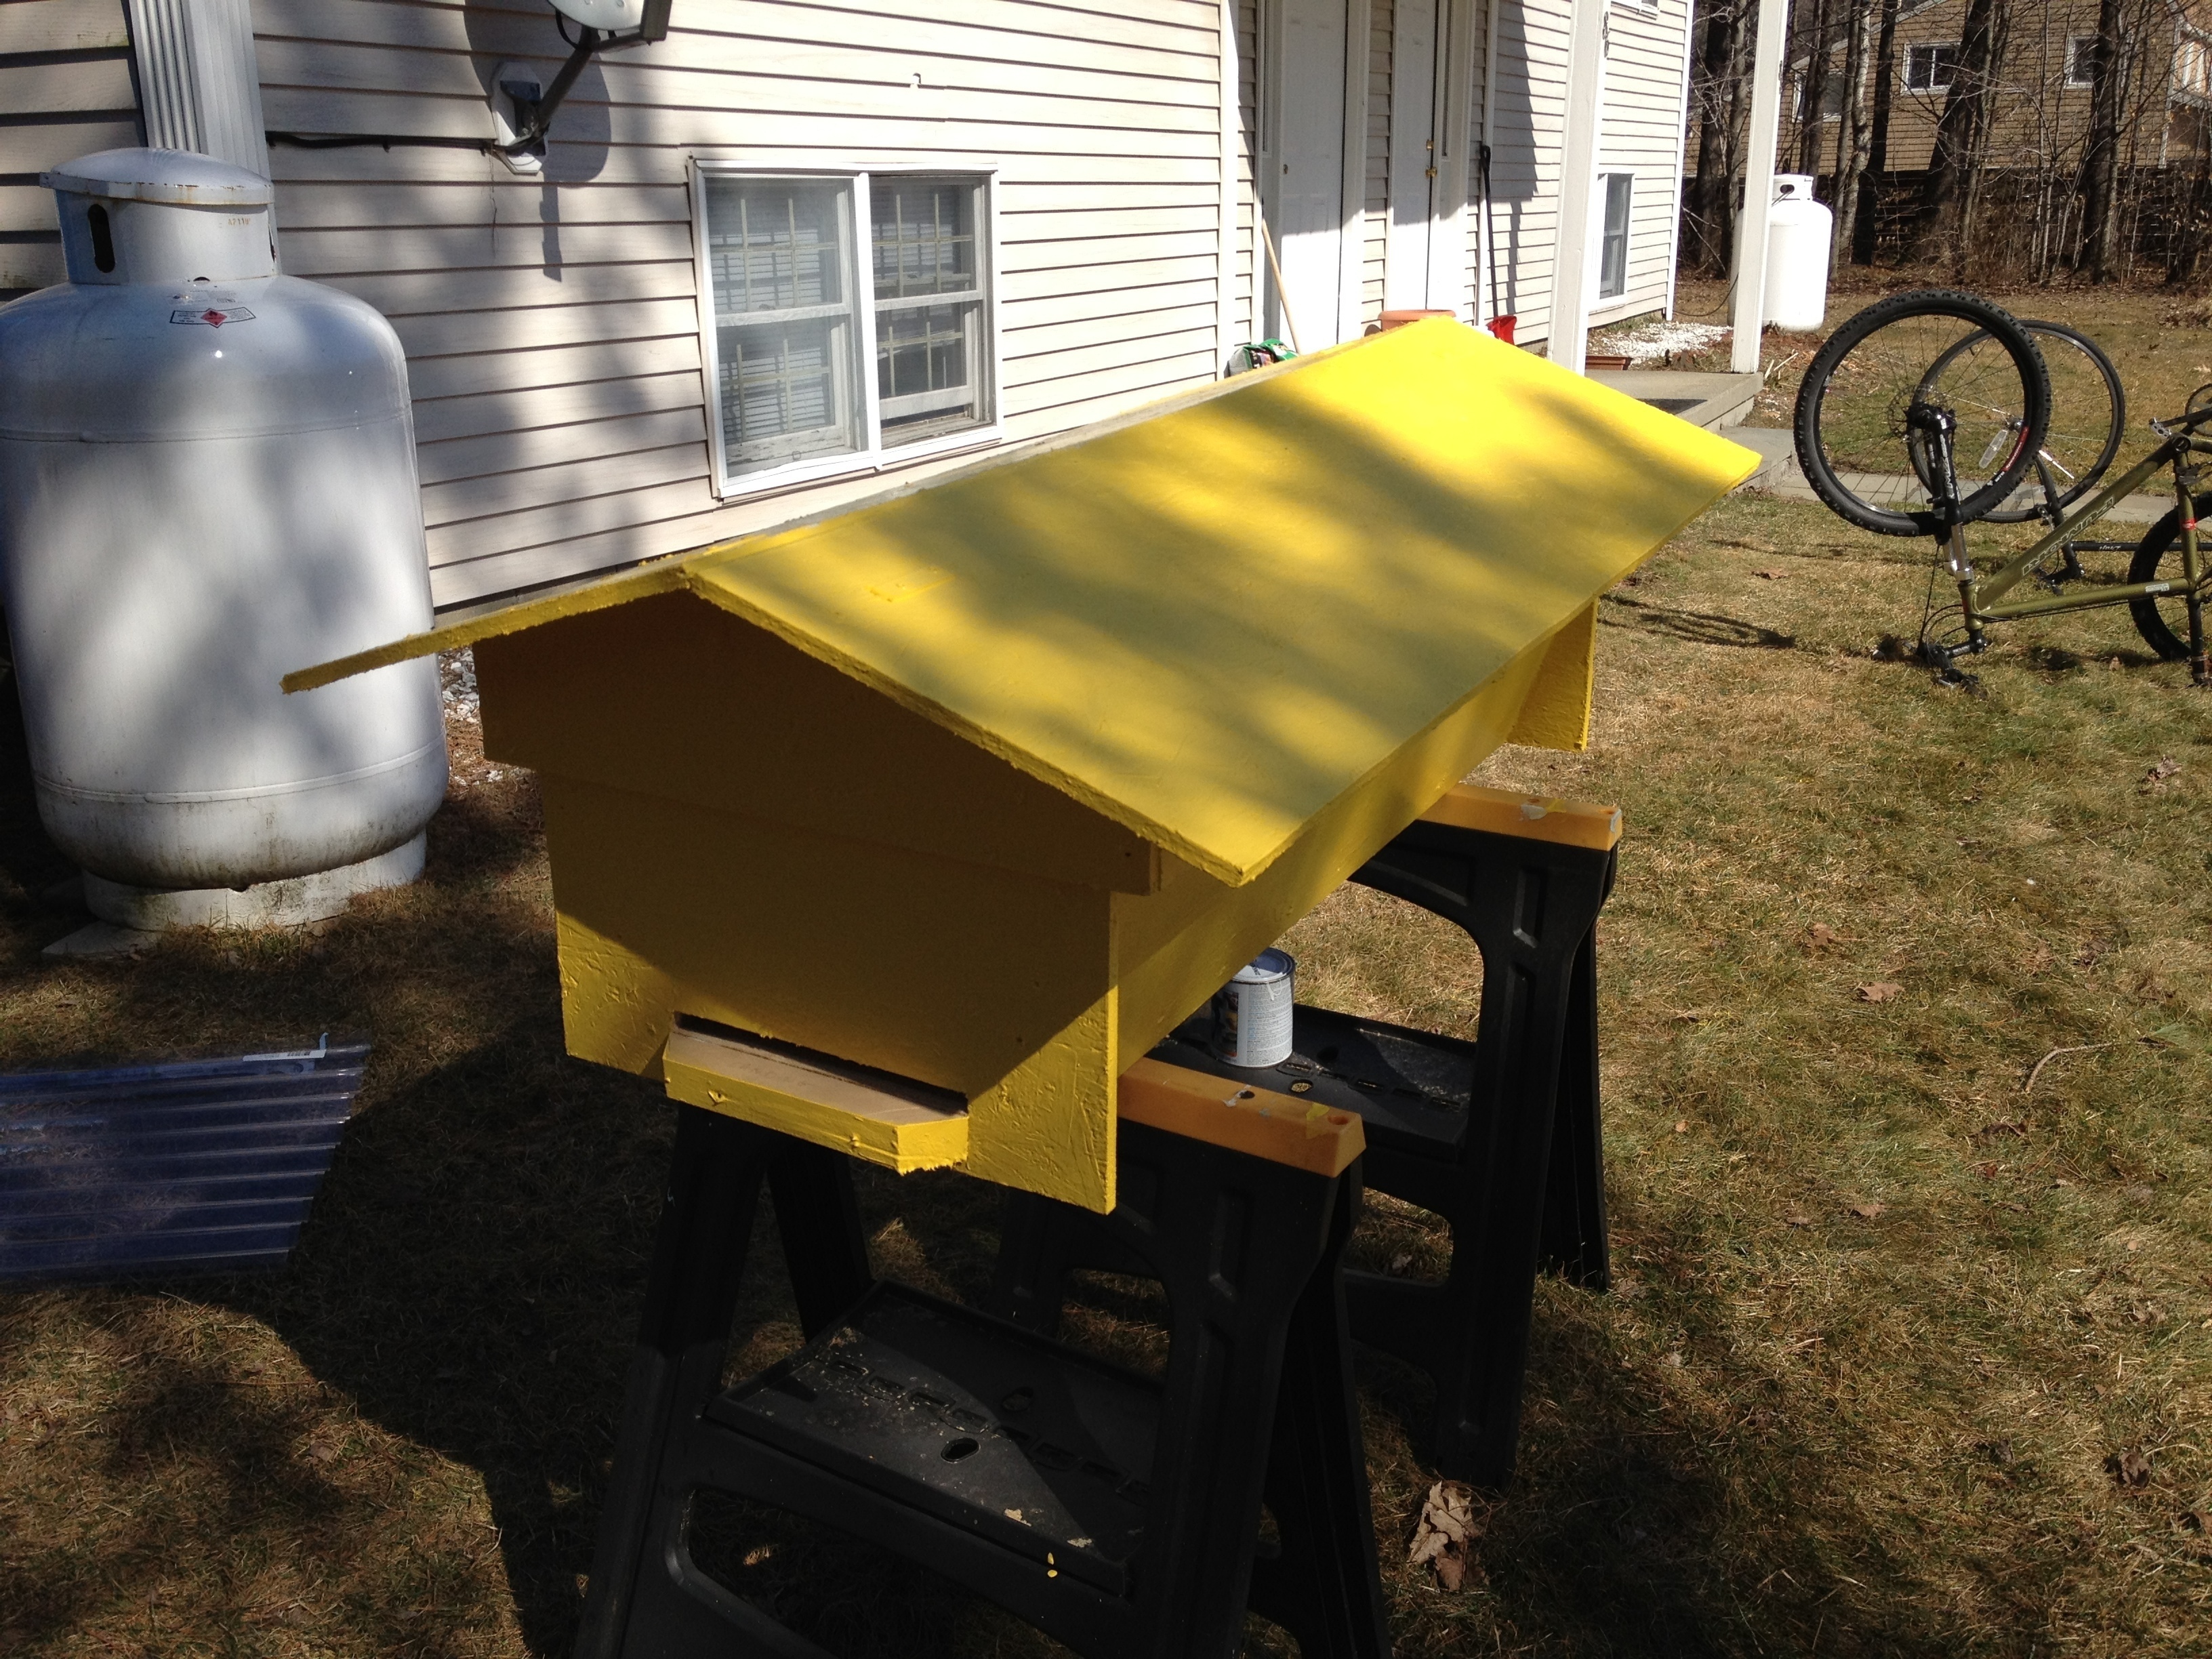
Top-bar beehive progress
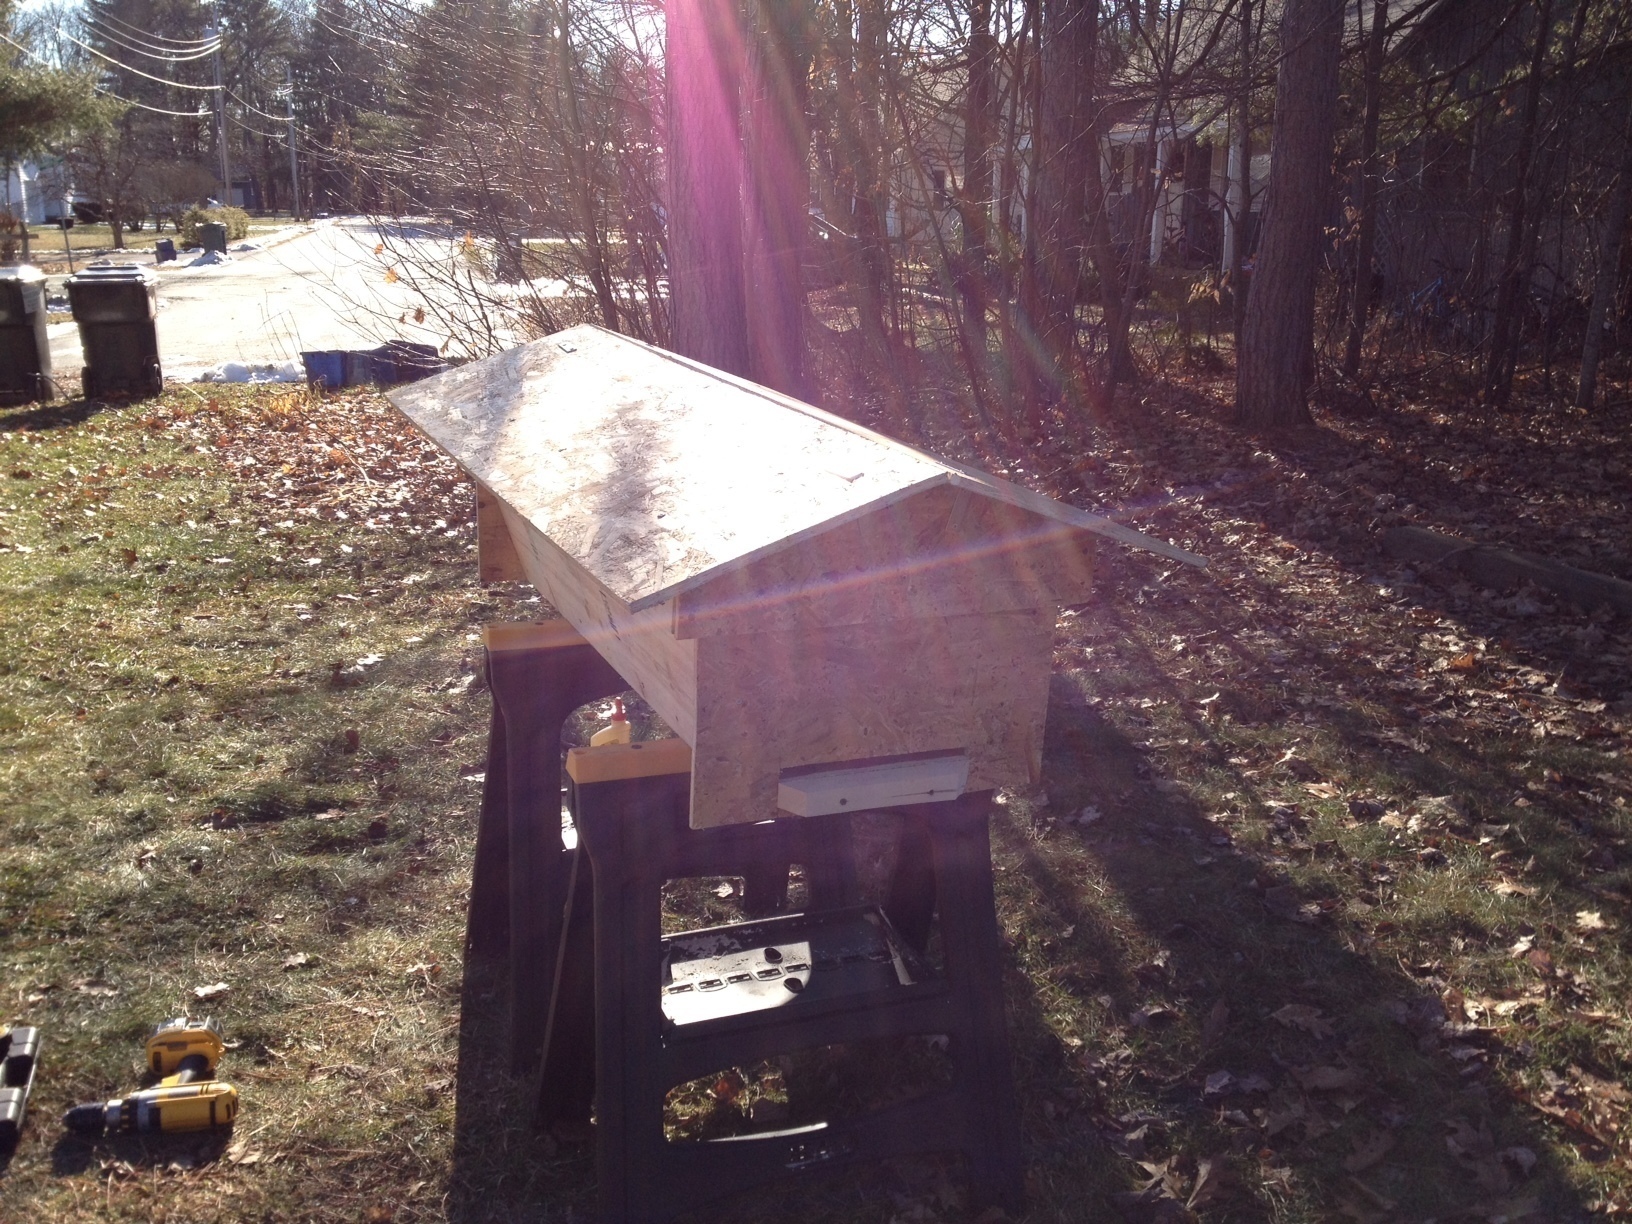
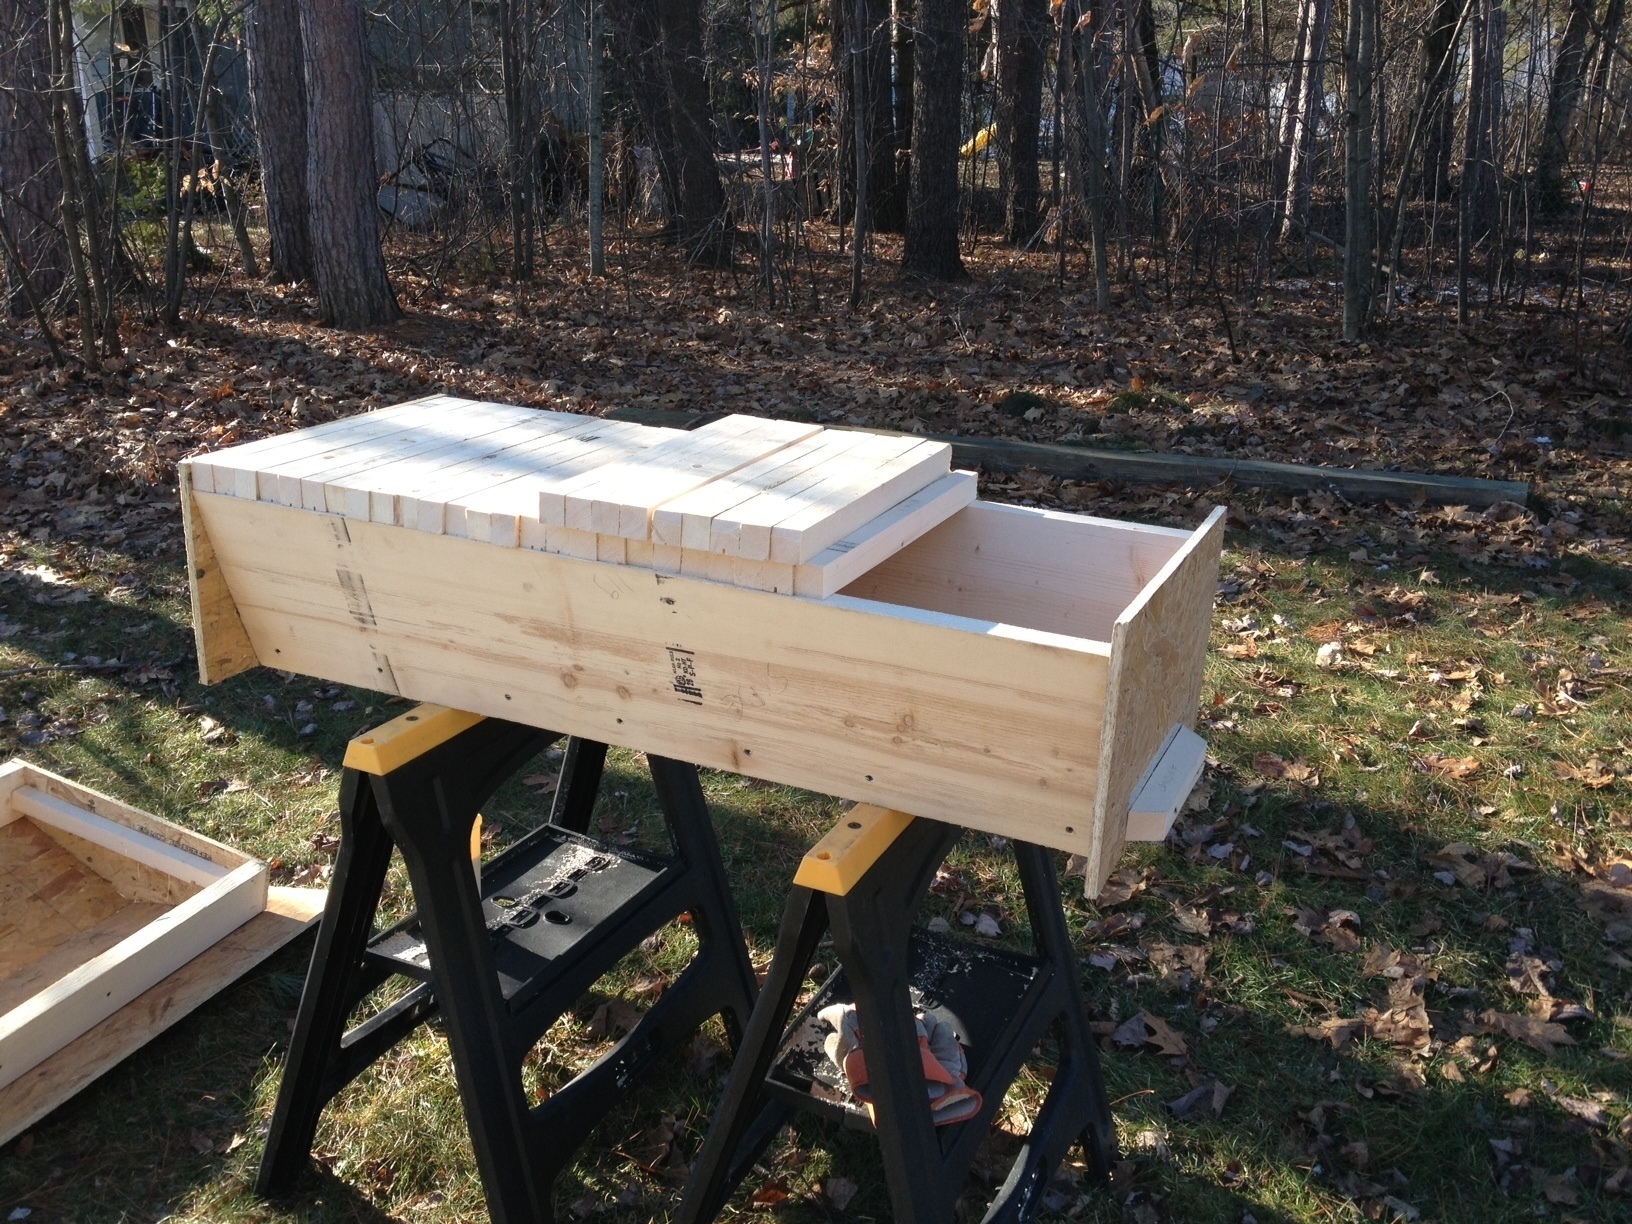
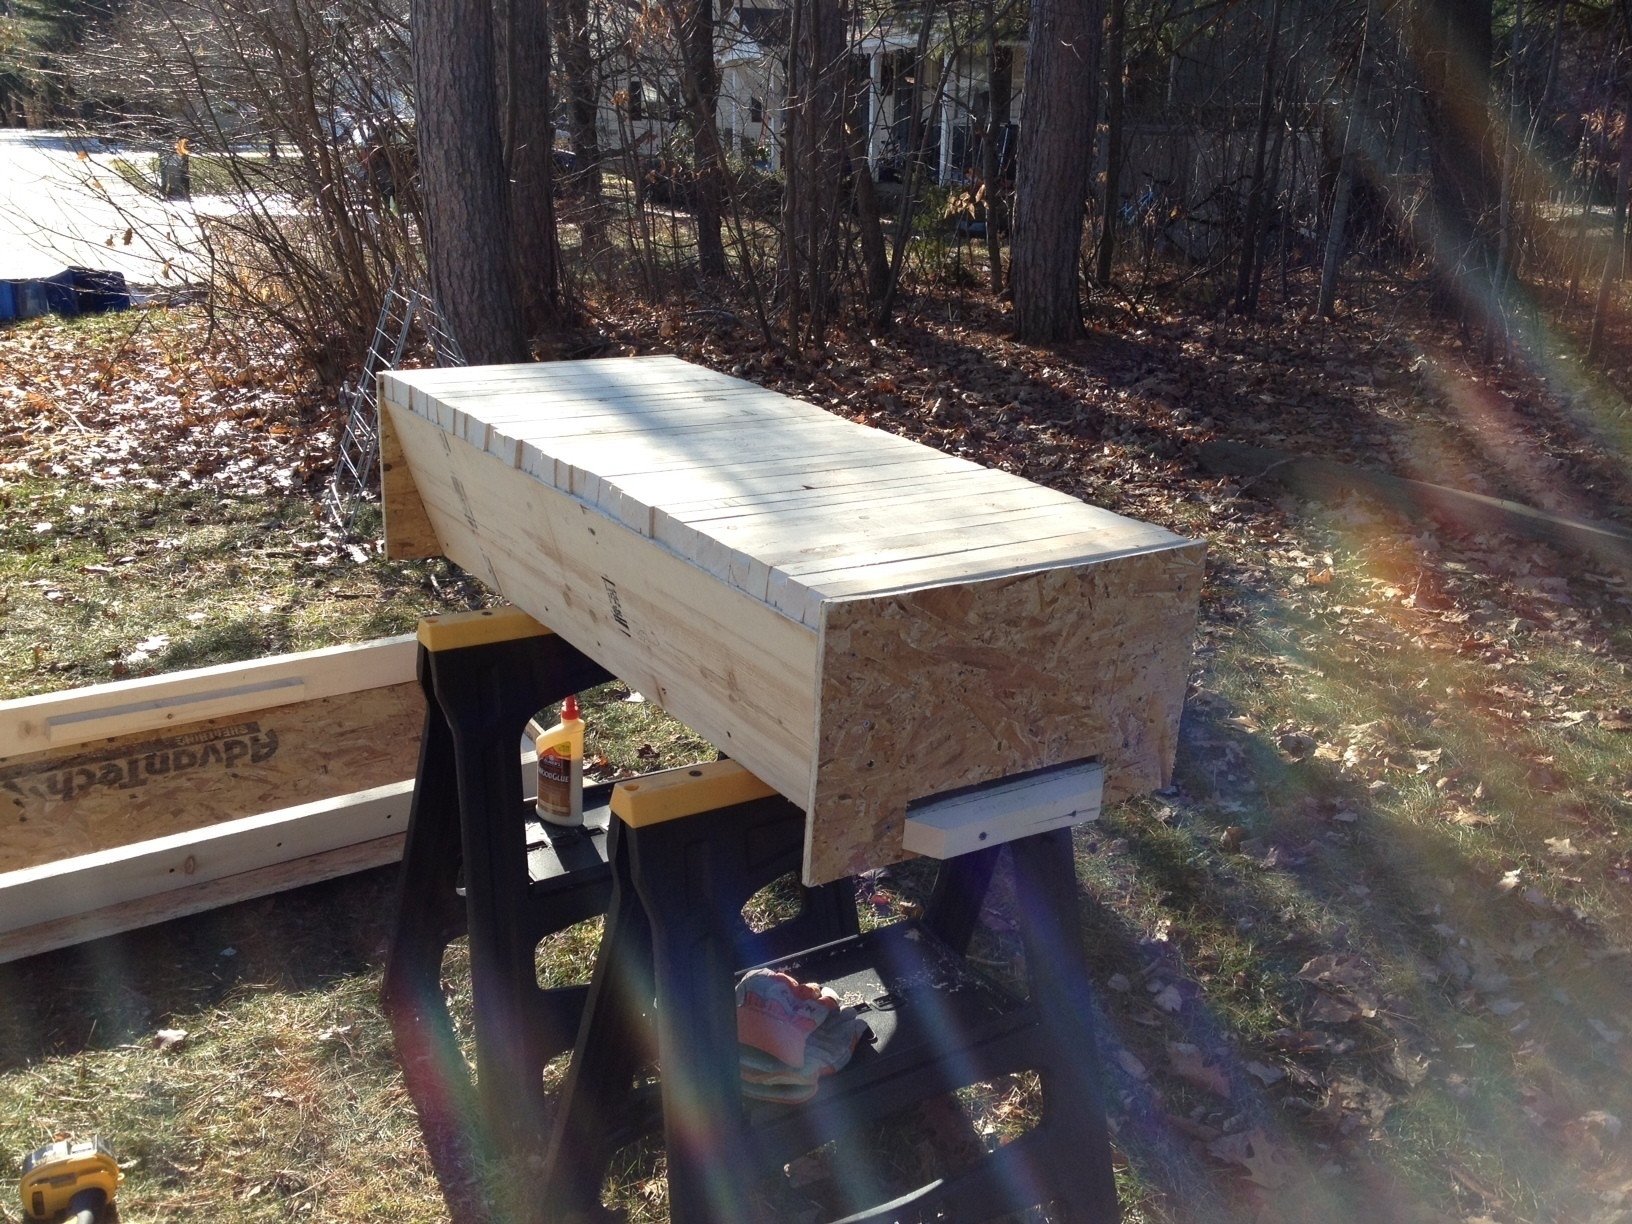
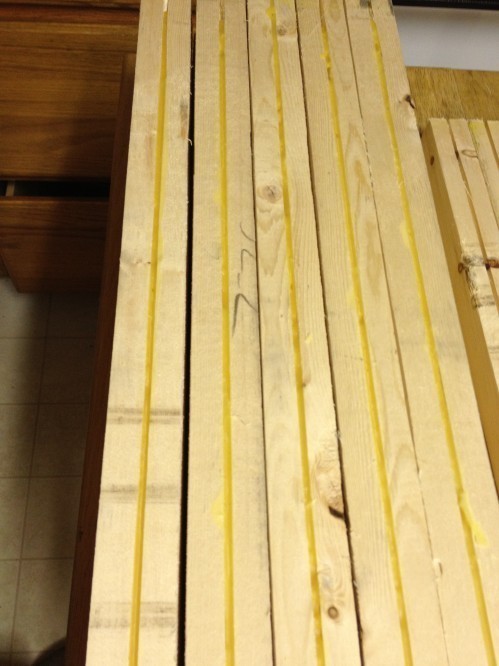
Modeling in Google Sketchup really helped make building fast & seamless. The 2x12x16 are very thick so the hive weights a ton, on the other hand joining pieces was really easy as there is much surface for glue and screws. And I hope this will provide some good insulation against New England winters.
Top-bar beehive design
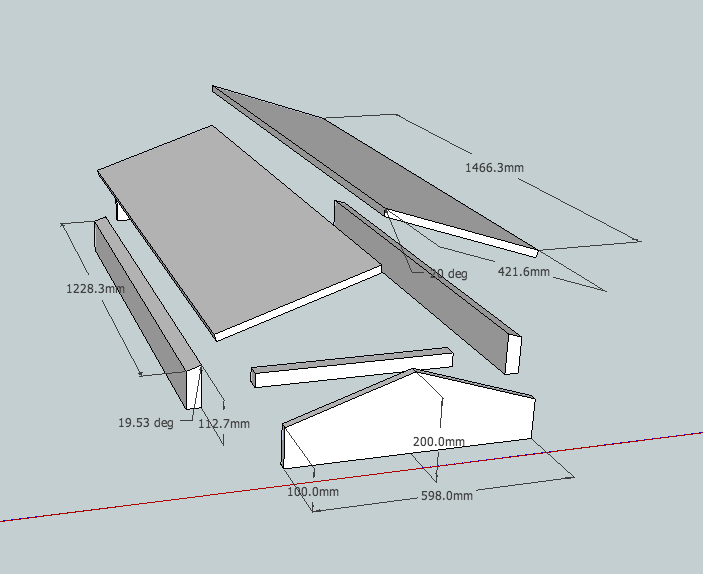
Here’s a Google Sketchup design for a simple top-bar beehive.
Some pics:
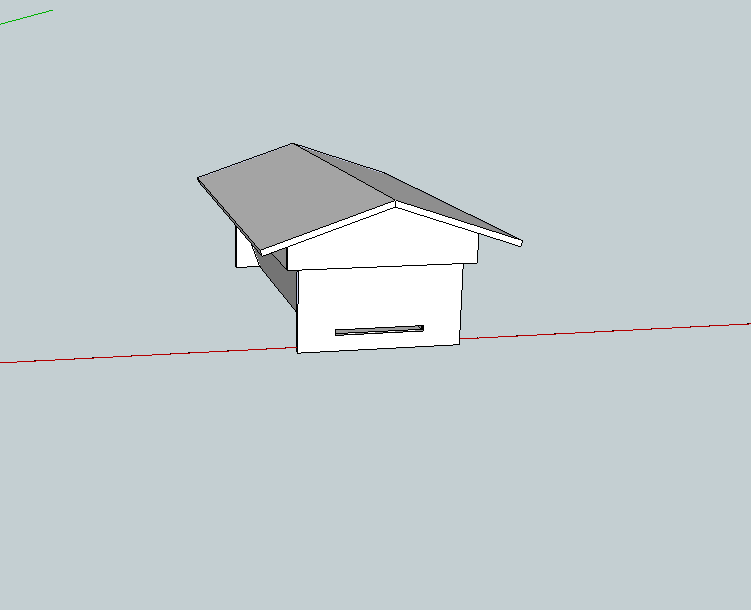
Notes:
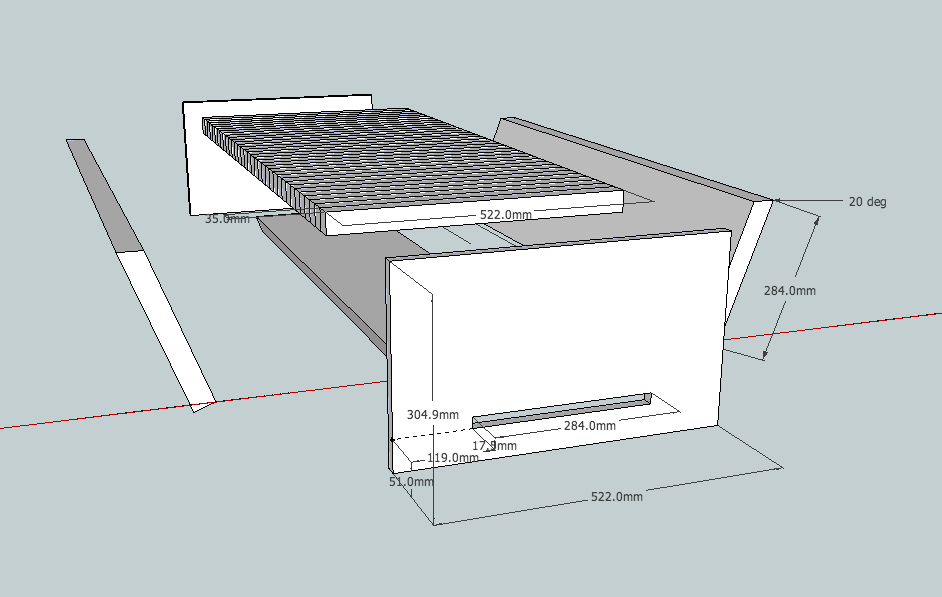
Only 2 measurements really matter in the design of a top-bar beehive: the angle of the side panels (70 degrees) & the width of the top bars 35mm. They both pertain to bee behavior and this design has them both optimized. From what I gather, other measures are quite forgiving.
This design is simple & well researched, I do not know yet how it will fare in practice, more to come on that.
Material:
All you’ll need as far as wood is concerned is a couple of 2x12x16 and a 3/4″ sheet of plywood:
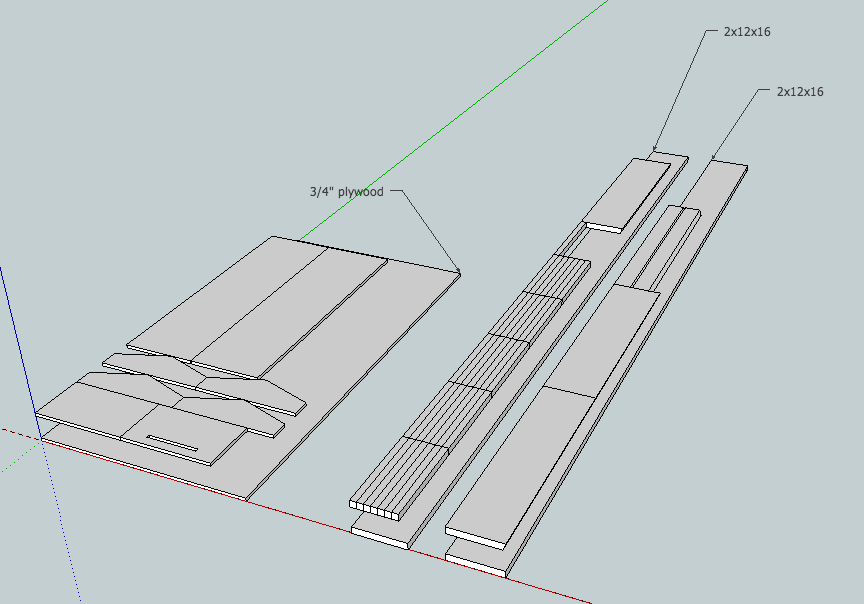 Lastly, all units are in millimeters but based on standard lumber sizes available at the hardware store.
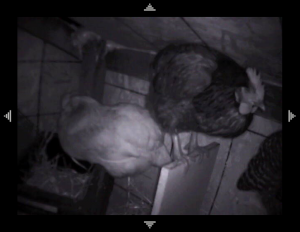
Chicken cam
As part of my CCTV installation at home, a cam is placed in the chicken coop. This has very little direct purpose although it is fun to watch chicken behaviors with no humans around. And I guess it is nice to check if we have eggs or if everything is all right.
Really, this is an experiment towards what our future farm will be like. We’d like for people to be able to watch how their food is grown. Maybe even interact remotely with the animals.
It’s a little slow due to my 3Mbps connection and the proxying but have fun with it:
The chicken cam has been disabled as we get ready to move to a new state.
A year a and half after our big jump, it has been re-enabled 🙂

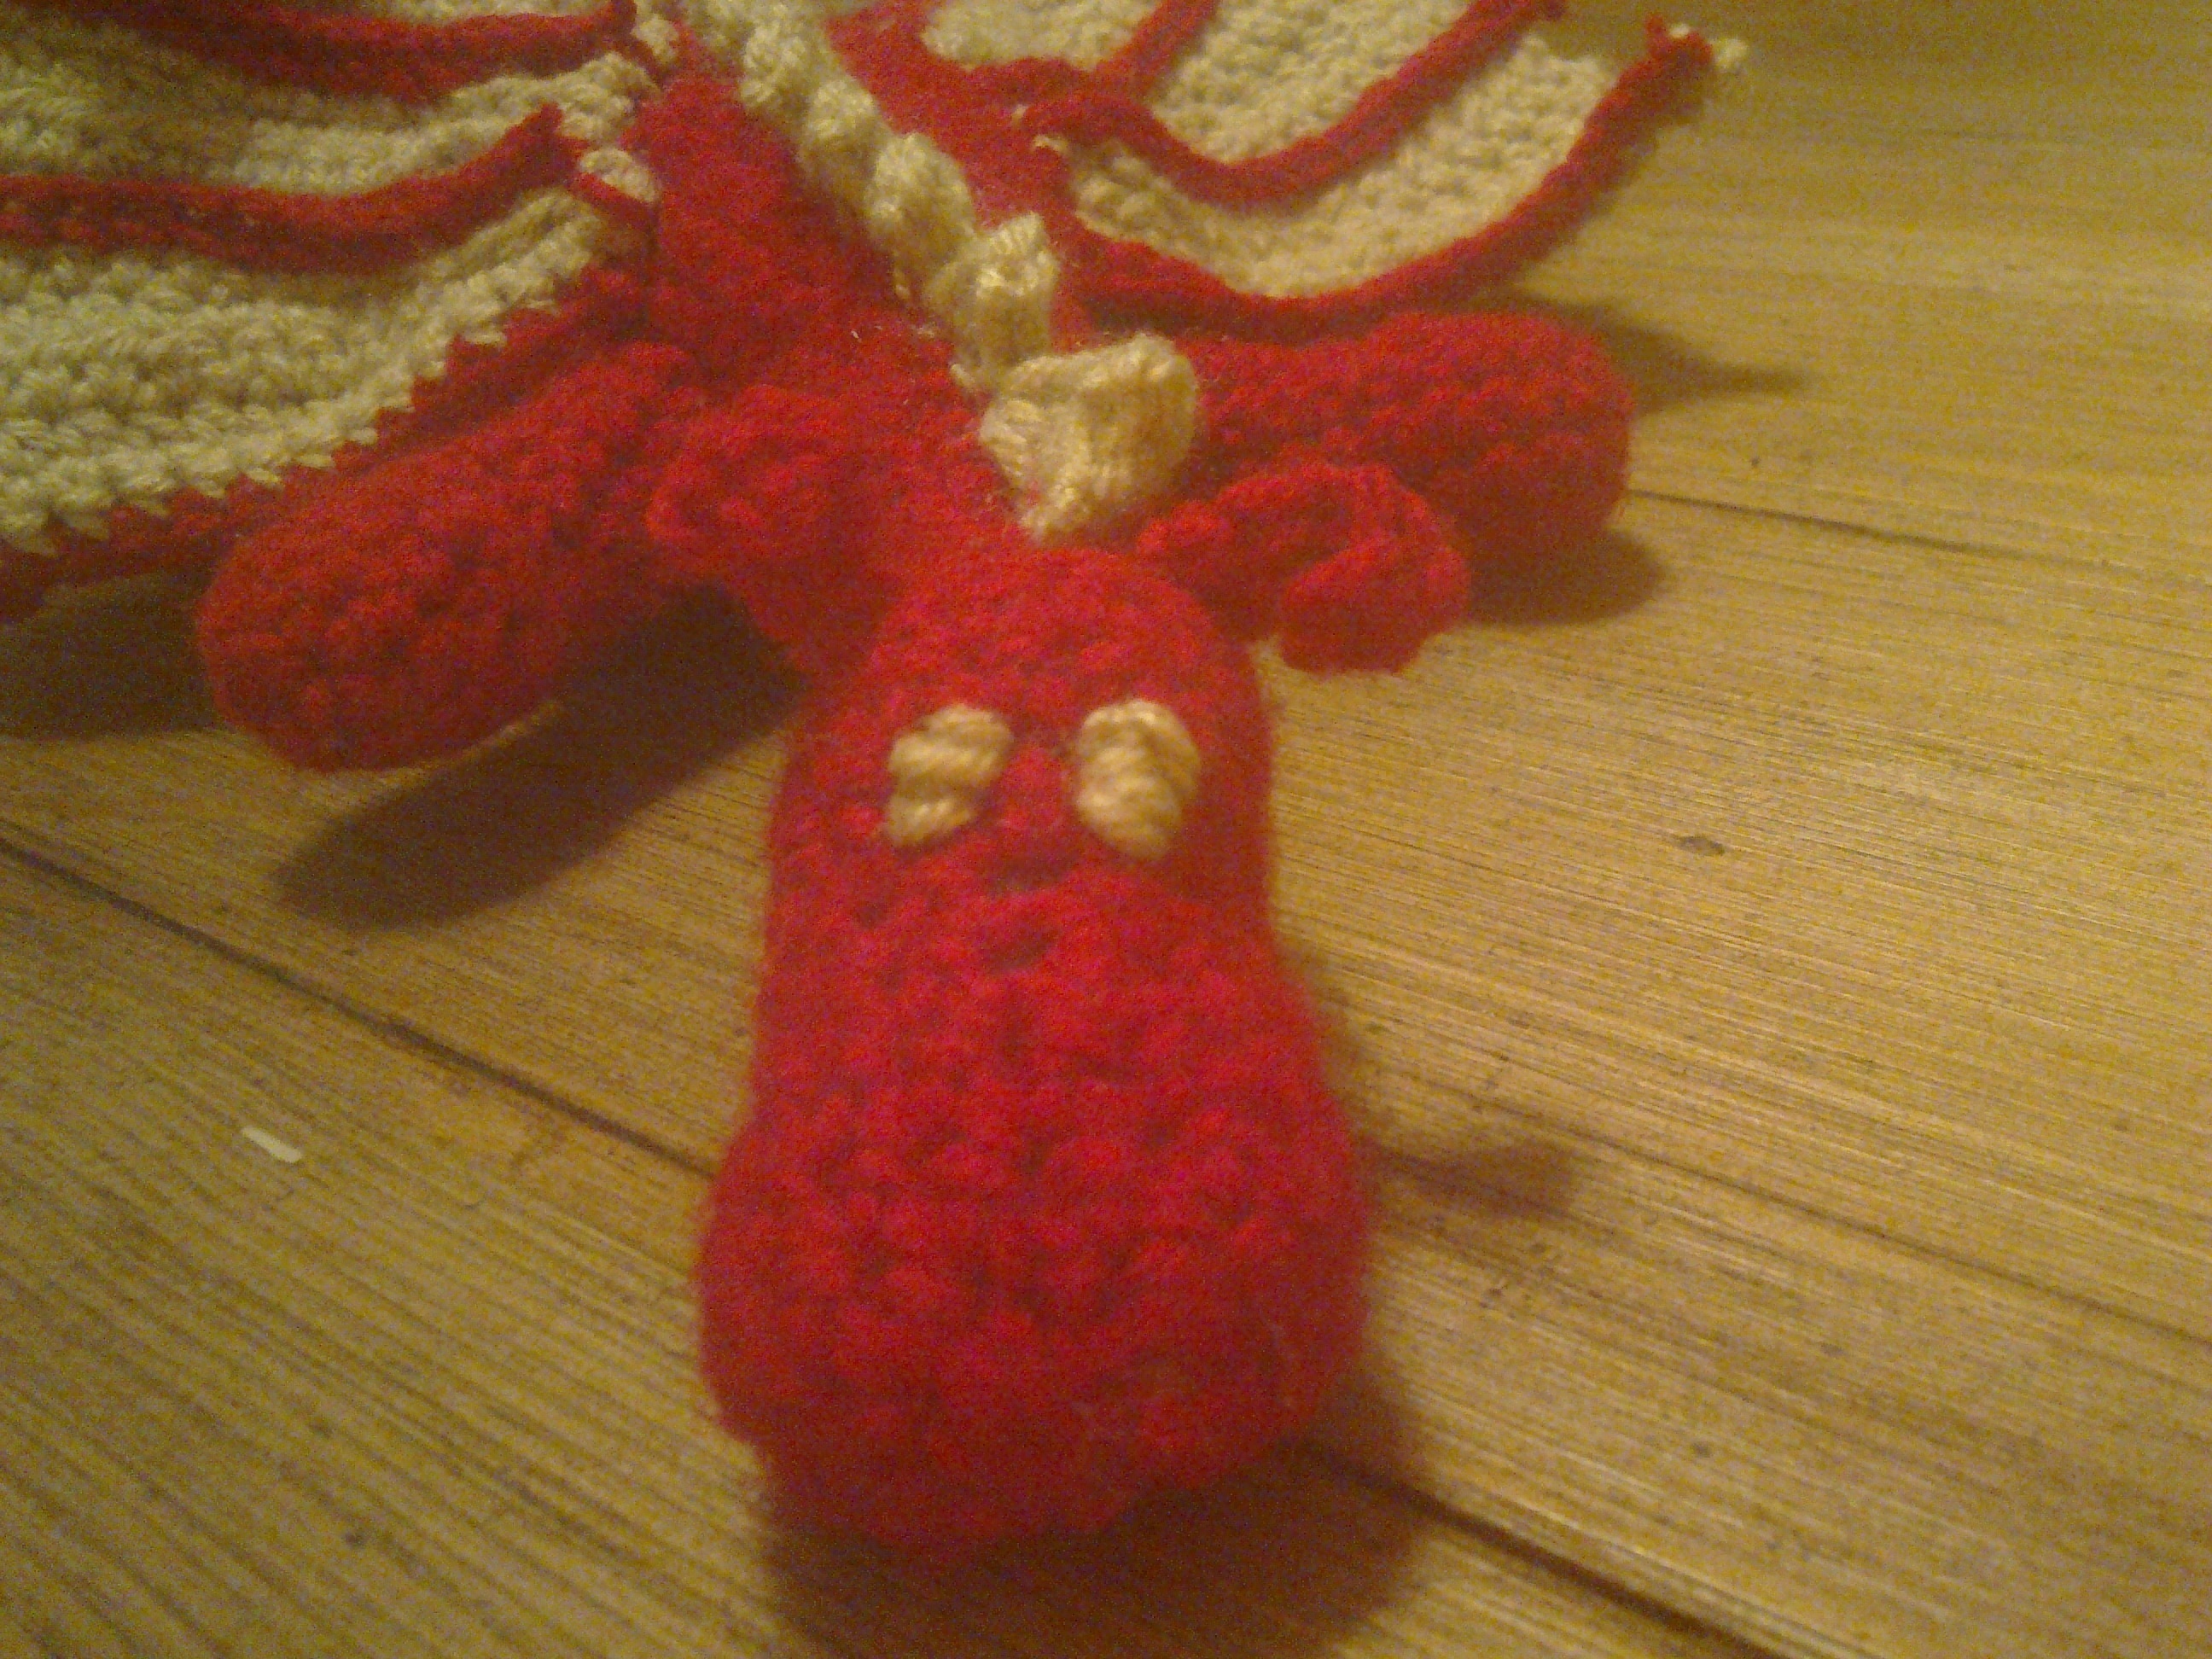
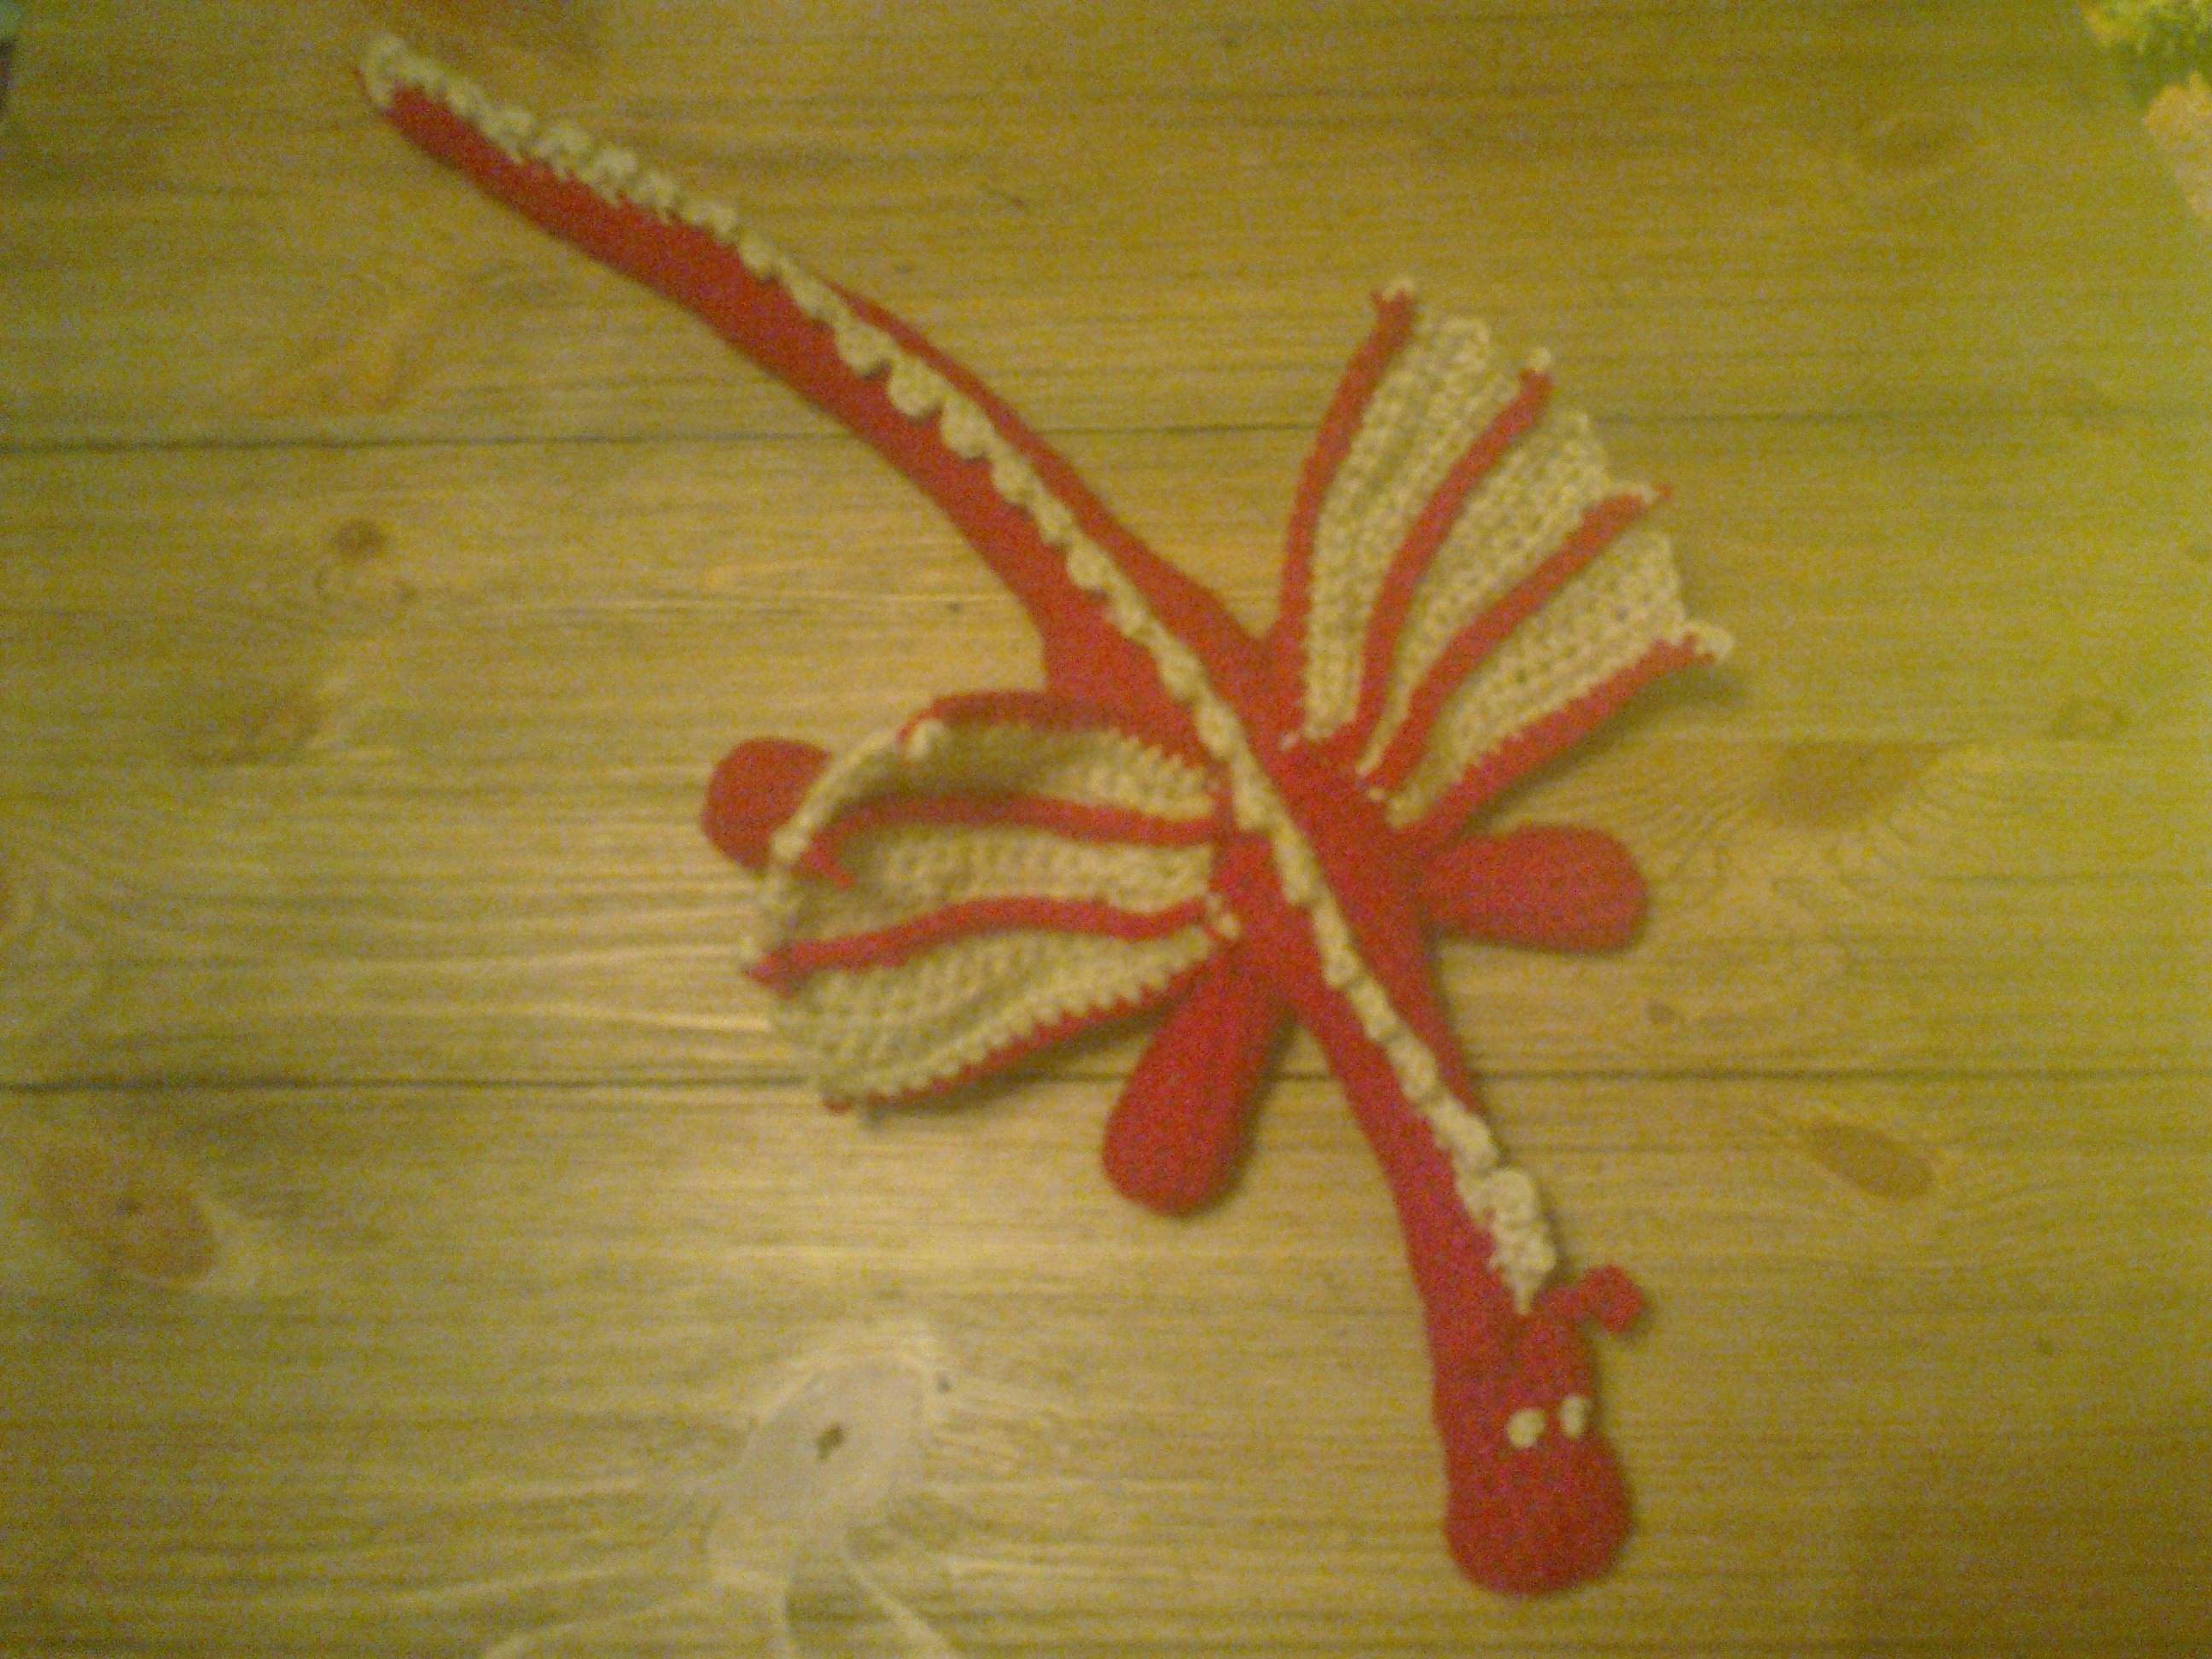
Crochet pattern for a slightly fierce but friendly really Dragon
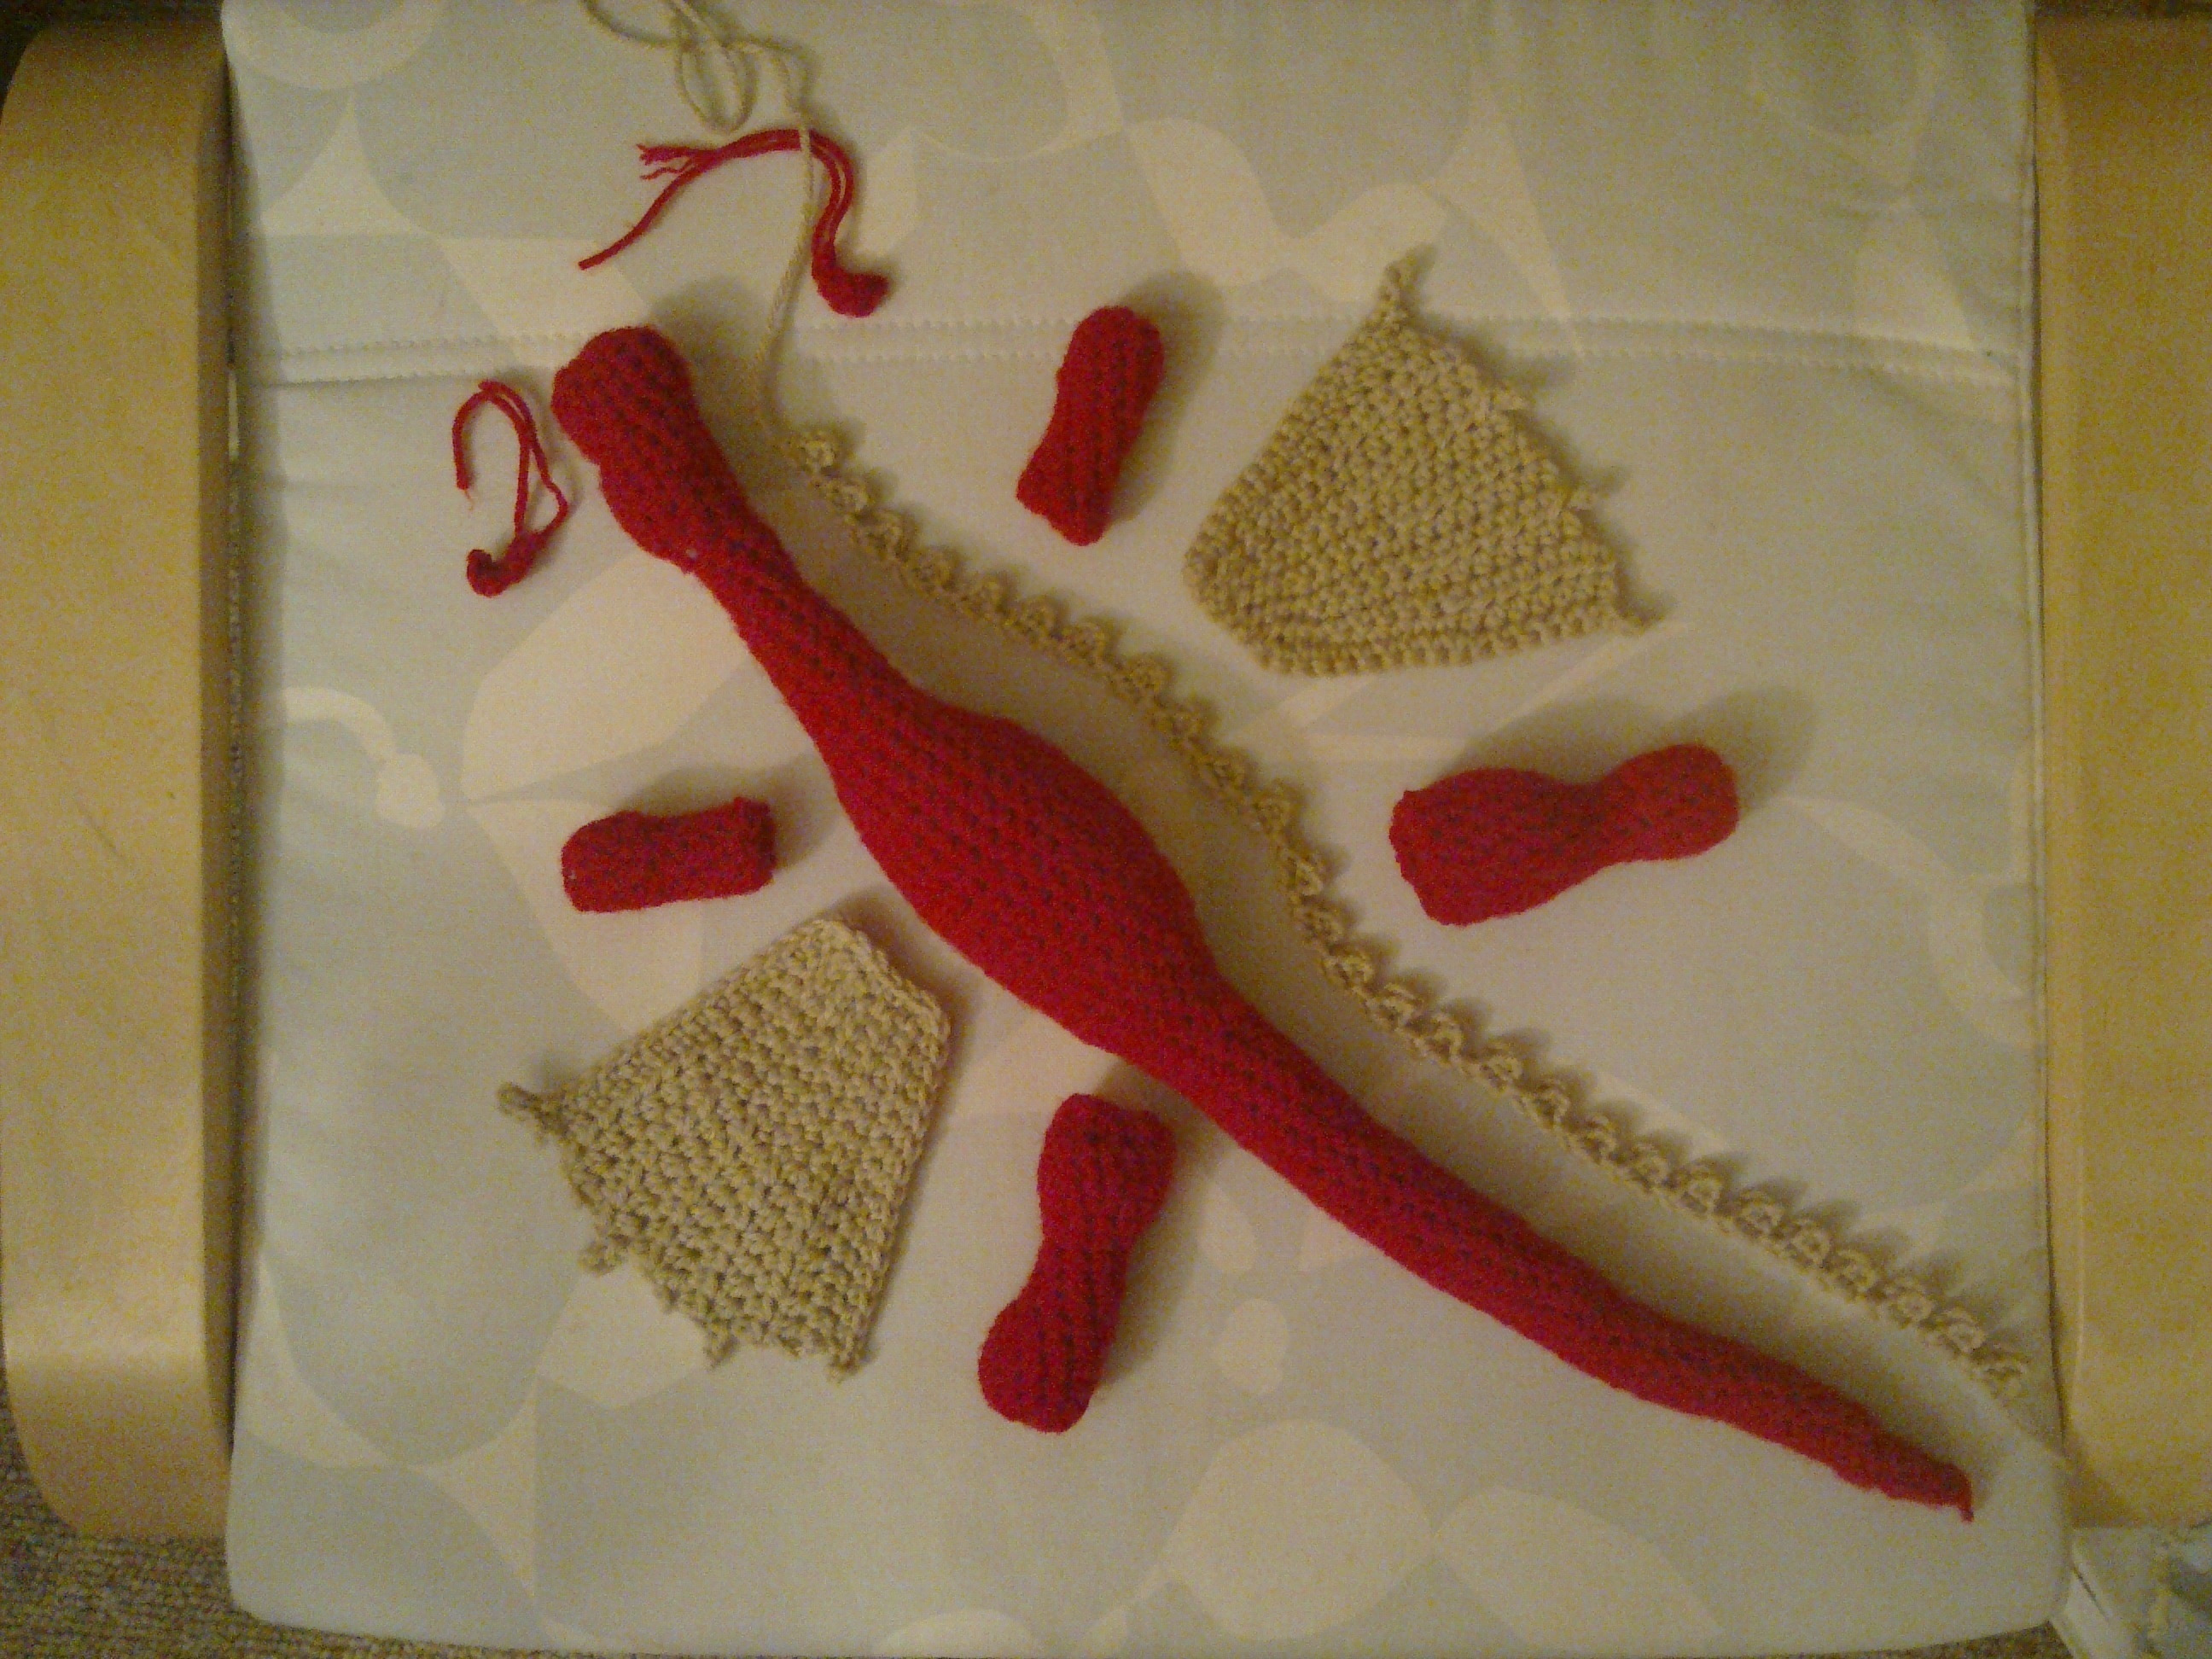
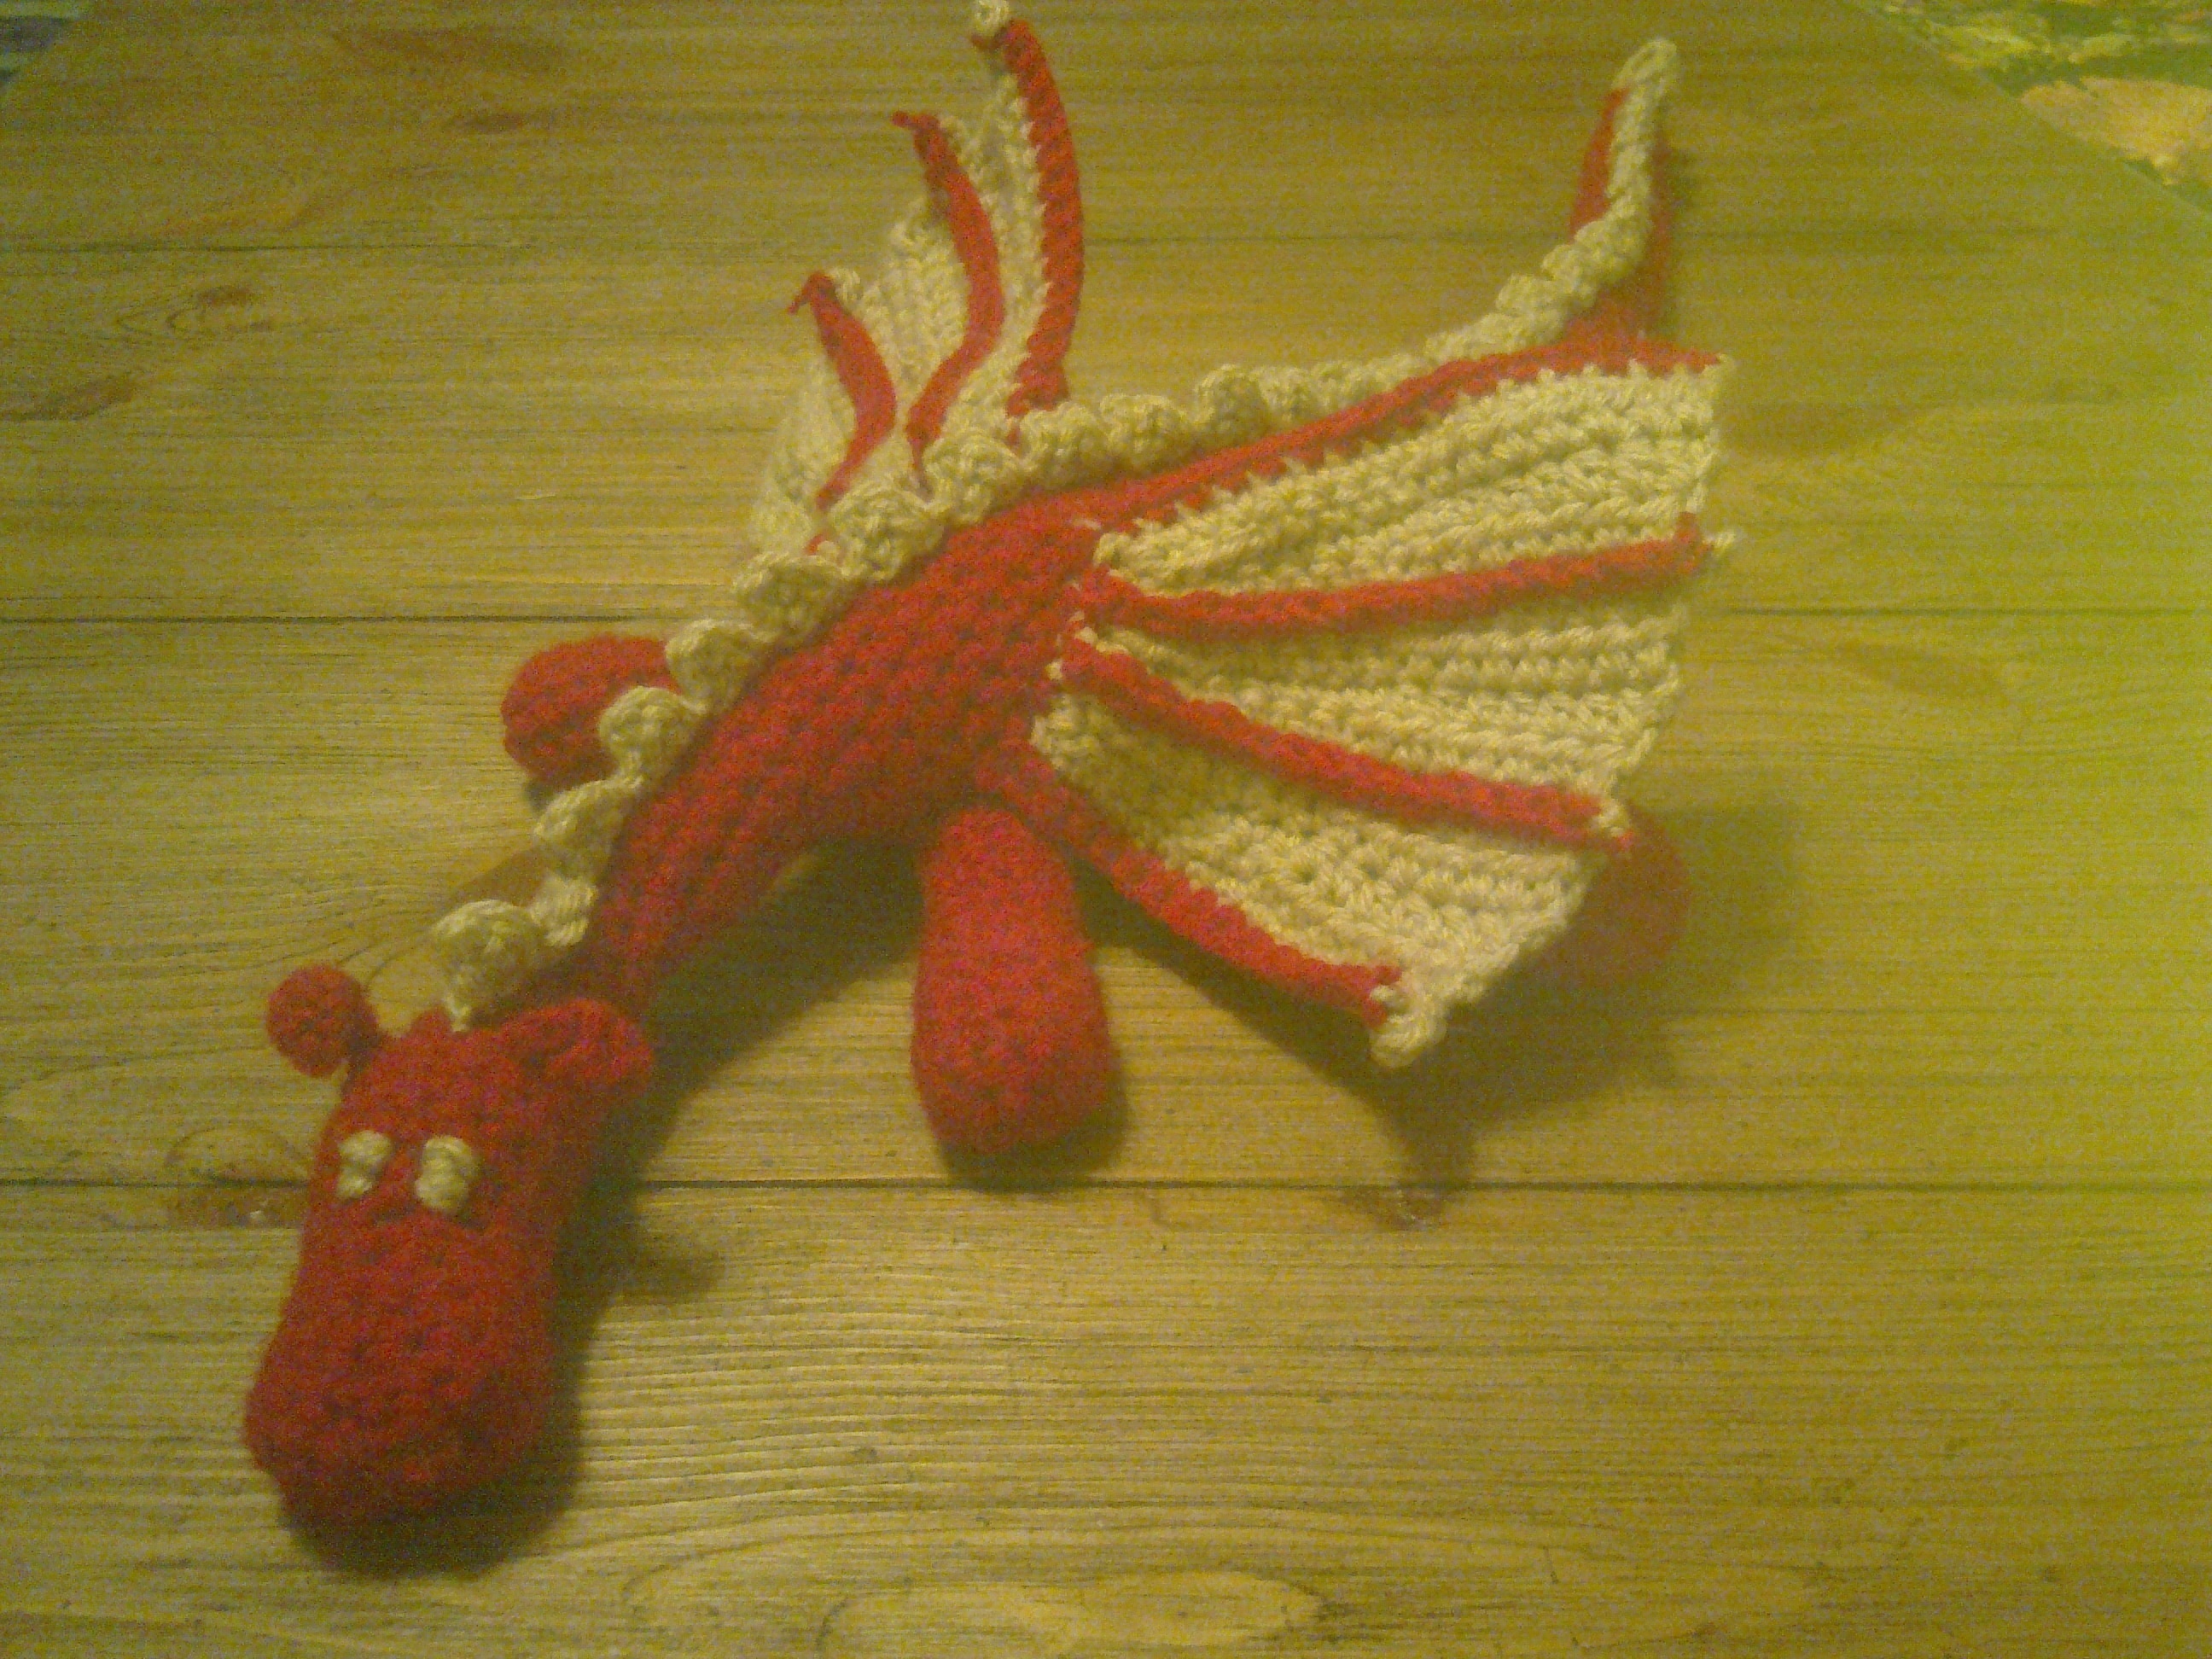
I was introduced to a really cool crochet pattern: http://heavens-hellcat.livejournal.com/807.html , I finally finished it, it took a few trial and errors for a beginner like me but the result is freaking awesome and I got a lot better at crochet-ing.


Nostrils:
8 sc in ring
FO leaving a bit of a tail.
8 sc in ring, then sc into any stitch on the first ring and go all the way around both of them, ending up with 16 st. Use the tail to sew up any gap between the 2 parts.
Head & Body:
16 sc
do the following reductions at the middle top and middle bottom of the nose
14 sc
14 sc
12 sc
10 sc
do the next 4 increases at the top to create the head
14 sc
14 sc
14 sc
do the following decreases at the top
12 sc
10 sc
8 sc
8 sc
8 sc
increase by one stitch anywhere
9 sc
10 sc
10 sc
10 sc
11 sc
12 sc
do the next increase at the bottom to create the body
18 sc
18 sc
increase every 3rd stitch
24 sc
24 sc
24 sc
do the following increases at sides
26 sc
26 sc
26 sc
28 sc
28 sc
do the following reductions at the sides, but a bit randomly, or there will be a distinct line
26 sc
24 sc
22 sc
20 sc
18 sc
16 sc
14 sc
14 sc
12 sc x 11
11 sc x 3
10 sc x 3
9 sc x 3
8 sc x 4
7 sc x 10
6 sc
keep reducing every 2 st until the hole is too small to do any more
FO
Back legs (make 2):
6 sc in ring;
12 sc x 4
6 sc, dec 2, dec 2, dec 2 -> 9
9 sc
9 sc
6 sc, inc 2, inc 2, inc 2 -> 12
1 sc, inc 2, 1 sc, inc 2, 1 sc, inc 2, 1 sc, inc 2, 1 sc, inc 2, 1 sc, inc 2, -> 18
18 sc
18 sc
3 sc, dec 2, dec 2, 4 sc, dec 2, dec 2, dec 2, 1 sc -> 13
2 sc, dec 2, dec 2, 2 sc, dec 2, 1 sc, dec 2 -> 9
2 sc, dec 2, 2 sc, dec 2 -> 7
keep reducing every 2 st until the hole is too small to do any more.
Front legs (make 2):
5 sc in ring
10 sc x 4
6 sc, dec 2, dec 2 -> 8
8 sc x 6 rounds
keep reducing every 2 st until the hole is too small to do any more.
Spikes on back (make a long as needed):
ch 3, sc into 2nd ch from hook, hdc into 3rd ch from hook, ch1
Wings (make 2):
ch 16
skip 1st ch, 3 ss, 5 sc, 7 hdc, ch 2, turn
7 hdc, 5 sc, 3 ss, ch1, turn
3 ss, 5 sc, 7 hdc, ch 3, turn
skip 1st ch, 2 ss (to make claws), 7 hdc, 5 sc, 3 ss, ch1, turn
3 ss, 5 sc, 7 hdc, ch 2, turn
7 hdc, 5 sc, 3 ss, ch1, turn
3 ss, 5 sc, 7 hdc, ch 3, turn
skip 1st ch, 2 ss (to make claws), 7 hdc, 5 sc, 3 ss, ch1, turn
3 ss, 5 sc, 7 hdc, ch 2, turn
7 hdc, 5 sc, 3 ss, ch1, turn
3 ss, 5 sc, 7 hdc, ch 3, turn
skip 1st ch, 2 ss, 15 sc
Then sc along the base of the wing and along the other side, ch3, turn, miss 1st ch, 2 ss to make last claw.
FO leaving tail to secure the last claw to the rest of the wing.
Ears:
Ch 6, turn
skip 1st st, sc, dc, sc, ss.
Leave the last ch and ss up the other side of the ear to the tip.
FO
Completing your dragon:
Sew it all together!

*** this pattern was slightly adapted (made a bit simpler) from http://heavens-hellcat.livejournal.com/807.html , all credit due to heavens_hellcat ***
The last harvest
With sub-zero temperatures just around the corner, it’s time to remove all the unripened fruits of our plants. Preserve will be made out of the green tomatoes.


and all that is left of the garden is a decrepit mass of dying plants
Fresh produce!
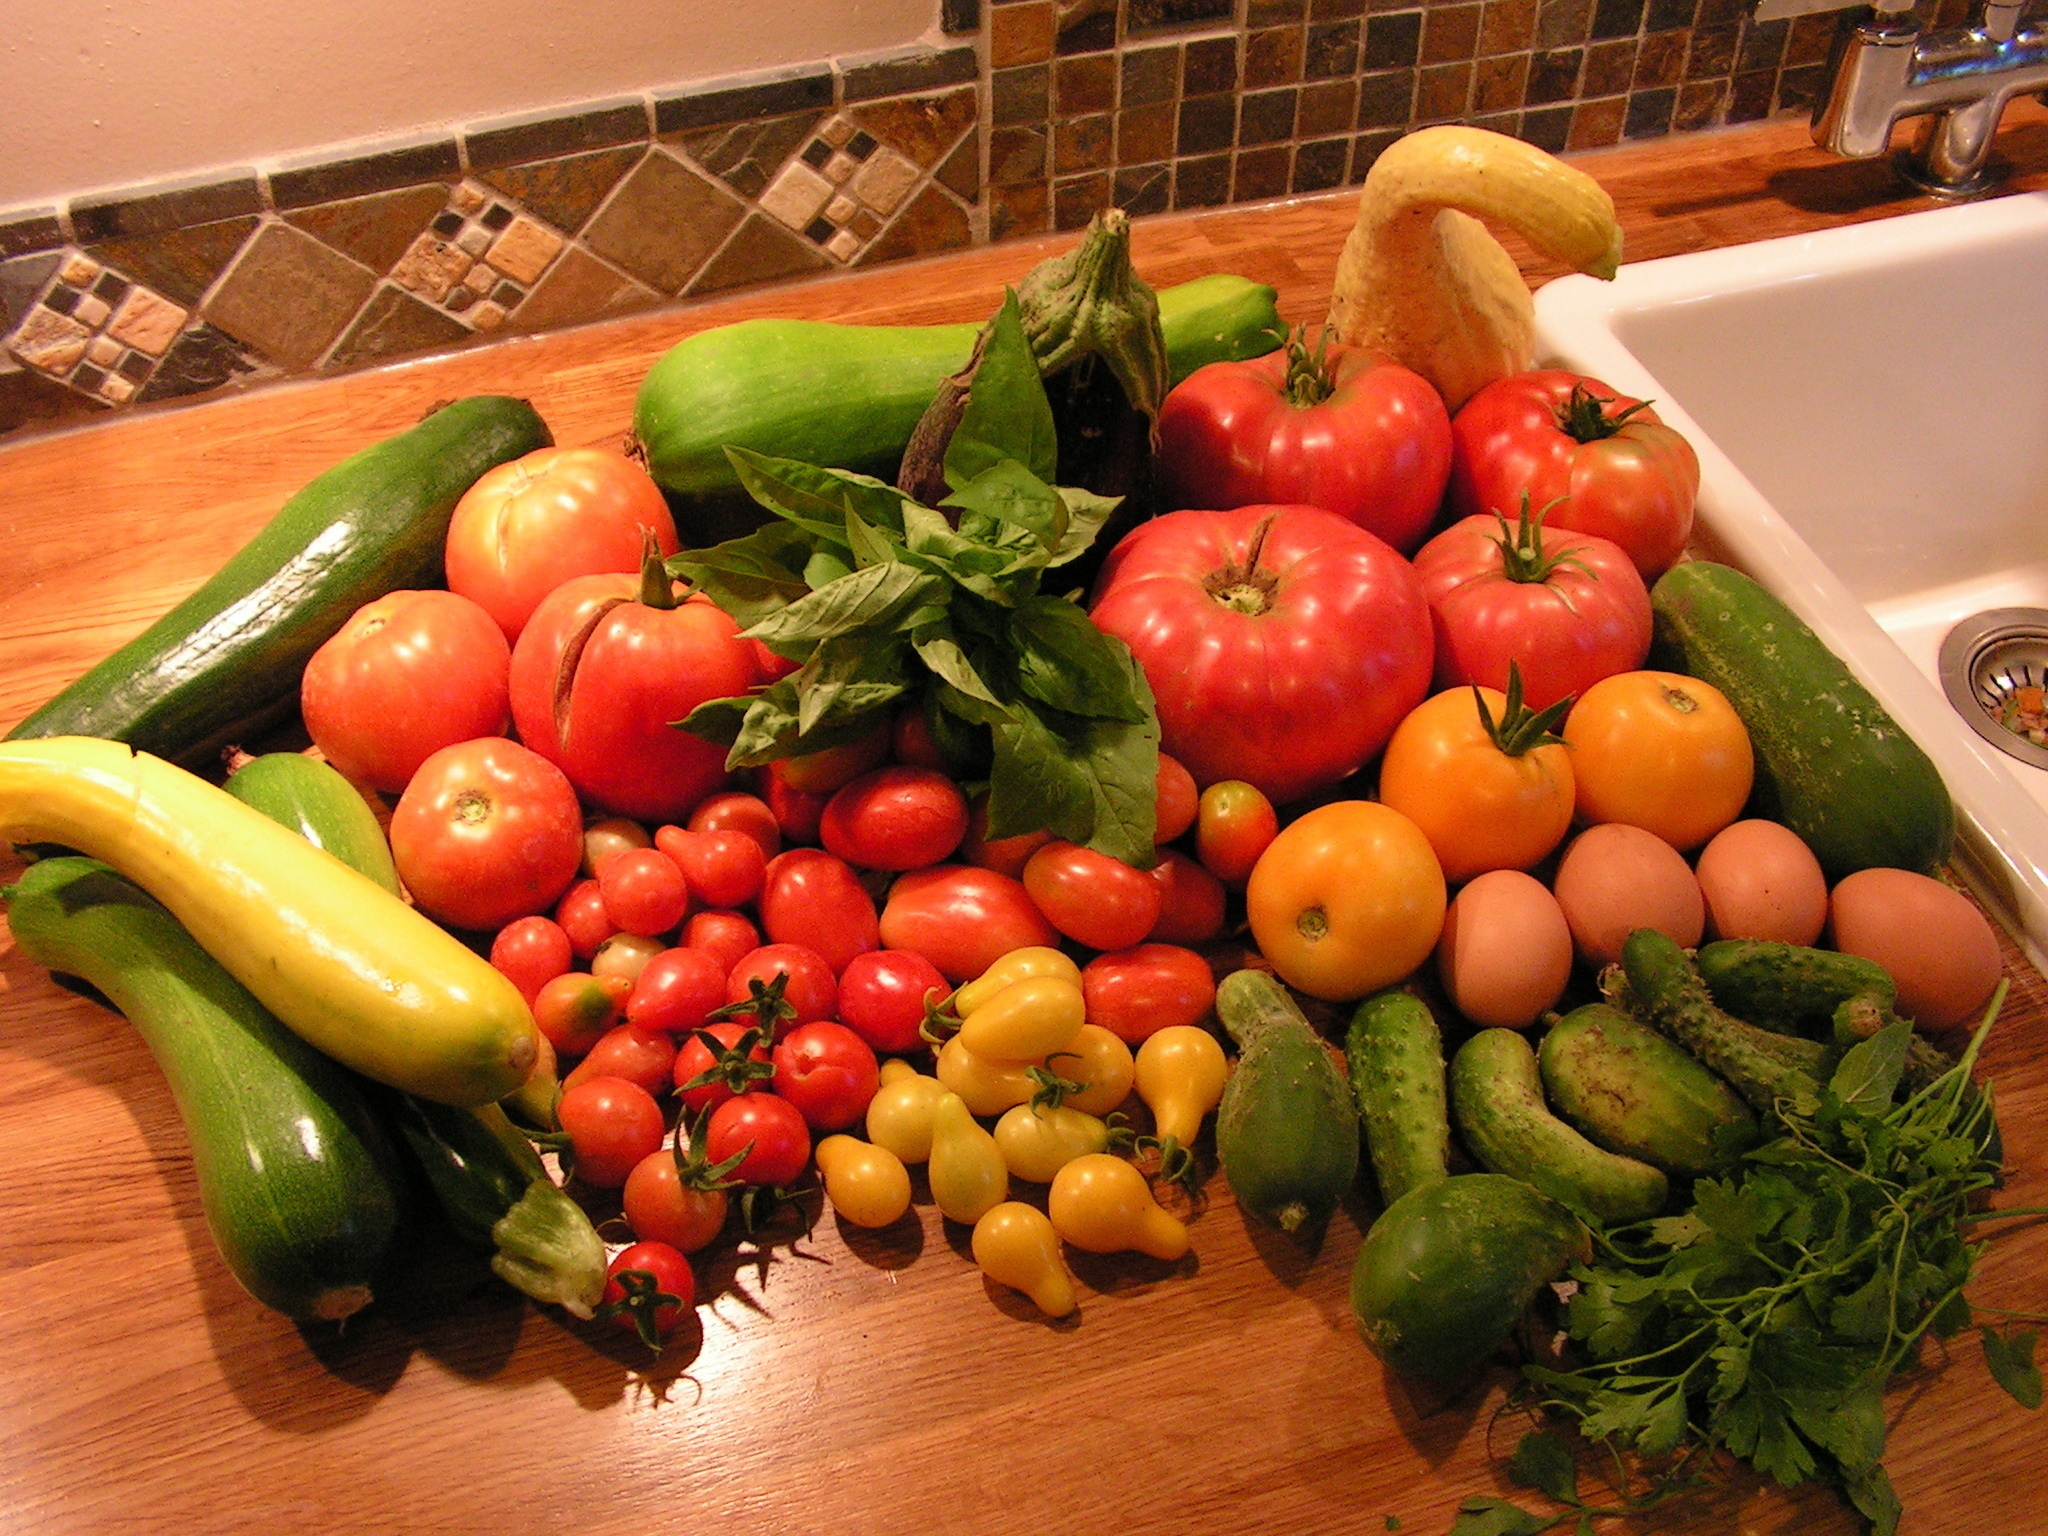
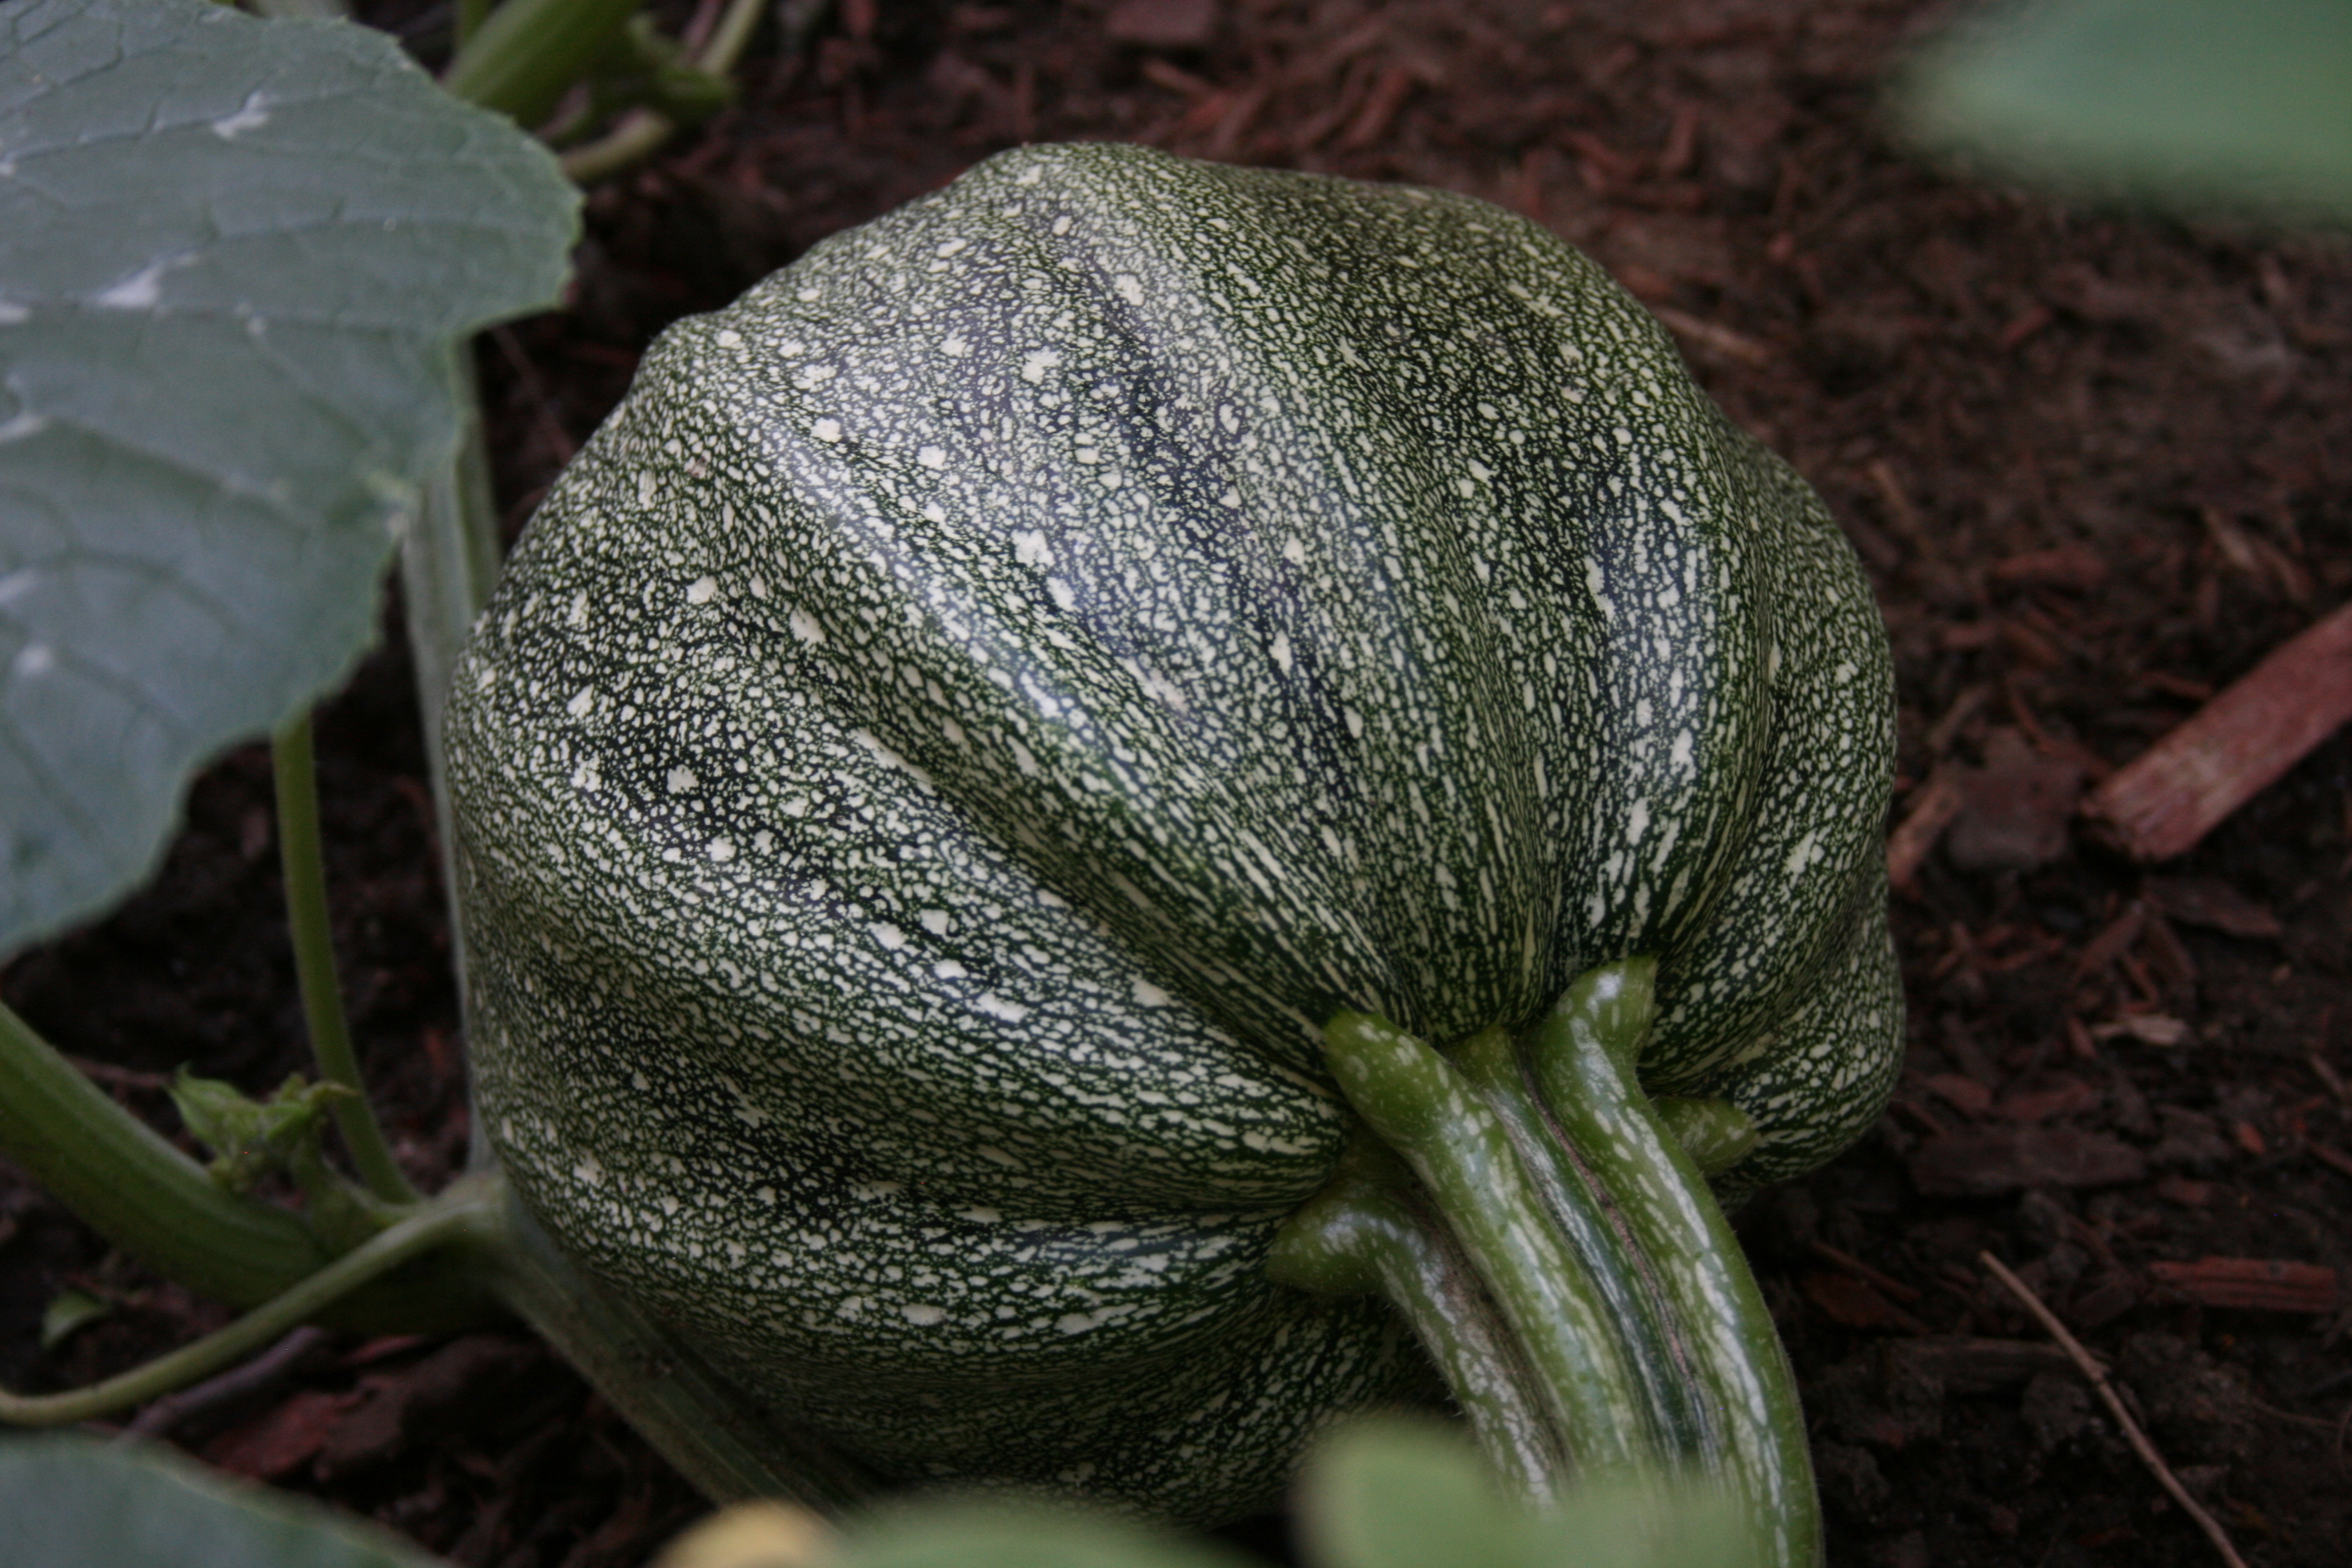
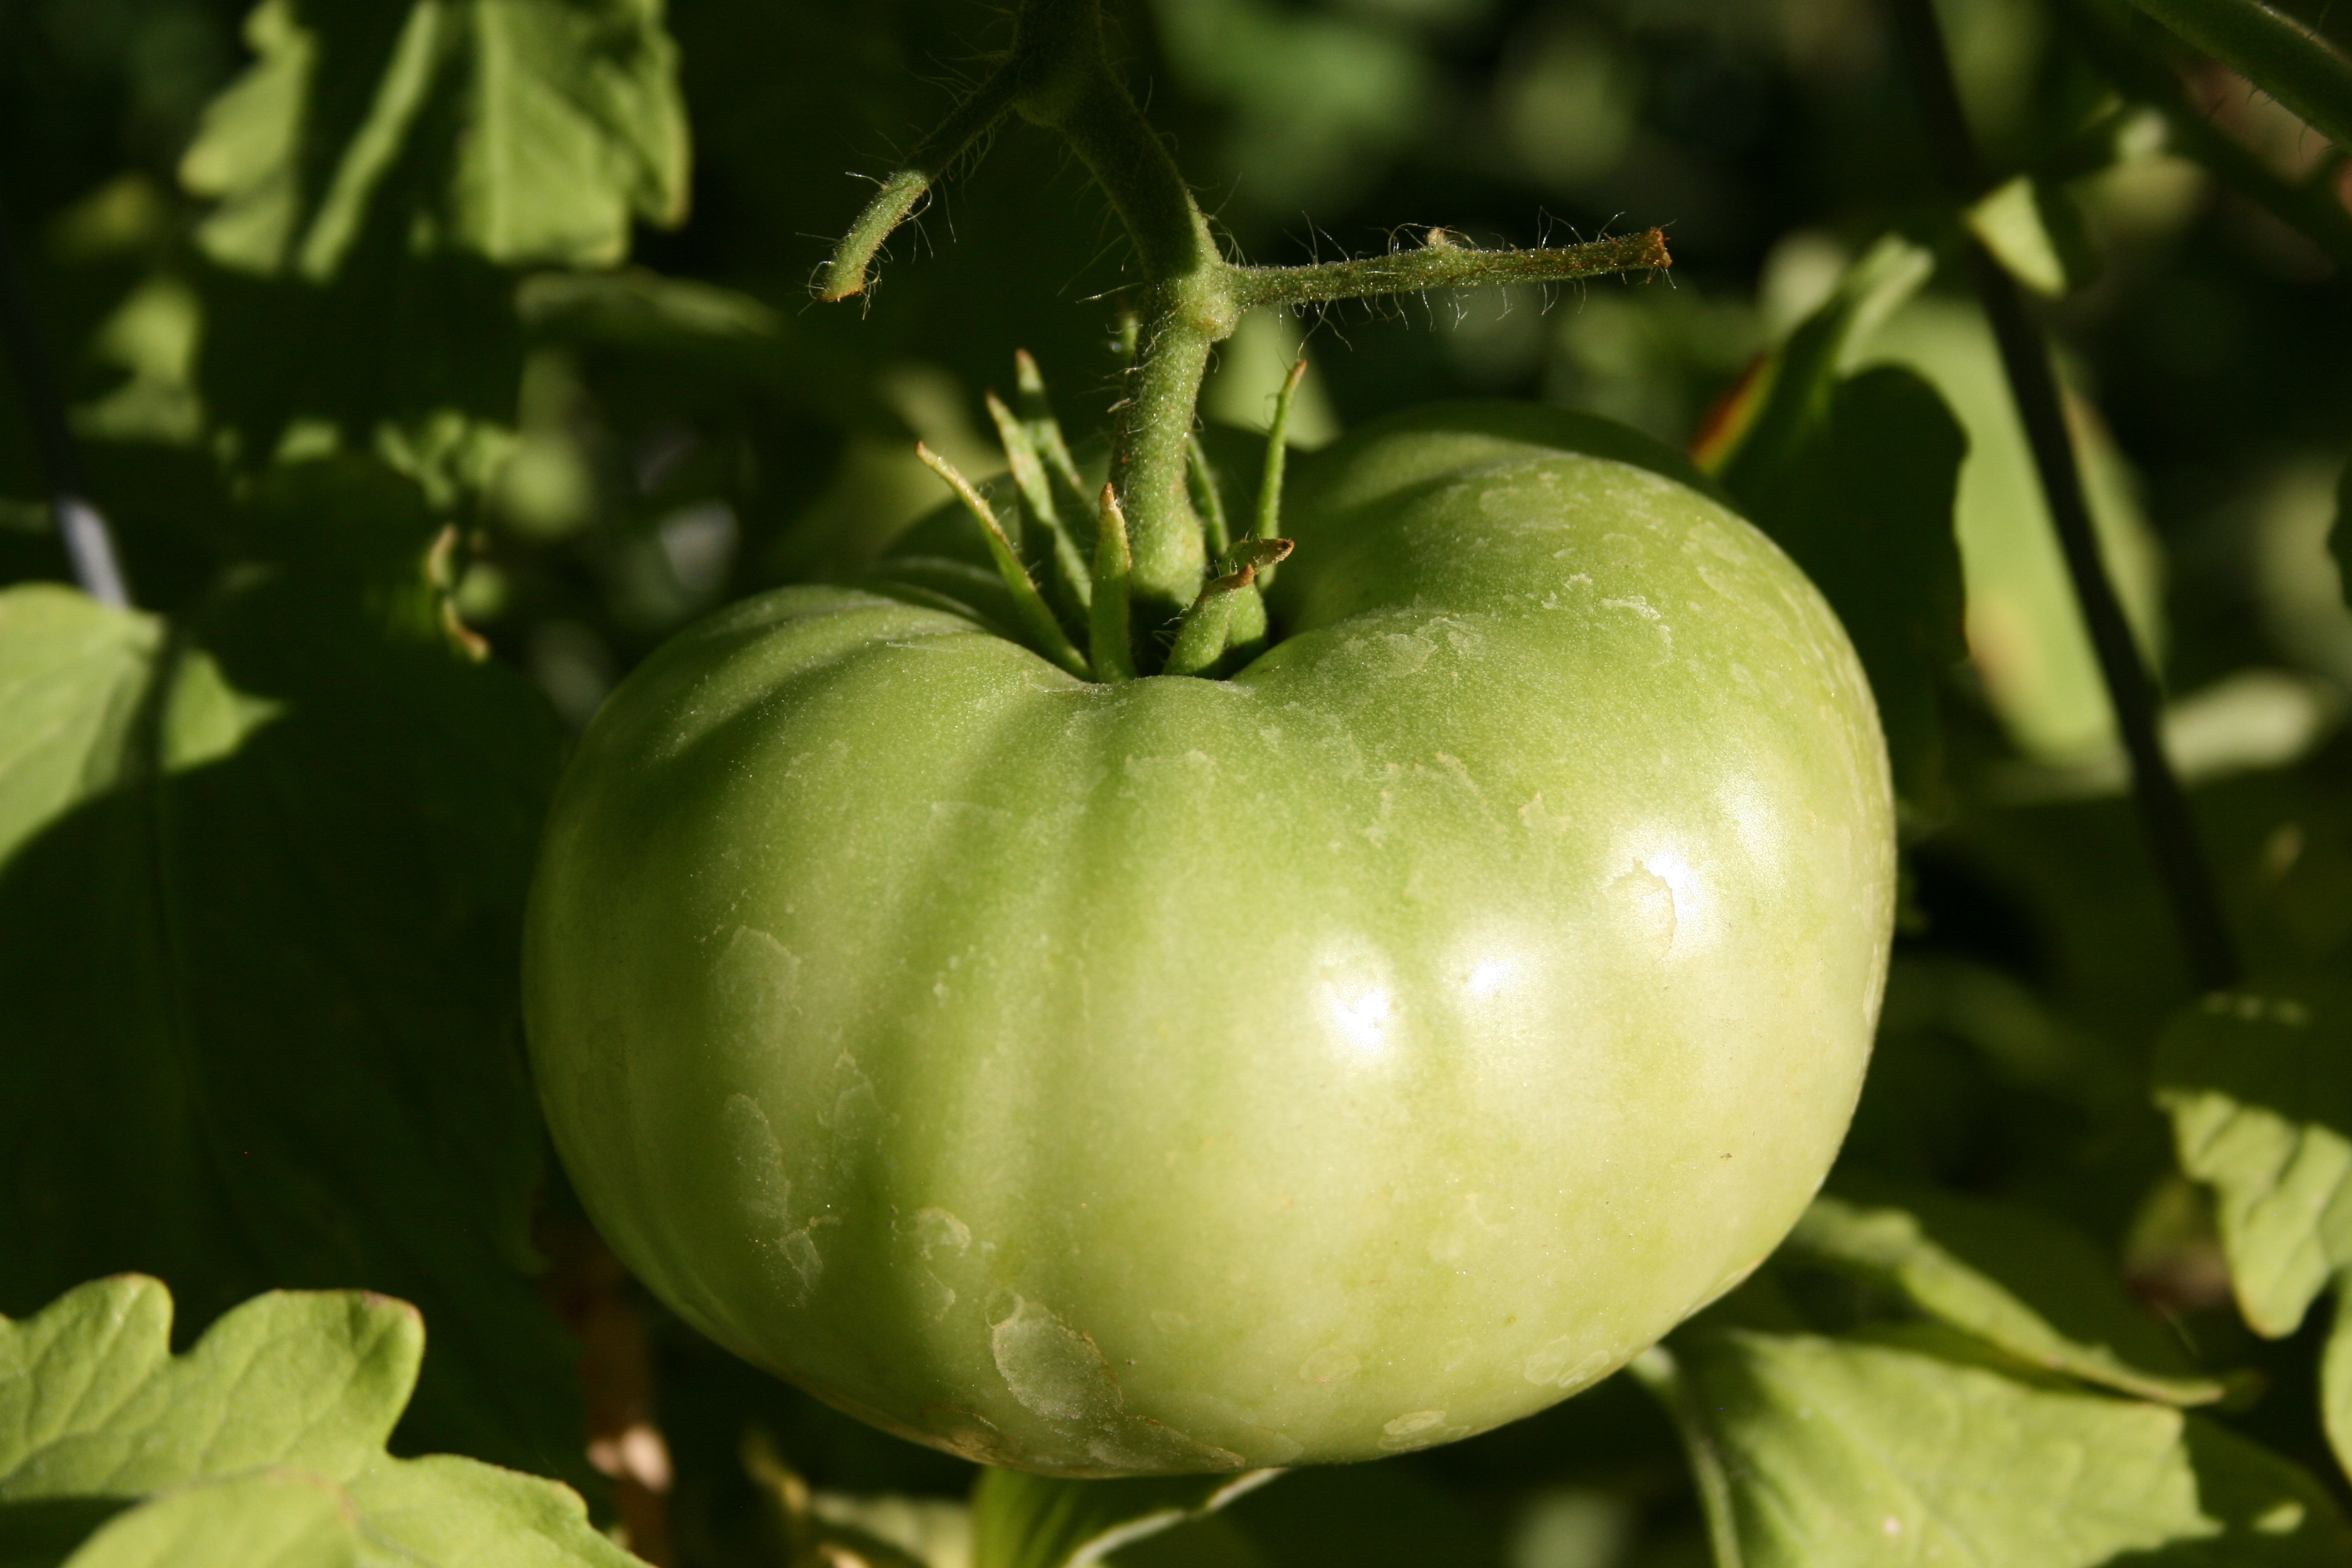
 Zucchinis, tomatoes, eggplants, salads, pickles, pumpkins, potatoes… et cetera. The garden has been a frank success this year and for the first time since we’ve been gardening.
We have more than enough vegetables for our consumption. We’re canning some of them and although they won’t last us a whole winter a little more effort next year will allow this.
We also have 6 chicken, get about 4 eggs a day and are thinking about a goat.
I feel like we’ve taken a huge step towards self sustainability.