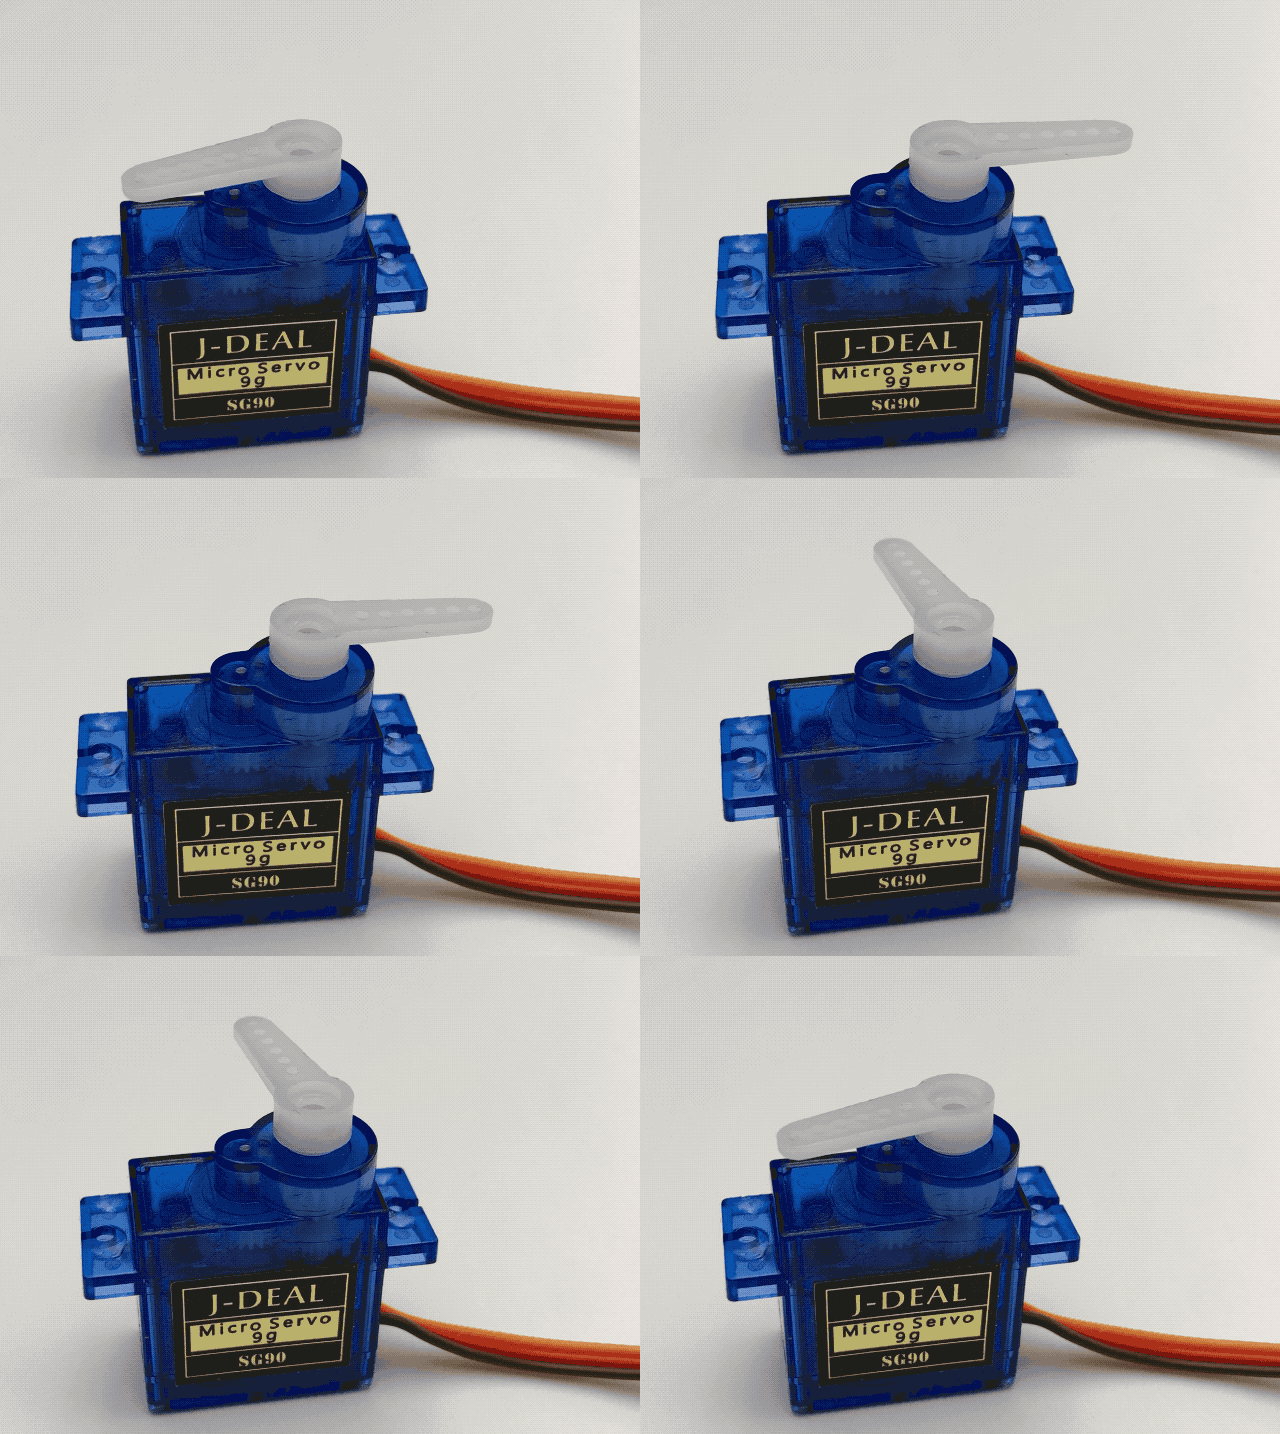
Raspberry Pi Servo Jitter
Here’s the final solution I came up with to finally get a servo motor to behave on a Pi. It may not seem like much but it took a lot of doing to gather all the right bits. This was tested with an SG90, SG92R, and an MG90S on a Pi Zero.
Scroll straight to the end for the solution.
The most common way for controlling a servo motor on a Pi with is through RPi.GPIO as such:
#!/usr/bin/python3
import RPi.GPIO as GPIO
import time
servo = 23
GPIO.setmode( GPIO.BCM )
GPIO.setup( servo, GPIO.OUT )
# info on frequency and PWM formula at https://rpi.science.uoit.ca/lab/servo/
pwm = GPIO.PWM( servo, 50 )
pwm.start( 2.5 )
print( "0 deg" )
pwm.ChangeDutyCycle( 2.5 ) # turn towards 0 degree
time.sleep( 3 )
print( "90 deg" )
pwm.ChangeDutyCycle( 7.5 ) # turn towards 90 degree
time.sleep( 3 )
print( "180 deg" )
pwm.ChangeDutyCycle( 12.5 ) # turn towards 180 degree
time.sleep( 3 )
pwm.stop()
GPIO.cleanup()
Stuff you might need for this to run:
sudo apt-get update && sudo apt-get install python3-rpi.gpio
It results in super jitter which is unacceptable for the holy mission of pen plotting.
As far as I understand, the jitter comes from the wave form RPi.GPIO produces for Pulse Width Modulation, which is made in software and so it’s not super stable (no dedicated resources to build it). From what I gather, pigpio is programmed to tap into the one hardware PWM that Pis have.
The solution thus is as such:
#!/usr/bin/python3
import RPi.GPIO as GPIO
import pigpio
import time
servo = 23
# more info at http://abyz.me.uk/rpi/pigpio/python.html#set_servo_pulsewidth
pwm = pigpio.pi()
pwm.set_mode(servo, pigpio.OUTPUT)
pwm.set_PWM_frequency( servo, 50 )
print( "0 deg" )
pwm.set_servo_pulsewidth( servo, 500 ) ;
time.sleep( 3 )
print( "90 deg" )
pwm.set_servo_pulsewidth( servo, 1500 ) ;
time.sleep( 3 )
print( "180 deg" )
pwm.set_servo_pulsewidth( servo, 2500 ) ;
time.sleep( 3 )
# turning off servo
pwm.set_PWM_dutycycle( servo, 0 )
pwm.set_PWM_frequency( servo, 0 )
Stuff you might need for this to run:
sudo apt-get update && sudo apt-get install python3-pigpio
sudo pigpiod
And the resulting super smooth motion and holds:
Fibonacci Assist
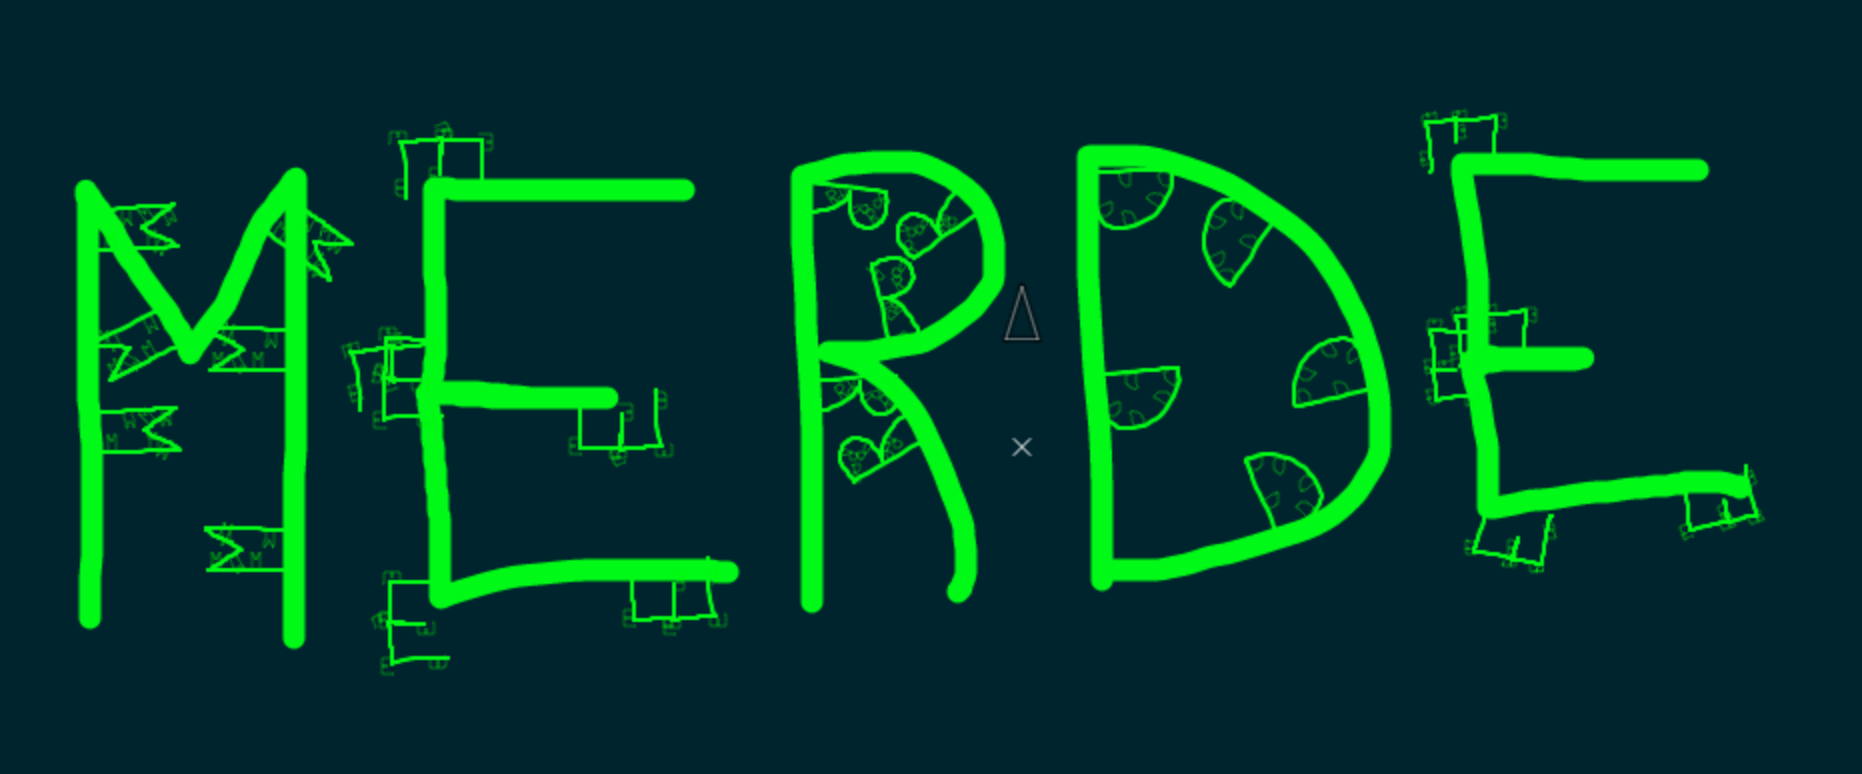
It’s been a while since I pushed a feature to Mandalagaba worthy of a post.
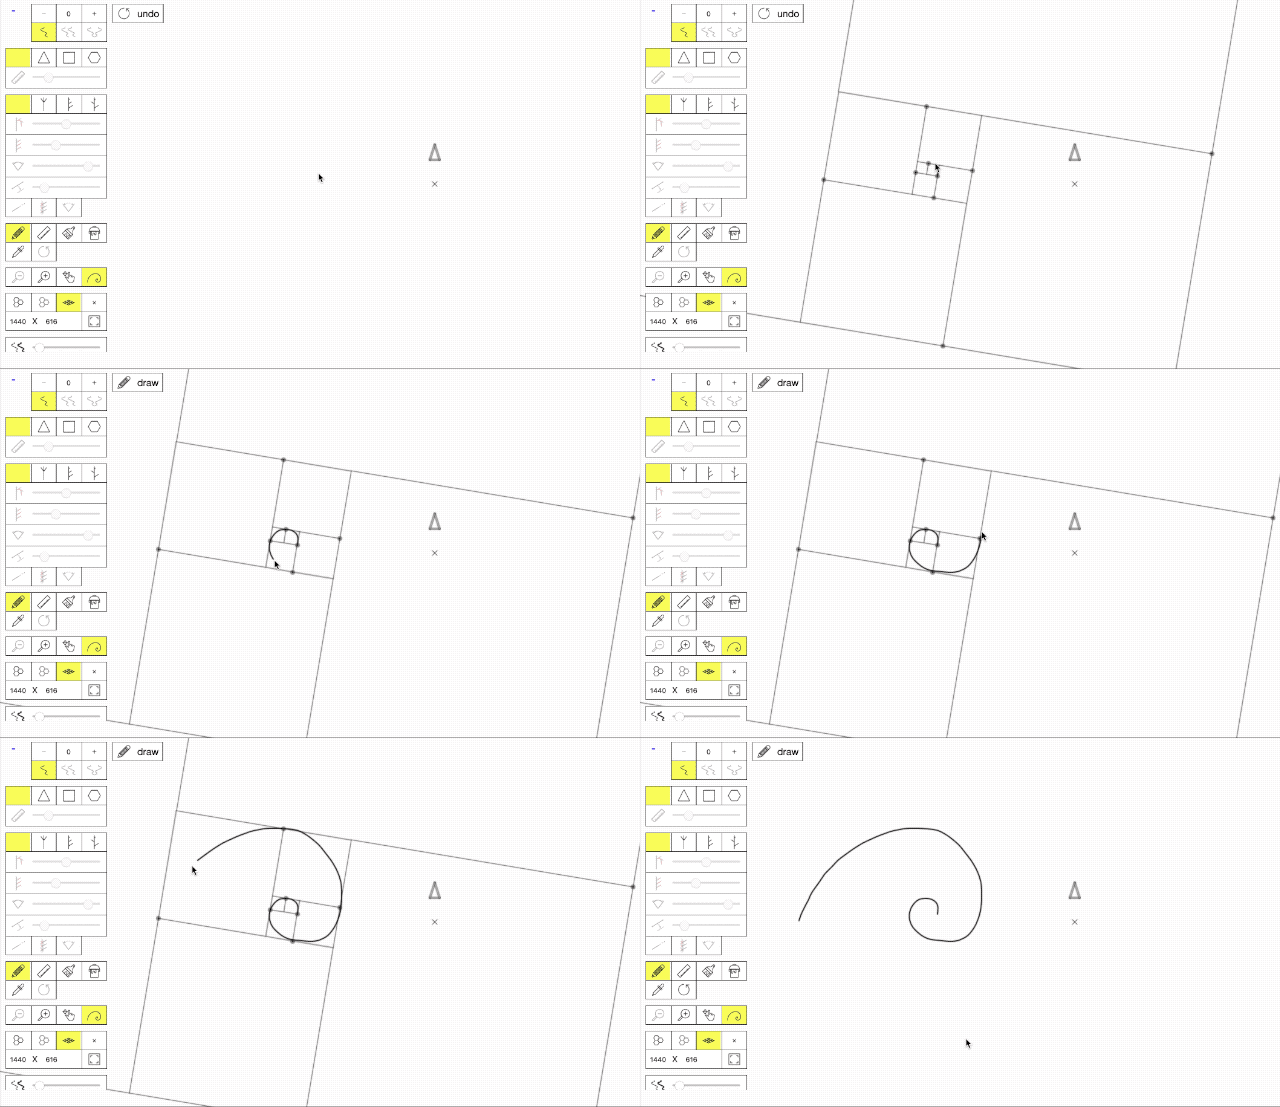
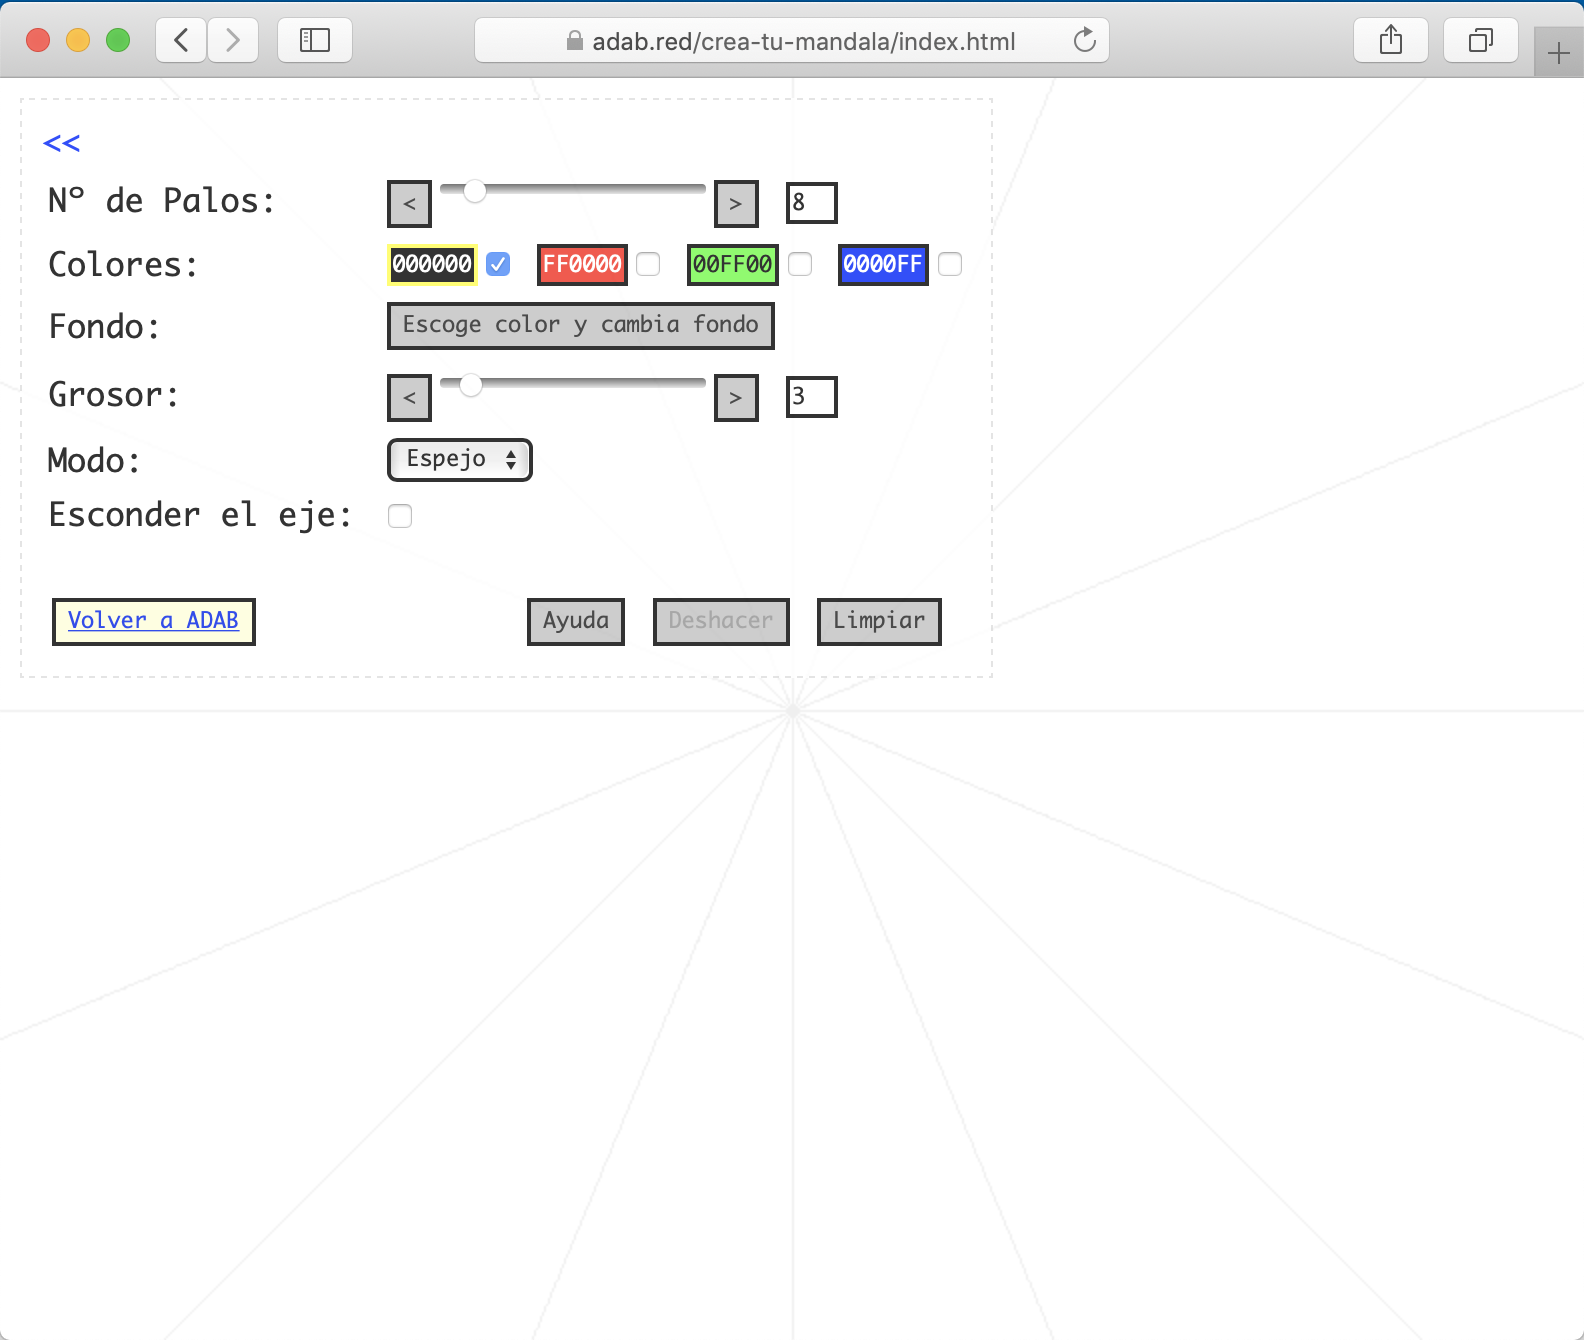
I just pushed a tool I call “Fibonacci Assist”. It’s meant to help you draw Fibonacci spirals by overlaying the proper framing based on the beginning of your penstroke.
I was reminded of the existence of this sequence and its ties to nature reading the most excellent children book: Swirl by Swirl. The book is simply magnificent and so I thought I’d do my part to help bring into the world more Fibonacci spirals.
I have yet to play with it using a stylus.
Plotting Plotters
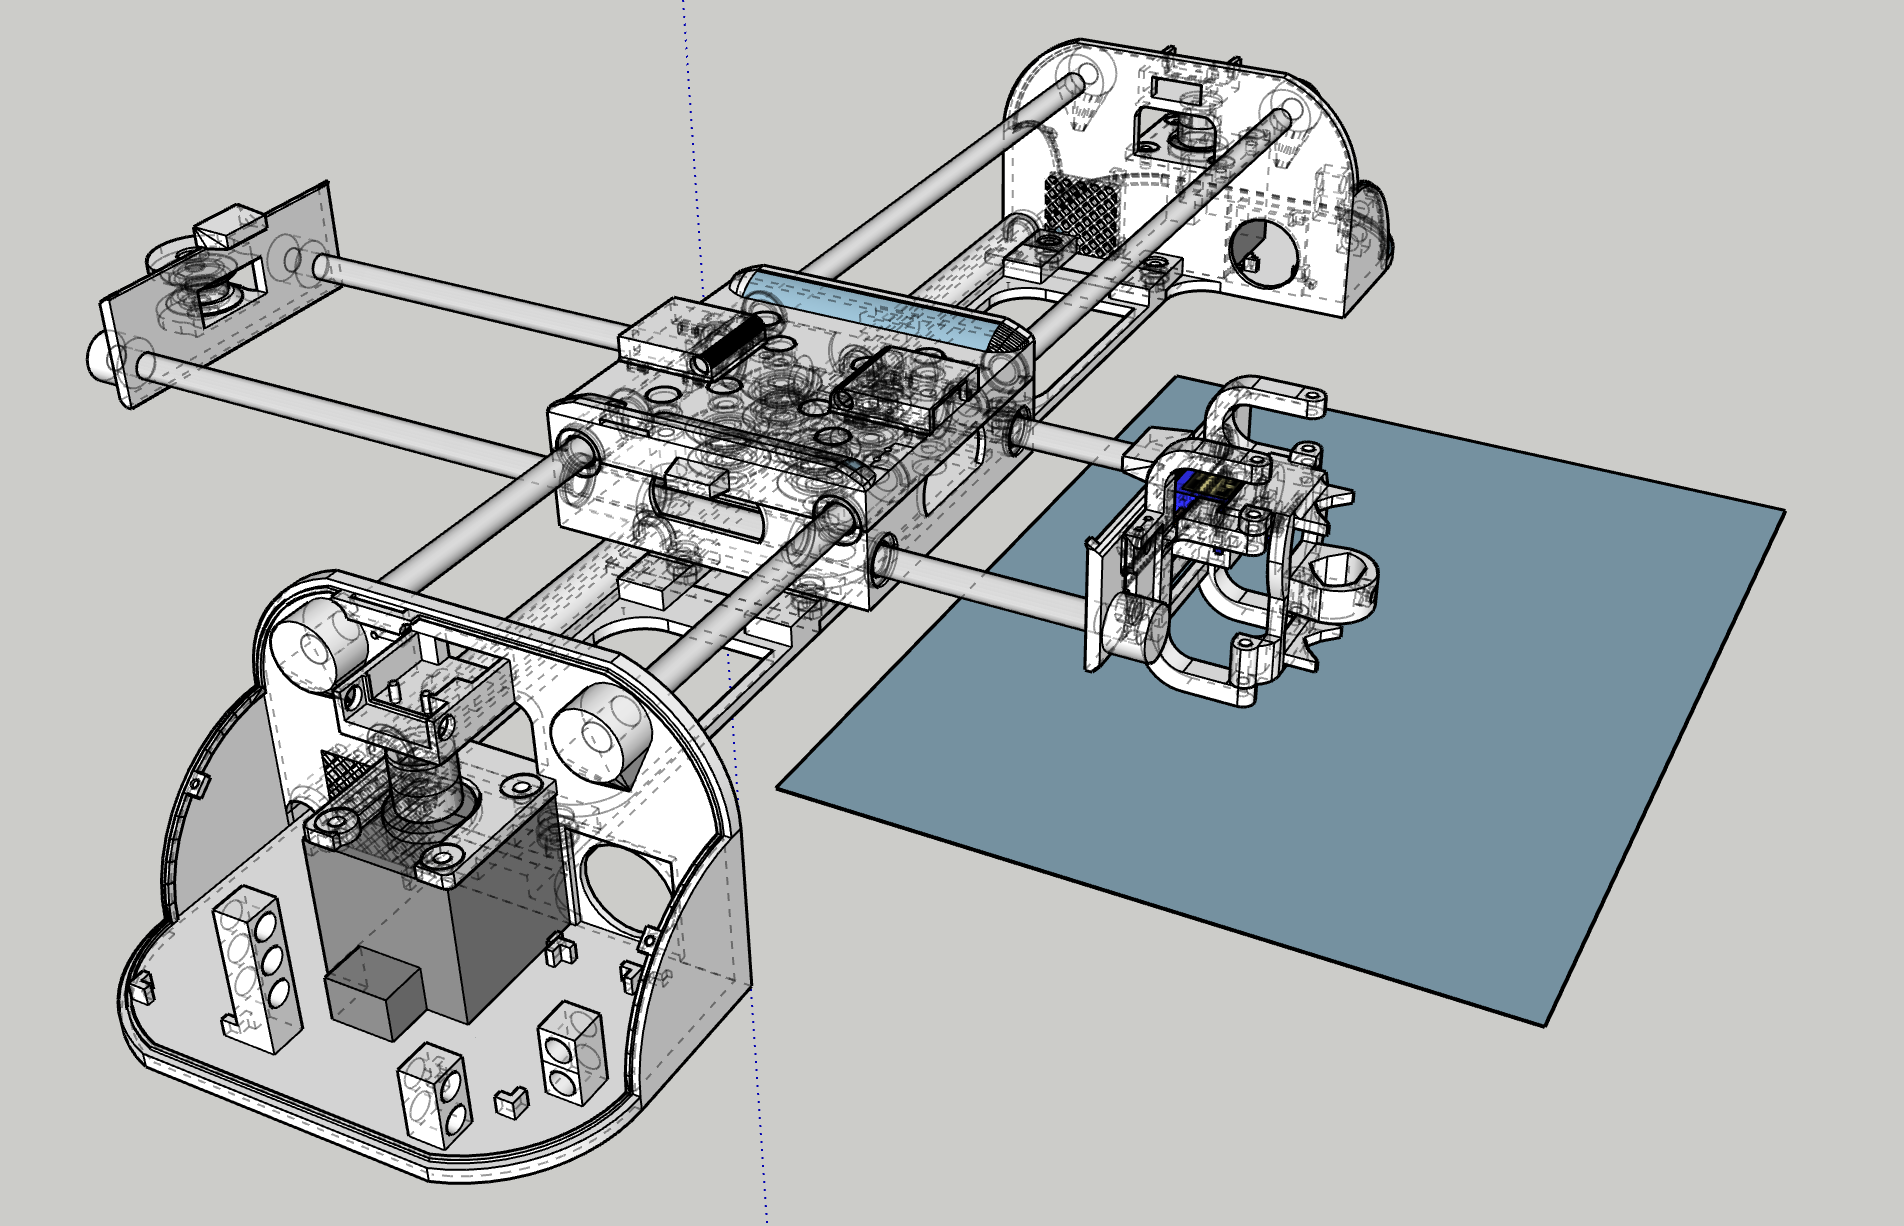
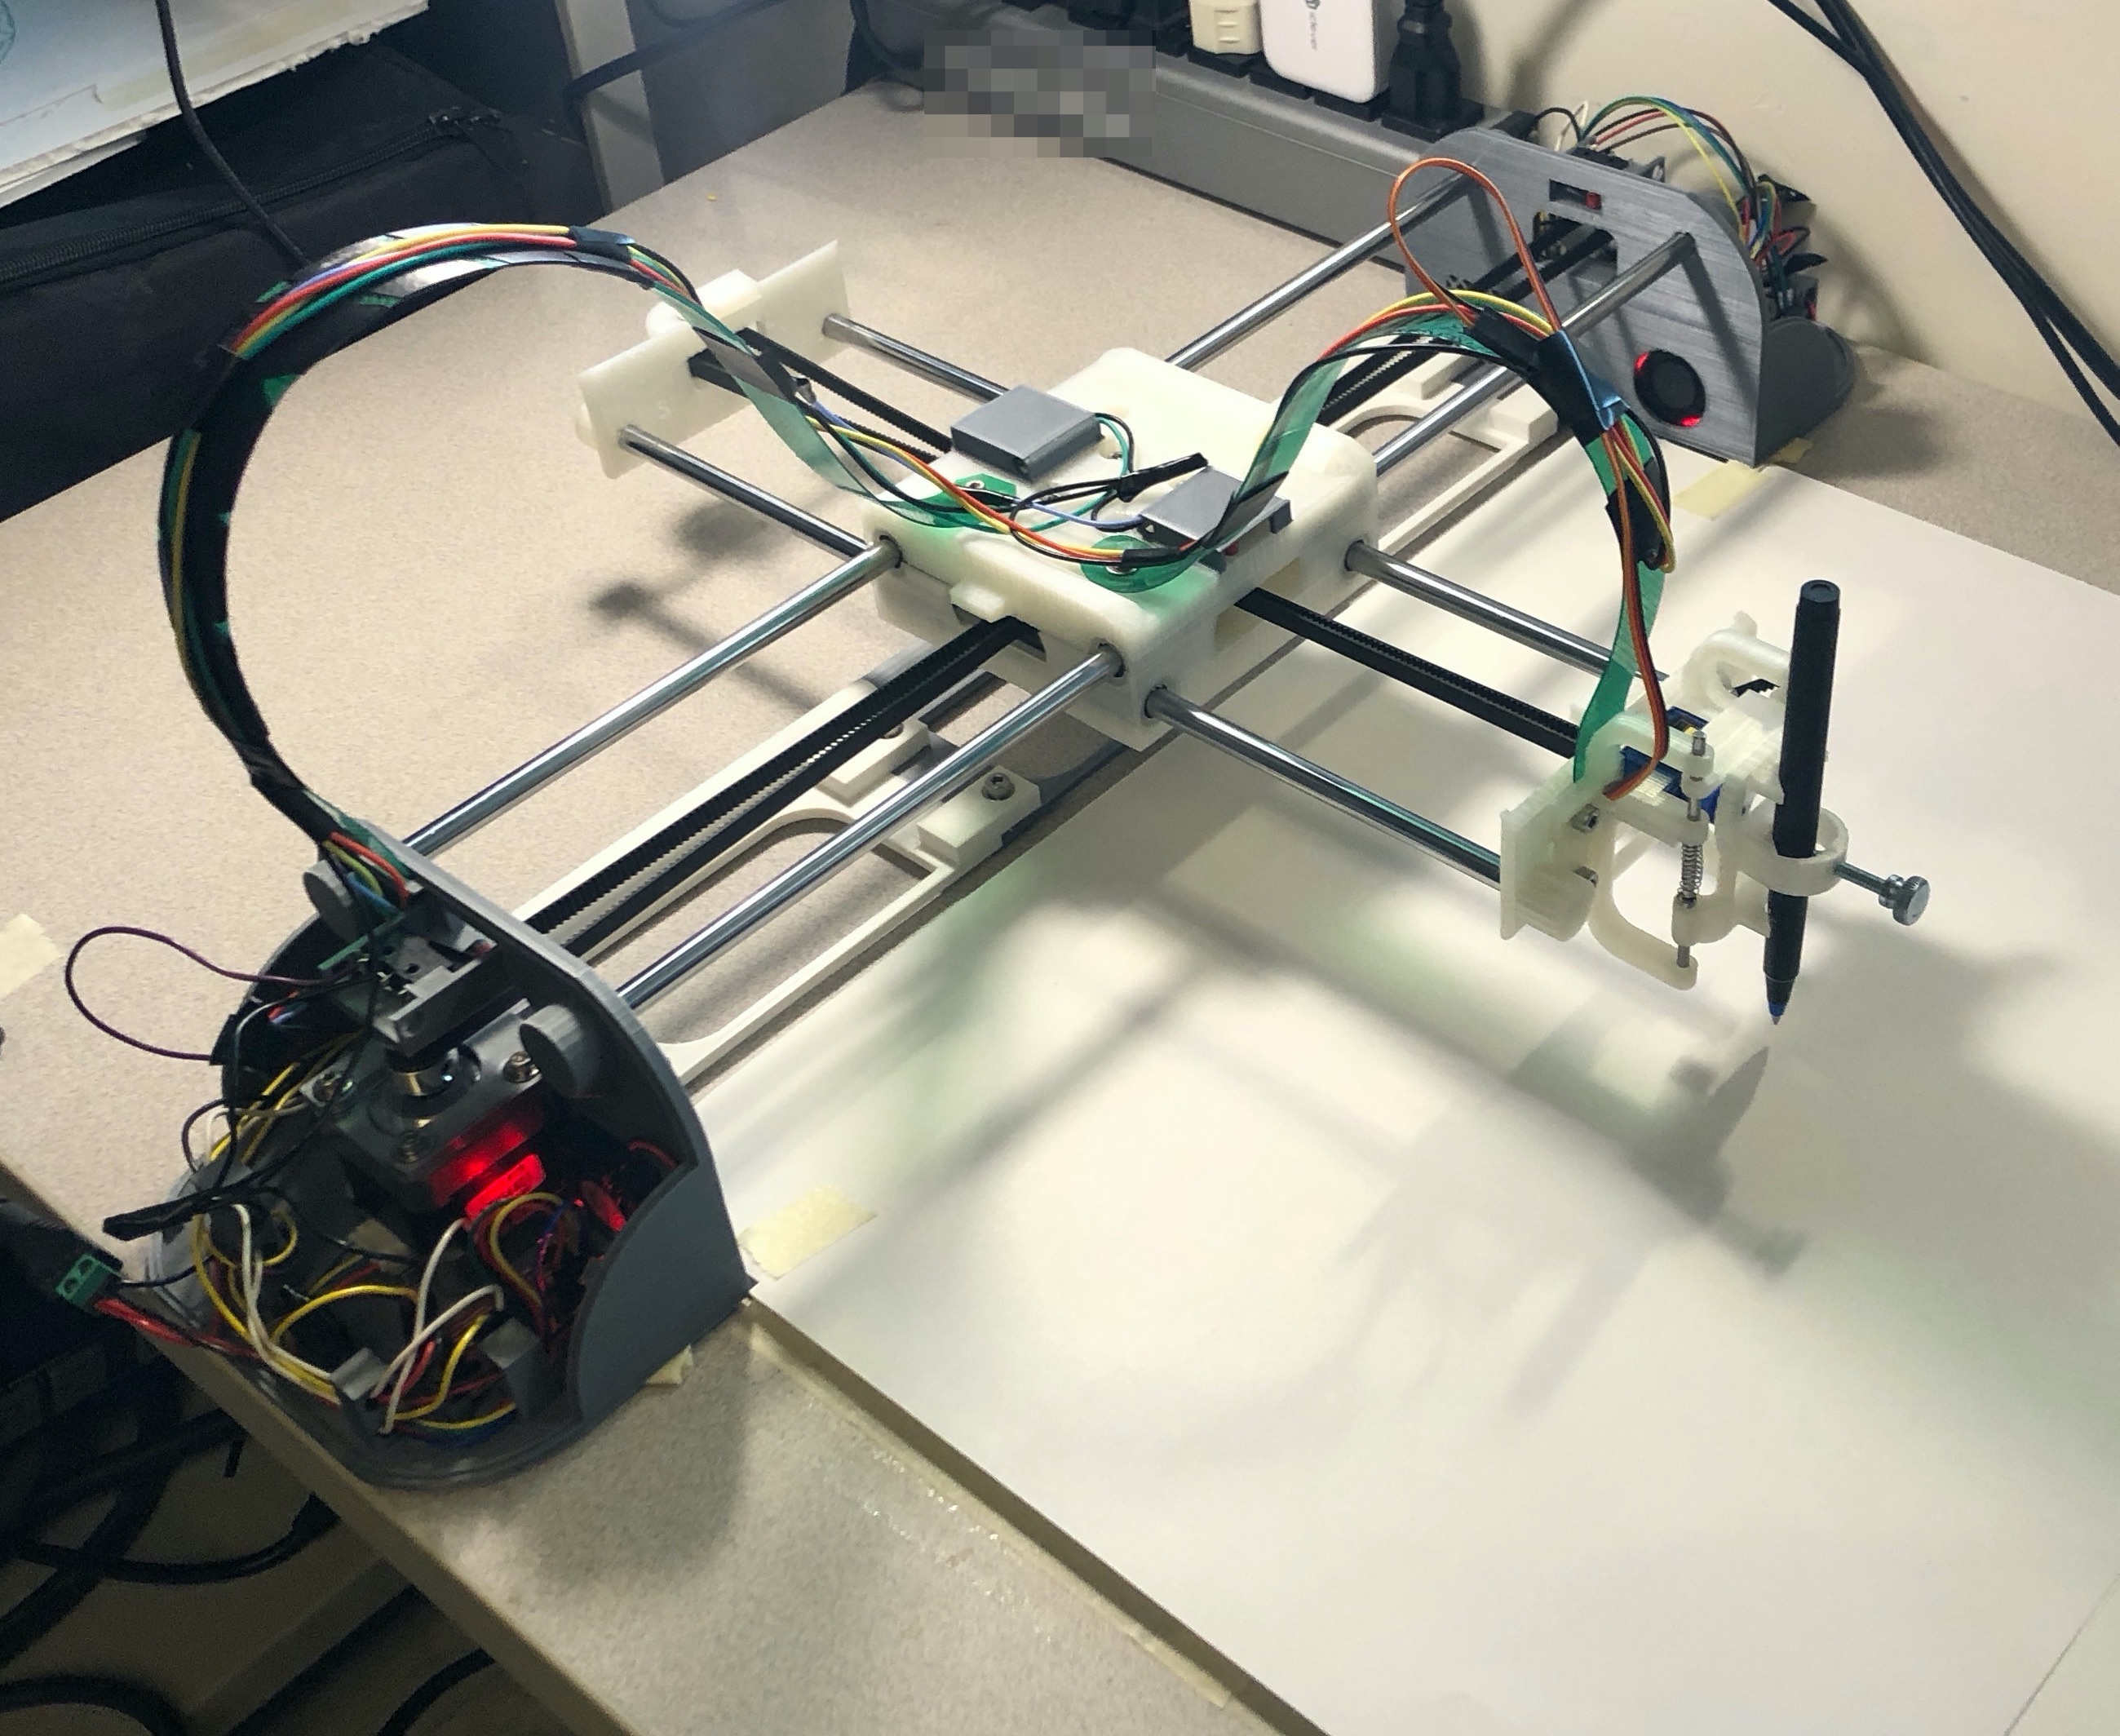
Well so, I fell into a very deep rabbit hole. The world of pen plotters… A year in, I finally have some good results. After several prototypes of Gondola plotters (V-plotters) and regular tabletop plotters. I’ve homed in on a set of designs, hardware, electronics, and algorithms to think I can make a small difference in that world. I still need to iterate a little but I’m hoping to release each plotter as a DYI projects in 2020. Maybe I’ll even sell my making them for others. Of course there will be integrations with Mandalagaba because that just makes sense.
Now there are several such plotters one can buy or build for a wide range of prices. And they all have a very shitty software stack. This is where I believe I can make the biggest difference.
As with building houses, it’s enormously relieving to finally see into the real world a model you’ve been immersed in, CADing it for a year.
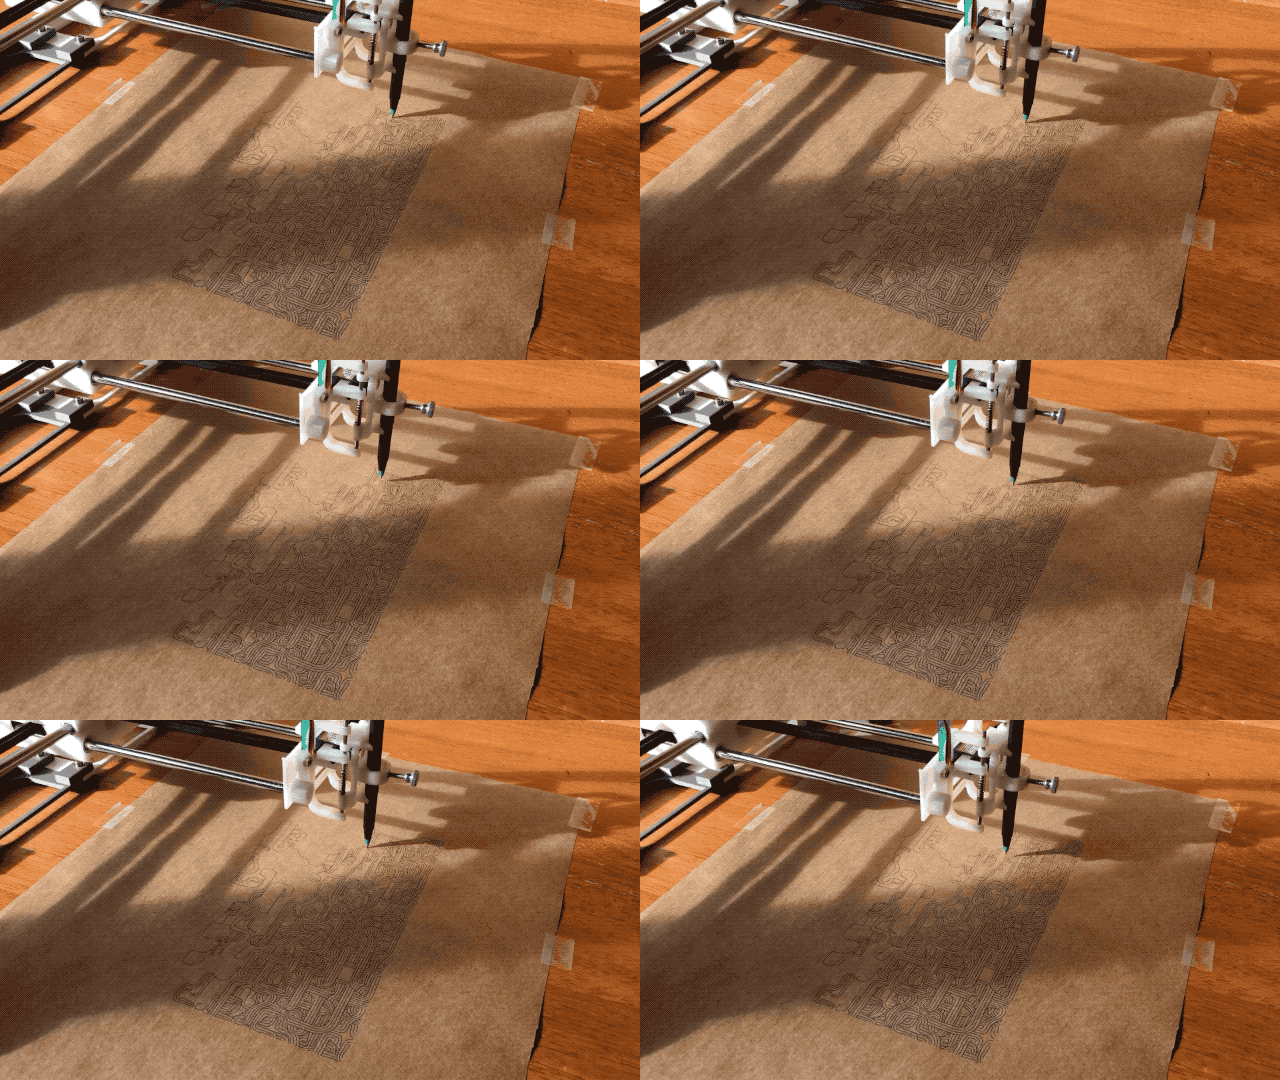
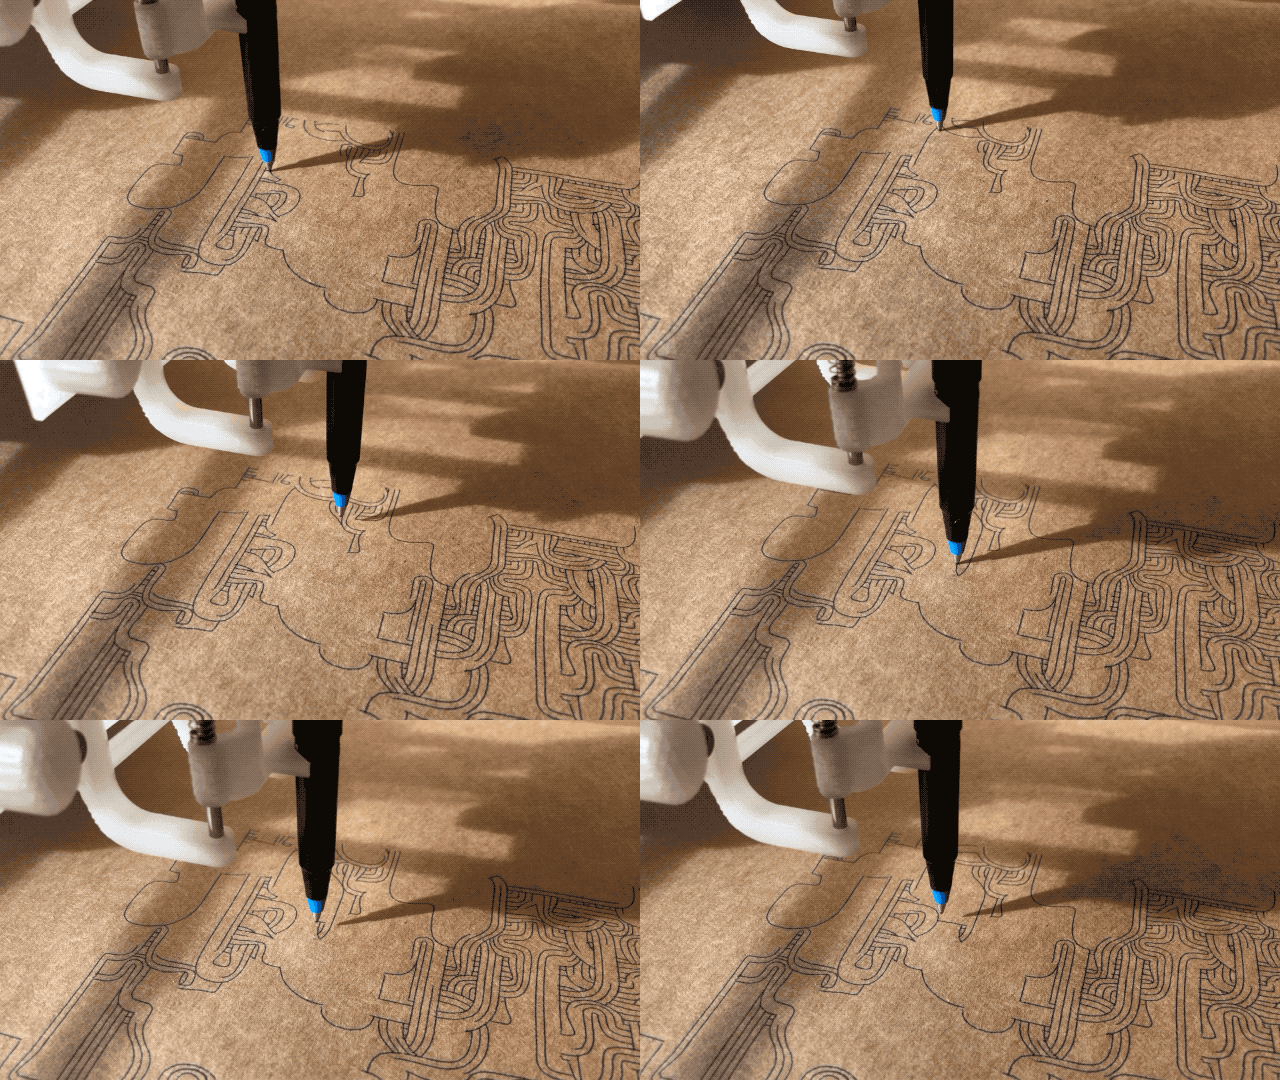
I’ll skip talking about the long series of challenges I ran into building this. It’s really, really nice to see a long plot finished to perfection knowing that finally, nothing is wrong. I’ve learned a lot along the way.
There’s a bazillion pen plotters on Thingiverse, I’ve used some of them as stepping stones until I was ready to finally make my own top to bottom. As I said, software is where I think I can make the biggest difference. I’m a Raspberry Pi aficionado, and this opens the door to a sophisticated software stack (web servers, HTML canvasses, format conversion, penstroke optimization, live link with Mandalagaba). I found not a single plotter using a Pi, in fact I found very few projects of anything using stepper motors with a Pi. I had to do some serious trail blazing to step a motor reliably.
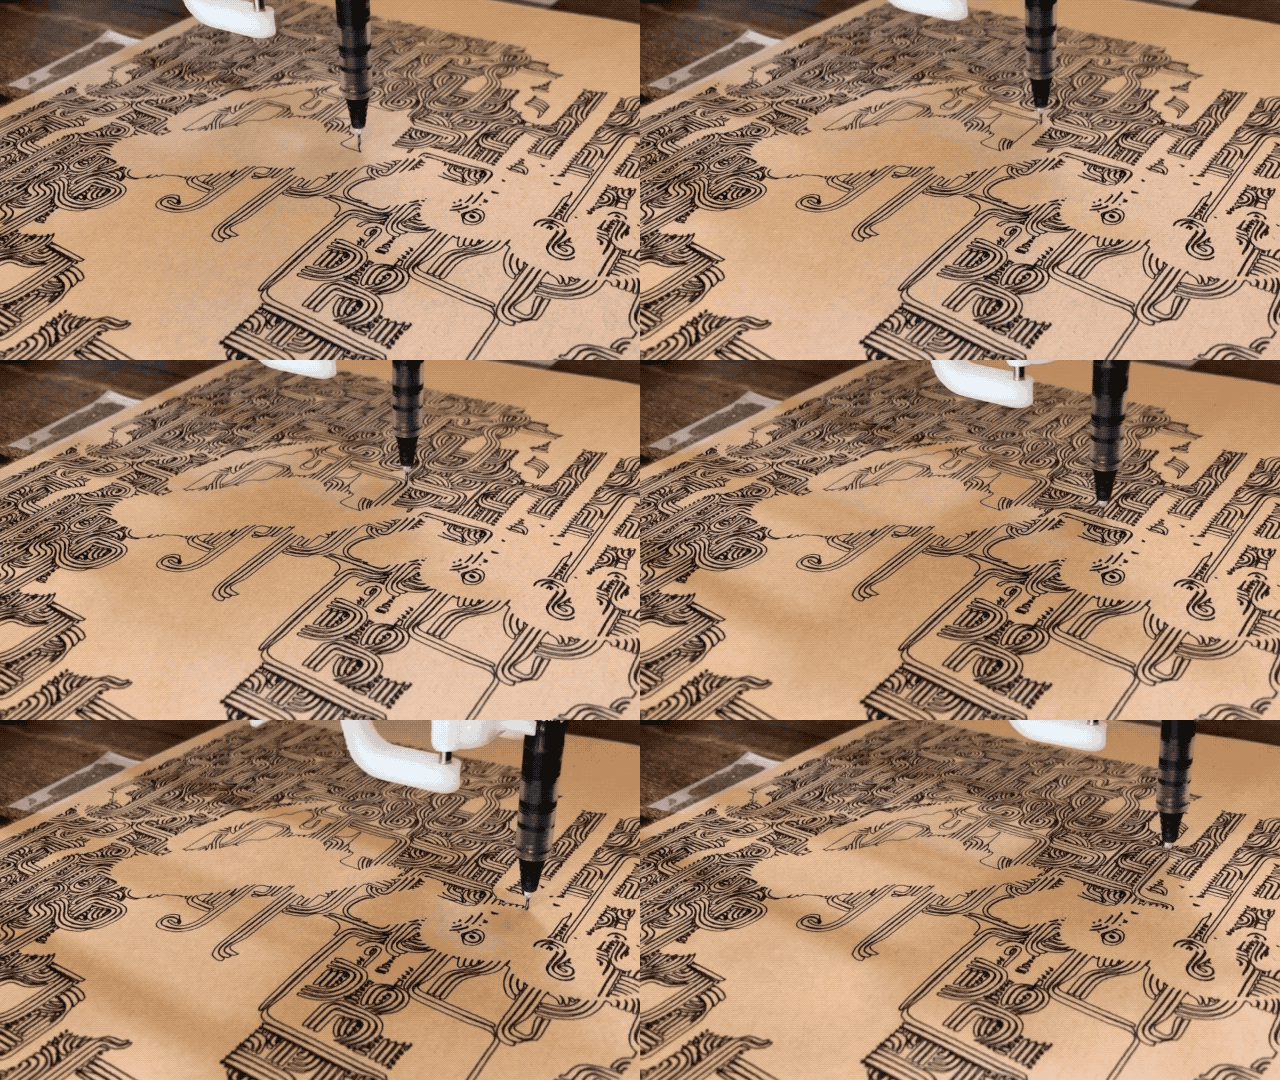
Here is for example a pen stroke optimization algorithm I developed to speed up plotting.
The base, drawing penstrokes as they come. “Empty” travel going from one penstroke to the next without the pen drawing: ~36437 (relative pixels).
The next penstrokes is the closest. Empty travel ~15820, 0.43 compression ratio.
The next penstrokes is the closest, but consider its beginning as well as its end, draw the penstroke reversed if it was the end which was closest. Empty travel ~12467, 0.34 compression ratio. 
I could watch this for hours, and I did.
Of course the efficacy of this algorithm depends heavily on the model to be drawn. I found that anything coming from Mandalagaba tends to benefit enormously, especially tessellations. And it makes sense, for every penstroke drawn, the repetitions occur throughout the canvas and they show up in that order even if you drew in a very localized area. The example above comes from the most excellent turtletoy.net.
More to come very soon on the great world of plotters…
Insulted & Honored
Someone ripped an early version of Mandalagaba, removed any mention of it, translated it, and is hosting it as their own.
Feels like I somehow made it as a developer to have my work stolen :). And honestly I don’t really give a crap I don’t have too many qualms about using code myself.
Today’s Mandalagaba would be very hard to reverse engineer, it’s way more complex, has more server components, and the client code is more obfuscated. In my opinion that’s how you retain control over your work, at least as a coder.
I just have to post
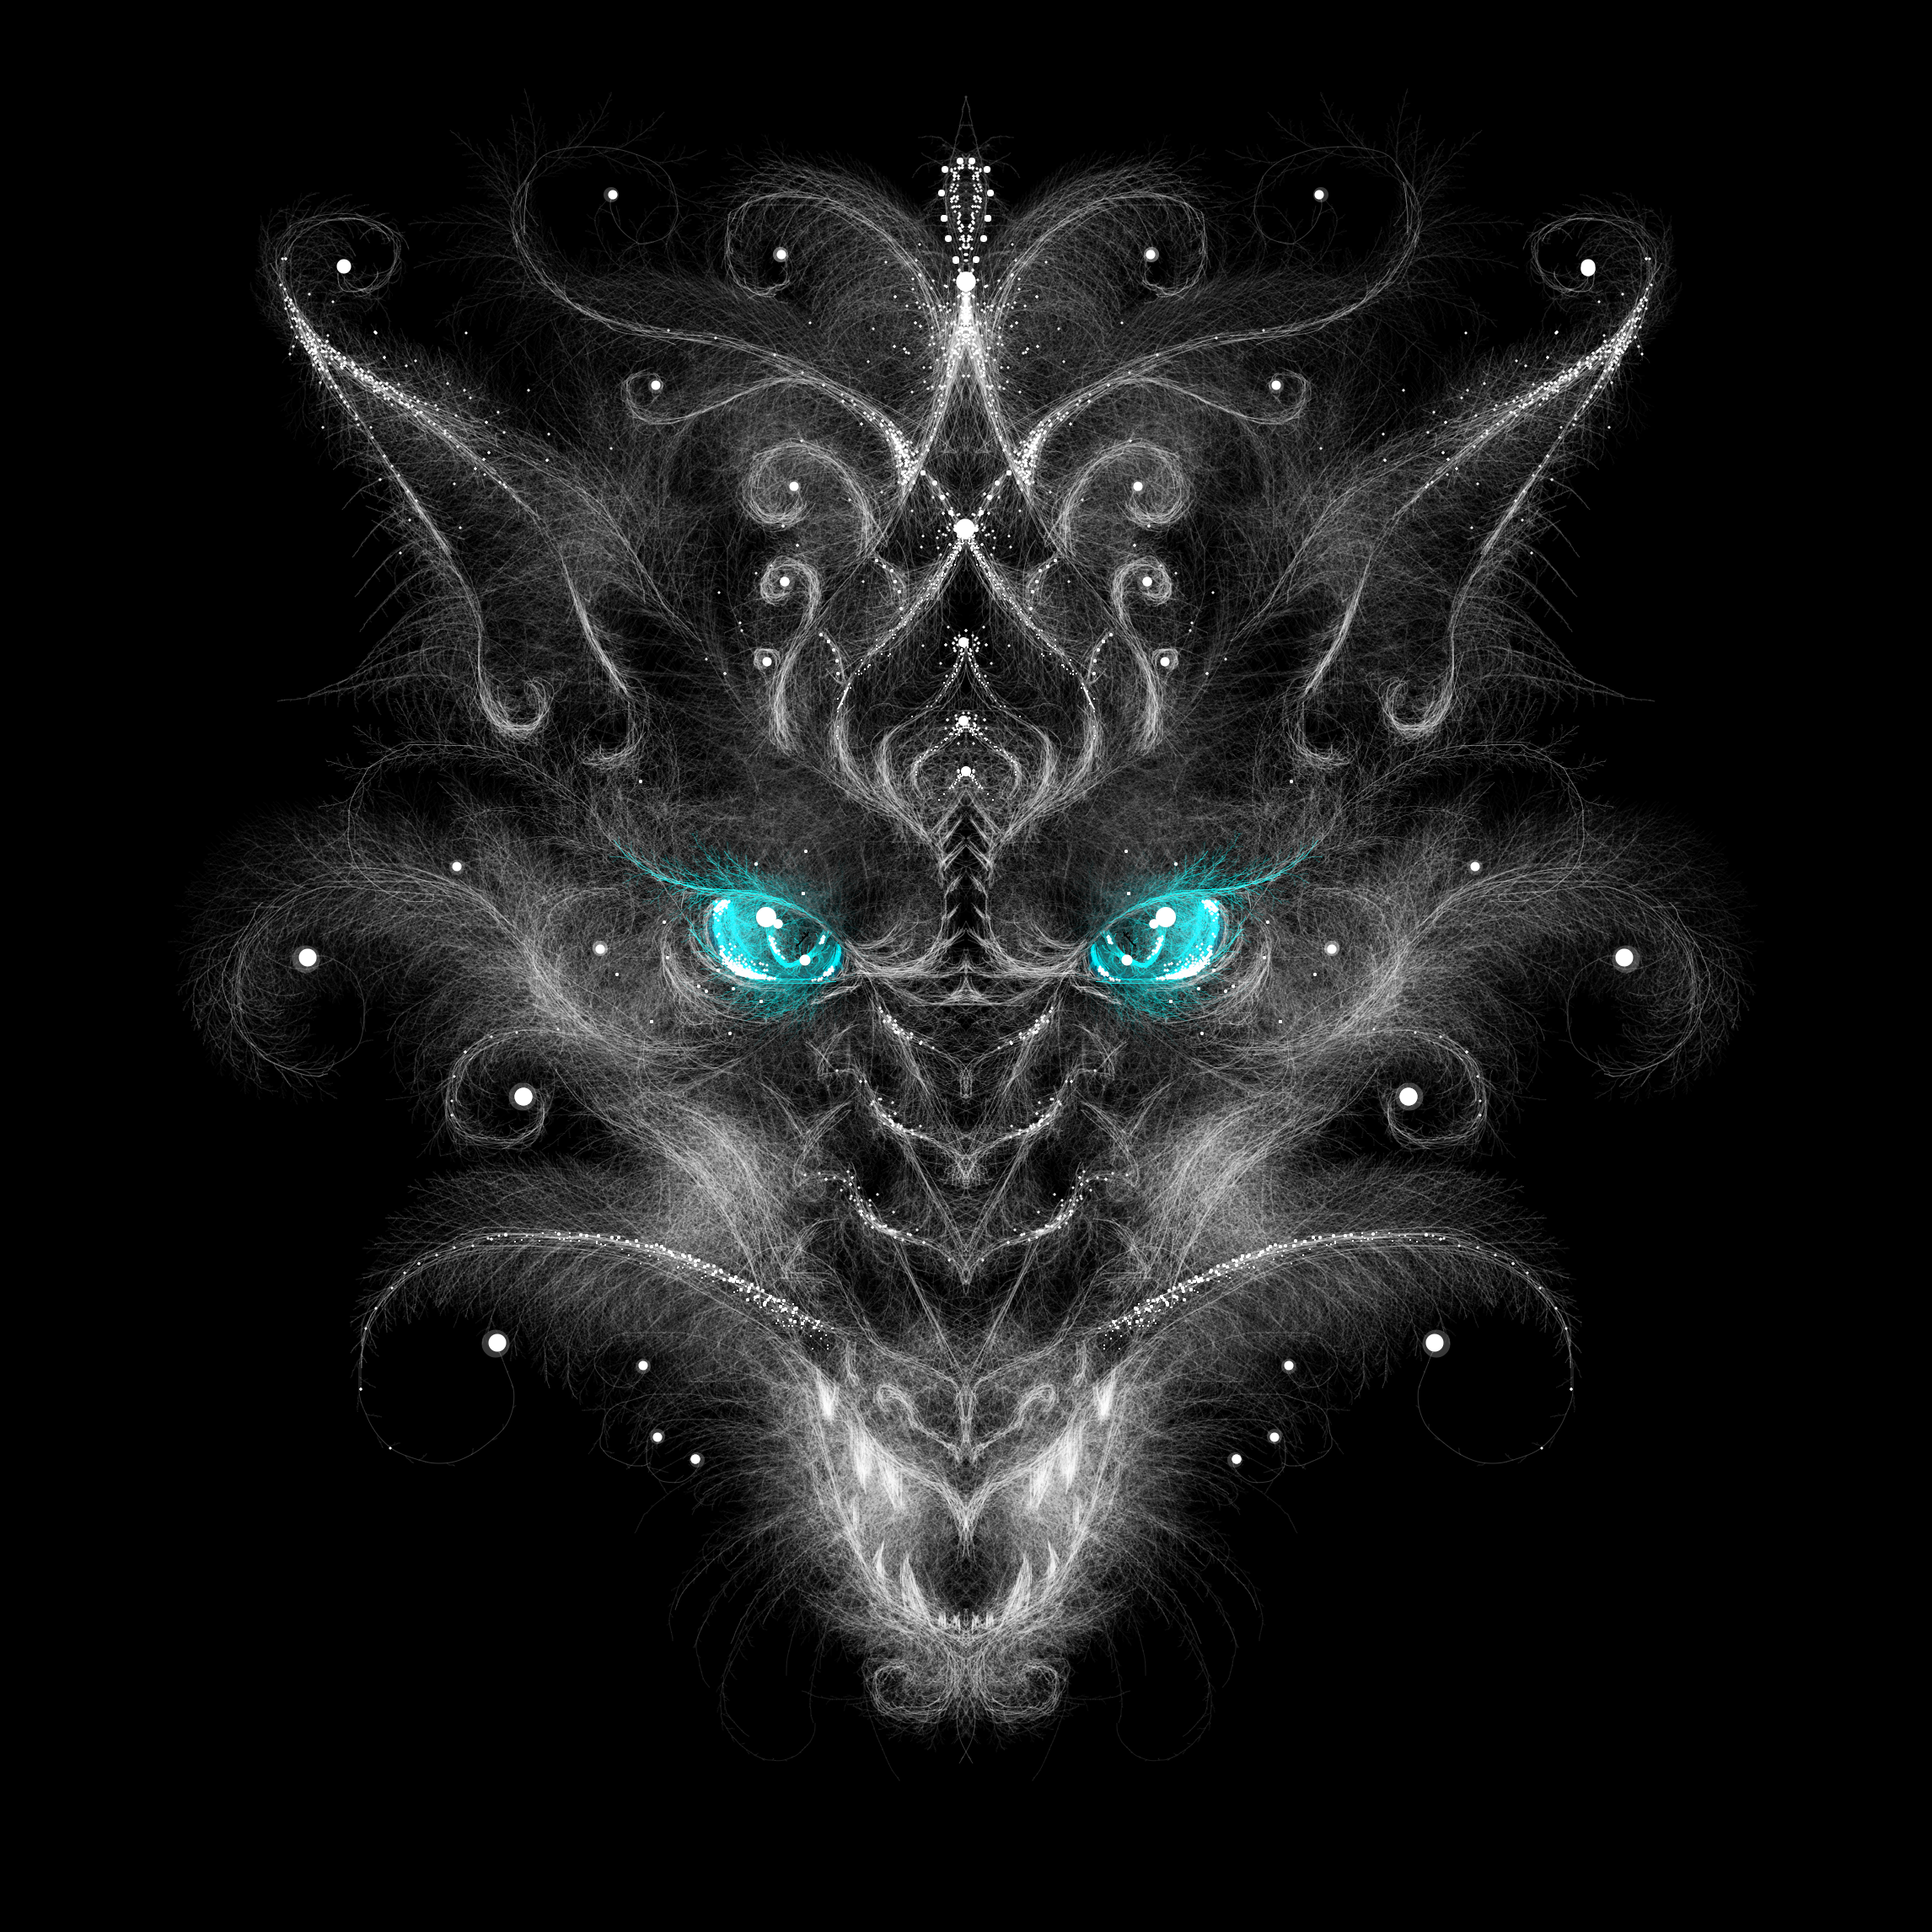
This Dragon which found its way into the Mandalagaba digest. I haven’t seen anyone really touch recursion yet, and then this shows up.
This is my absolute favorite thing about adding features to Mandalagaba: seeing them used in ways I didn’t even realize were possible. Here recursion is used to create ethereal traits. Of course mirror symmetry is used for the face too but that I had seen before :). The hours spent hammering out recursion are all of a sudden, absolutely worth it.
The artist is here: https://www.instagram.com/laralaubert
Recursive Drawing is out
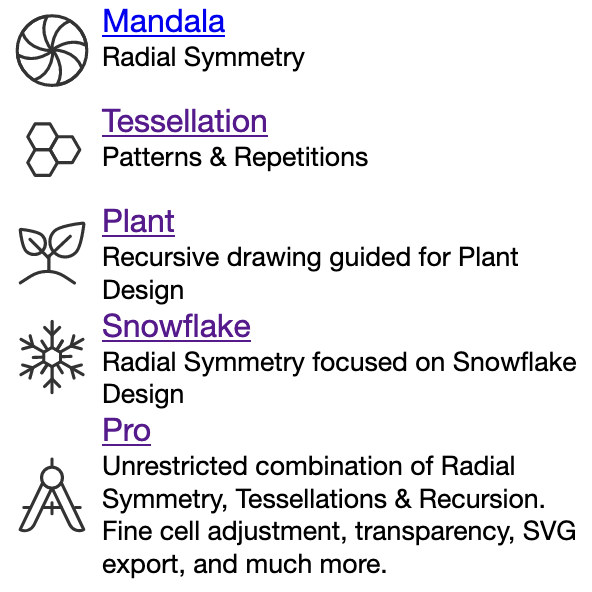
It’s only available on the “pro” facet of Mandalagaba. Oh yeah, Mandalagaba has been broken down into several facets for the purpose of simplifying and focusing activities. The facet where all the brain hurting stuff goes is the pro one. Pro is where one can draw a “radially symmetrical tessellation recursively”.
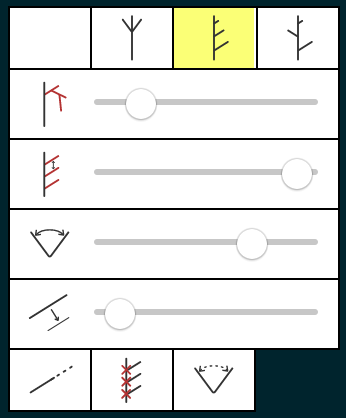
I tried to keep the menu simple and icon based but it’s still the most complex. Thankfully we have words to describe all that these things do.
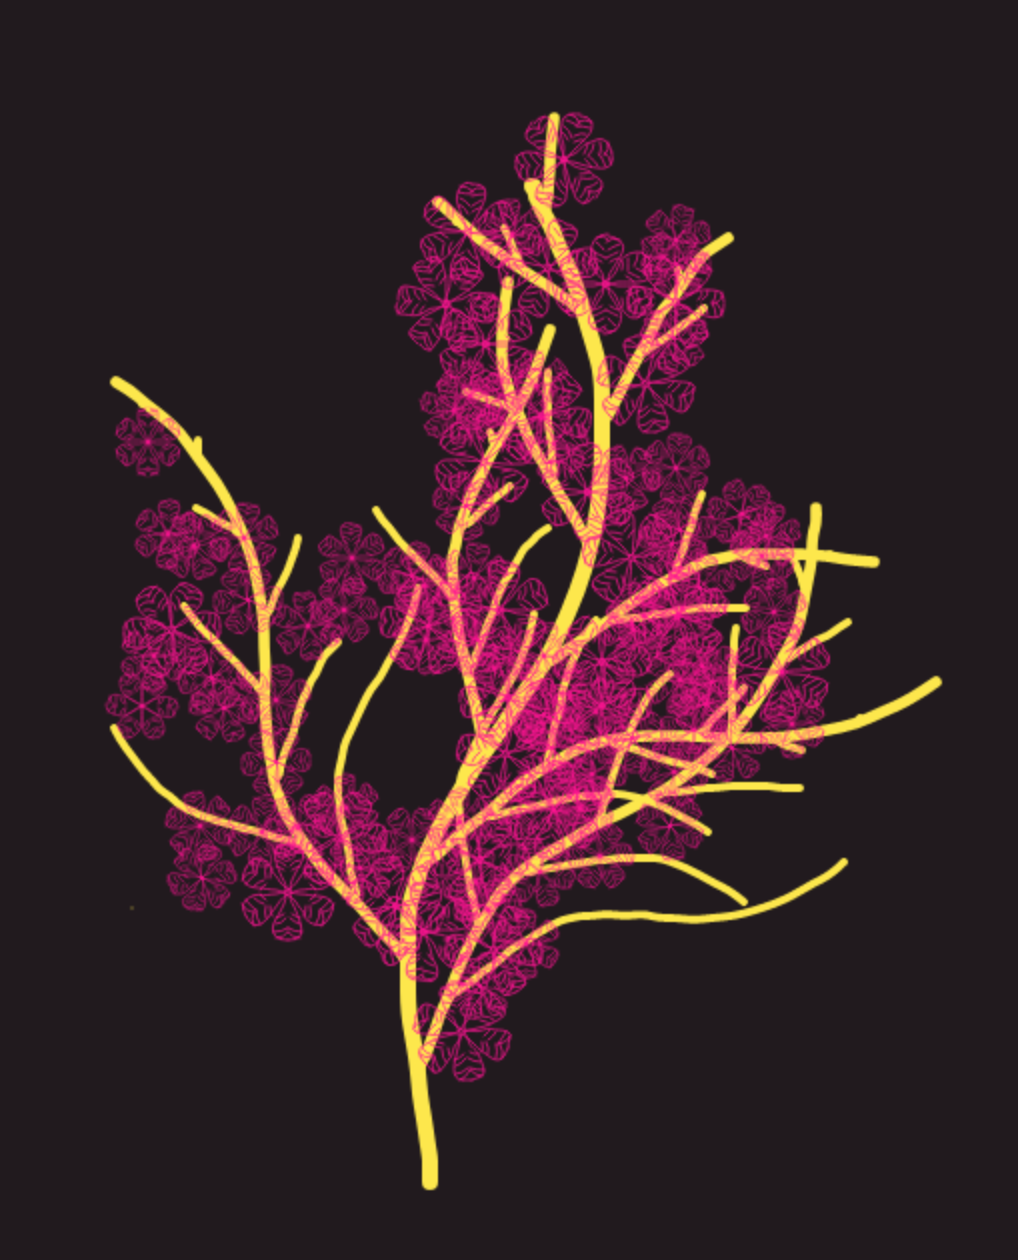
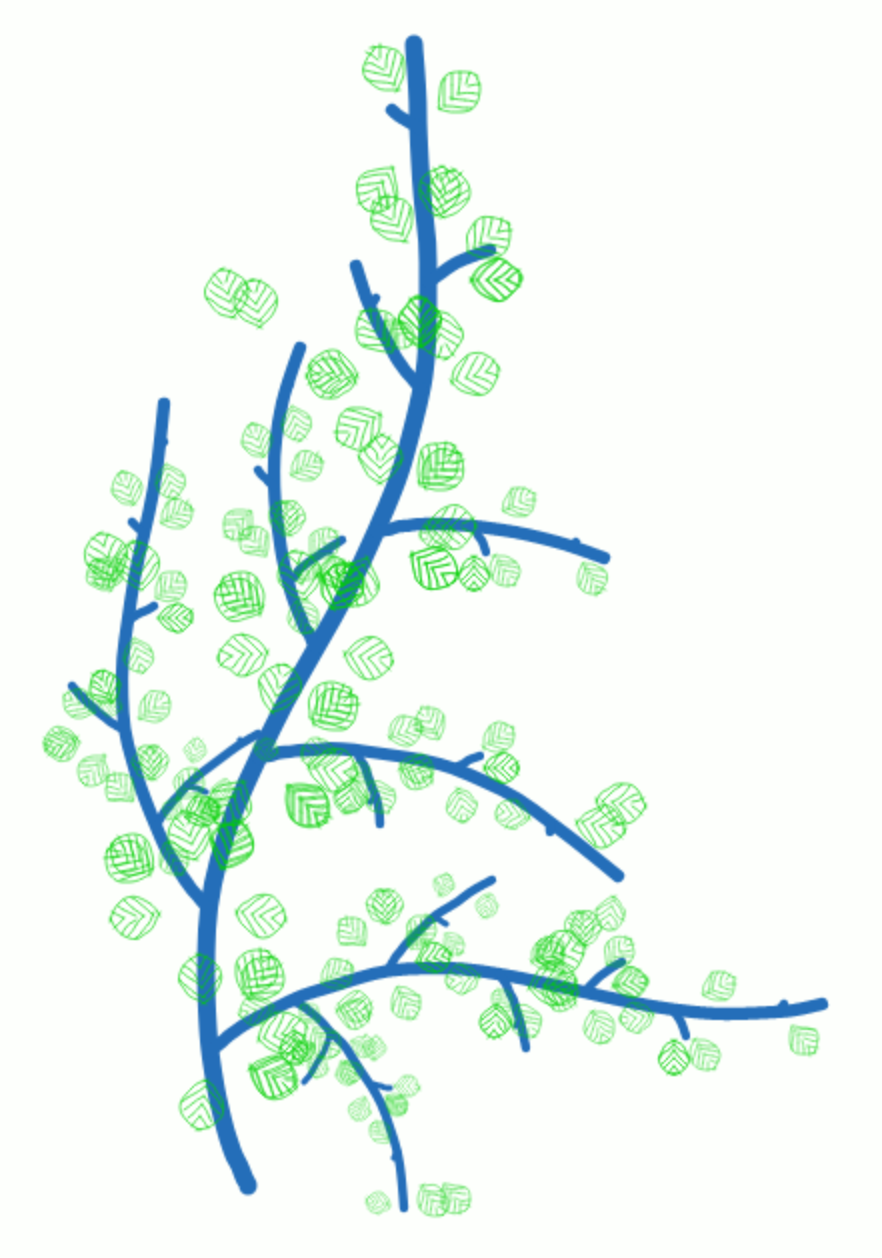
Along with recursion, https://plant.mandalagaba.com is out too, using recursion, symmetries and a newly developed center placement to create plants & trees. This one still needs a bit of polish but the main idea is working. I touched a lot of the core engine of Mandagaba to introduce all this, development went pretty well. It was nice to test the flexibility I gave myself during last Winter’s rewrite for a major feature add.
Getting there on recursion, there on recursion, on recursion, recursion
I still have a lot of details to figure out but I almost have recursion nailed. It’s a pretty brutal mental exercise to combine it with the existing radial symmetry & tessellations. As I’ve said before, one of the effects I seek in particular is that of a growing plant. In fact, I plan on dedicating a facet of Mandalagaba to guided drawing for just that. The adjustment of parameters which is very specific for getting a plant will be taken care of, and only the fun parts will remain. A perfect tool for the slacktivists who wants to feel like they’re helping greening up the world while staying glued to their screen.
I sometimes feel bad that so many people find stress, anxiety and even depression relief drawing mandalas on Mandalagaba. I feel like an enabler for giving them such a meaningless escape valve, on a screen at that. As much as I love a plant growing effect, I’m worried people will use it to get their virtual green fix while further removing themselves from nature. Get off your screens, grow an actual plant if you want to grow a virtual one.
Web Omnipresence with Docker, VPN & Squid proxying
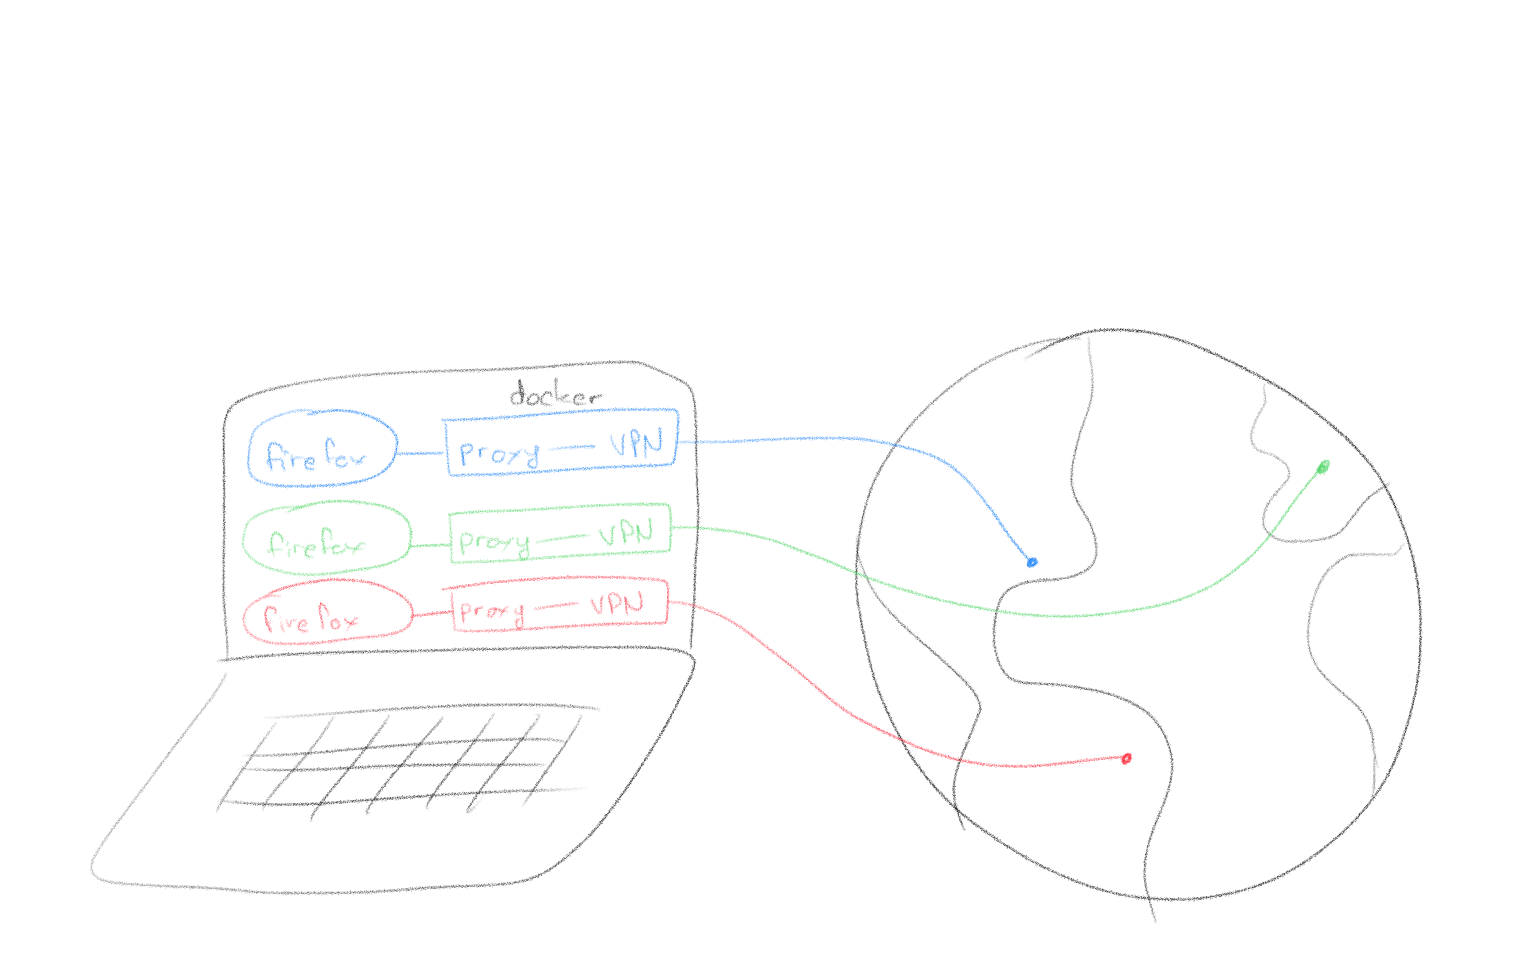
Here’s a method for having several browser windows proxying through several countries concurrently.
Demo
[mejsvideo mp4=”http://ben.akrin.com/videos/omnipresence.mov.mp4″ ogg=”http://ben.akrin.com/videos/omnipresence.mov.ogv” webm=”http://ben.akrin.com/videos/omnipresence.mov.webm” poster=”http://ben.akrin.com/videos/omnipresence.mov.jpg” width=”640″ height=”360″]
Working Principle
Requirements
- a VPN service supporting OpenVPN as a client (this example uses vpntunnel)
- Docker
- Firefox
- MacOS isn’t a requirement per se but this guide & accompanying scripts are written for it.
Setup Steps
- Download this package containing Dockerfile build instructions & some scripts.
- Populate the directory “openvpn_config_files/” with the ovpn files from the VPN service you use.
- Edit the script called “vpn” and replace <VPN_SERVICE_USERNAME> and <VPN_SERVICE_PASSWORD> with your username and password.
- Run with “./omnipresence.sh <name_of_ovpn_file>”
Recursive Drawing Sneak Peek
I’ve been working on implementing recursive drawing into Mandalagaba. There are many, many tunables which can be implemented to facilitate recursive drawing. It’s tricky to pick the ones which make for a fun drawing experience. One of the effects that I seek in particular is that of a growing plant.
Flood fill #5
I just added a 5th HTML5 canvas flood fill algorithm which proposes a different method than filling pixel by pixel.
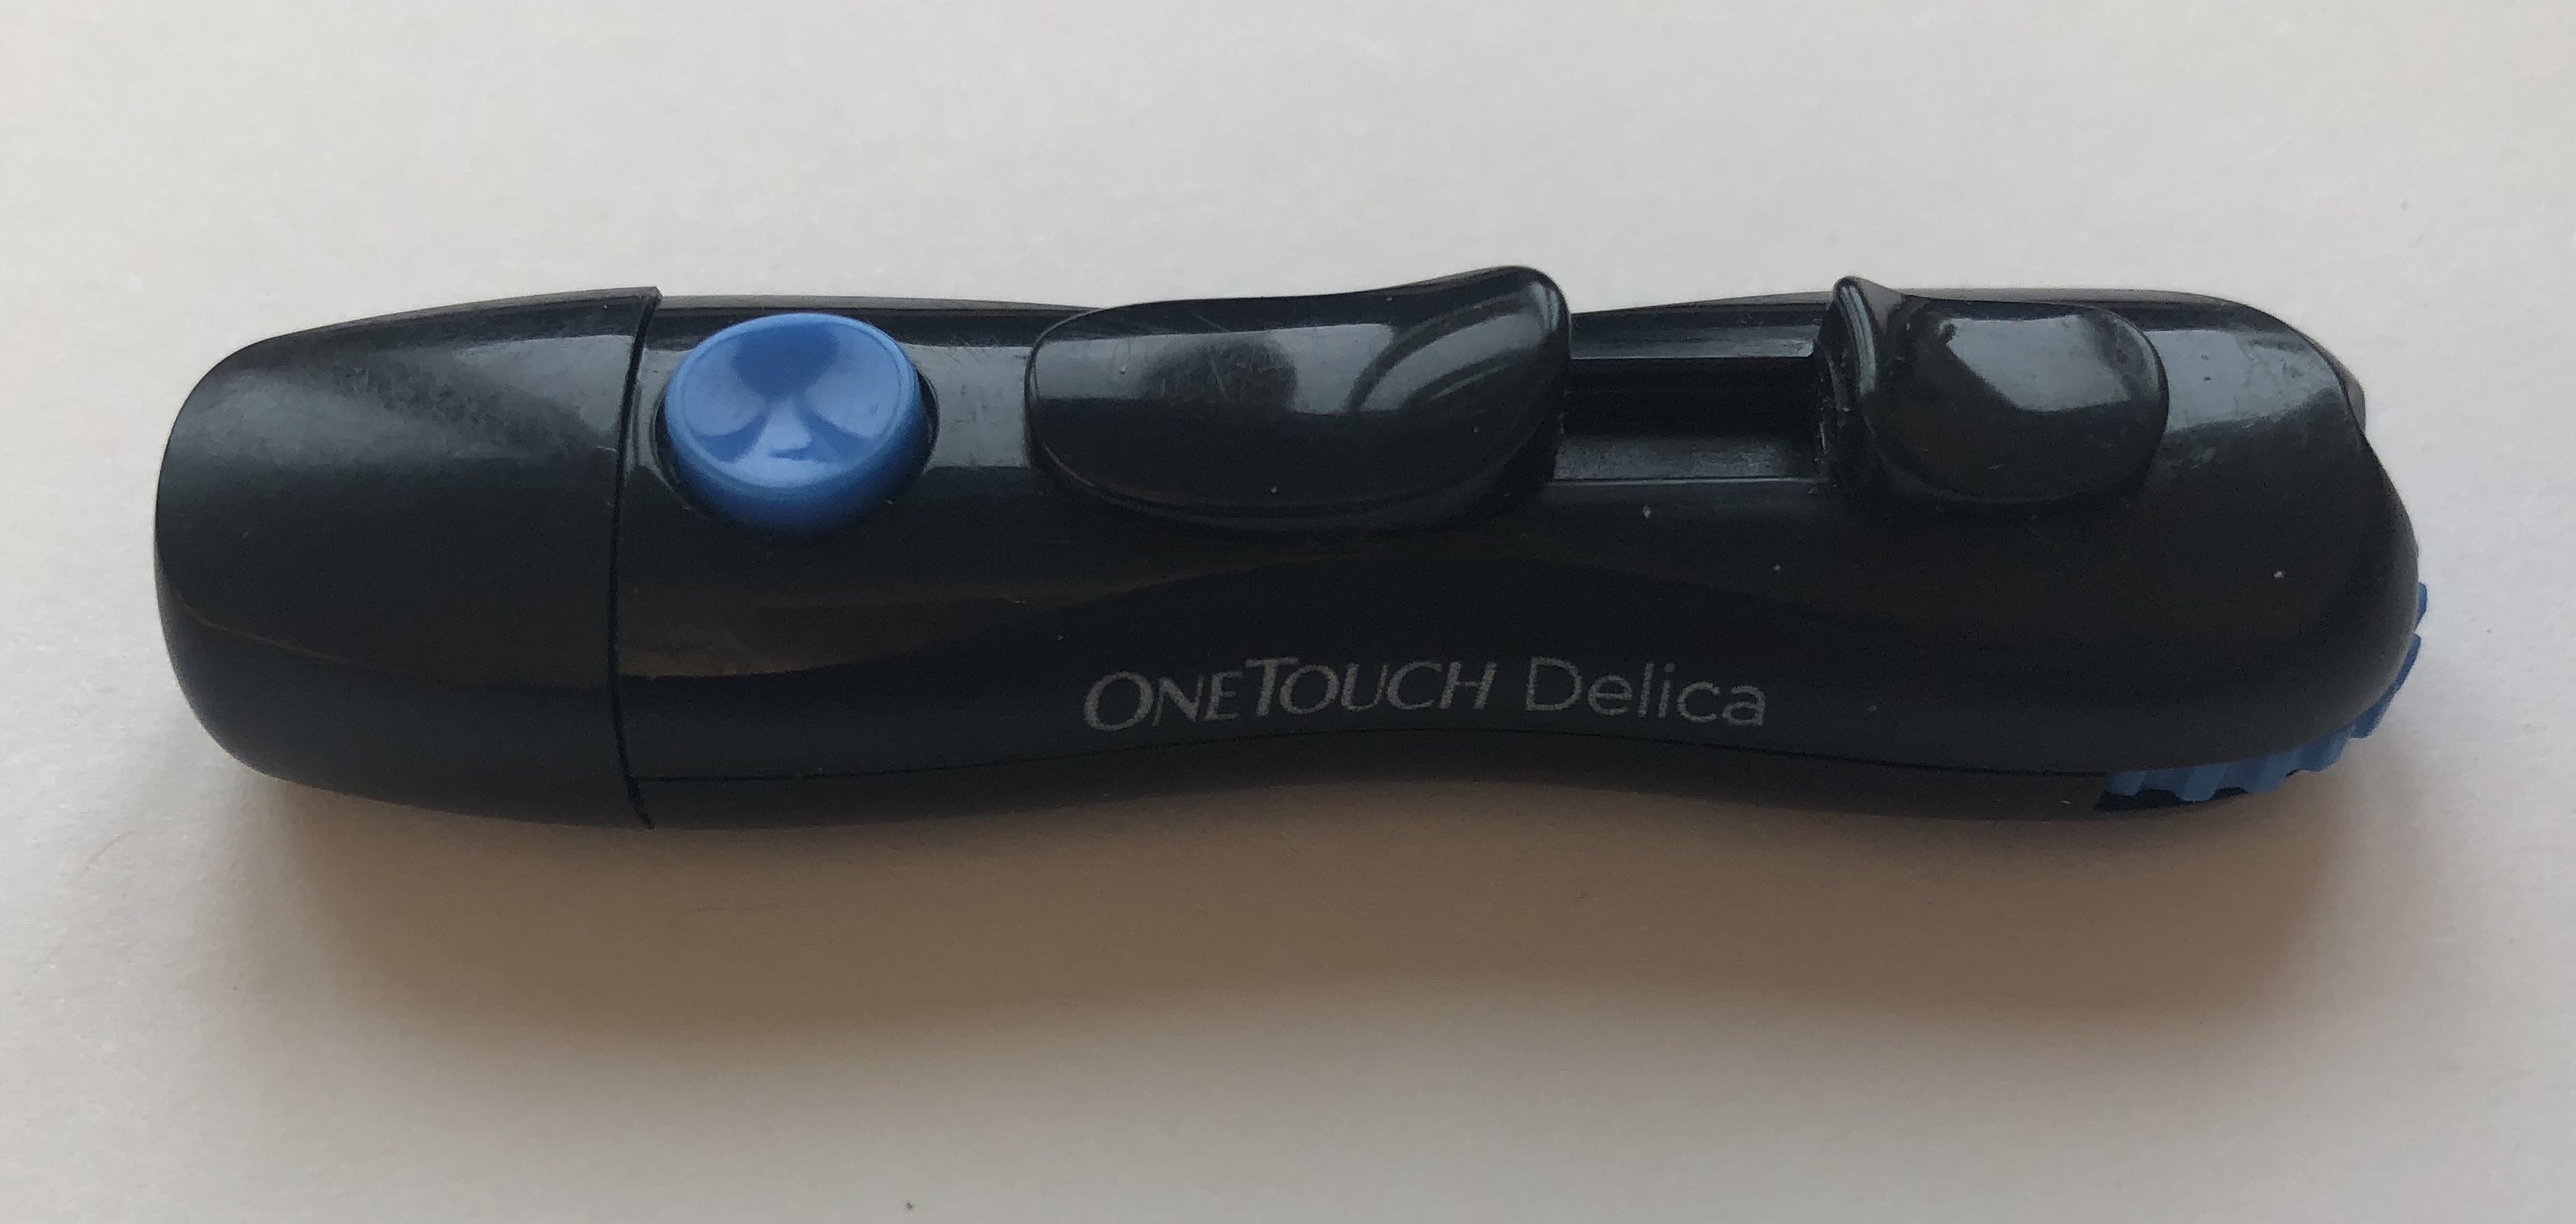
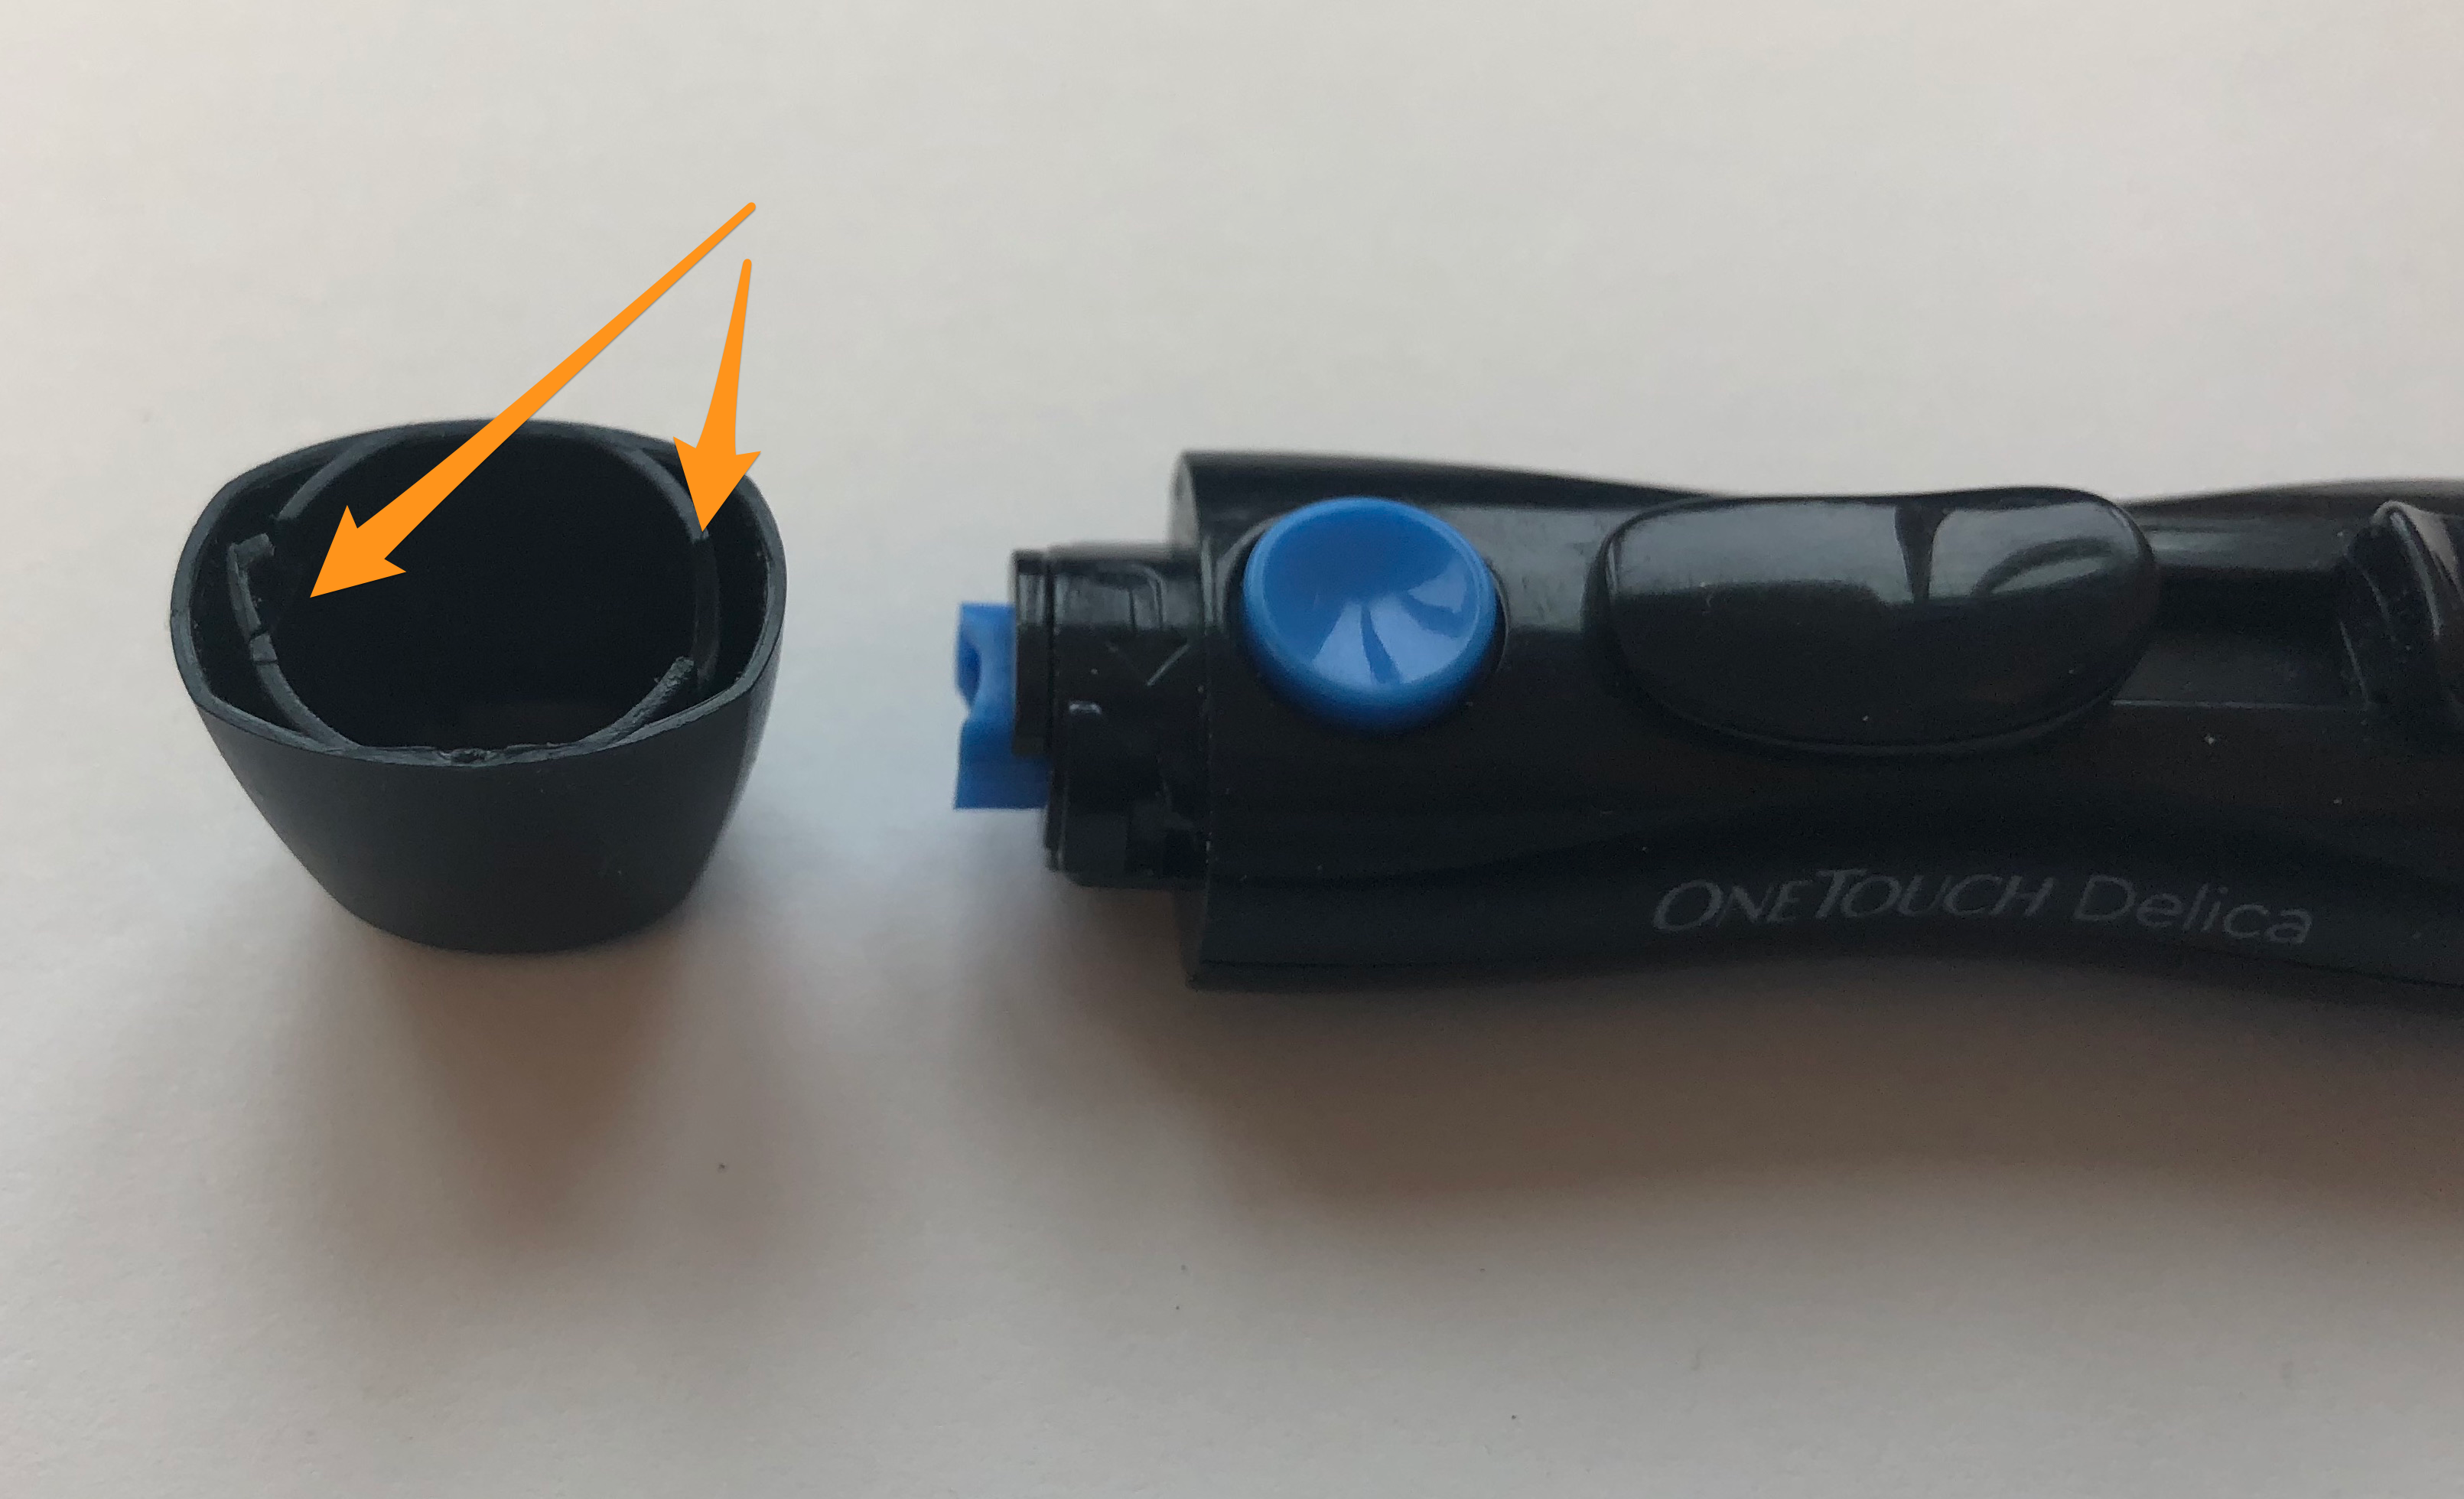
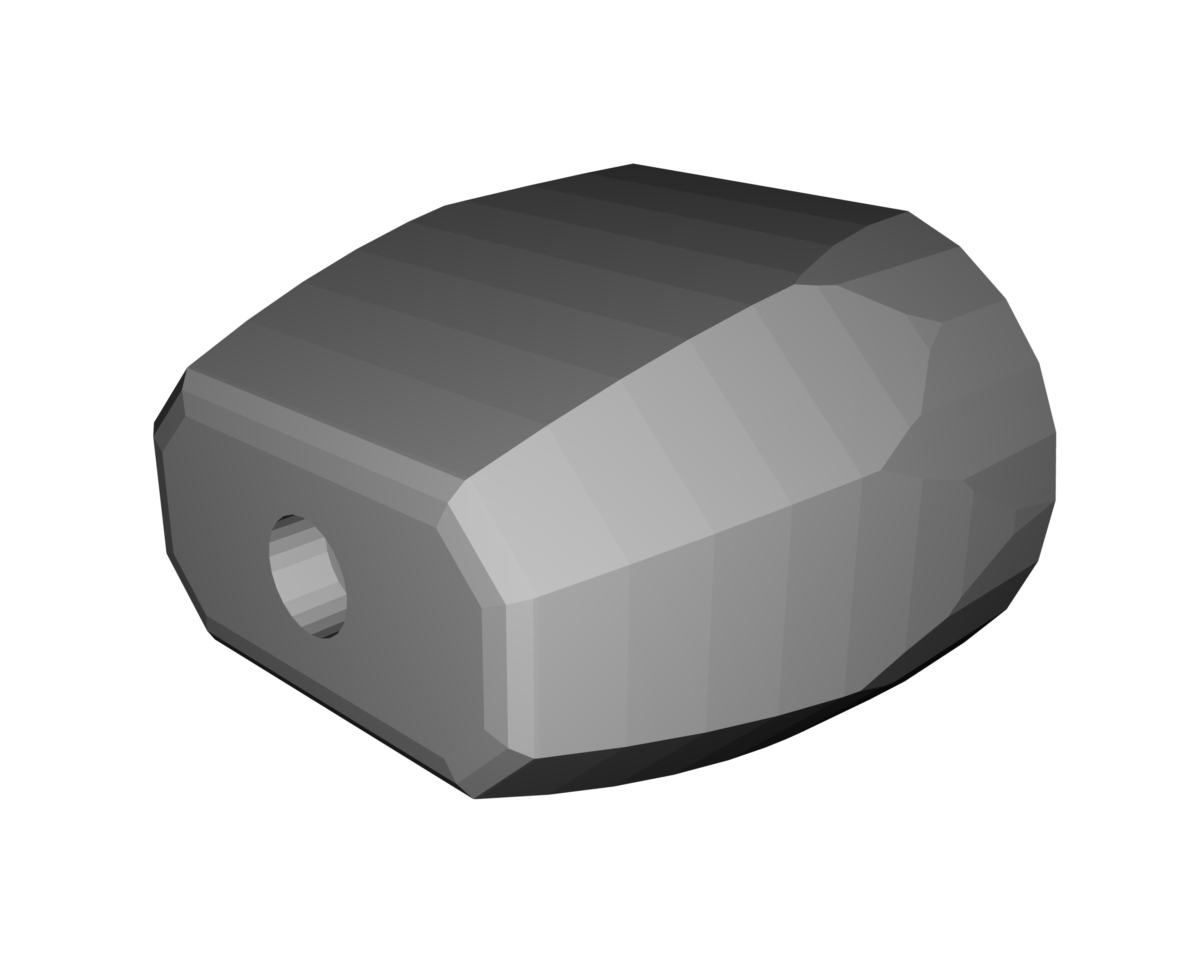
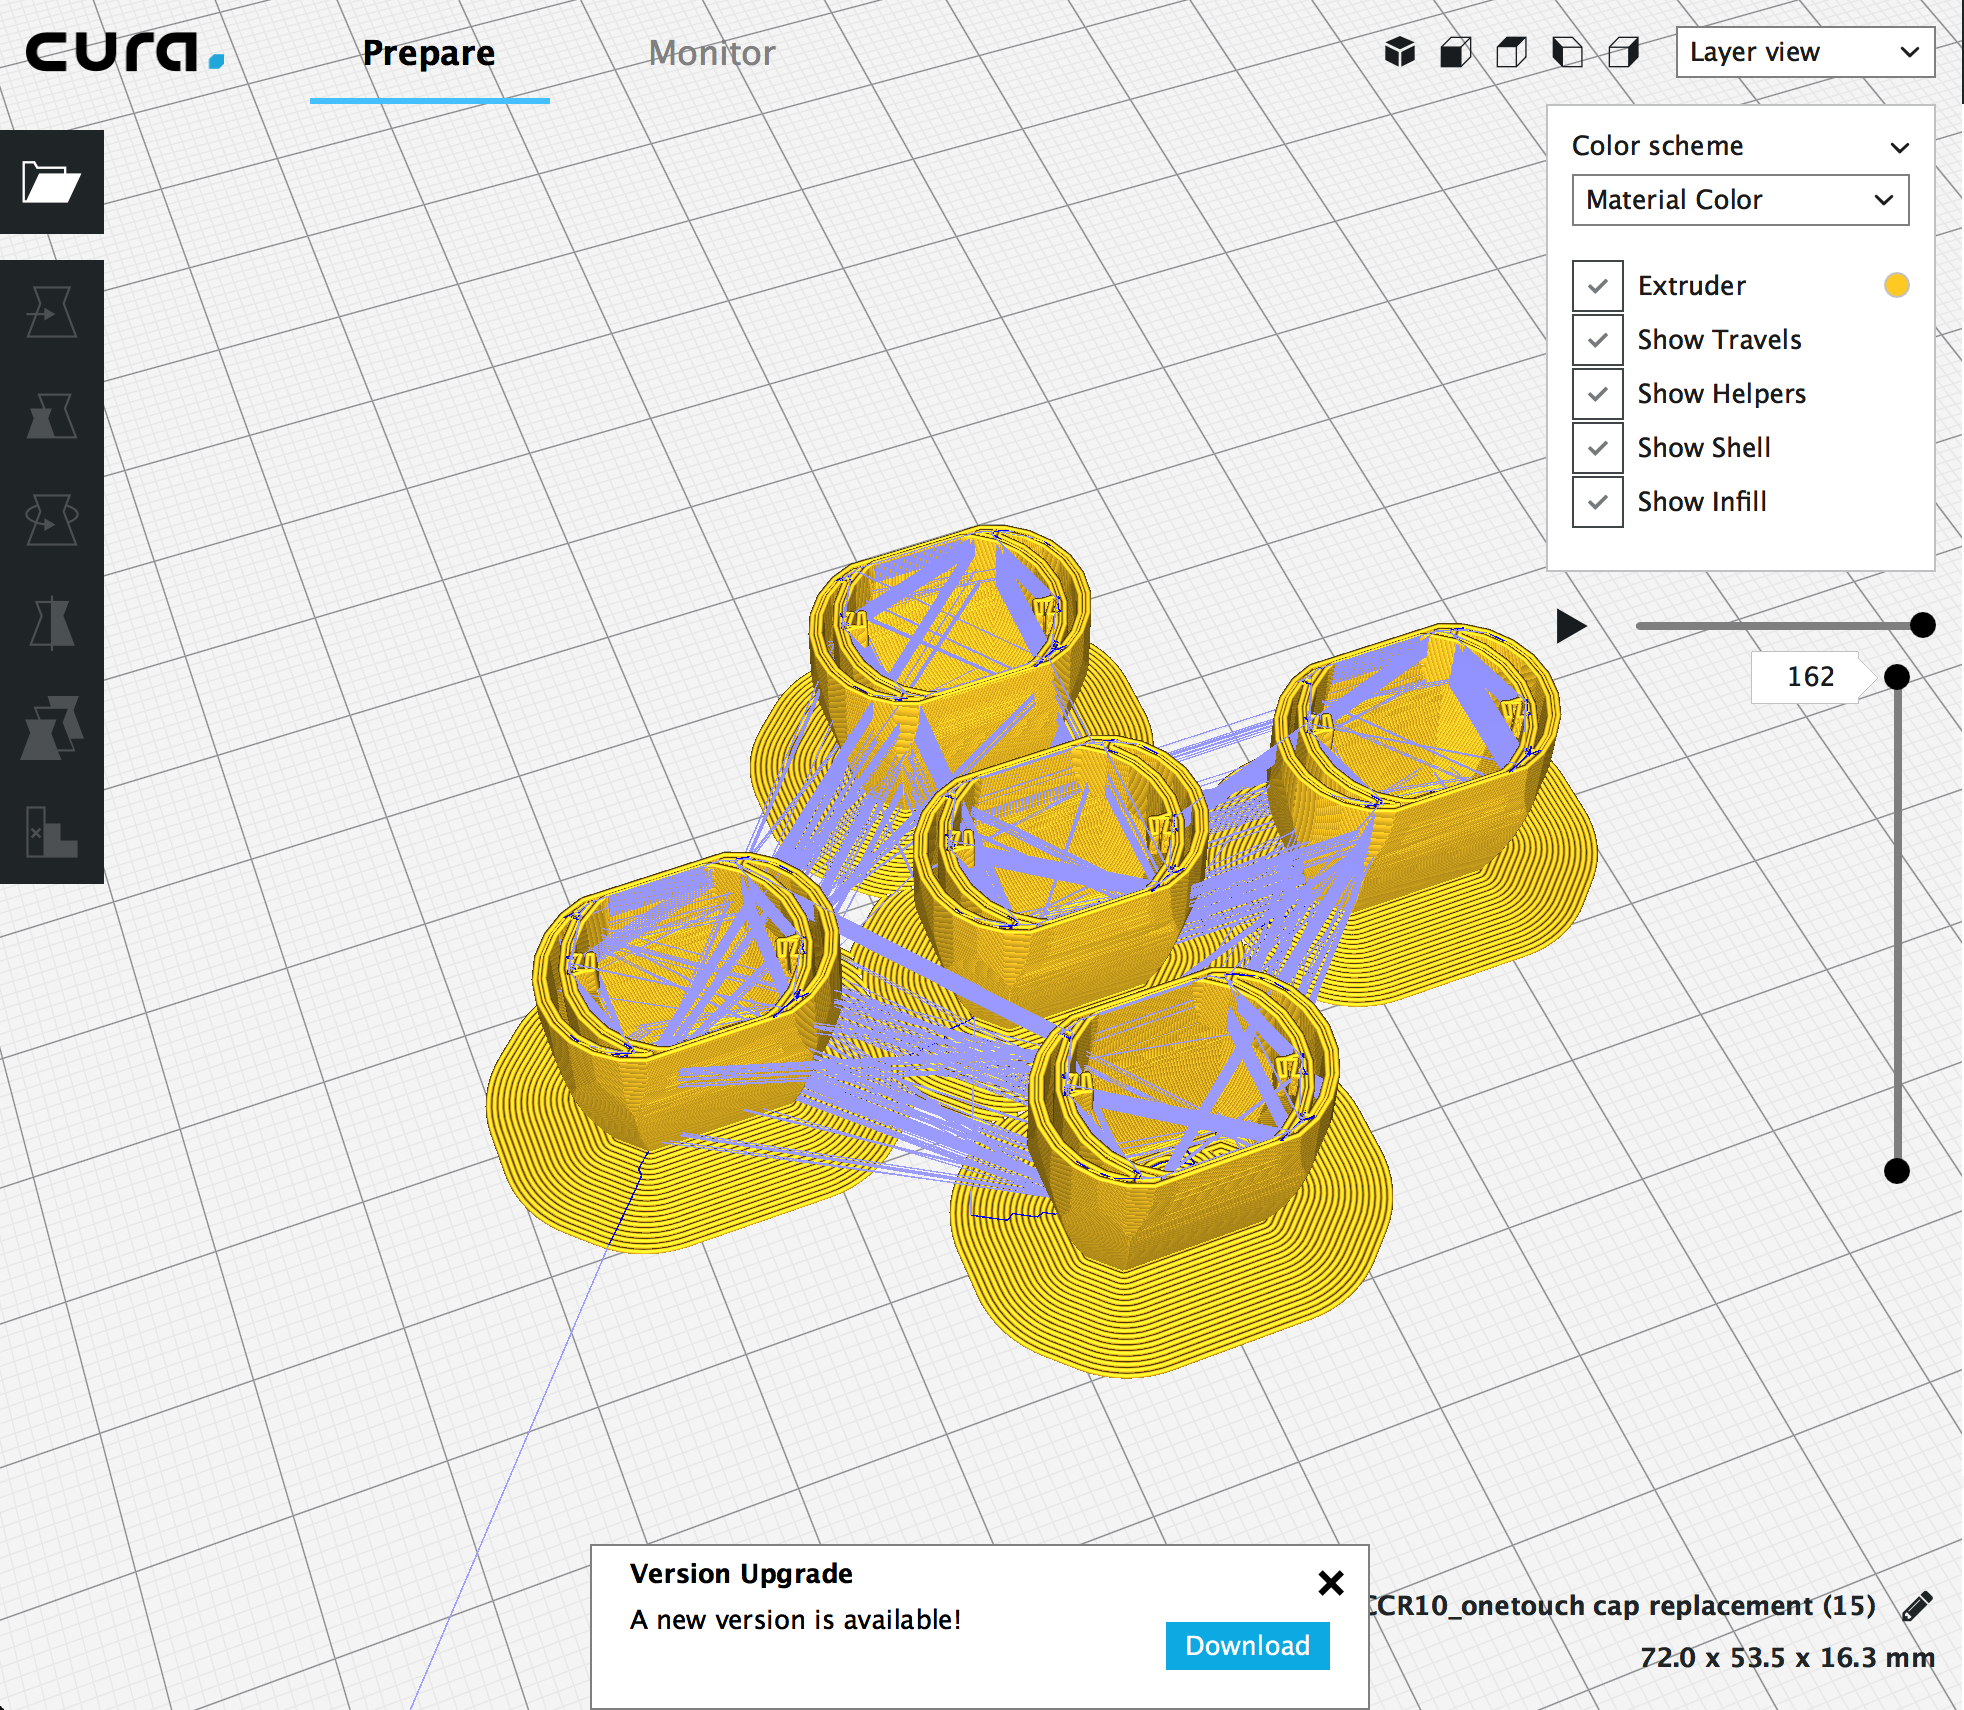
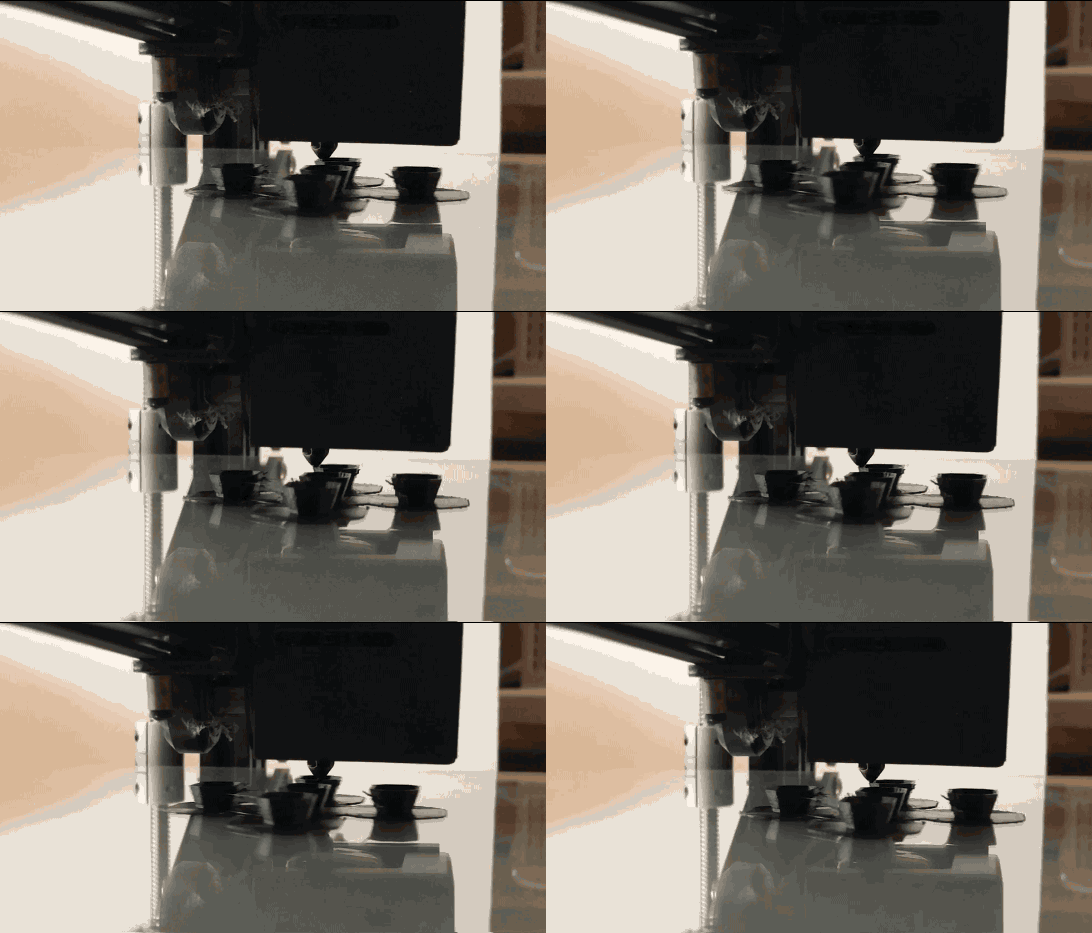
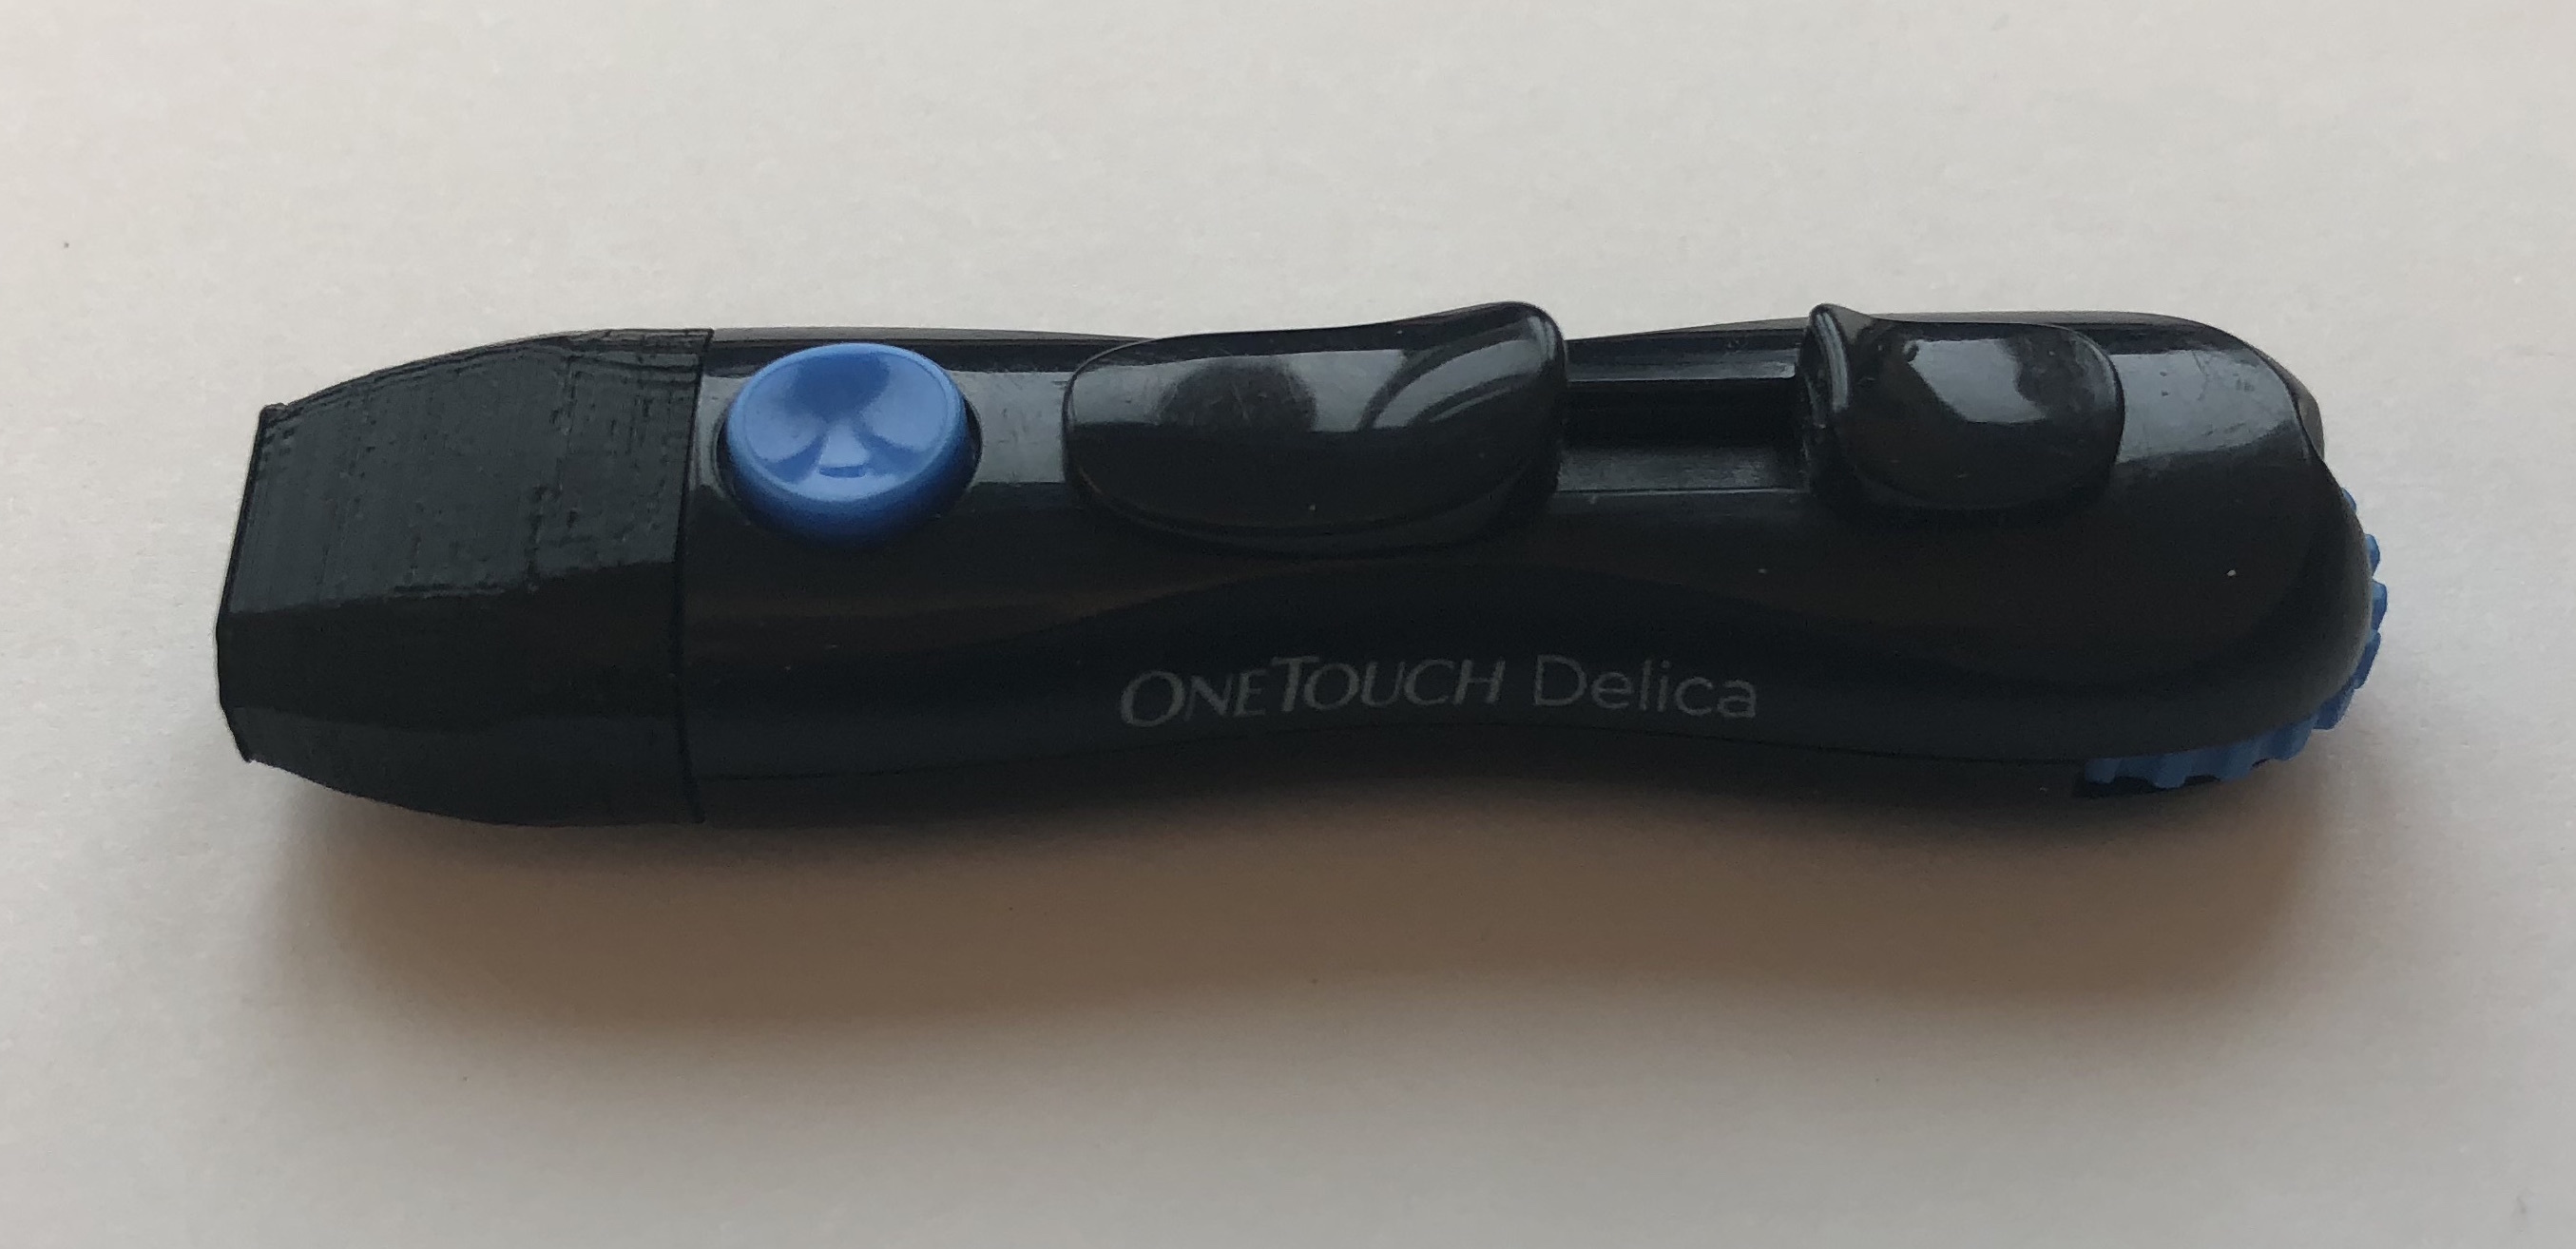
Onetouch Delica 3D Printable Replacement Cap
The Wordiest Word
With Markov chain based random word generation, I essentially have tables of the probabilities for letters sequences. With this I’ve always wanted to know what the most English word was. The word with the highest probability of each letter following its predecessors.
I finally bit the bullet and produced it; well them, because it varies depending on the corpus & depth used. All in all it’s not that impressive, just kind of cool to know. I don’t know what I was expecting, some amazing word that would rock my socks off.
Without further ado, here they are:
| Corpus | Depth | Wordiest Word |
| basic_english_words | 1 | st |
| basic_english_words | 2 | st |
| basic_english_words | 3 | struction |
| basic_english_words | 4 | statement |
| basic_english_words | 5 | store |
| unabridged_english_dictionary | 1 | prerererererererere… |
| unabridged_english_dictionary | 2 | press |
| unabridged_english_dictionary | 3 | press |
| unabridged_english_dictionary | 4 | preconcer |
| unabridged_english_dictionary | 5 | preconcertification |
PHP file upload to a Google storage bucket
Download
Google setup & use
1- Create a storage bucket for the script to upload into
Go to the Google Cloud Console, click on “Storage”, “Browser”.
“Create Bucket”
Give it a name and click “Create”.
2- Create a service account for the script
Expand the “IAM & admin” section, click on “Service accounts”.
Click “Create Service Account”.
Give it a name, check “Furnish a new private key”, JSON, and click “Save”.
Save the JSON credentials file which you are prompted to download into a safe location.
3- Grant “Object Creator” permissions on the bucket to the service account
Go back to the storage bucket you created
Edit its permissions
The JSON credentials file you just downloaded contains the email for the service account you created, copy it.
And paste it into the “Add members” field, select the permission to be “Storage Object Creator”. This service account doesn’t need permissions for anything else than dumping files in there. Not even viewing them.
Optional: if you want the files uploaded by the script to be publicly viewable, add the permission “Storage Object Viewer” to the user “allUsers”. Accounts are all referred to by email in Google land, but there exist special keywords such as “allUsers”.
Done with the Google setup 🙂
4- Running the script
If you haven’t already, download the script at the top of this page. Decompress it and edit the config at the top.
$credentials_file_path is the full path to the JSON credentials file you got from Google when you created the service account. It should be a secure location.
$destination_bucket_name is the name of the bucket you created
$access_token_cache_file_path is a location where Google’s OAuth tokens are cached, it too should be a secure location.
Run the script with only 1 argument being the file you want to upload. The script can also be included and used outside of CLI, in that case simply call the upload( $filename ) function. 
The script returns the URL to the file in the bucket.